


This post may contain affiliate links. Read our disclosure policy.

Tessa’s Recipe Rundown
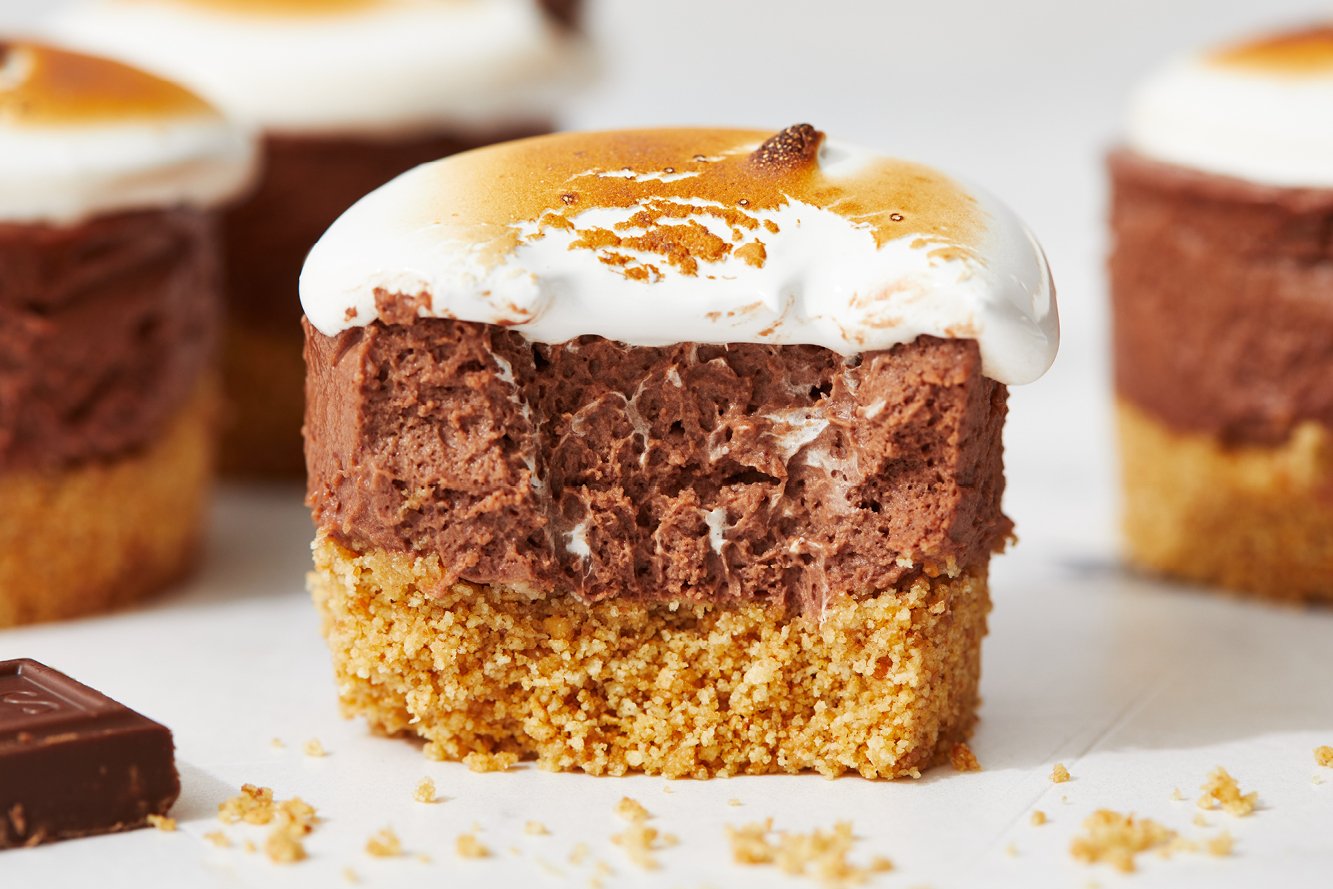
Taste: Like nostalgia in a bite!
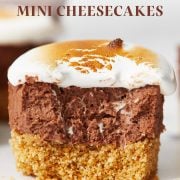
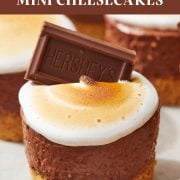
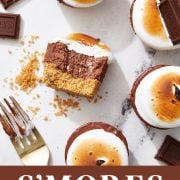
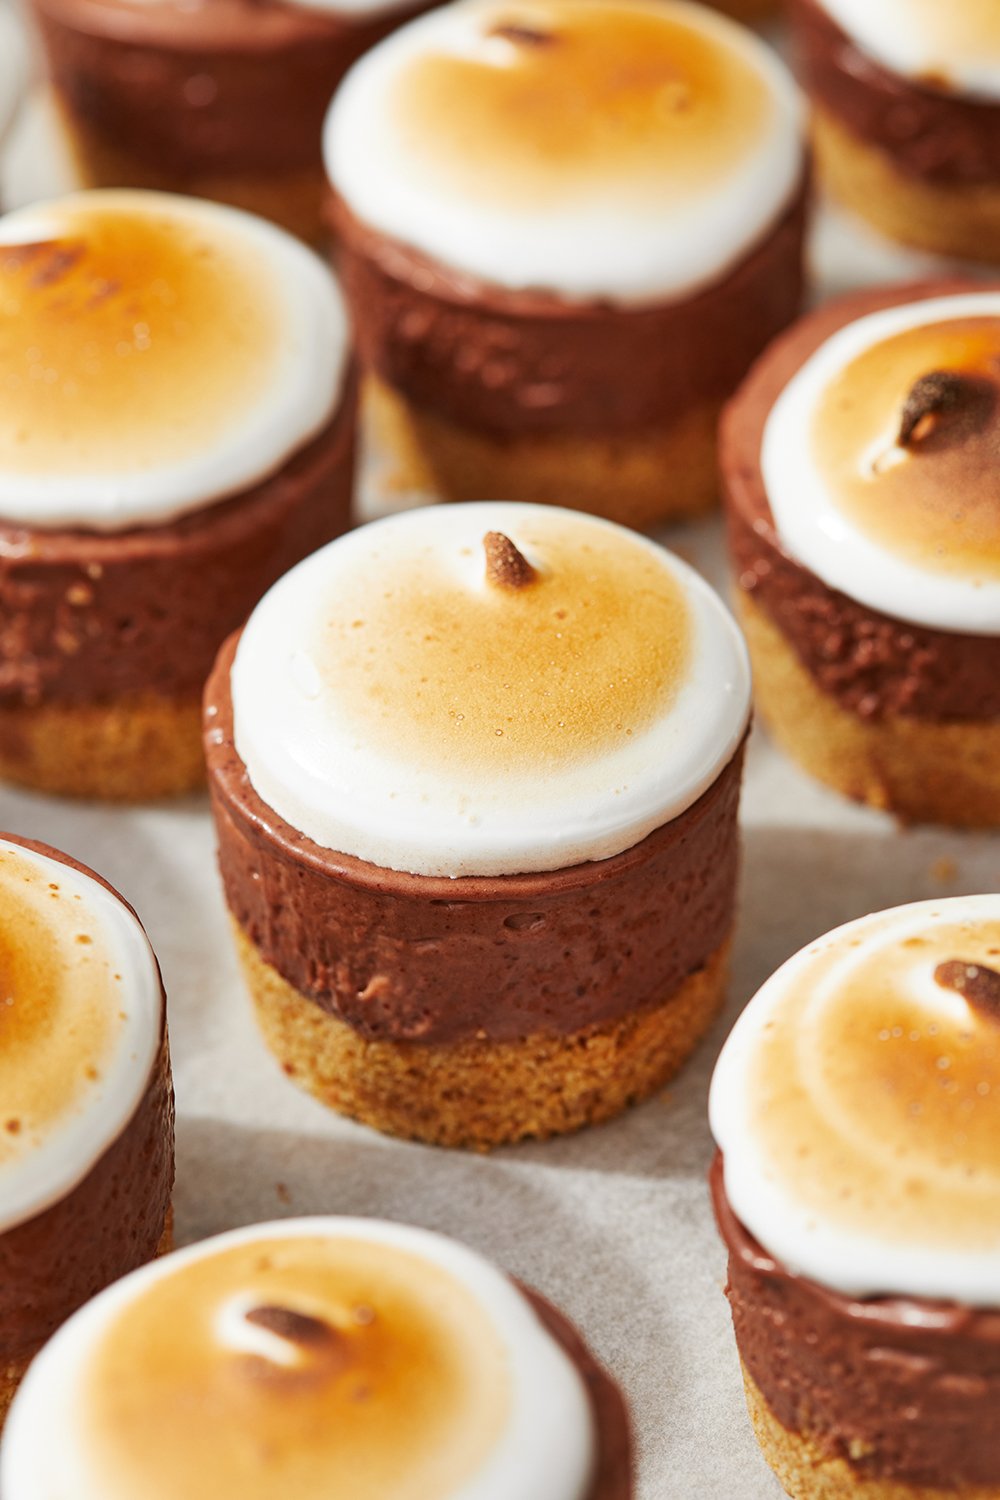
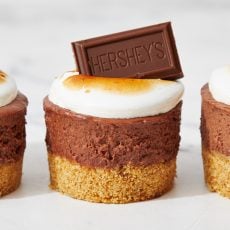
Texture: The crust features a buttery crunch, the filling is creamy and smooth, and the topping is delightfully sticky.
Ease: Requires some prep and assembly but can be done in advance.
Why you’ll love this recipe: The most adorable treat that will wow your friends & family.
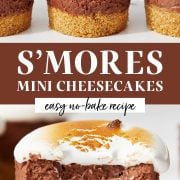
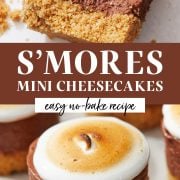
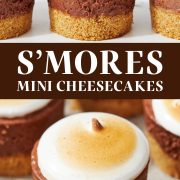
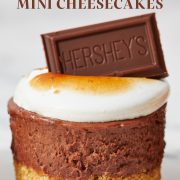
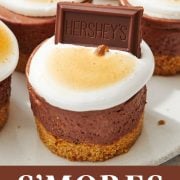
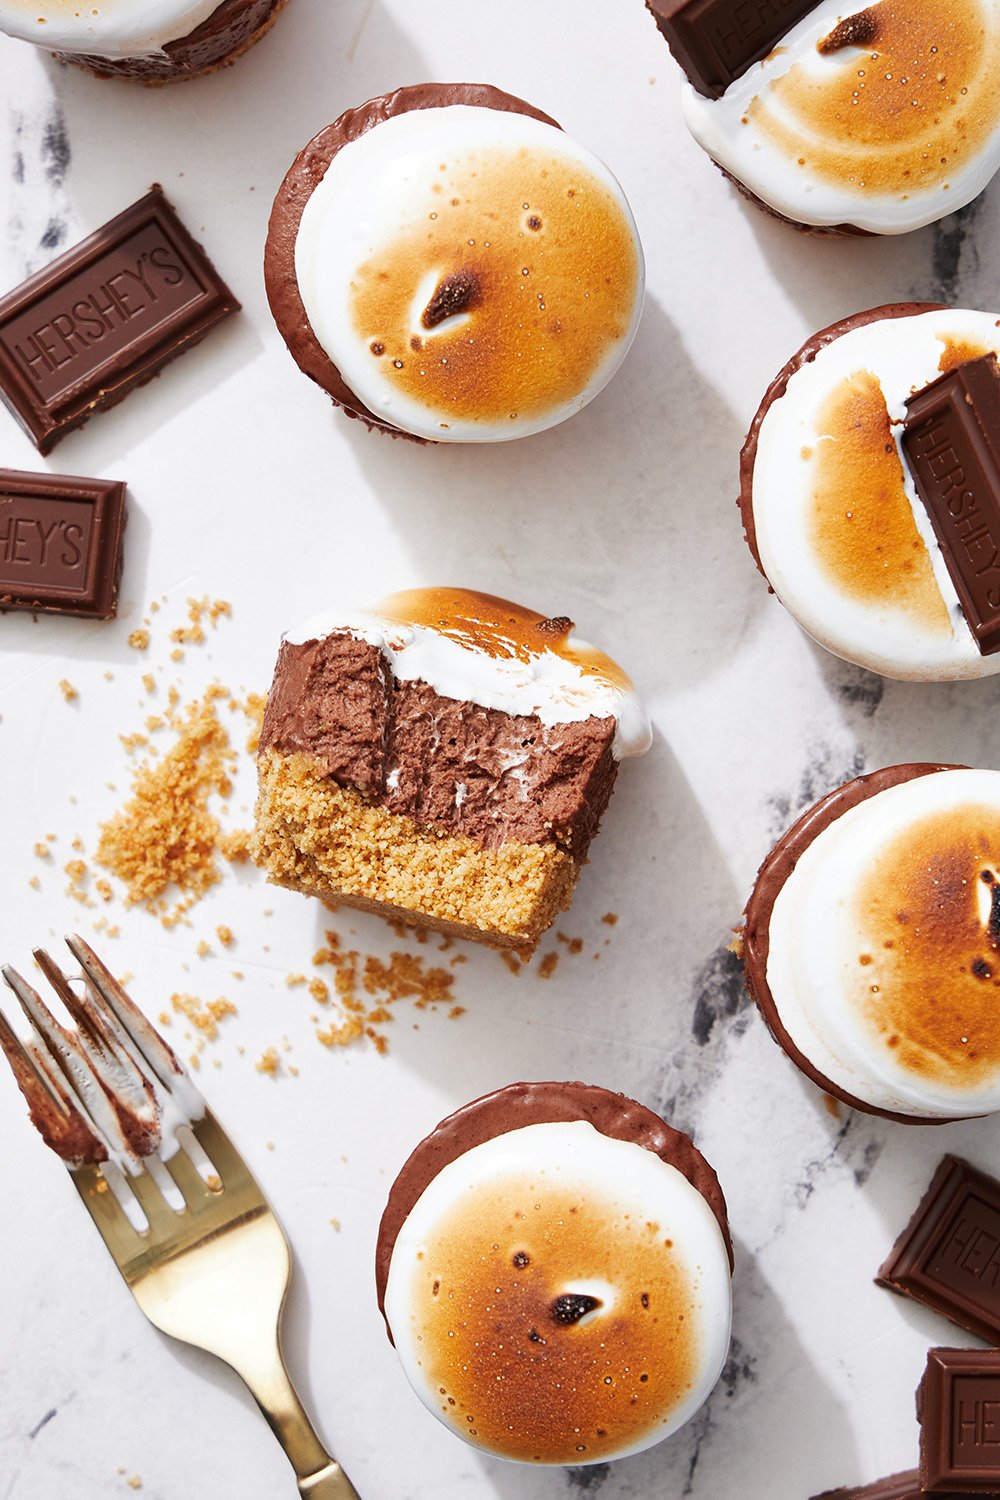
I love chocolate. I love s’mores. I love cheesecake. Put it all together, and you have my easy No-Bake S’mores Mini Cheesecakes!
Living in Arizona, no-bake recipes are a must during the summer. Any recipe that skips turning on my oven when it’s already 100°F+ outside is a winner.
So if I’m not making homemade ice cream for dessert, I’m probably enjoying one of my no-bake mini cheesecakes. They’re adorable and easy to make and serve.
Any recipe that gives you a reason to pull out your kitchen torch is a fun one to me. Though torching the marshmallow is totally optional.
Recipe Ingredients
- Graham crackers – More on this below if you’d prefer to use a different cracker/cookie/biscuit here.
- Butter – The ‘glue’ that holds our graham cracker crust together.
- Semisweet chocolate – You can use dark chocolate or milk chocolate here depending on your preferred level of sweetness.
- Cream cheese – Be sure to use a full-fat brick of cream cheese, such as Philadelphia brand. Ensure it’s completely at room temperature before beginning for a perfectly smooth cheesecake.
- Sugar – Just enough to sweeten our cheesecake without making it cloyingly sweet. It also stabilizes the marshmallow on top.
- Vanilla extract – For flavor.
- Heavy cream – Also at room temperature. The heavy cream helps create a silky-smooth, perfectly-set no-bake cheesecake.
- Large egg whites – At room temperature. These are the base of our marshmallow topping.
- Cream of tartar – To help stabilize the marshmallow meringue, don’t skip it.
- Chocolate bar, for decoration – Traditionally, this would always be a piece of a Hershey’s bar – but you can use any chocolate bar you like.
Overview of Instructions – How to Make Mini S’mores Cheesecakes:
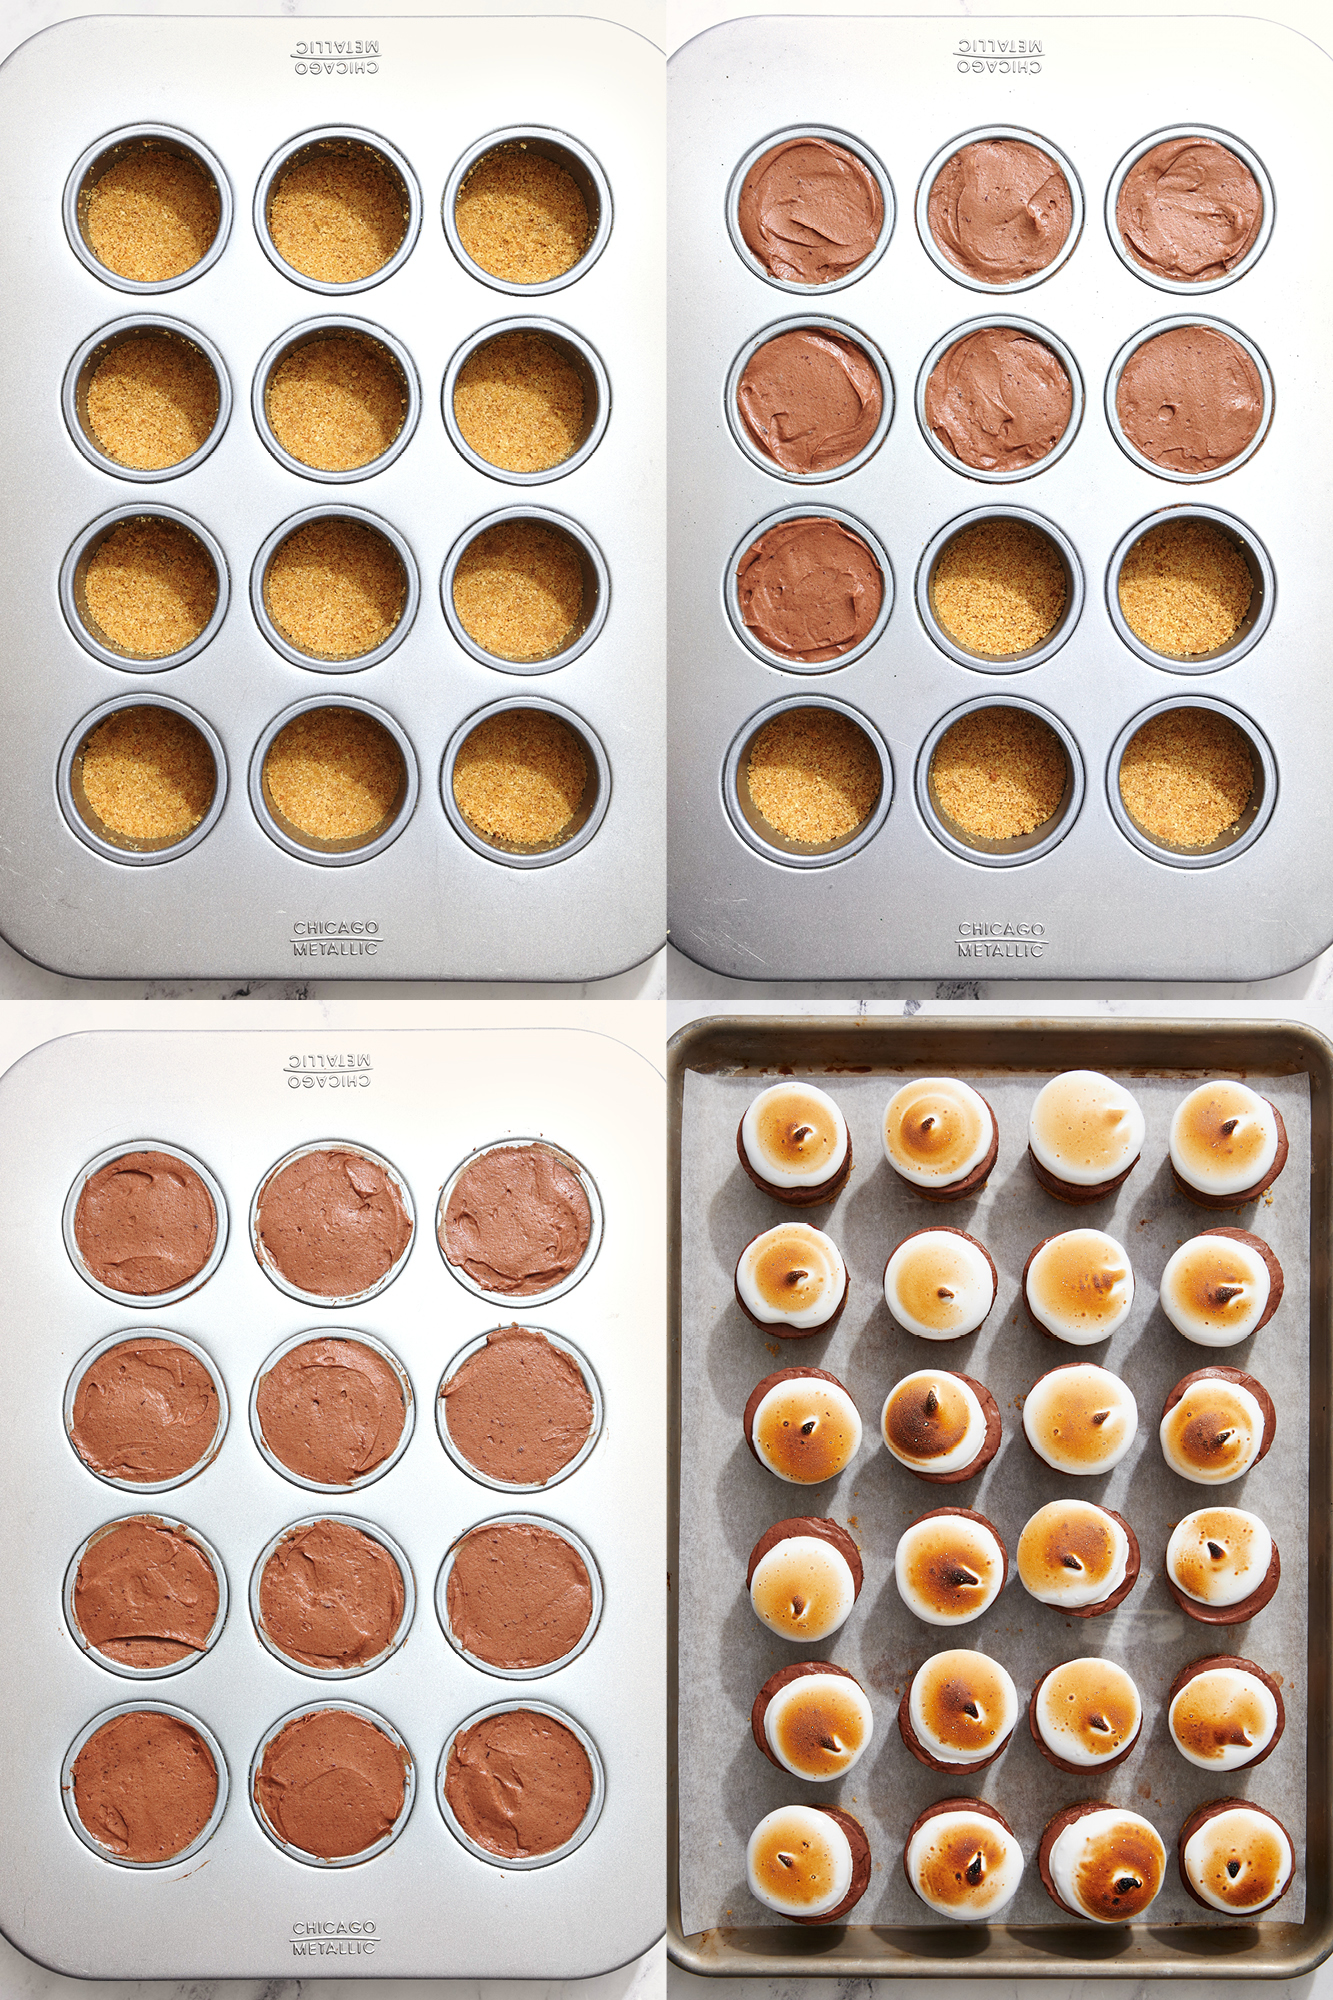
- Make the crust. Place the graham crackers in the bowl of a food processor and pulse until finely ground. Add in the melted butter and pulse until moistened. Press into cavities.
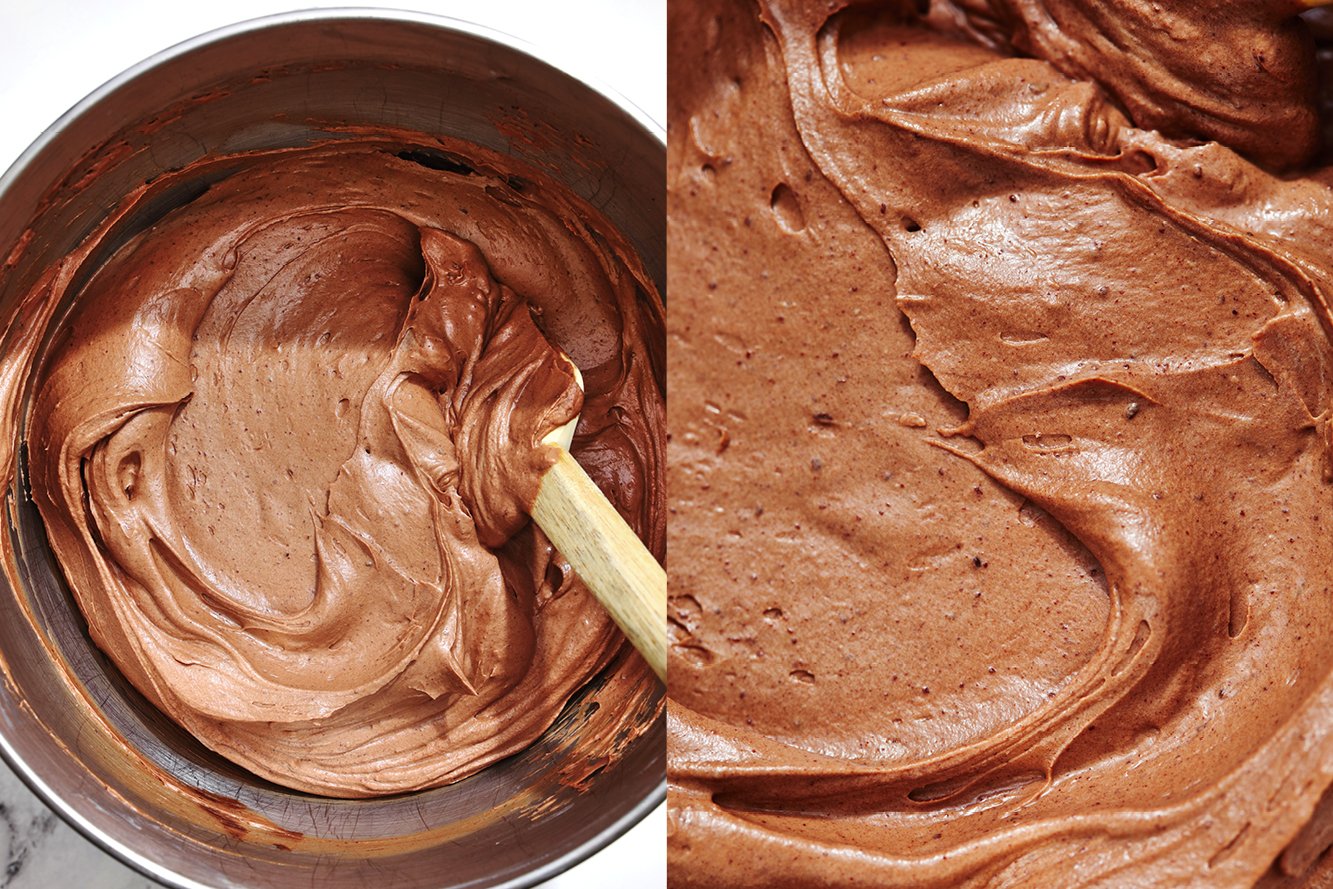
- Make the cheesecake batter. In the bowl of an electric mixer fitted with the paddle attachment, beat the cream cheese and sugar on medium-high speed until light and creamy, about 2 minutes. Scrape down the sides and bottom of the bowl. Add in the vanilla and heavy cream, beating on low until combined, then increase speed to medium-high until thickened. Pour in the cooled melted chocolate and mix on low until fully combined.
- Divide cheesecake evenly. Fill each cavity evenly. Lightly tap the pan on the countertop a few times to release any air bubbles. Using an offset spatula, smooth the tops of the cheesecakes.
- Chill. Cover with plastic wrap and place in the fridge until firm, at least 4 hours or overnight.
- Make the meringue topping. In a small heat-proof bowl, add the egg whites, sugar, and cream of tartar. Set over a small saucepan of simmering water and whisk constantly over medium heat until the sugar is dissolved, 2-3 minutes.
- Move to mixer and whip. Transfer to an electric mixer fitted with the whisk attachment. Start beating on low speed then gradually increase to high, beating until stiff, glossy peaks form, about 5 to 7 minutes. Add in the vanilla and beat until combined.
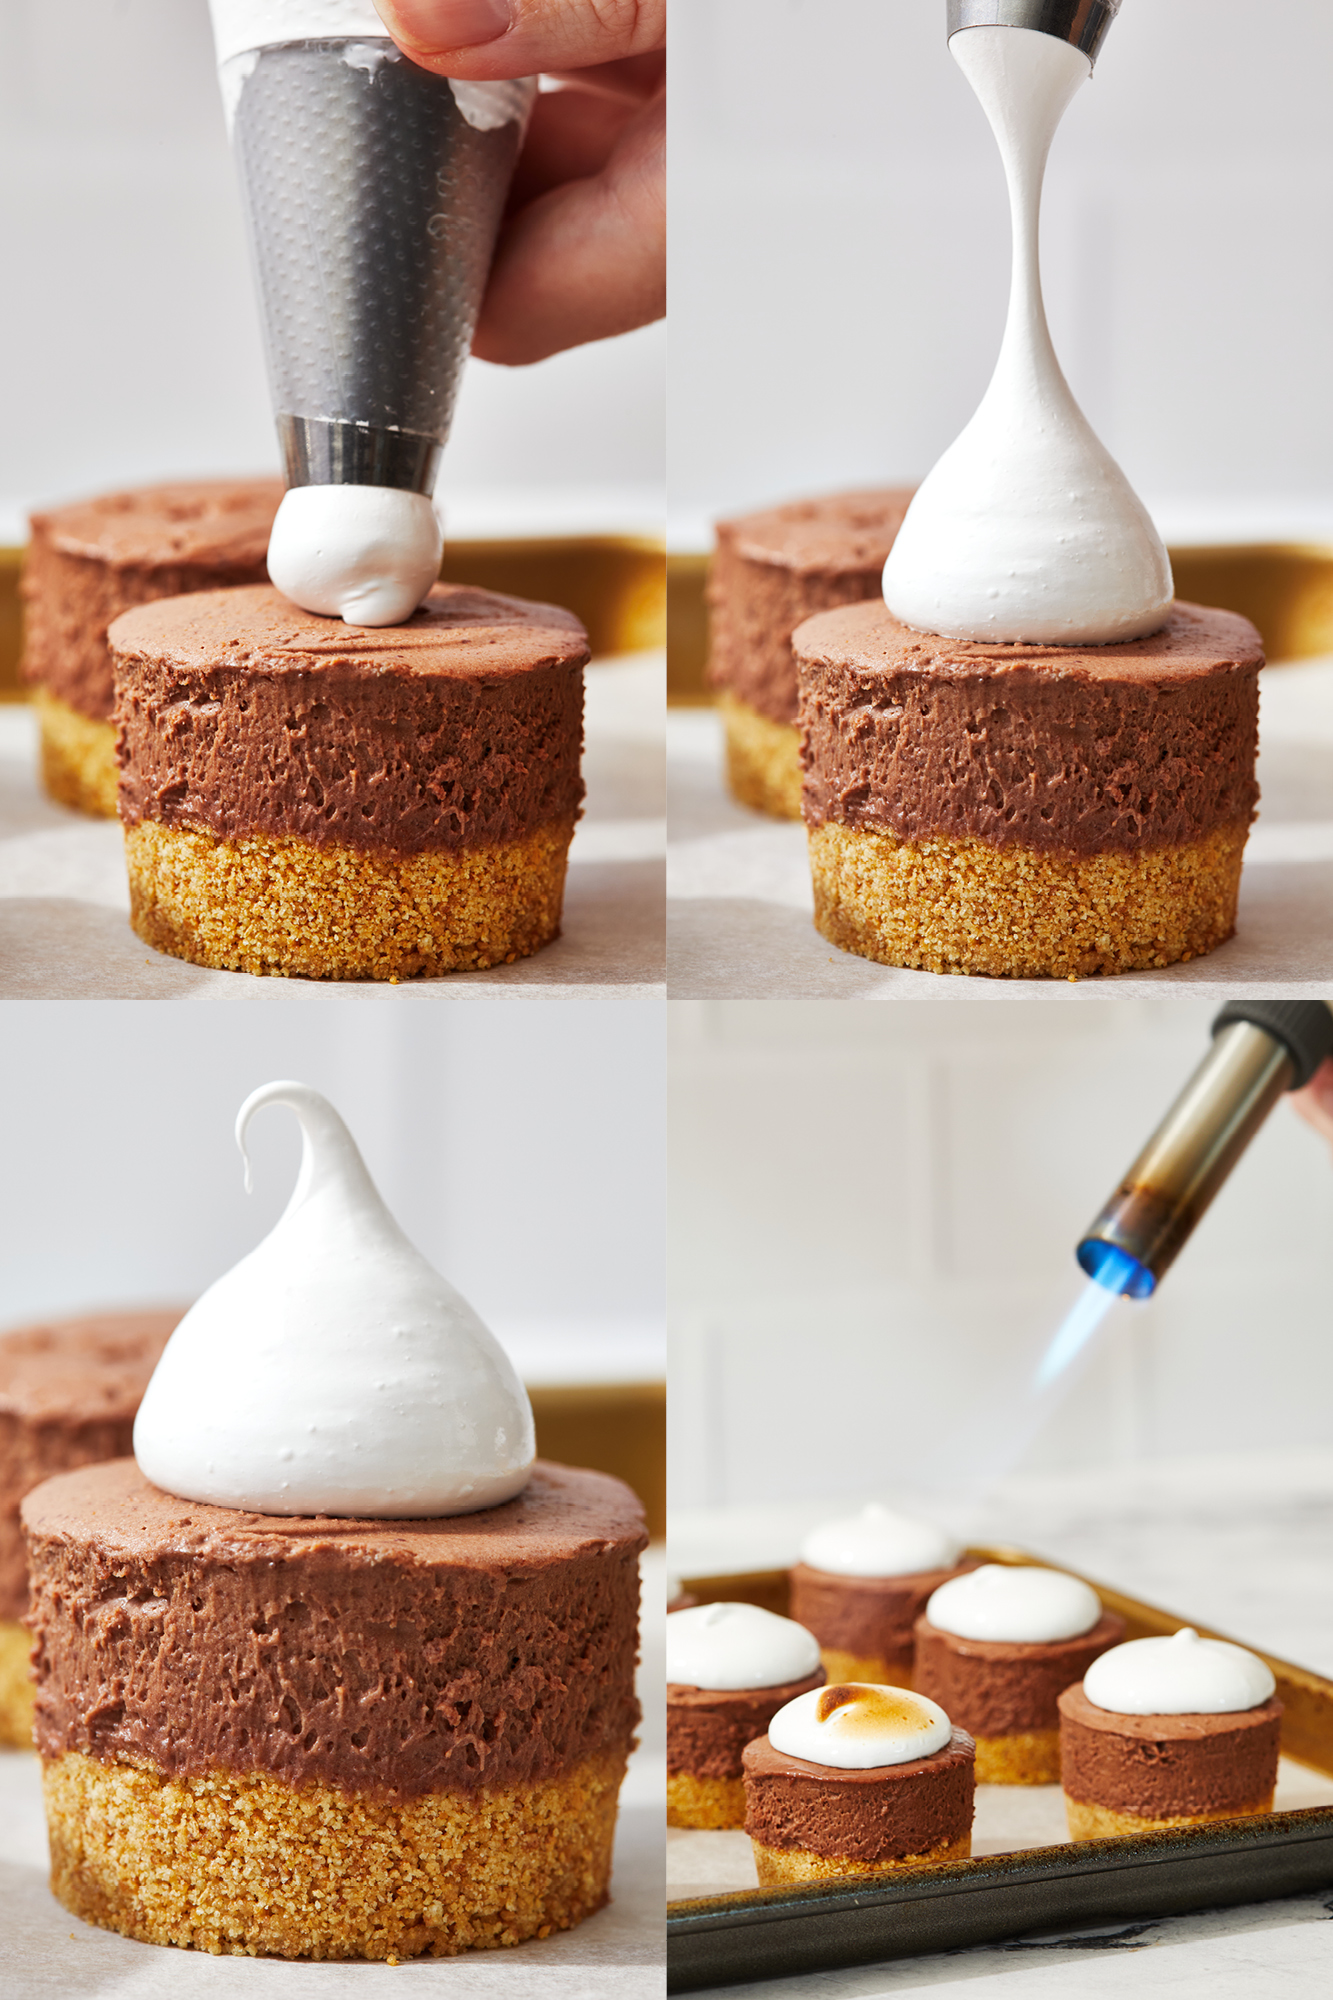
- Pipe meringue on top of set cheesecakes. Remove to a piping bag fitted with a plain open tip, such as the Ateco #808. Pipe a dollop onto chilled cheesecakes.
- Torch meringue. If desired, use a kitchen torch to lightly toast the marshmallow topping.
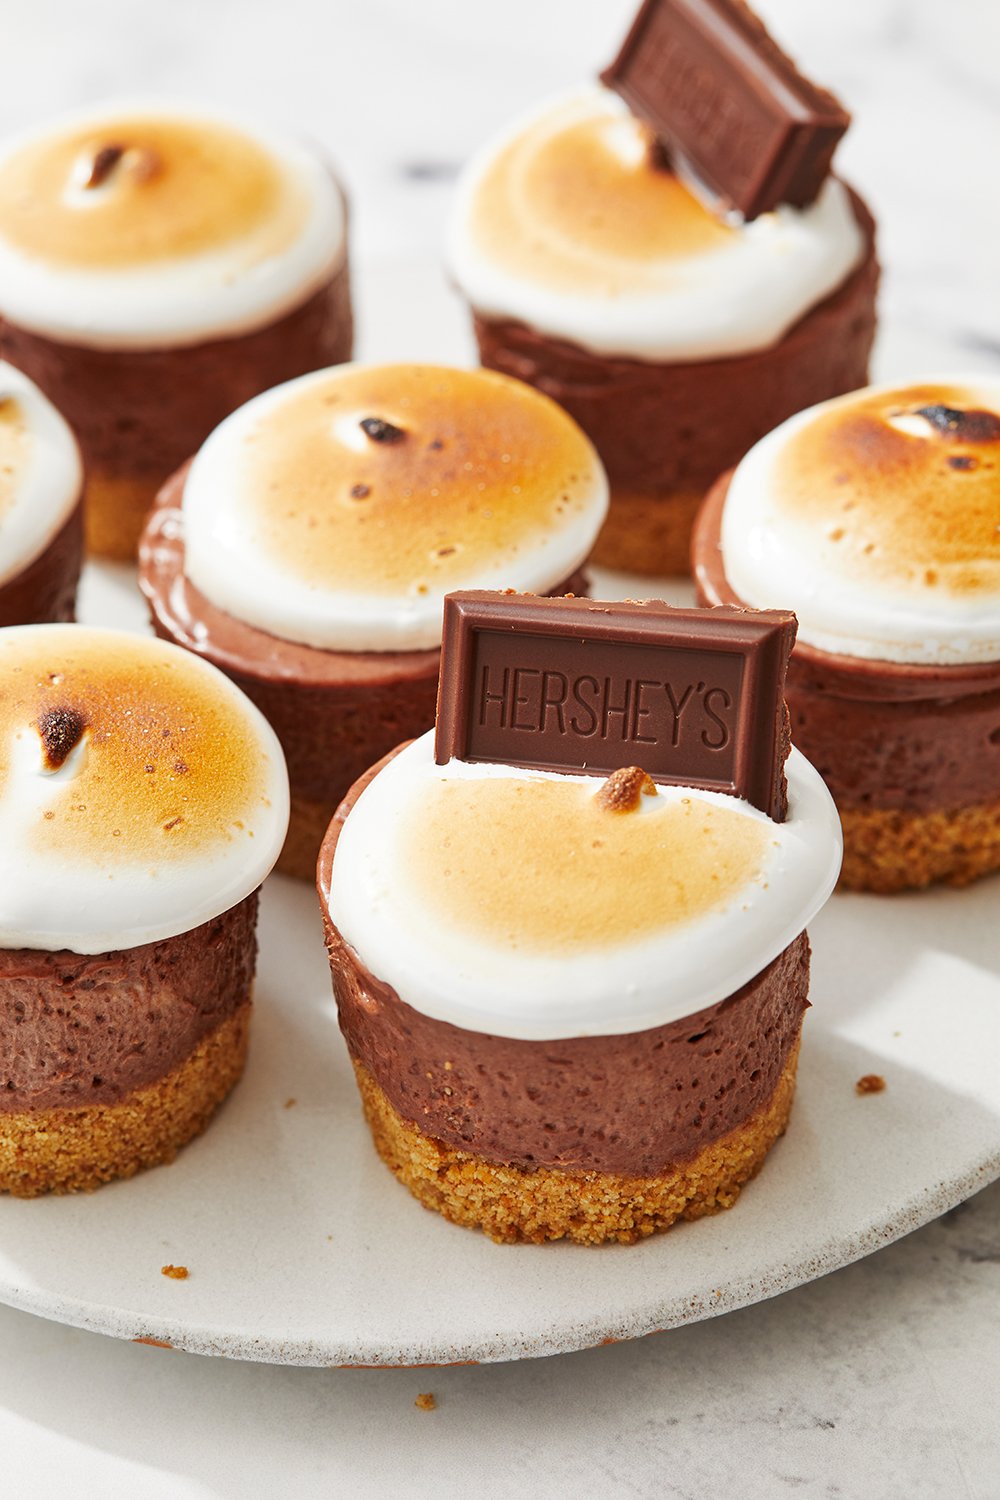
- Finish with chocolate. Garnish with a piece of Hershey’s bar.
- Serve! Return to the fridge until ready to serve.
How to Make the Best No-Bake Graham Cracker Crust
I’ve found in the past that no-bake graham cracker crusts can be super crumbly. This ratio of butter to graham crackers is perfect. The butter will solidify when chilled, holding the graham cracker together. Ensure your crust is firmly packed into each cavity of your mini cheesecake or muffin pan. The tighter the crust is, the less likely it is to crumble. A small object like a shot glass or tart tamper makes easy work of this.
You can also use pre-ground graham cracker crumbs – just mix well with the melted butter and proceed with the recipe.
Tessa’s Tips for Meringue Topping
The finishing touch for our Mini No-Bake S’mores Cheesecakes! I know asking you to make a meringue might seem intimidating, but I promise it’s super easy. Previously, readers tried using store-bought marshmallow fluff instead, and they said it just doesn’t look or taste as nice.
- This is a ‘Swiss meringue’. This means you will heat the egg whites and sugar over a bain-marie (a heat-proof bowl placed over a pot of simmering water). This process slowly dissolves the sugar without scrambling the egg.
- How to know when it’s heated enough. After a few minutes, carefully test the mixture by rubbing a little between your fingers. The mixture will be just warm to the touch. If you can no longer feel any granules, it’s ready to mix. If there’s a bit of a gritty texture, heat a little longer. Once the sugar has dissolved, move to the bowl of an electric mixer (or a mixing bowl large enough for the mixture to triple in size as it whips).
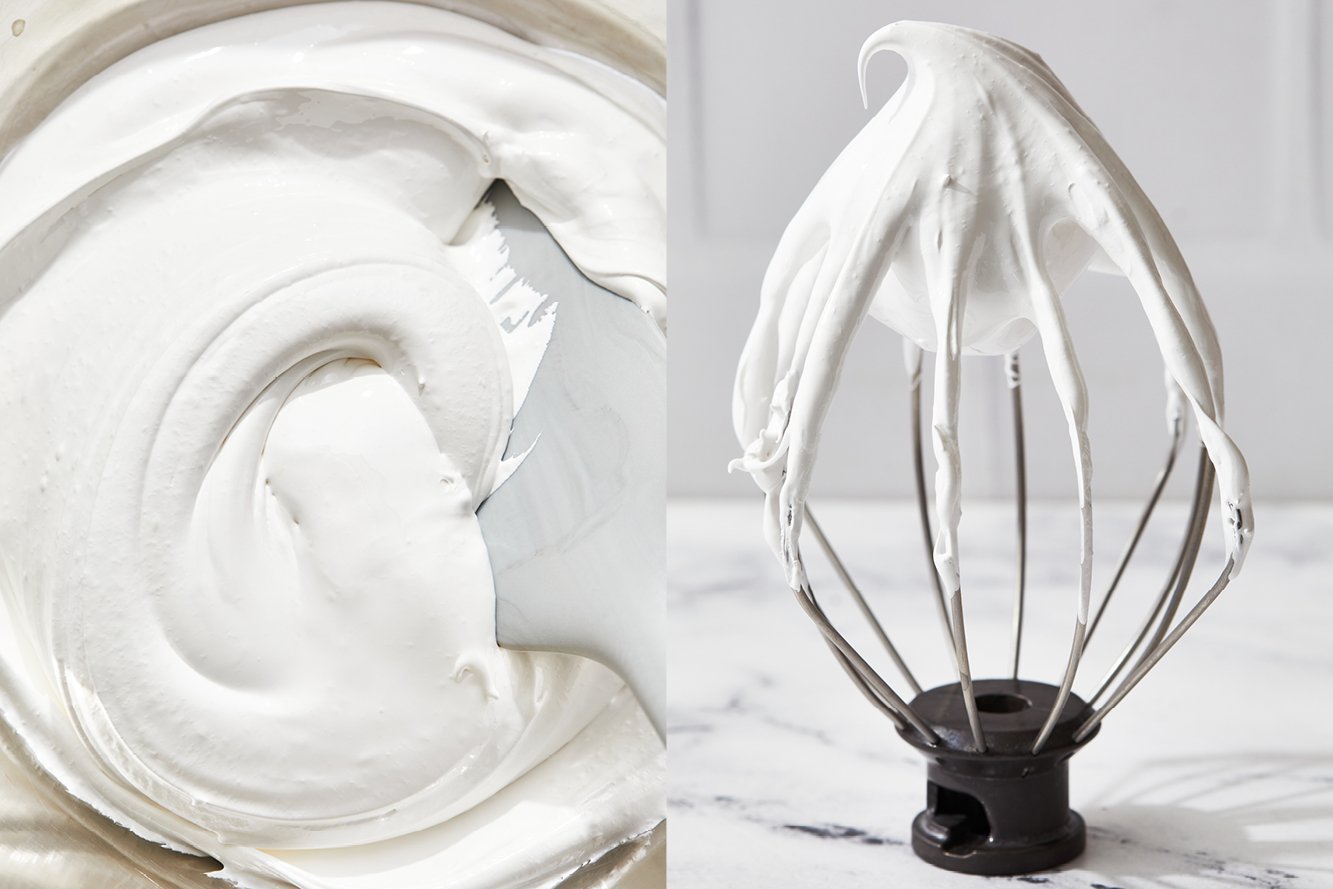
- Whip it. Whip it good. Start low and slowly increase the speed to medium-high. You will be able to see the egg mixture change in color, texture, and volume as it turns into a beautiful, fluffy meringue. This will take a few minutes, so be patient. Once it’s thick and voluminous, mix in the vanilla.
- How to know when it’s ready to pipe? Pull the whisk out of the mixer and turn it upside down. If the meringue bends to the side, continue mixing. If it stands straight up with a very slight bend on the end, it’s ready to pipe!
Storage & Make ahead
Fridge: Store in an airtight container in the fridge for up to 2 days. Be sure to store flat, as the meringue topping will slide off if stored at an angle.
Freeze: Place individual cheesecakes on a baking tray and freeze until solid, then move to an airtight container for up to 3 months. To thaw, place in the fridge overnight. Add the meringue topping once thawed.
Email This Recipe
Enter your email, and we’ll send it to your inbox.
Ingredients
For the crust:
- 1 sleeve (9 cookies, 135 grams) graham crackers
- 4 tablespoons (56 grams) unsalted butter, melted
For the cheesecake:
- 4 ounces (113 grams) semisweet chocolate, melted and cooled
- 8 ounces (227 grams) cream cheese, at room temperature
- 1/2 cup (100 grams) granulated sugar
- 1 teaspoon vanilla extract
- 1 cup (237 grams) heavy cream, at room temperature
For the marshmallow topping:
- 2 egg whites
- 1/2 cup (100 grams) granulated sugar
- 1/8 teaspoon cream of tartar
- 1/2 teaspoon vanilla extract
- 1 Hershey’s bar, broken into pieces
Instructions
Make the crust:
- Thoroughly grease the cavities of a mini cheesecake pan* with nonstick cooking spray. Place the graham crackers in the bowl of a food processor and pulse until finely ground. Add in the melted butter and pulse until moistened.
- Divide the mixture among the cavities of the cheesecake pan, about 1 ½ tablespoons in each. Firmly press into the bottom of each cavity (a small object like a shot glass or tart tamper makes easy work of this). Set aside.
Make the cheesecake:
- In the bowl of an electric mixer, beat the cream cheese and sugar on medium-high speed until light and creamy, about 2 minutes. Scrape down the sides and bottom of bowl. Add in the vanilla and heavy cream, beating on low until combined, then increase speed to medium-high until thickened, about 1-2 minutes. Scrape down the sides and bottom of bowl. Pour in the cooled melted chocolate and mix on low until fully combined. Scrape down the sides and bottom of bowl.
- Divide the mixture among each cavity evenly. Lightly tap the pan on the countertop a few times to release any air bubbles. Using an offset spatula, smooth the tops of the cheesecakes. Cover with plastic wrap and place in the fridge until firm, at least 4 hours or overnight.
Make the marshmallow topping:
- In a small heat-proof bowl, add the egg whites, sugar, and cream of tartar. Set the bowl over a saucepan of simmering water, making sure the water doesn’t touch the bowl. Whisk constantly over medium heat until the sugar is dissolved and the whites are warm to the touch, 2 to 3 minutes. Check this by rubbing a little of the mixture between your fingers to see if you can feel any sugar granules, being careful to not touch the bottom of the bowl.
- Wipe the condensation from the bottom of the bowl, then transfer the egg mixture to an electric mixer fitted with the whisk attachment. Start beating on low speed then gradually increase to high, beating until stiff, glossy peaks form, about 5 to 7 minutes. Add in the vanilla and beat until combined.
- Remove to a piping bag fitted with a plain open tip, such as the Ateco #808. Pipe a dollop onto each cheesecake. If desired, use a kitchen torch to lightly toast the marshmallow topping. Garnish with a piece of Hershey’s bar. Return to the fridge until ready to serve.
- Cheesecakes are best served the day they are made but may be stored in an airtight container in the fridge for up to 2 days.
Notes
FAQs
Graham crackers are the quintessentially American s’more cookie of choice, but alternatives will work just fine. You can use the same amount by weight of Teddy Grahams, digestive biscuits, vanilla wafers, Biscoff cookies, or any crunchy cookie you’d like! Biscoff cookies are a little richer than graham crackers (which are drier), so add just enough butter until it holds together when pressed.
Not unless you want to. Kitchen torches are so fun to use! Torching the meringue is just for showmanship, fun, and prettiness – and a tiny bit of added texture. It also brings the complete s’mores vibe to these cheesecakes.
Because this Swiss meringue method cooks the eggs first, they are safe to eat – but if you or someone you’re serving is immune-compromised or pregnant, just use an instant-read thermometer to verify that your egg mixture has reached 160°F before removing from the bain-marie and whipping.
No! While I love my mini cheesecake pan, you can also use muffins tins.
Using a regular-sized muffin pan with liners: This will make approximately 12 cheesecakes. Follow the recipe as written, using quality cupcake liners instead of spraying the pan with non-stick spray. Otherwise, the graham cracker crust might crumble and the cheesecake might stick when you go to remove them.
Mini muffin tin with liners: This will make about 35 mini cheesecakes. Line the tin with foil or paper liners. Place 1 tablespoon of crust into each cavity, then use the bottom of a 1-teaspoon cookie scoop to firmly press the crust into the pan. Use the same scoop to scoop a heaping teaspoon of cheesecake filling into the cavities. You’ll need 3 Hershey’s chocolate bars for topping.
You can also make these inside of small glasses or mason jars, if you prefer!
I haven’t tested this, so I can’t say for sure what size springform pan this would best work in. Instead, I highly recommend my No Bake Peanut Butter Cheesecake.
More Recipes You’ll Love:
- S’mores Cookies
- S’mores Fudge Bars
- Nutella Cheesecake Bars
- Chocolate Chip Cookie Cheesecake Bars
- Peanut Butter S’mores Blondies
- Homemade Marshmallow Fluff
This recipe was published in 2015 and updated in 2023 with new photos and recipe improvements. Photos by Joanie Simon.


Hi Tessa! these is a press request from the german food magazine: SWEET DREAMS . Please have a look to your mails and send a little reply if we can use your picture. you only need to say: YES !! thanks in advance. i love your sweets. yours: Andrea : photo editor
When your recipe calls for heavy cream, what kind do you use and what % fat
You have a wonderful website and have quickly become my go to for mini cheesecakes, my family has loved all of the recipes I have tried. One comment on this recipe, I tried to cheat the first time, and used the jar of marshmallow cream, it didn’t pipe on as well, was not aesthetically pleasing, and the marshmallow was a little heavier and sweeter. It is worth the time and effort to make the recipe provided.
That will be helpful to others who are thinking about trying that, thanks for sharing!
Could you use marshmallow fluff for the topping? TIA 🙂
Can i get a PDF of the cheesecake recipe
If I were going to make these in mason jar lids, instead of a mini cheesecake pan, how would you adjust the recipe?
Hi! These look so delicious! would it be possible to make these ahead and freeze them?
The cheesecakes themselves should freeze just fine, but I’d hold off on freezing them with the marshmallow topping because that won’t freeze well.
Possible to substitute Nutella for the chocolate?
Hi Victoria! We haven’t tried that, so we can’t say for sure! Nutella has additional ingredients that may change the texture of these cheesecakes, and will definitely make them sweeter, but if you’re up for a little experimentation, then go for it! Let us know how it goes 🙂
Excelen
They’re so cute!! Could you use jarred marshmallow crème?
If I’m making ahead (Wednesday night – make, Friday night -serve) should I just make the cake tonight and do the frosting on Friday? Wondering the best way to get ahead of the dessert prep. Thanks!
Yes! That would work best.
I tried this recipe, and although it was easy and tasty, mine didn’t set firm, even overnight. Do you think that substituting half&half for the heavy cream would’ve caused this? I was hoping to cut down on the calories and heavy cream is expensive in my town.
Yes, it’s very likely the half & half caused it to be more watery 🙁
Wow! These looks really amazing! A view of heaven! I love it! It’s tasty and it’s no bake! They are just so mouthwatering!