




Tessa’s Recipe Rundown
Taste: Full of sweet butterscotch and chocolate flavors, sandwiched together a layer of tangy vanilla cheesecake heaven.
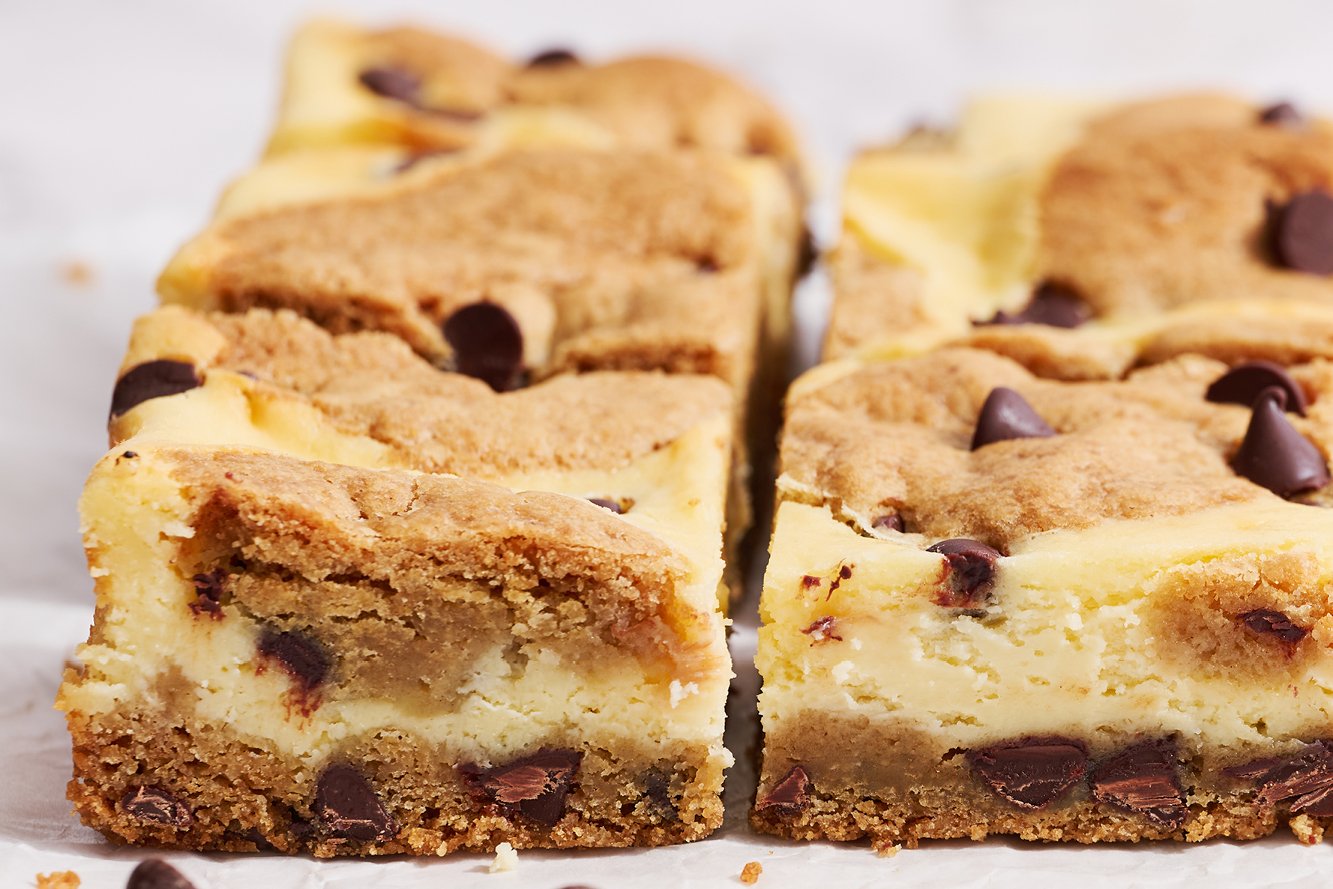
Texture: The cookie layers are chewy with a slight crispness on top and a little crunch from the chocolate chips, with a beautifully creamy cheesecake layer in between.
Ease: Involves making a batter + a dough, but each component is simple to make, I promise.
Why You’ll Love This Recipe: Beginner-friendly recipe that’s perfect for anyone familiar with cookie baking.
This post may contain affiliate links. Read our disclosure policy.


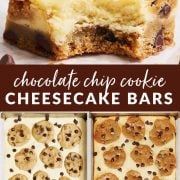

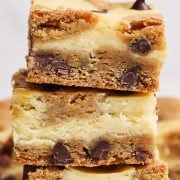
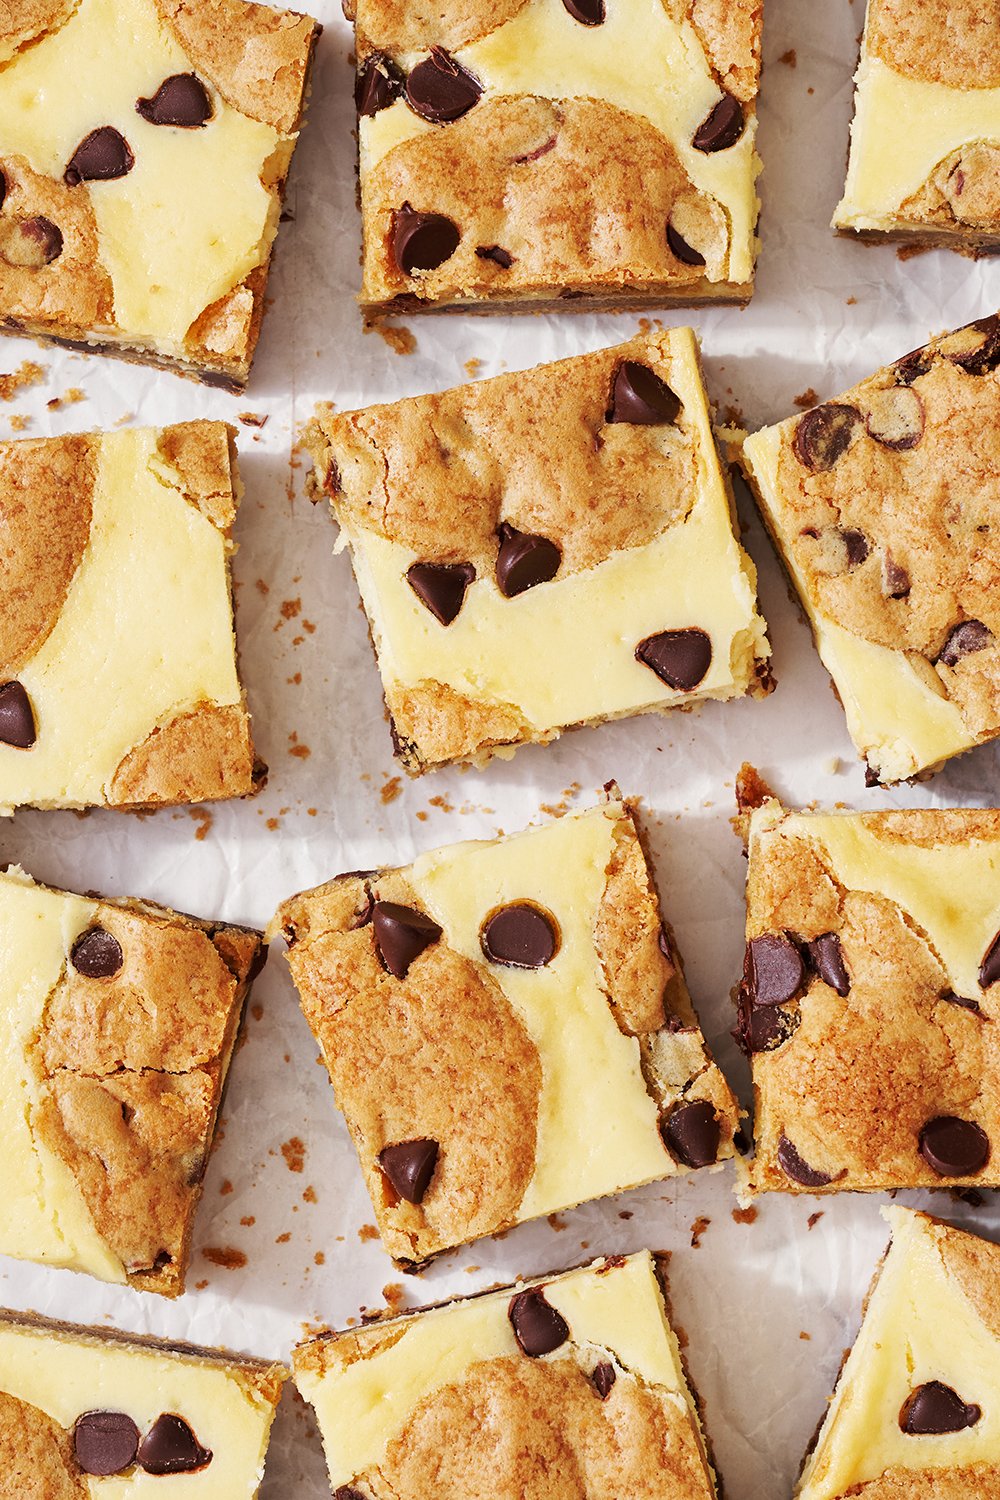
These Chocolate Chip Cookie Cheesecake Bars combine chocolate chip cookie dough with cheesecake, for the perfect two-in-one dessert.
Originally published in 2015, I felt it was high time for a refresh. I revisited the kitchen and meticulously tweaked the recipe to elevate its already delicious flavor into something even better.
I transformed the chocolate chip cookie layer, opting for dark brown sugar instead of light, and adjusting the brown sugar to granulated sugar ratio. These changes not only impart more moisture to the dough but also give the dough an incredible depth of flavor that captivates the senses.
The cheesecake layer also saw a couple of enhancements – a generous boost of vanilla (because, well, vanilla) and a hint of salt to bring everything together.
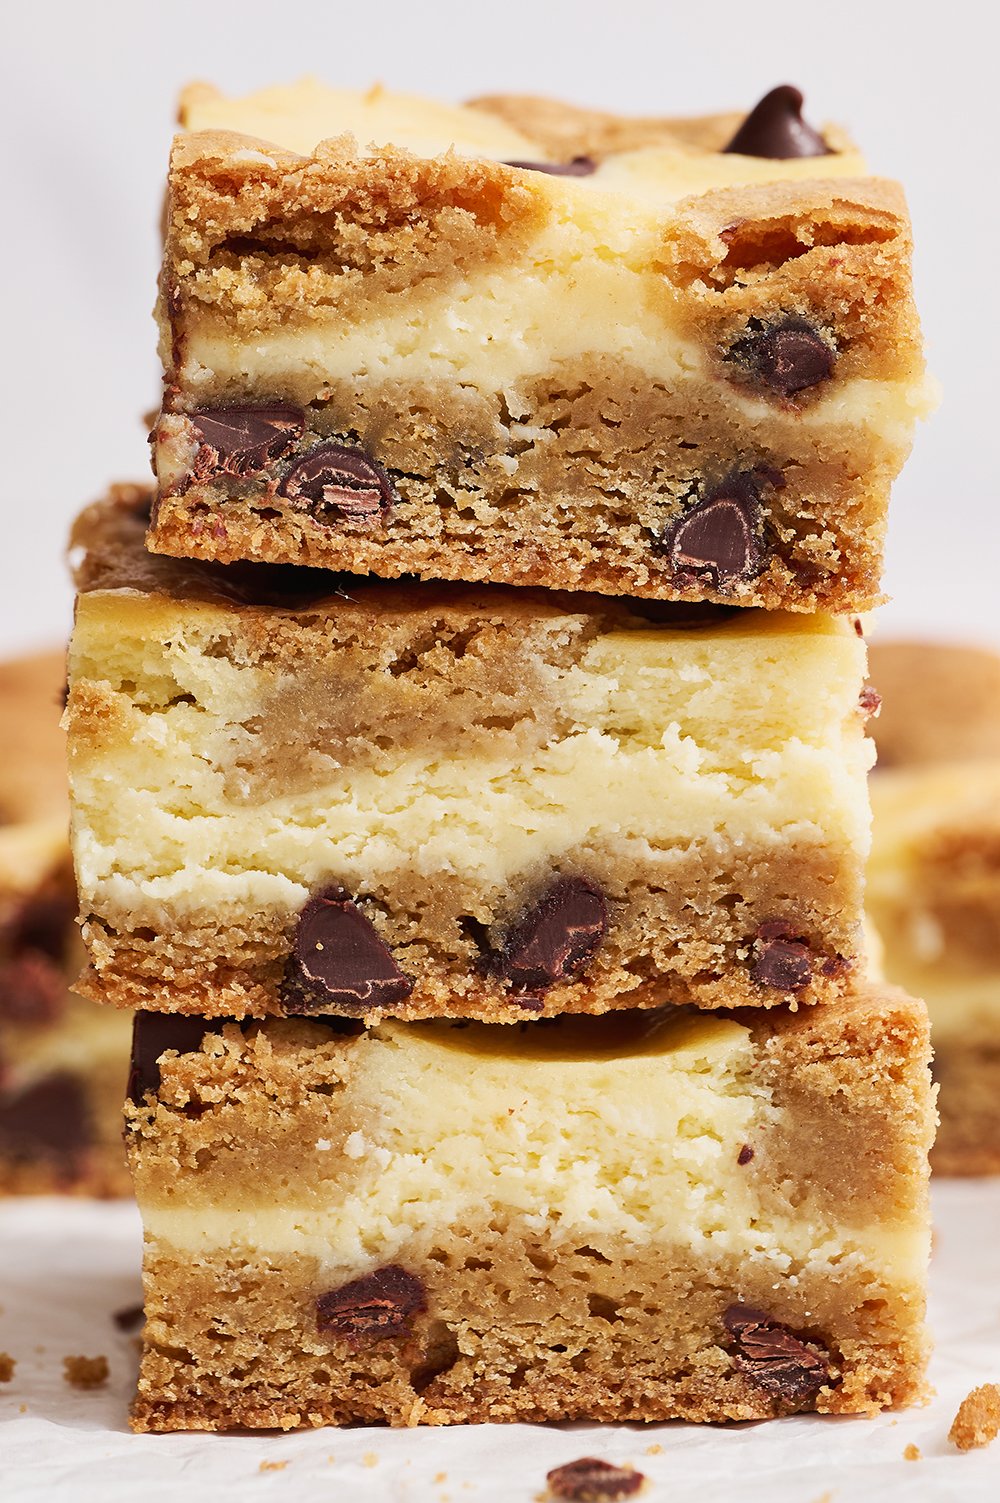
The result? A deep, rich, butterscotchy, chewy cookie layer that crisps ever so slightly on top, with a tangy vanilla-scented cheesecake layer that’s velvety smooth. It’s seriously heavenly to eat.
These bars are the perfect bake if you’re new to cheesecake. No water baths or special pans needed, and even if your cheesecake cracks a little, no one will know because there’s cookie dough on top!
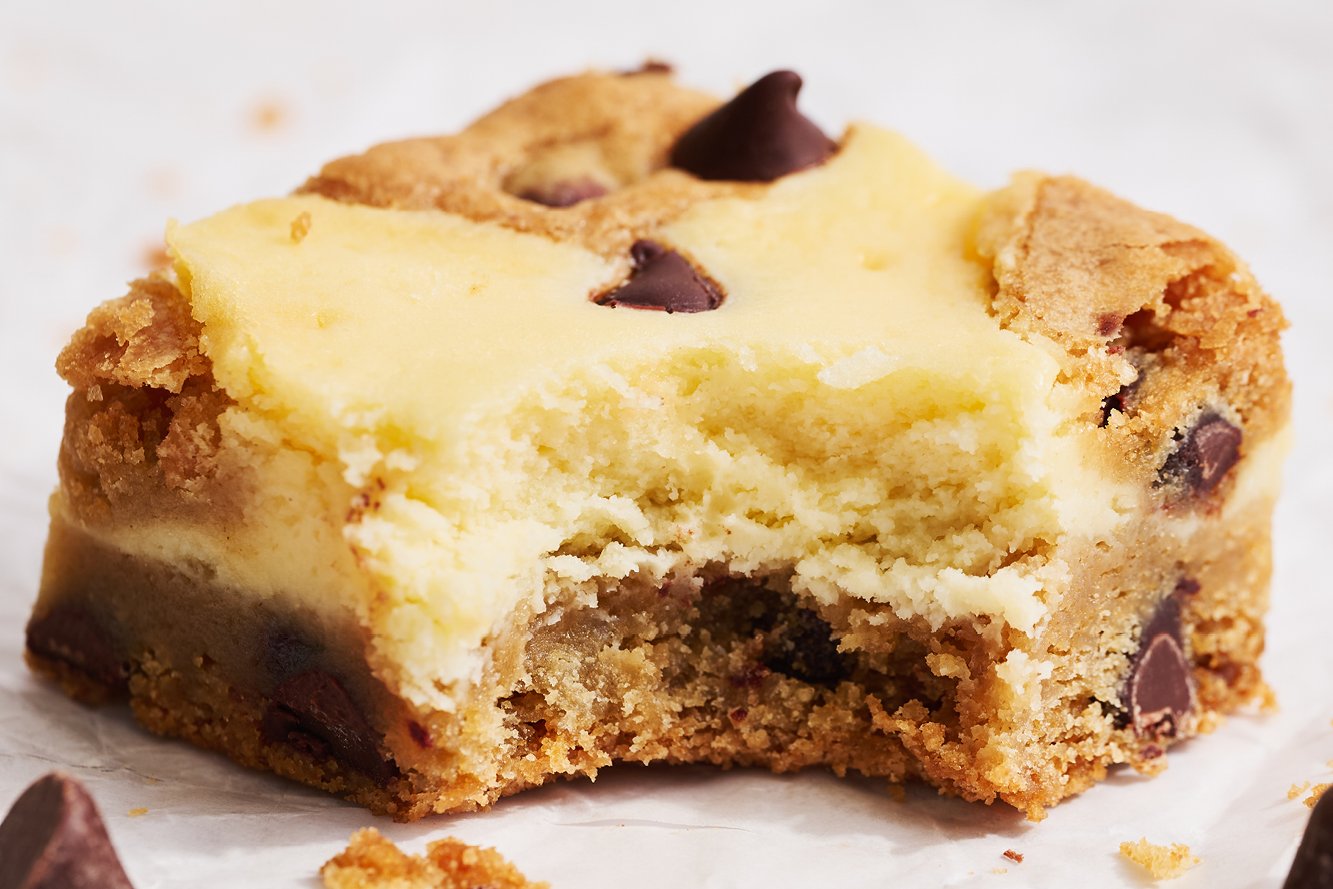
How to Make Perfect Cheesecake
- Be sure to use blocks of full-fat, high-quality cream cheese. I like Philadelphia brand.
- Do not use reduced-fat cream cheese, whipped cream cheese, or cream cheese for spreading on a bagel.
- Be sure your cream cheese is COMPLETELY softened to room temperature. This may take a few hours, especially if your kitchen is cold.
- Beat your cream cheese very well with the sugar, until it looks perfectly smooth and creamy.
- Once you add eggs, only beat until combined to prevent sinking or cracking (though the risk of that happening is far smaller with these bars!).
- Make sure to scrape down the sides and bottom of your bowl as well as your mixer attachment often, to prevent lumps and ensure everything is well incorporated.
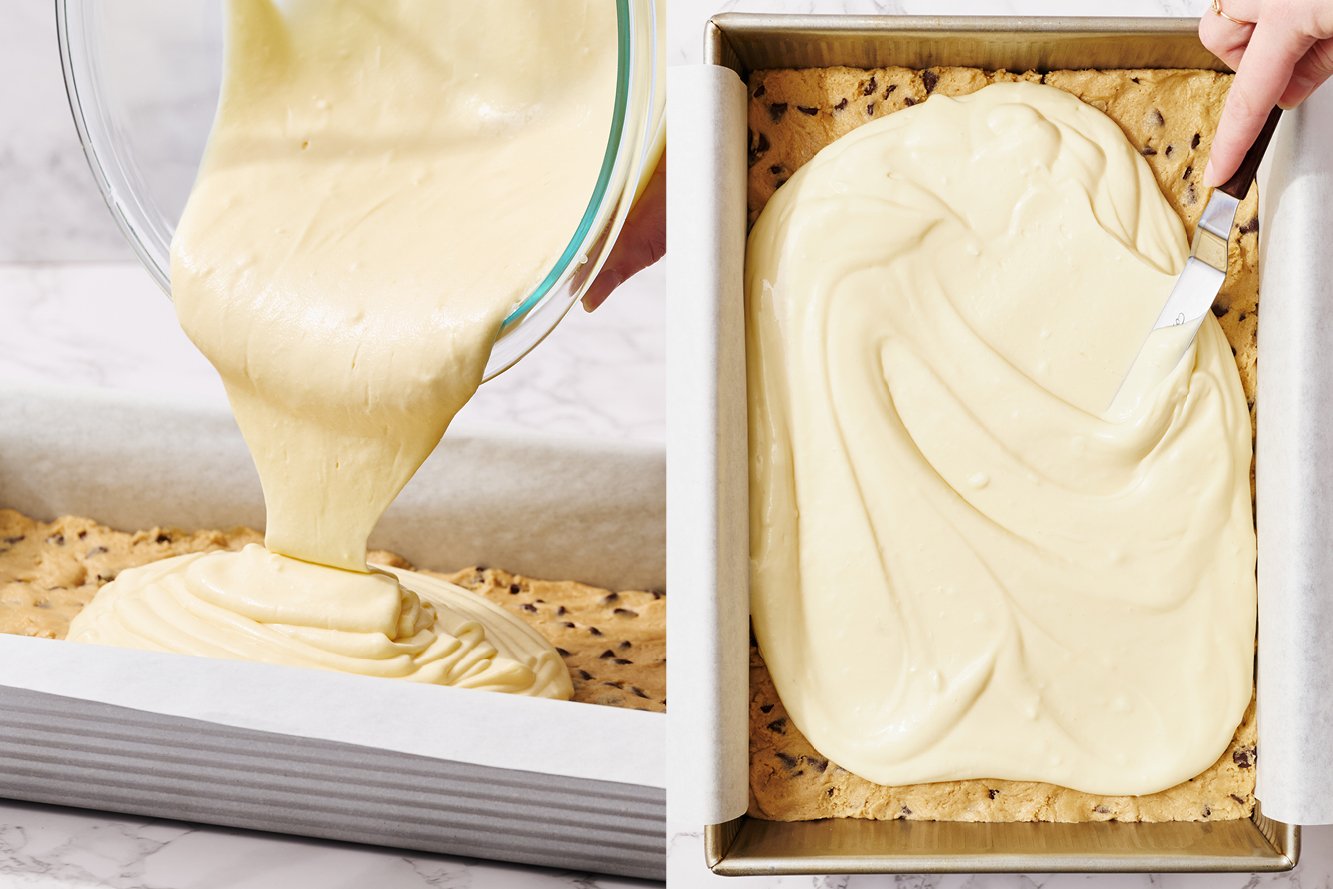
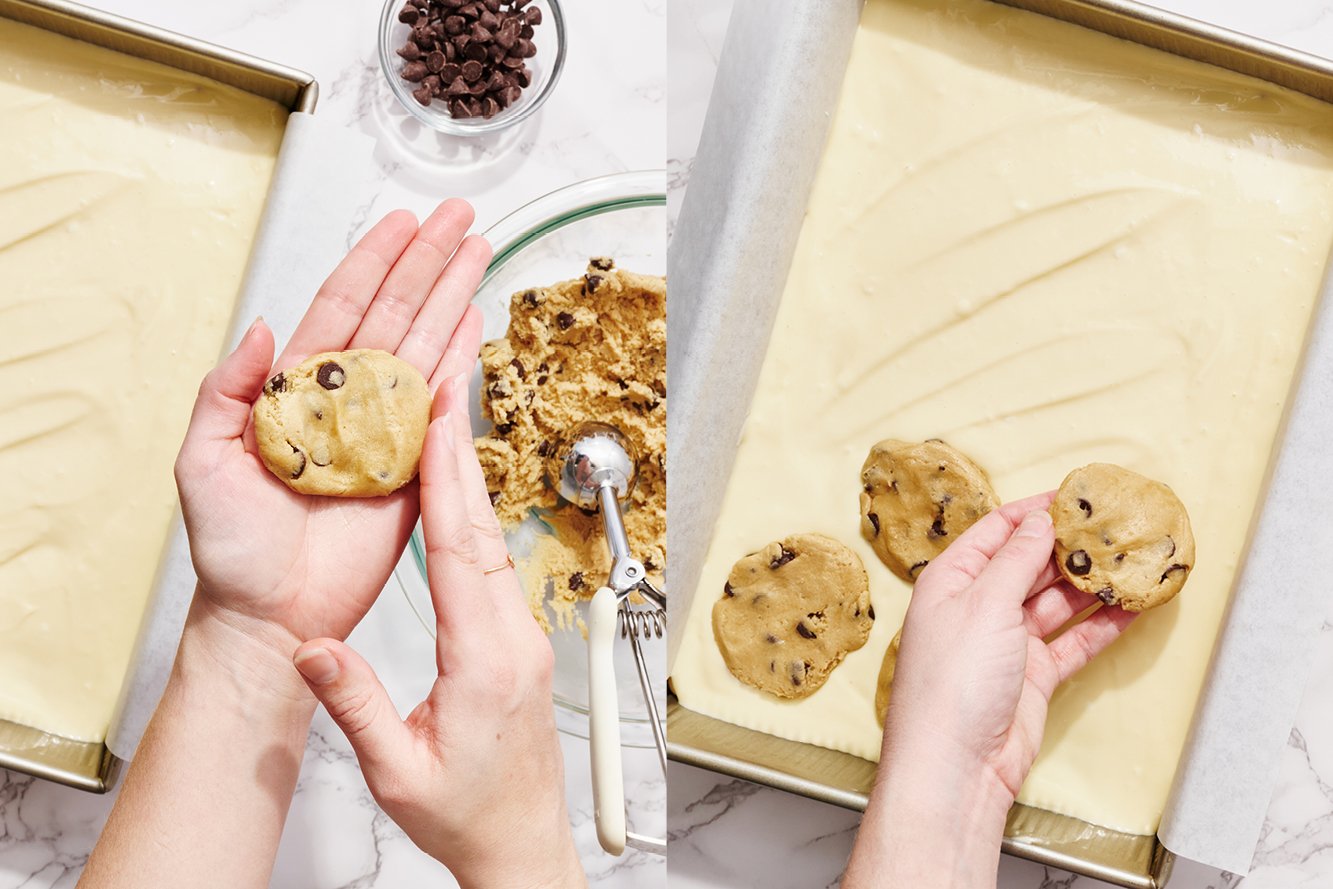
How to Layer the Cookie Dough
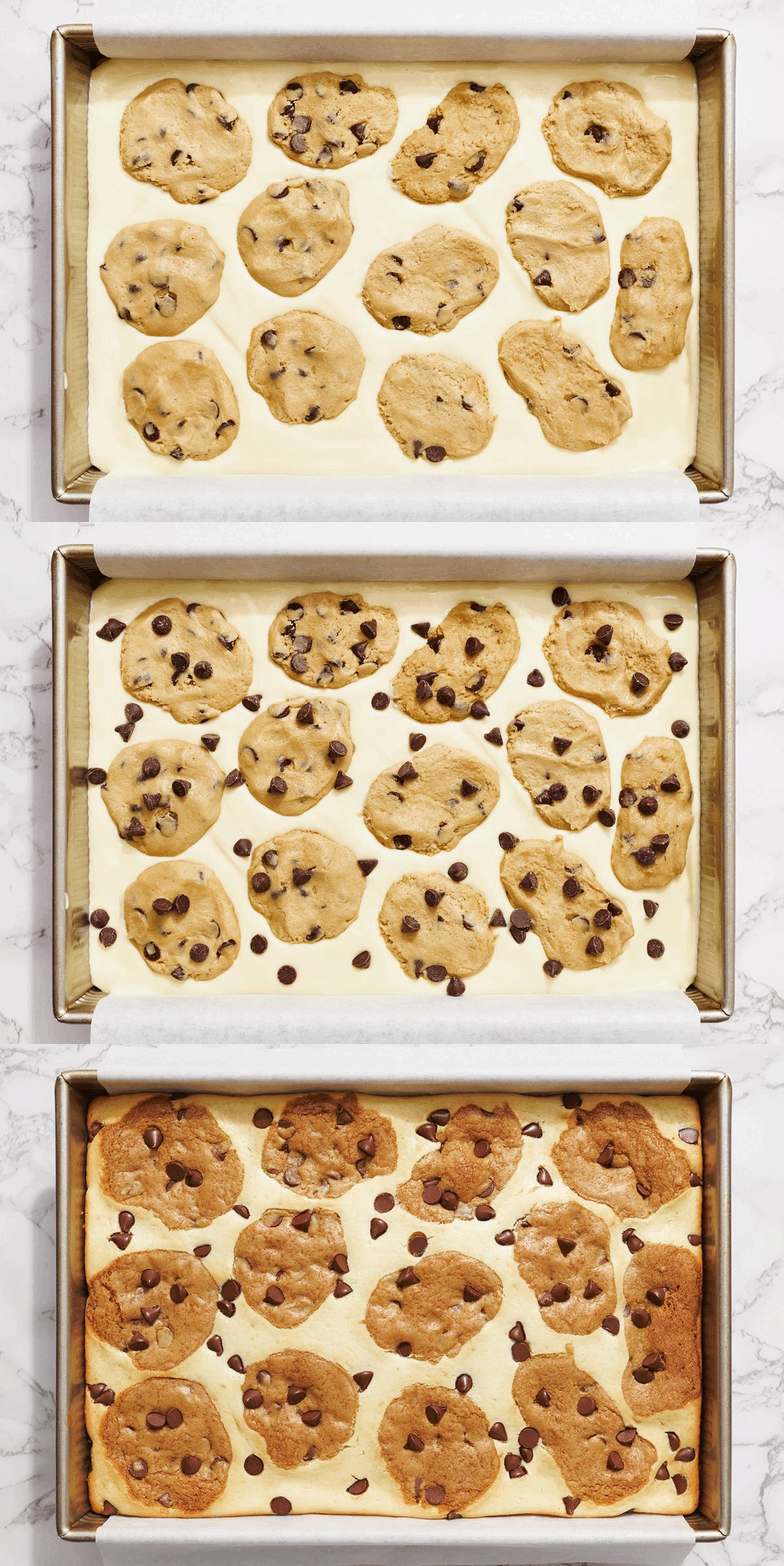
For the base layer of cookie dough, simply eyeball (or use a digital kitchen scale to measure, if preferred) two-thirds of the cookie dough and place in the parchment-lined pan. Use a rubber spatula to even it out and cover the base of the pan evenly.
For the top layer, I used a small 1-tablespoon cookie scoop to scoop out balls of cookie dough and flatten them between my palms before placing them on top of the cheesecake layer. It doesn’t have to perfectly cover the whole cheesecake layer (coming from a recovering perfectionist)!
Storage & Make ahead
Fridge: Store in an airtight container in the fridge for up to 3 days.
Freeze: Note that this will soften the cookie layers more. Wrap each slice in plastic wrap and store inside an airtight container or freezer bag for up to one month. Defrost overnight in the fridge or at room temperature for about 30 minutes before serving.
FAQs
Yes! Simply halve all ingredients and bake in a light-colored metal 8-inch square baking pan, baking for about 35-40 minutes.
Use a light-colored metal 9 by 13-inch baking pan. Darker metals can dry out the edges before the middle has a chance to bake through. Do NOT use glass, ceramic, or silicone pans for these bars as they will take much longer to bake, which can result in dry edges and underdone middles.
Learn more about Glass vs. Metal Baking Pans here.
If you are not measuring your ingredients with a digital kitchen scale, you could accidentally add too much flour causing hard, dry, or cake-like cookie layers. Learn more about how to measure ingredients for perfect results every time here!
Another reason for hard cookie layers could be overbaking due to using the wrong type of pan. See just above.
You can use light brown sugar instead, but you will lose some of the additional flavor and texture. Whatever you do, don’t lower the sugar in this recipe. Find out why sugar is so important in baking here.

Email This Recipe
Enter your email, and we’ll send it to your inbox.
Ingredients
For the Cookie Layer:
- 3 cups (380 grams) all-purpose flour
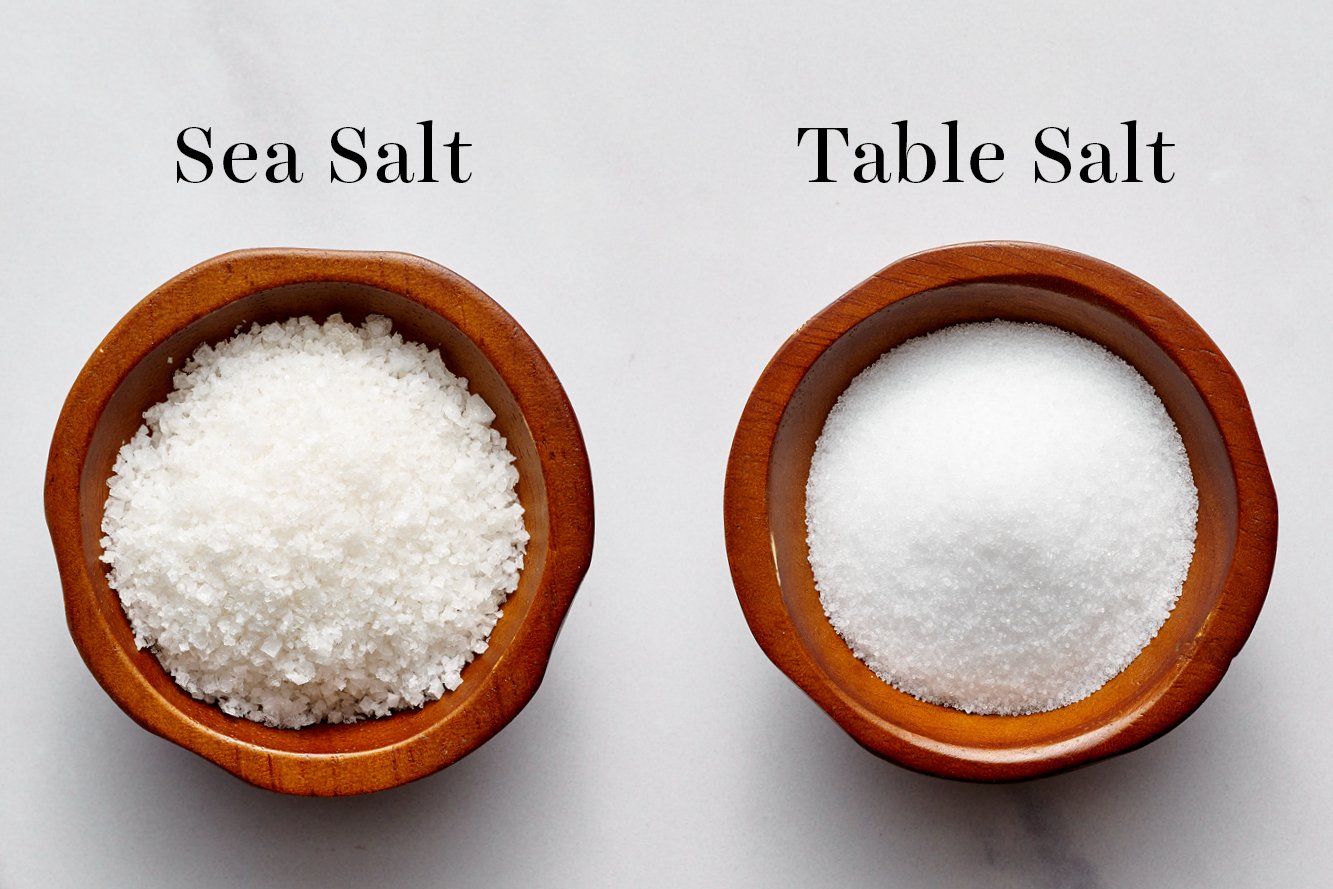
- 1 teaspoon fine sea salt
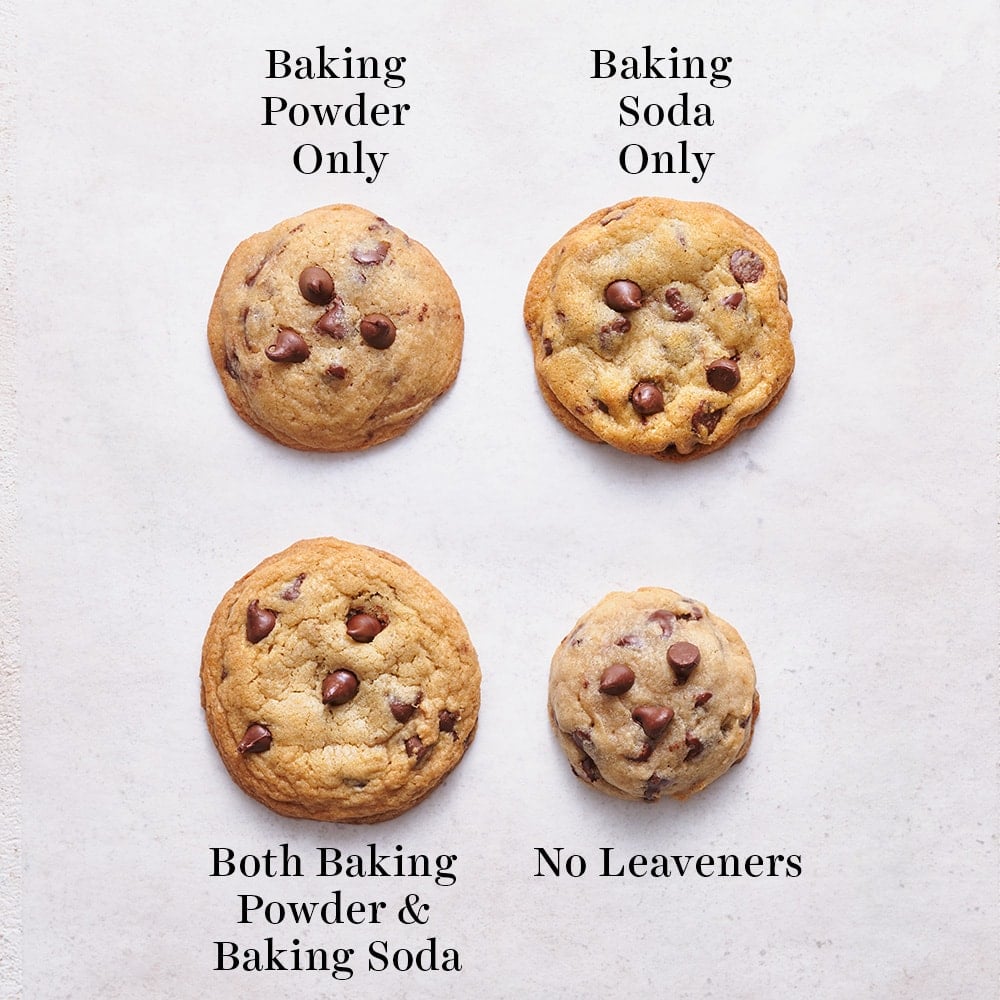
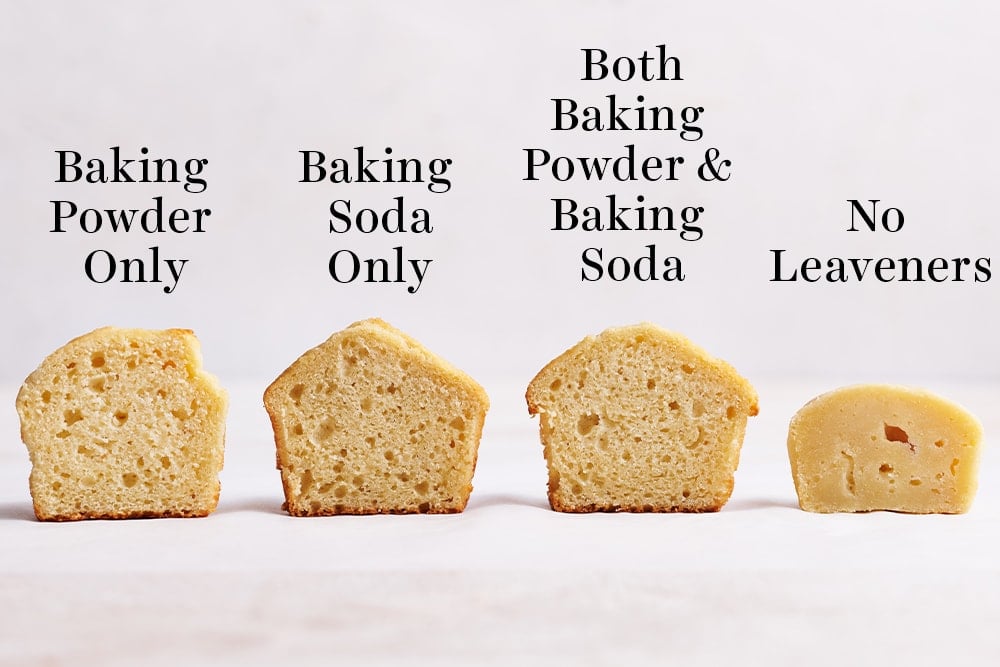
- 1/2 teaspoon baking soda
- 1/2 teaspoon baking powder
- 2 sticks (227 grams) unsalted butter, at cool room temperature (67°F)
- 1 ¼ cups (250 grams) dark brown sugar
- 1/2 cup (100 grams) granulated sugar
- 2 large eggs, at cool room temperature
- 2 teaspoons vanilla extract
- 1 ¼ cups (213 grams) semisweet chocolate chips
For the Cheesecake Layer:
- 16 ounces (453 grams) cream cheese, completely softened to room temperature
- 1 cup (200 grams) granulated sugar
- 2 large eggs, at cool room temperature
- 2 teaspoons vanilla extract
- ¼ teaspoon fine sea salt
For Assembling:
- ¼ cup (43 grams) semisweet chocolate chips
- Flaky sea salt, optional, for topping
Instructions
- Preheat oven to 325°F. Line a 9×13-inch metal baking pan* with parchment paper, leaving an overhang. Spray with nonstick spray.
Prepare the cookie dough:
- In a medium bowl, whisk together the flour, salt, baking soda, and baking powder.
- In the bowl of an electric mixer fitted with the paddle attachment, beat the butter, dark brown sugar, and granulated sugar until lightened in color and fluffy in texture, about 3 minutes. Scrape down the sides and bottom of the bowl. Beat in the eggs, one a time, until smooth and creamy. Beat in the vanilla, then scrape down the sides and bottom of the bowl. On low speed, gradually add in the dry ingredients. Fold in chocolate chips with a rubber spatula. Place cookie dough in fridge while you make the cheesecake layer.
- Make ahead: Cover and refrigerate the cookie dough for up to 3 days.
Prepare the cheesecake batter:
- In the bowl of an electric mixer fitted with the paddle attachment, beat the cream cheese and sugar, scraping down the sides and bottom of the bowl, until completely smooth and creamy, about 3 minutes. Add the eggs, one at a time, and beat until fully combined. Scrape down the sides and bottom of the bowl. Beat in the vanilla and salt. Set aside.
Assemble:
- Using a spatula, press about two-thirds of the cookie dough into the bottom of the prepared pan. Pour the cheesecake batter on top. Scoop remaining dough into balls, flatten between your palms, and layer over the cheesecake batter. Don’t worry about making it look perfect. Sprinkle the top with 1/4 cup chocolate chips.
- Bake for about 40 to 50 minutes, or until the tops and edges are lightly golden brown.
- Remove from oven and sprinkle flaky sea salt on top, if desired. Place pan on wire rack and let cool to room temperature. Refrigerate for 3 hours or overnight before cutting and serving.


My son helped me make these for a karate instructor (and the class) who loves cheesecake. They were fun to make and super tasty. They will be a repeat.
The recipe says that a metal pan is needed, but the linked product in the recipe page is an aluminum steel 9×13. Does the pan need to metal, or can it be aluminum steel?
Superb recipe will surely try can you pls suggest without eggs