


Tessa Arias, Chef and Cookbook Author
This post may contain affiliate links. Read our disclosure policy.
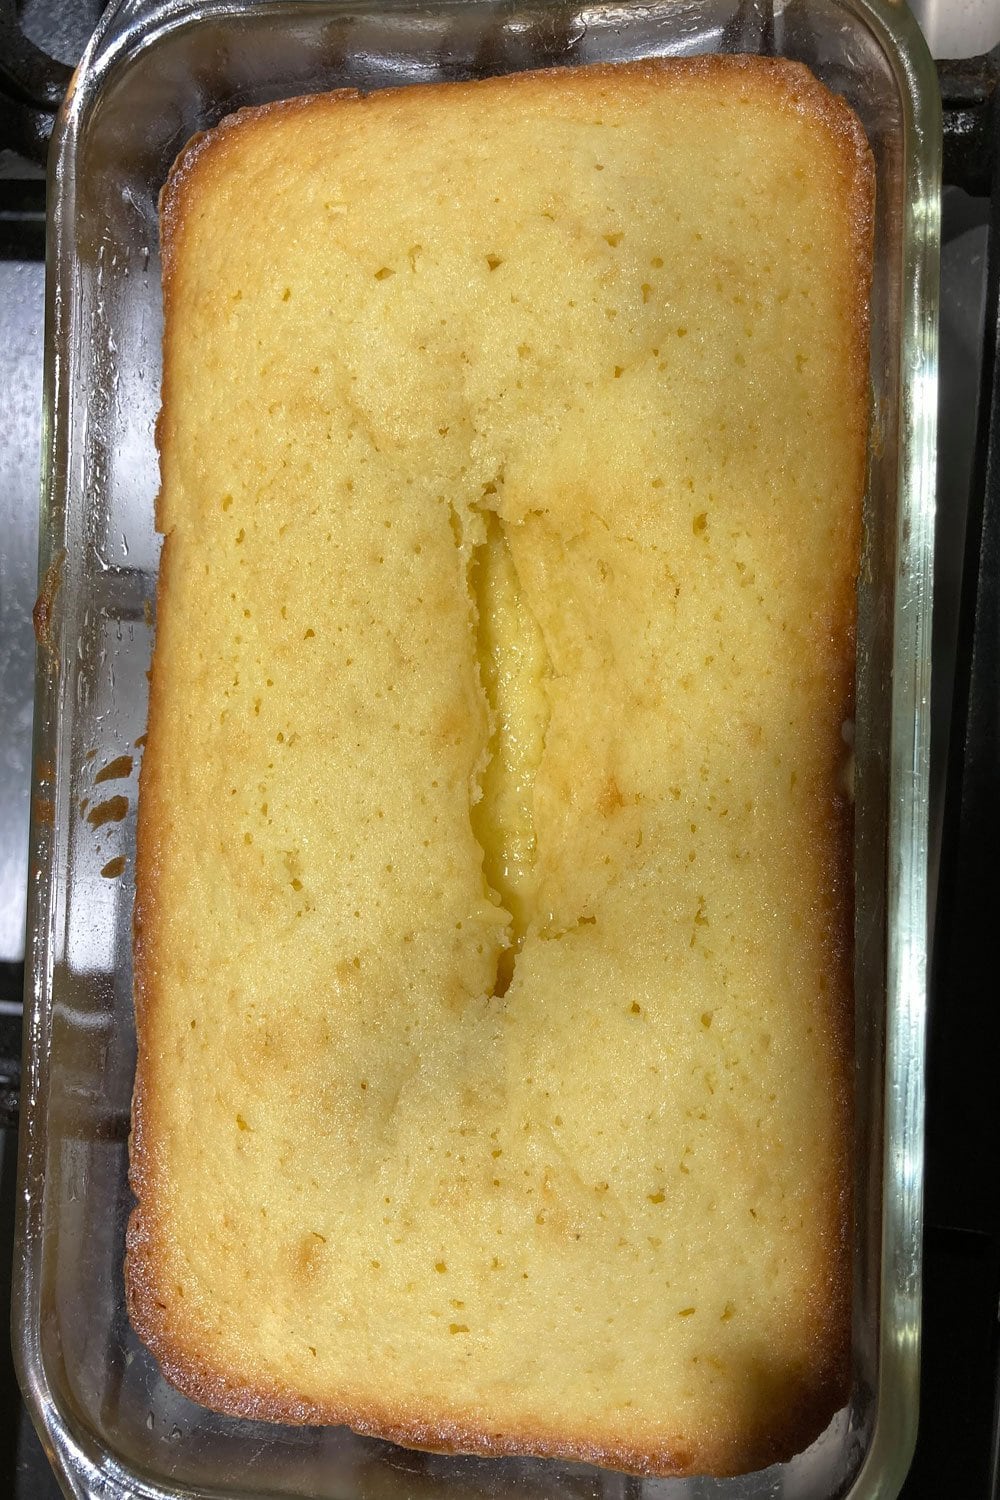
There’s nothing more frustrating than spending time, energy, and money on a recipe only to have it not turn out correctly. This is especially demoralizing when you bake a layer cake or a loaf and it sinks in the center!
Sometimes it just slumps in the middle and you can salvage the results.
Other times it looks like a crater and is uncooked in the center and you have to throw it away.
Believe me, I know how frustrating it can be! These are questions we see from HTH bakers all the time:
- Why does my banana bread sink in the center?
- Why does my lemon loaf collapse?
- Why did my cake sink after cooling?
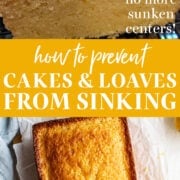
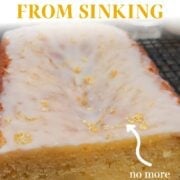
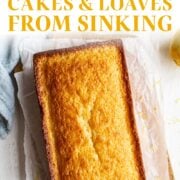
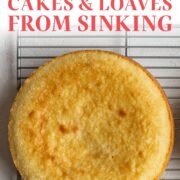
This article will give you a quick list of how to prevent cakes and loaves from sinking, like in the pictures of sunken loaves from readers Kati and Mari above.
Why did my cake or loaf sink in the middle? #1 Reason: Your cake or quick bread loaf is underbaked.
This could be due to several factors, which are all outlined below!
How to Prevent Cakes and Loaves from Sinking
TIME
Be sure to bake for long enough! Instead of only relying on the baking time listed by the recipe, follow the sensory indicators written first and foremost. How long a loaf of banana bread or a yellow cake layer takes to bake in my kitchen, with my ingredients, in my oven, at my elevation, in my climate will likely be different than yours!
How to tell when a cake or loaf is done baking?
Use the sensory indicators given in the recipe and perform a toothpick or cake tester test. For most recipes, you want a small amount of moist crumbs or none at all. If your tester comes out with wetness or raw batter still clinging on, it’s not baked through and will likely sink.
The key to using a toothpick or cake tester is to insert into the center most point from the edges of the pan, probing directly into the middle. You don’t want it too deep that it’s touching the pan and not too shallow that it’s barely inserted.
If your cake or loaf has a very well-developed exterior crust, that crust could actually scrape some of the crumbs off, giving you an inaccurate sense of doneness.
So what’s even better and more accurate than a cake tester or toothpick? An instant-read thermometer! Quick breads like Banana Bread or Lemon Loaf are done when they reach an internal temperature of 200 to 205°F. Cakes are done when they reach an internal temperature of 205 to 210°F.
OVEN PROBLEMS
Accuracy
Some ovens run colder than others. If your oven isn’t up to temperature consistently during the baking time, you may experience sunken cakes or loaves. Use an oven thermometer to gauge the accuracy of your oven. At the very least, try waiting 10 minutes after the oven has beeped to signify it has preheated before actually baking anything. Most home ovens need more time to fully come to temperature. More on this in my Oven 101 article.
Opening & closing
If you open and close your oven door too many times during the baking process, you’ll lose the heat of the oven. Your product won’t be able to bake through completely. Only open your oven when testing for doneness when about to remove the product.
Slamming door
Slamming the oven door can collapse your cake or loaf. So can slamming down your pans after baking. Remove your cake or loaf from the oven carefully and gently place on the counter while cooling.
USING THE WRONG PAN
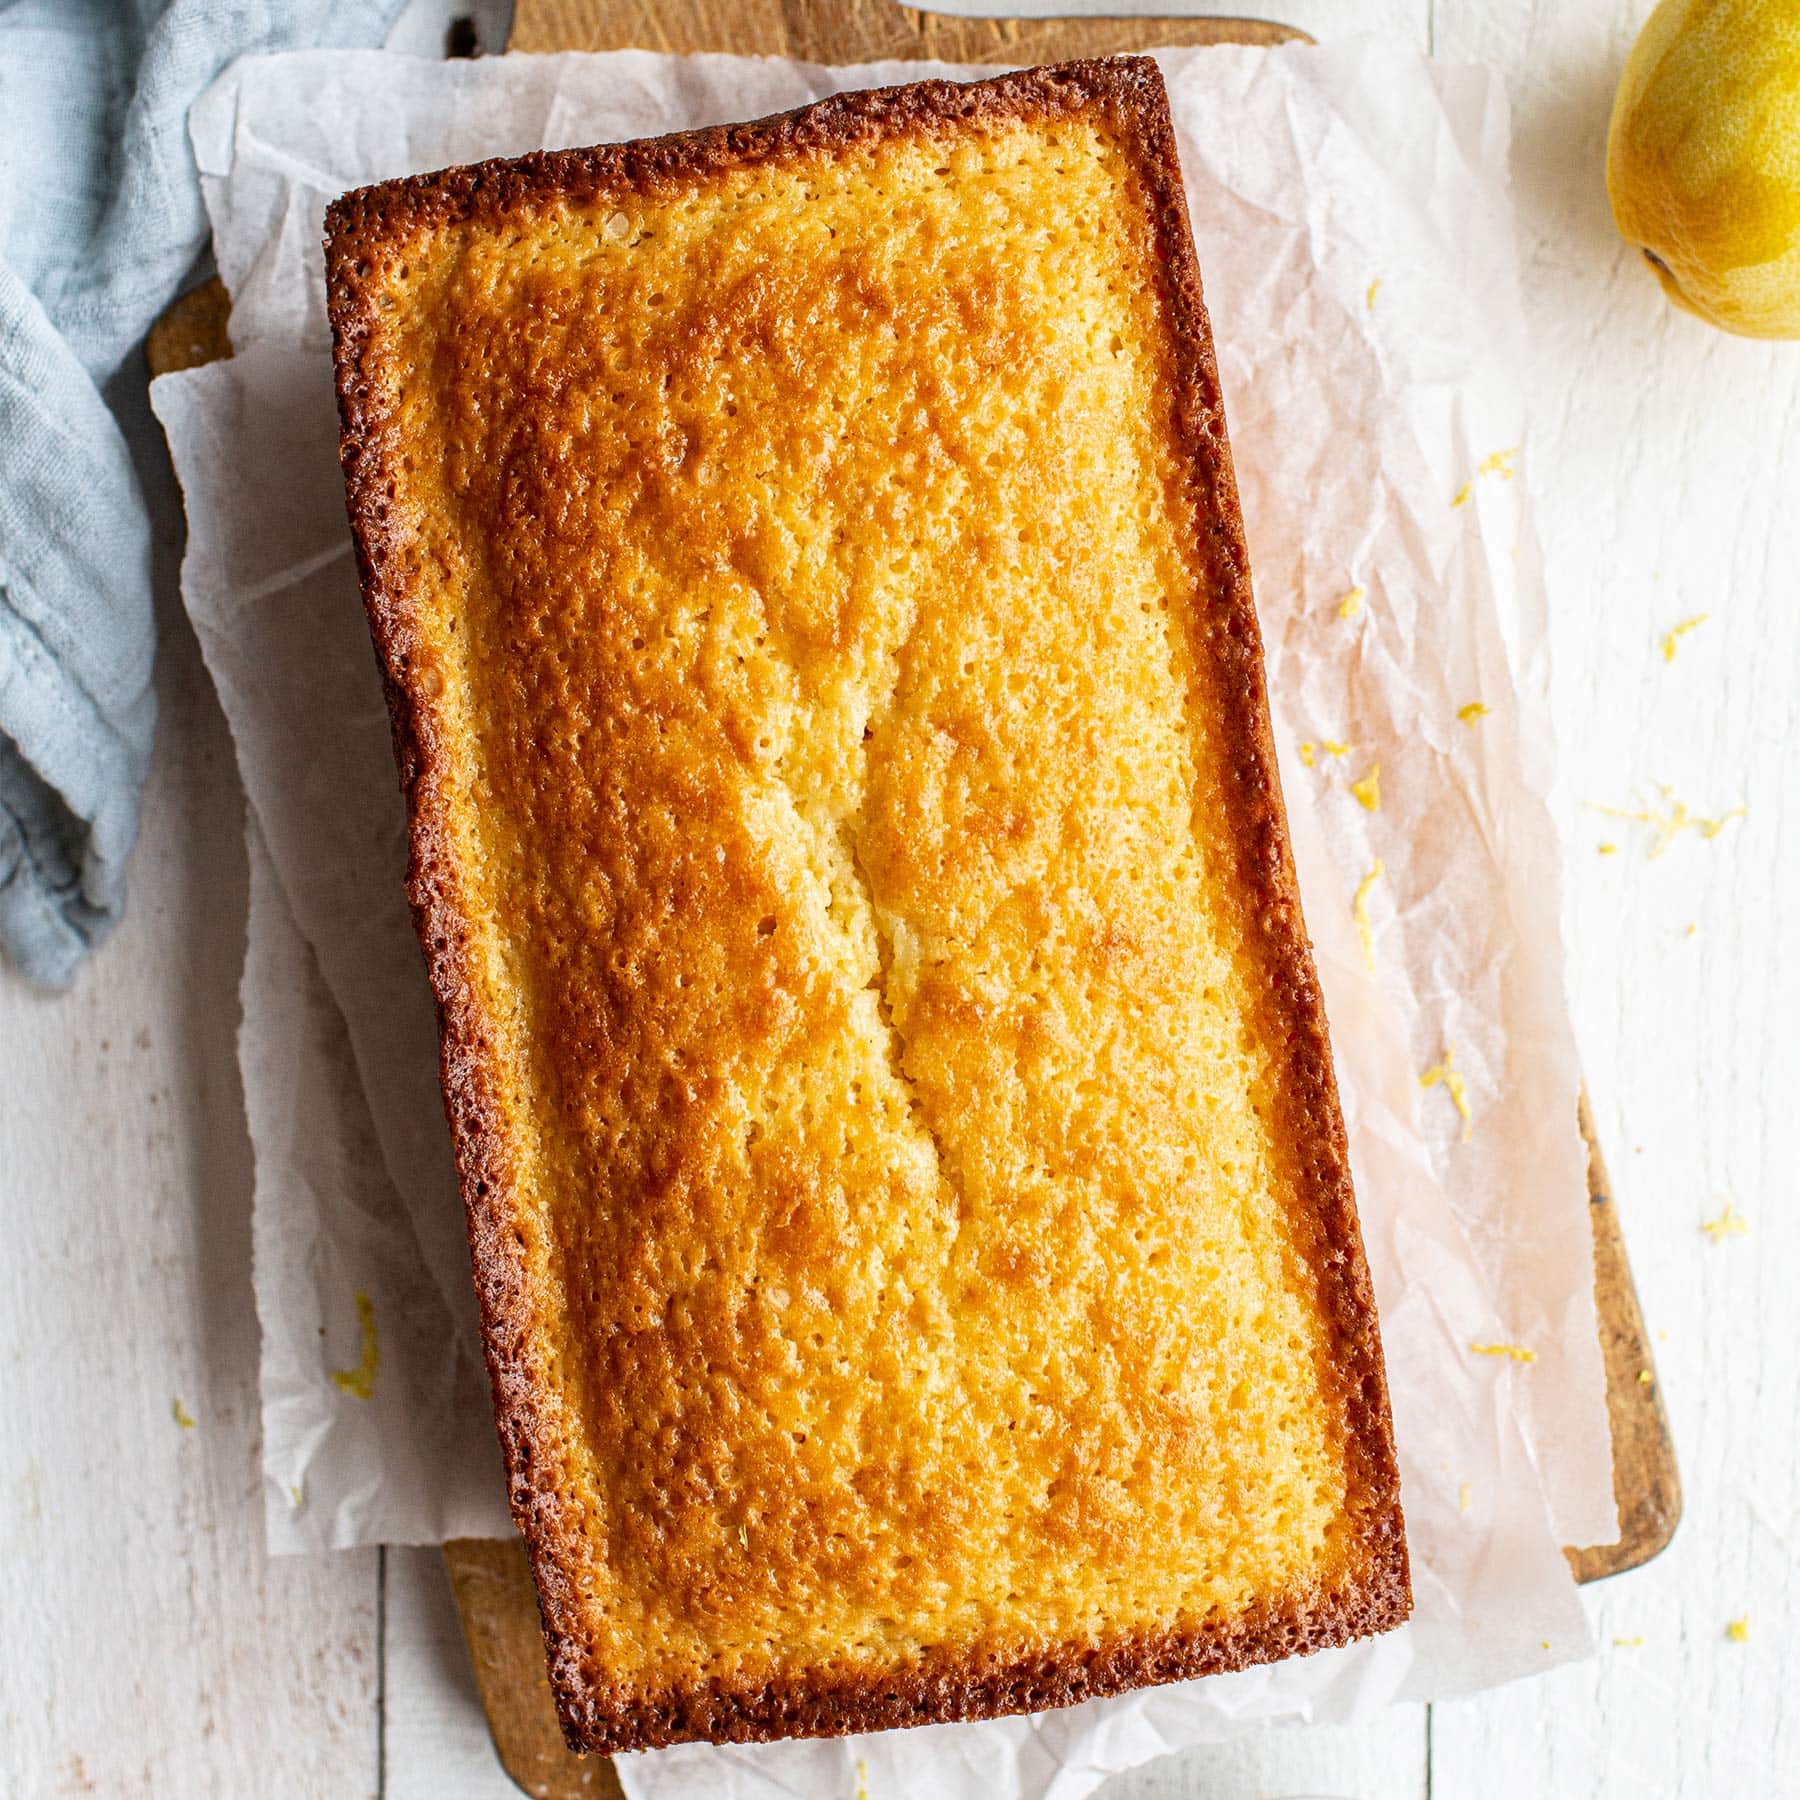
This tip applies to loaves specifically. For recipes like banana bread, lemon loaf, or pound cake, your best bet is to bake in a metal loaf pan. Metal is a quick and efficient conductor of heat. This helps to ensure your recipe will cook through the center and not collapse. Avoid using dark-colored pans as they brown way more quickly and aggressively.
Glass and ceramic are slower conductors of heat. In fact, I did an experiment baking a double batch of the same recipe of banana bread at the same time. The only difference? One loaf was baked in a metal pan and the other in a glass pan.
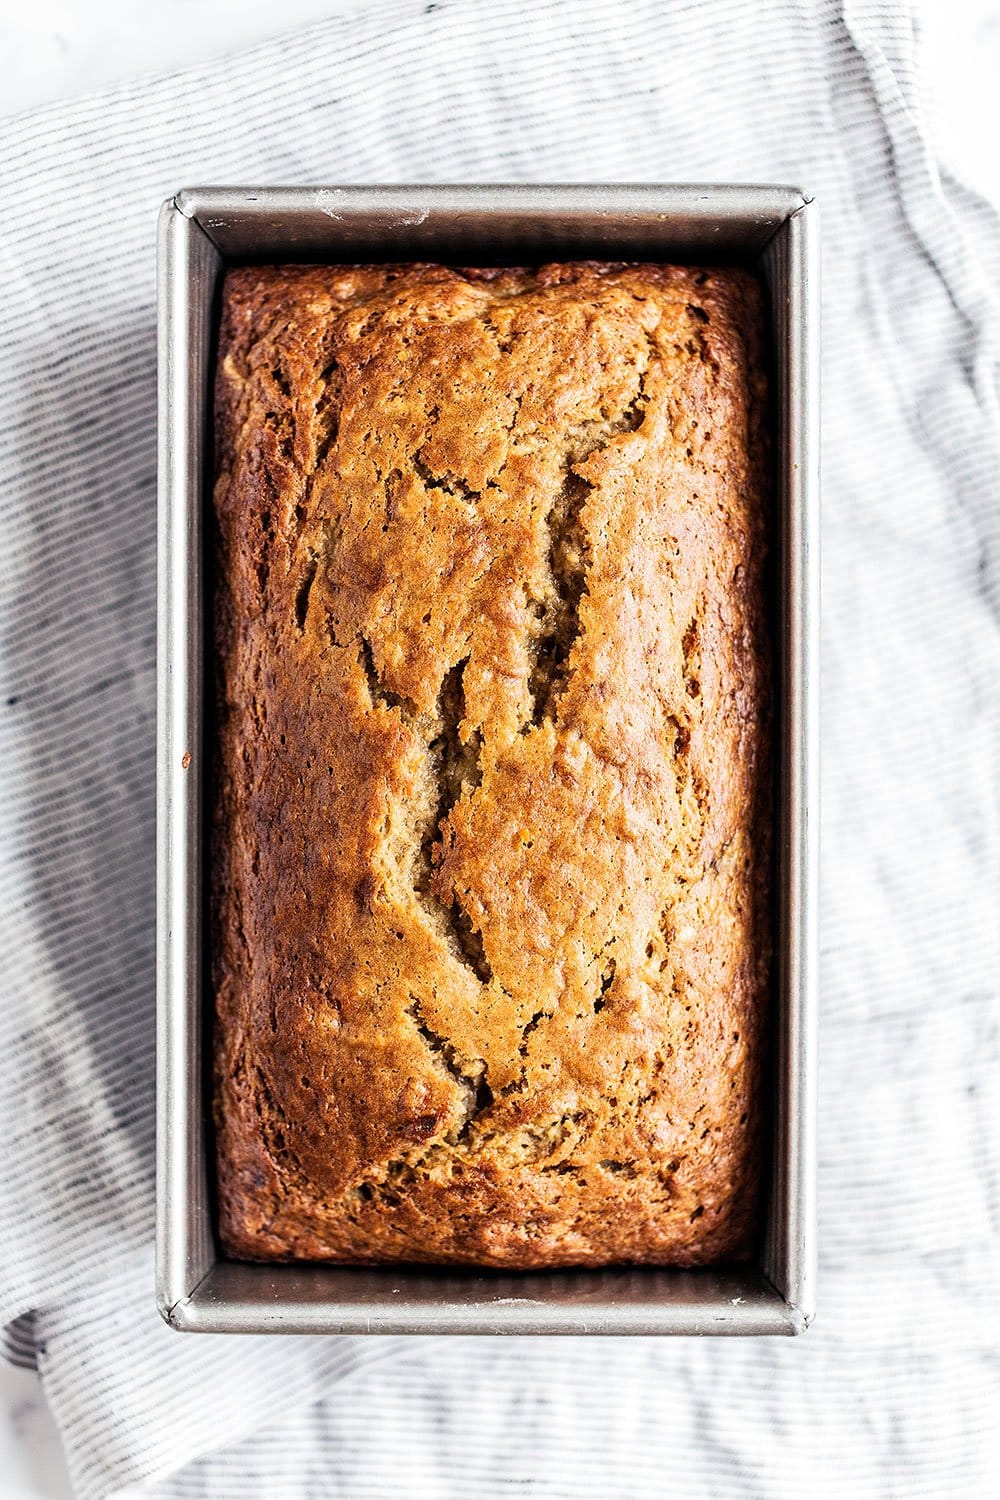
The glass loaf was on average 10°F cooler in the center than the banana bread baked in the metal loaf.
So if you use a glass pan, you’ll need to decrease your baking temperature to 325°F and increase your baking time by about 10 minutes. This will allow your loaves to bake through completely before the edges have dried out.
Lastly, it’s also important to use the same size pan as called for in the recipe. Using the wrong size pan can disrupt the product’s ability to rise and develop properly. This goes for width, height, and depth. Even an inch difference in diameter adds up. For example, an 8-inch cake pan holds 4 cups of batter and a 9-inch cake pan holds 5 cups of batter.
LEAVENING AGENT
There are three things that can cause your cakes or loaves to sink in relation to your leavening agent(s). These include baking soda and baking powder.


- Expired: If your baking soda or powder is expired it will not leaven your loaf or cake, causing it to sink in the center. It can expire or lose its effectiveness even before the expiration date. Learn how to test your baking soda and powder for freshness here.
- Too much: If you accidentally overmeasure your baking soda or powder it can also cause your cake or loaf to sink in the middle.
- High altitude: If you’re baking at a higher altitude, you’ll need less leavening to achieve the same result as sea level. Without proper altitude adjustments, your products may sink.
OVERBEATING
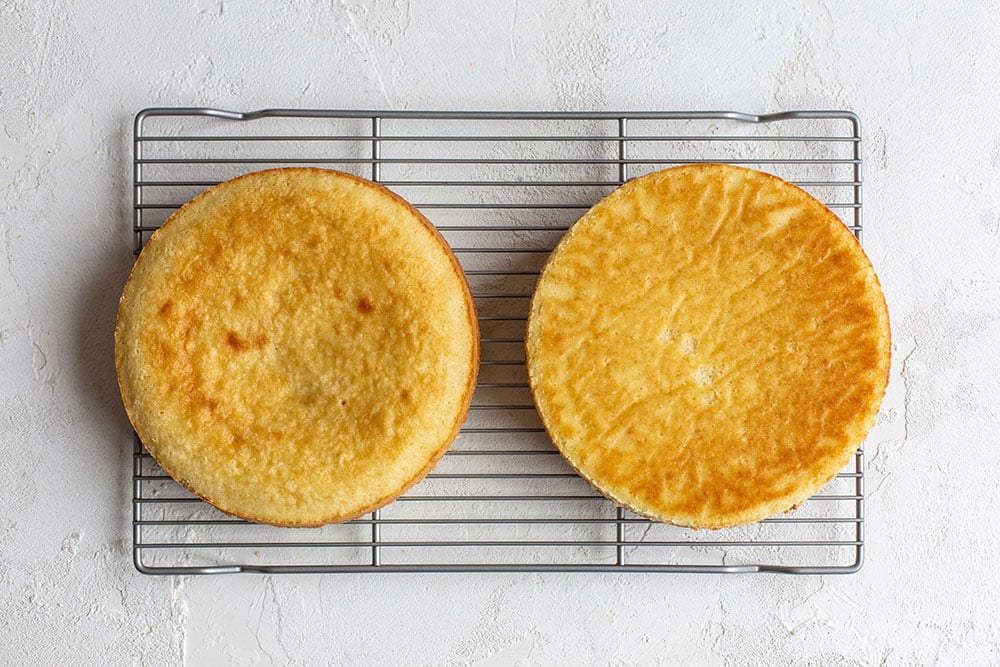
For layer cakes, the key is incorporating just the right amount of air during the butter and sugar creaming process to achieve a light and fluffy texture. It’s a delicate balance: too little air and your cake won’t rise properly; too much and it may collapse from being overly aerated.
Start at a lower speed, then increase to medium or medium-high. Avoid the temptation to crank your mixer to the highest speed because the air needs to be incorporated gradually and evenly. The key? Find the speed that works best for your specific mixer (every brand and model is a little different) and beat for about 4 to 7 minutes.
If you mix too much once the wet and dry ingredients are combined, you can either collapse those precious air bubbles or introduce too much additional air. It can also lead to more gluten development than intended, which may result in a dense or rubbery texture.
For quick breads and loaves, be especially gentle. Stir just until the wet and dry ingredients are combined. You don’t want to activate the webs of gluten more than the recipe is equipped to handle, as this can affect both the texture and rise.
What to Do If Your Cake Sunk
If your cake layers have already sunk or slightly collapsed in the center, here are some ideas for fixing them.
Minor Sinking:
To salvage a small amount of sinking, you’ll just use your buttercream to level out the cake. Place one layer sunken side up. Use a generous amount of frosting for the filling. Place the second layer flat side up.
Moderate Sinking:
If your cake is noticeably sunken in the center but is still cooked through, use a cake leveler to even it out. A cake leveler makes quick and easy work of creating a perfectly even cake layer. If you don’t have one, you can also use a serrated knife.
Major Sinking:
If your cake has completely collapsed in the center and is raw or underdone in the center, there are still a few options to salvage it. You could always cut the cooked sections of the cake up into cubes and make a trifle. Or even make cake pops.
Another alternative is to use a paring knife or cookie cutter to remove the centermost part of the cake which is sunken. Fill that part with fruit, candies, or buttercream for a ‘surprise inside’ cake.
What To Do If Your Quick Bread Loaf Sunk
Unfortunately, there are fewer options to fix an already sunken loaf of quick bread and still maintain a beautiful-looking result. A few ideas on how to rescue a collapsed loaf are below.
Minor sinking:
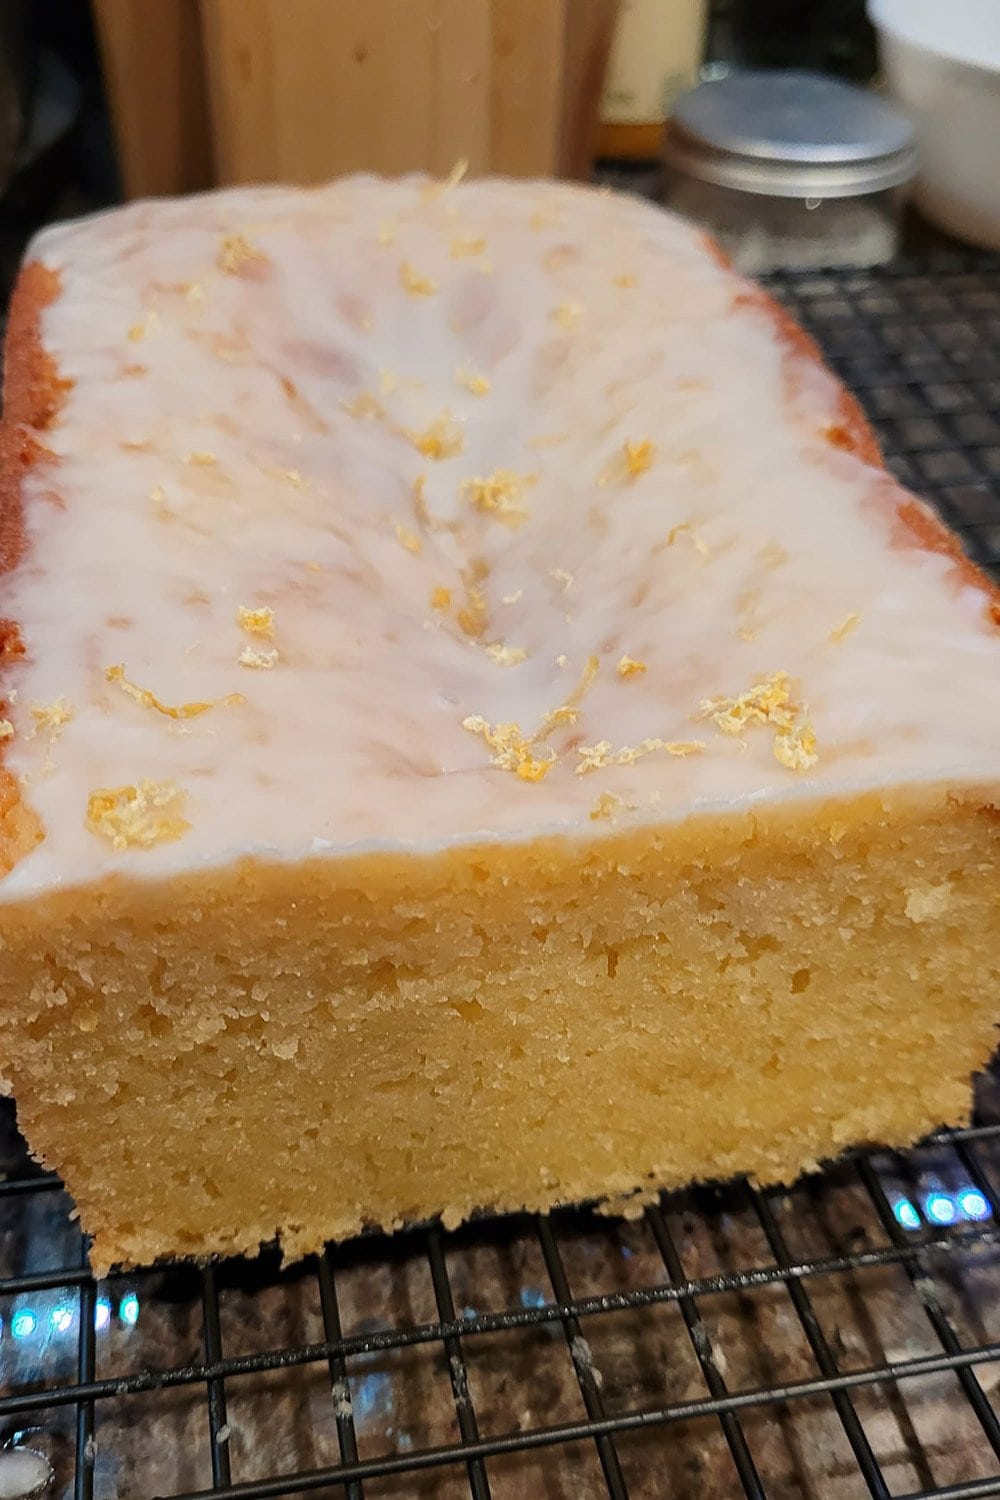
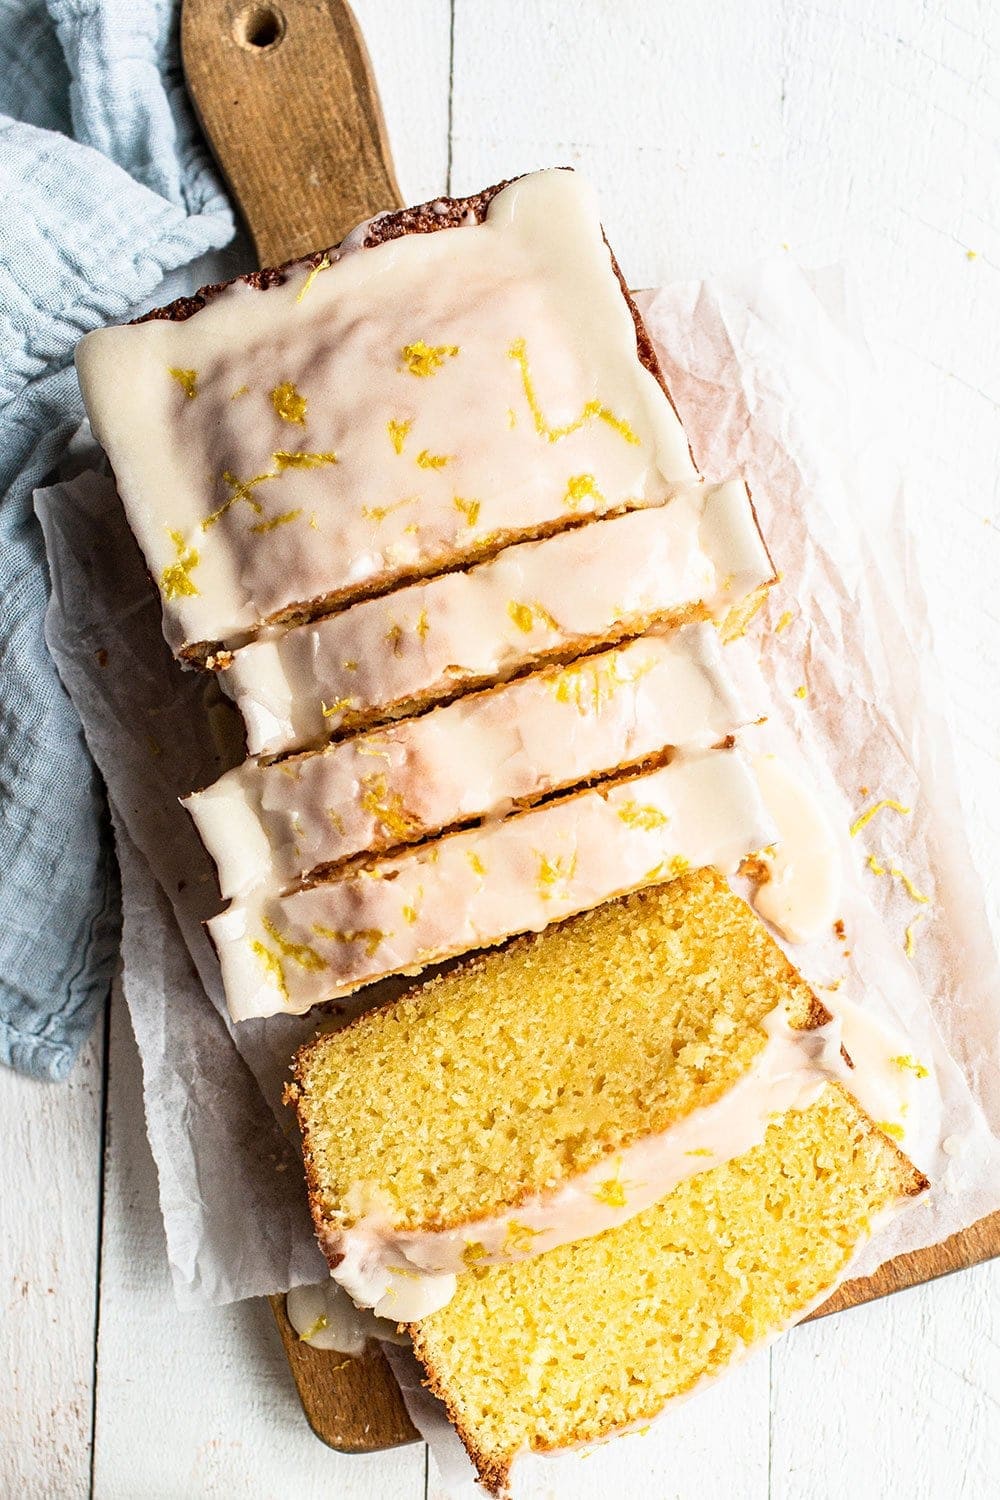
If your loaf is just slightly sunken in the center instead of domed, you can opt to distract with a glaze or frosting (like in my Strawberry Banana Bread recipe here).
Moderate to major sinking:
If your loaf is noticeably sunken in the center and undercooked, you can slice and toast the center pieces to firm up any gooeyness. Smear with butter or even peanut butter or Nutella… or ice cream! You could also make French toast with these slices.
If you don’t want the texture of toasted banana bread, you can also take a center undercooked slice, wrap in a wet paper towel, and microwave until cooked through.
Another idea is to cube up the banana bread to make a rich bread pudding.
Photos by Ashley McLaughlin (the non-sunken ones ;)).


Hello there! Thank you for your detailed explanation on creaming butter & sugar, and all of the other wonderful, needed information on baking. It is so helpful and I so appreciate you giving the how, what, when, and why for a complete understanding to baking. I do gluten free baking and this information applies as well. Although my end results are pretty much consistent each time I bake an item, I have on occasion had an issue with the creaming process. This step in baking is definitely crucial to the end result.
Under the heading, “Overbeating”, is this sentence correct or is it an error? – You don’t want to beat gradually at medium to medium-high speed. Or, am I reading it wrong?
I think it’s suppose to read, “You WANT to beat”, not “DON”T.
Thank you
Thanks so much for your kind words, Nona. We’re thrilled to hear the baking tips have been helpful 🙂 And great catch—that was a type! I’ve gone ahead and updated that section so it reads accurately and more clearly now. Really appreciate you pointing it out!