


Tessa Arias, Chef and Cookbook Author
This post may contain affiliate links. Read our disclosure policy.
Pie season is upon us, and one of the questions I get asked most often about pie baking is why and how to blind bake a pie crust.
I’m sharing everything in today’s pie article! Let’s get right into it.

Sprinkle of Science
What is a Blind Baked Pie Crust? Why Would You Blind Bake a Pie Crust?
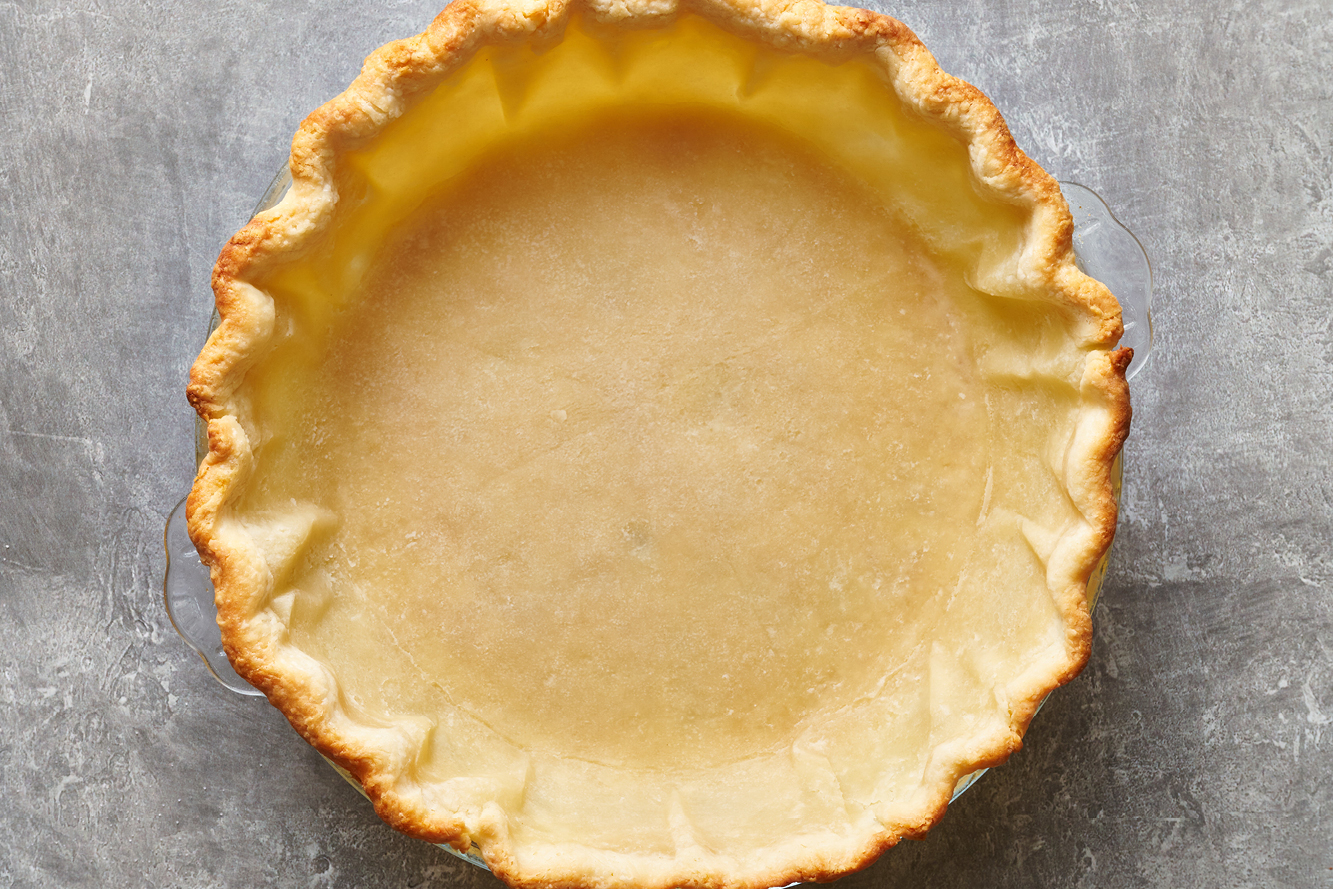
Blind baked pie crust is when you bake the pie dough without a filling until it’s totally cooked through and well browned. This is done when you’re filling the pie with an already cooked filling, or if your filling is prepared raw.
For example, my French Silk Pie recipe typically uses an Oreo crumb crust, but if you wanted to use a traditional pastry pie crust instead, it would need to be blind baked. That pie’s filling is prepared partially on the stovetop and requires no baking.
Another example of when to use a blind baked pie crust is any custard pie, such as pumpkin pie.
What’s the Difference Between Par Baking and Blind Baking?
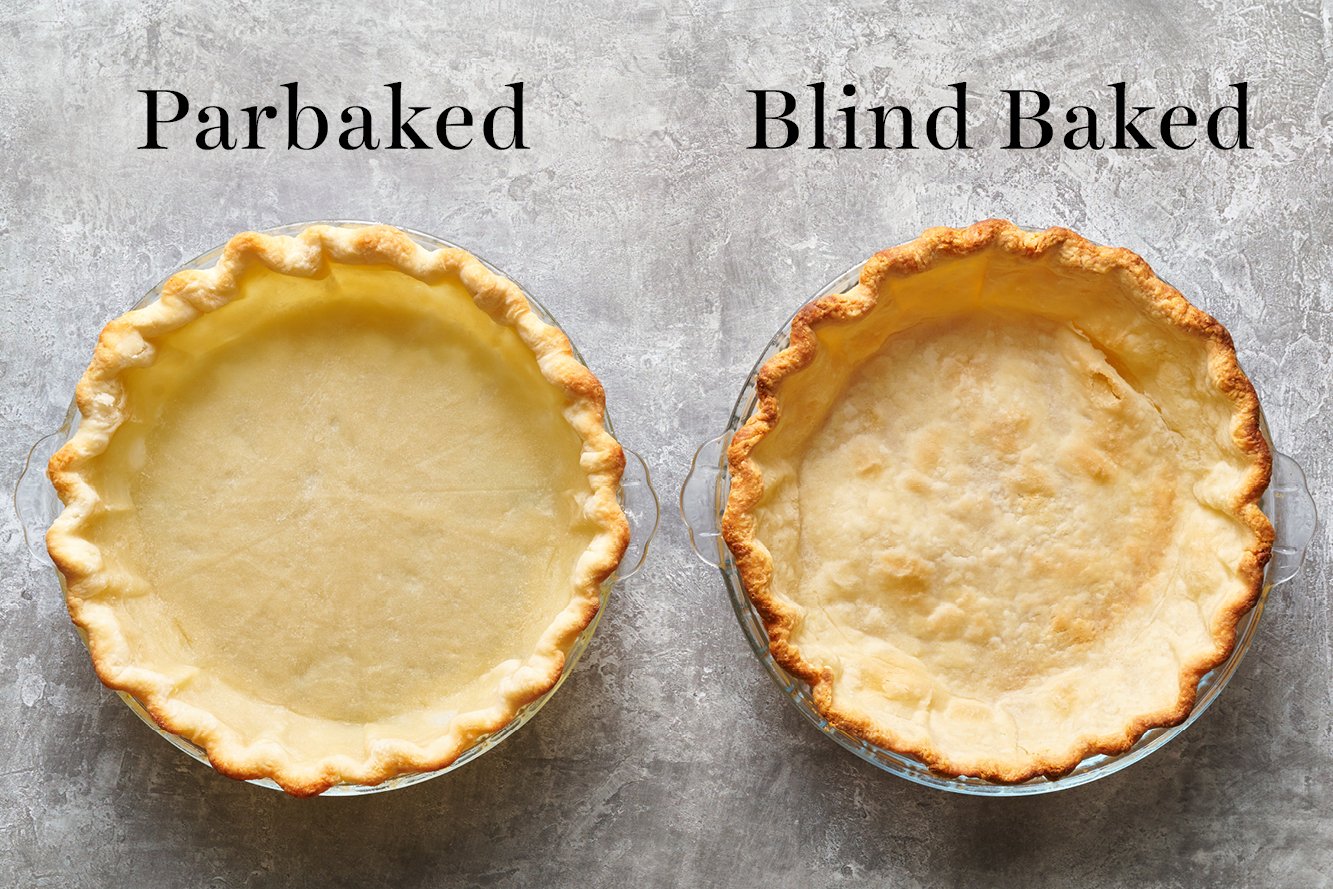
Par baking is only partially baked. This is used when you want the pie crust to start the baking process before you fill it with filling and return to the oven to finish baking. This is handy when baking something particularly rich or wet, like a quiche, and you want the crust to remain crisp.
What Do You Need to Blind Bake a Pie Crust?
- Prepared and shaped pie dough
- Pie pan
- Half sheet pan
- Parchment or foil
- Pie weights
How to Prevent a Pie Crust from Shrinking
Step #1 is to chill the rolled-out and shaped, unbaked pie dough for at least 2 hours before baking. You can even chill it overnight. This will allow the gluten to relax so it doesn’t snap back like a rubber band once the pie hits the heat of the oven.
Step #2 is to use pie weights…
Can you Blind Bake a Crust Without Pie Weights?
You should never blind bake a pie crust without pie weights! The pie weights help prevent the bottom of the crust from puffing up so you have room for the filling. They also prevent the pie dough from shrinking or sliding down while baking.
What to Use for Pie Weights?
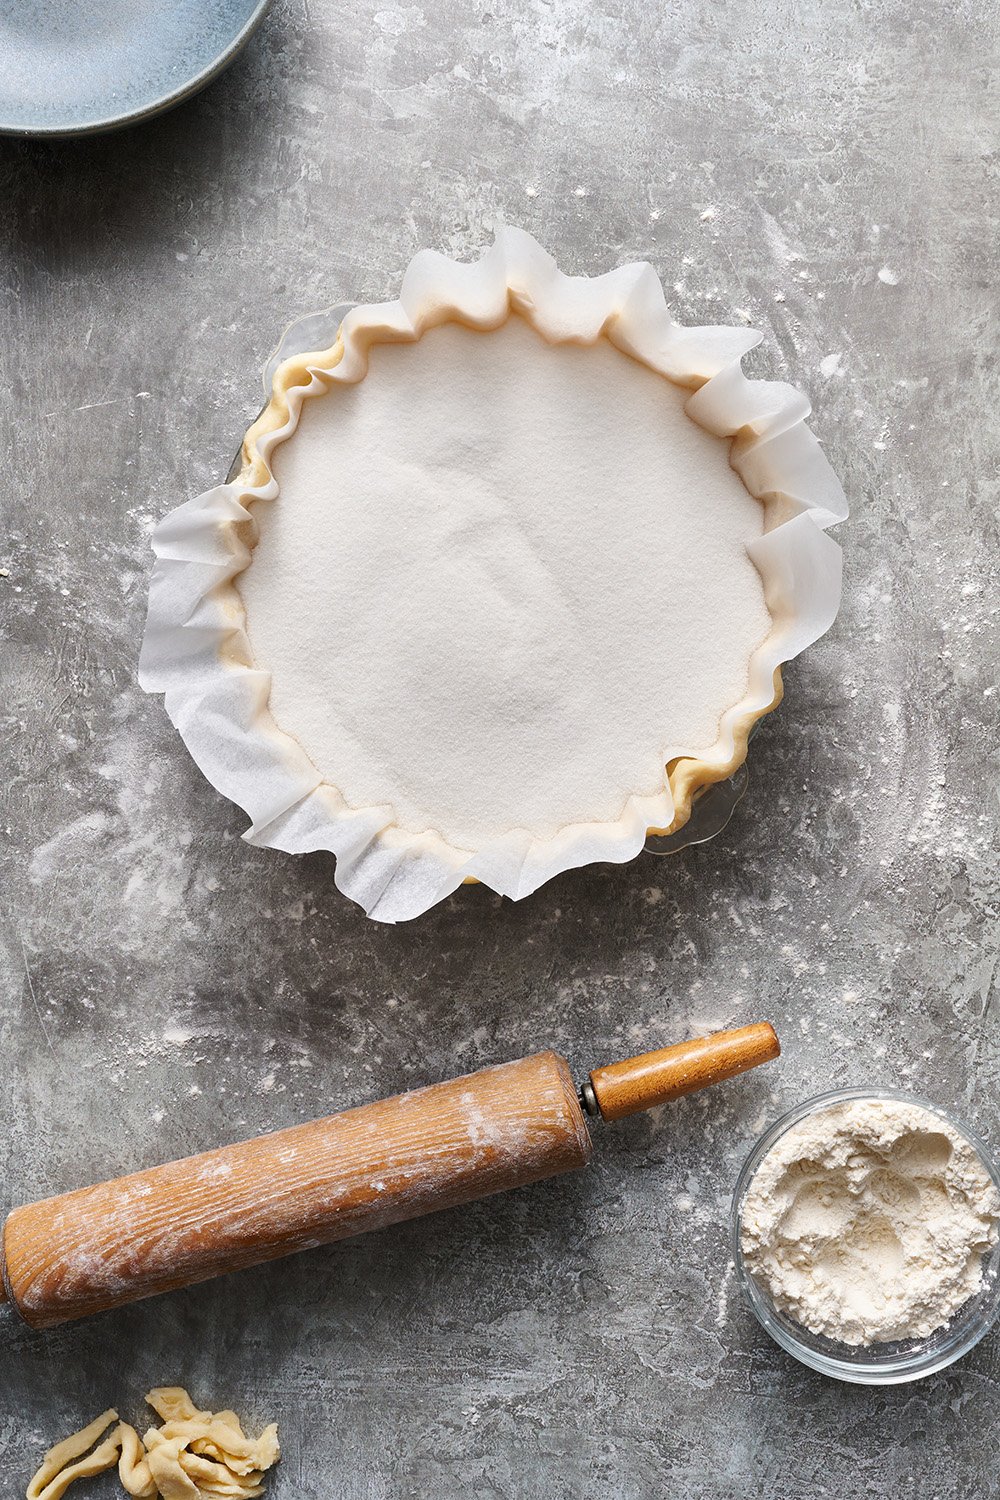
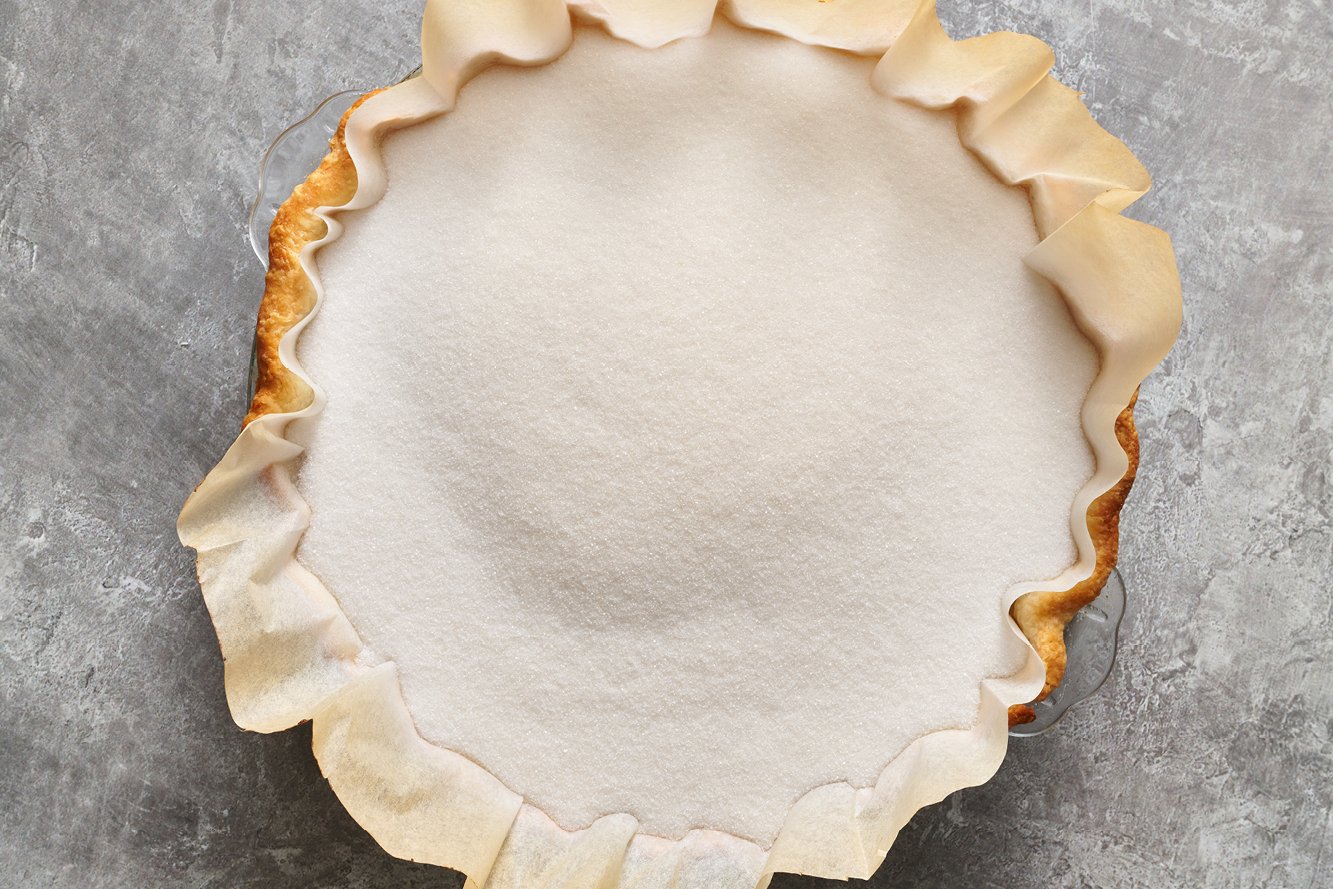
My favorite pie weight is granulated sugar! You likely already have enough to fill your crust and you can reuse the sugar after it cools. Just use your hands to break apart any clumps. The most important tip for using pie weights is to fill your pie cavity completely with the weights so they’re flush with the rim of your pie crust. This will all but guarantee your crust won’t slip down the sides of the pan.
If you don’t want to use sugar, use rice or dried beans. You can also use store-bought pie weights, just make sure you purchase enough to fill your pie cavity completely to the rim.
What’s Better: Aluminum Foil or Parchment Paper for Blind Baking Pie Crust?
The unbaked pie needs to be layered with something to hold the pie weights. You can use either foil or parchment. I find that foil can mold better to the shape of the pie, further preventing any puffy parts or slipping sides. However, it can also get stuck to the pie because of this. Parchment is less likely to stick, in my experience.
Whatever you use, make sure the foil or parchment extends up and beyond the edge of the pie, both to prevent excess browning and also so you can grab ahold of it to more safely lift the pie weights up and out.
How Far in Advance Can You Blind Bake?
I would not recommend blind baking farther than a day in advance, if that. Pie crust stales very quickly. If possible, bake the same day you plan to fill and serve.
How to Blind Bake a Frozen Pie Crust
Follow the same exact steps as listed below. You may need to add a minute to the baking time. If using a glass or ceramic pan, make especially sure it’s shock-resistant and safe to take from the freezer to the oven. If you’re not sure, allow the pie to thaw in the fridge first. Learn more about the Best Pie Pans, and which can go from freezer to oven safely, here.
How Long do You Blind Bake a Pie Crust?
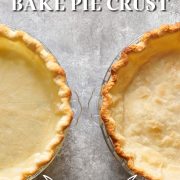
Par baked (partially baked): 18-20 minutes at 425°F
Blind baked (fully baked): 18-20 minutes with pie weights, then an additional 7 to 10 minutes without pie weights to finish browning at 425°F

How to Blind Bake Pie Crust
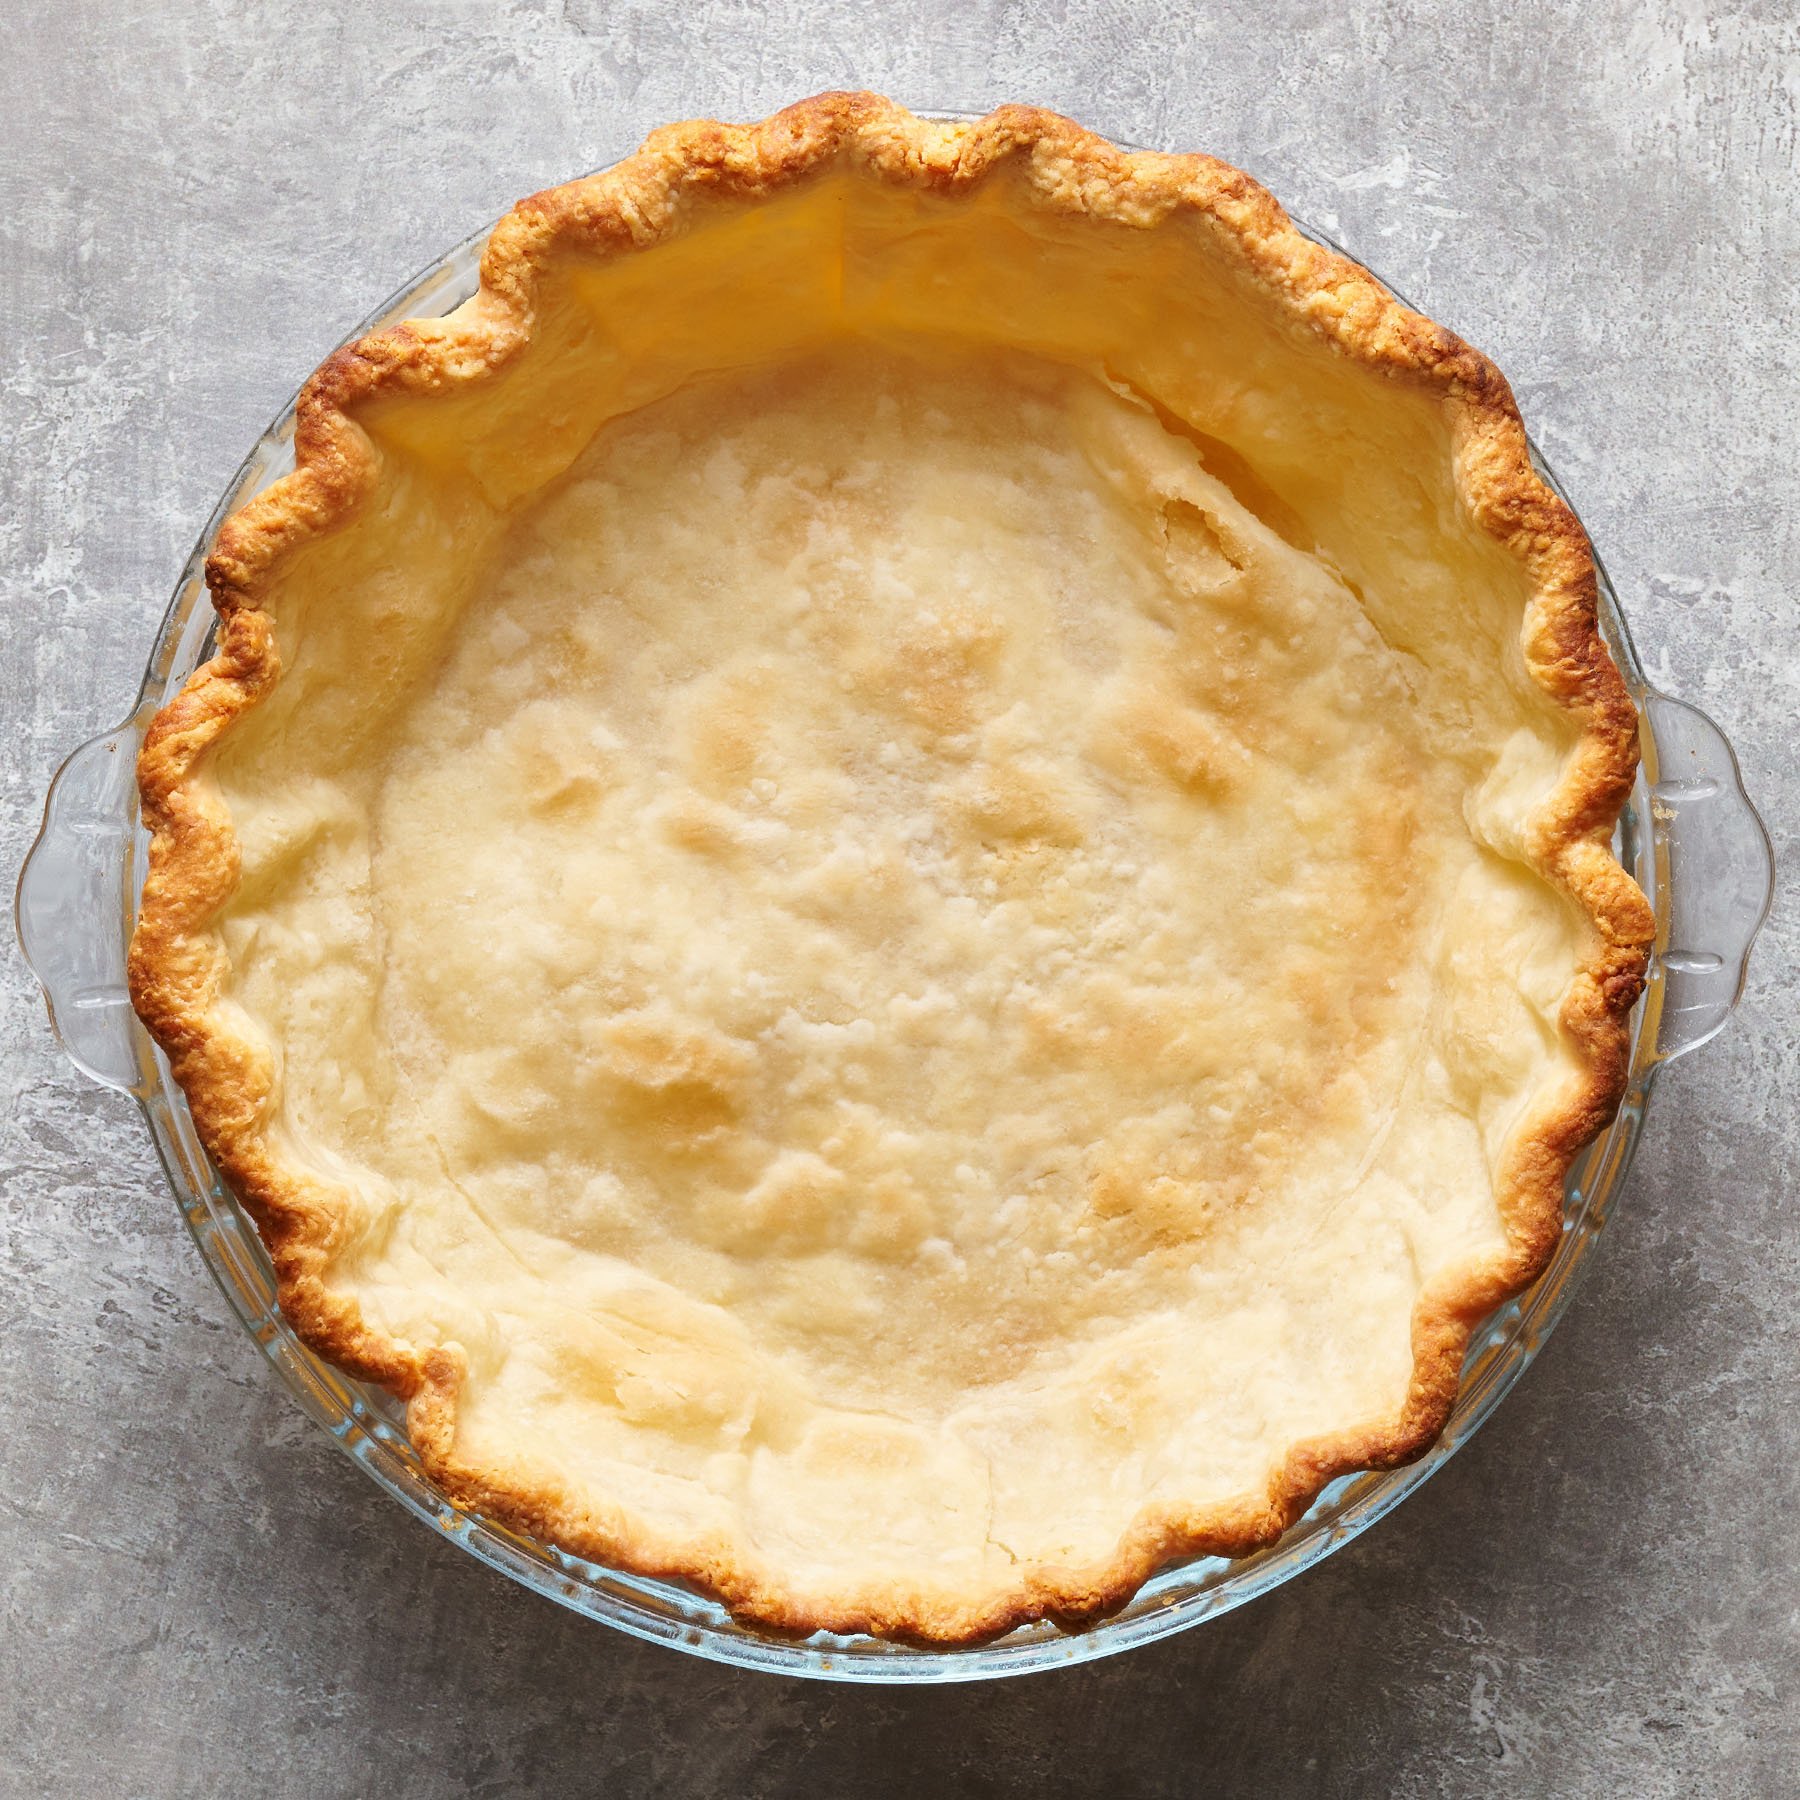
For a fully blind baked pie crust, carefully remove the foil or parchment and pie weights. Continue to bake until well browned at the edges and lightly browned at the center, about another 7 to 10 minutes.
Roll out, shape, assemble, and chill your pie dough for at least 2 hours before baking. This will help prevent shrinking and should not be skipped. If your shaped pie dough is frozen, bake directly from frozen (note: this can only be done with some pie pans – learn more about pie pans here). Dock the bottom and sides of the pie crust all over with a fork. See my Best Ever Pie Crust recipe here.

Line the chilled crust in the pan with parchment or foil.
Fill the crust with pie weights completely flush to the top edge of the crust to prevent shrinking or slumping.
Place on a rimmed, parchment-lined baking sheet. This will help catch any butter that might bubble over. Bake for 18 to 20 minutes at 425°F, or until pale and just beginning to brown but not raw. This is now considered par-baked.


Hi Tessa,
If you are given a frozen meat & veg pie (family size) with filling already in the pie but the pastry has not been cooked at all – do I thaw it first before cooking and how do I cook this pie so that it will not be a soggy mess on the bottom but can be enjoyed
Please help!!!!
I cannot find anything on line to help me navagate this problem and answer the question
cooking pal,
Glynis
Hi Glynis, thanks so much for reaching out! Since the pie has uncooked pastry and filling, I wouldn’t recommend thawing it first—baking it from frozen usually gives you the best chance at avoiding a soggy bottom. One helpful trick is to place the pie on top of a baking sheet (to catch any overflow), then set the whole thing directly on a preheated baking stone in the oven. That extra burst of heat from underneath can really help the bottom crust cook through and crisp up. You can also tent the top of the pie with foil for the first portion of the bake to prevent the top from over-browning before the inside is fully heated. I’d recommend checking with the person who made the pie for you for the baking temperature and time to ensure it’s baked properly. Hope this helps, and enjoy your pie!
Thank you so much for your article, it is exactly what I am looking for. I have a question about the part in your article that tells how to blind bake and is followed by the par baking. In my head, it reads as though the two are flip-flopped, can you check that out? Thank you so much!!!
Hi Michelle! Can you clarify what you mean? Par baking refers to partially baking the crust, while blind baking involves baking the crust for the same amount of time as par baking but then removing the pie weights and continuing to bake until the crust is fully browned.
This article was so helpful. I didn’t know the term “par-baking”, so thank you for the clarification. I often have a hard time deciding when to par bake a crust. I find if I’m making a fruit pie with filling the crust will be too soggy if the crust isn’t somewhat baked beforehand. Definitely going to try your recipe! Thanks!
So glad you found this helpful, Lena! Please let us know how your next pie turns out. Good luck!
Very good directions…Clear and concise
Hi there! I have made your pie dough for a pumpkin pie I am wanting to make today. I have a question about when to brush the crust with an egg wash. The recipe I am using says to brush the crust with an egg wash before par baking. I tried this already and had a disaster. The crust totally stuck to the parchment paper. I am wondering if I should just skip this step? Or if I should do it after the par baking is done? Or if I should do it after I take the weights out? Thanks for your recipe and all of your helpful articles. This is my first time making my own pie crust so I am still learning!
Hi Lynette! I would recommend either skipping this step (your par-baked pie crust should ensure a perfectly crisp crust without this step) or brush on the egg wash after removing the pie weights, and simply pop it back in the oven for a few additional minutes to set the egg wash. Good luck with your pie and let us know how it goes 🙂
What about meringue pies that will go back in the oven to brown the meringue?
Hi Karen! Yes, you’ll need to blind-bake or par-bake a meringue pie (blind-baking vs par-baking will depend on the type of pie – more on this in the article above). Your recipe should include instructions, but you can follow Tessa’s guide here too! When covering the pie with meringue, be sure to completely seal the edges, covering the whole top of the pie crust with meringue, both to create a good seal so the meringue doesn’t shrink, and also so the top of your pie crust doesn’t burn. I hope that helps Happy baking 🙂
Hi Kiersten. Thank you for this article. It’s very helpful! I noticed in the picture that you are using a glass pan. Does the heat need to be lower than 425 degrees for a glass pie dish? In the past I’ve read to turn the temperature to a lower setting when using glass pans.
My oven is an Accubake oven, new to me, as we’ve moved recently. After burning a few things, I’ve learned to turn the temperature down about 15 degrees to avoid this. So my question is, should I turn the temperature down even more because I’m using a glass pie dish or leave it at 410 degrees because the Accubake oven likes to burn things if you set the temperature to the recommended setting.
Hi Marilynn! Glass bakes more slowly than metal, but since it’s slow and you can see how brown your crust is getting, you’re less likely to overbake. We primarily used glass pans for this experiment, so we could most easily see and show pictures of the sides and bottom of the pie. I recommend checking out Tessa’s full pie crust article here, where she discusses pros and cons to different pie pans, and shares a ton of tips on pie baking and crusts in general. Be sure to read everything in the pink tip box above the recipe. I hope that helps! Happy baking 🙂
So, when you park bake a crust you don’t need to dock it??
Hi Stephanie! You can dock the crust all over if par baking or blind baking 🙂
What do you mean by “dock the bottom and sides…all over with a fork”? I’m thinking this means to use a fork to press the raw crust into the pan, but you don’t repeat that instruction anywhere else (or in the Best Ever recipe).
Also, in your picture of the weighted crust, the sugar appears about 1/8″-1/4″ below the edge of the crust. Is that satisfactory, or is the camera angle being deceiving? (Or does the sugar compress or shrink during baking?)
Thanks! I have baked your Best Ever crust as a beginner and it turned out fabulous! If I can learn even more, as a 73yo male, so much the better.
Hi Mike! Docking the pie crust means what you guessed: pricking it all over with the tines of a fork. This isn’t always necessary, but it helps give a parbaked pie crust a lovely crisp. As for the sugar, I think it’s just the shadows/angle of the sugar in our studio, as it was level with the top of the pie crust. Filling it completely flush to the top edge of the crust just prevents the crust from shrinking or slumping as it bakes. I hope that helps, and kudos on making your own pies and learning new things — well done!!!
How do you get a well done crust on a fruit pie. If you Pat bake the crust, there is no way to add a top crust. What do you recommend? It is apple season.
Hi Mary Jo! No, there’s really no way to blind bake a full pie like that. as you say. This article is more aimed at pies that don’t need a top crust (like a pumpkin pie), or will be filled with a cream or custard-based filling that’s pre-cooked and therefore doesn’t need to go in the oven. As long as your apple pie filling isn’t too wet, the top and bottom crusts will bake together perfectly at the same time. Check out my apple pie recipe here for more specific apple pie instructions, tips and tricks 🙂 Happy baking!
CRUST LOOKS SO TENDER, DELICIOUS.