


Tessa's Recipe Rundown
Taste: Slightly nutty and much more flavorful than store-bought treats. The brown butter adds a subtle toasted richness.
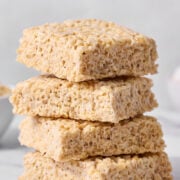
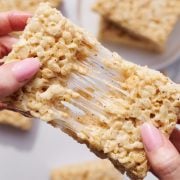
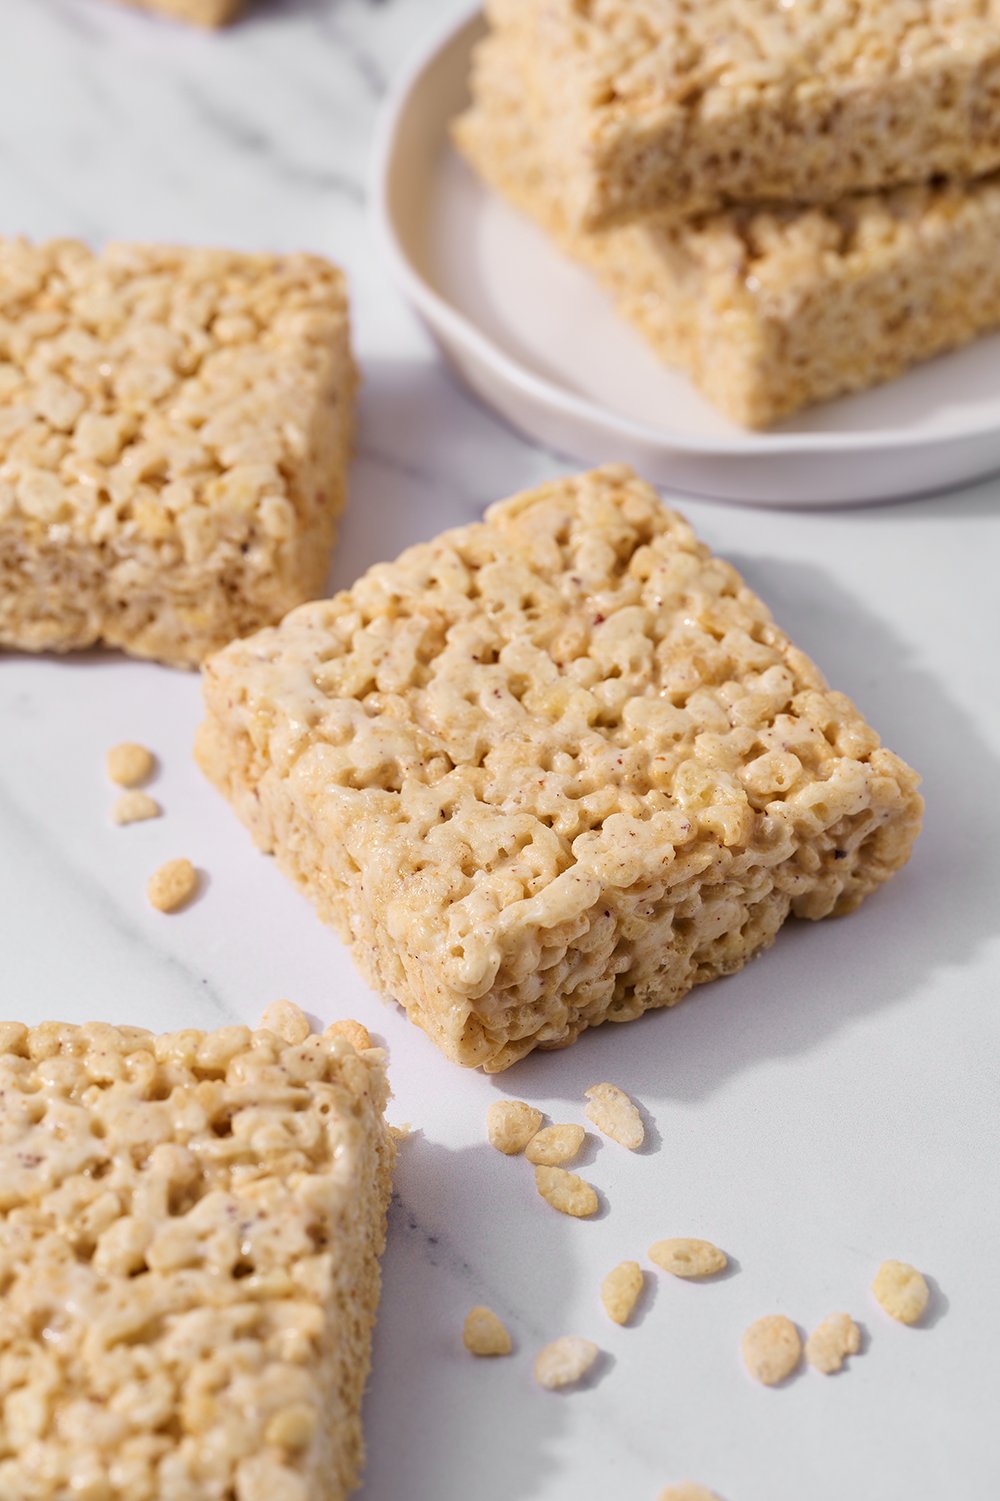
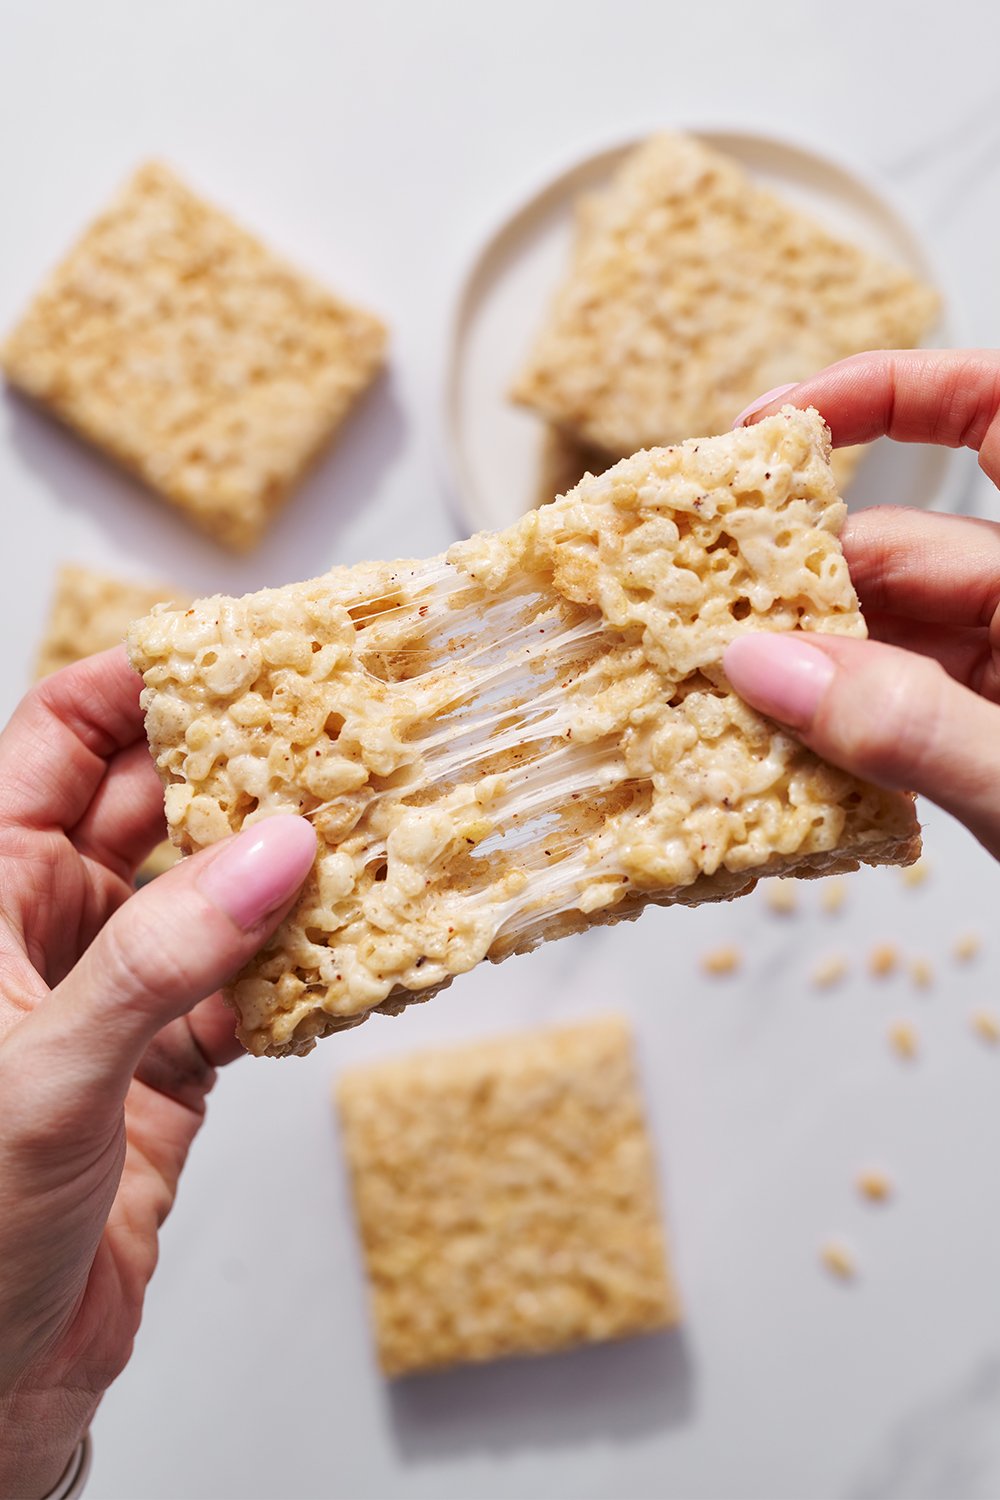
Texture: Crispy, sticky, and gooey with that perfect marshmallow pull.
Ease: Super easy. Browning butter sounds fancy, but it takes just a few minutes and makes a huge difference.
Why You’ll Love It: An upgraded version of the classic that still comes together in about 10 minutes.
This post may contain affiliate links. Read our disclosure policy.


Would you believe that I didn’t like the packaged Rice Crispy Treats as a kid? Even back then, the taste was way too sweet for me.
But I remember the first time I saw homemade rice crispy treats made right in front of me. It felt almost magical how quickly they came together.
This Brown Butter Rice Crispy Treats recipe is that same simple concept, just elevated.
The brown butter transforms them into something much more flavorful without making the process any more complicated.
Reader Love
I made this today for the first time…and wow!! It’s almost gone already! Everyone loves it!!
–
Reader Love
I’ve made this recipe 4x in the last 4 months! It’s an instant crowd pleaser & has everyone asking “what is the secret ingredient?” The browned butter levels these up from an after-school-snack, to a dinner party dessert! My only edit is to 2 tsp of vanilla.
Thank you Tessa for this recipe!!
–

Sprinkle of Science
Ingredient Notes
Brown Butter: This is where the magic happens. Browning the butter creates a nutty aroma and amber milk solids that deepen the flavor dramatically. Use a stainless steel pan so you can clearly see the color change.
Mini Marshmallows: Freshness matters. Stale marshmallows will produce hard bars. The marshmallows provide both sweetness and structure.
Vanilla Extract: Don’t skip this! It enhances the marshmallow flavor and complements the nuttiness of the butter. To elevate, try using vanilla bean paste (same amount).
Crispy Rice Cereal: Any brand works, but make sure it’s fresh. Stale cereal leads to stale-tasting treats.
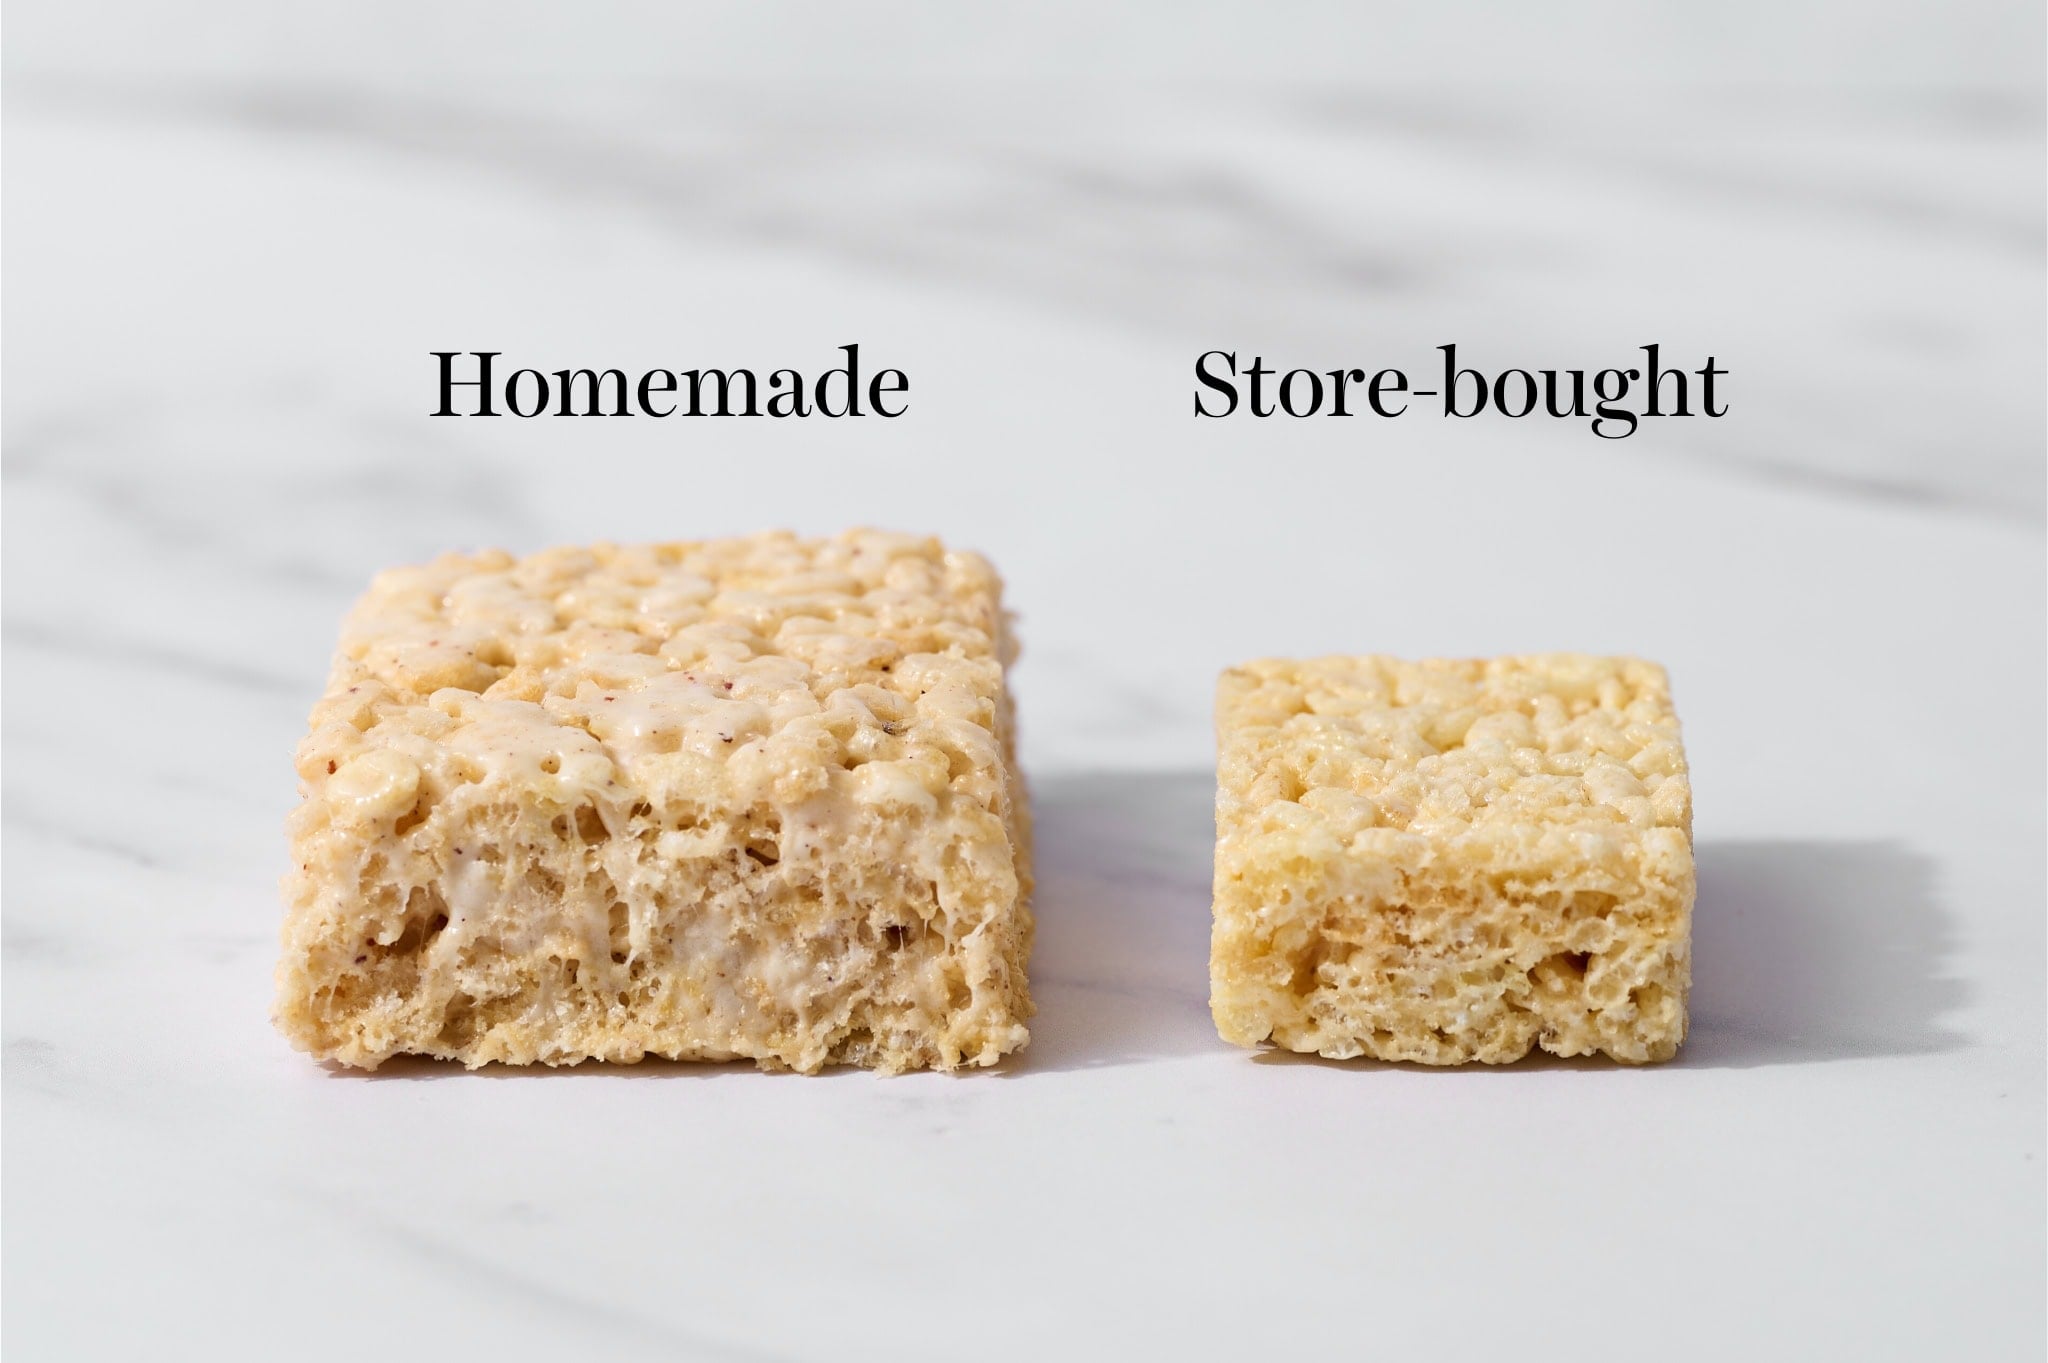
Store-Bought vs. Homemade Rice Crispy Treats
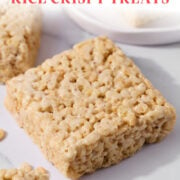
Brown Butter Rice Crispy Treats are an upgraded version of the classic no-bake dessert made with crispy rice cereal and marshmallows. Instead of plain melted butter, this version uses browned butter to add a nutty, caramelized depth of flavor.
The result? Thicker, gooier, chewier bars that taste far less artificial than the packaged kind:
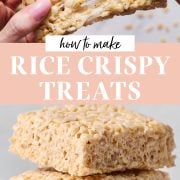
How to Make Brown Butter Rice Crispy Treats (Step by Step)
1. Prepare the Pan
Spray a 9×13-inch baking pan with nonstick spray or grease with butter. Doesn’t matter if it’s glass, ceramic, or metal, though metal will give you straighter edges.
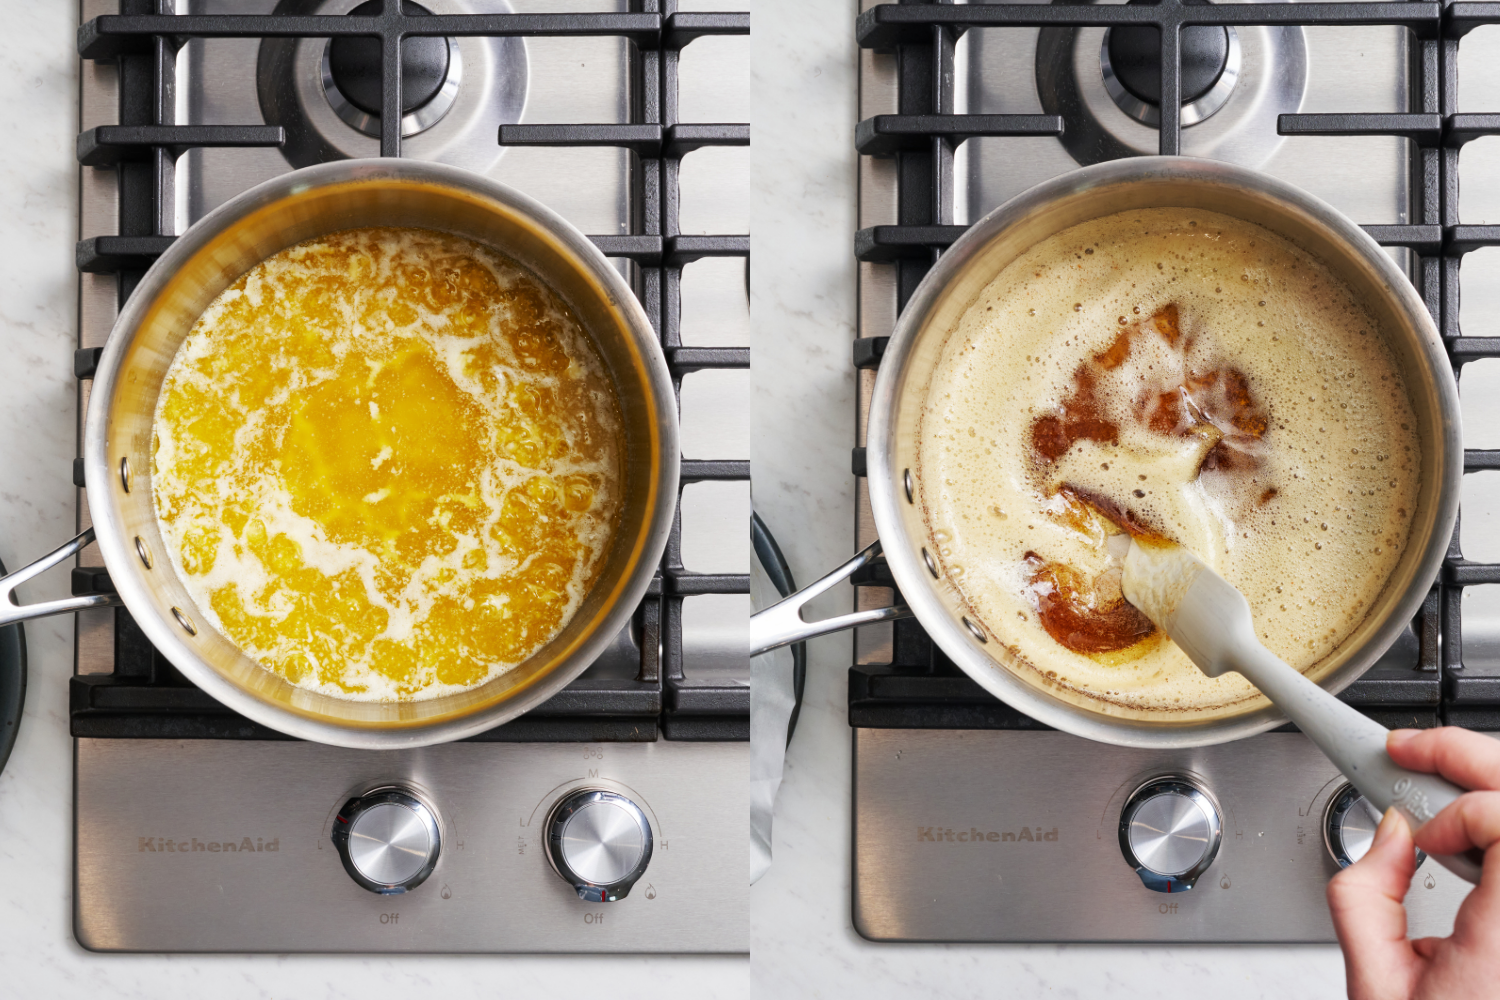
2. Brown the Butter
In a large stainless steel pan over medium-low heat, melt the butter.
It will become foamy and begin to crack and pop.
Once the crackling stops, continue swirling the pan. Brown bits will form at the bottom and the butter will smell nutty.
When the bits are amber in color — about 2 to 3 minutes after the popping stops — it’s ready.
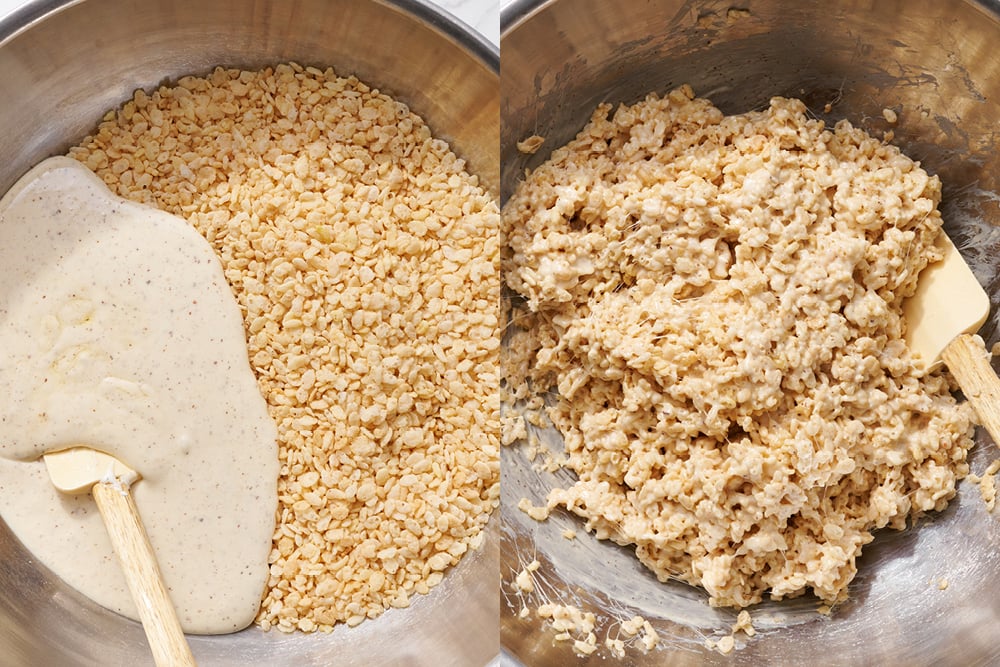
3. Melt the Marshmallows
Immediately add the marshmallows, vanilla, and salt. Reduce the heat to low. Stir constantly until fully melted and smooth.
Use gentle heat here — too much heat can make the final bars hard instead of chewy.
4. Add the Cereal
Remove from heat and add the rice cereal. Stir with a rubber spatula or wooden spoon until evenly coated.
5. Press Into Pan
Transfer the mixture to the prepared pan. Press gently into an even layer using your spatula or damp fingers.
Do not aggressively pack it down. Press firmly enough to bind, but gently enough to keep the texture chewy.
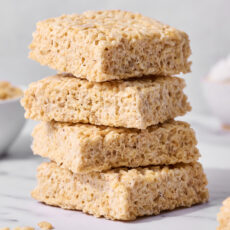
6. Cool
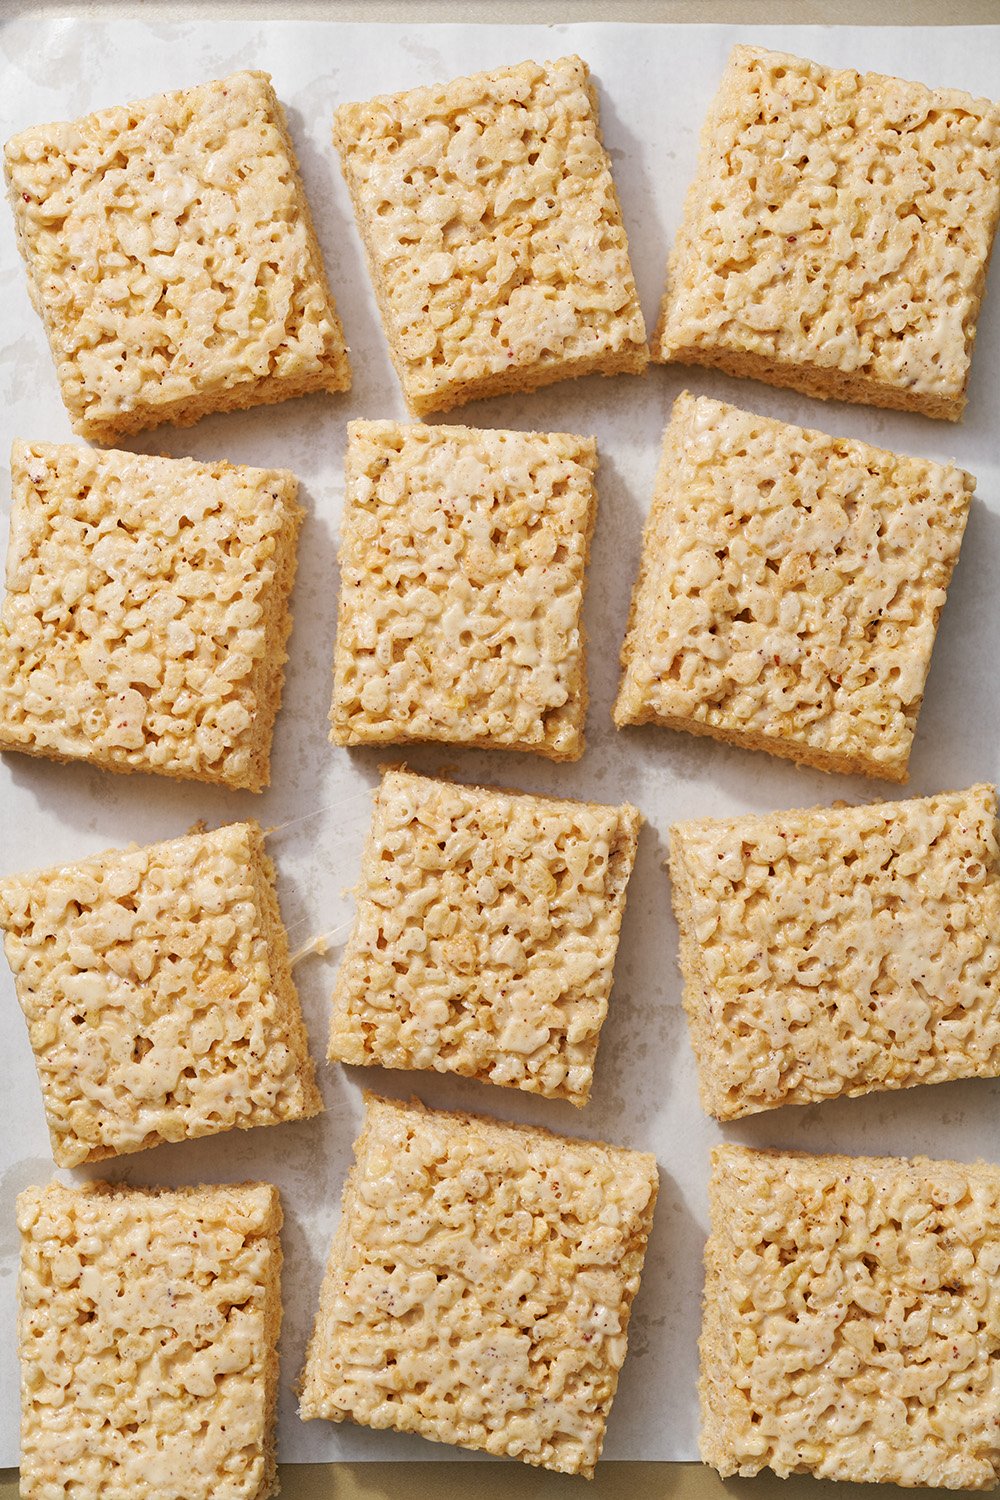
Allow to cool at room temperature for about 1 hour before cutting into 12 squares.

Baking Success Tips:
- Use a stainless steel pan so you can see the butter browning properly. Avoid nonstick.
- Don’t stir the butter constantly you want brown bits to form. Be sure to scrape those into the mixture for optimal flavor.
- Use fresh marshmallows and fresh cereal for best texture.
- Melt marshmallows over low heat to prevent scorching or hard bars.
- Press the mixture gently into the pan — packing too tightly leads to dense treats.
Storage & Make Ahead
These Rice Crispy Treats can be stored in an airtight container at room temperature for up to 2 days.
Do not refrigerate. Refrigeration makes the marshmallows firm and the bars hard.
Freezing is not recommended, as the texture becomes very hard. If needed, freeze airtight with wax paper between layers and thaw overnight at room temperature — but these are best fresh.
FAQs
Use fresh marshmallows and cereal, melt the marshmallows over low heat, and press the mixture gently into the pan. Overheating or packing too firmly will make them dense and hard. Don’t refrigerate.
Yes! Halve all ingredients and use an 8×8-inch baking pan.
Yes! Just eliminate half or all of the salt called for in the recipe.
Email This Recipe
Enter your email, and we’ll send it to your inbox.
Ingredients
- 2 sticks (226 grams) unsalted butter
- 2 10-ounce bags of mini marshmallows*
- 1 teaspoon vanilla extract
- 1/2 teaspoon kosher salt
- 9 cups (225 grams) crispy rice cereal**
Instructions
- Spray a 9×13-inch baking pan with nonstick cooking spray or grease with a stick of butter.
- Melt butter in a large stainless steel pan over medium-low heat. Continue to cook the butter, swirling the pan occasionally. It should become foamy and crack and pop audibly. When the crackling stops, continue to swirl the pan until the butter develops a nutty aroma and brown bits start to form at the bottom. Once the bits are amber in color, 2 to 3 minutes after the popping stops, add the marshmallows, vanilla, and salt to the pan. Reducing the heat to low, stir constantly until the marshmallows are completely melted. Remove from heat.
- Add the rice cereal and stir with a rubber spatula or wooden spoon until the cereal is evenly coated. Transfer the mixture into the prepared baking pan, pressing the mixture gently with your spatula, wooden spoon, or damp fingers into an even layer. Don’t be too aggressive pressing the mixture into the pan. You want to be firm enough to bind the mixture together, but not so firm that you compress it super solidly. The more tightly you pack it in, the more solid the end result will be once set. Be a little gentle so they stay chewy once set.
- Allow to cool to room temperature, about 1 hour. Cut into 12 squares before serving. Squares can be stored in an airtight container at room temperature for up to 2 days.
Notes
More Sweet Treats You’ll Love:
- Milano Cookies
- Oatmeal Cream Pies
- Homemade Fudge Rounds
- Homemade Oreo Cookies
- Brown Sugar Cinnamon Pop Tarts
- Chocolate Frosted Sugar Cookie Bars
This post was originally published in 2012 and updated in 2022 with new photos. Photos by Joanie Simon.


I can’t believe I’ve never actually made rice krispie treats before! They were so easy, and not sickly sweet like the store bought ones. I made them for a co-worker with a soy allergy’s birthday, these are soy free!
My kids said these were the best rice crispy treats they have ever had! They were so simple and the browned butter really elevated the taste.
Great summer treat, easy to make with a few ingredients. I added some crushed Oreos to mine.
super easy, quick, and cheap to make. taking only a few mintues longer to brown the butter is definitely worth it for and elevated, nostalgic, and delicious treat!
These are SO delicious! My new favorite easy treat to make!
The brown butter made all of the difference! Definitely worth this extra step, as the flavor was deepened. I also used premium vanilla. A winner!!
These were a hit. Definitely way more tasty and a better texture than store-bought!
I made these for the August baking challenge and let me tell you what…These are the BEST Rice Krispy Treats that I’ve ever tasted! Make these NOW!
By far the best Rice Krispie recipe I’ve tried. Will definitely make again.
This turned out great and tastes even better
I haven’t baked in a while and these rice crispy treats were the perfect beginner recipe to get me back into the swing of things. Browning the butter was much easier than I anticipated and made a huge difference in the flavor. Overall these were super easy to make, a fun treat to share and absolutely delicious!
So so yummy! The best version of a classic around.