Tessa’s Recipe Rundown
Taste: The tangy, rich cheesecake paired with the sweet chocolate is a perfect match.
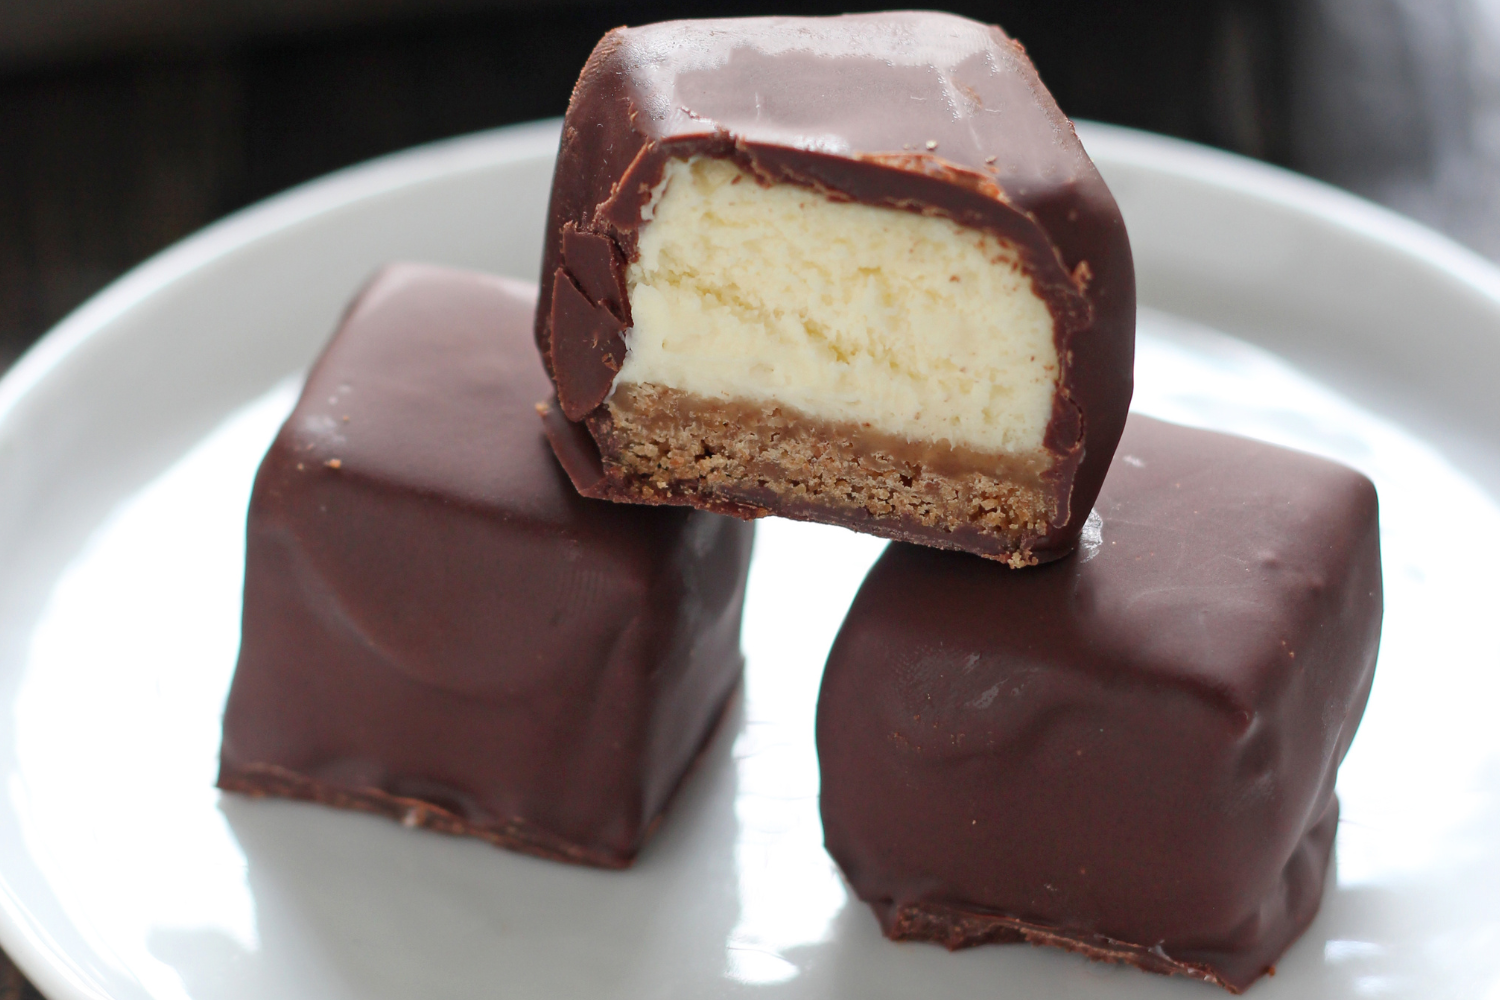
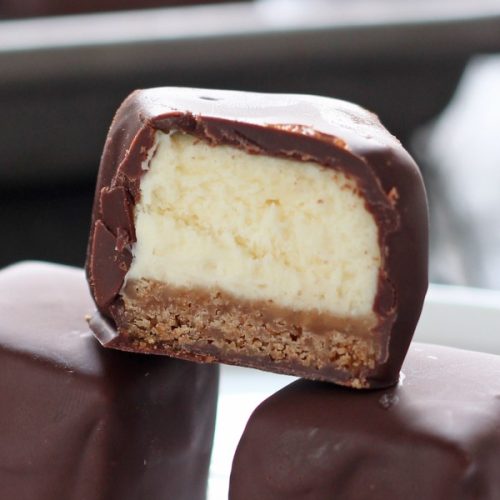
Texture: Buttery, crunchy graham cracker crust + thick, luscious, rich cheesecake, all coated in a thin, snappy chocolate coating. Heavenly!
Ease: Super easy – just a bit messy and requires some patience.
Why You’ll Love This Recipe: Fun bite-sized twist on a classic dessert. These will be gone in about 5 seconds flat at any party.
This post may contain affiliate links. Read our disclosure policy.
Chocolate-Covered Cheesecake Bites are the absolute perfect dessert for any party or potluck … or just an evening to yourself!
Thick and creamy cream cheese filling with the perfect amount of tang, atop a buttery, crunchy graham cracker crust, all coated in a thin, snappy chocolate coating. Sounds pretty amazing, right?
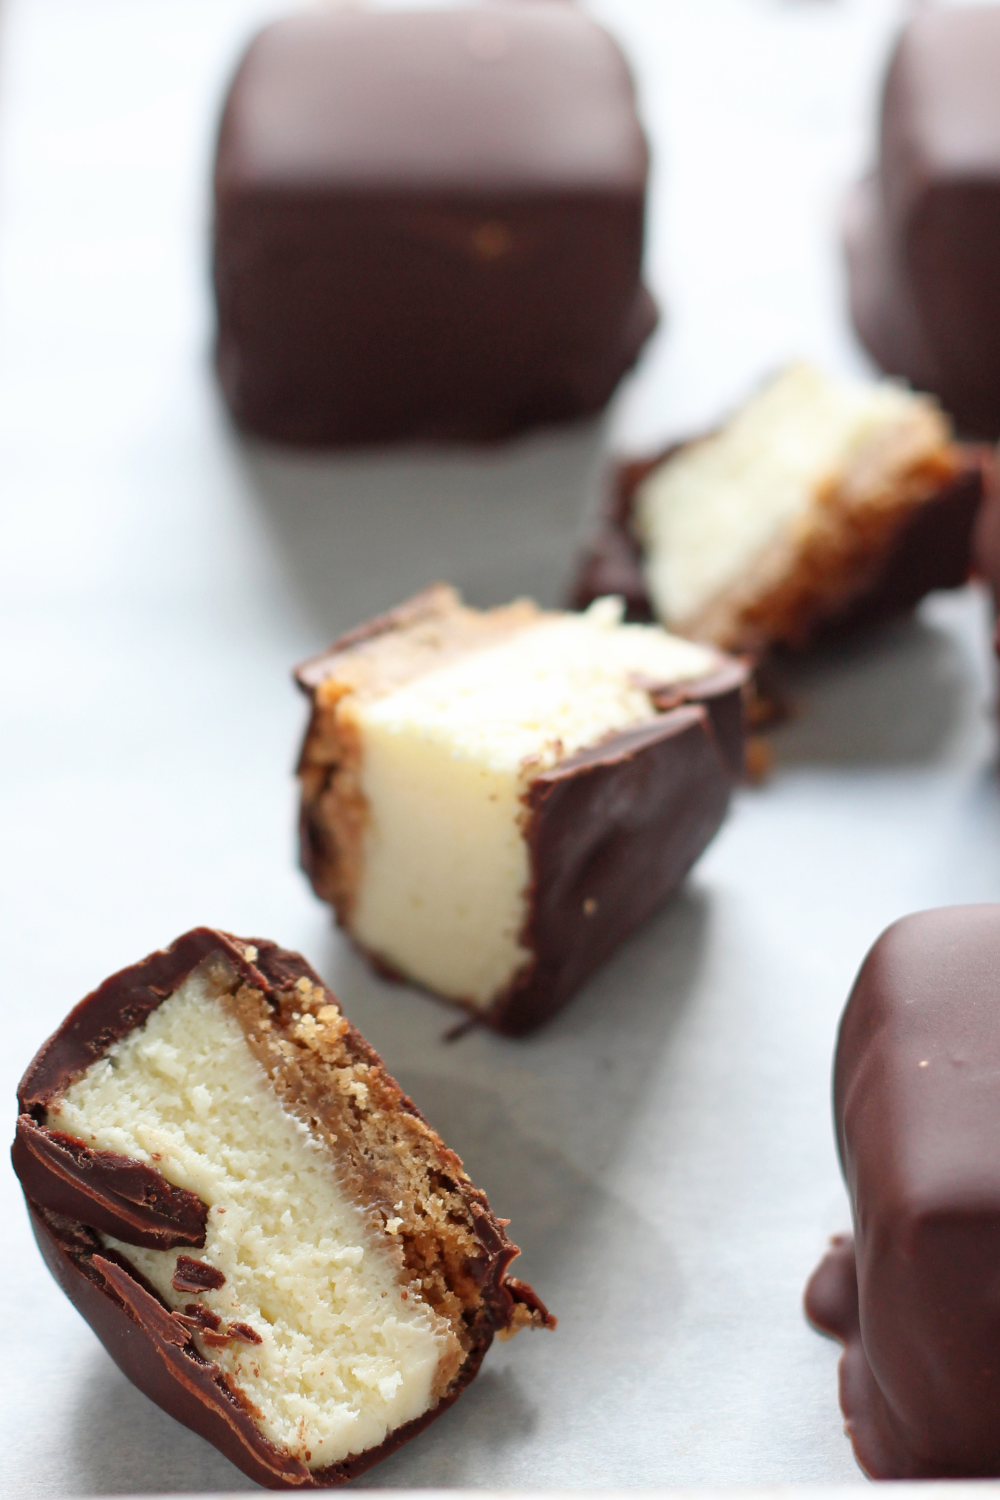
The homemade cheesecake is such a fun surprise waiting inside these little chocolate parcels. They make fantastic gifts, the perfect Valentine’s Day dessert recipe (or Galentine’s Day!) or Christmas party recipe.
Free Cheesecake Guide!
Discover the #1 secret for flawlessly smooth, luscious cheesecake in this FREE guide. Bake compliment-winning cheesecakes all the time!
Feel free to get creative here, too. You could experiment with adding some caramel, nuts, or mini chocolate chips. You could add some citrus zest or extracts to the cheesecake. Change up the crust to use a different cookie base. Have fun with it – just be sure to freeze the bites well before dipping them in chocolate.
Let me know in the comments below if you give these Chocolate-Covered Cheesecake Bites a try!

Sprinkle of Science
How to Make Chocolate-Covered Cheesecake Bites
Tips for Perfectly Smooth Cheesecake
- Be sure to use blocks of full-fat, high-quality cream cheese. Do not use reduced fat or whipped cream cheese. I like Philadelphia brand.
- Be sure your cream cheese is completely softened to room temperature.
- Beat it very well with the sugar, but once you add the eggs and flour, only beat until just combined.
- Also, be sure to scrape down the sides and bottom of your bowl as well as your mixer attachment often, to prevent lumps.
Cheesecake Crust Variations
You can use the same amount by weight of digestive biscuits, vanilla wafers, Biscoff cookies, or any crunchy cookie you prefer!
Please note that Biscoff cookies are a little richer than graham crackers (which are drier), so add just enough butter until it holds together when pressed.
Using Coconut Oil + Baking Chocolate for Dipping
Since coconut oil is solid at room temperature, it helps to create a solid coating for the Chocolate-Covered Cheesecake Bites. Use refined coconut oil if you prefer not to have any coconut taste.
What Type of Chocolate for Dipping?
- Don’t use chocolate chips for dipping – chocolate chips contain ingredients that prevent them from fully melting in recipes like Chocolate Chip Cookies – so they don’t melt down as smoothly.
- I like to use Ghirardelli semi-sweet chocolate bars, but any quality baking chocolate is fine – just note that using dark or milk chocolate will alter the overall sweetness of the bites.
- You can temper the chocolate, but these Chocolate-Covered Cheesecake Bites need to be stored chilled because of the dairy in the cheesecake, so tempering isn’t needed – but if you want to go for it anyway, learn How to Temper Chocolate here.
- You could alternatively use candy melts, but I don’t like the way they taste (it’s not real chocolate).
Tips for Dipping Cheesecake Bites in Chocolate
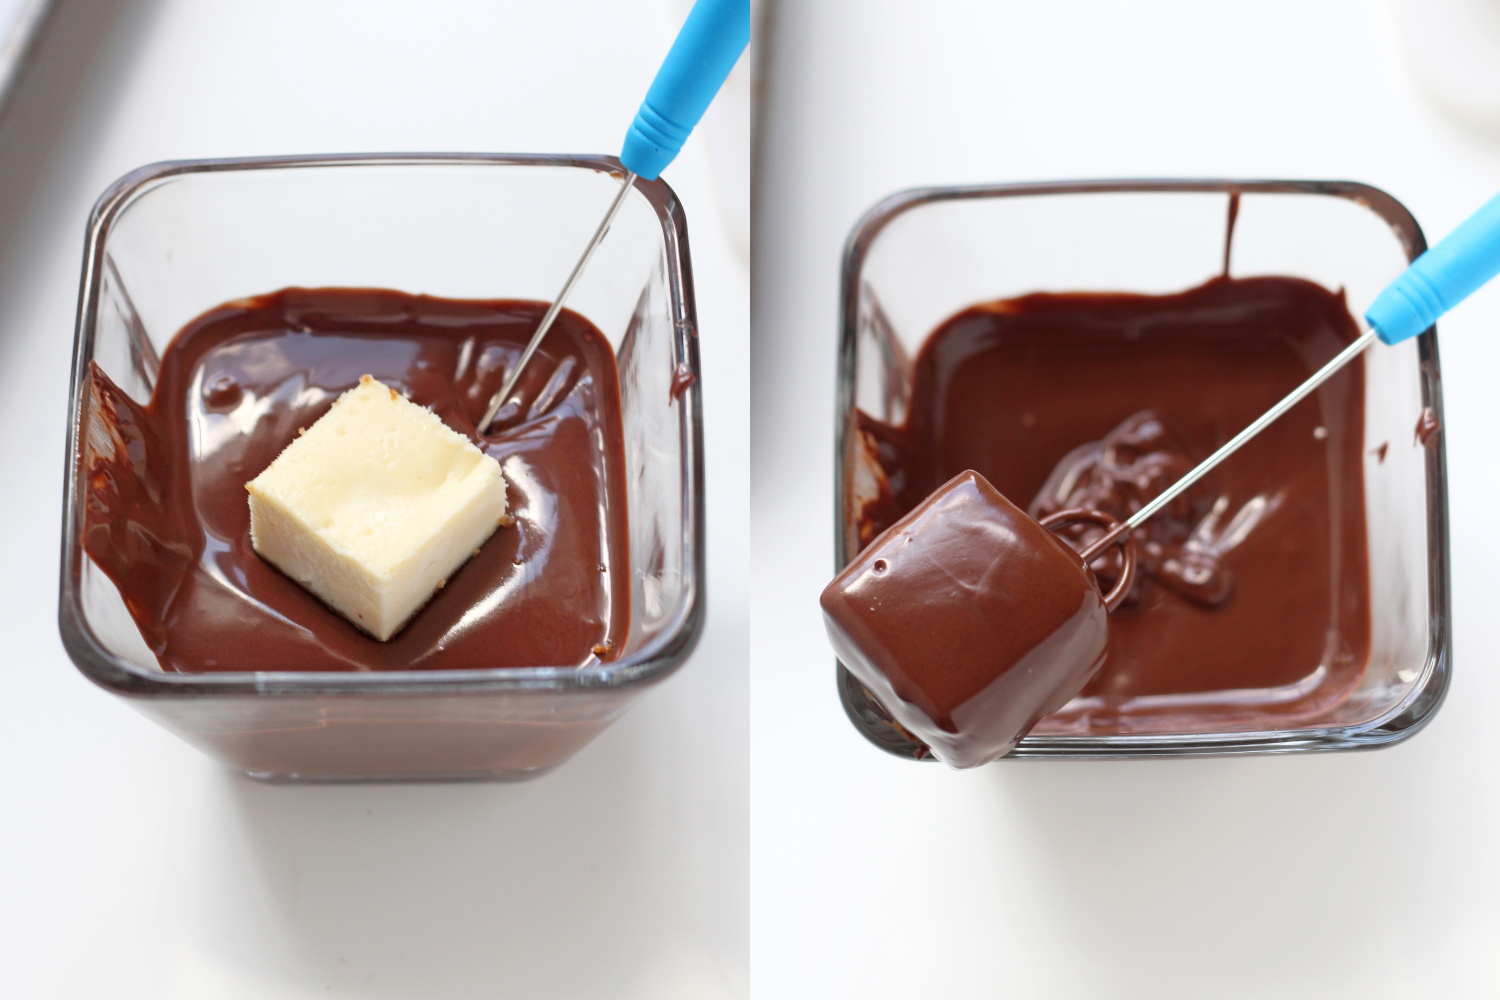
- Keep the chocolate warm. You may need to reheat it if it becomes less pourable halfway through dipping.
- Keep your Cheesecake Bites cold, keeping them in the freezer until just before dipping in chocolate. This will help the chocolate set up more quickly.
- You can use chocolate dipping tools to make your Chocolate-Covered Cheesecake Bites look super neat and professional.
What Pan Should I Use for the Cheesecake?
I recommend using a light-colored metal 8×8-inch baking pan. I don’t recommend using darker metal pans, or glass, ceramic, or silicone – learn more about Glass vs. Metal Baking Pans here.
How to Store Chocolate-Covered Cheesecake Bites
Store inside an airtight container in the fridge for up to 5 days, or in the freezer for up to a month. Please note that the graham cracker crust may soften as the cheesecake bites sit.
More Cheesecake Recipes You’ll Love:
Chocolate-Covered Cheesecake Bites
Email This Recipe
Enter your email, and we’ll send it to your inbox.
Ingredients
For the crust:
- 9 whole (135 grams) graham crackers
- 1 stick (113 grams) unsalted butter, melted
For the filling:
- 16 ounces (454 grams) cream cheese, completely softened to room temperature
- 1/2 cup (100 grams) granulated sugar
- 1/4 cup sour cream, at room temperature
- 2 large eggs, at room temperature
- 1 teaspoon vanilla extract
- 1 tablespoon all-purpose flour
- 1/2 teaspoon fine sea salt
For the chocolate coating:
- 16 ounces (454 grams) semisweet chocolate
- 4 tablespoons coconut oil
Instructions
Make the crust:
- Preheat oven to 350 degrees F. Line an 8 by 8-inch square baking dish with foil and spray with non-stick cooking spray.
- In a food processor, pulse the crackers until finely ground. Add the butter and pulse until moistened. Press the crumb mixture into the bottom of the prepared pan using the bottom of a measuring cup or glass. Bake until fragrant, about 10 minutes (longer if using a glass dish). Place on a cooling rack to cool completely.
- Reduce heat to 325°F.
Make the filling:
- Using an electric mixer, beat the cream cheese and sugar until completely smooth and fluffy, about 3 minutes. Scrape down the bottom and sides of the bowl, as well as the mixer attachment. On low speed, add in the sour cream, eggs, vanilla, flour, and salt and beat until just combined. Be careful not to overmix.
- Pour the batter over the cooled crust. Tap against the counter a few times to release air bubbles. Bake for 35 to 40 minutes (longer if using a glass dish), or until cheesecake is slightly puffed and the center is set. If the center is slightly jiggly, that's fine.
- Let cool completely on a wire rack. Freeze for 3 hours, or until very cold and firm, or overnight.
Coat in chocolate:
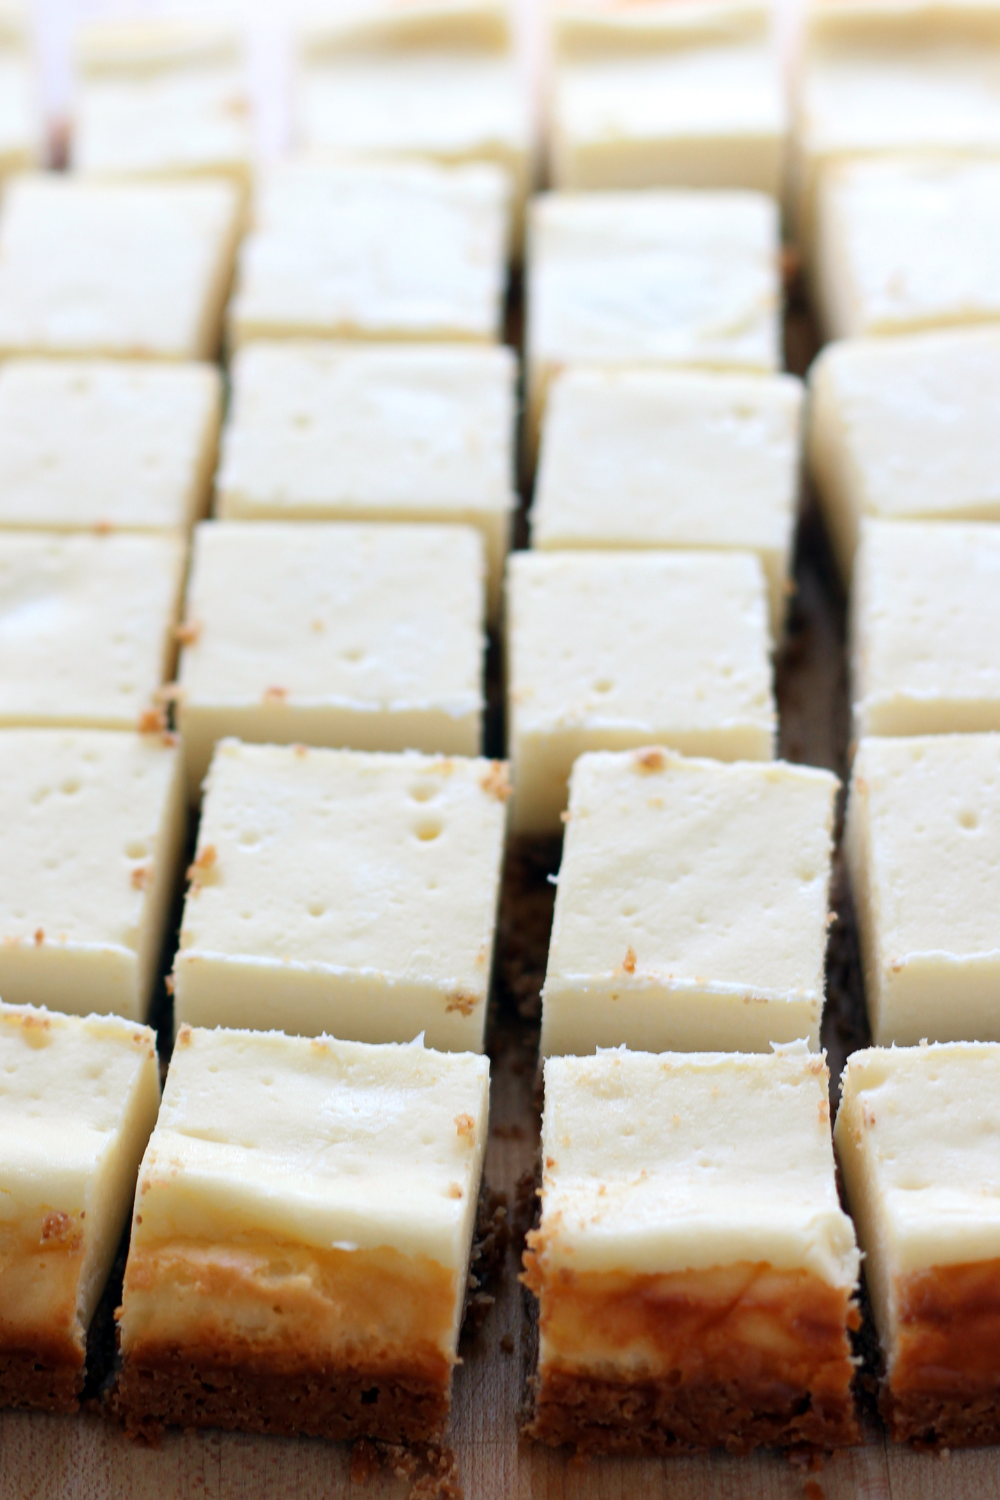
- Once frozen, lift the cheesecake out of the pan and gently peel away the foil. Using a sharp knife, cut cheesecake into 36 bite-size squares. If squares become too soft, freeze until chilled again.
- Place the chocolate and coconut oil in a microwave-safe bowl and heat for 1 to 2 minutes, stirring every 30 seconds, until melted and smooth. Place parchment paper or a silicone baking mat on a rimmed baking sheet. Dip cheesecake squares, one at a time, in the melted chocolate. Let the excess drip off and place on prepared sheet. Repeat for all the squares then refrigerate until the chocolate is set. Serve or store the squares in an airtight container in the fridge or freezer.
Recipe Notes
This post was published in 2015 and has been updated with metric weight measurements, recipe improvements, and additional recipe tips.




Not a cheesecake person myself; But I’ve now made these for others on three separate occasions. It’s true, they don’t last. I’ve actually had people unhappy after parties when they are gone.
I make these all the time. They turn out perfect. I add 2/3 cups chopped salted cashews between the crust and caramel, and a half cashew on top of the chocolate before it sets( to hold it in place). An excellent sweet and salty flavour. Just made for a wedding and had to omit the nuts( allergy reasons ). Instead of using a pan lined with tinfoil,( which I’ve used several times), I got a silicone mini cupcake pan (24) and when they are cooled, put them in the freezer ( still in the cupcake pan). When completely frozen, they pop out so easy for dipping.(no crumbs or cheesecake sticking to the knife). I only take out a couple at a time for dipping to keep them frozen and use 74 % cocoa bars for dipping. Since I have to omit the salted cashews, after dipping them in chocolate, I drizzled some caramel ( in a piping bag ) over the chocolate ( before it sets) and put a few coarse pieces of pink himalayan salt on top. I find using this chocolate gives you enough time to decorate before it sets. Was suppose to make 30.. but made close to 80, and they will be gone.
Can you make ahead and store in the freezer? If yes how long can you store?
Hi Heike! We haven’t tried that, so we can’t say for sure! I don’t see why that wouldn’t work for at least a month or so, though, as long as they’re well-wrapping in plastic wrap or a good airtight container, to prevent freezer burn 🙂
These were such a big hit! I even forgot to add the sour cream. I also swapped the graham crackers for gluten free Oreos for a gluten free version. (I did reduce the amount of butter by 2 tablespoons to accommodate for the Oreo filling. I might want to reduce that a bit more next time.) After I cut them into 36 pieces I left them in the freezer and dipped 6 to 8 at a time with a fork to keep them from melting, then after they dried I put them in decorative regular sized cupcake holders for easy access. It was requested again for next week’s tea. I’ll probably make a double batch and decorate them!
Excellent. I switched it up a bit on half of them; drizzled with caramel, chocolate, and chopped pecans. I placed them in gold, mini cupcake liners, they look great and taste yummy!!
These are excellent! The coconut oil added to the chocolate really thins out the chocolate and makes the perfect dipping consistency – never done that before and loved that trick! Followed everything exactly as written and they came out perfectly!