Tessa’s Recipe Rundown
Taste: I absolutely adore the fresh, earthy, piney taste of rosemary, especially when combined with salty Parmesan cheese!
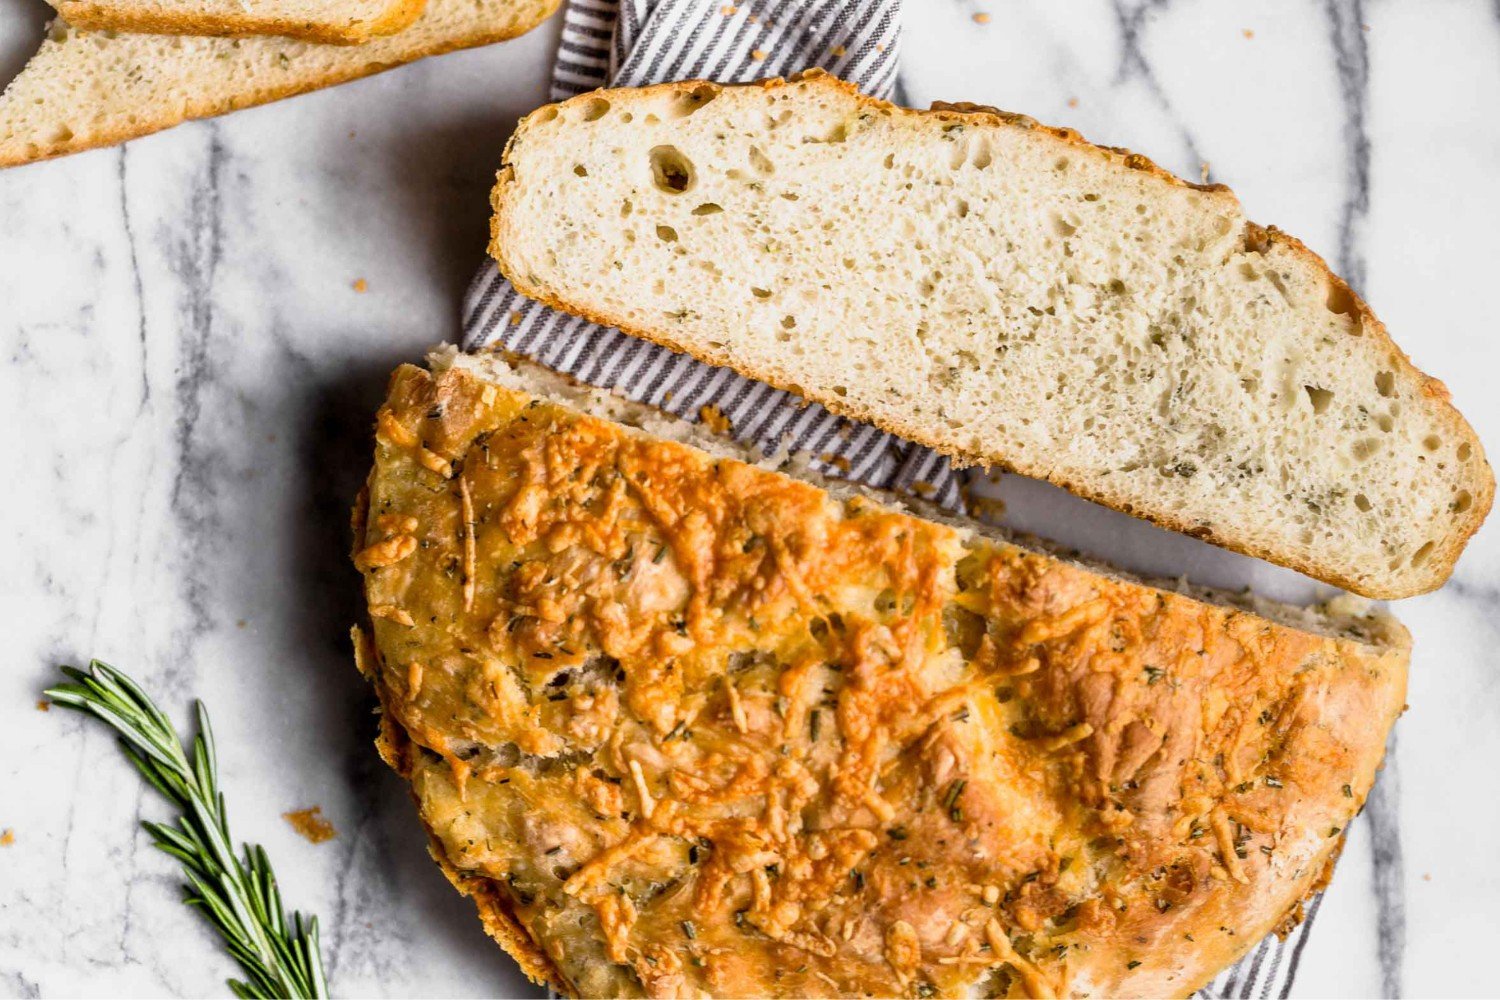
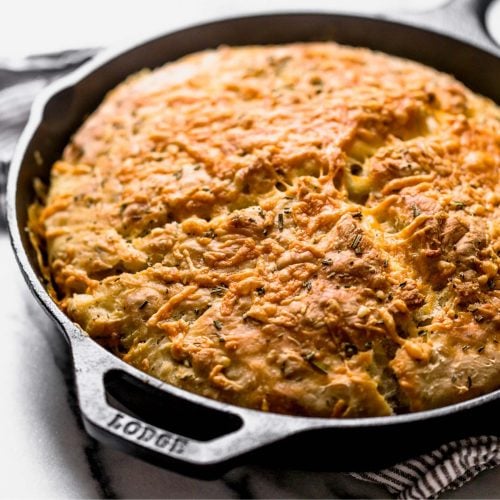
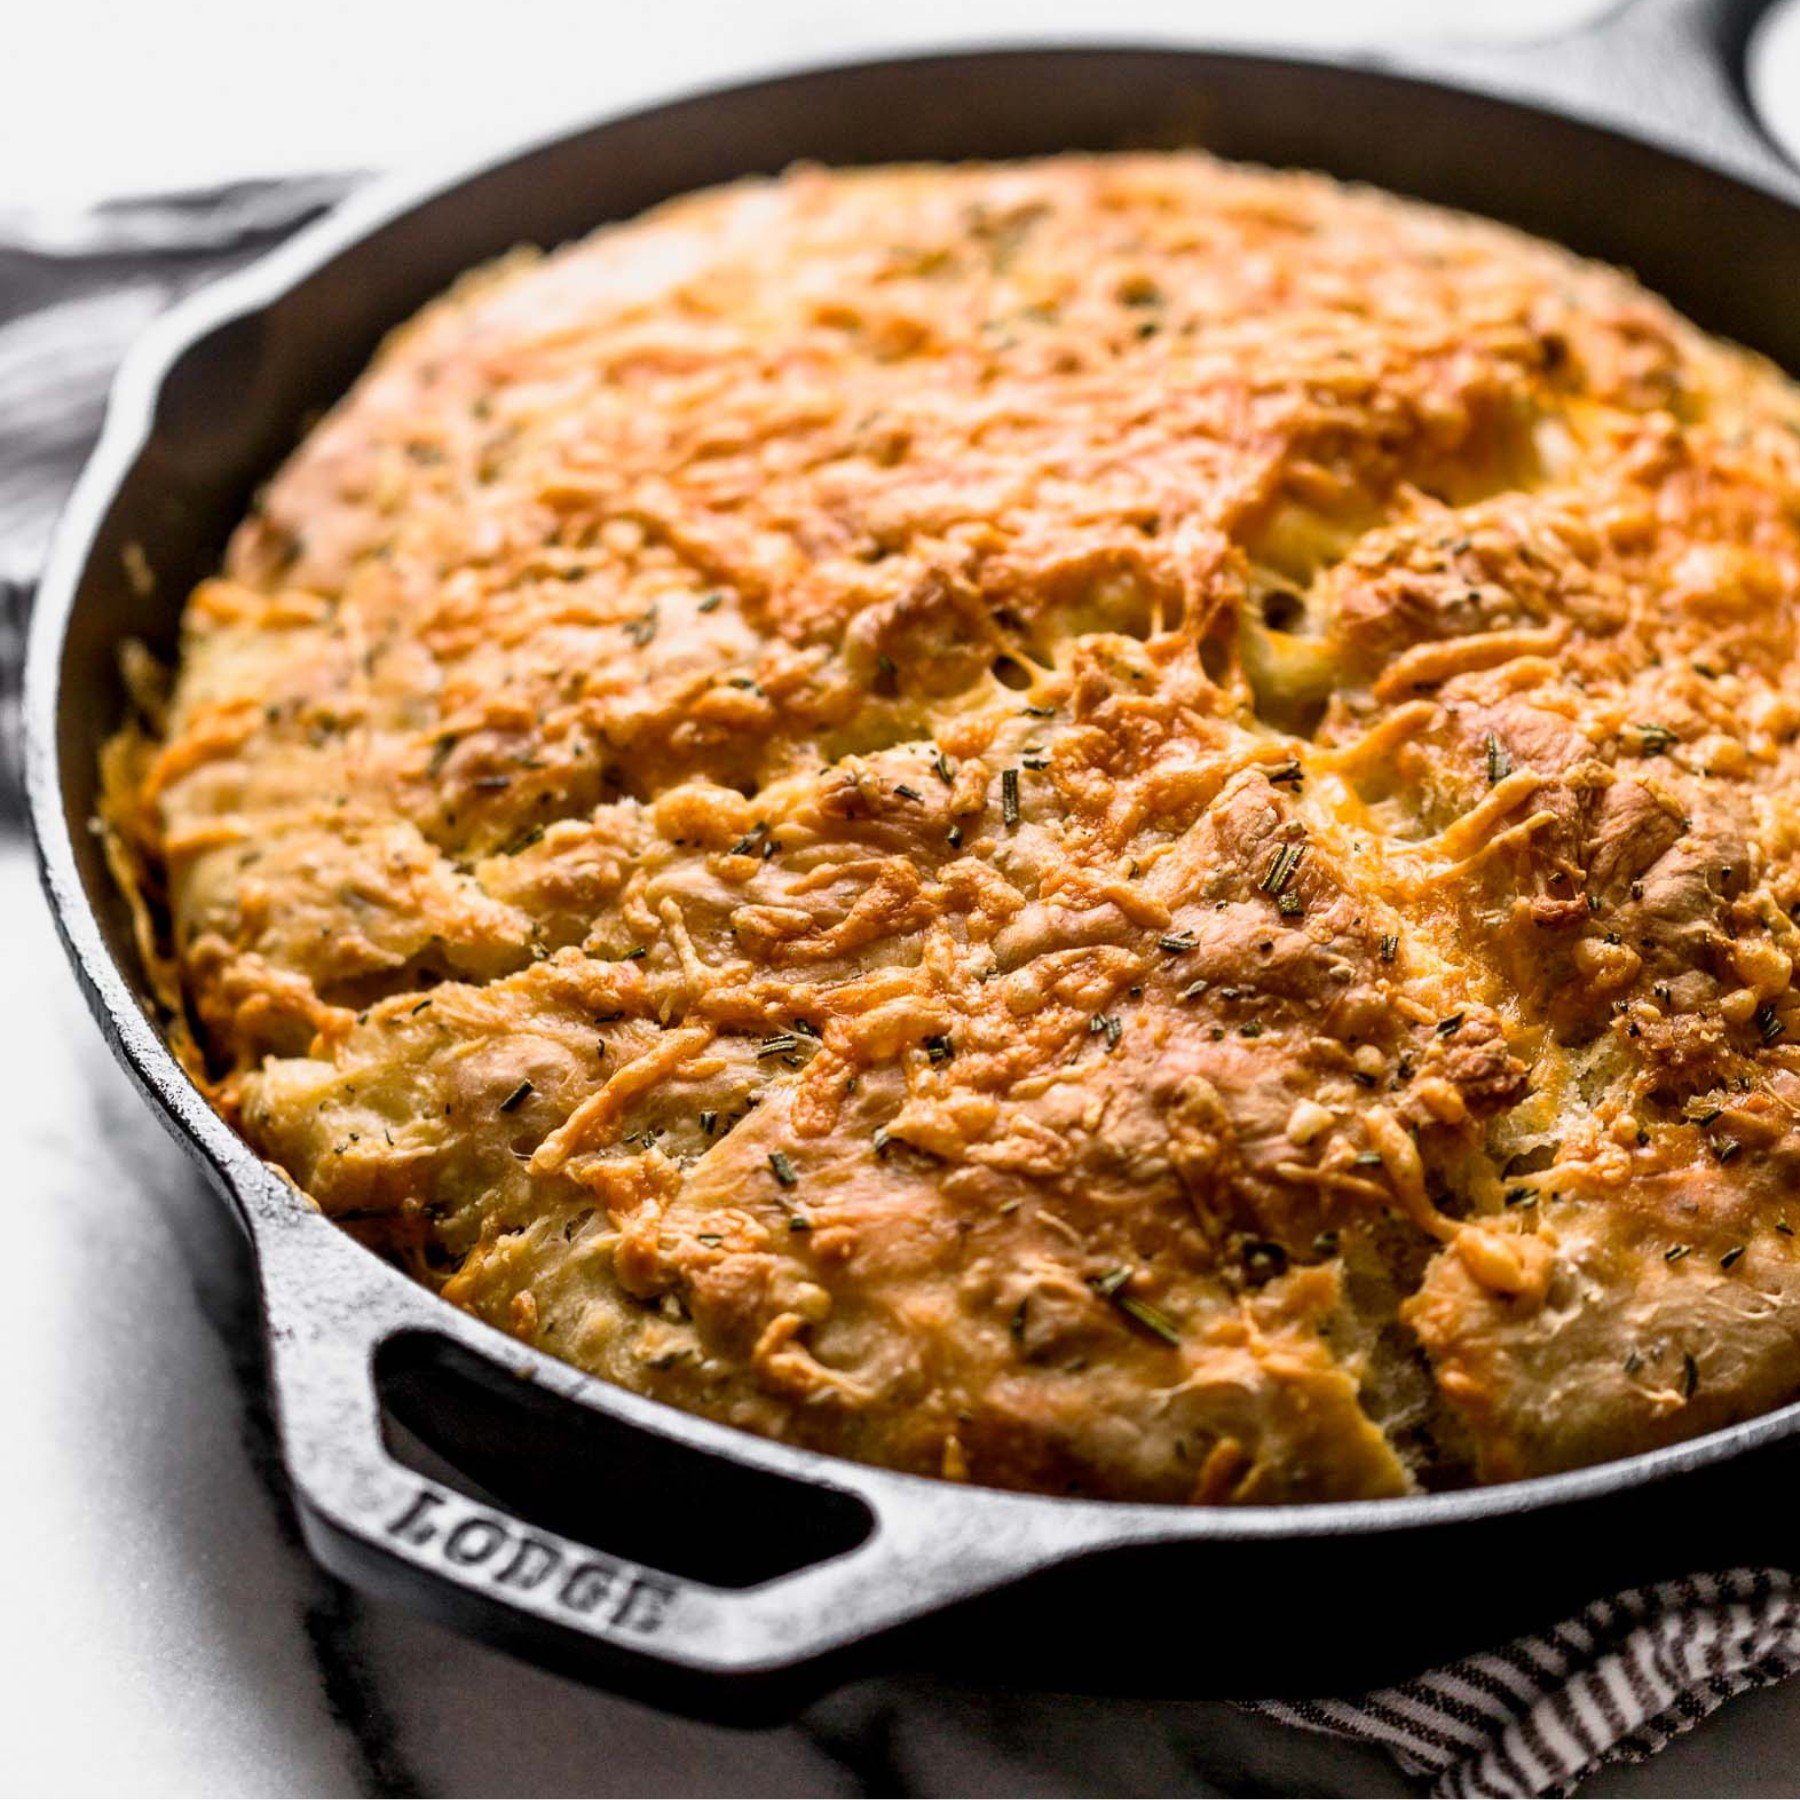
Texture: The bread develops a wonderfully crisp, rich crust, while the inside is light and tender.
Ease: Ridiculously easy.
Pros: The dough comes together in a matter of minutes and using the cast iron pan means no shaping. Not to mention it creates a beautiful crust!
Cons: None!
Would I make this again? 100% yes!
This post may contain affiliate links. Read our disclosure policy.
Bread really doesn’t need to be intimidating or complicated, which is why I love to share recipes like this super easy No Knead Rosemary Parmesan Skillet Bread!
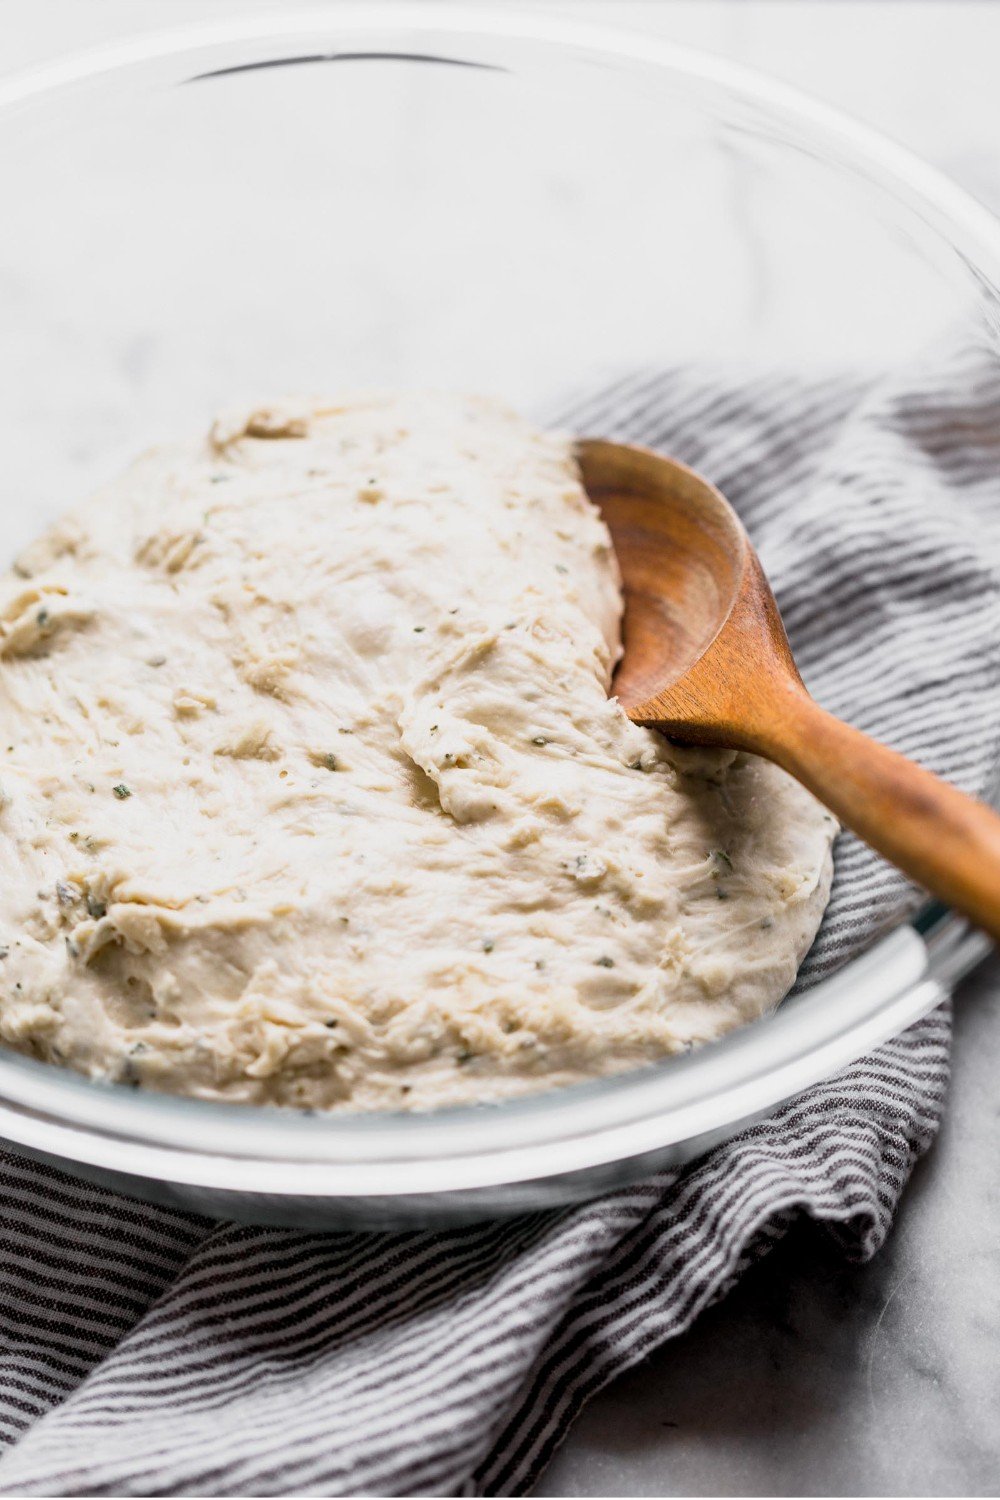
It’s so simple, and the perfect beginner bread if you’ve never baked your own bread before.
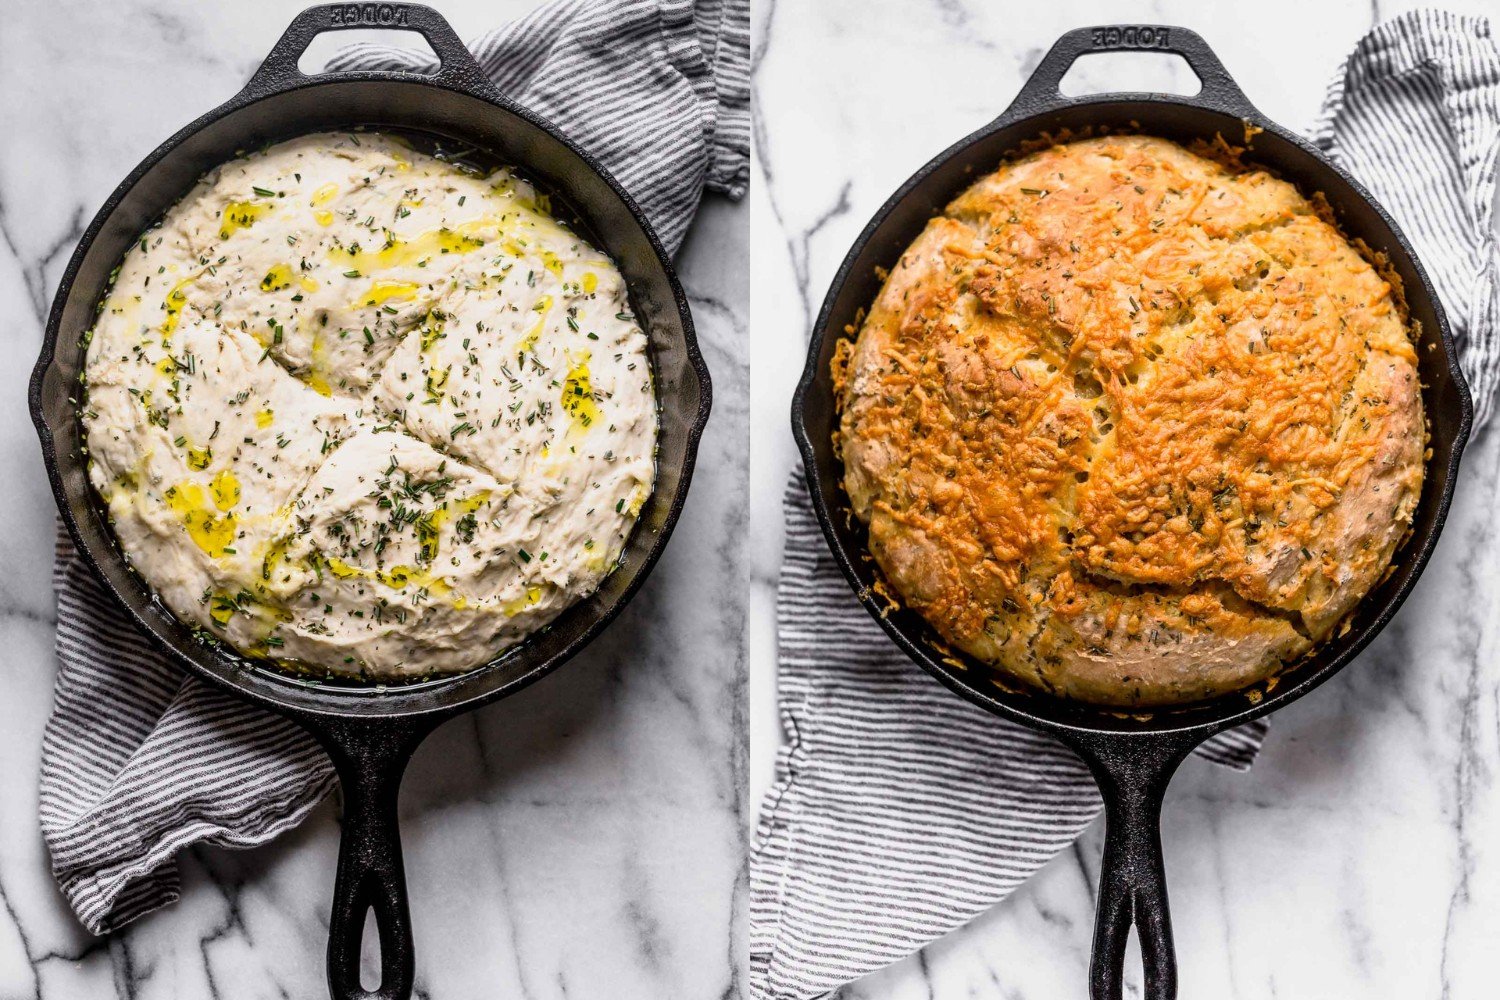
There’s nothing like a loaf of fresh-baked bread, warm from the oven! The smell is absolutely intoxicating. I think I was born to bake bread. It’s one of my very favorite things to do.
Check out my tips and answers to FAQs in the Sprinkle of Science box below!
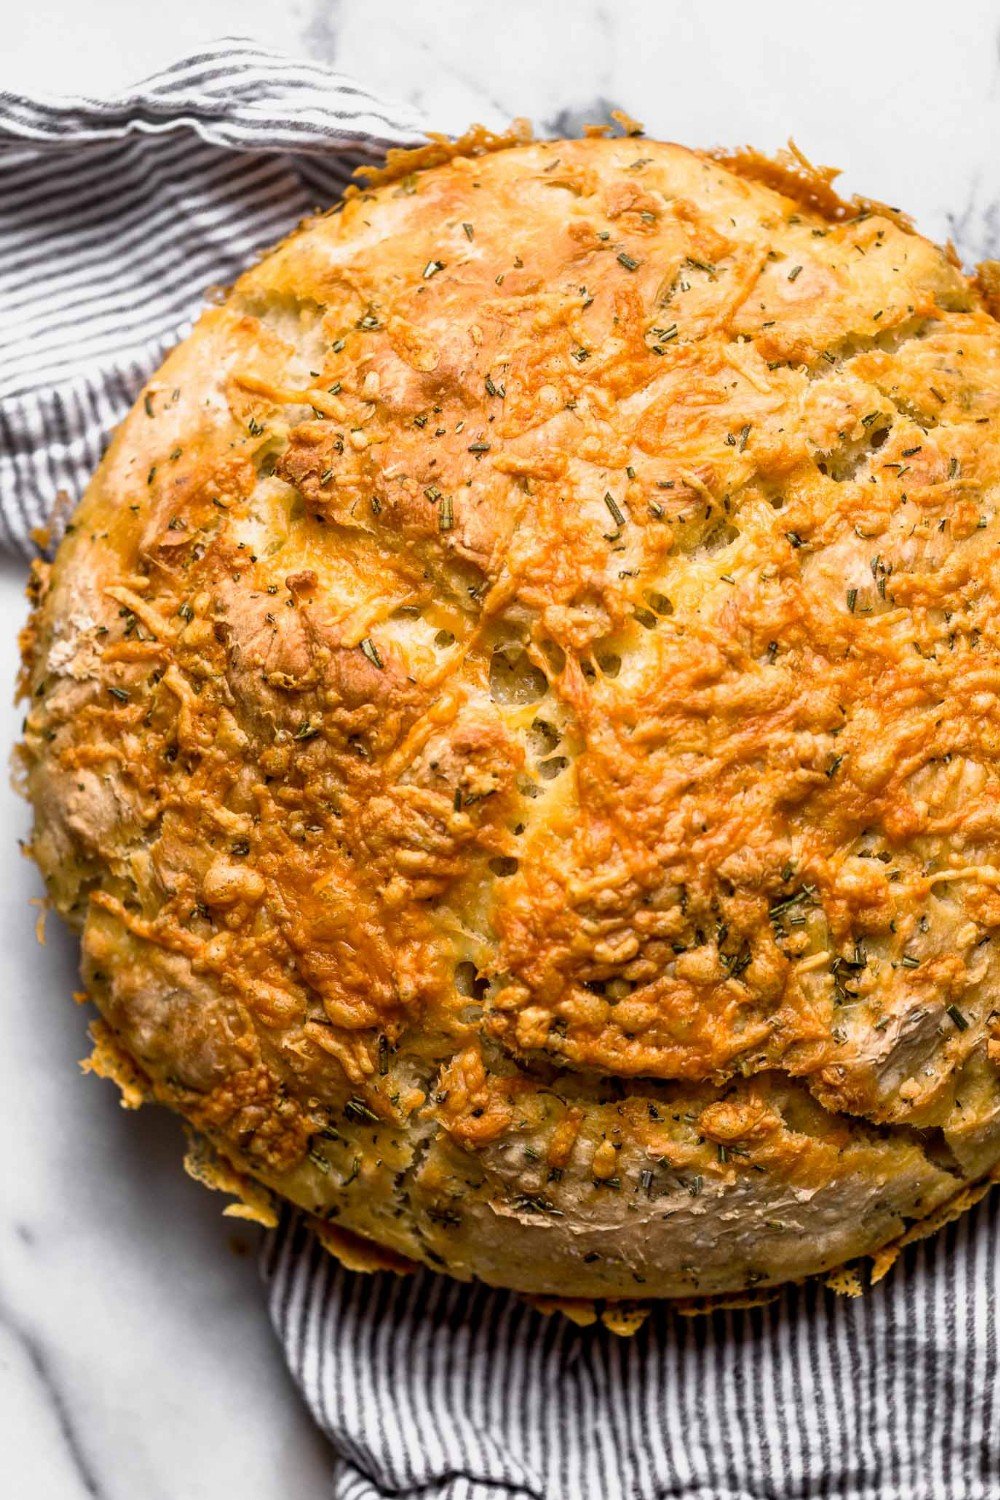

Sprinkle of Science
How to Make No Knead Rosemary Parmesan Skillet Bread
Which Yeast Should I Use for Skillet Bread?
- No Knead Rosemary Parmesan Skillet Bread utilizes a shortcut ingredient: instant yeast, also called rapid rise or quick rise yeast.
- One of the three should be available at most grocery stores or you can buy my all-time favorite yeast on Amazon.
- These types of yeast are specifically formulated to allow you to skip proofing (aka the step where you combine the yeast with warm liquid for 5 minutes). You can add instant yeast directly into the mix with all of the ingredients.
What if I Only Have Active Dry Yeast?
If you don’t have or can’t find instant yeast, you can easily use active dry yeast instead. Add it right in with the dry ingredients like instant yeast, but just note that the dough will take about 20% longer to rise.
Alternatively, you can speed up that rise time slightly; simply combine it with the warm water and a pinch of the sugar called for in the recipe, and allow it to proof until it becomes bubbly (about 5 minutes) before adding into the bowl with the other ingredients. Learn more about the different types of yeast, and how to substitute yeasts, here.
How to Tell When Dough Has Risen
- After mixing, place the dough in a lightly oiled mixing bowl or directly into the oiled skillet.
- I like to take a picture of the dough before rising, so I can compare to see how much it has risen later.
- Cover the bowl or skillet loosely with plastic wrap. Let the dough rise in a warm, draft-free location.
- The amount of time the dough will take to rise depends on your kitchen environment.
- Ideal rise temperatures are between 80°F and 90°F.
- Lower temperatures will require more rising time.
- The dough is done rising when it’s about doubled in volume and puffy.
Can I Mix Up the Toppings?
Absolutely! Feel free to add different herbs and spices, change up the cheese, and even experiment with adding other toppings. Crumbled feta or goat cheese, torn fresh mozzarella, olives, cherry tomatoes, or fresh garlic cloves are all delicious touches. Homemade everything bagel seasoning also adds a fun flavor.
How to Serve No Knead Rosemary Parmesan Skillet Bread
- Serve alongside a delicious soup, like my Chicken Pot Pie Soup
- Dip the bread in oil & balsamic
- Slather with butter
- Serve with pasta
- Or any other way your heart desires!
More Recipes You’ll Love:
- Copycat Olive Garden Breadsticks
- Red Lobster Homemade Cheesy Garlic Biscuits
- Homemade Hawaiian Rolls
- Ultimate Dinner Rolls
- Focaccia Bread

Become a Baking Genius!
Sign up for our free email newsletter for NEW recipes & baking science secrets.
No Knead Rosemary Parmesan Skillet Bread
Ingredients
- 2 1/4 teaspoons (1 package) instant yeast
- 2 cups lukewarm water
- 4 1/2 cups (574 grams) all-purpose flour
- 2 tablespoons chopped fresh rosemary, plus more for sprinkling
- 1 1/2 teaspoons fine salt
- 3 tablespoons olive oil, divided
- 1/4 cup grated parmesan cheese
Instructions
- In a large mixing bowl, combine the yeast and water. Add half the flour in and stir with a wooden spoon. Add the rosemary, salt, and remaining flour and stir until combined. Cover with plastic wrap and let rise in a warm place until doubled in size, about 1 hour. Or, you can let the dough rise in the skillet (next step).
- Brush 2 tablespoons olive oil over the bottom of a 10 or 12-inch cast iron skillet. Sprinkle the dough and your hands with flour before shaping it into a disk. Dough will be sticky, it doesn’t have to be perfectly shaped. Place in the skillet, cover loosely, let rise until puffy, about 30 minutes.
- Meanwhile, preheat the oven to 400°F.
- Drizzle additional olive oil over the top of the bread. Slash the dough with a sharp knife to create an X shape. Sprinkle with rosemary leaves. Bake for 20 minutes. Remove from oven and sprinkle all over with the Parmesan cheese. Return to oven and bake for an additional 20 minutes, or until golden brown.
Recipe Notes
This post was originally published in 2016 and has been updated with additional baking tips. Photos by Jess Larson.








made this tonite. split it in two, one I incorporated chopped jalapenos onions garlic with some dried cilantro, then sprinkled a bit of shredded cheddar on top. delish!!!
So glad to hear this, Angela! Your bread looks delicious!
Made as directed and it was fabulous. After both 1st and 2nd bakes i let bake a few minutes longer. And my rise times were 1:30 1st rise and 35-40 2nd rise. Used less salt for health issues but still a strong spring-back bread. This recipe is a keeper. Thank you!!!
So happy you enjoyed!
wonderful , easy
After 1st rise, can you refrigerate dough for a few hours before 2nd rise in skillet before baking? I have an appointment in the middle of my day but would like to still serve this warm at dinner.
Hi Torie! We haven’t tested making this recipe ahead, but that should work just fine! Once you have done the first rise and shaped the dough in the skillet, as you noted, be sure to cover well with plastic wrap (but not too tightly, as it will continue to rise in the fridge, but much slower; you just don’t want the dough to dry out in the fridge!). Then you can refrigerate during your appointment! Pull the dough out of the fridge before you’re ready to bake, loosen the plastic wrap, and ensure it’s had its full second proof. The second proof could take awhile, or not much time at all – it all depends on the ambient temperature in your kitchen. The dough is fully proofed when an indentation made with your finger into the dough remains. Proceed with the recipe as written. I hope that helps! Let us know how it turns out! 🙂