


Tessa’s Recipe Rundown
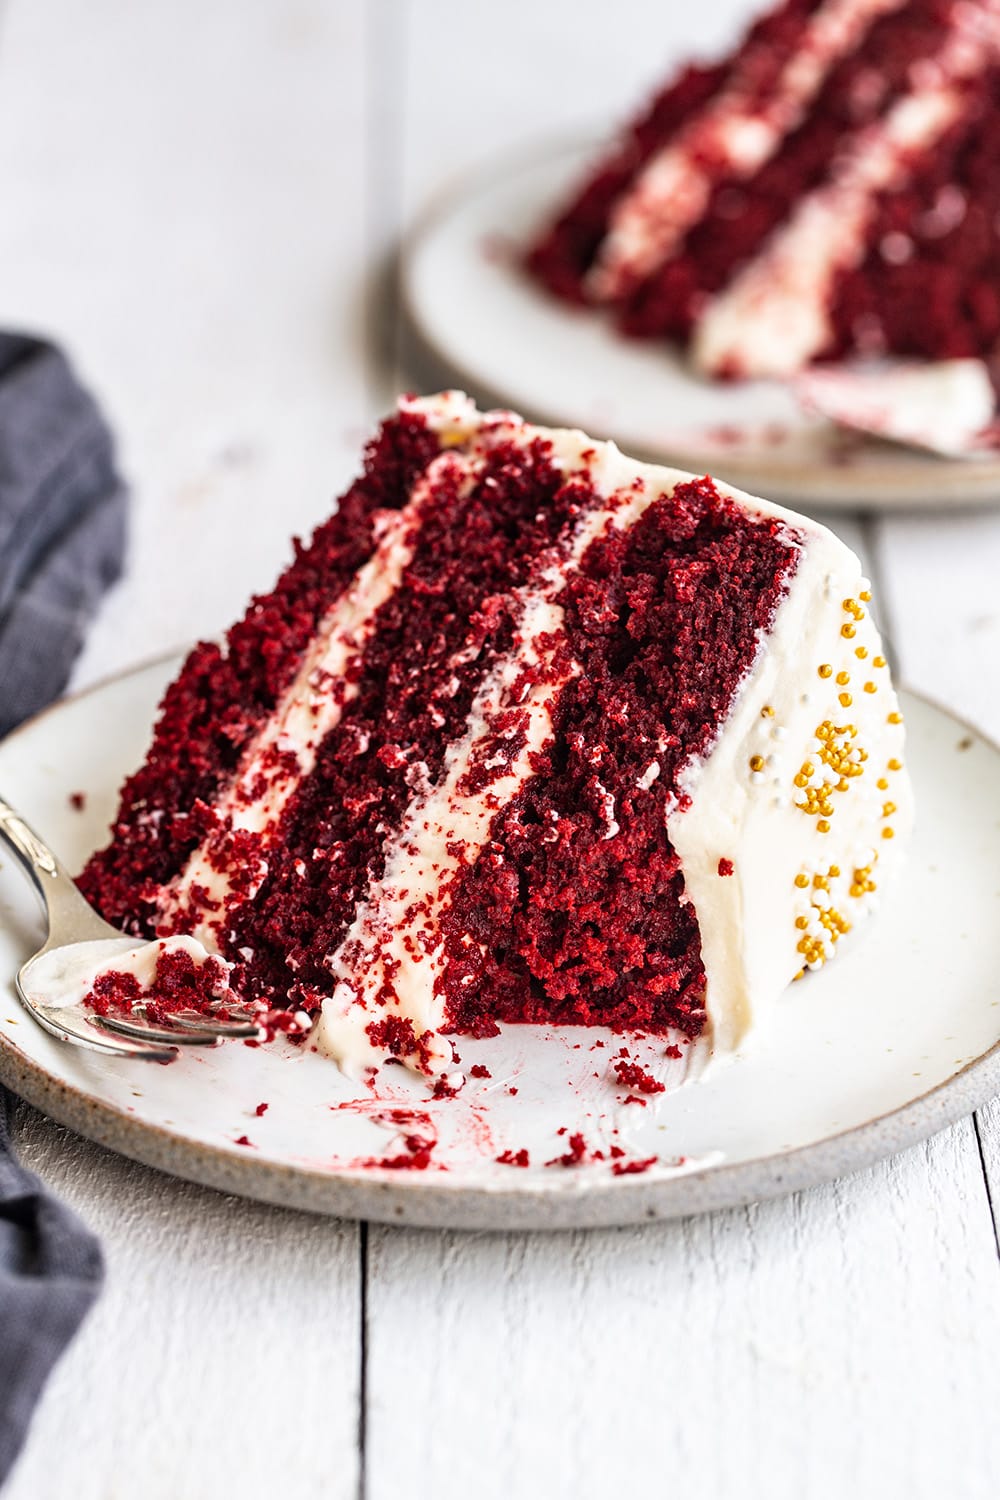
Taste: Uniquely balanced with a gentle cocoa backdrop, a hint of tang from the buttermilk and vinegar, and a smooth, buttery sweetness.
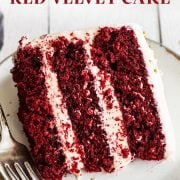
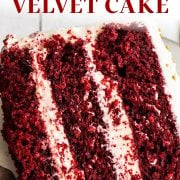
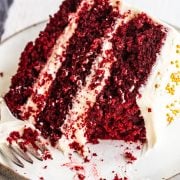
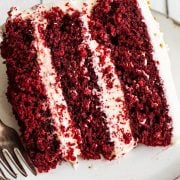
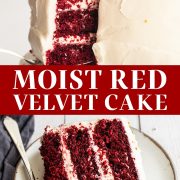
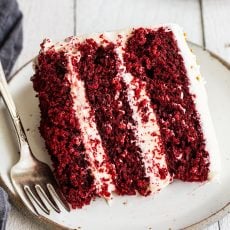
Texture: Moist and melt-in-your-mouth soft, with just enough structure to withstand generous layers of frosting.
Ease: Moist and melt-in-your-mouth soft, with just enough structure to withstand generous layers of frosting.
Why You’ll Love This Recipe: It’s a tried-and-true crowd-pleaser and tastes even better than it looks (which is pretty darn good). The red color makes it a great option for holidays like Valentine’s Day, the Fourth of July, or Christmas.
This post may contain affiliate links. Read our disclosure policy.
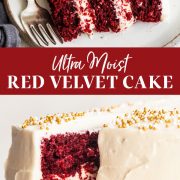
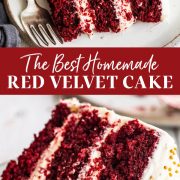

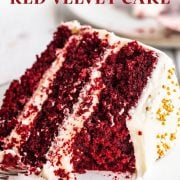
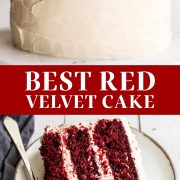
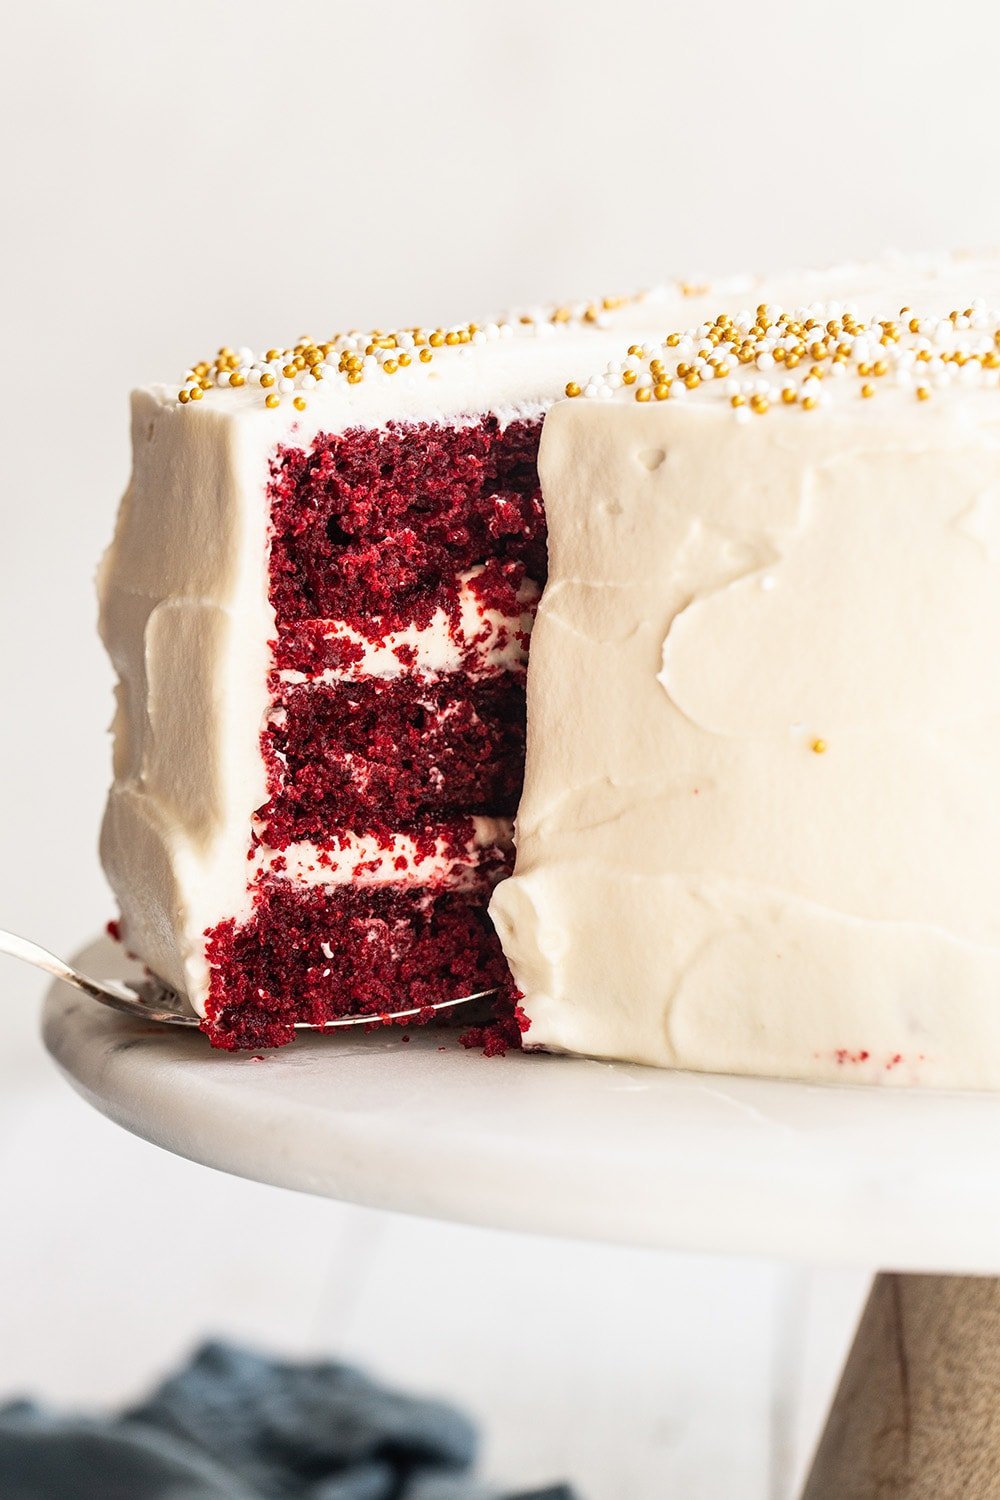
There’s something utterly irresistible about a classic Red Velvet Cake. It feels celebratory but familiar — decadent but never heavy. The combination of cocoa, vinegar, and buttermilk gives it a truly unique flavor.
This recipe in particular makes a soft, buttery, and moist cake (the trifecta 😉). If you’ve never made red velvet before, this is the perfect place to start. The batter comes together easily, bakes up beautifully, and stays incredibly soft even after frosting!
Do you want to make cupcakes instead of a cake? Check out our Red Velvet Cupcake recipe.
Reader Love
Great recipe, stays moist and delicious, even stood up to me messing up the way its combined. 🙂
–
Reader Love
I baked this cake for my daughter’s birthday and it was delicious!!!!
–
What You’ll Need
While the ingredient list is on the longer side, each item plays an important role in creating the cake’s signature flavor and texture. Here’s what you’ll need:
- Cream cheese and unsalted butter: Used in the cake and frosting for richness and structure. Make sure both are at room temperature for smooth mixing.
- Dry ingredients (all-purpose flour, baking powder, baking soda, fine sea salt): This combination gives the cake lift and balance. Measure carefully to avoid a dense crumb.
- Sugars (granulated and powdered): Granulated sugar sweetens and moistens the cake, while powdered sugar helps make the smooth, stable frosting.
- Egg and egg yolk: Adds richness and helps create a tender crumb.
- Vegetable oil: Keeps the cake moist even after chilling (butter is not a good substitute).
- Unsweetened cocoa powder: Just enough to give classic red velvet depth without turning it into a chocolate cake.
- Hot coffee (or boiling water): Hot liquid blooms the cocoa, bringing out its full flavor. Water works as a substitute if needed, but coffee is preferred. (My Best Chocolate Cake is another delicious coffee-infused cake!)
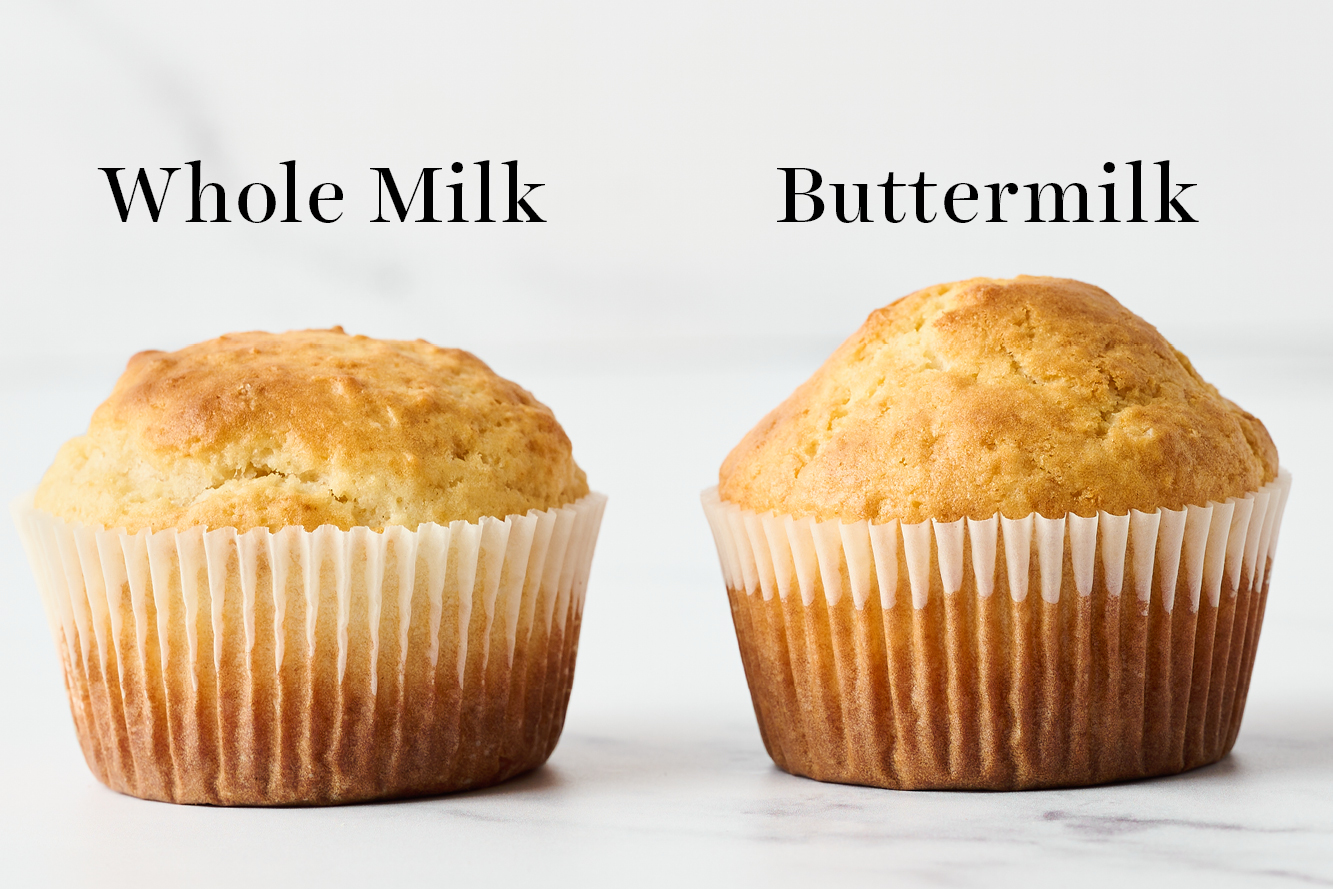
- Buttermilk: Buttermilk helps create the tenderness and flavor. I don’t recommend substituting it, but whole milk can work in a pinch with slightly different results.
- Distilled white vinegar and vanilla extract: This recipe uses small amounts to balance the sweetness and activate the leavening process.
- Red gel food coloring: I recommend using gel food coloring over natural or liquid options. I use the Americolor or Chefmaster brands!
- Ground cinnamon (optional): This adds a subtle warmth and enhances the cocoa without being overpowering.


Helpful Tools
This red velvet cake recipe uses three 8-inch cake pans, which bake the layers evenly and give the intended cake height. Light-colored aluminum pans (like Fat Daddio’s) work best, while darker nonstick pans can cause the edges to overbake.
If needed, two 9-inch pans can work as a substitute. Fill each pan about ¾ full and increase the baking time by 5-10 minutes.
Some tools are optional but helpful:
- Parchment paper rounds
- Offset spatula or plastic side scraper (for smooth frosting)
- Turntable (makes frosting easier)
- Fine mesh sieve (for sifting cocoa or powdered sugar)
The Perfect Frosting
Cream Cheese Frosting is the go-to for red velvet cake because its tangy flavor complements the cake’s sweetness so well. This is the same frosting I use on my Red Velvet Cookies, and it works just as beautifully on layered cakes.
For something more sturdy or to add more detailed cake decorations, try my Best Buttercream Frosting instead.

Sprinkle of Science
How to Make Red Velvet Cake
This recipe comes together with a bit of whisking and a few simple details that make all the difference. Follow the steps below for soft, evenly baked layers and a deliciously classic cream cheese frosting.
1. Bloom the Cocoa and Mix the Dry Ingredients
In a heatproof measuring cup, whisk together the coffee and cocoa powder until smooth and well combined. Set it aside to bloom.
In a separate bowl, whisk together the flour, baking powder, baking soda, salt, and cinnamon.
2. Mix the Wet Ingredients
In a large bowl, whisk together the sugar, vegetable oil, and melted butter until combined. Add in the eggs and egg yolk and whisk until smooth.
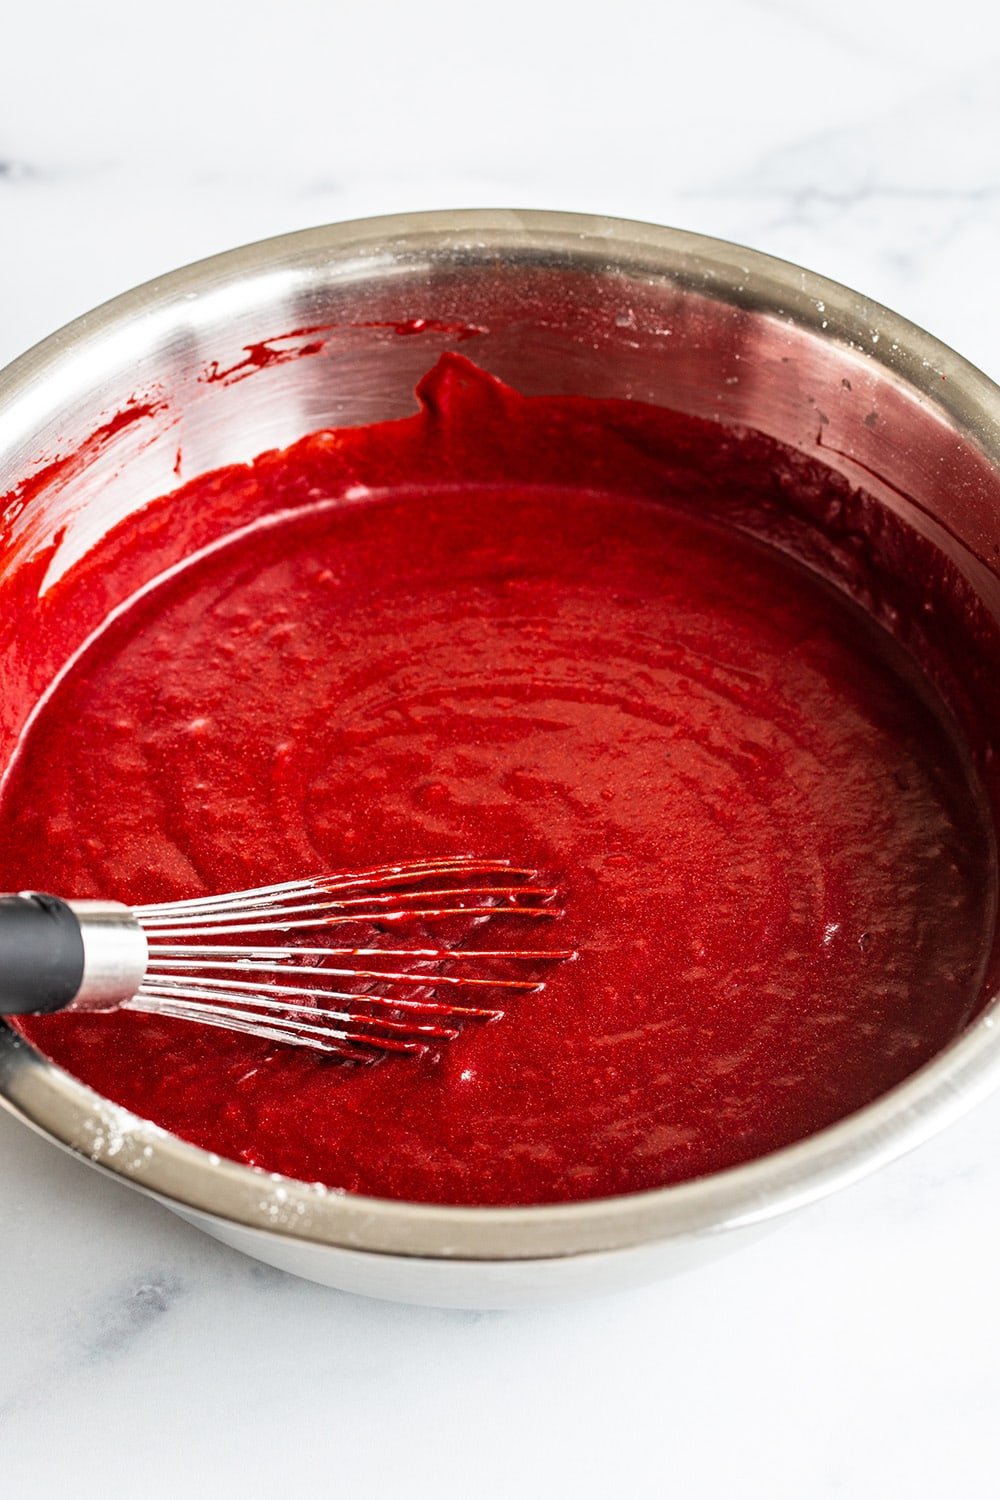
Whisk in the buttermilk, vanilla, and red food coloring until fully incorporated, then whisk in the vinegar and the coffee-cocoa mixture.
3. Combine the Batter
Using a fine mesh sieve, sift the dry ingredients into the wet mixture in three additions, gently whisking after each addition until just combined. Avoid overmixing here.
4. Bake the Cake Layers
Divide the cake batter equally between the prepared pans. Tap the pans gently against the counter a few times to release any air bubbles before baking.
Bake for 25 to 30 minutes, or until a cake tester or toothpick inserted into the center comes out clean. Place the cake pans on cooling racks. Once cool enough to handle, run a thin knife around the edges, invert the cakes, and let them cool completely.
5. Make the Cream Cheese Frosting
Using the paddle attachment of an electric mixer, beat the cream cheese and butter on medium-high speed until smooth and creamy, scraping down the sides of the bowl as needed. Add the vanilla, then gradually mix in the powdered sugar on low speed and beat until fluffy.
6. Assemble the cake.
Place one cake layer, flat-side up, on a cake plate or pedestal. Tuck strips of parchment under the edges to keep the plate clean. Spread about one-third of the frosting over the first cake layer, then top with the second layer and repeat the process. Add the final cake layer, flat-side up, and use the remaining frosting to ice the top and sides of the cake.
Tessa’s Tip
Don’t overbake this layer cake! Even a few extra minutes can dry out the layers and dull the signature soft, velvety texture. Start checking for doneness early and pull the cakes as soon as a toothpick comes out clean.
Storing and Freezing
- Storing: The cream cheese frosting for this cake will spoil if left out for extended periods. Store the cake, covered, at room temperature for up to 6 hours, then refrigerate for up to 3 days.
- Freezing: For longer storage, freeze the cake for up to 2 months. Chill until the frosting is firm, then wrap tightly in plastic wrap or place in an airtight container. If freezing the cake whole, thaw it overnight in the refrigerator before serving. Thaw individual slices in the fridge or at room temperature for 1-2 hours.
- Make-ahead: To prepare in advance, wrap the uncut, cooled cake layers tightly in several layers of plastic wrap and place in a freezer bag or airtight container. Store cake layers at room temperature for up to 4 days or in the freezer for up to 2 months. Thaw overnight in the refrigerator.
Note: A fully frozen, well-sealed cake is still safe to eat after extended freezing (like for an anniversary bite), but some quality loss is normal. Over time, moisture migrates out of the cake, resulting in a drier, slightly spongy texture. The frosting may become grainy or weepy once thawed, and freezer odors may develop.
More Cake Recipes You’ll Love
Looking for more tried-and-true cakes? Browse some of my favorite cake recipes below, perfect for birthdays, holidays, and special occasions.
FAQs
Red velvet cake is buttery, moist, and plush, with a soft, airy crumb. It has a mild chocolate flavor and subtle tang that gives it more depth than a standard vanilla cake.
Not at all — it’s got a personality all its own! Unlike chocolate cake, red velvet cake uses only a small amount of unsweetened cocoa powder. It’s just enough to add color and depth, but let the other flavors shine through. The tangy ingredients help balance the sweetness and truly set it apart.
For a red velvet recipe that’s on the more chocolatey side, try my Chocolate-Stuffed Red Velvet Cupcakes!
Vinegar enhances the subtle tangy flavor that makes red velvet cake distinct, while also playing an important role in the cake’s texture. It reacts with the baking soda, alongside the buttermilk and cocoa powder, to help create soft, tender layers.
A few key elements work together to create that perfectly moist and fluffy crumb. Oil keeps the cake moist even after chilling or refrigeration, and the tiny bit of cocoa ensures it doesn’t dry out.
Be careful not to overmix the batter, as this can prevent the crumb from turning out tender and light.
You can, but for the best results, I recommend using my Red Velvet Cupcakes recipe! It uses the same base flavors as this cake, with a few small adjustments to ensure the cupcakes bake evenly.
Email This Recipe
Enter your email, and we’ll send it to your inbox.
Ingredients
For the cake:
- ½ cup of plain hot coffee or boiling water
- ¼ cup (21 grams) unsweetened natural cocoa powder
- 2 ¼ cups (279 grams) all-purpose flour
- ½ teaspoon baking powder
- 1 teaspoon baking soda
- 1 teaspoon salt
- ¼ teaspoon ground cinnamon, optional
- 2 cups (400 grams) granulated sugar
- ½ cup (109 grams) fresh vegetable oil
- 1 stick (113 grams) unsalted butter, melted
- 2 large eggs, at room temperature
- 1 large egg yolk, at room temperature
- 1 cup buttermilk, at room temperature
- 2 teaspoons vanilla extract
- 3 teaspoons red gel food coloring, plus more if needed*
- 1 teaspoon distilled white vinegar
For the cream cheese frosting:
- 16 ounces (454 grams) cream cheese, at room temperature
- 2 sticks (227 grams) unsalted butter, at room temperature
- 2 teaspoons vanilla extract
- 4 cups (500 grams) powdered sugar, sifted
Instructions
For the cake:
- Preheat oven to 325°F and line three 8-inch round cake pans with parchment rounds.
- Spray parchment and sides of pans generously with nonstick cooking spray.
- In a glass measuring cup, whisk the hot coffee and cocoa powder together, then cover and let stand for 5 minutes.
- In a medium mixing bowl, whisk together the flour, baking powder, baking soda, salt, and cinnamon.
- In a large mixing bowl, whisk together the sugar, vegetable oil, and melted butter. Add in the eggs and egg yolk and whisk for around twenty seconds (or until very well combined). Add in the buttermilk, vanilla, and red food coloring and whisk to combine. Whisk in the vinegar and coffee mixture.
- Using a fine mesh sieve, sift the flour mixture into the batter in three additions, whisking until each addition is incorporated.
- Divide the batter equally between the prepared pans, then tap the bottoms of the pans against the counter several times to release any air bubbles.
- Bake for 25 to 30 minutes, or until a cake tester or toothpick inserted into the center comes out clean.
- Place the cake pans on cooling racks, and when they’re cool enough to touch, run a thin knife around the edges of the pans to loosen the cakes. Invert onto the wire racks and let cool completely.
For the frosting:
- In the bowl of a stand mixer (fitted with the paddle attachment), beat the cream cheese and butter on medium-high speed until very light, creamy, and smooth.
- Scrape down the bottom and sides of the bowl to ensure no clumps remain. Then, add the vanilla and beat until well combined.
- On low speed, gradually add the sugar and beat until fluffy (about 3 minutes). If the frosting is too thick, add a splash of milk or cream to thin it out. If it’s too thin, add more sifted powdered sugar.
To assemble:
- Lay one cake layer flat-side up on a cake plate or pedestal. Tuck in strips of baking paper under the cake edges to keep the plate clean.
- Use about a third of the frosting to fill the bottom cake layer, then top with the second cake layer and repeat.
- Place the final cake layer flat-side up and use the remaining frosting to ice the whole cake.
Notes
This post was originally published in 2013 and updated in 2022 with recipe improvements and new photos. Photos by Ashley McLaughlin.


Is there any way to make this into a sheet cake for a karge party?
“LARGE” party – oops
We haven’t tested this as a sheet cake, so I can’t guarantee results, but it should work in theory since the layers in this recipe are fairly thin. Just keep in mind the bake time will be different in a sheet pan, so rely on visual cues (set center, toothpick comes out clean) rather than the original timing. If you do try it, I’d recommend filling the pan only about halfway to two-thirds full so the batter has room to rise without overflowing. Placing a sheet pan or aluminum foil underneath can also be helpful just in case of any drips. I’d love to hear how it turns out if you give it a try!
Just an FYI as I tried to make the frosting yesterday and it went horribly wrong! Having studied the recipe again to make sure I get it right on my second try, I’ve realised that the order of adding the frosting ingredients in this recipe is different from the order when I go to the page with more detailed recipe for the frosting. I’m about to go out and buy new ingredients and I’m feeling optimistic about my second attempt, but I wanted to point out that it might be worth updating the frosting section of the recipe on this page as well as the main frosting recipe page 🙂
Hi Ruth, just seeing this now! I’m so sorry your first attempt didn’t turn out. Would you mind sharing what went wrong?
The method for the cream cheese frosting on this cake was intentional, as it creates an ultra-smooth and creamy frosting that pairs really well with the moist cake layers. If you’re looking for a frosting that’s a bit thicker and more pipeable, you can certainly follow the instructions on our Cream Cheese Frosting recipe page. How did your second attempt go?
This is the best red velvet recipe! My daughter and her friends are obsessed and request it for her bday. Is it possible to half it? Not sure how to do that with the eggs. I’m trying to make a small batch of cupcakes for them for the last day of school this week
Best red velvet cake recipe ever!
I used 1tsp fresh lemon juice since I didn’t have distilled white vinegar and it didn’t affect the taste at all. I also baked it in 3 cake round pans (6,8 and 10 inch). It stays nice in the fridge in a closed storage container. It’s the fourth day since I’ve made it and I’m still enjoying it. Sheer deliciousness! You’re my go-to for cakes. Thank you Tessa!
This was my first time baking a red velvet cake and it came out so good! the only thing is that the batter didnt make all 3 cakes. but overall delicious!
I agree! I came to the comments to see if anyone else found it to be not enough for 3 8” rounds. I still used 3 pans thinking maybe it would rise more. I would say it’s more for 2-8” rounds.
Hi Joelle and Maegin, thanks so much for your feedback! Tessa intentionally developed this recipe with relatively thin cake layers that don’t rise a ton, so there’s less need to level them after baking (plus she loves the frosting-to-cake ratio! 🙂).
If you’d rather have thicker layers, you can definitely try dividing the batter between two 8-inch pans instead. We haven’t tested it that way, so I’m not sure how they’ll turn out or what the exact bake time will be, but they will need a little longer in the oven. Let us know how they turn out if you give it a try!
It ended up being the perfect height once stacked into 3 with layers of buttercream between! It’s definitely a recipe for the books! Thanks for sharing it with us 🙂
Can I substitute vegetable oil?
Sure! Any other neutral oil, such as avocado or canola, would work just fine. Don’t substitute with butter or coconut oil, as both will affect the cake’s texture.
The absolute best red velvet cake recipe! I should know because I’ve been searching and testing for 35 years! Finally I found this recipe that results in a flavorful, moist, decadent cake. I don’t dare add or change anything in the recipe bc it’s already perfection.
Thanks for ending my search!
Thanks so much for the wonderful review, Jennifer! We’re absolutely thrilled you love the recipe 🙂
The cake was nice and moist. I ended up adding less sugar and using a different buttercream recipe, which was definitely the right move. Everyone loved it !
Made it for my friend’s birthday, and it tasted soooo good! Thank you for sharing this recipe, I can’t believe how easy was it to make with your instructions!
The cake taste great. My only problem is that it just falls apart when I try to take it out of the pan. I’ve never had this problem before. It’s super crumbly. I am not sure where I went wrong.