


Tessa’s Recipe Rundown
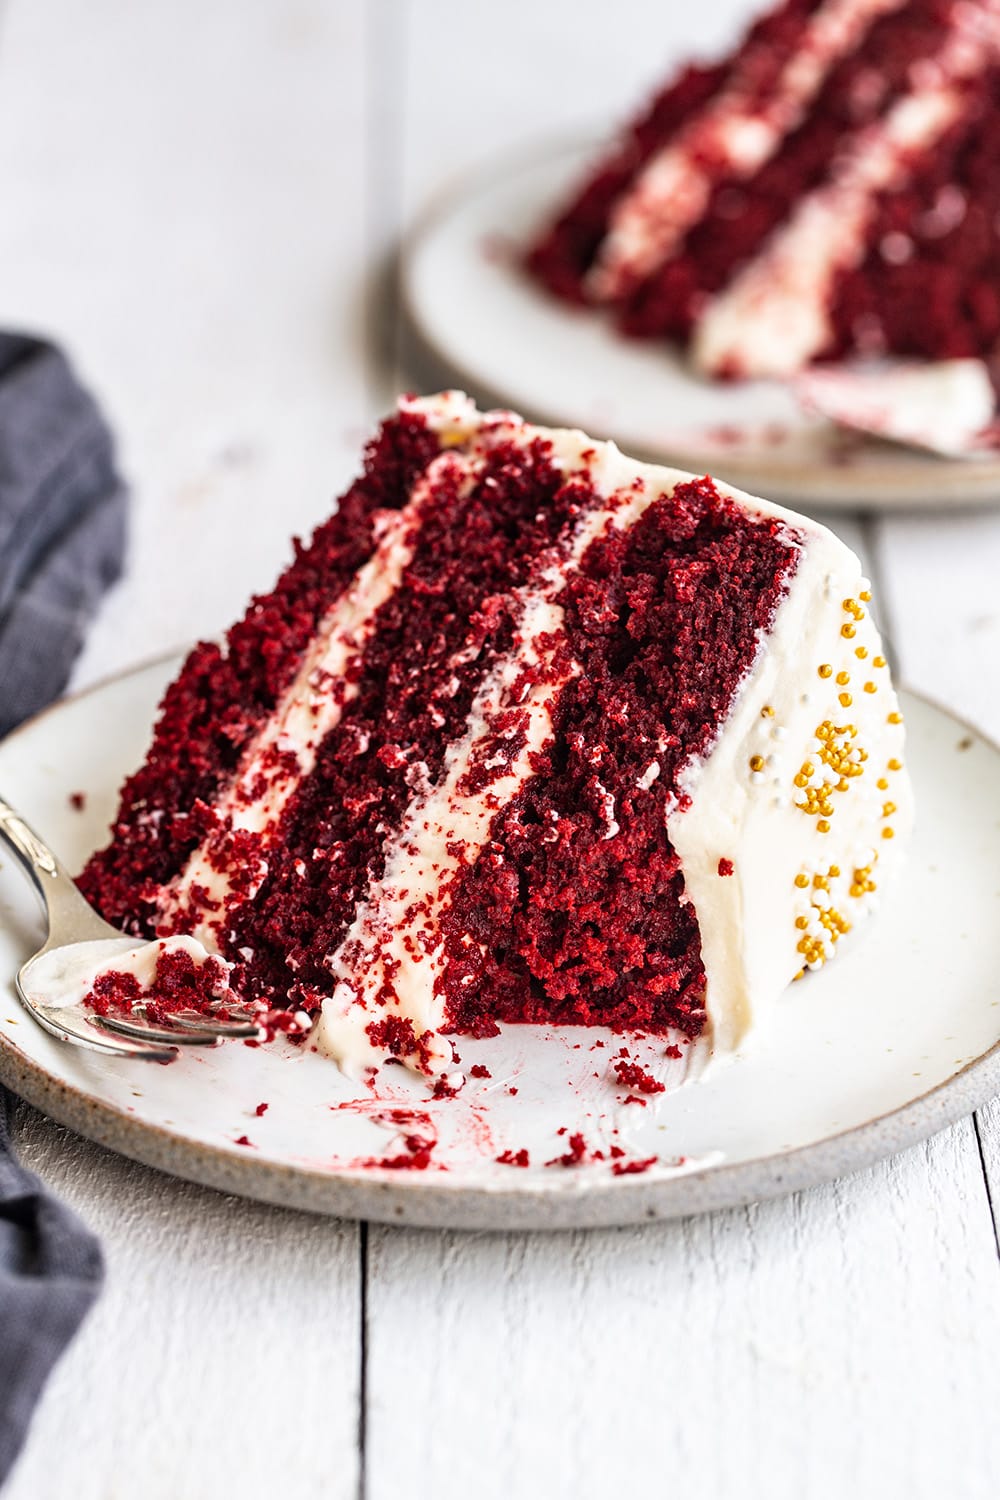
Taste: Uniquely balanced with a gentle cocoa backdrop, a hint of tang from the buttermilk and vinegar, and a smooth, buttery sweetness.
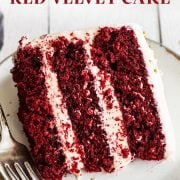
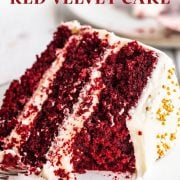
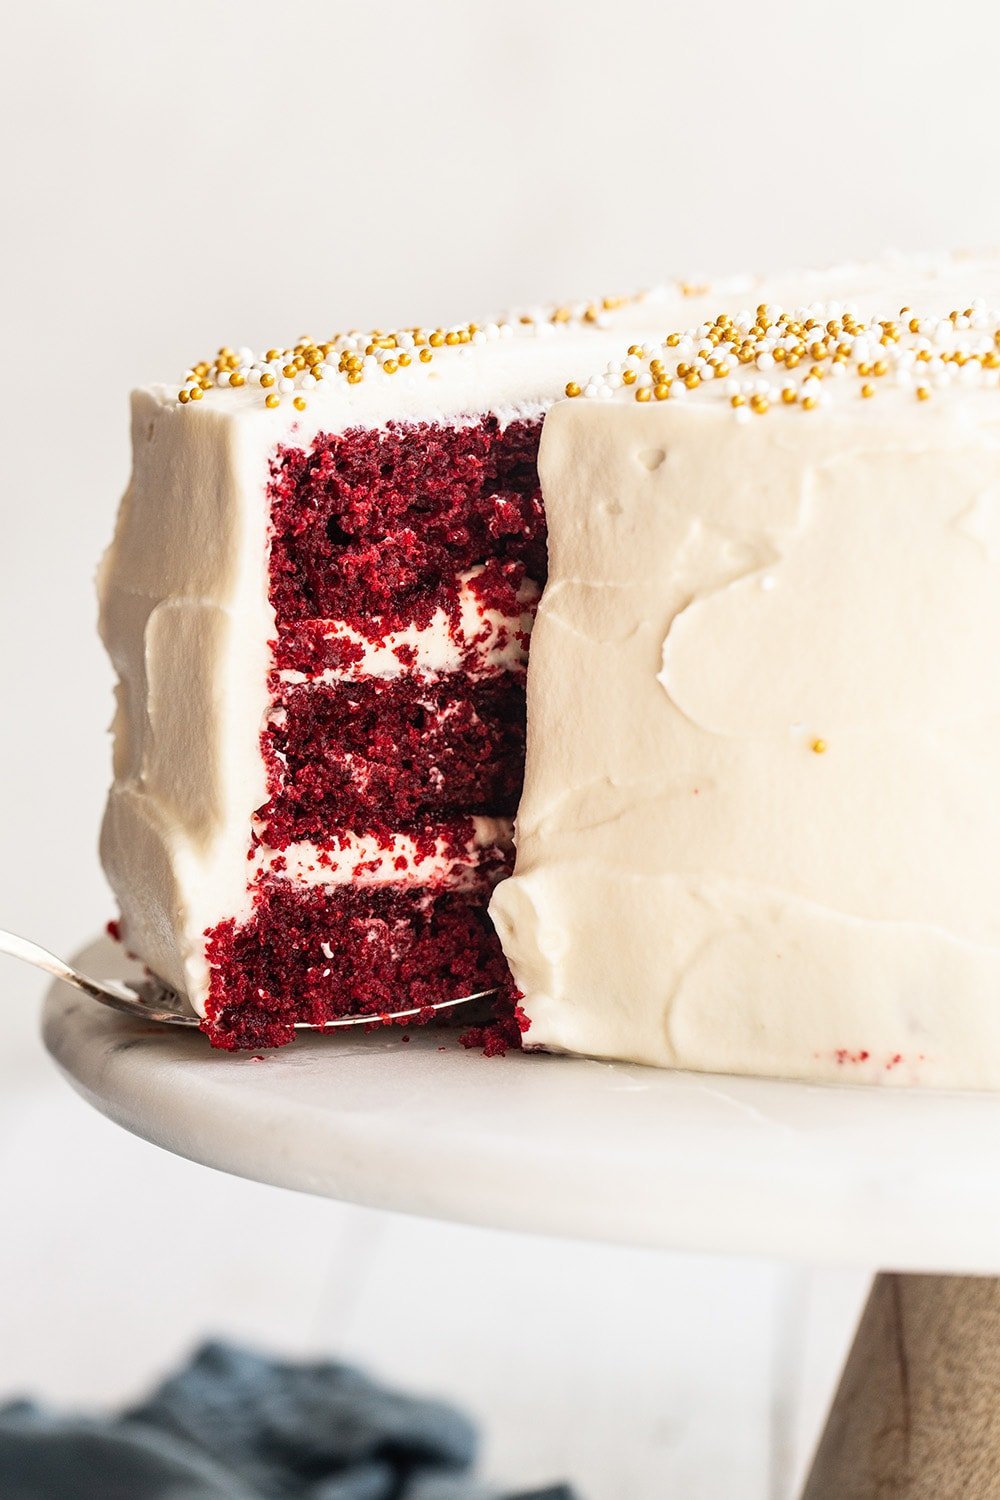
Texture: Moist and melt-in-your-mouth soft, with just enough structure to withstand generous layers of frosting.
Ease: Moist and melt-in-your-mouth soft, with just enough structure to withstand generous layers of frosting.
Why You’ll Love This Recipe: It’s a tried-and-true crowd-pleaser and tastes even better than it looks (which is pretty darn good). The red color makes it a great option for holidays like Valentine’s Day, the Fourth of July, or Christmas.
This post may contain affiliate links. Read our disclosure policy.
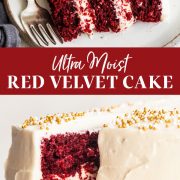


There’s something utterly irresistible about a classic Red Velvet Cake. It feels celebratory but familiar — decadent but never heavy. The combination of cocoa, vinegar, and buttermilk gives it a truly unique flavor.
This recipe in particular makes a soft, buttery, and moist cake (the trifecta 😉). If you’ve never made red velvet before, this is the perfect place to start. The batter comes together easily, bakes up beautifully, and stays incredibly soft even after frosting!
Do you want to make cupcakes instead of a cake? Check out our Red Velvet Cupcake recipe.
Reader Love
Great recipe, stays moist and delicious, even stood up to me messing up the way its combined. 🙂
–
Reader Love
I baked this cake for my daughter’s birthday and it was delicious!!!!
–
What You’ll Need
While the ingredient list is on the longer side, each item plays an important role in creating the cake’s signature flavor and texture. Here’s what you’ll need:
- Cream cheese and unsalted butter: Used in the cake and frosting for richness and structure. Make sure both are at room temperature for smooth mixing.
- Dry ingredients (all-purpose flour, baking powder, baking soda, fine sea salt): This combination gives the cake lift and balance. Measure carefully to avoid a dense crumb.
- Sugars (granulated and powdered): Granulated sugar sweetens and moistens the cake, while powdered sugar helps make the smooth, stable frosting.
- Egg and egg yolk: Adds richness and helps create a tender crumb.
- Vegetable oil: Keeps the cake moist even after chilling (butter is not a good substitute).
- Unsweetened cocoa powder: Just enough to give classic red velvet depth without turning it into a chocolate cake.
- Hot coffee (or boiling water): Hot liquid blooms the cocoa, bringing out its full flavor. Water works as a substitute if needed, but coffee is preferred. (My Best Chocolate Cake is another delicious coffee-infused cake!)
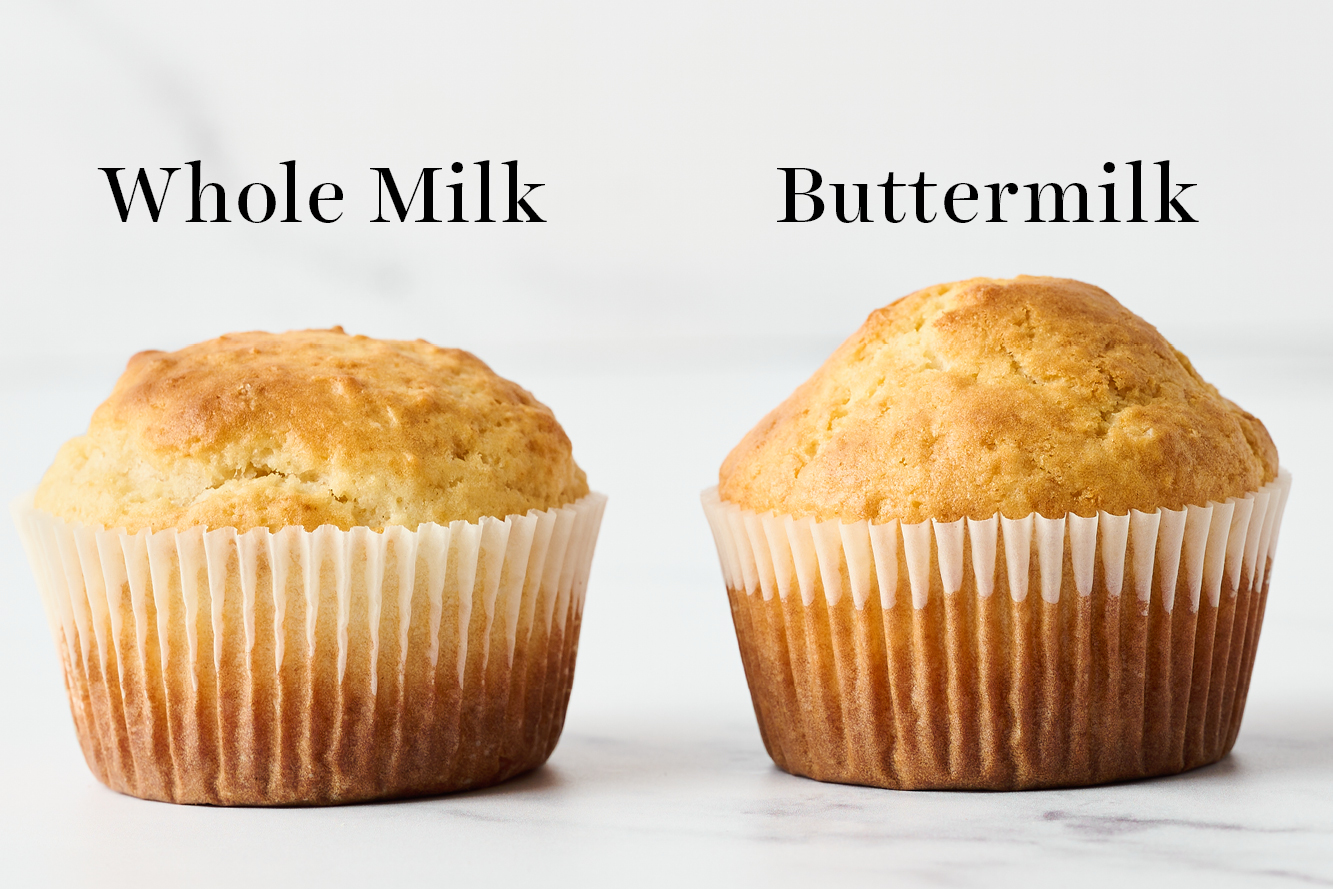
- Buttermilk: Buttermilk helps create the tenderness and flavor. I don’t recommend substituting it, but whole milk can work in a pinch with slightly different results.
- Distilled white vinegar and vanilla extract: This recipe uses small amounts to balance the sweetness and activate the leavening process.
- Red gel food coloring: I recommend using gel food coloring over natural or liquid options. I use the Americolor or Chefmaster brands!
- Ground cinnamon (optional): This adds a subtle warmth and enhances the cocoa without being overpowering.


Helpful Tools
This red velvet cake recipe uses three 8-inch cake pans, which bake the layers evenly and give the intended cake height. Light-colored aluminum pans (like Fat Daddio’s) work best, while darker nonstick pans can cause the edges to overbake.
If needed, two 9-inch pans can work as a substitute. Fill each pan about ¾ full and increase the baking time by 5-10 minutes.
Some tools are optional but helpful:
- Parchment paper rounds
- Offset spatula or plastic side scraper (for smooth frosting)
- Turntable (makes frosting easier)
- Fine mesh sieve (for sifting cocoa or powdered sugar)
The Perfect Frosting
Cream Cheese Frosting is the go-to for red velvet cake because its tangy flavor complements the cake’s sweetness so well. This is the same frosting I use on my Red Velvet Cookies, and it works just as beautifully on layered cakes.
For something more sturdy or to add more detailed cake decorations, try my Best Buttercream Frosting instead.

Sprinkle of Science
How to Make Red Velvet Cake
This recipe comes together with a bit of whisking and a few simple details that make all the difference. Follow the steps below for soft, evenly baked layers and a deliciously classic cream cheese frosting.
1. Bloom the Cocoa and Mix the Dry Ingredients
In a heatproof measuring cup, whisk together the coffee and cocoa powder until smooth and well combined. Set it aside to bloom.
In a separate bowl, whisk together the flour, baking powder, baking soda, salt, and cinnamon.
2. Mix the Wet Ingredients
In a large bowl, whisk together the sugar, vegetable oil, and melted butter until combined. Add in the eggs and egg yolk and whisk until smooth.
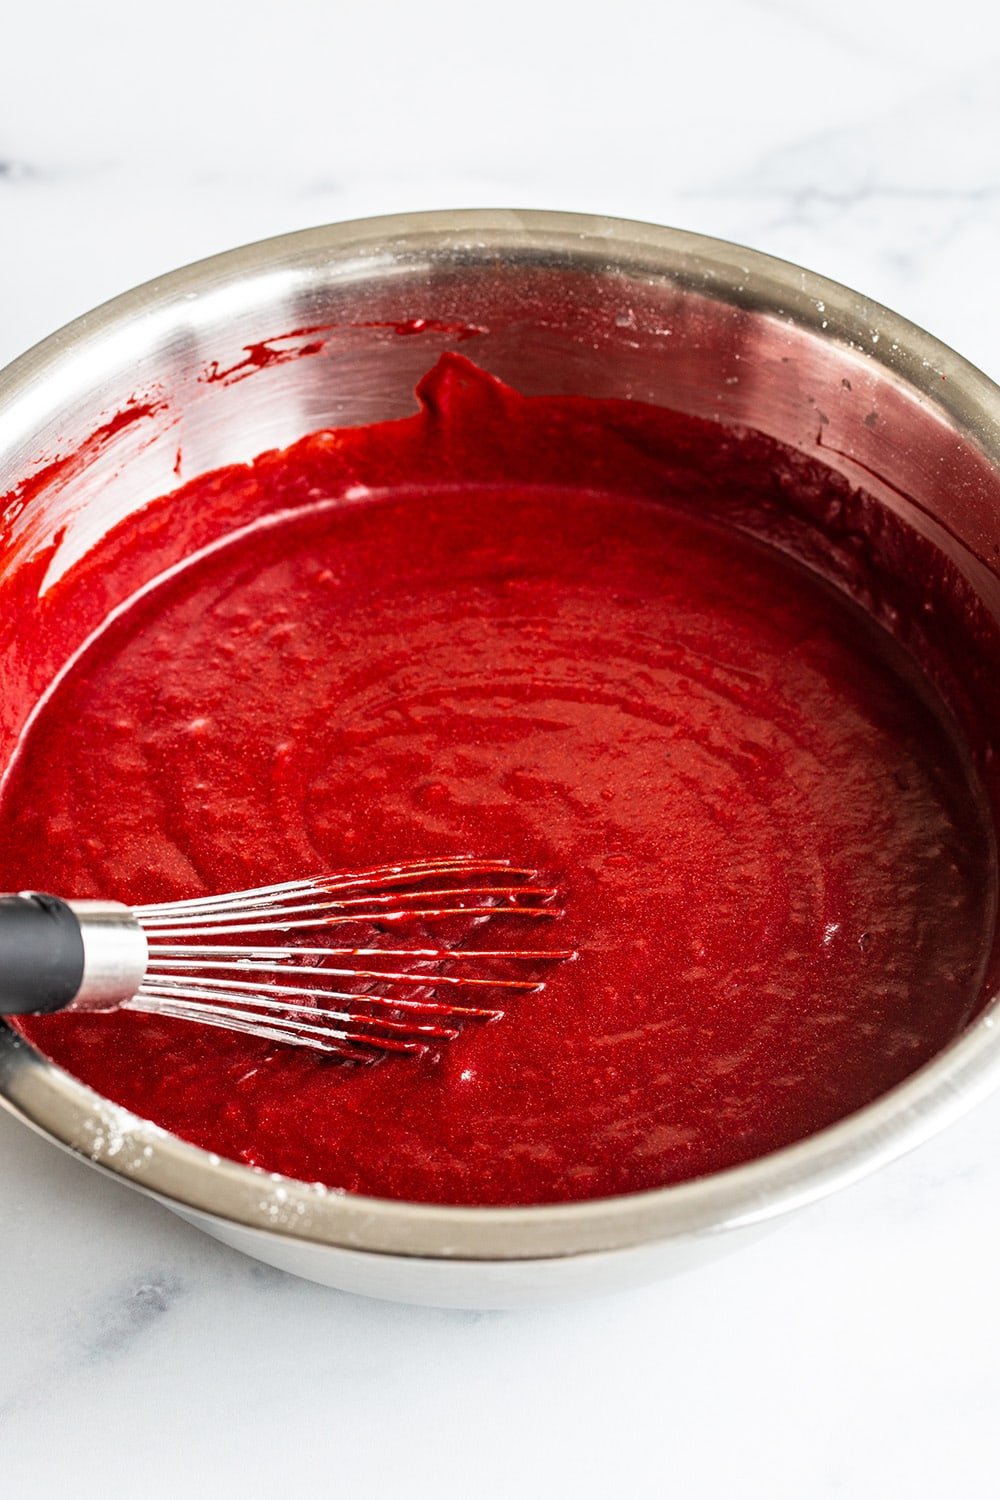
Whisk in the buttermilk, vanilla, and red food coloring until fully incorporated, then whisk in the vinegar and the coffee-cocoa mixture.
3. Combine the Batter
Using a fine mesh sieve, sift the dry ingredients into the wet mixture in three additions, gently whisking after each addition until just combined. Avoid overmixing here.
4. Bake the Cake Layers
Divide the cake batter equally between the prepared pans. Tap the pans gently against the counter a few times to release any air bubbles before baking.
Bake for 25 to 30 minutes, or until a cake tester or toothpick inserted into the center comes out clean. Place the cake pans on cooling racks. Once cool enough to handle, run a thin knife around the edges, invert the cakes, and let them cool completely.
5. Make the Cream Cheese Frosting
Using the paddle attachment of an electric mixer, beat the cream cheese and butter on medium-high speed until smooth and creamy, scraping down the sides of the bowl as needed. Add the vanilla, then gradually mix in the powdered sugar on low speed and beat until fluffy.
6. Assemble the cake.
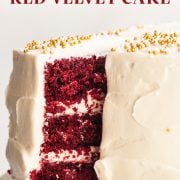
Place one cake layer, flat-side up, on a cake plate or pedestal. Tuck strips of parchment under the edges to keep the plate clean. Spread about one-third of the frosting over the first cake layer, then top with the second layer and repeat the process. Add the final cake layer, flat-side up, and use the remaining frosting to ice the top and sides of the cake.
Tessa’s Tip
Don’t overbake this layer cake! Even a few extra minutes can dry out the layers and dull the signature soft, velvety texture. Start checking for doneness early and pull the cakes as soon as a toothpick comes out clean.
Storing and Freezing
- Storing: The cream cheese frosting for this cake will spoil if left out for extended periods. Store the cake, covered, at room temperature for up to 6 hours, then refrigerate for up to 3 days.
- Freezing: For longer storage, freeze the cake for up to 2 months. Chill until the frosting is firm, then wrap tightly in plastic wrap or place in an airtight container. If freezing the cake whole, thaw it overnight in the refrigerator before serving. Thaw individual slices in the fridge or at room temperature for 1-2 hours.
- Make-ahead: To prepare in advance, wrap the uncut, cooled cake layers tightly in several layers of plastic wrap and place in a freezer bag or airtight container. Store cake layers at room temperature for up to 4 days or in the freezer for up to 2 months. Thaw overnight in the refrigerator.
Note: A fully frozen, well-sealed cake is still safe to eat after extended freezing (like for an anniversary bite), but some quality loss is normal. Over time, moisture migrates out of the cake, resulting in a drier, slightly spongy texture. The frosting may become grainy or weepy once thawed, and freezer odors may develop.
More Cake Recipes You’ll Love
Looking for more tried-and-true cakes? Browse some of my favorite cake recipes below, perfect for birthdays, holidays, and special occasions.
FAQs
Red velvet cake is buttery, moist, and plush, with a soft, airy crumb. It has a mild chocolate flavor and subtle tang that gives it more depth than a standard vanilla cake.
Not at all — it’s got a personality all its own! Unlike chocolate cake, red velvet cake uses only a small amount of unsweetened cocoa powder. It’s just enough to add color and depth, but let the other flavors shine through. The tangy ingredients help balance the sweetness and truly set it apart.
For a red velvet recipe that’s on the more chocolatey side, try my Chocolate-Stuffed Red Velvet Cupcakes!
Vinegar enhances the subtle tangy flavor that makes red velvet cake distinct, while also playing an important role in the cake’s texture. It reacts with the baking soda, alongside the buttermilk and cocoa powder, to help create soft, tender layers.
A few key elements work together to create that perfectly moist and fluffy crumb. Oil keeps the cake moist even after chilling or refrigeration, and the tiny bit of cocoa ensures it doesn’t dry out.
Be careful not to overmix the batter, as this can prevent the crumb from turning out tender and light.
You can, but for the best results, I recommend using my Red Velvet Cupcakes recipe! It uses the same base flavors as this cake, with a few small adjustments to ensure the cupcakes bake evenly.
Email This Recipe
Enter your email, and we’ll send it to your inbox.
Ingredients
For the cake:
- ½ cup of plain hot coffee or boiling water
- ¼ cup (21 grams) unsweetened natural cocoa powder
- 2 ¼ cups (279 grams) all-purpose flour
- ½ teaspoon baking powder
- 1 teaspoon baking soda
- 1 teaspoon salt
- ¼ teaspoon ground cinnamon, optional
- 2 cups (400 grams) granulated sugar
- ½ cup (109 grams) fresh vegetable oil
- 1 stick (113 grams) unsalted butter, melted
- 2 large eggs, at room temperature
- 1 large egg yolk, at room temperature
- 1 cup buttermilk, at room temperature
- 2 teaspoons vanilla extract
- 3 teaspoons red gel food coloring, plus more if needed*
- 1 teaspoon distilled white vinegar
For the cream cheese frosting:
- 16 ounces (454 grams) cream cheese, at room temperature
- 2 sticks (227 grams) unsalted butter, at room temperature
- 2 teaspoons vanilla extract
- 4 cups (500 grams) powdered sugar, sifted
Instructions
For the cake:
- Preheat oven to 325°F and line three 8-inch round cake pans with parchment rounds.
- Spray parchment and sides of pans generously with nonstick cooking spray.
- In a glass measuring cup, whisk the hot coffee and cocoa powder together, then cover and let stand for 5 minutes.
- In a medium mixing bowl, whisk together the flour, baking powder, baking soda, salt, and cinnamon.
- In a large mixing bowl, whisk together the sugar, vegetable oil, and melted butter. Add in the eggs and egg yolk and whisk for around twenty seconds (or until very well combined). Add in the buttermilk, vanilla, and red food coloring and whisk to combine. Whisk in the vinegar and coffee mixture.
- Using a fine mesh sieve, sift the flour mixture into the batter in three additions, whisking until each addition is incorporated.
- Divide the batter equally between the prepared pans, then tap the bottoms of the pans against the counter several times to release any air bubbles.
- Bake for 25 to 30 minutes, or until a cake tester or toothpick inserted into the center comes out clean.
- Place the cake pans on cooling racks, and when they’re cool enough to touch, run a thin knife around the edges of the pans to loosen the cakes. Invert onto the wire racks and let cool completely.
For the frosting:
- In the bowl of a stand mixer (fitted with the paddle attachment), beat the cream cheese and butter on medium-high speed until very light, creamy, and smooth.
- Scrape down the bottom and sides of the bowl to ensure no clumps remain. Then, add the vanilla and beat until well combined.
- On low speed, gradually add the sugar and beat until fluffy (about 3 minutes). If the frosting is too thick, add a splash of milk or cream to thin it out. If it’s too thin, add more sifted powdered sugar.
To assemble:
- Lay one cake layer flat-side up on a cake plate or pedestal. Tuck in strips of baking paper under the cake edges to keep the plate clean.
- Use about a third of the frosting to fill the bottom cake layer, then top with the second cake layer and repeat.
- Place the final cake layer flat-side up and use the remaining frosting to ice the whole cake.
Notes
This post was originally published in 2013 and updated in 2022 with recipe improvements and new photos. Photos by Ashley McLaughlin.


Can I make mini cupcakes with this recipe? If so how long approximately to I bake?
Hi Barb! We haven’t tried that, so I can’t say for sure! Let us know how it goes if you give that a try.
Can I bake the cake the day before adding the cream cheese frosting?
Hi Markéta! Yes, you can make the cake ahead – check out Tessa’s tips for this in the pink tip box, above the recipe!
Have you (or has anyone reading this) made this recipe with chocolate chips or chocolate chunks added to the batter? Would love to hear the right amount to add and how that worked out. Thanks!
Hi Ashlea! Sorry, we haven’t tried that! Let us know if you give it a try 🙂
I just want to say this cake is worth dirtying dishes❤️ so delicious and so spongey and so perfect! Made this tonight for my brother’s bday tomorrow
Hi!! I love that Cake! but, Can I moisten the cake as with other cakes? That is, prepare a syrup with a liquor, kirsch or amaretto..?
Hi Paola! We haven’t tried that, so I can’t say for sure! Let us know how it goes if you give that a try 🙂
Am I able to use regular brewed coffee ?
Hi Clara! Yes, hot freshly-brewed coffee is perfect. Let us know what you think of this cake once you’ve given it a try 🙂
Can I use 2 pcs 6”pans instead to have that junior size look with a bit thicker 2 layer cake? Will the texture different?
Hi Joan! This recipe was designed for three 8-inch cake pans; however, you’re welcome to experiment with 6-inch pans. Just know that you’ll have leftover batter, but the texture shouldn’t be different. Let us know how it goes if you give it a try!
Wow, this is a great recipe. The cake has a great texture, soft and light but has some density, just how I like it. I made it exactly as written but next time I wouldn’t put as much red food color in, it was pretty bright red and didn’t think it needed as much. Only my preference. Other than that don’t change a thing.
Hi there, am I able to use espresso powder in this recipe vs coffee? Or, do you think it will be too strong?
Hi Kristin! You could use espresso powder (dissolved in water) to make the coffee portion, sure! The cake might have a slightly stronger coffee flavor overall, but unless you have some non-coffee drinkers, I don’t think anyone would mind! Let us know what you think of this cake once you’ve given it a try 🙂
Hi there, wondering if you have the measurements of all the ingredients in grams? I want to convert the recipe for 10” cakes. Not sure if anyone has asked this or done it already?
Hi Erika! Everything in this recipe is already listed in both volume and weight measurement, in grams. We cannot list the weights of the teaspoon measurements, as those measurements are too small for most kitchen scales to accurately measure. Grab a set of measuring spoons online and you’ll be all set 🙂 We have not made this cake as 10-inch cakes, but in the pink tip box, you’ll find adjustments for 9-inch pans. Happy baking 🙂
I just used this recipe for cupcakes and followed the ingredients exactly. I ended up baking the cupcakes for ~28 minutes at 325. The flavor is perfect.. I really enjoy the hint of chocolate.
Unfortunately the cupcakes didn’t bake up nicely.. the center never rose, slightly greasy, and after cooling all stuck to the liners.
Any advice on what went wrong?
Hi Jenn! So glad to hear that you enjoyed this recipe, but I’m sorry to hear that your cupcakes didn’t rise, and stick to the muffin liners. There are several reasons why this may have happened, and Tessa actually just published an article about How to Prevent Cupcakes & Cakes From Sinking here. She also has an article about How to Prevent Cupcake Liners From Sticking. I hope something in these articles helps, and I hope you give this recipe another try sometime – it really is so delicious! Happy baking!
Hi can you use white vinegar if you cannot find distilled? Also is the coffee you use instant Nescafé or espresso machine coffee?
Thanks
Hi Christina! Distilled white vinegar is needed here for its acidity and will help leaven this cake, giving it lightness and rise. It should be available with the vinegars in your local grocery store. Even if it’s just called White Vinegar, check the ingredients – it may say “distilled white vinegar” there, even if it’s not labelled as such on the front. Other types of white vinegar are often meant for cleaning, so you want to avoid those! As for the coffee, either way will work just fine. Espresso machine coffee will be a stronger, richer flavor, so keep that in mind. I hope that helps! Let us know what you think once you’ve given this cake a try 🙂
Thank you so much for the reply I will let you know how it turns out on Sunday . I have found one that says double strength vinegar 8% acidity I hope it will do ☺️
It was my first time baking a red velvet and it came out like magic! I loved it and my family did too. Thank you very much..