


This post may contain affiliate links. Read our disclosure policy.

Tessa’s Recipe Rundown
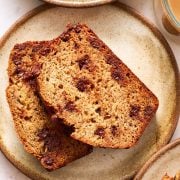
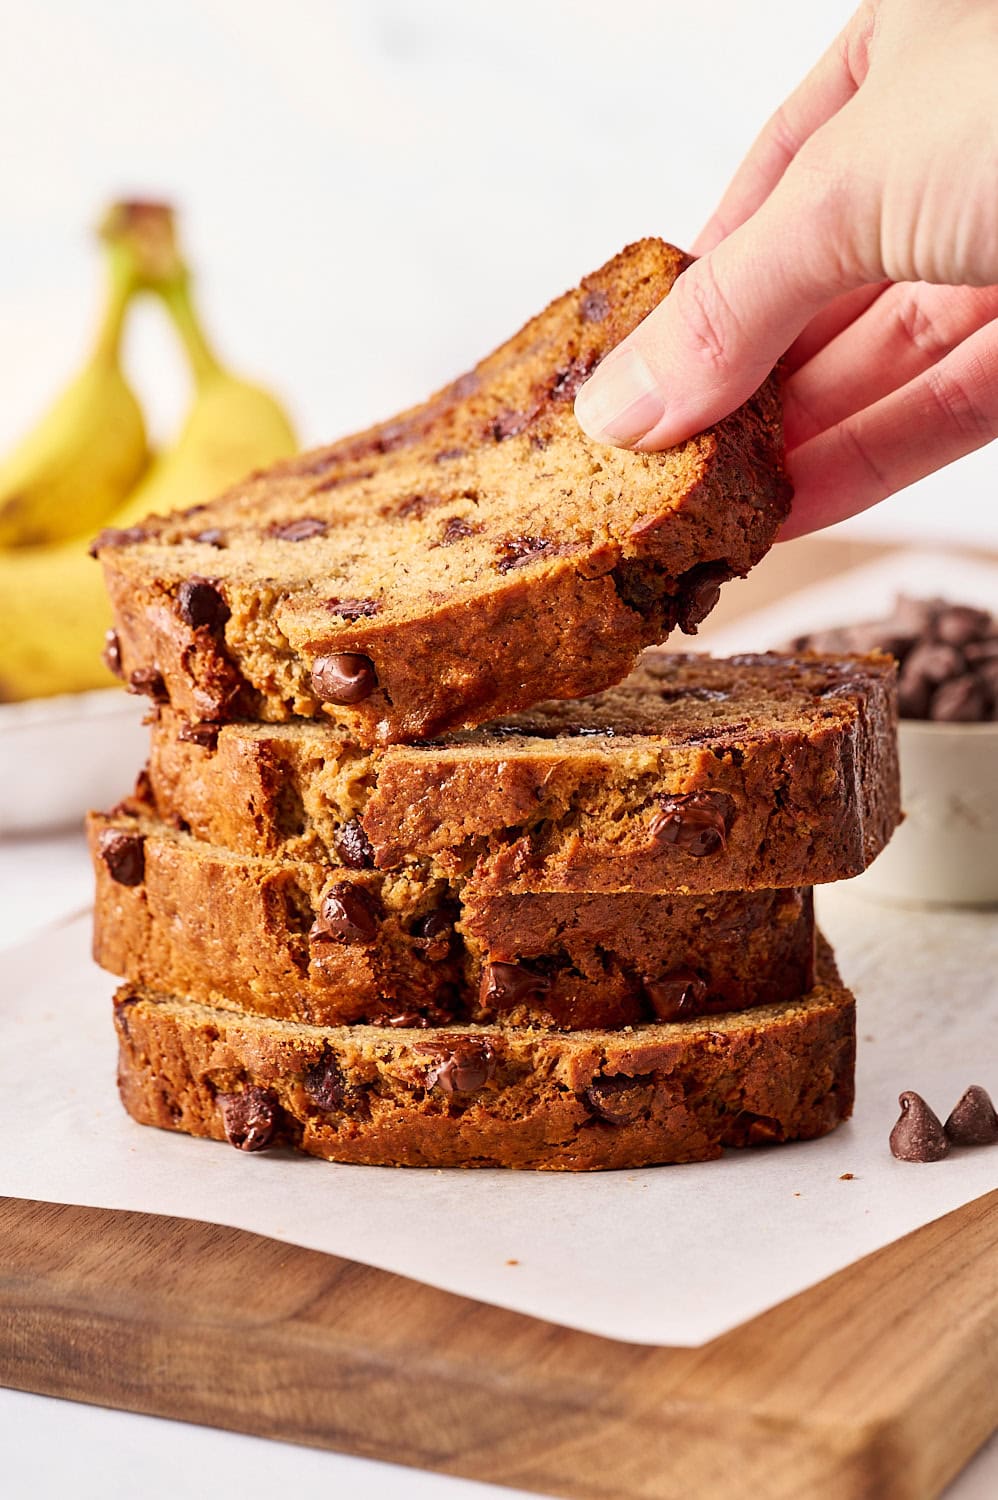
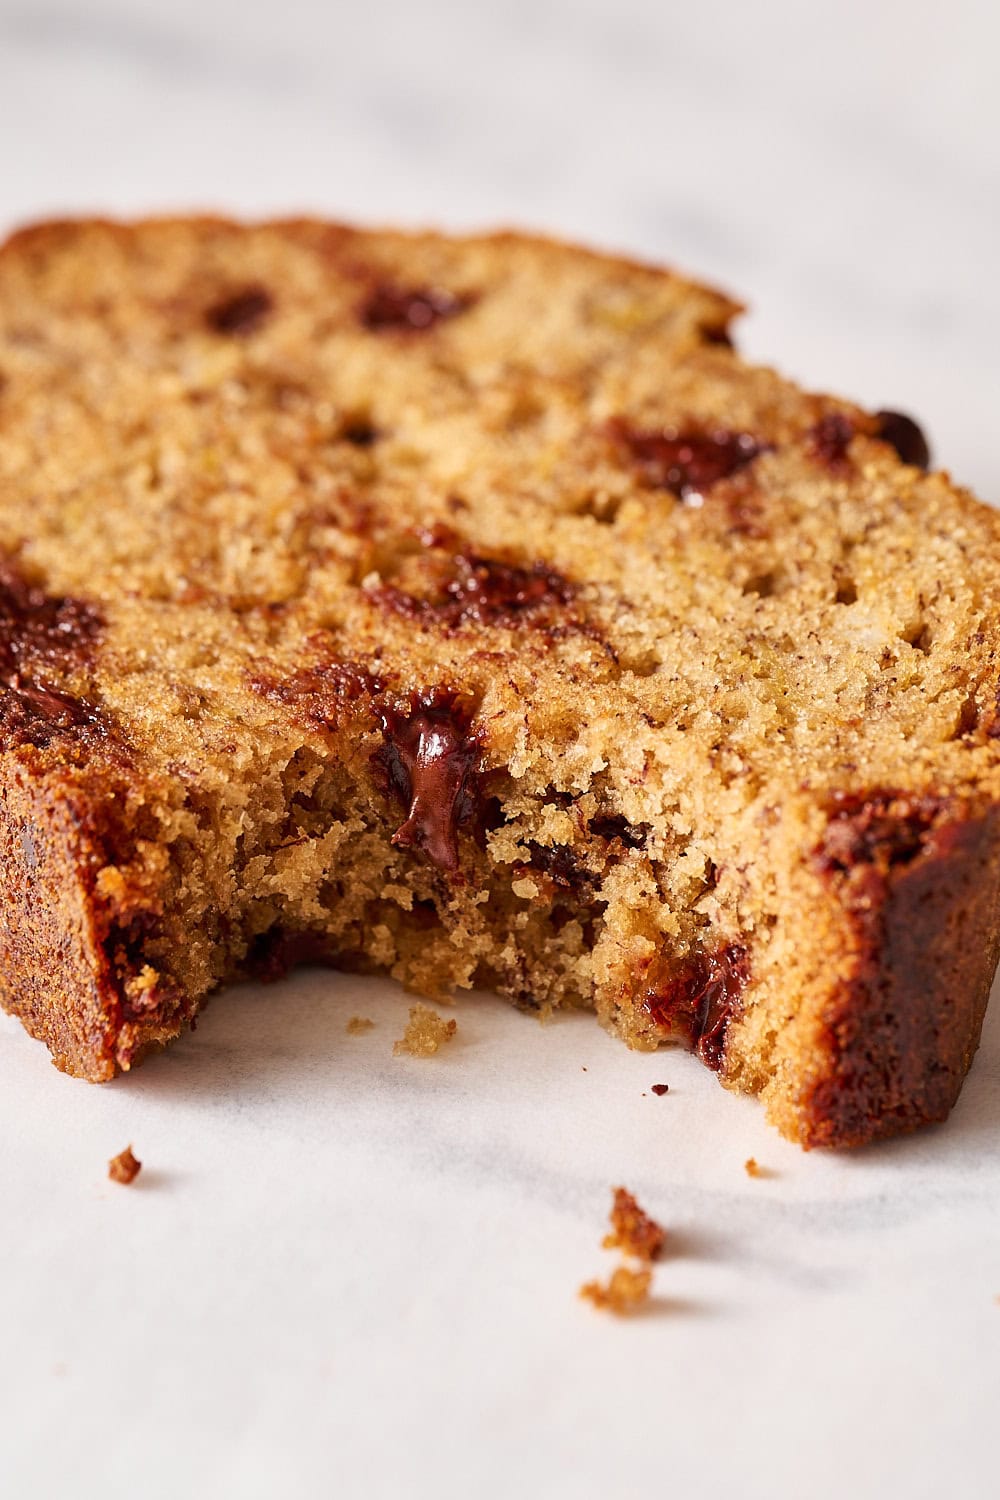
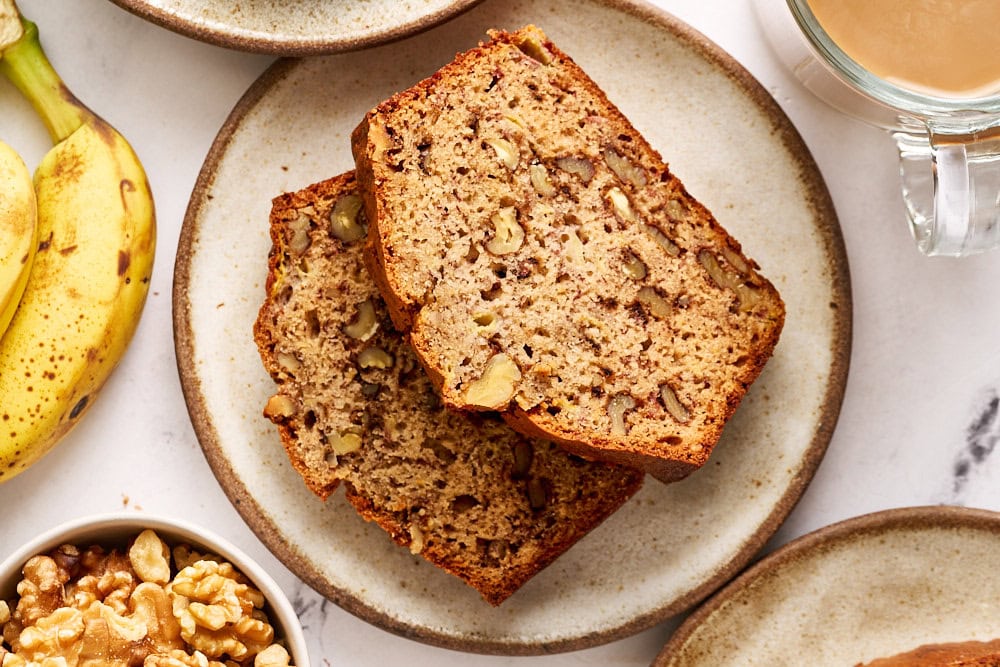
Taste: Packed full of that cozy, comforting sweet banana flavor (with or without chocolate chips & nuts!).
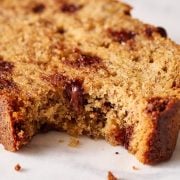
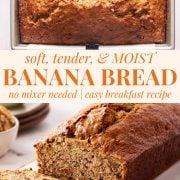
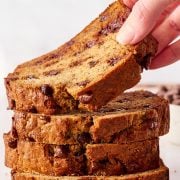
Texture: Soft, moist, and tender, but NOT gummy. The best texture I’ve ever had from any quick bread!
Ease: SO easy! You don’t even need a mixer.
Why you’ll love this recipe: This will become your go-to recipe to end the search for perfect banana bread.
After countless tests, tweaks, and adjustments, I’ve finally discovered the very BEST Banana Bread Recipe.
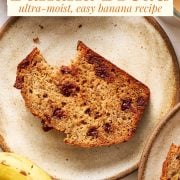
This recipe is super easy to make, uses simple ingredients you may already have on hand, and you don’t even need a mixer. It yields an ultra-moist, tender texture and perfectly balanced flavor every time.
You get to choose if you want nuts, chocolate chips, both, or neither.
No dry, dense, or sunken loaves here!
Just check out two of the hundreds of 5-star reviews raving about this Banana Bread Recipe:
Reader Love
BEST Banana Bread Recipe EVER! I’ve been baking Banana Bread for 50+ years and this is my new standard! Thank you!
I knew this would be amazing, so made a double recipe. I’m so glad I did… it’s perfect. I added chocolate chips, since banana bread and chocolate chips are a must for me.
Key Recipe Ingredients
These are simple ingredients, but I chose them very carefully after many rounds of testing, so they truly matter!
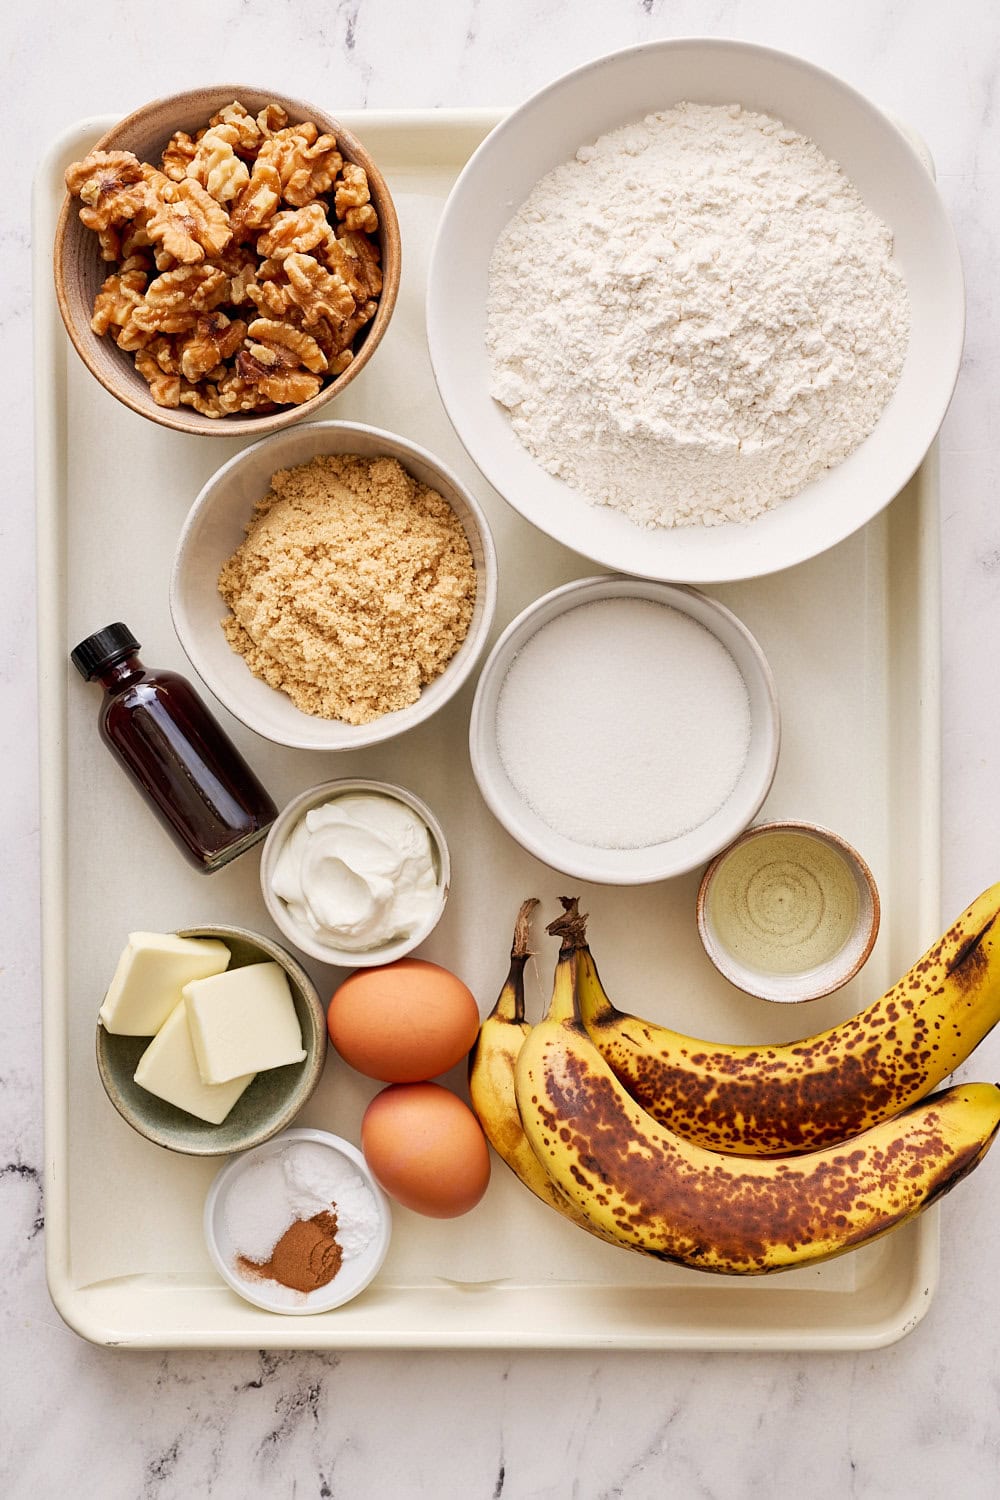
Flour: Measure carefully. Too much flour = dense banana bread. I recommend weighing for accuracy. Learn how to properly measure flour here.
Brown Sugar and White Sugar: The brown sugar adds moisture and butterscotch flavor while the white (granulated) sugar helps to balances sweetness.
Cinnamon (Optional): Feel free to skip this, but I love the cozy warmth it adds.
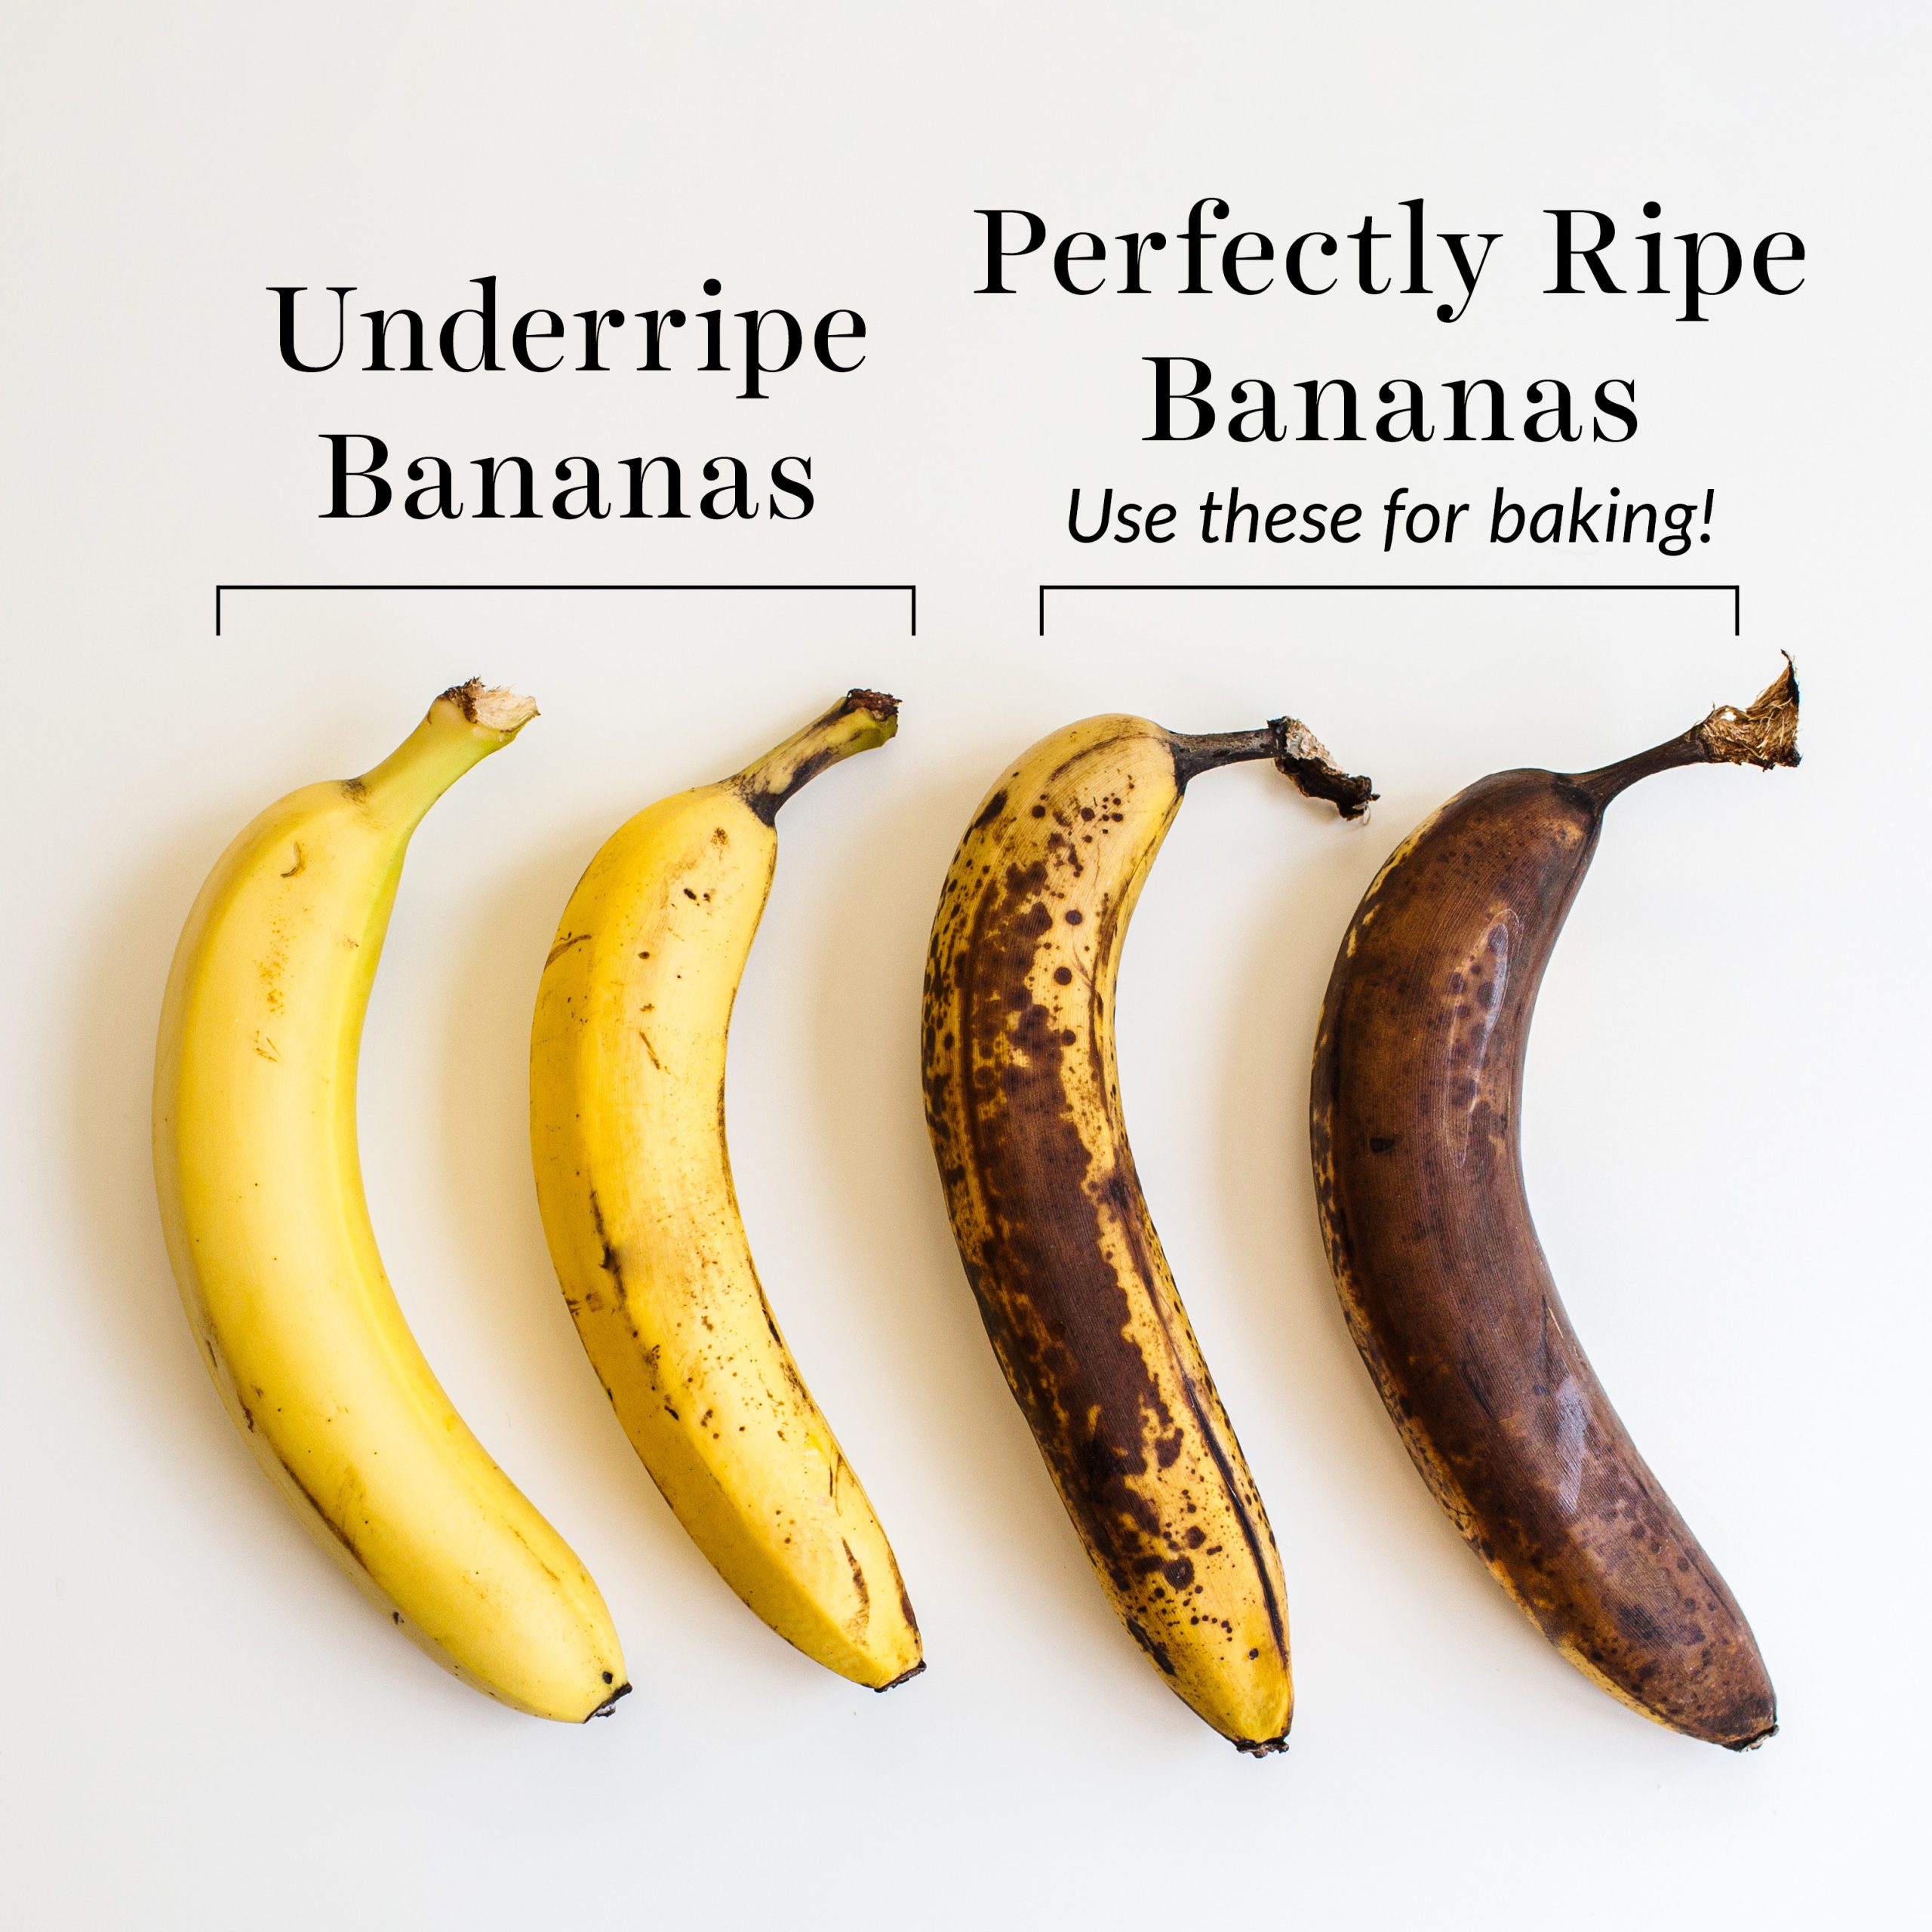
Overripe Bananas: The darker and spottier, the better. They provide sweetness and a softer, more tender texture. See the Sprinkle of Science box below for more.
Sour Cream (or full-fat yogurt): This is the key to a moist banana bread recipe. It adds fat and acidity, which tenderizes the crumb and prevents dryness. Plain Greek yogurt works, but full-fat gives better results.
Butter and Oil: This offers the best of both worlds! Butter lends its incredible flavor, while oil helps keep the texture moist for days. Use any neutral liquid oil.
Eggs: Help emulsify the batter and create structure. To substitute, add 60g (1/4 cup) of extra sour cream or plain yogurt, plus 1/2 teaspoon baking powder and 1/2 teaspoon apple cider vinegar.

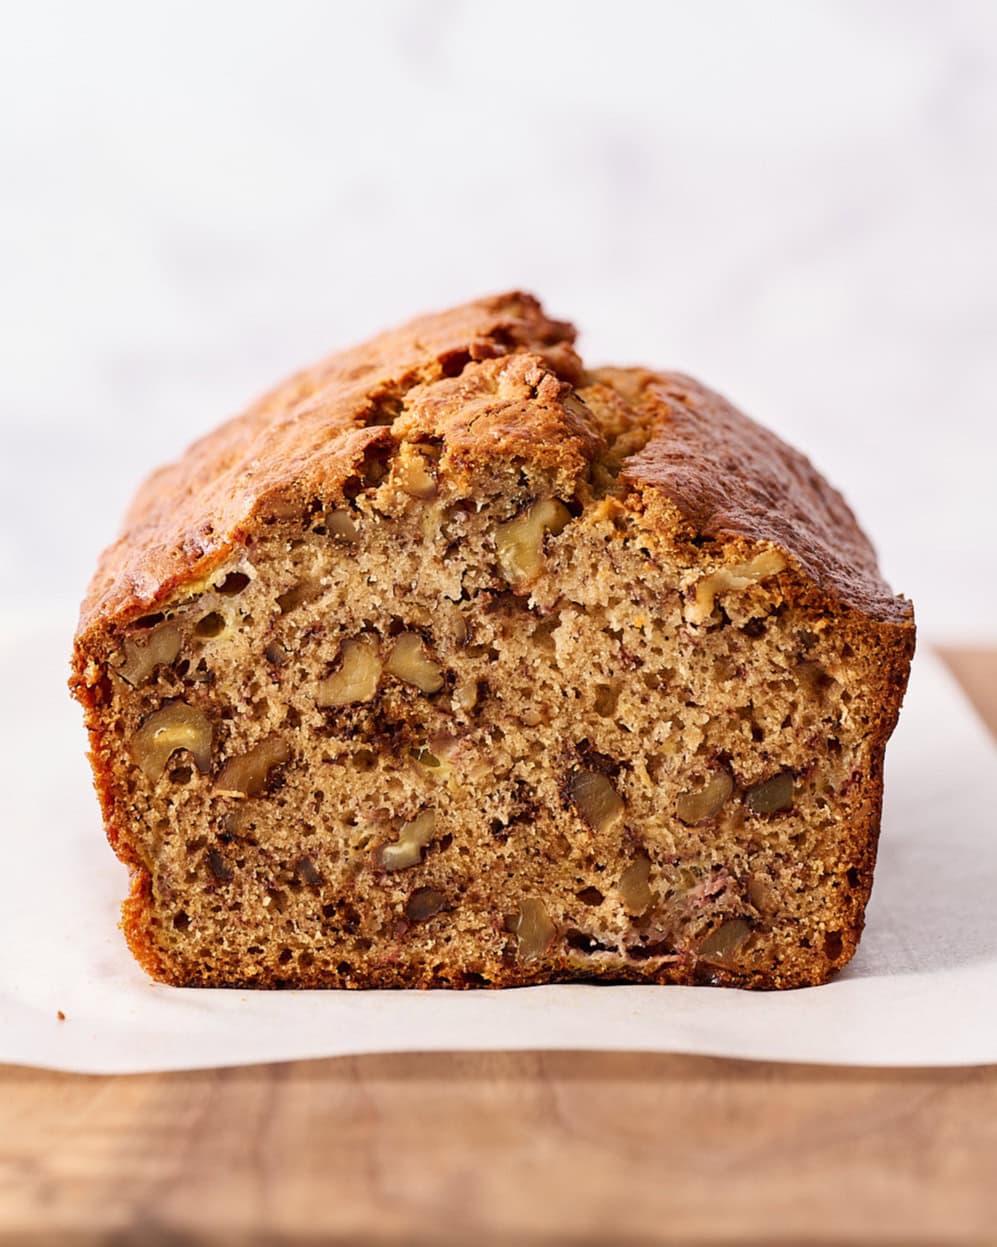
Nuts or Chocolate Chips: Use either, neither, or both! Note that nuts will help produce a taller loaf because they add bulk to the batter. I like toasted walnuts, but you can skip toasting and/or use pecans instead. I also prefer semisweet chocolate chips for balanced sweetness.
How to Make Banana Bread (Step-by-Step)
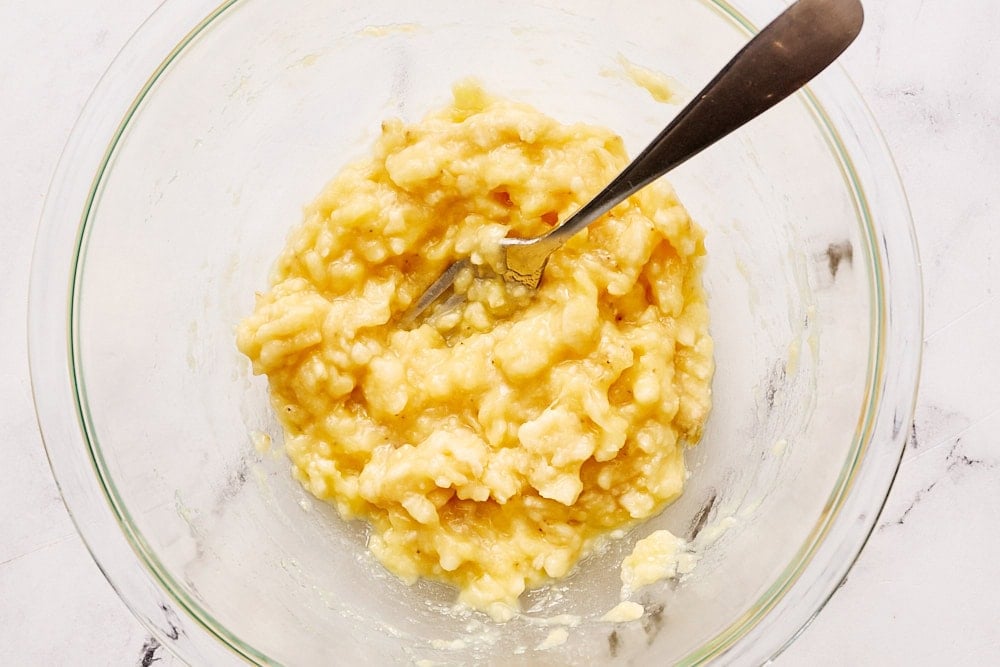
Mash bananas. Make sure they’re overripe, and don’t overmash! I like to use a fork or potato masher.
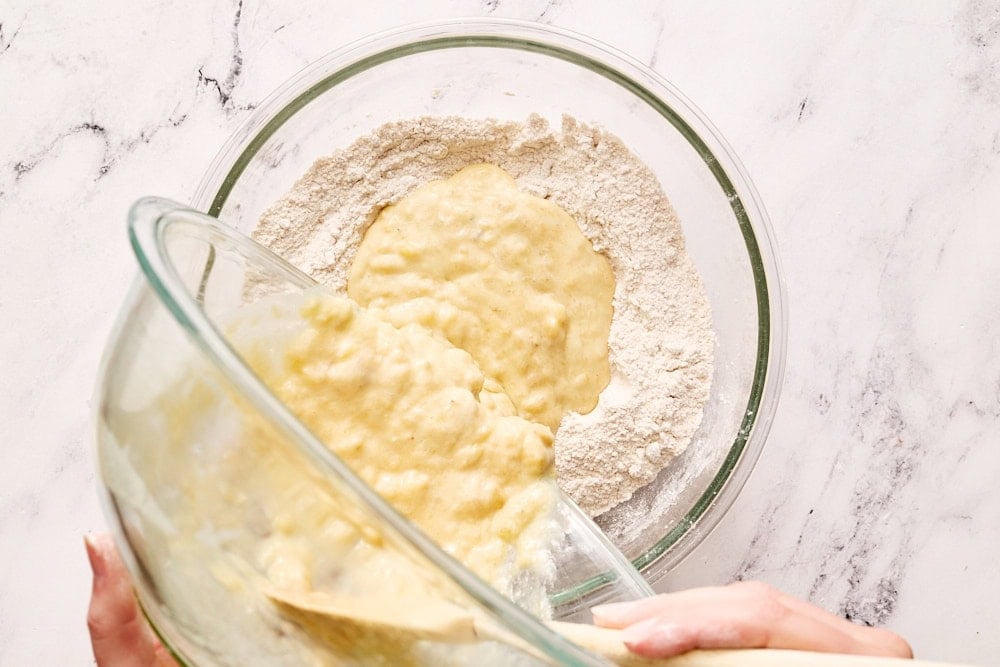
Combine wet & dry ingredients. Mix until just combined to avoid a rubbery or dense loaf.
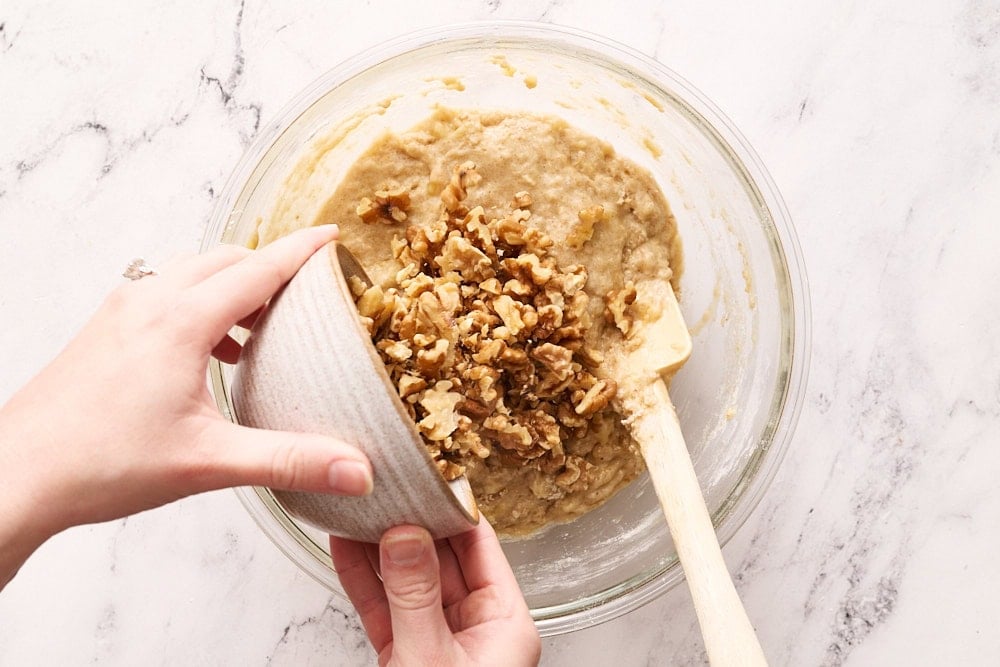
Add mix-ins (optional). Add in nuts, chocolate chips, a combination of both, or neither.
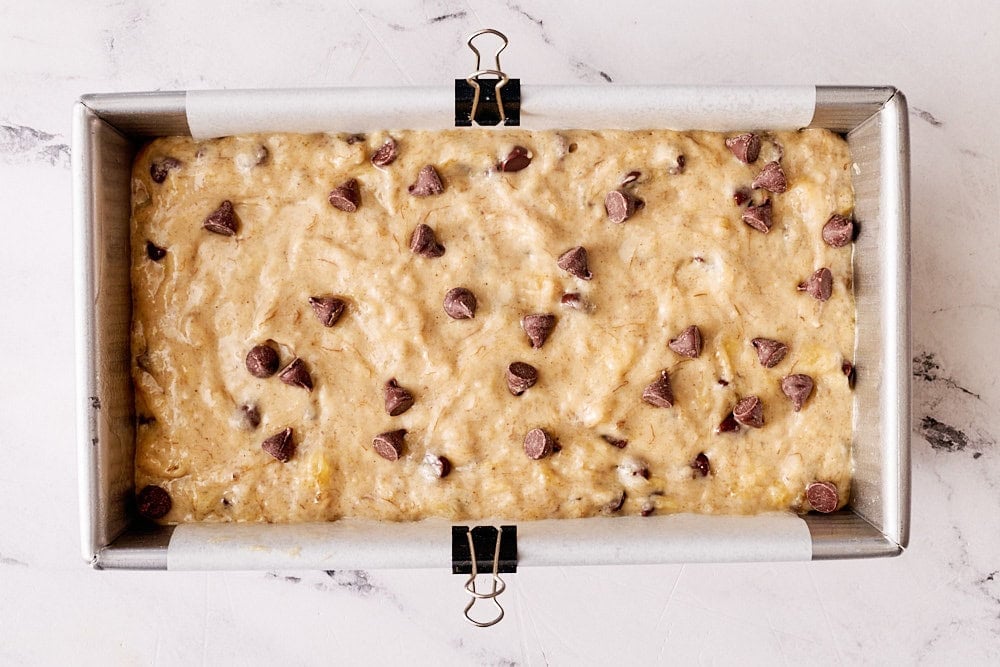
Pour into pan. Line a 9×5-inch metal pan with parchment or foil, spray with nonstick spray, then pour batter in.

Bake & cool. Bake at 350°F for about 55-65 minutes, or until a toothpick comes out clean and the internal temperature reads at least 200°F.
Sprinkle of Science
When making Banana Bread, be sure to use very overripe bananas. They should be very soft and covered with dark brown speckles, for the best sweet flavor and the best texture.
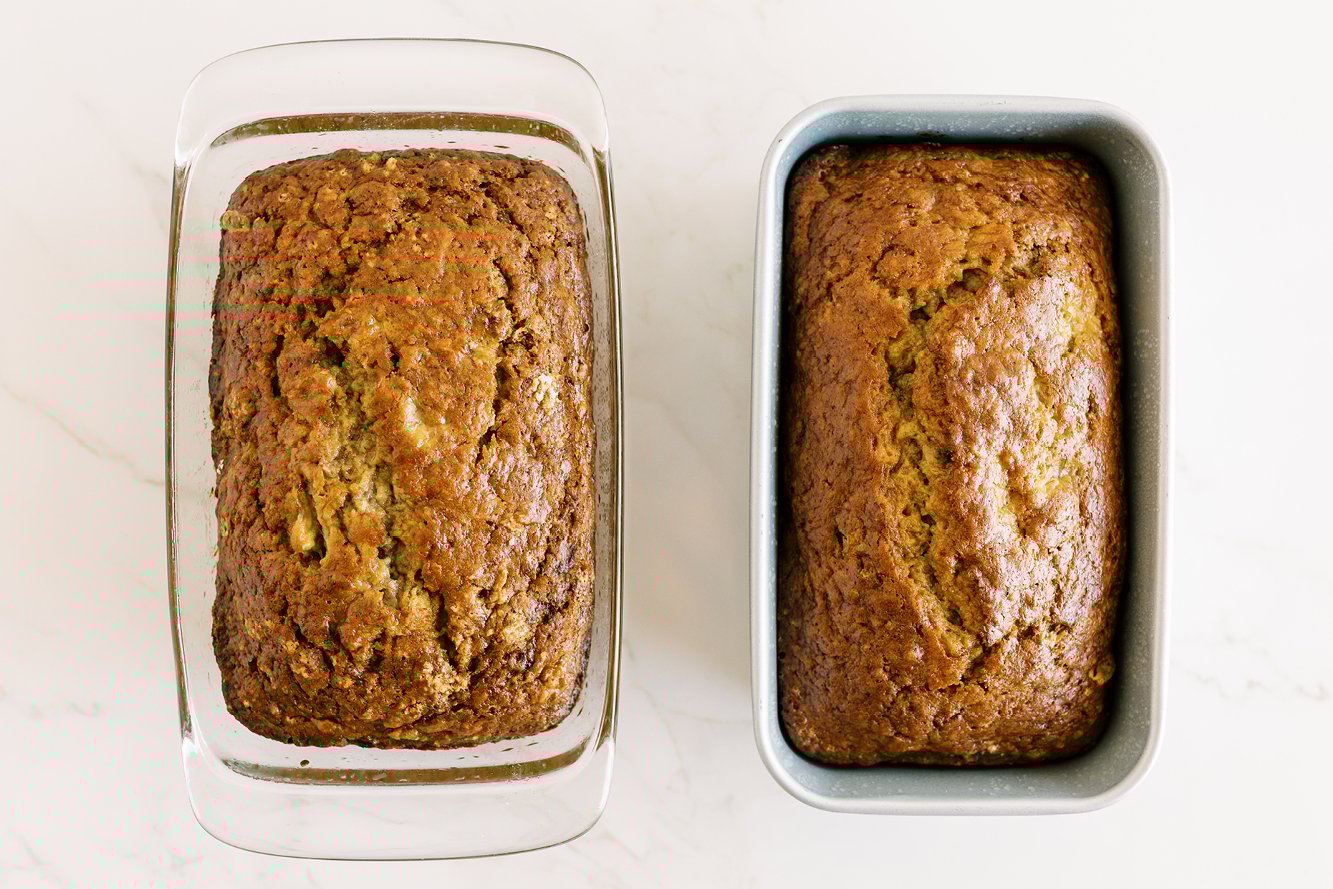
The pan I recommend is a light-colored METAL 9 by 5-inch loaf pan. Anything too dark in color will risk scorching the edges.
Glass and ceramic loaf pans will take MUCH longer to bake – upwards of 15 to 20 minutes extra. You also risk the banana bread collapsing and being underbaked or gummy in the middle. If that’s all you have, drop the temperature to 325°F and extend the baking time anywhere from 10-25 minutes, until a toothpick comes out clean and the internal temperature registers at least 200°F.
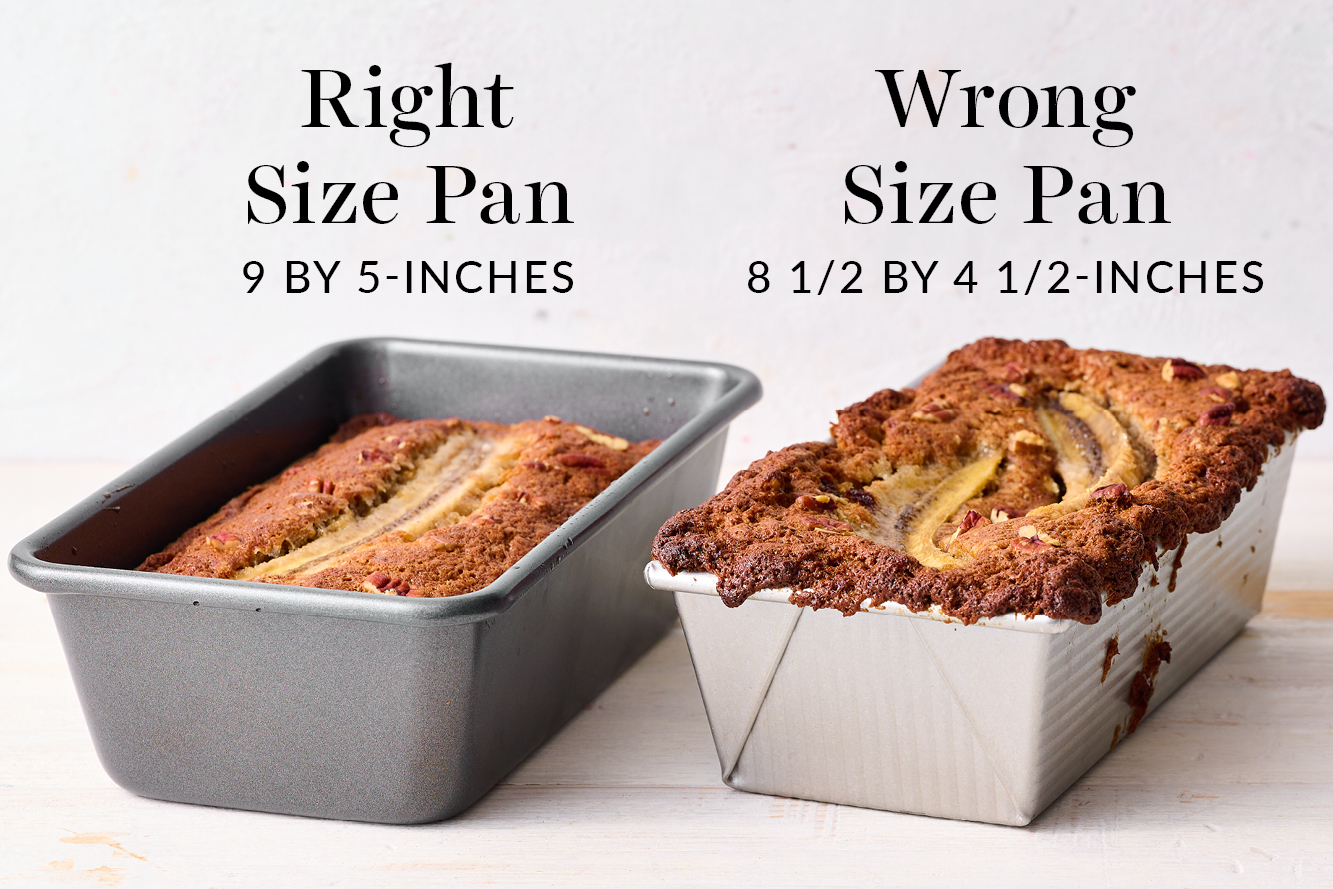
This recipe was designed to bake in a 9 by 5-inch pan. I know that an 8 ½ by 4 ½-inch pan seems basically identical, but the difference in volume capacity is 15% and that has a surprisingly large impact on the final loaf.
If you use the smaller pan size, your loaf may spill over the edges and remain underbaked in the center. If you only have a smaller pan, withhold about 15% of the batter from the pan.
How to Bake Banana Bread Without Sinking or Collapsing!
- Follow my notes above for using the correct baking pan – both size and material matter!
- Make sure your oven is completely preheated. Wait at least 10 additional minutes after the preheated beep before baking to ensure it’s hot enough.
- Invest in an oven thermometer to see just how accurate your oven actually is. Read more about oven temperatures here.
- Be sure not to overmix the batter.
- Don’t underbake. More on this just below.
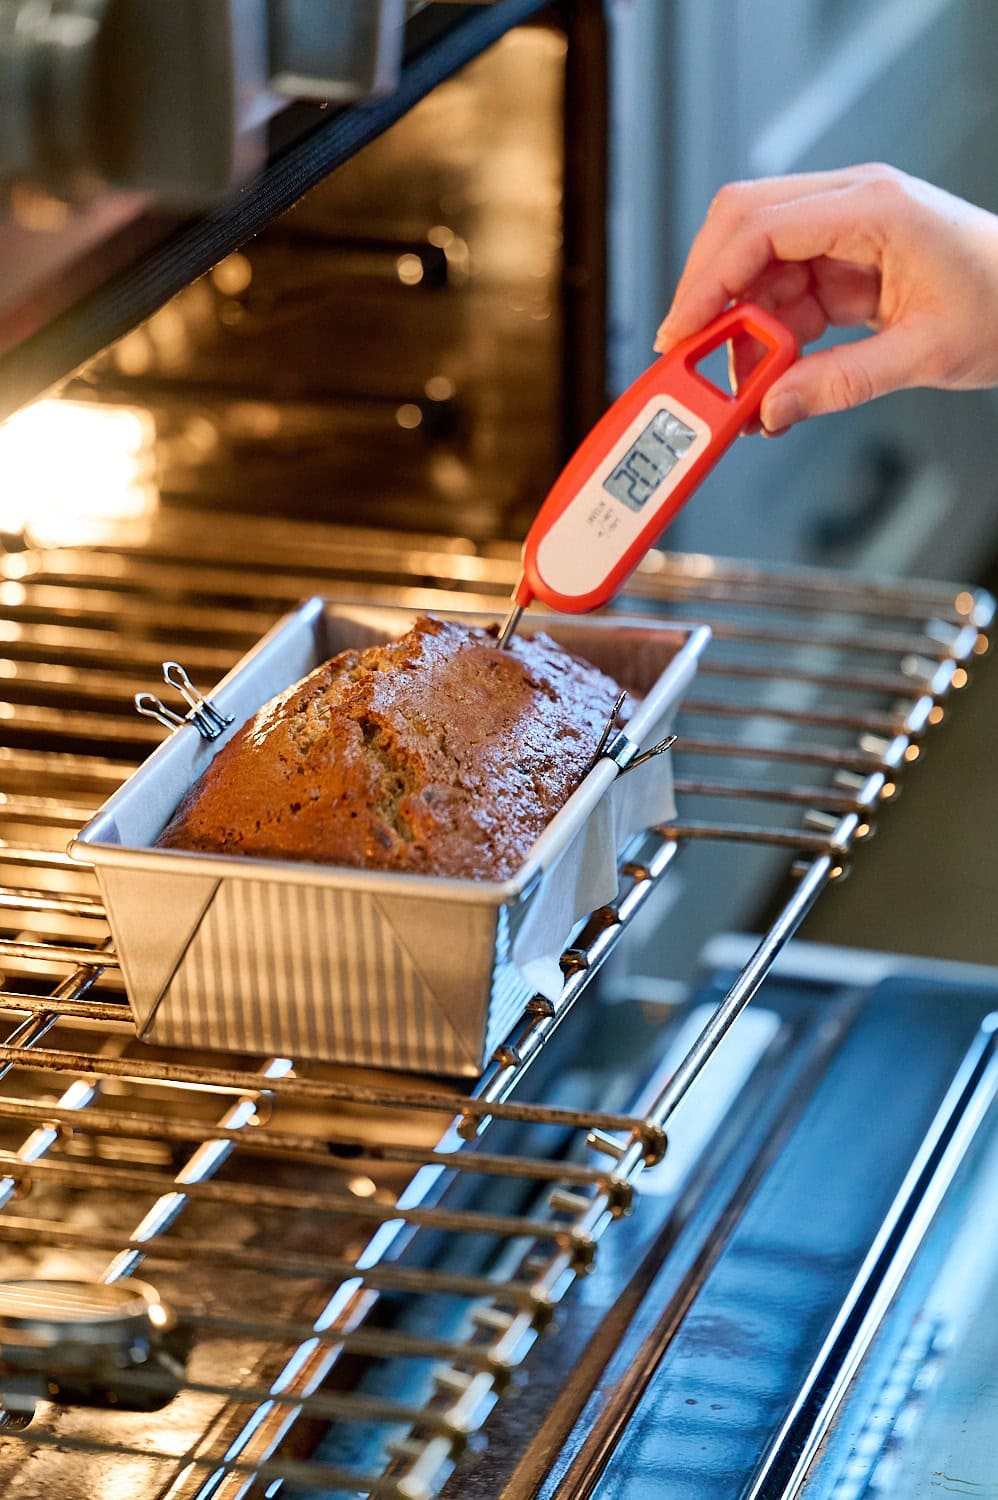
How to Tell When Banana Bread is Done Baking
Bake your Banana Bread until an instant-read thermometer inserted into the center registers an internal temperature of 200 to 205°F and the probe comes out with clean (no batter or moisture attached).
This is the best and easiest way to ensure your loaf is perfectly cooked through, won’t sink, and also isn’t overdone.
Storage & Make ahead
To Store: Cool completely then cover and store at room temperature for 2 days. The flavors will actually intensify as the bread sits!
To Freeze: Tightly wrap the completely cooled loaf or slices in plastic wrap, then place in a ziptop bag. Freeze for up to three months. Thaw in the refrigerator overnight or at room temperature. If thawing an entire loaf, you can also refresh the by popping it into a 325°F oven for about 10 minutes.
Email This Recipe
Enter your email, and we’ll send it to your inbox.
Ingredients
- 2 cups (254 grams) all-purpose flour, measured correctly
- 1/2 cup (100 grams) granulated sugar
- 1/2 cup (100 grams) light brown sugar
- 3/4 teaspoon baking soda
- 1/2 teaspoon ground cinnamon (optional)
- 1/2 teaspoon fine sea salt
- 1 1/2 cups (340 grams) mashed overripe bananas, from about 3 large bananas*
- 1/4 cup (60 grams) plain yogurt or sour cream, at room temperature
- 2 large eggs, at room temperature, lightly beaten
- 3 tablespoons (42 grams) unsalted butter, melted
- 3 tablespoons (42 grams) neutral oil, such as avocado or vegetable
- 1 teaspoon vanilla extract
- 1 cup (142 grams) coarsely chopped toasted walnuts, or (170 grams) chocolate chips, optional


Instructions
- Preheat the oven to 350°F. Generously grease a 9 by 5-inch loaf pan.**
- In a large bowl, whisk together the flour, sugars, baking soda, cinnamon, and salt.
- In a medium bowl, stir together the mashed bananas, yogurt, eggs, butter, oil, and vanilla. Gently fold the wet ingredients into the dry ingredients until just barely combined. Gently fold in the walnuts or chocolate chips (if using), being very careful not to overmix. Spread batter into the prepared pan.
- Bake about 55 to 65 minutes, until golden brown and a toothpick inserted into the center comes out clean or a digital thermometer inserted into the center reads 200-205°F. Cool in the pan on a cooling rack for 15 minutes before removing the loaf from the pan to finish cooling completely, before slicing and serving.
Notes
Frequently Asked Questions
To ripen in a couple days: Place bananas in a paper bag in a warm area for a day or two. The peels create ethylene gas, which fills up the bag and helps them ripen faster.
To ripen bananas today: Place whole unpeeled bananas on a baking sheet in a 300°F oven for about 30 to 40 minutes, or until the skins are darkened and the fruit is soft.
Yes! Thaw completely and drain excess liquid before using. I do this all the time.
If you have more overripe bananas than you need for this recipe, you can always peel and freeze them in a ziptop freezer bag for later. Simply thaw and bring to room temperature before using as instructed in the recipe below (drain excess liquid).
Mmm… yes! Add Cream Cheese Frosting or Buttercream Frosting to take this recipe to a whole new level.
We’ve all been there. You go to slice your cool loaf, only to discover it’s gummy and underdone in the center! Putting it back in the oven will only scorch the exterior before the interior can heat through.
Instead, place those slices on a buttered griddle and fry them up, kind of like French Toast. You can also do this with stale bread (if it lasts that long!). Add a little peanut butter at the end for the ultimate indulgence.
Accidentally over-measuring the flour, overmixing, and not baking the bread long enough are three common culprits. Weigh your flour (or spoon and level your measuring cups). Mix until just combined. Learn how to tell when banana bread is done baking here.
Fill the batter about 3/4 full into the cavities of two standard muffin tins (for a total of 24 muffins) and bake at 350°F for about 20 to 25 minutes, or until a toothpick inserted into the center comes out clean.
Or, you can use my fluffy Bakery Style Banana Muffins recipe. Love nuts? My Bakery Style Banana Nut Muffins.
Grease pans and fill each about 3/4 full. This makes about 3 mini loaves, depending on your pan size. Place on a baking sheet and bake for about 36 minutes, or until the tops are deep golden brown and a toothpick inserted in the center comes out clean (or the center reaches 200°F). Let cool in pans on cooling rack for 10 minutes before removing to cool completely.
Whether you’re making the original size or mini loaves, let the bread cool completely outside the pans to prevent sogginess or overcooking from residual heat, then place them back in the pans for easy transport.
Yes! Omit the two eggs and add 60 grams (1/4 cup) of extra sour cream or plain yogurt, plus 1/2 teaspoon baking powder and 1/2 teaspoon apple cider vinegar.
Yes! Readers have successfully used Bob’s Red Mill 1-to-1 gluten-free flour.
More Banana Recipes You’ll Love:
This post was originally published in 2012 and was updated in 2026 with new photos and baking tips. Photos by Joanie Simon.


Hi again, if I want to add both choco chips and nuts, do I put half cup of nuts and half cup of chips since the add-ins on the recipe was for 1 cup?
Hi Norelle! Yes, that’s correct! Let us know what you think once you’ve given this recipe a try 🙂
I doubled this recipe because I had enough bananas. I undercooked (by accident, must have put the toothpick in the edge of the bread instead of the middle) one of the loaves, what can I do now that it is cold? Cook it again or chuck it?
Thanks!!
Hi Elizabeth! Unfortunately, by the time your banana bread had cooled enough for you to slice into it, it was likely too late to pop it back in the oven and bake it through properly, as the edges will dry out or burn before the interior fully cooks through. As Tessa mentions in the pink tip box above the recipe, the easiest way to know if your banana bread is done is to test the center with an instant-read thermometer. You want the center to reach an internal temperature of 200 to 205°F. If you haven’t already tossed the banana bread, you can always slice it up and try to toast or griddle individual slices, or even make French toast from slices, being careful to ensure the middle of each slice is cooked before serving. I hope that helps! 🙂
Does the baking time or temperature change if you have a convection oven?
Thanks!
Hi Katherine! The typical rule of thumb with convection setting is to drop the temperature by 25°F. Ensure accuracy with an oven thermometer! Also begin to check for doneness earlier, at about 3/4 of the way through the recommended baking time (it’s not always done earlier – it all depends on your oven!). Happy baking!
So it’s my first time making banana bread and this came out almost perfect! It’s moist and has great flavor I think I should’ve waited for my bananas to be more ripe, I suggest using brown bananas for that extra banana flavor. That’s my fault though, other than that oh my gosh love ittt.
So wonderful to hear that, Nikki!! It will be great for you to use overripe bananas next time to compare 🙂
I made this today and only had self raising flour on hand, so I used that and left out the baking soda. It still turned out fantastic!
Glad to hear that, Tali!!
I made this for my friends at school, and it was GONE in 20 min. Here is what I did to upgrade the very good on it’s own recipe. I coated the pan in cake release, then sprinkled cinnamon sugar on the sides before I put the batter in. I used mini chocolate chips in the batter (I also easily doubled the recipe). I had extra banana’s so I cut them up and put them close to the side of the pan (so the center could puff up and bake un-inhibited), then I sprinkled chocolate chips in the middle.
AHMAZING
So happy you and your friends enjoyed your version of this recipe!! Sounds delicious! 🙂
Made this for the first time ever and it was SO good! I only had a glass loaf pan but thankfully it still came out perfect! Thank you again for the recipe! I made it after trying your brownie recipe which was soooo good too so I knew after that, that any recipe of yours would be good!
That’s so wonderful to hear, Sharon!! So excited you enjoyed this banana bread, and one of Tessa’s brownie recipes too!! 🙂
Hi my whole family absolutely love this banana bread recipe with choc chips. Buy how do I make this with gluten free flour? Will the recipe stay the same and just replace the flour?
Hi Efat! Unfortunately, we do not test our recipes with gluten free substitutions. Feel free to experiment with gluten free flour in place of the regular flour, but of course, we cannot guarantee the results will be the same as we have not tested this. Good luck and happy baking! 🙂
I usually bake gf goodies for my hubby and when I have to replace standard flour with gf one I add 1 extra egg. If that’s not enough to obtain the usual consistency of the batter I also add more liquid; in this case would be more yogurt/sour cream, until I have the right consistency.
Gf flour requires more liquids.
Usually the recipes turn out pretty well.
Hope it helps
This is an amazing recipe! I would also follow the advice on using the correct bread pan it really made the difference.
So fantastic to hear you loved this banana bread, Cristi!!
I’m a very experienced baker and this turned out dreadfully. Like other commenters, the middle stayed raw for too long. I kept it in the oven longer. Once I got a clean pull from a fork, I let it cool. Once I finally sampled, the final product’s exterior was craggy and rough like scone. The inside was pure stodgey and dense – YET NOT moist, lol. I am frankly baffled by this outcome. Plus, despite using four bananas… there was only the faintest banana flavor. All in all, a waste of bananas, sugar and eggs. I threw it in the trash. As my roommate rated it: “Definitely not my fave. It’s gotta go.”
Hi there! I’m sorry your banana bread didn’t turn out the way it should! I’d love to help troubleshoot, and figure out what went wrong here, because there are so many little things that could have gone awry, even for an experienced baker like yourself!
Firstly, do you weigh out your ingredients using a digital kitchen scale? If you measure by volume, that could be the culprit; it’s so easy to over-measure flour, or use too many bananas, etc. when measuring by volume! Were your bananas overripe? If they weren’t quite overripe, that could be the reason for the mysteriously lacking banana flavor. There could also be issues with your oven being the wrong temperature. We always advise using an oven thermometer, as most ovens are not telling the truth when they tell you they are at a certain temperature! Most ovens run a little hot or a little cold, and even though 10-25 degrees doesn’t sound super detrimental, this can play a big part in items baking unevenly, especially denser items with long bake times. It’s also very important to use the correct pan size. This recipe calls for a 9 x 5 loaf pan, but a lot of loaf pans are actually a little bigger or smaller than this, which could also drastically alter your intended bake time. Another thing to consider is the color of the loaf pan; Tessa always advises to use a light-colored aluminum tin, as using a dark-colored tin can lead to an overbaked loaf with an underbaked center.
Tessa explains all this in more detail in the pink tip box above the recipe, and also includes some great tips on how to test for doneness (most accurately with an instant-read thermometer!). I hope this helps, and I hope you will give this banana bread another try sometime! Please let us know if you would like any further help troubleshooting 🙂
There must have been something wrong with your process. I’m also an experienced baker, and even though I only had 2/3 the amount of banana called for, and a glass Pyrex pan, AND I accidentally baked at 325°F, the bread turned out very well, moist in the center, and enough banana flavor.
Things that may have gone wrong with your bake:
Oven is off temp and you over/under cooked
Did not weigh ingredients
Fork doneness test not accurate enough
What I did knowing I had only 2/3 the moist banana ingredient.
Added 1/4 tsp baking powder, I wasn’t sure if the sour cream was sour enough to rely on soda
I know glass takes longer, so I started measuring inner temp at 60mins, and the bake took 75. I did not rely on toothpick test, I noticed that the bottom of the toothpick was still gummy while top was cooked. Instead I measured using a Thermapen at 3 levels inside bread, and pulled it when the bottom level reached 200°F. This made the other levels slightly overcooked, and the next time I do this I’ll bake to 190°F instead and leave in pan to cool. The time between perfect bake and overbake may be as short as 5 minutes, were you watching it that closely?
Apart from the baking time this recipe seems pretty foolproof!
Hi Tessa, can I add espresso powder in this recipe? If yes, should I remove a portion of the flour as replacement?
Hi Norelle! We haven’t tried that in this recipe, but I don’t see why not! You wouldn’t use very much, so I don’t think it would be necessary to remove any flour, but feel free to experiment and let us know what you find! Otherwise, Tessa has a recipe for Banana Espresso Chocolate Chip Muffins, which might satisfy your espresso-banana cravings 🙂
Absolutely delicious! Quick & easy to prepare without dirtying up any mixers! Just a whisk, a spatula, measuring cups/spoons and 2 bowls! Cleanup was equally as swift as making this! Only drawback? I had to wait & endure their yummy smells until it was finished baking!! LOL! Fantastic recipe. A great crowd pleaser. And it makes a wonderful hostess or Thank You gift! Another Hone Run from HANDLE THE HEAT!❤️☺️☕️