





Tessa’s Recipe Rundown
Taste: Buttery pie perfection.
Texture: Oh-so flaky and wonderfully tender.
Ease: I break down each step, so there’s no need to be intimidated!
Why You’ll Love This Recipe: All my best tips and tricks, plus the perfect ratios of each simple ingredient, for the best pie crust ever.
This post may contain affiliate links. Read our disclosure policy.








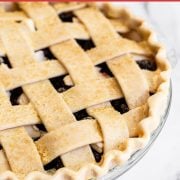


Homemade pie crusts are about a thousand times more flavorful, flaky, and tender than the store-bought kind. It takes a little bit of extra work to get a perfect pie crust, but it absolutely does not need to be as intimidating as it may seem.
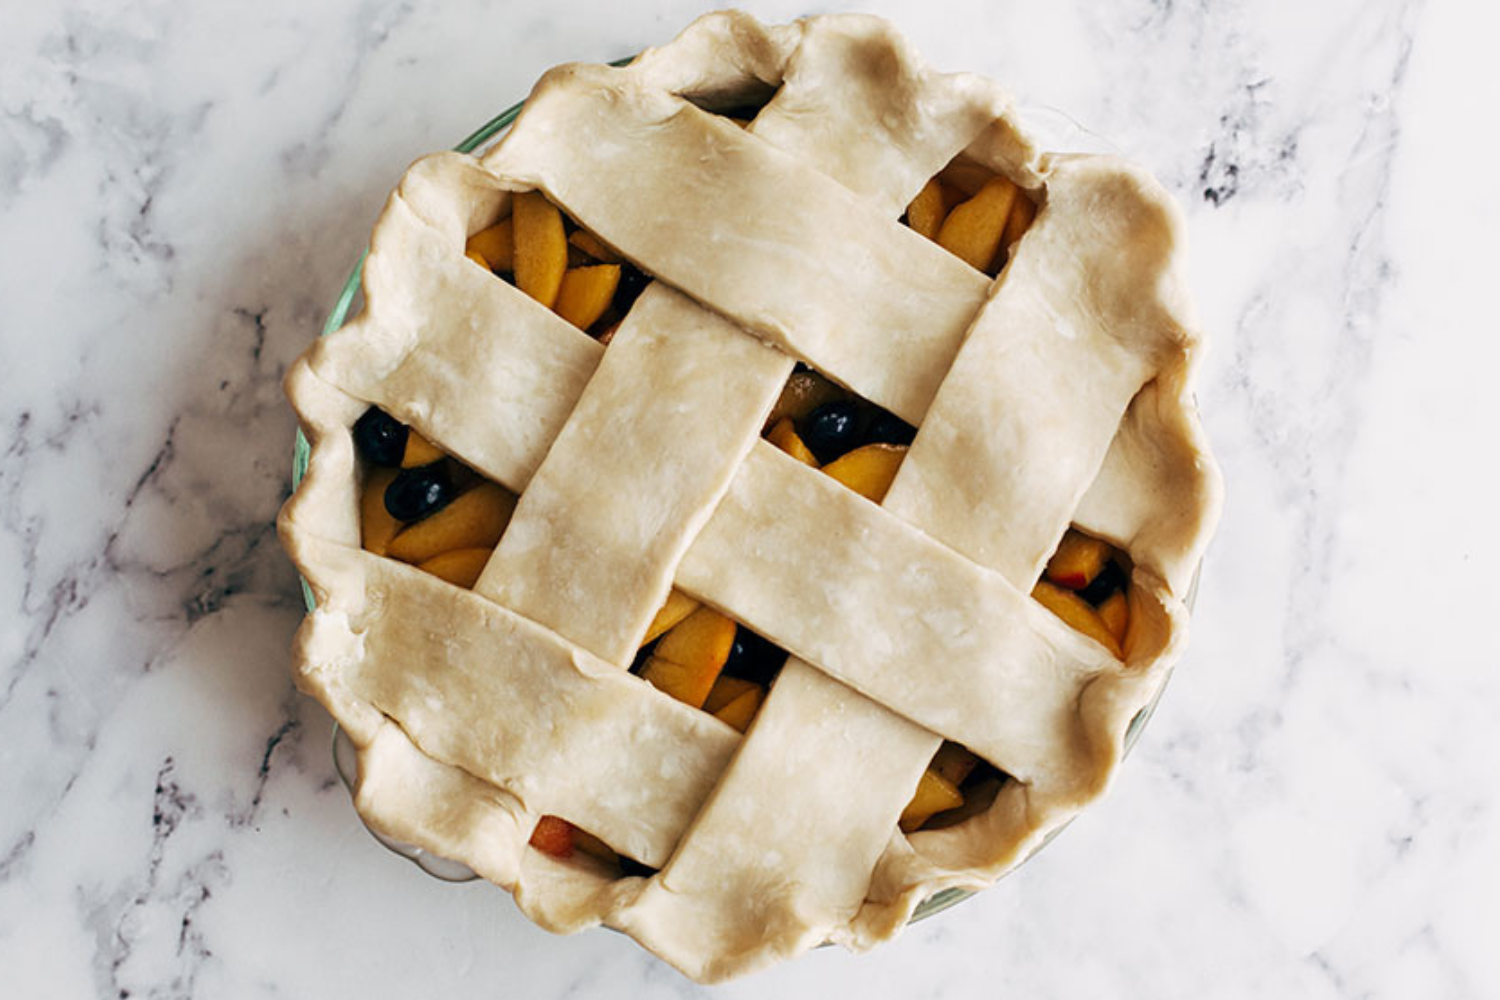
Throughout extensive testing, I’ve accounted for as many potential pie crust issues as possible to make it nearly foolproof.
I completely overhauled it in 2020 to make it even more tender and flaky. I took in feedback I’d received over the years from readers to improve the recipe and I’m so happy with the results!
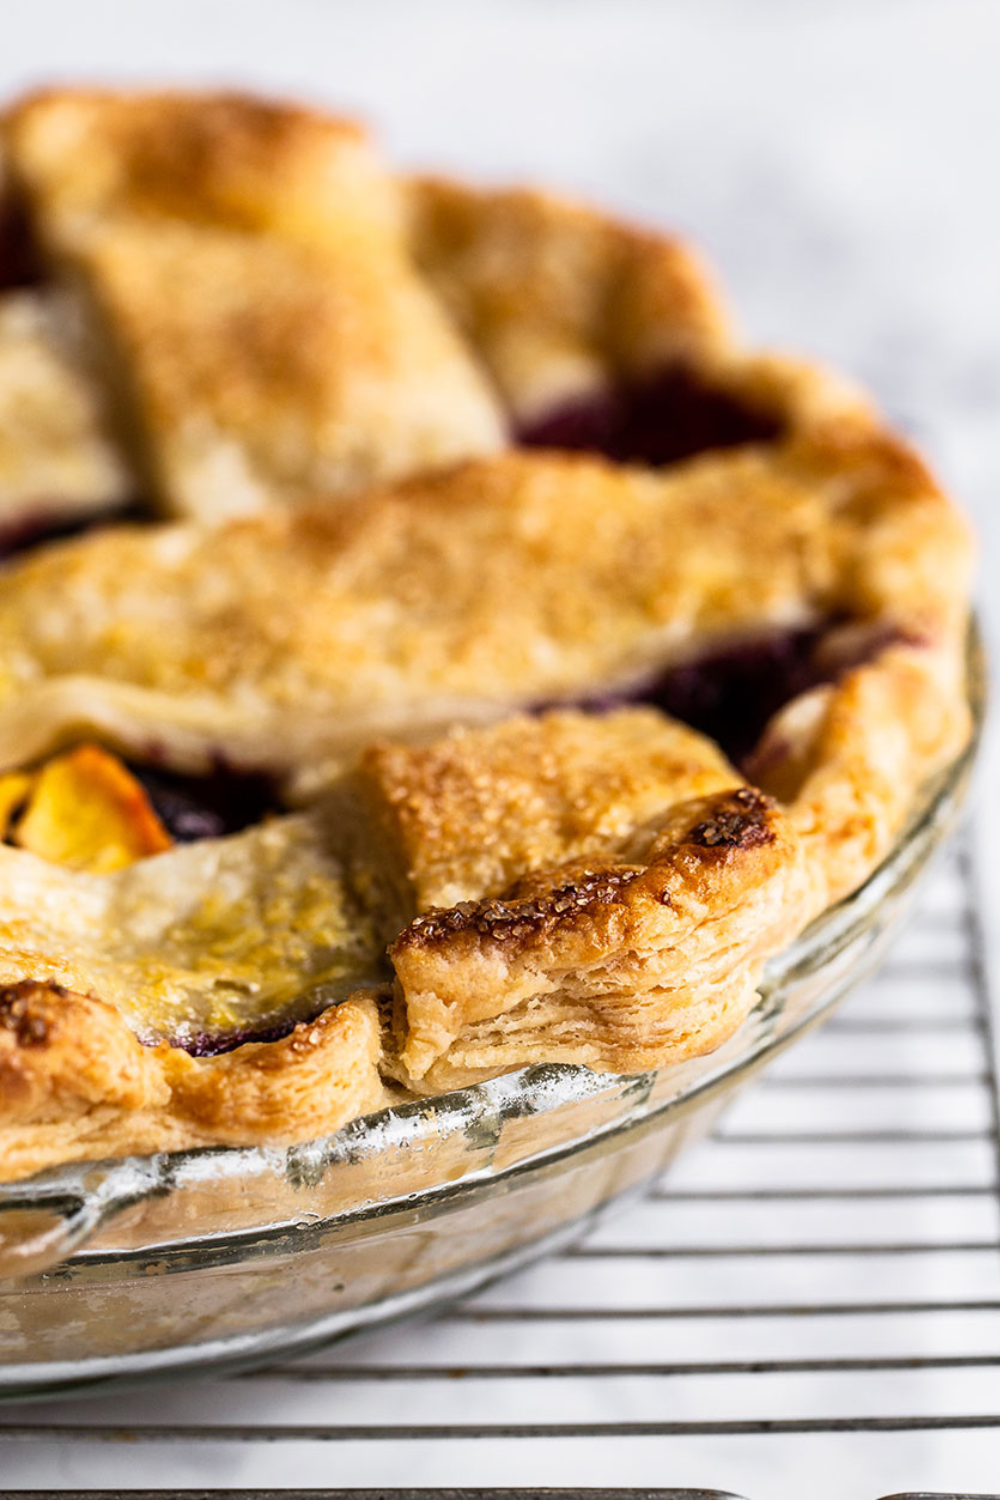
Take a look at just how flaky:
Reader Love
This is the recipe I’ve been looking for. I use it for quiche, no bake pies and baked pies. Sturdy, flaky and delicious….i do grate my butter and hand mix.
I’ve been looking for a good – easy to make pie dough for a long time. This recipe is perfect! I grated the butter and it turned out amazing. I will get rid of all the other recipes I tried and only use this one. Thanks so much!!
Consider this article your complete pie crust education!
For Flaky Pie Crust, Keep Everything Cold – Especially Your Butter
If your kitchen is above 73°F, you can refrigerate all of your ingredients and equipment including your bowl, rolling pin, and pie plate until it’s between 65-70°F (dip an instant-read thermometer into your flour to gauge the temperature).
If your counter is warm, fill freezer bags with ice and a little water and set them on your work surface for 10 minutes to chill it before rolling out your pie dough. This will prevent the butter from becoming greasy as you work with the dough.
Tessa’s Tip
If it’s a hot day, or you have hot hands, you’re better off making your pie dough in a food processor.
The Butter Size in Pie Dough Matters!
- Smaller pieces of butter typically result in a more mealy textured crust that holds up better to custard fillings.
- Larger chunks of butter will yield a flakier crust better suited for fruit fillings – but this also runs the risk of creating pools of butter as your pie dough bakes.
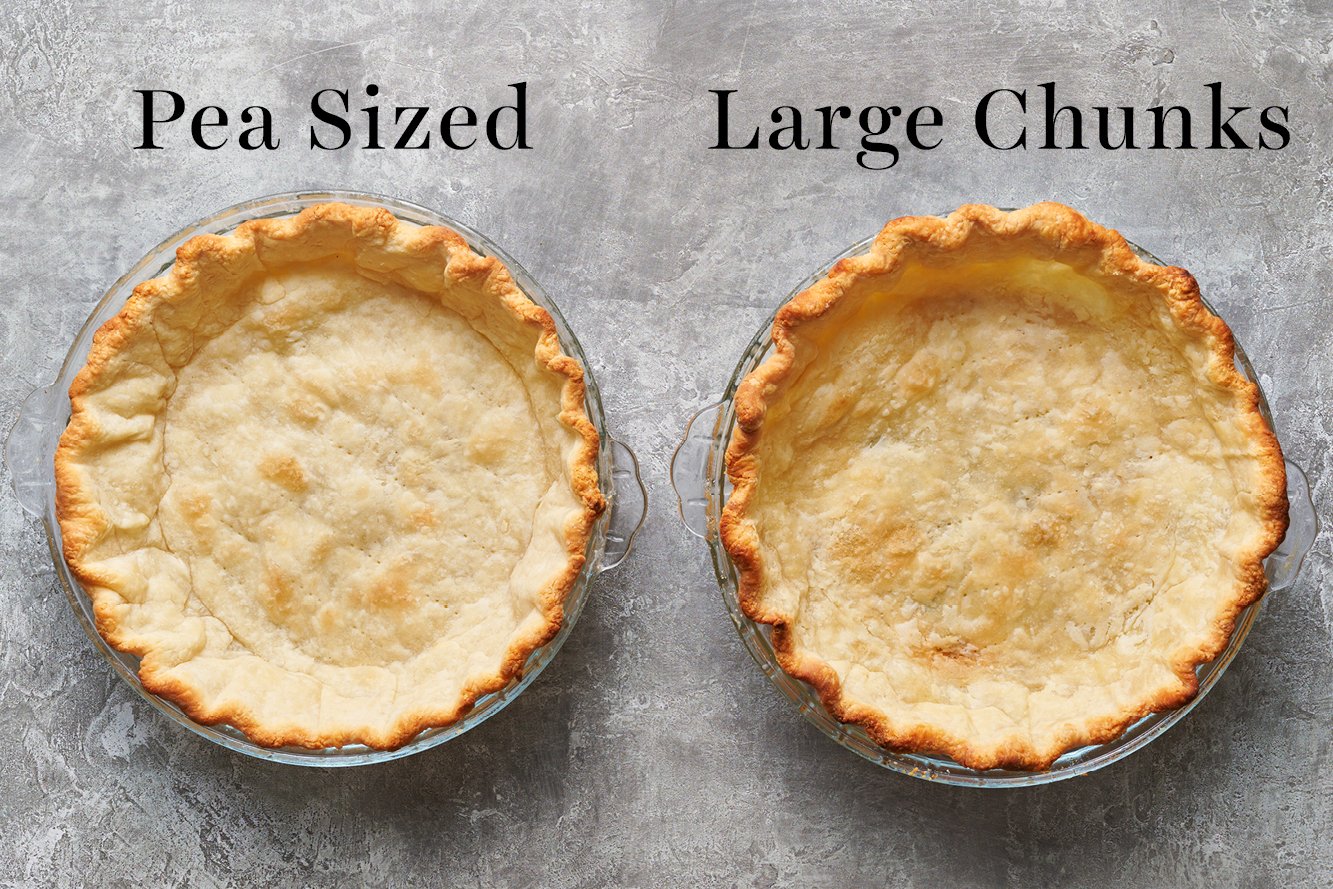
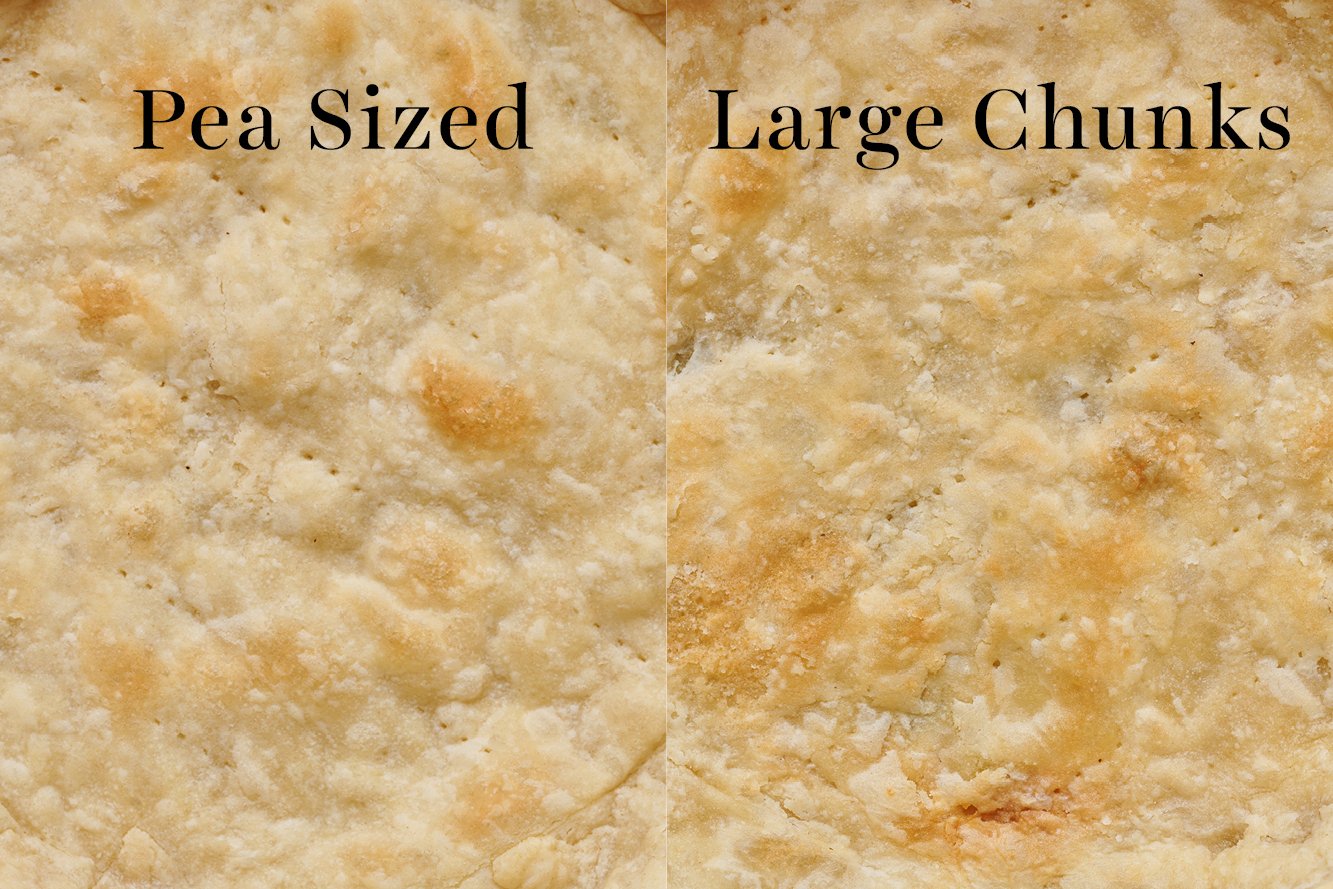
- Overall, the differences can look relatively minor from a visual perspective once the crusts are baked.
- If you don’t have a ton of experience or confidence in your pie dough skills, I recommend starting with smaller pieces of butter. It makes the dough much easier to work with!
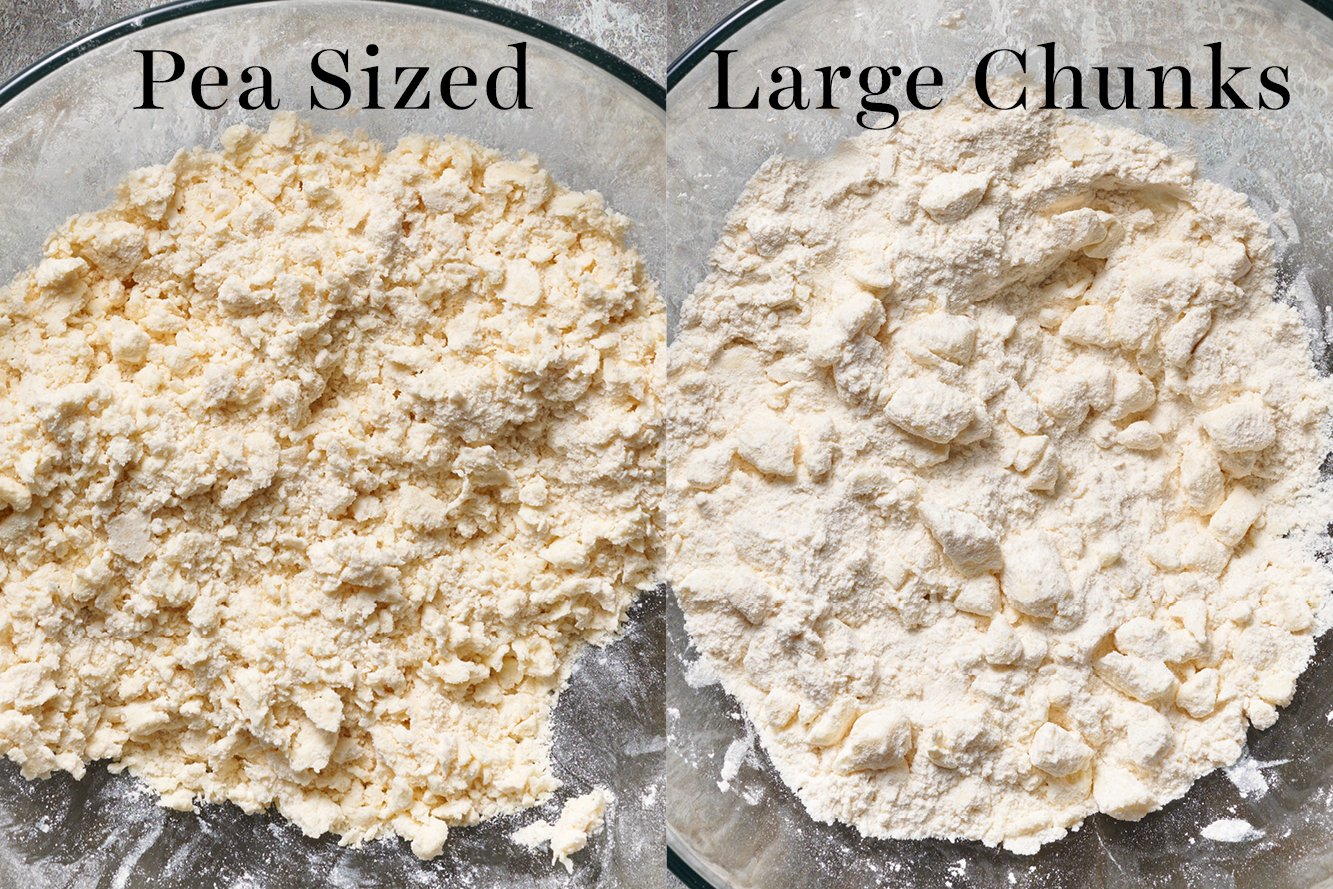
- Take a look at what a difference it makes to use pea-sized vs. large chunks of butter in pie crust:
How to Cut The Butter In
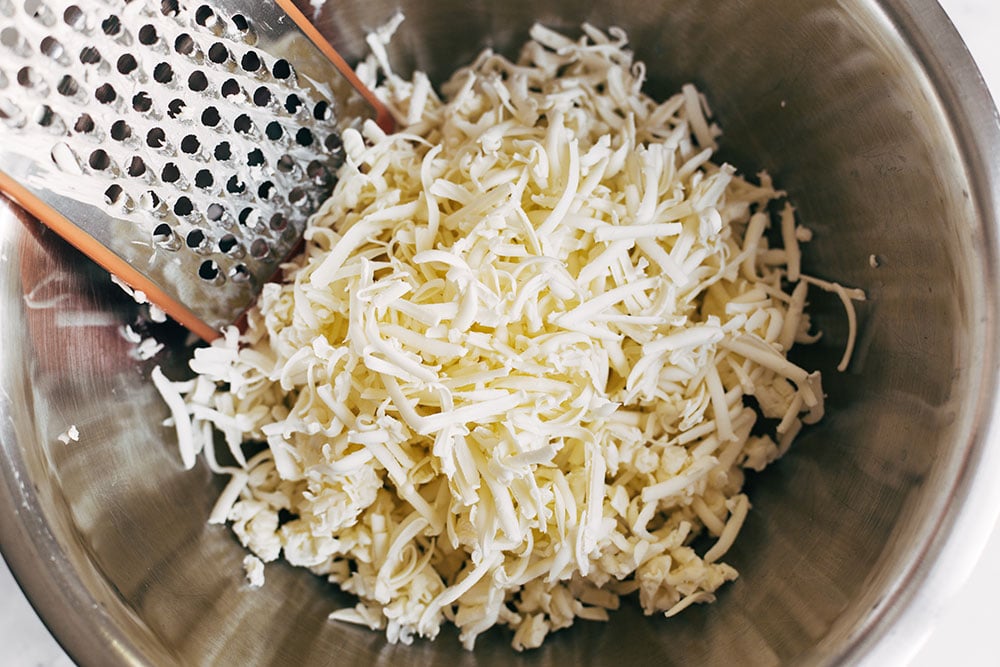
It should take just a couple of minutes to cut the butter into the flour mixture, to prevent the butter warming up. For this reason, it’s helpful to start out with pieces of butter that are already small in size. I’ve included a few options for processing the butter below. My personal favorite is to grate it like cheese!
Method 1: Grate or Chop with a Knife
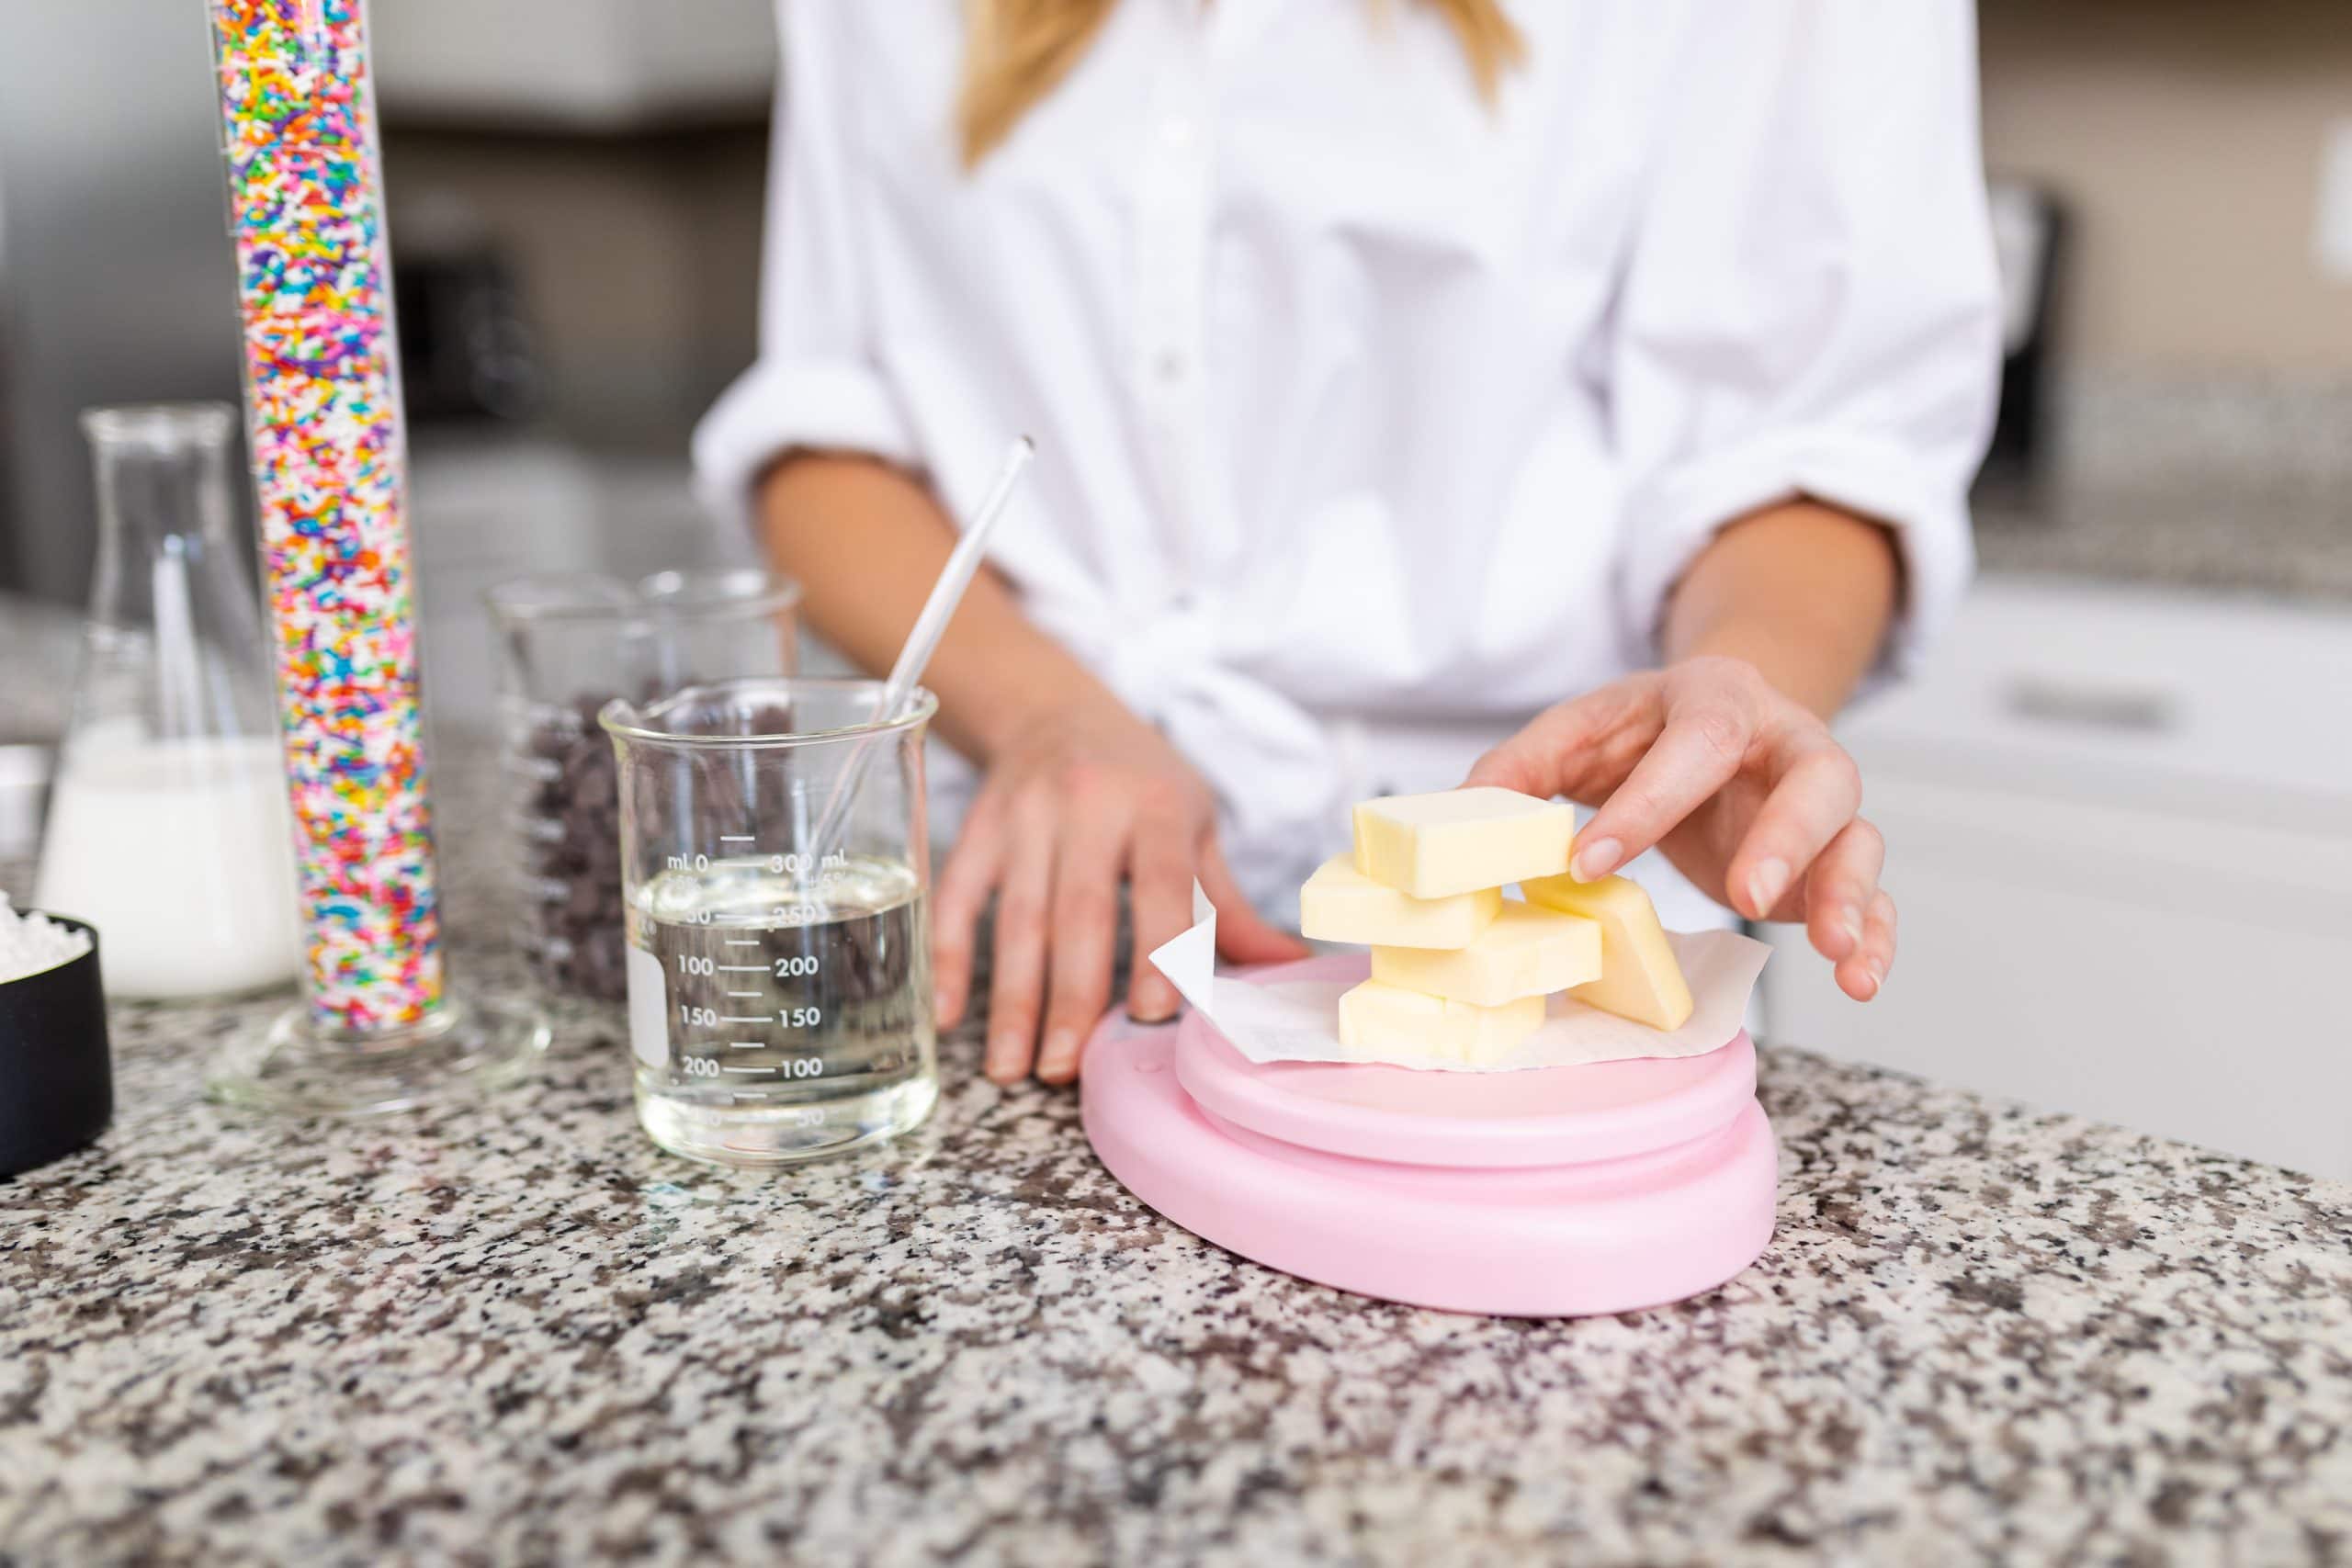
Freeze your butter until it’s solid. Using the large holes on a box grater, grate the butter (just like grating cheese). You can also use the grater attachment on your food processor. Return the grated butter to the freezer for another 10 minutes until it’s firm before adding into the flour mixture.
If you don’t have a box grater, use a sharp knife or bench scraper to slice it into small chunks.
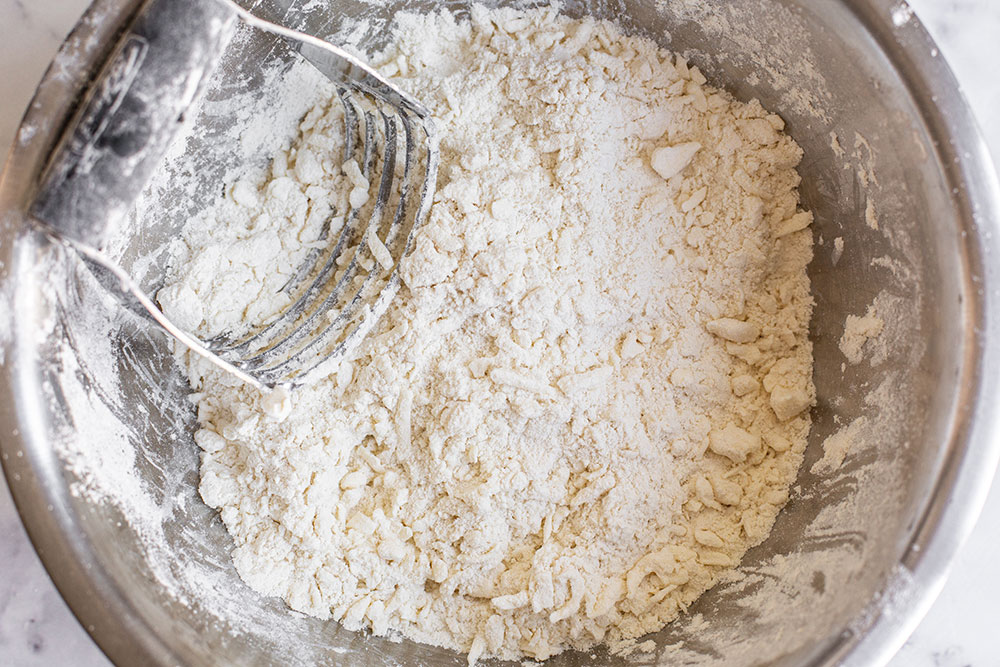
Working quickly, use your hands to further break the butter into pieces the size of small peas. You can also use a pastry cutter or two knives.
Method 2: Food Processor
Since I live in Phoenix where temperatures often exceed 85°F, I typically use a food processor to make pie dough. It’s quick, easy, and prevents the butter from warming up too much. Cube your sticks of butter with a bench scraper and freeze until firm. Add to the dry ingredients in the bowl of the food processor and pulse until the butter is the size of peas.
How Much Water to Use For Pie Dough?
This is one of the trickiest parts of making pie dough. The reason is that many factors affect how much ice water you’ll need to add, such as the climate and humidity of your kitchen and the brand of flour you’re using. That’s why the recipe calls for a range of water.
Add half of the total amount to start with. Toss it in to combine either by hand or with a few pulses of the food processor.
Pick up a piece of the mixture and pinch it between your fingers. It should hold its shape. If it crumbles away or seems really floury and dry, then you need to add more water.
At this point, I like to turn the mixture out onto a work surface and begin pressing it together into one messy lump of dough. Doing so will give you a better indication if you need to add more water.
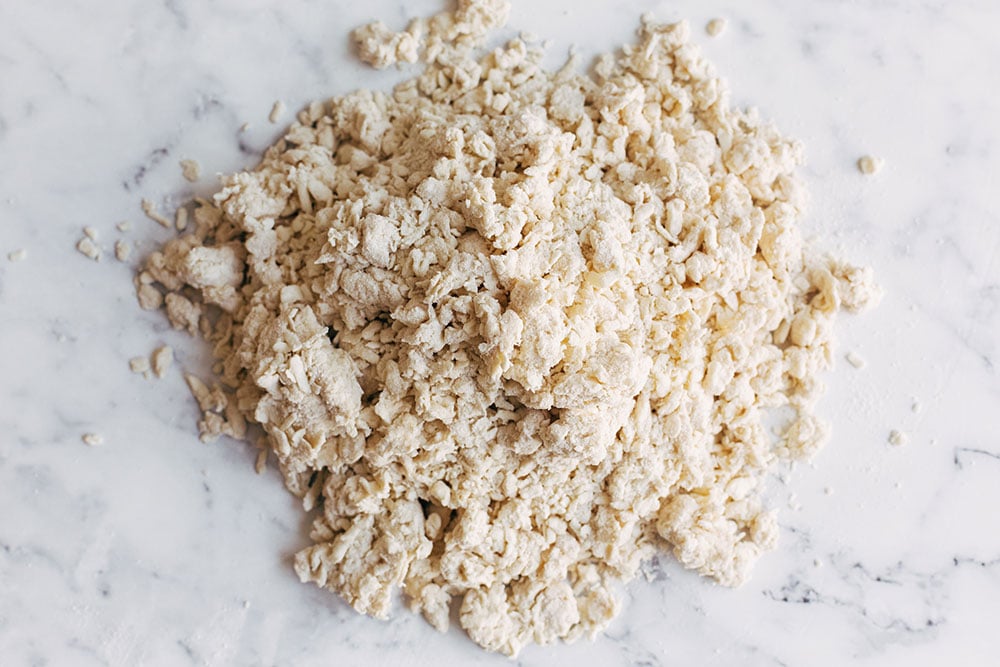
Bringing the Dough Together for Maximum Flakiness
The dough won’t look like much at first. It’ll be kind of craggly and messy looking, and that’s okay.
Once you have a fairly cohesive mound of dough, flatten it into a disk and fold it onto itself, kneading gently as you work.
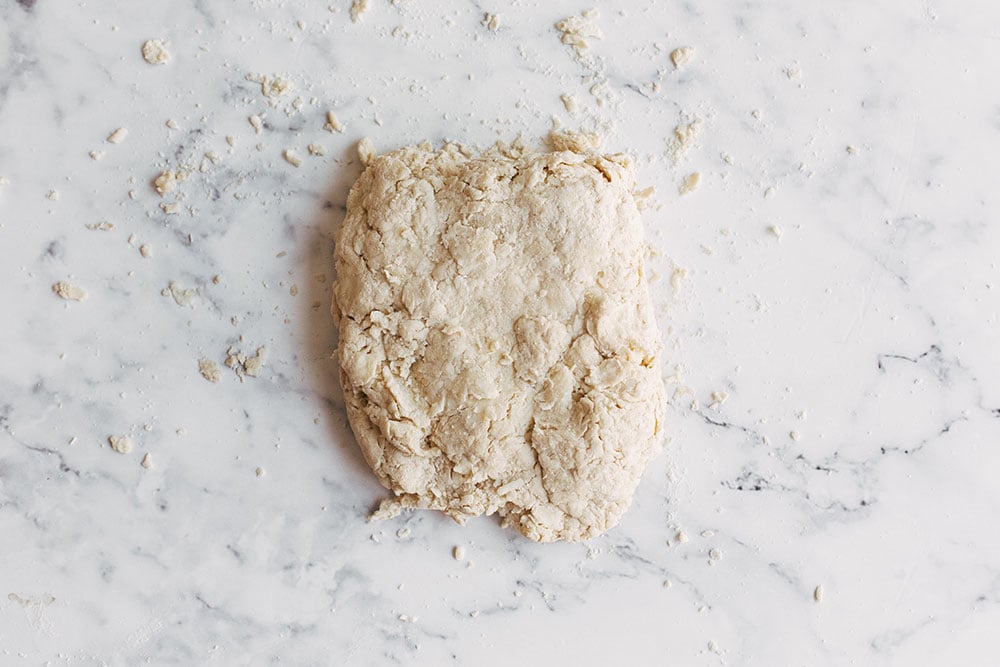
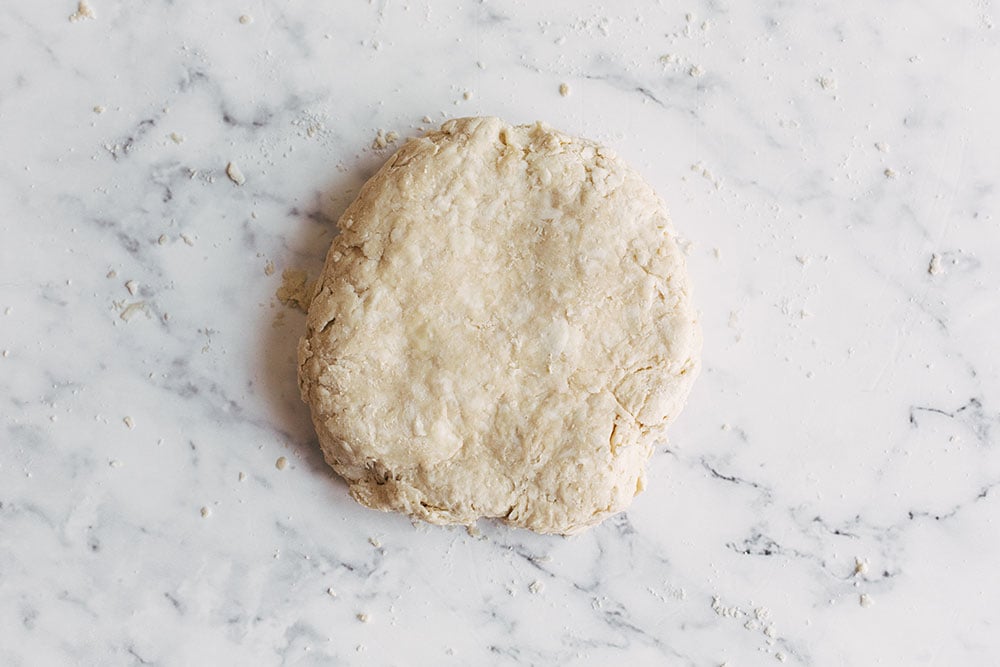
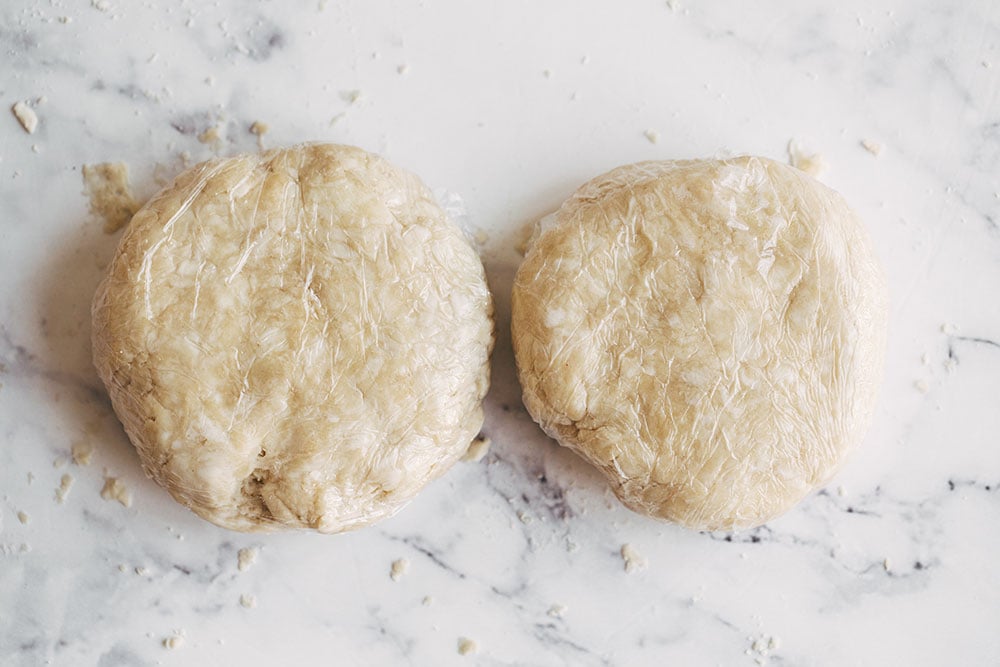
Do this a couple of times to ‘laminate’ the dough. Every fold will give you more flaky layers. Just be careful to be gentle and work the dough only until it comes together into a smooth cohesive disk like this:
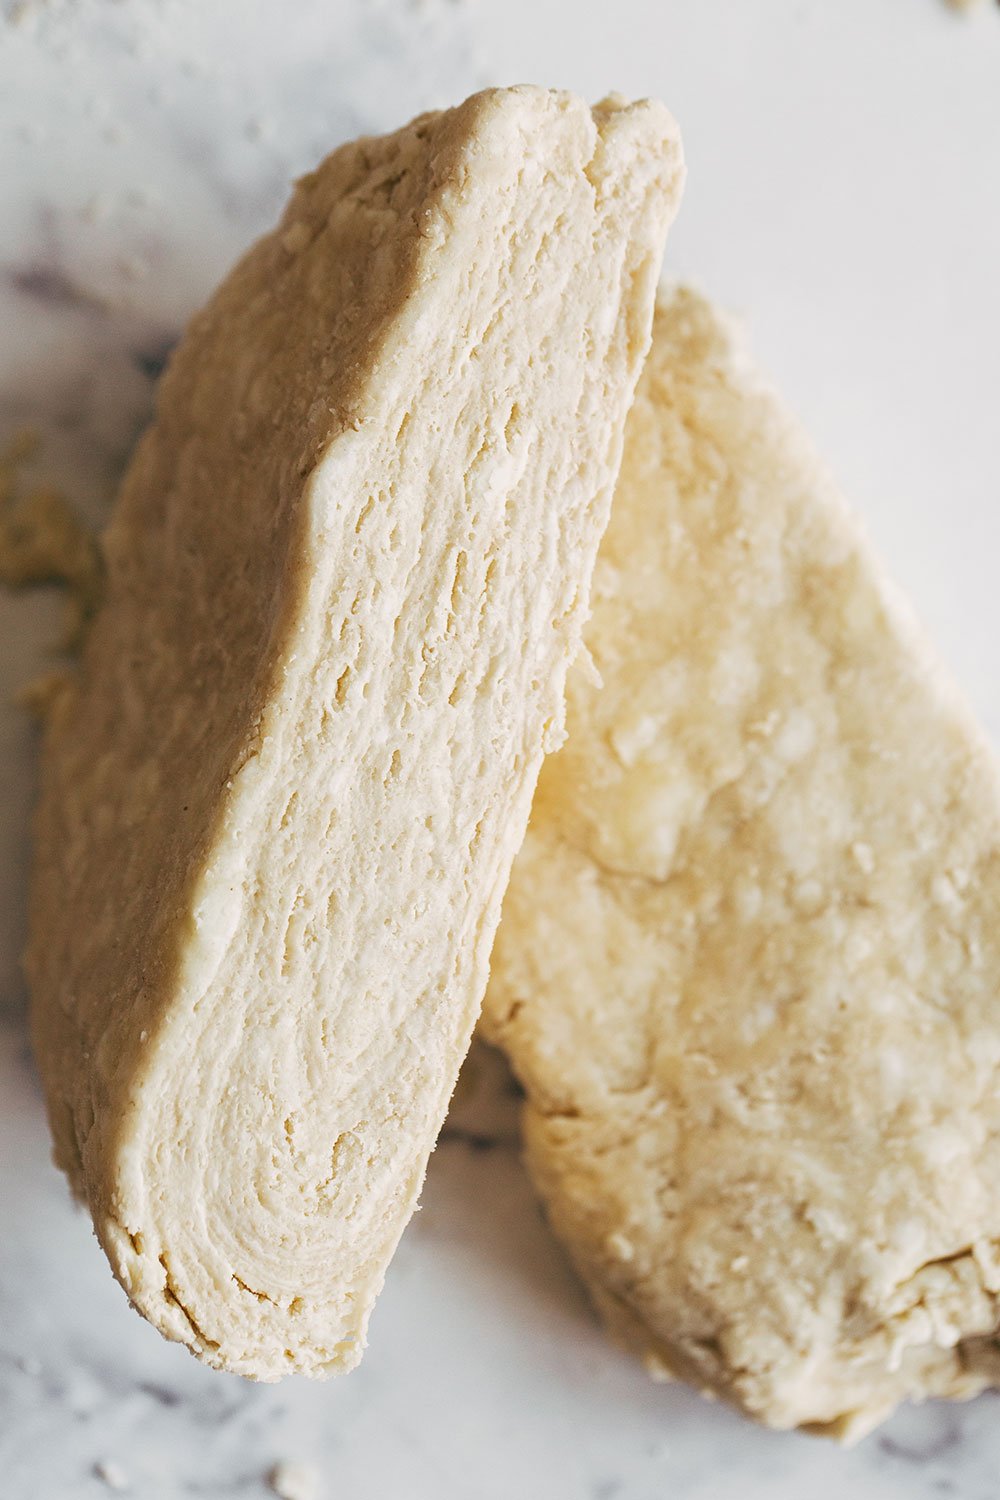
If you were to cut the mass in half, such as for a double-crust pie, you can visibly see the layers of butter thanks to that extra folding step. These layers are going to bake into crispy, tender, flaky goodness:
Give the Dough a Rest
If you have problems with your crust shrinking while baking, or your crust is tough, it needs more time to rest so the gluten can relax and it doesn’t snap back to its original smaller shape. I’ve included these resting periods in the recipe directions.
- After mixing: Wrap the dough in plastic wrap and refrigerate overnight. You can shorten this to a few hours if you must, but I find overnight really makes a difference in preventing classic pie issues.
- After rolling out: After rolling out and placing in the pie dish, cover and allow the pie dough to rest again.
- Rolling out tip: Do NOT stretch the dough to fit into the tin, as it will snap back like a rubber band while baking.
How to Roll Out Pie Dough
Avoid overworking the dough as you roll it out. Keep the dough moving on a lightly floured surface so you don’t roll over the same areas repeatedly to avoid a tough crust.
If at any point the butter begins to get melty and sticky, return the dough to the fridge immediately.
You’ll want about a 12-inch diameter for a 9-inch pie pan. Some pans are deeper than others, so factor that into your rolling. Be sure to roll to a thickness of about 1/8-inch. Thinner will result in rips and tears. Thicker and it won’t cook through and get flaky.
Use your fingers to flute the edges of the pan if you wish. I find that I need to make a more dramatic flute than I might think since the design will loosen during baking. Whatever you do, don’t make the flute too thick and heavy, otherwise it’ll slump down the sides.
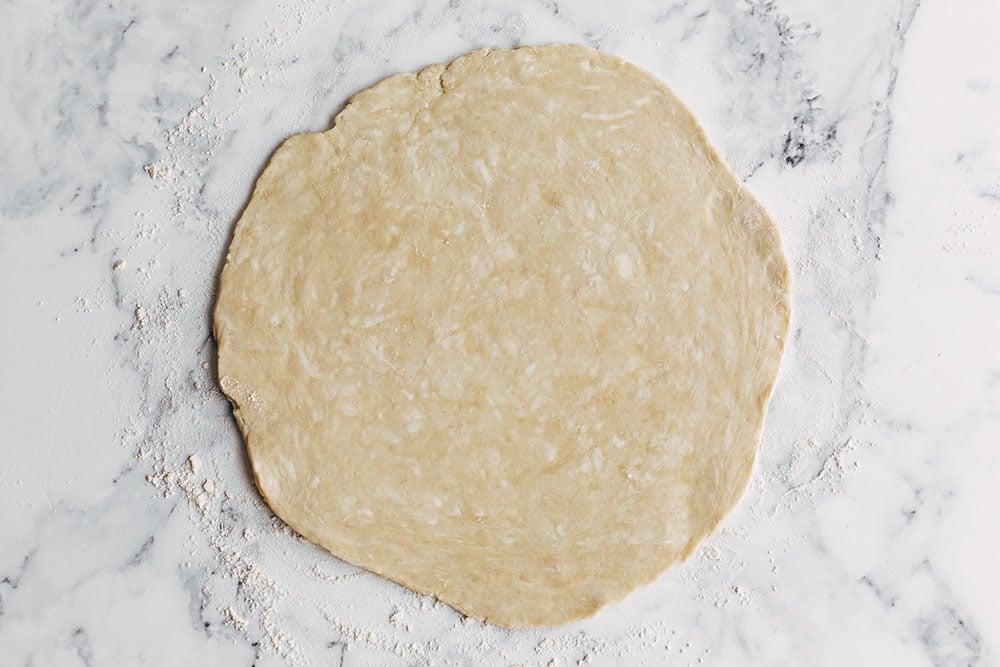
Flour your work surface, the dough itself, and your rolling pin throughout the process as needed. There are two inexpensive tools that I find are both a MUST when it comes to rolling out pie dough: a flour shaker and a bench scraper.
The flour shaker allows you to easily add flour wherever sticking might be happening. The bench scraper allows you to easily keep the dough moving as you roll it out, which is essential. I keep the dough moving in quarter-turns to prevent sticking and to keep it an even thickness.
Alternatively, you can roll the pie dough out between two sheets of parchment paper or plastic wrap. I find that most non-commercial paper and plastic wrap isn’t big enough to accommodate a 12- to 14-inch diameter circle, so I don’t often use this method.
More Dough Than Other Recipes?
You might notice in the recipe below that I call for more ingredients than other recipes. This is because I think it’s easier to work with dough when you have a little more than you may need. It comes together more cohesively and if you get any rips, tears, or make any mistakes with a design, you have extra.
This especially comes in handy if you have a deeper pie dish or if you want to get fancy with any designs.
Sprinkle of Science (open me to nerd out!)
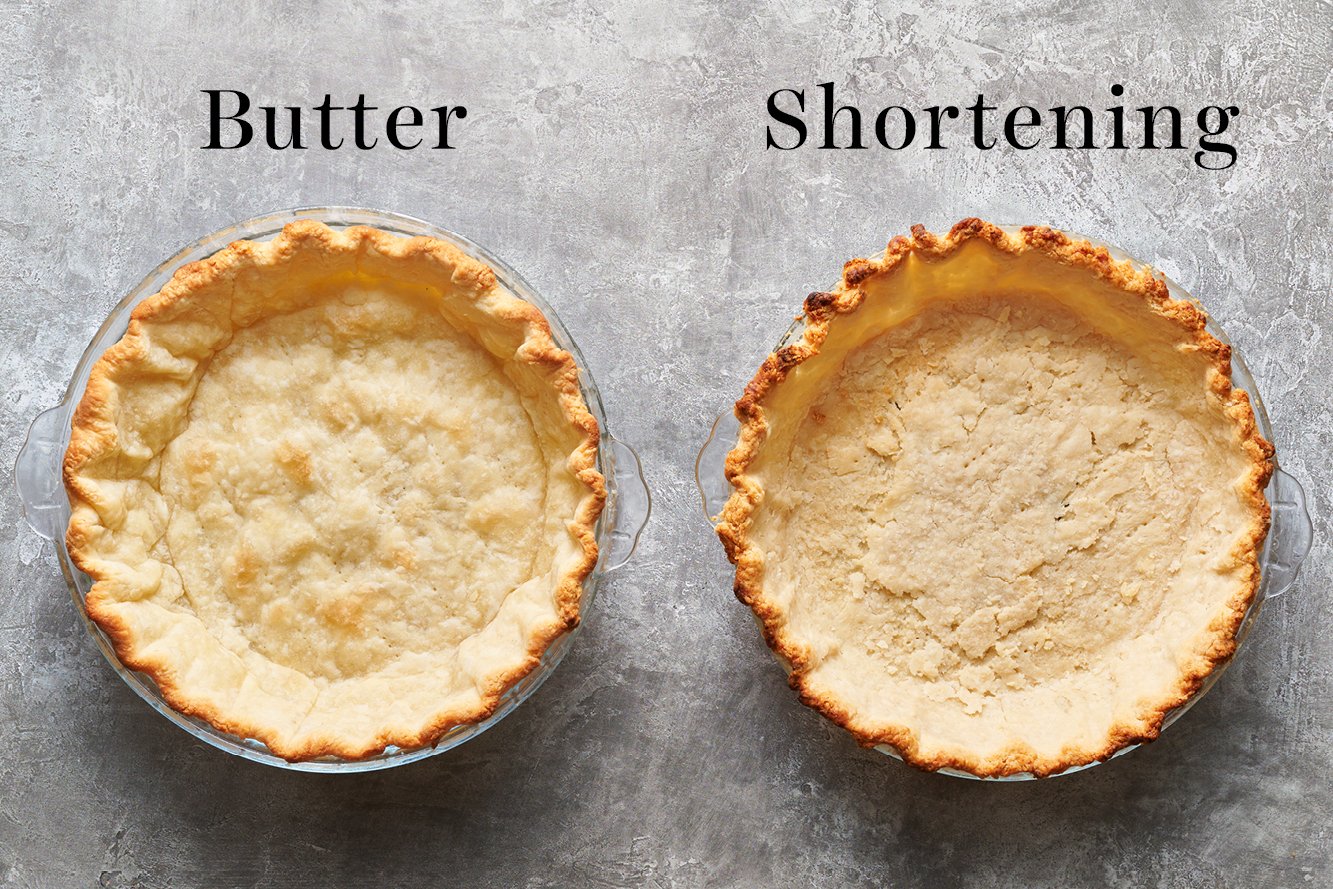
Shortening: All-shortening crust will often be more flat, tender, and fairly crumbly with a shortbread-like texture. They’re cheaper and easier to make, but completely lack in flavor and flakiness.
Butter: All-butter crusts are light, crisp, and flaky with rich flavor. They’re more finicky due to the low melting-point of butter, but well worth the effort.
Learn more about Butter vs. Shortening HERE.
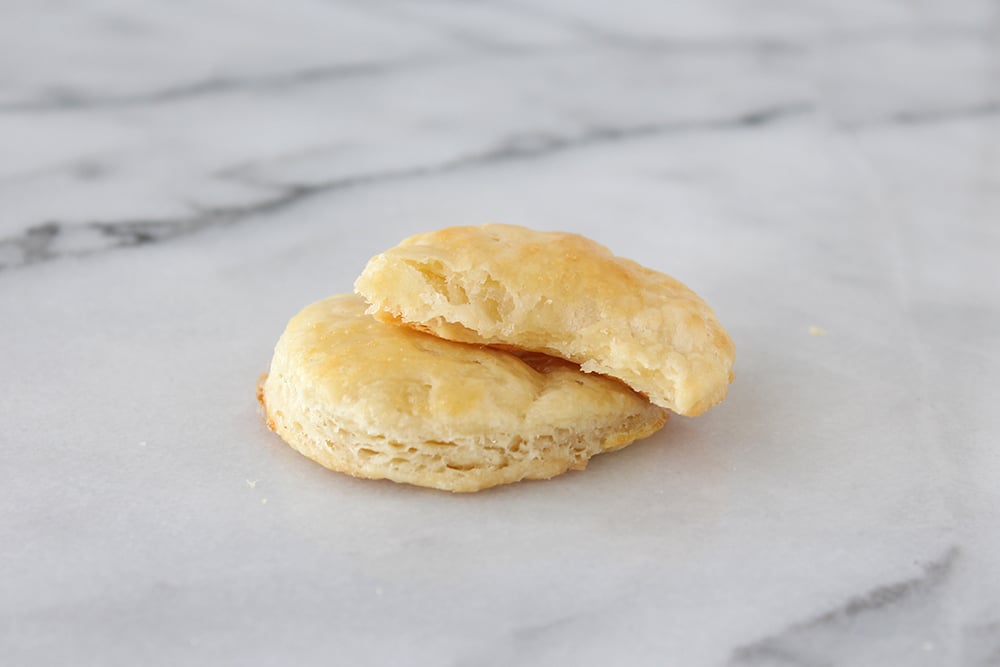
Sour cream acts as a tenderizer in baked goods, and in testing, it produced an ultra-light, puffy, and flaky result, almost like puff pastry! If you have sour cream handy, I definitely suggest giving it a shot.
Directions: Add in 2 tablespoons to the single recipe below, and reduce the water by about 2 tablespoons, or as needed. ultra-light, puffy, and flaky, almost like puff pastry.
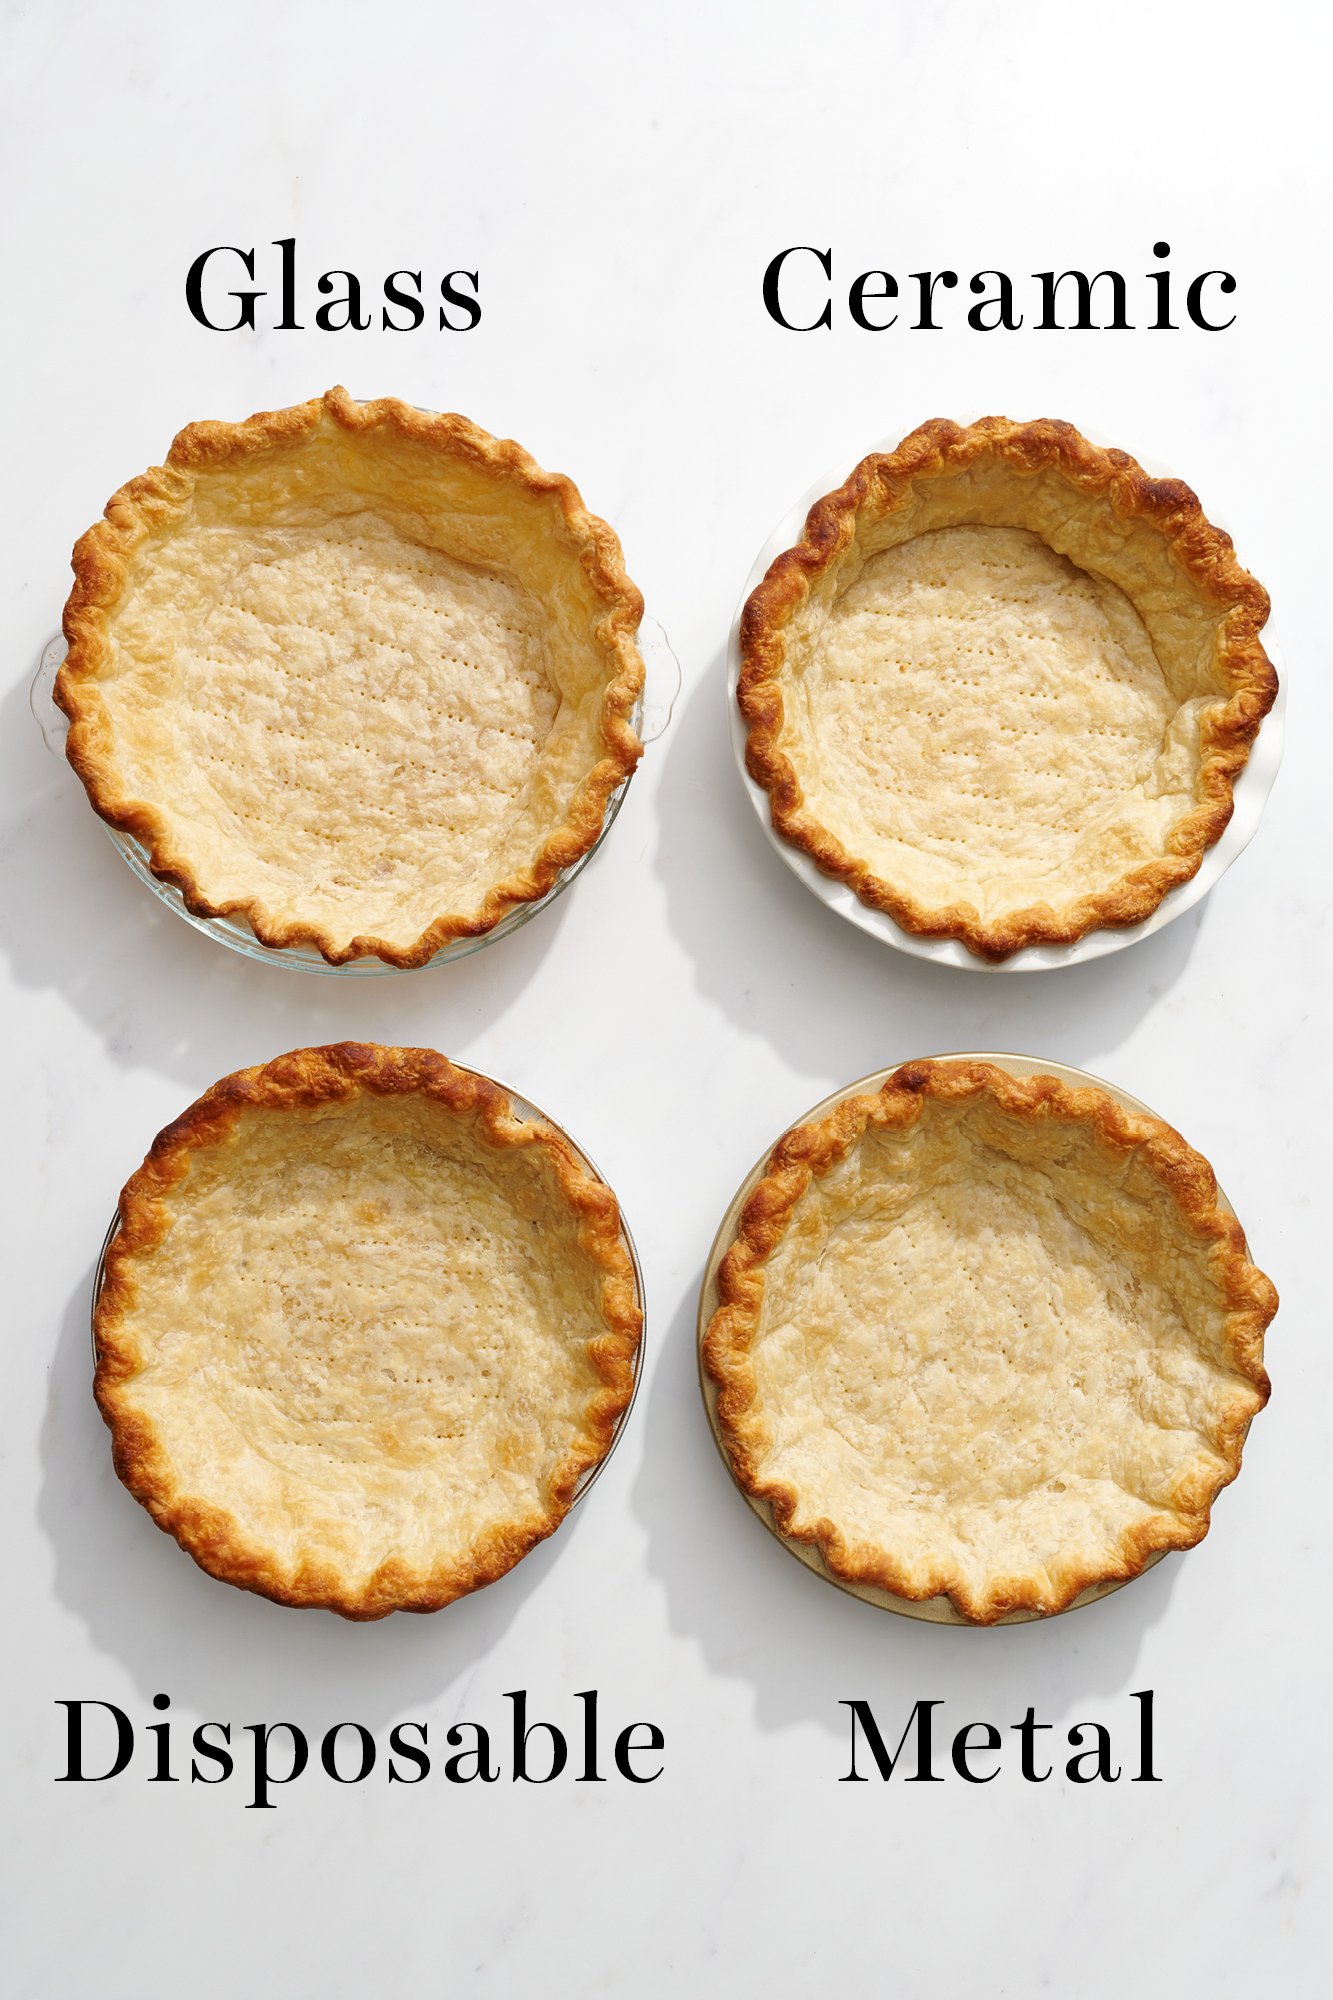
The material of your pie pan can make a big difference in how your pie bakes. Check out my Best Pie Pan article here to see my side-by-side experiments using glass, ceramic, metal, and disposable pie pans, and learn which pie pans I recommend (hint: ceramic or glass!).
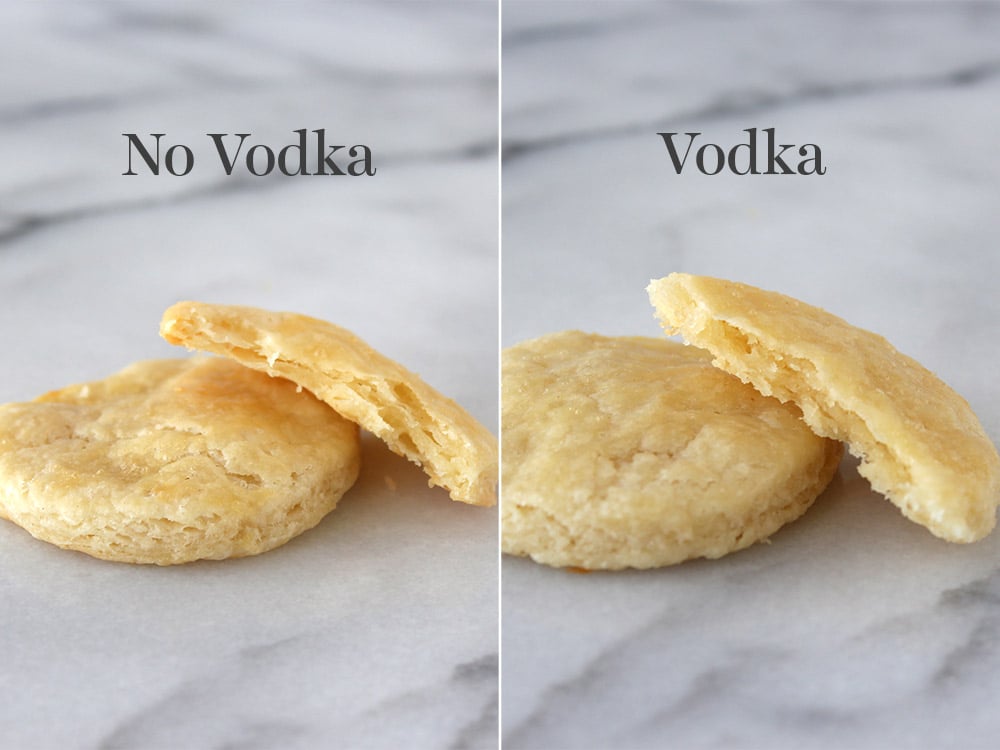
A few reputable sources have claimed that by substituting a portion of the water with vodka in a pie crust recipe, you prohibit gluten development and therefore ensure a tender, flaky crust. I tested this against my standard pie crust recipe and found the differences to be slight. I don’t think it’s worth the extra effort if you don’t have chilled vodka on hand.
How to Bake Pie Dough
I’ve included instructions on how to blind-bake the crust for recipes that require an already-baked crust. Check out my full article on How to Blind Bake Pie Crust here!
Place your pie pan on a rimmed baking sheet before putting in the oven. This helps you to remove the pie tin without damaging the crust with your oven mitts. Better yet? Place the sheet on a baking stone to ensure a golden crispy bottom crust and avoid any sogginess.
Otherwise, just follow the directions in the pie recipe you’re following!
Read Next: How to Make a Lattice Pie Crust
How to Make Pie Dough Ahead of Time
Chill the dough disk: Pastry dough can be shaped into a disc and refrigerated for up to 3 days, as long as it’s well wrapped in plastic wrap.
Chill the unbaked pie shells: Refrigerate for up to 3 days. Simply roll out your dough, lay it into your pie tin, crimp the edges, and cover loosely with plastic wrap. When ready, simply remove from the fridge, fill, and bake. This works perfectly for single-crust pies like pumpkin or sweet potato.
Freeze dough: Pastry dough can also be shaped into a disc and frozen for up to 2 months, well wrapped in plastic, and placed in a freezer bag or airtight container. Defrost in the fridge overnight before rolling out.
Freeze pie shells: Unbaked pie shells can also be covered and frozen for up to 2 months. No thawing necessary.

Email This Recipe
Enter your email, and we’ll send it to your inbox.
Ingredients
Single crust:
- 1 1/2 cups (191 grams) all-purpose flour
- 1 tablespoon granulated sugar
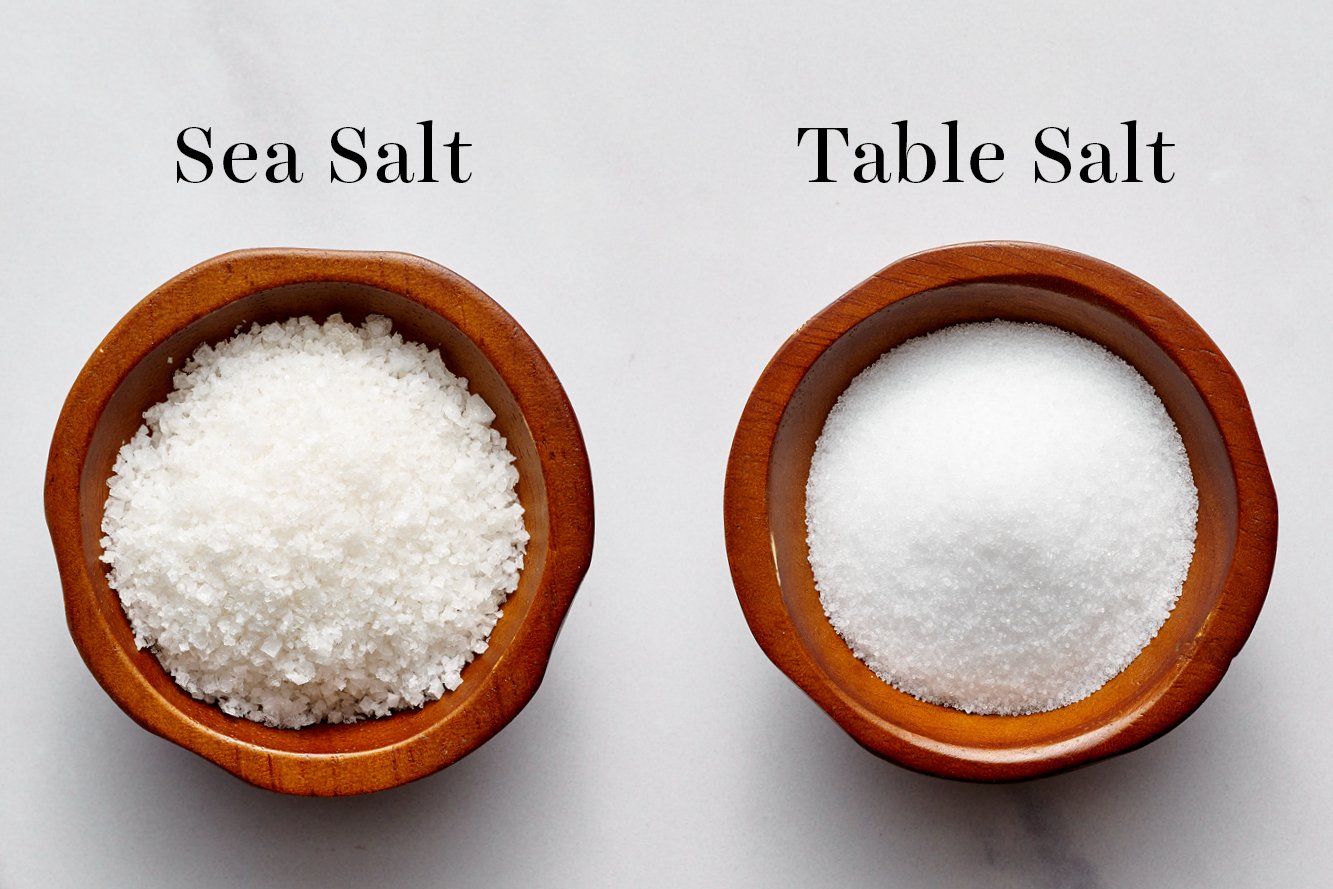
- 3/4 teaspoon fine sea salt
- 10 tablespoons (142 grams) cold unsalted butter
- 4 to 6 tablespoons ice cold water
Double crust:
- 3 cups (381 grams) all-purpose flour
- 2 tablespoons granulated sugar
- 1 1/2 teaspoons fine sea salt
- 2 1/2 sticks (284 grams) cold unsalted butter
- 1/2 cup to 3/4 cup ice cold water
Instructions
Make the dough:
By hand:
- Freeze your butter for 10 minutes, or until very cold. Grate the butter using the large holes of a box grater (or using the grater attachment of your food processor – see below). Return grated butter to freezer for another 10 minutes. Alternatively, you can also shred frozen butter into shards using a sharp knife.
- In a deep, medium-sized mixing bowl, combine the flour, sugar, and salt. Add the cold grated butter, tossing to combine. Working quickly, use your hands to further cut and break the butter into pieces the size of small peas. You can also use a pastry blender or two knives.
- Drizzle a few tablespoons of water on the mixture and toss to moisten. Continue adding the remaining water until the dough sticks together and stays stuck when pressed between two fingers. It’s okay if the dough is still crumbly and messy.
- Turn the mixture out onto a clean work surface. Use your hands to press the dough together into a craggily mass. Gently fold one half of the dough over and onto itself, repeating this three times, until it’s come together into a cohesive mass.
- Use a bench scraper to cut the dough in half (if making double crust). Wrap each half in plastic. Press down each plastic-wrapped dough to create a 4-inch wide disk shape. Refrigerate at least six hours, preferably overnight.
By food processor:
- Freeze your butter until hardened, then use the grater attachment of your food processor to shred it. If you don't have the grater attachment, use a bench scraper to cube cold but not frozen butter into 1/2-inch pieces. Freeze the cubed butter for 10 minutes.
- In the bowl of a food processor, add the flour, sugar, and salt. Pulse a few times to combine. Add the cold grated or cubed butter and pulse for about 30 seconds, or until the butter pieces are uniform in size.
- Drizzle a few tablespoons of water on the mixture and pulse briefly a few times to moisten. Continue adding the remaining water until the dough sticks together and stays stuck when pressed between two fingers. It’s okay if the dough is still crumbly and messy.
- Turn the mixture out onto a clean work surface. Use your hands to press the dough together into a craggily mass. Gently fold one half of the dough over and onto itself, repeating this three times, until it’s come together into a cohesive mass.
- Use a bench scraper to cut the dough in half (if making double crust). Wrap each half in plastic. Press down each plastic-wrapped dough to create a 4-inch wide disk shape. Refrigerate at least six hours, preferably overnight.
Roll out the dough:
- Let the dough sit at room temperature for 5 to 10 minutes, or until slightly pliable.
- Roll the dough out on a floured work surface. Keep turning the dough after every roll to ensure it doesn’t stick to the counter and is of even thickness. Add additional flour to the dough, the counter, and your rolling pin as needed. Roll out into a 12-inch circle about 1/8-inch thick.
- Gently roll the dough up and around the rolling pin, then unroll and drape over a 9-inch pie tin. Gently press into the pie tin, being careful to avoid stretching it to fit. Use scissors or a knife to trim the excess dough, leaving a 1-inch overhang. Fold the overhang under itself and crimp or flute. Pierce the base of the dough with a fork.
- Repeat above rolling process if making a double crust pie.
- Wrap the dough in plastic and refrigerate for at least 2 hours, or overnight. At this point, consult your recipe directions for how to use the dough or follow options below.
Bake dough:
- If the pie recipe calls for a prebaked shell, preheat the oven to 425°F. For an extra crispy bottom crust, place your oven rack on the bottom shelf and if you have one, bake on a preheated baking stone.
- Line the chilled crust with foil. Fill the crust completely to the rim with pie weights, granulated sugar, rice, or dried beans.
- Place on a rimmed baking pan.
To par-bake if baking again with filling:
- Bake for 15 to 17 minutes, or until just beginning to brown and no longer raw.
To bake completely:
- Bake for 20 minutes or until solidified. Remove foil and weights. Continue to bake until totally browned at the edges with light browning in the center, about another 7 to 10 minutes.
Notes
This post was originally published in 2017 and updated with recipe improvements, updated tips, and new photos. Photos by Ashley McLaughlin.
HTH Community Pies
Take a look at these pies using this recipe, all made by HTH community members – many of whom had previously struggled to master pie dough! Follow the tips in this article to bake pies that look like these:
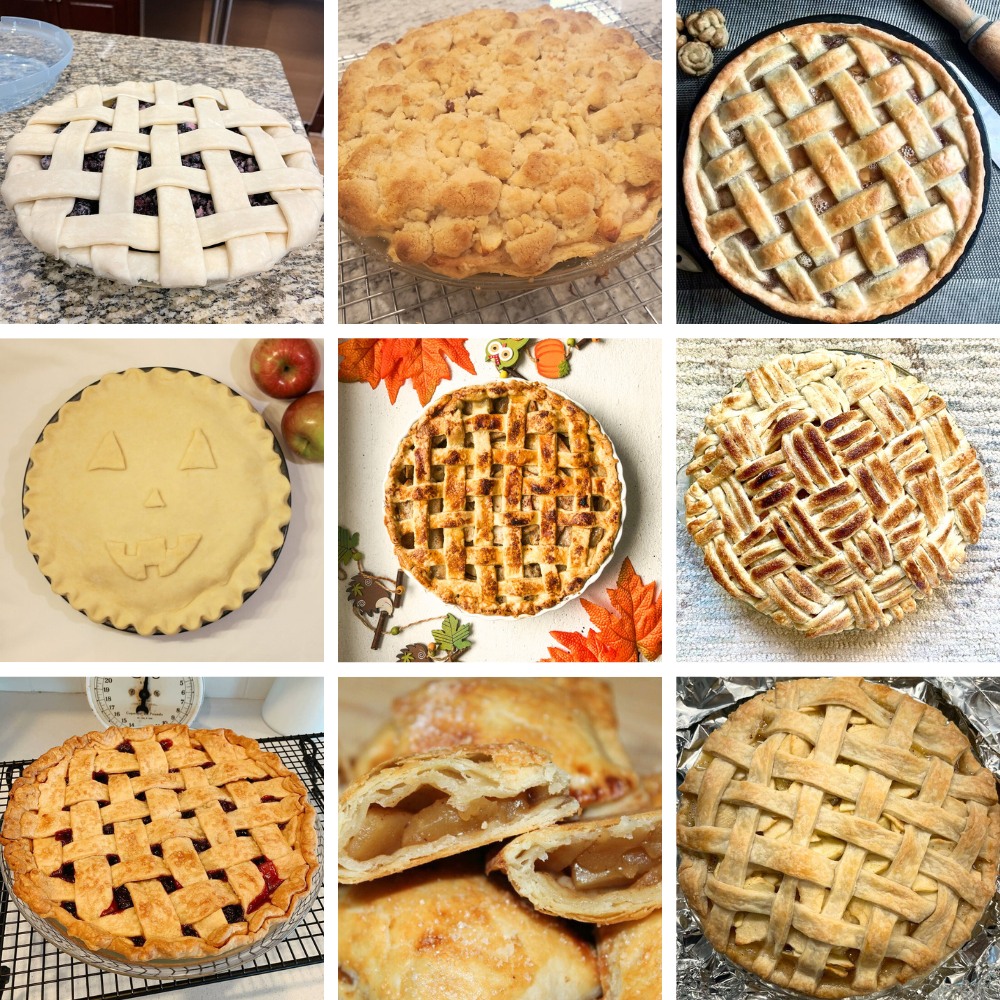


This is the first time EVER that I have had success making pie dough from scratch. This recipe is easy to follow and works like a dream. No more store bought pie crusts for me! Thank you HTH!!
So, so happy to hear this. Thanks Kathleen!
So excited I made a 2-crust pie! My first ever. The crust was delicious and the directions very straightforward. This recipe is a keeper!
Yay! This is so amazing to hear, Kathleen!
Great tips for making a pie crust. Unfortunately mine didn’t turn out great. It was definitely my fault. I needed to roll it thinner and I used a different baking method than I was used to. I’ll definitely try again.
Practice makes perfect! Let us know the next time you try this recipe out!
Amazing pie dough! So flaky and tender. I use this for EVERYTHING during the holiday season!
So glad you enjoyed!
Wow!!! I’ve been so scared to make pie dough because it sounded so difficult but this was one of the easiest doughs to put together
I made little hand pies and they came out absolutely delicious!!!! 10/10 would recommend
This pie crust is delicious and easy to work with. I like that it makes extra dough because I need it.
Yay! So glad you love this pie recipe 🙂 The extra dough always comes in handy.
Delicious Crust! Very easy!
So glad you enjoyed this recipe!
So easy and flavorful. Made it in the food processor and it came out really good!
So thrilled you enjoyed this recipe, Carly!
I did it! I’m so excited that I made a pie with a double crust! The directions were great and the process very straightforward. I’ll definitely message this again.
I did it! First time ever messing a pie crust and it worked! Very easy recipe to follow and delicious. I’ll make this again, for sure.
YAY! So glad this pie crust was a success for you, Kathleen!
This pie crust is AMAZING! I’ve used it for chicken pies, mini quiches and apple pie, although they did shrink a bit (my fault there, probably overworked the dough), they tasted soooooo good and was so buttery and flaky, not soggy at all!
So thrilled you love this pie crust recipe!
Though i have a food processor, i prefer the by-hand + grated butter version.
Added 2tbsp blueberry powder for halloween effect. Made a galette and was surprised to see the bottom didnt get soggy.
Turned out great! My first home made pie crust! Thank you Tessa for such detailed posts like this.
Great idea adding the blueberry powder! So glad you love this recipe.