




This post may contain affiliate links. Read our disclosure policy.


Tessa’s Recipe Rundown
Taste: Cheesy and buttery with just the perfect savory boost from the garlic and paprika.
Texture: Crispy and snappy, not at all chewy or soft like other homemade crackers.
Ease: More of a weekend baking project but easier than you’d think.
Why you’ll love this recipe: A fun homemade twist on the storebought classic!
These homemade Cheez-Its hit the spot in a way I can’t even describe!

I’ve loved the store-bought kind since I was a kid. When I was in my first trimester of pregnancy, they became a staple snack to survive morning sickness.
Once it passed, I knew I had to try my hand at a homemade version!
To ensure a buttery, light, crunchy texture and flavor, I used my Best Ever Pie Dough as the base. From there, adding in cheddar, extra savory flavor, and experimenting with rolling and shaping was next.

The result is something even better than you can get from the store. Be warned: they won’t last long once you set them out!
Recipe Ingredient Notes

Cheddar Cheese: For best results, use sharp cheddar that you grate it yourself from a block (feel free to use your food processor’s grating attachment!). I like Tillamook. Pre-shredded cheese is coated in anti-caking starch that keeps it from melting smoothly into the dough
Butter: Treat this like pie dough and be sure to keep the butter cold going into the food processor. Cold butter creates small pockets of fat that make the baked cracker crisp instead of greasy or shortbread-like in texture.
Paprika and garlic powder: Just a small amount of both to enhance flavor. Don’t skip these!
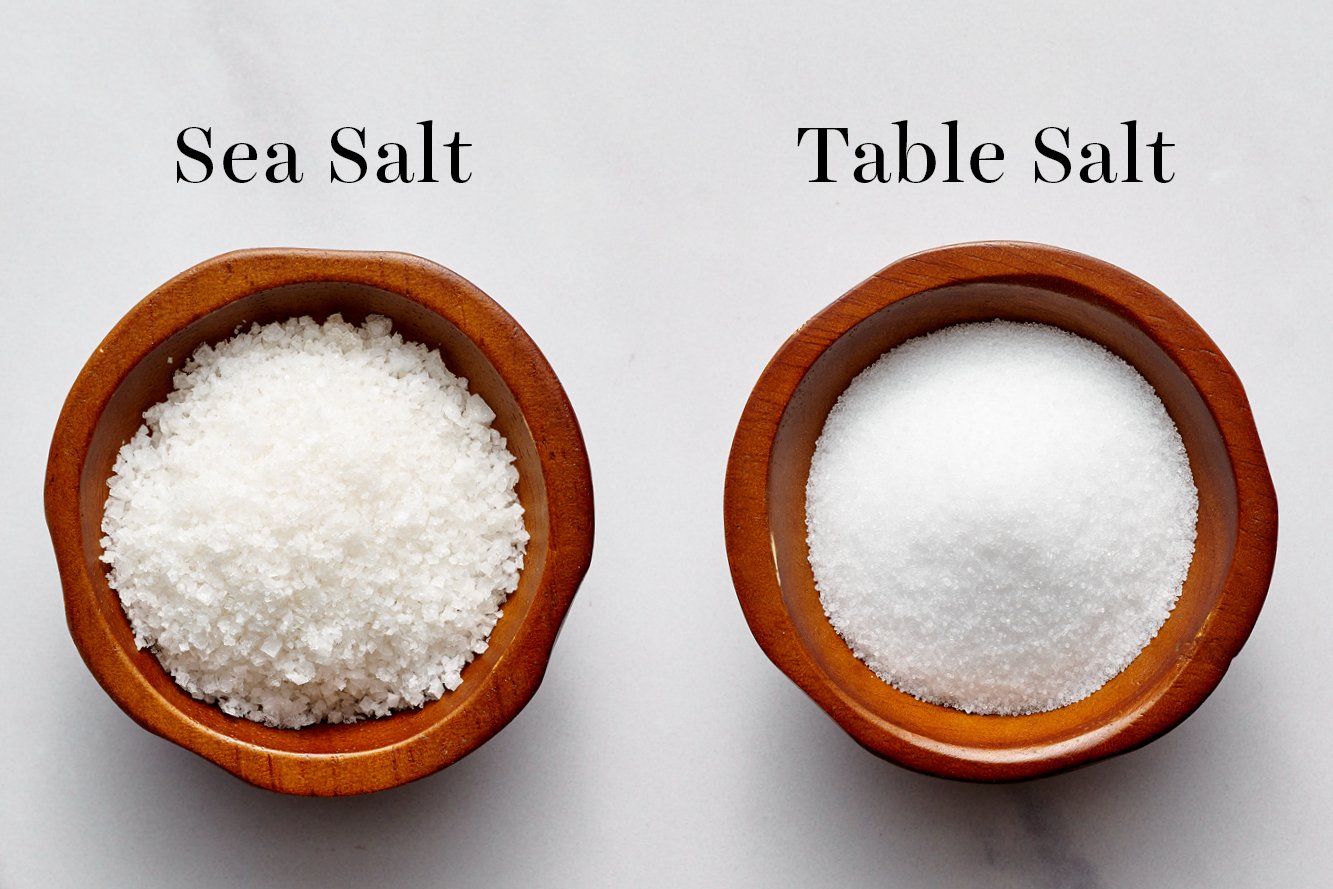
Flaky Sea Salt: Sprinkled on right before baking to match the store-bought kind. No need to brush with any melted butter or water, the salt should stick through the baking process.
Tessa’s Tips
I tested this recipe during the Phoenix summer, so here are two tricks to ensure your crackers come out perfectly even in the heat:
- Pop your cubed butter in the freezer for 10 minutes before cutting into the flour.
- If it’s extra hot (or you have hot hands!), place sealed bags of ice water on your work surface for 10 minutes before rolling out the dough.
How to Make Homemade Cheez-It Crackers

Make the dough: A food processor makes easy work of this. If you don’t have one, use a pastry blender to cut the butter into the flour and mix by hand instead.

Complete the dough: It should come together in the bowl to be soft and smooth. If it becomes greasy, pop it in the fridge for 15 minutes before proceeding.

Chill the dough: Shape it into a rectangle and wrap tightly in plastic wrap. Refrigerate until firm, about 1 hour.

Roll out the dough: On a sheet of parchment, roll the dough into an 11×14” rectangle with ⅛” thickness. Any thicker and your crackers won’t turn out crispy.

Cut into squares: Using a fluted pastry wheel, pizza cutter, or sharp knife, cut the dough into 1- to 1 ¼-inch squares. I use the width of a ruler to quickly measure lines.

Pierce holes: Use a straw, thick skewer, or chopstick to poke a large hole through each cracker. This helps prevent them from puffing up too much.

Chill & salt: Refrigerate for 10 minutes to firm up. Sprinkle with flaky sea salt.

Bake: For 15-20 minutes, or until puffed, golden, and crisp on the bottoms. Begin checking at 15 minutes. Cool completely before serving.
Storage & Make Ahead
Dough: Make the dough ahead of time and refrigerate, tightly wrapped in plastic, for up to 2 days. Freeze the dough for up to 1 month. Thaw overnight in the fridge before proceeding with the recipe.
Baked Crackers: Store in an airtight container at room temperature for up to 1 week. If the crackers become soft in storage, refresh in a 300°F for about 5 minutes then let cool again before enjoying.

Frequently Asked Questions
Just five main ingredients: flour, cold butter, freshly grated sharp cheddar, a touch of sugar and spices, and cold water. There’s no cheese powder, the sharp, cheesy flavor comes entirely from real cheese!
I don’t recommend it. Pre-shredded cheese is coated in starch to prevent clumping, and in my testing that kept it from melting smoothly into the dough, resulting in a drier dough and blander baked cracker. Grating your own block cheese takes a few extra minutes and makes a real difference here!
This almost always comes down to thickness. Any part of the dough rolled thicker than 1/8 inch won’t fully crisp in the same bake time as the rest. Use a ruler while rolling, and re-roll any thick spots to an even thickness.
Yes. Wrap the dough tightly and refrigerate it for up to 2 days, or freeze it for up to 1 month. Thaw frozen dough overnight in the fridge before rolling and cutting.
It’s the easiest method since it cuts the cold butter into the flour and cheese quickly and evenly, similar to making pie dough. If you don’t have one, you can work the butter in by hand with a pastry cutter. You can also follow the by-hand dough instructions from my pie dough recipe HERE.
Keep cooled crackers in an airtight container at room temperature. If they soften after a few days, a quick 5-minute stint in a 300°F oven will re-crisp them before serving.
Yes, this dough doubles well in a food processor, just work in two batches if your processor bowl is on the smaller side, since overfilling it will keep the butter from cutting in evenly. I recommend rolling out half the dough at a time to ensure it’s kept cold and manageable to maneuver.
A straw, skewer, or chopstick all work fine. A toothpick is too small, the hole it creates will seal back up in baking.


Email This Recipe
Enter your email, and we’ll send it to your inbox.
Ingredients
- 1 cup (127 grams) all-purpose flour
- 1/4 cup (57 grams) cold unsalted butter, cubed*
- 8 oz sharp cheddar cheese, freshly grated (do not use pre-grated cheese)
- 1/2 teaspoon granulated sugar
- 1/4 teaspoon paprika
- 1/4 teaspoon garlic powder
- 1/8 teaspoon fine sea salt
- 1/4 cup (59 grams) cold water*
- Sea salt, for topping
Instructions
- In a food processor, combine flour, butter, cheese, sugar, paprika, garlic powder, and salt. Pulse until the mixture resembles coarse crumbs. Add cold water and blend until the dough comes together.
- Shape the dough into a thick, flat square. Wrap tightly in plastic and refrigerate for 1 hour.
- Once chilled, preheat your oven to 400°F. Line two baking sheets with parchment paper.
- On a separate sheet of parchment, roll the dough into an 11×14-inch rectangle no more than 1/8-inch thick. Cut into 1 1/4-inch squares (the width of a ruler) using a fluted pastry wheel, pizza cutter, or sharp knife, then transfer to the prepared baking sheets, spacing them about 1/4 inch apart. If you notice any crackers are thicker than 1/8 inch, re-roll and cut them again.
- Use the bottom of a straw, skewer, or chopstick to poke a large hole through the center of each cracker.
- Refrigerate for 10 minutes to firm up the dough. Sprinkle lightly with sea salt.
- Bake for 15-20 minutes, or until they’re puffed, golden brown on top, and crisp on the bottom. Let cool on baking sheet for 5 minutes, then transfer to a wire rack to cool completely before serving. Store in an airtight container at room temperature for 1 week. If the crackers become soft in storage, refresh in a 300°F for about 5 minutes then let cool again before enjoying.
Notes
More Homemade Recipes You’ll Love:
- Homemade Cheesy Garlic Biscuits
- Homemade Bread Bowls
- Copycat Olive Garden Breadsticks
- Homemade Marshmallow Fluff
- Homemade Strawberry Pop Tarts
- Homemade Cosmic Brownies
- Homemade Oatmeal Creme Pies
Photos by Joanie Simon.


I have been waiting sooo long for a recipe like this!! These lasted two whole days in my house. I might need to double the recipe next time. Tessa nails it every time!
Yay, so happy your household loved them! 🙂
These crackers are amazing!!!! I don’t think the batch is going to last until tomorrow. My husband has already ordered me more extra sharp cheddar cheese from his favorite source so I can make him more.
Where do you order your Extra Sharp Cheddar?
My husband orders ir from Ashe County Cheese in NC.
I’m excites to try these. They look fantastic. Do you think a 1to1 gluten free flour would work?
Thanks, Kelly! We haven’t tested this recipe with gluten-free flour, so I can’t say for sure how it would turn out. If you’d like to experiment, though, a 1:1 swap would be the best place to start. Please let us know how they turn out if you give it a try! 🙂
Very excited about a cheesy cracker! Is garlic powder a true secret ingredient? I don’t usually use it for anything so just wondering if it is critical.
Hi there! The garlic powder isn’t really meant to be a noticeable flavor in the crackers. It (along with the paprika) helps deepen the cheesy flavor, so you won’t necessarily taste either ingredient individually. I’d recommend keeping it in if you have it, but they’ll still taste delicious if you omit. Let us know what you think when you try them out! 🙂