This post may contain affiliate links. Read our disclosure policy.
When it comes to the baking questions I get asked most frequently, substitutions is definitely one of the major themes.
Whether it’s due to food allergies or intolerances or lack of availability or convenience, I know it’s not always possible to have or use every ingredient on hand for a recipe you might want to try out.
Answering specific substitution questions becomes challenging, however, when I haven’t tested a particular substitution for a particular recipe. It makes me uncomfortable to answer these types of questions because I simply don’t have 100% confidence to say whether a substitution will definitely work or not.
Free Ingredient Measuring Guide!
The key to consistent baking success is a click away. Sign up to get instant access to my printable Ingredient Measuring Guide now!
That’s actually why I created my Baking Substitutions guide. It’s a super handy resource for those times when you don’t have a particular ingredient on hand; however, even though it took me weeks to make that guide, I still haven’t tested every substitution instance or done in-depth side-by-side comparisons.
That’s also why I love to do these kinds of baking experiments. It’s so hard to judge the taste and texture of a substitution without testing it directly next to the original, or the “control.” And since buttermilk is an ingredient I get asked about a lot, I thought a Buttermilk 101 post would be a perfect reference for your own baking experiments!
If you like these kinds of posts then you’ll LOVE The Magic of Baking online course + community. It dives deep into baking science in a fun, visual, & approachable way so you can enter the kitchen with complete confidence.
Tools and Ingredients Used
I made every effort to replicate each batch as perfectly as possible, using the same exact tools and ingredients whenever applicable. I used a kitchen scale to measure ingredients to ensure 100% accuracy and used an oven thermometer to gauge exact baking temperatures. Each batch was baked for exactly 13 minutes.
Here are the base ingredients and tools I used for reference:
- Gold Medal Bleached All-Purpose Flour
- Simple Truth Organic Butter
- Clabber Girl Double Acting Baking Powder
- Liquid measuring cup
- OXO Steel Blade Pastry Blender
- Nordic Ware Natural Aluminum Sheet Pans
- Unbleached Parchment Paper
What is Buttermilk?
- Essentially, buttermilk is fermented milk.
- Originally, buttermilk was the leftover liquid produced following the churning of cream into butter. When butter was made at home, that leftover liquid was left out overnight to ferment.
- Modern buttermilk is now made by adding lactic acid-producing bacteria to milk (usually low-fat milk) to “culture” it in a controlled environment.
- The acid affects the casein proteins’ ability to come together by lowering the pH of the milk, and that’s what produces the thick texture of buttermilk.
- Buttermilk is used primarily for its pleasant tangy flavor, but it can also help tenderize and leaven certain baked goods.
Testing Buttermilk Substitutes
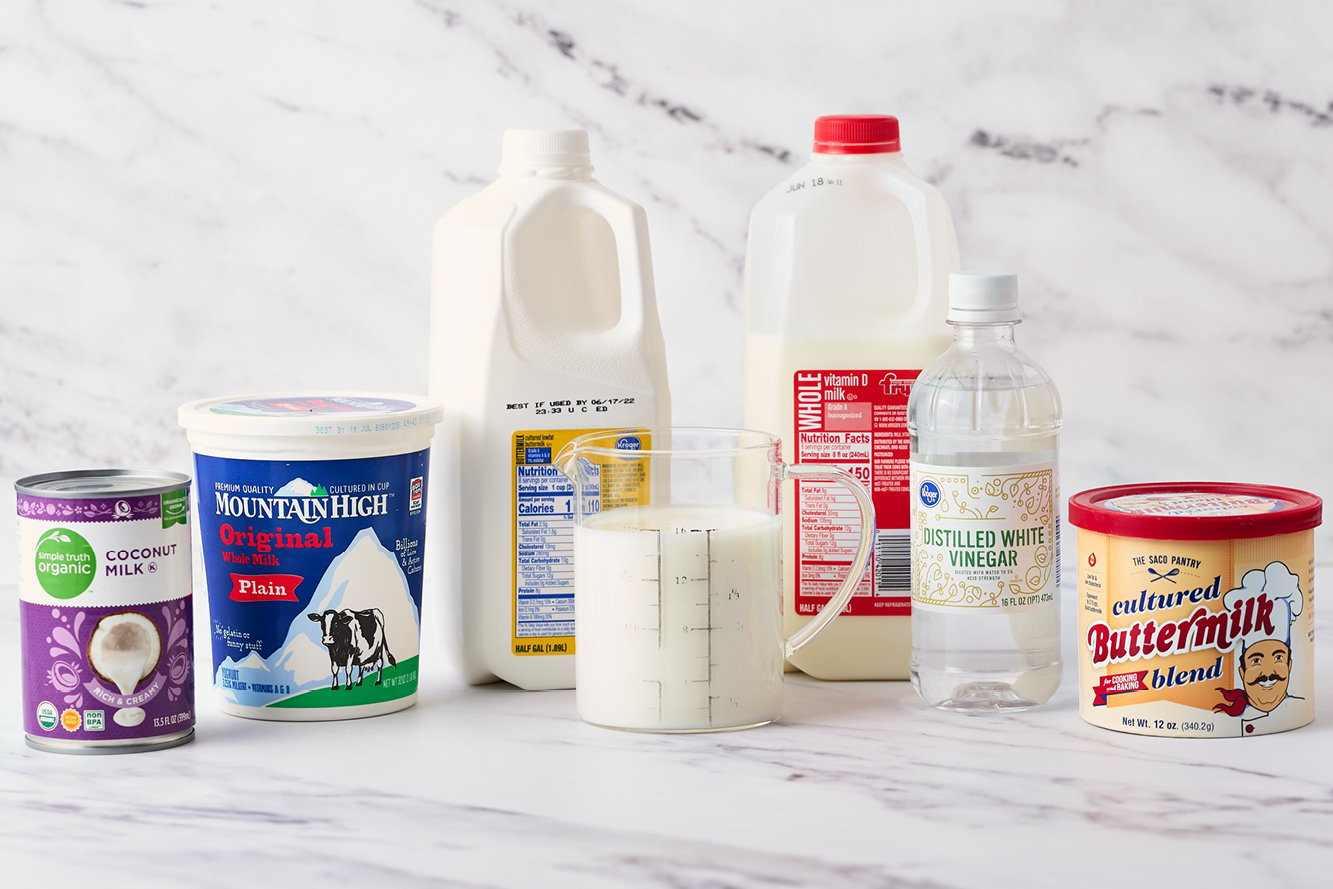
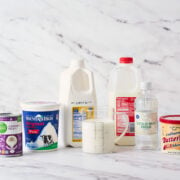
When it comes to buttermilk, the most common question I get is how to best substitute it.
I get it, most of us don’t have “real” buttermilk in our fridge all of the time, and running back to the grocery store for one or two things can be such a hassle. However, since I know from all of my Ultimate Guides, one small change in a baking recipe can have significant results. So I decided to put the most common buttermilk substitutions to the test.
Control Recipe
1 cup store-bought buttermilk
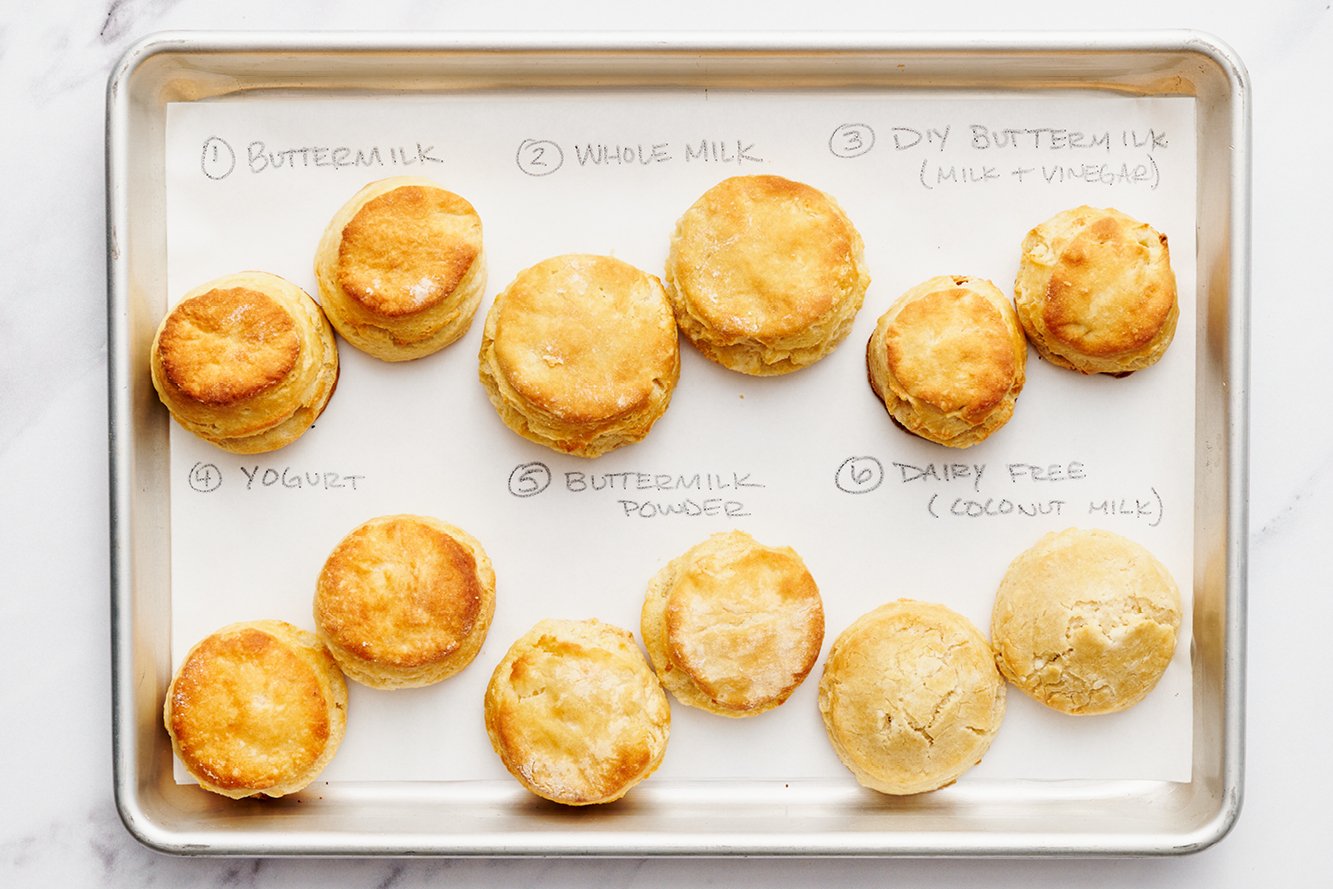
All of the biscuits I baked were based on my go-to biscuit recipe found at the bottom of this post. I re-made the same recipe each time, simply changing out the buttermilk for each batch.
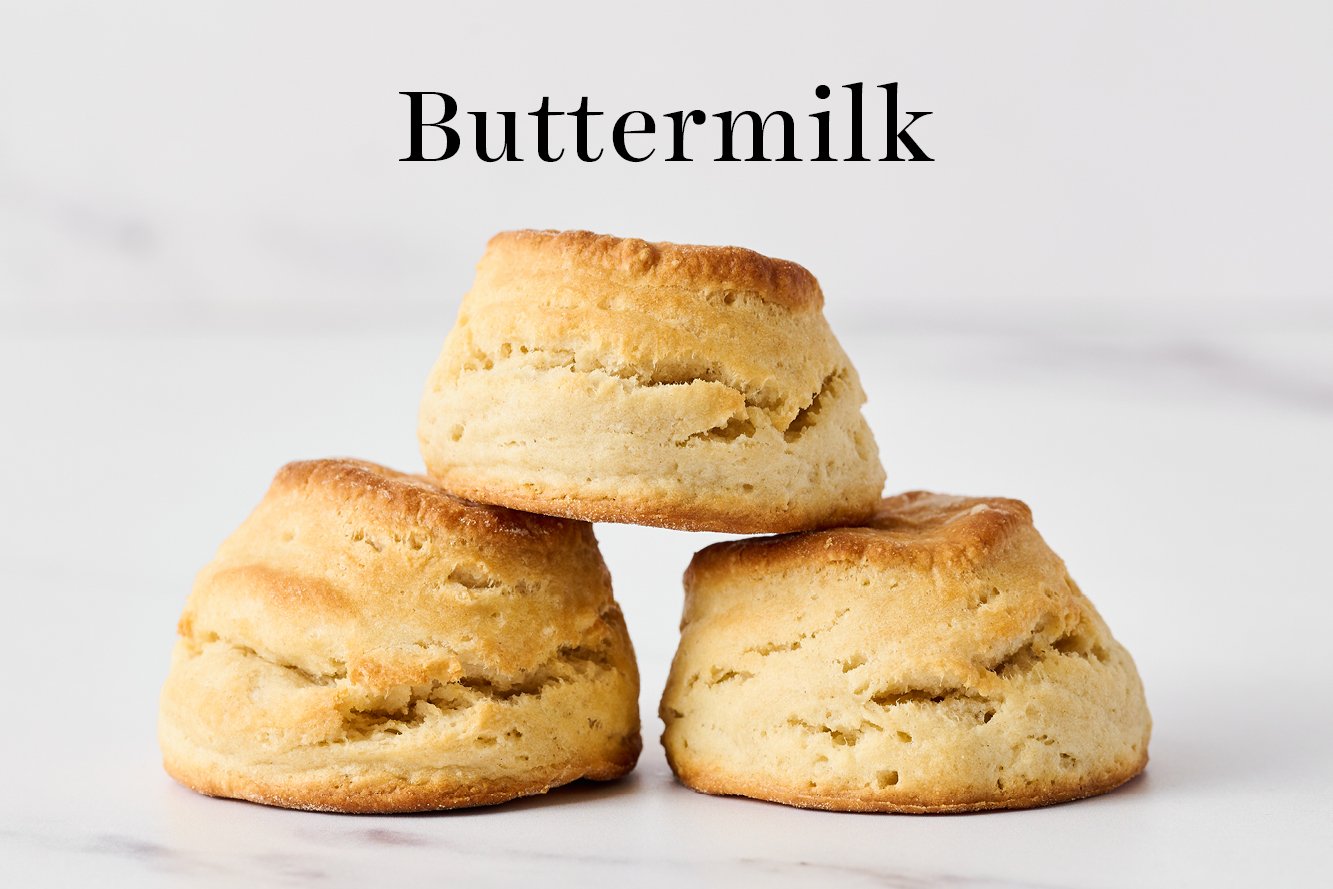
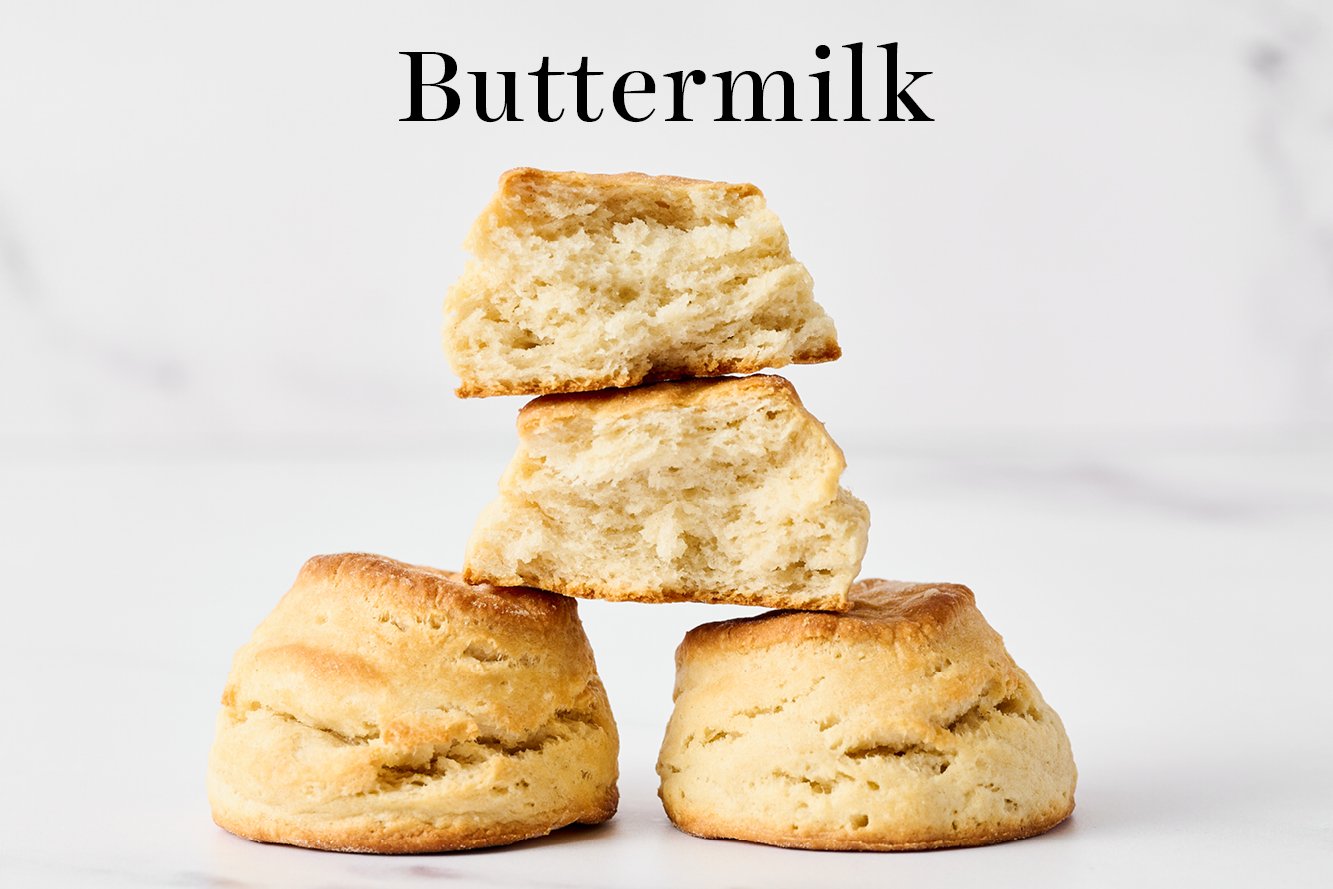
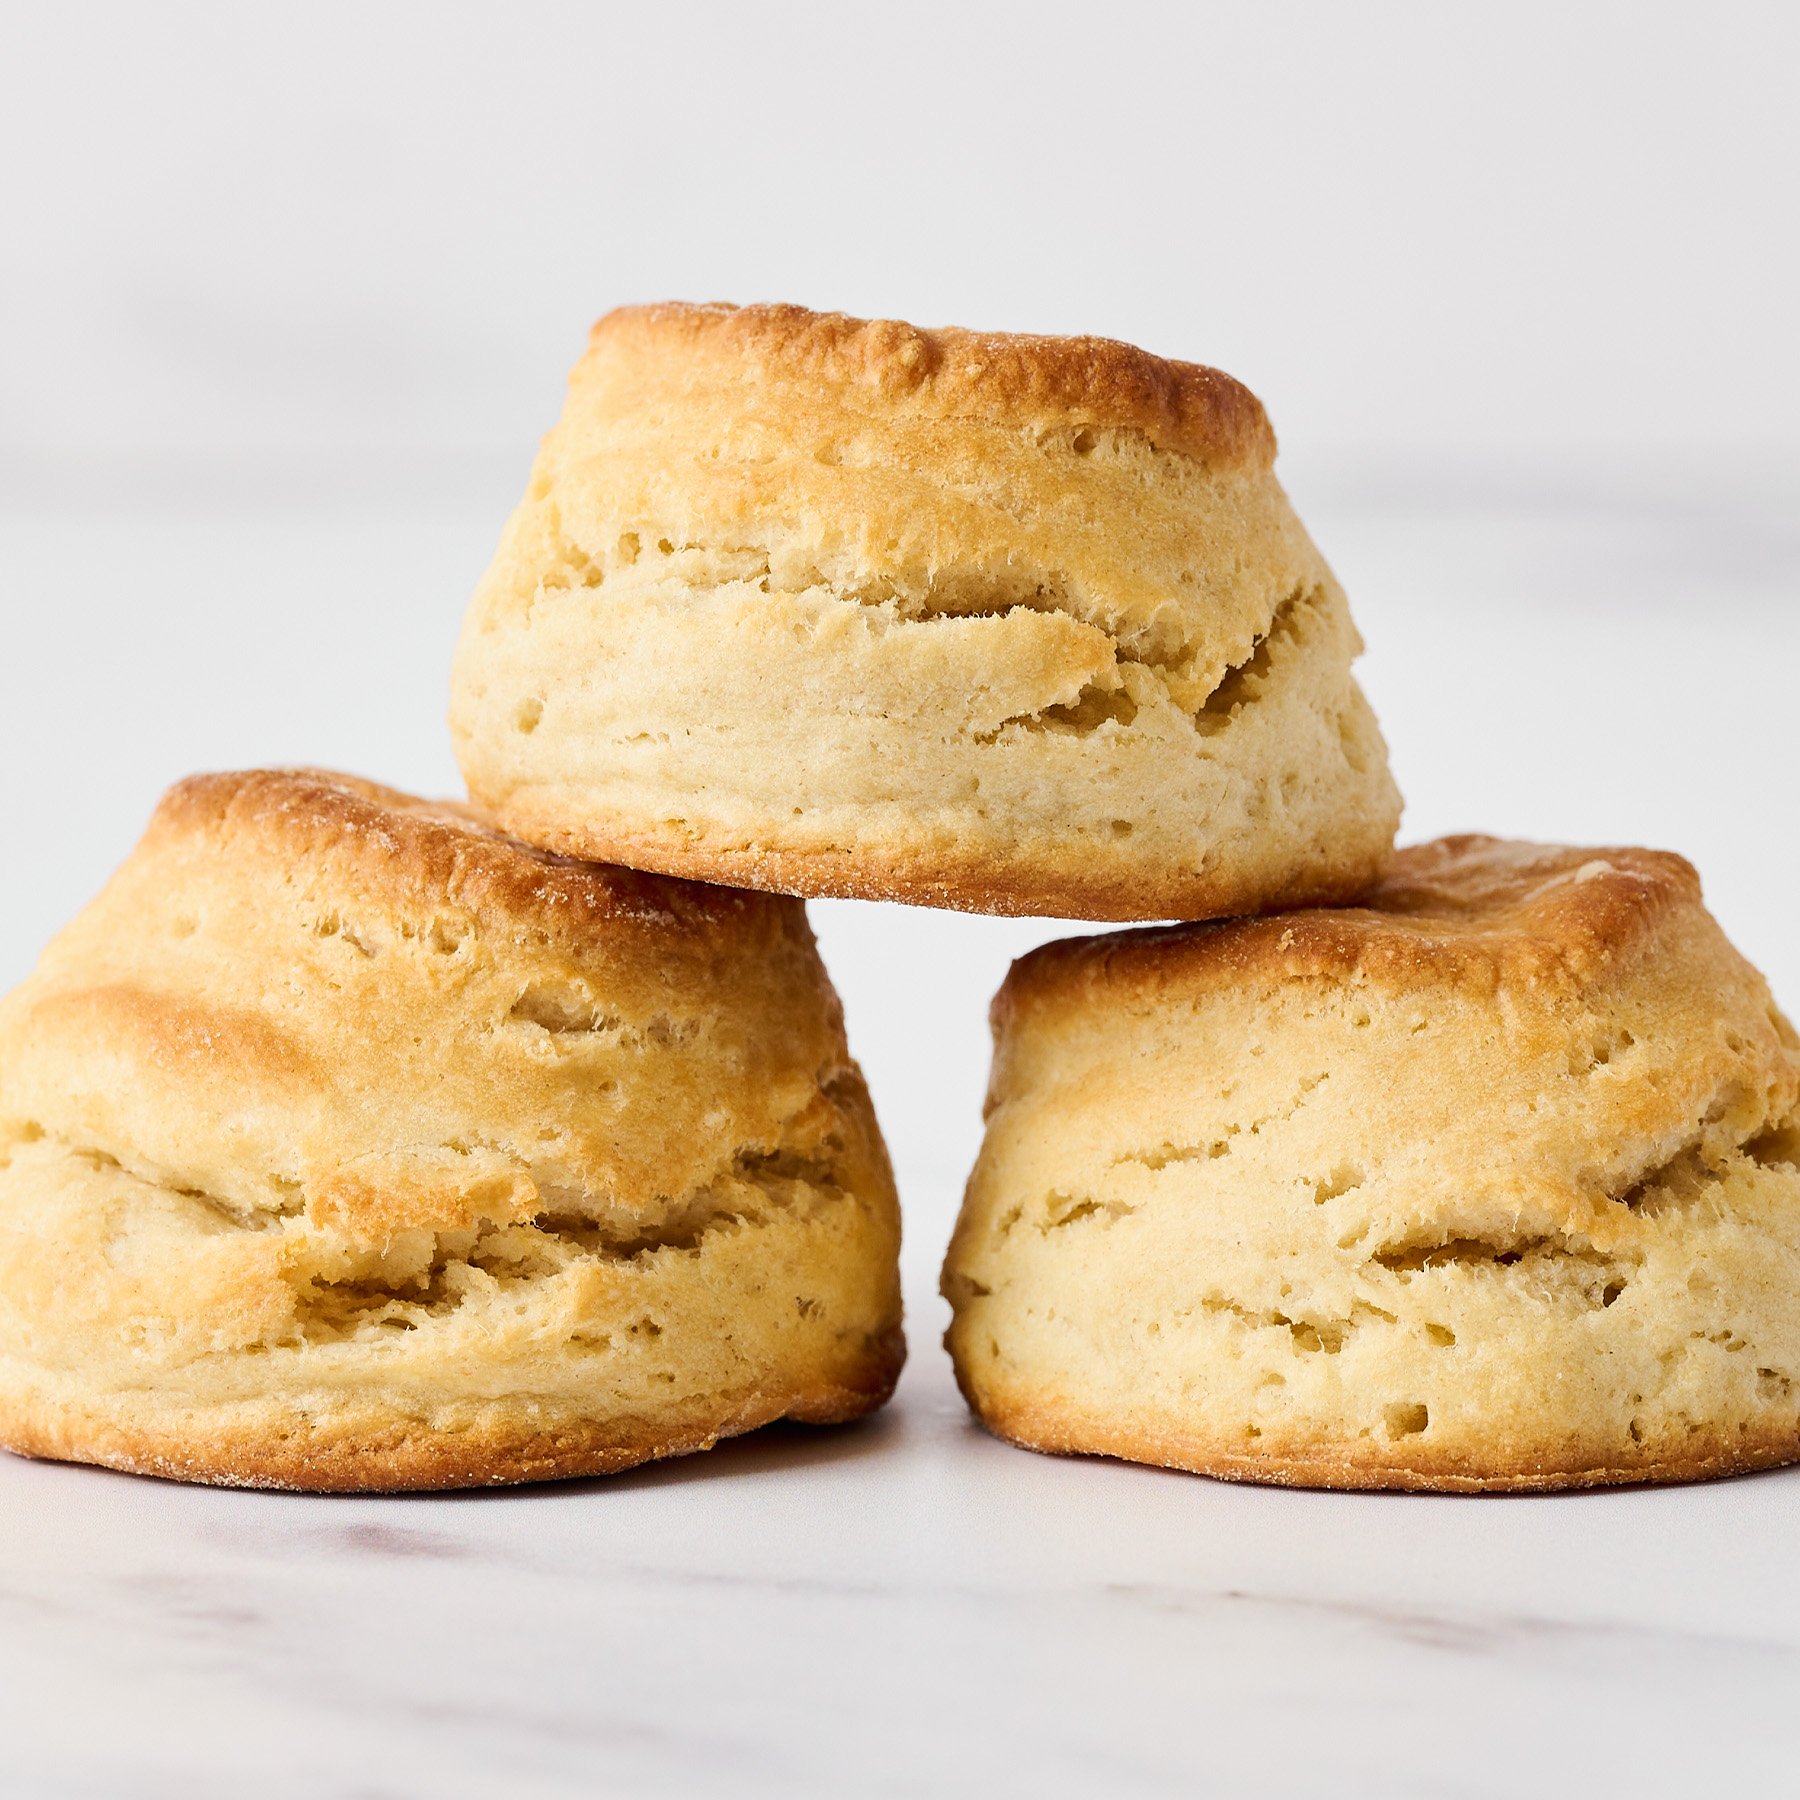
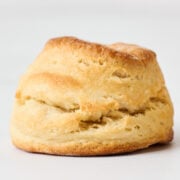
These control “real” buttermilk biscuits were exactly as I anticipated: tangy, buttery, tall, appealingly craggy, with a coarse open crumb – as traditional buttermilk biscuits should be. These represent why I love buttermilk so much! The flavor was fantastic.
DIY Buttermilk + How to Make Buttermilk
1 scant cup whole milk + 1 tablespoon distilled white vinegar
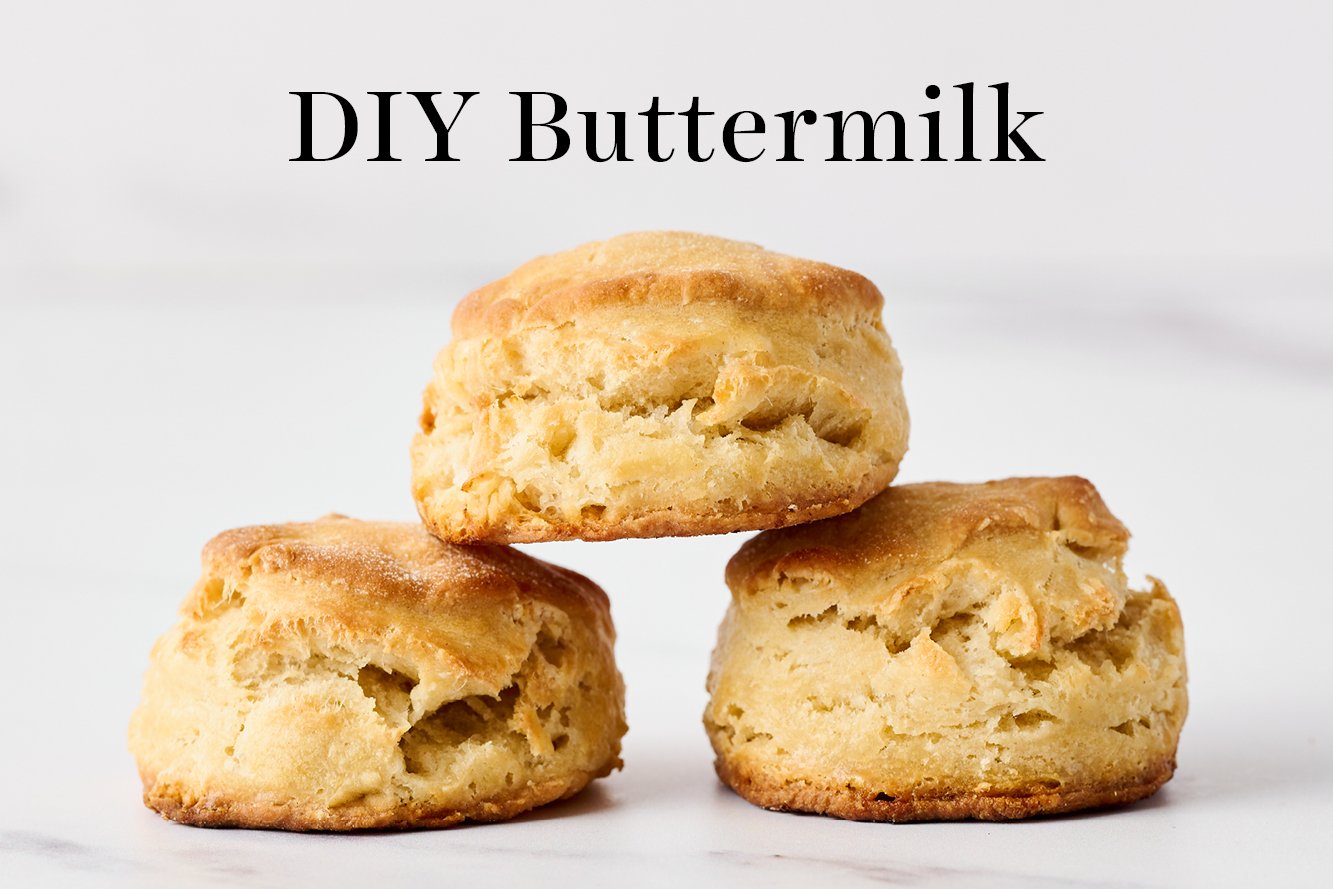
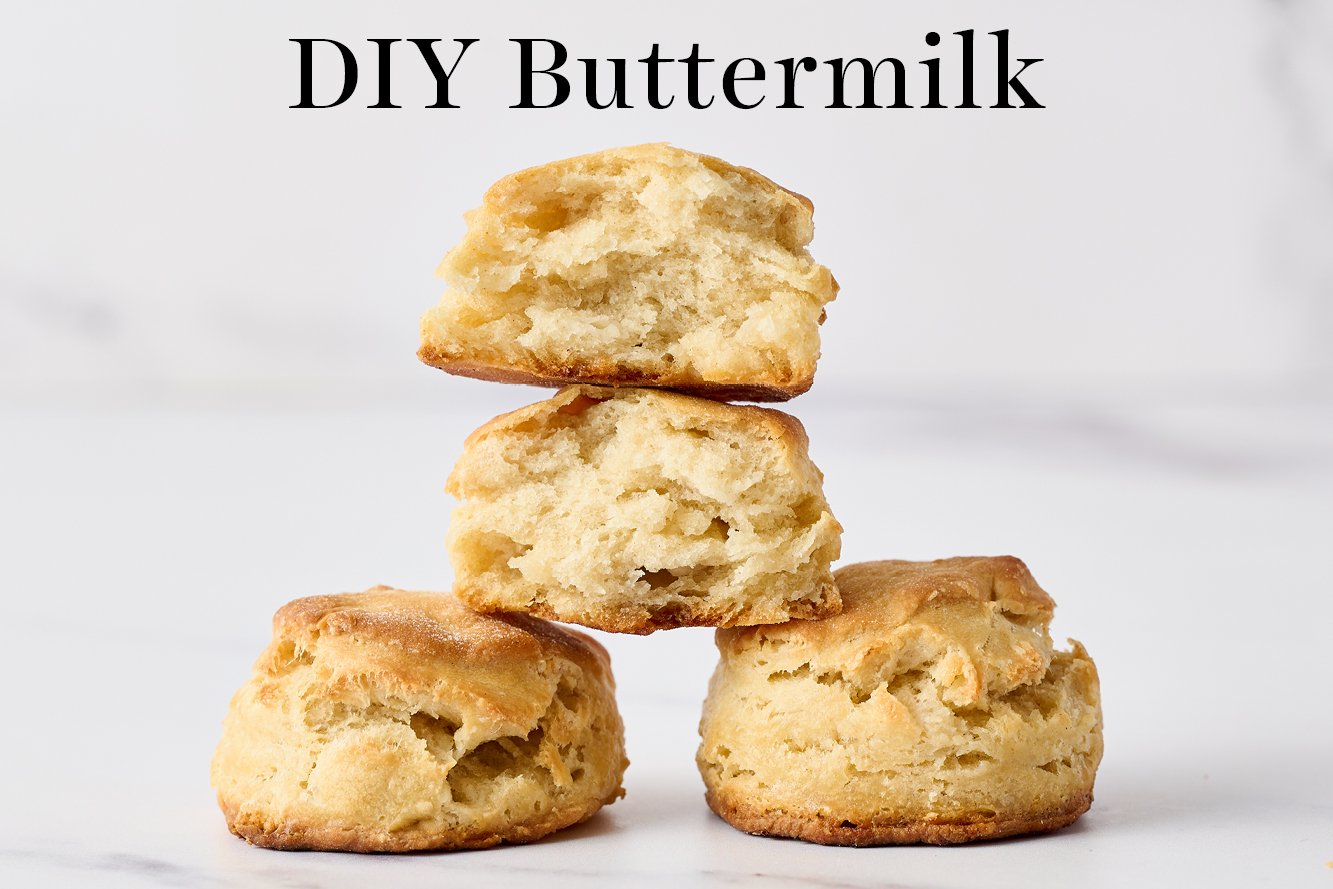
I combined the two and let sit for 5 minutes before mixing into the dough. The mixture was definitely thinner than actual buttermilk, and the dough was much wetter and stickier, which made it more difficult to work with.
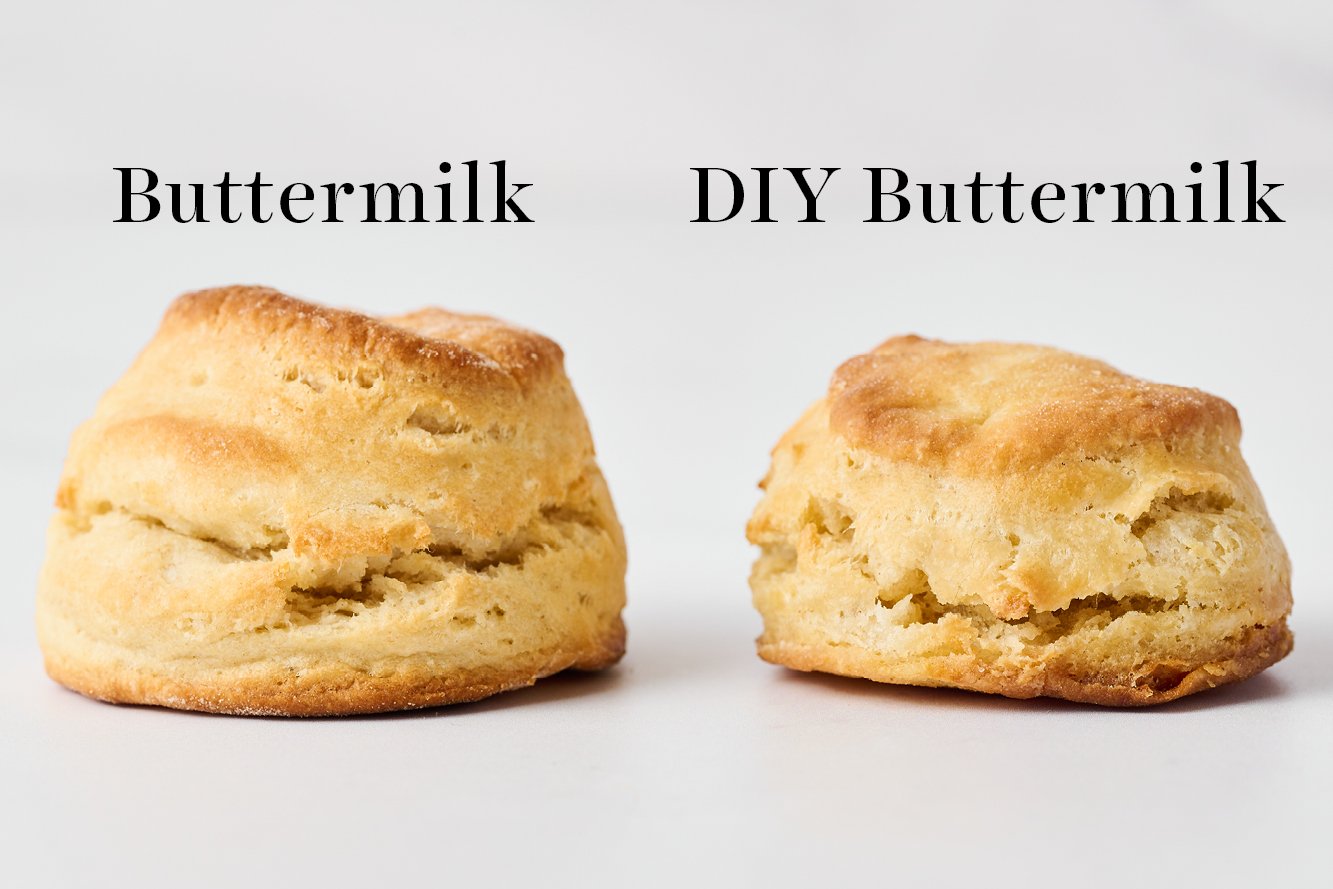
I was super excited to do a direct taste test with these “homemade buttermilk” biscuits compared to the “real” buttermilk biscuits. When I pulled these out of the oven, I was impressed by the lovely brown color they had developed. Unfortunately, the DIY buttermilk noticeably lacked the complex tangy flavor of the control buttermilk biscuits and instead contained a sharp sourness. They also had a finer crumb which I found to be more similar to store-bought or fast food biscuits.
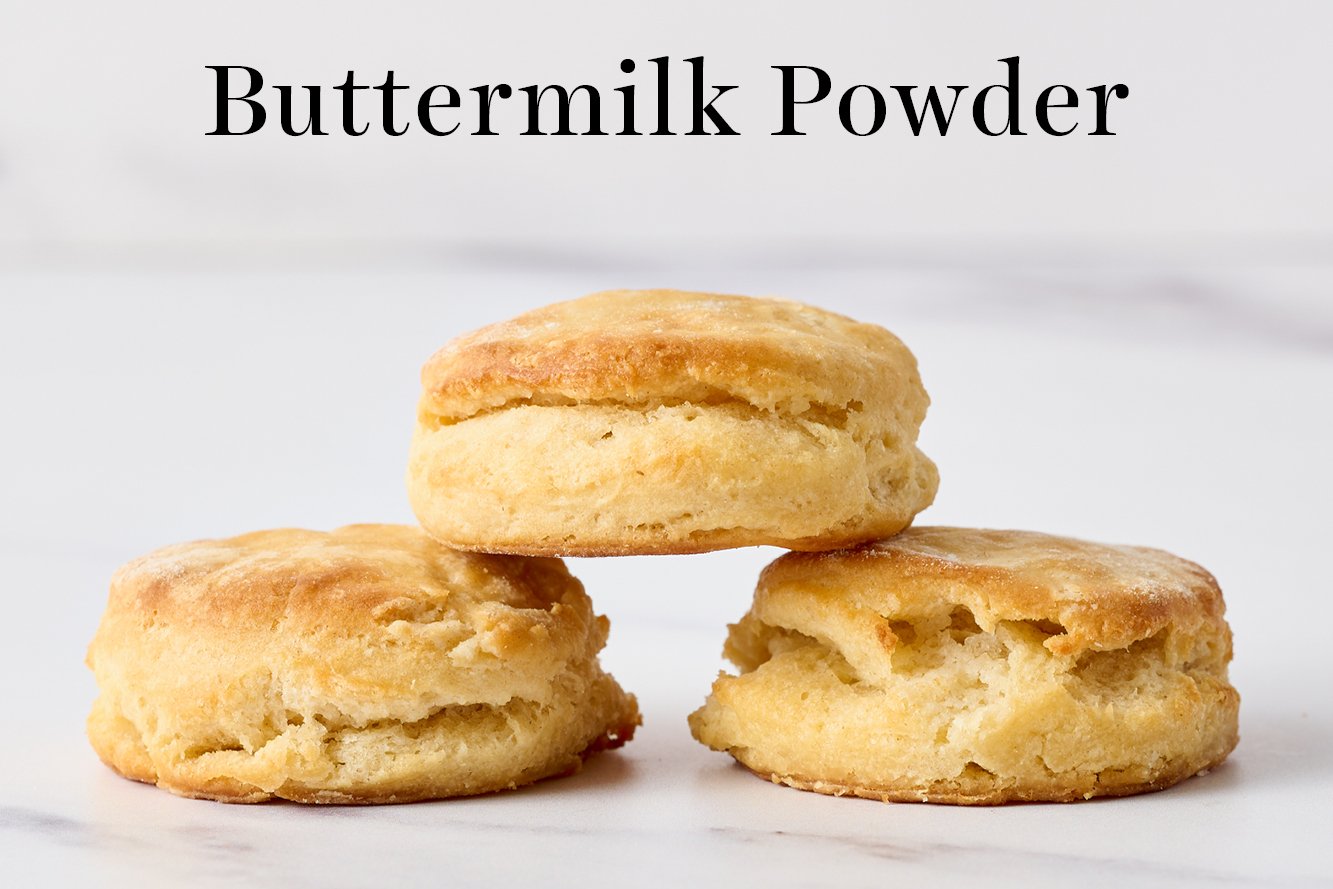
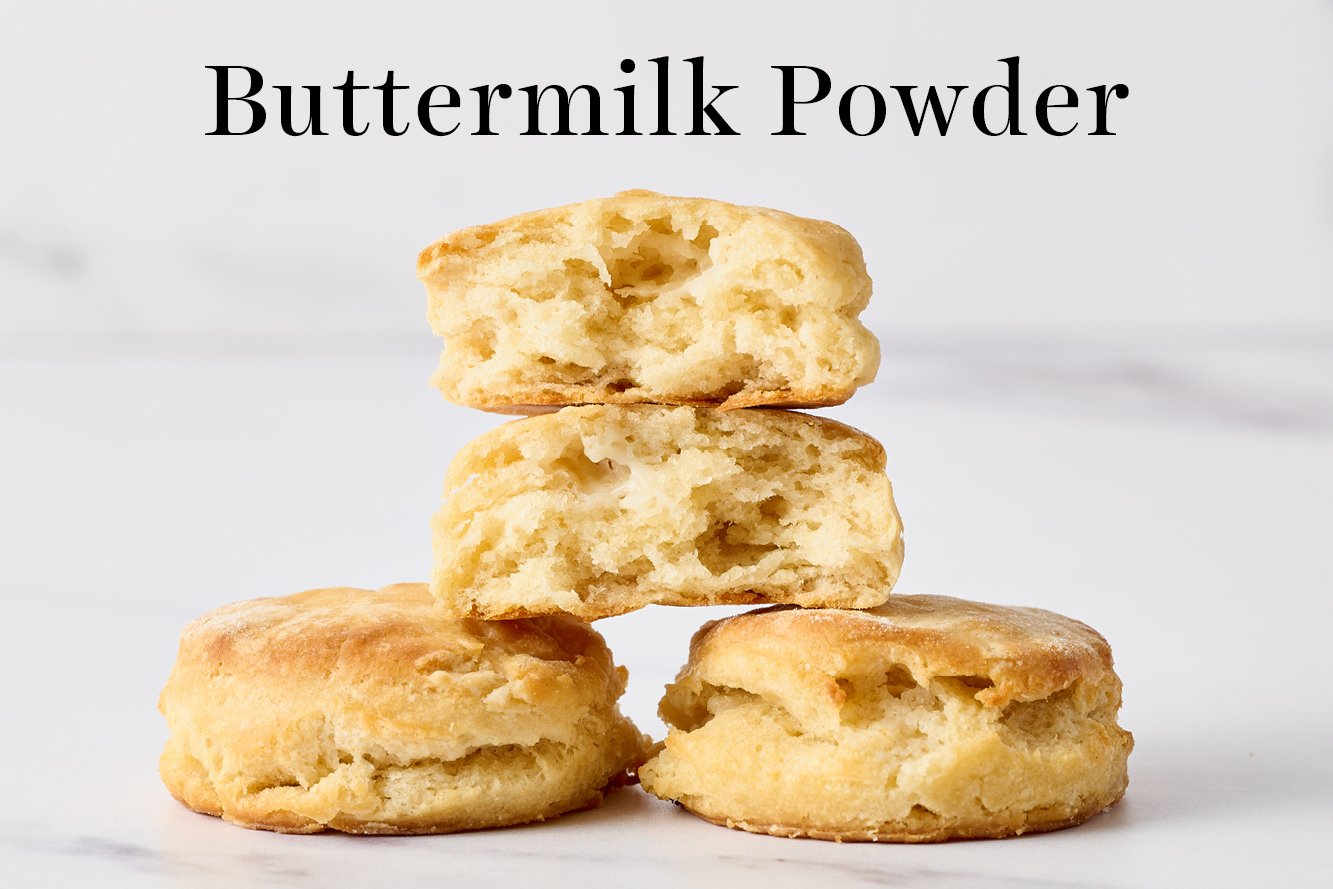
Buttermilk Powder
1 cup water + 4 tablespoons buttermilk powder
I used the Saco brand of cultured buttermilk powder that I found at my grocery store and followed the substitution directions listed on the packaging. I used filtered water. The package’s instructions directed me to blend the powder into the dry ingredients, which is what I did.
Where the control biscuits were pleasantly tangy, these biscuits were strangely sour. They also baked up flatter than any of the other batches. The package directions also said to store the powder in the refrigerator after opening, which to me doesn’t make it all that much more convenient than actual buttermilk, especially for the amount of flavor you’re giving up to use this.
Whole Milk
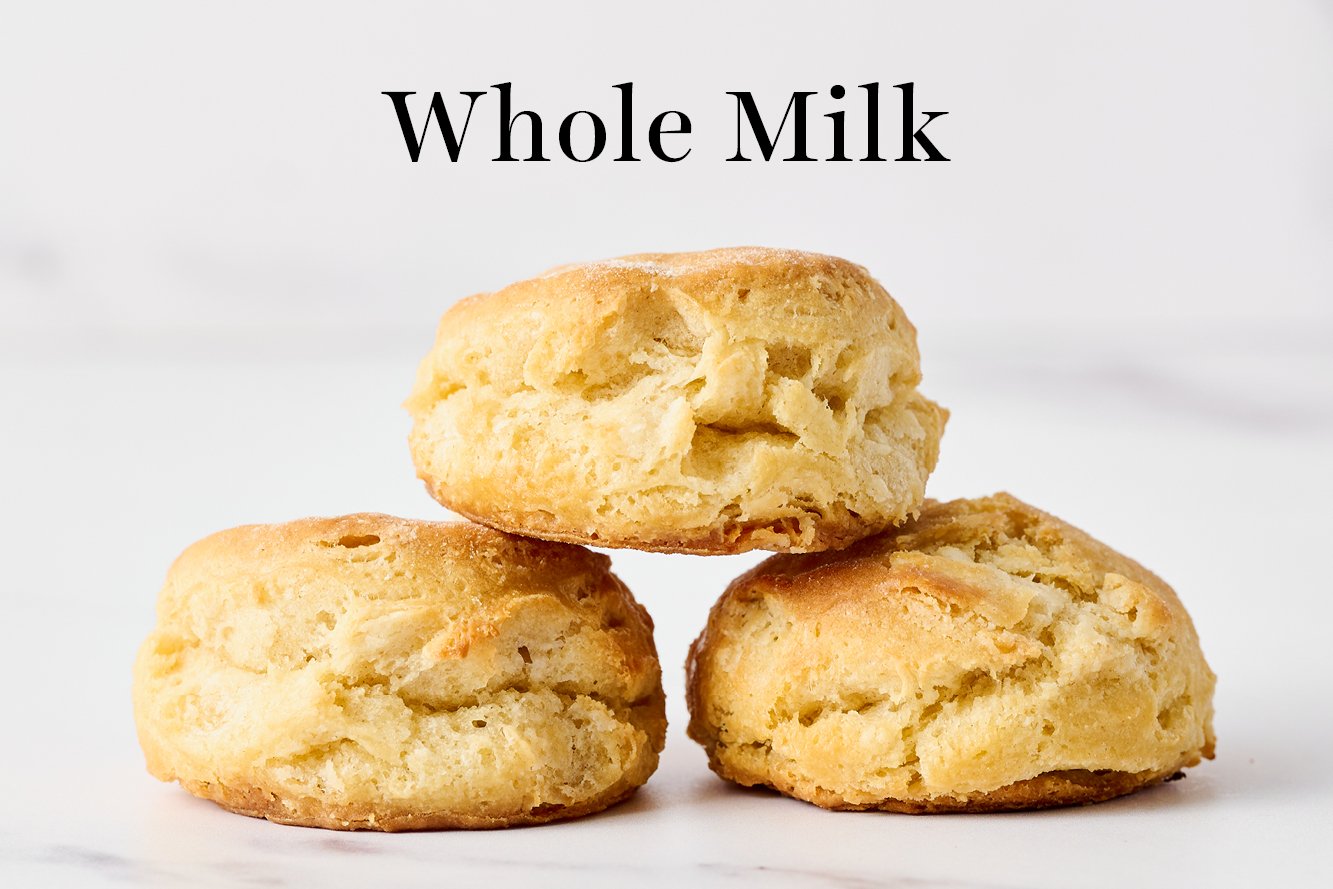
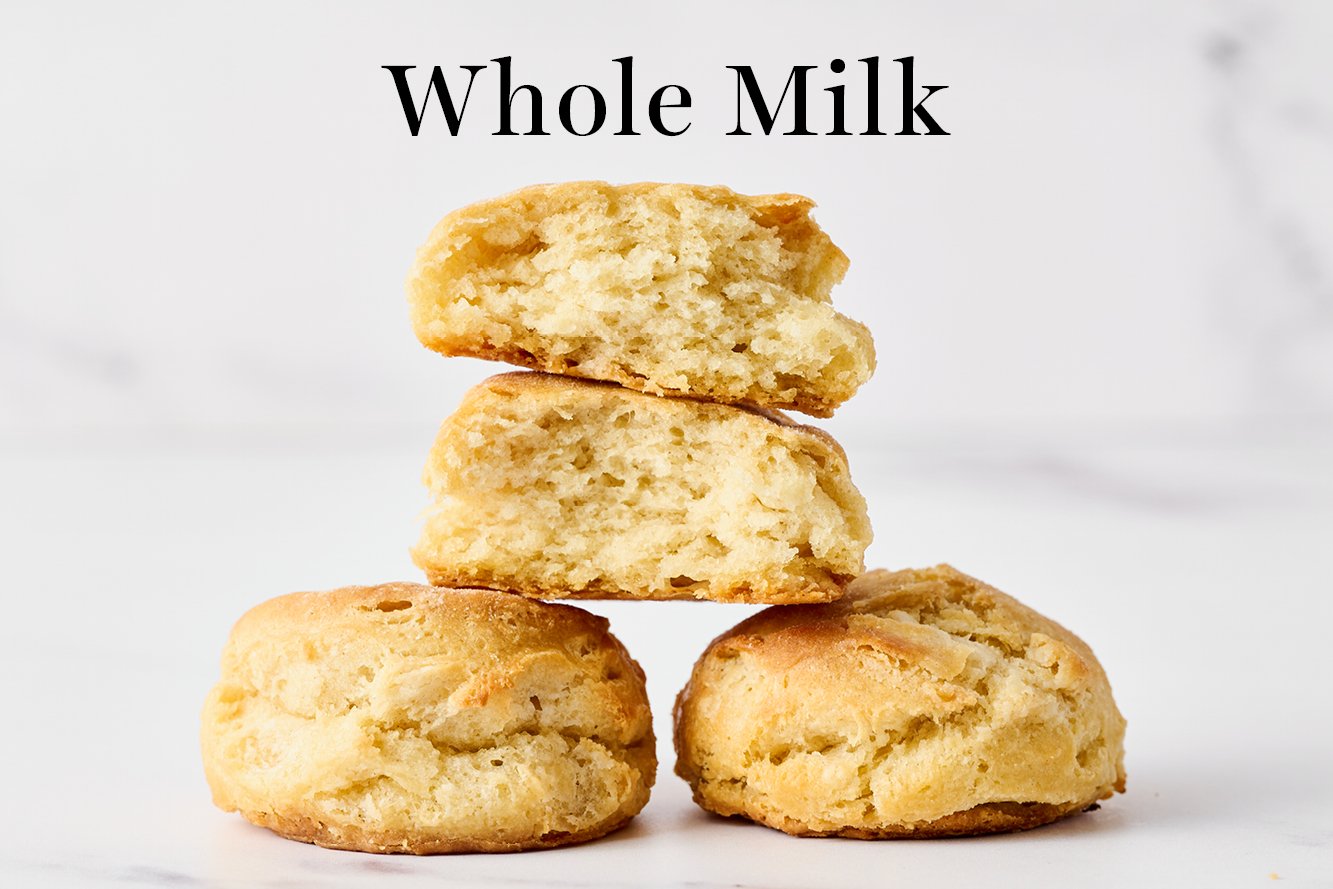
1 cup plain milk
These regular milk biscuits turned out craggy and nicely golden, and had an intense buttery flavor. They tasted the most buttery of all the batches, which makes sense considering there was no excess acidity here to cut through the fat and richness. These also had a finer crumb similar to the DIY buttermilk biscuits, which was interesting. The finer crumb reminded me again of fast food biscuits or premade store-bought biscuits.
Plain Yogurt
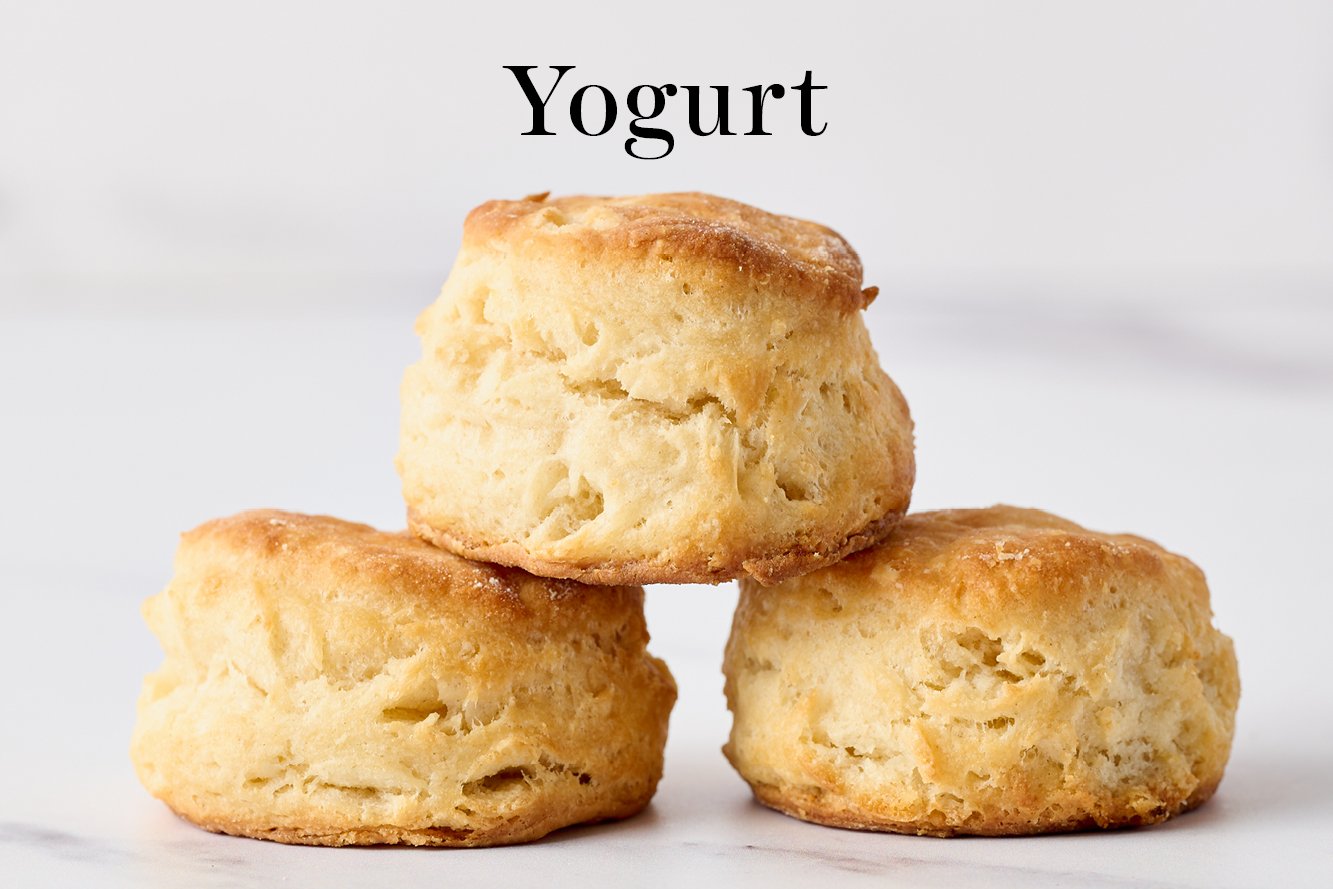
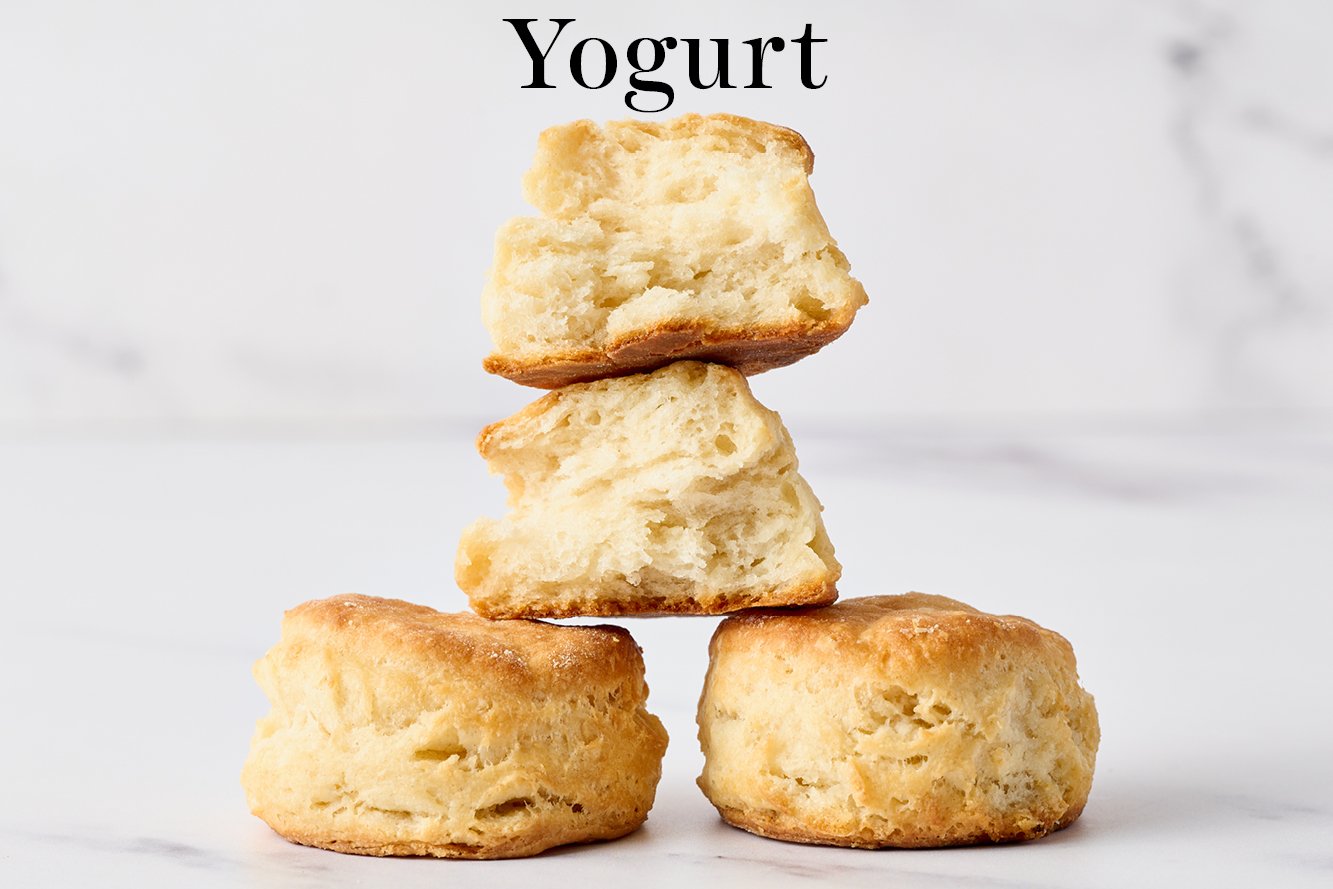
1 cup thinned plain yogurt
I thinned the yogurt considerably with water until it was pourable, before adding into the dough. Surprisingly, these biscuits ended up being my favorite behind the control batch. They had good flavor and a tall, even shape. The only downside was that, like the DIY buttermilk biscuits, these had a finer texture similar to fast food biscuits (think KFC). However, because I know some people enjoy that texture, using plain yogurt might be a great option for you! You could even try a similar experiment with sour cream.
Vegan/Dairy-Free Buttermilk Substitute
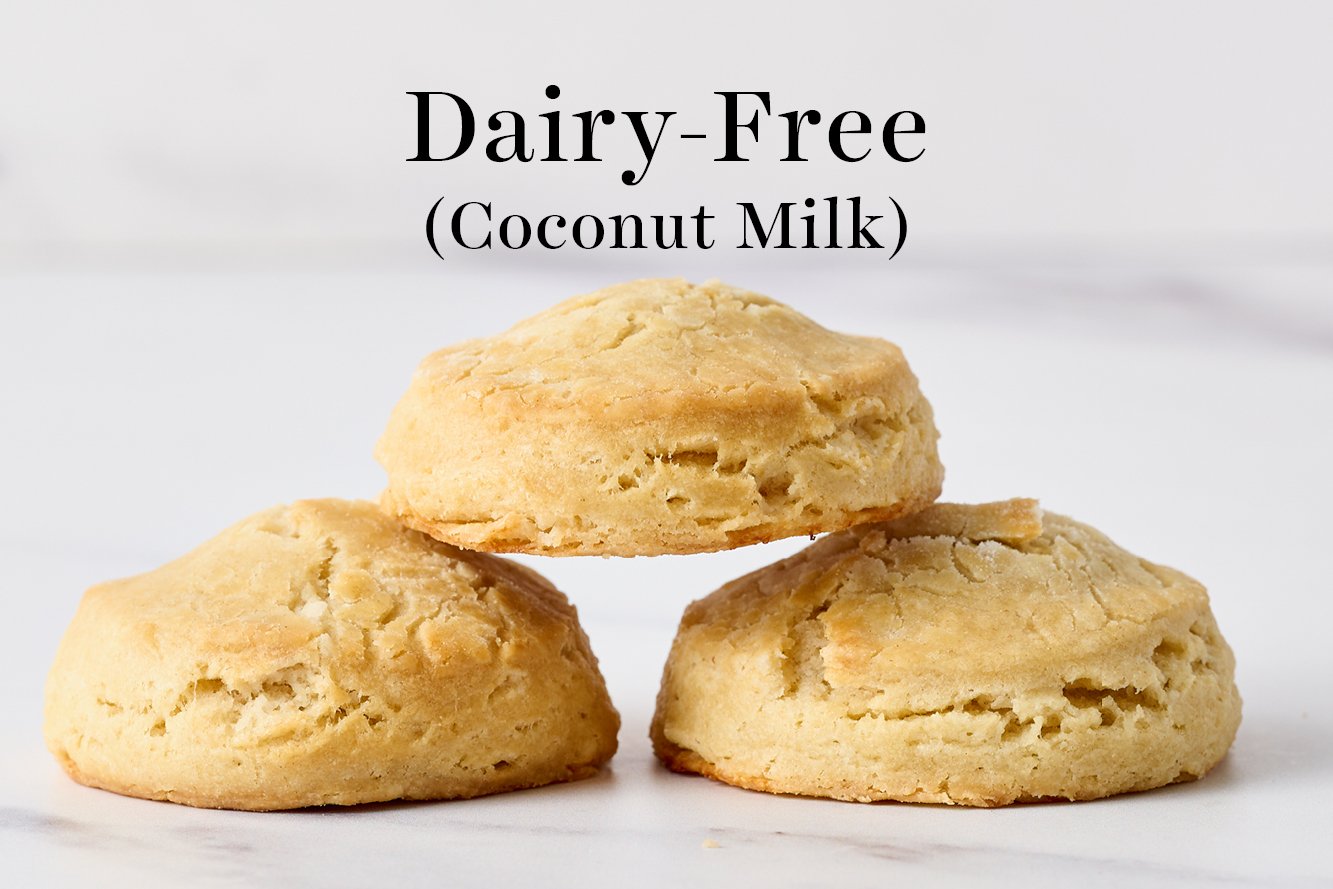
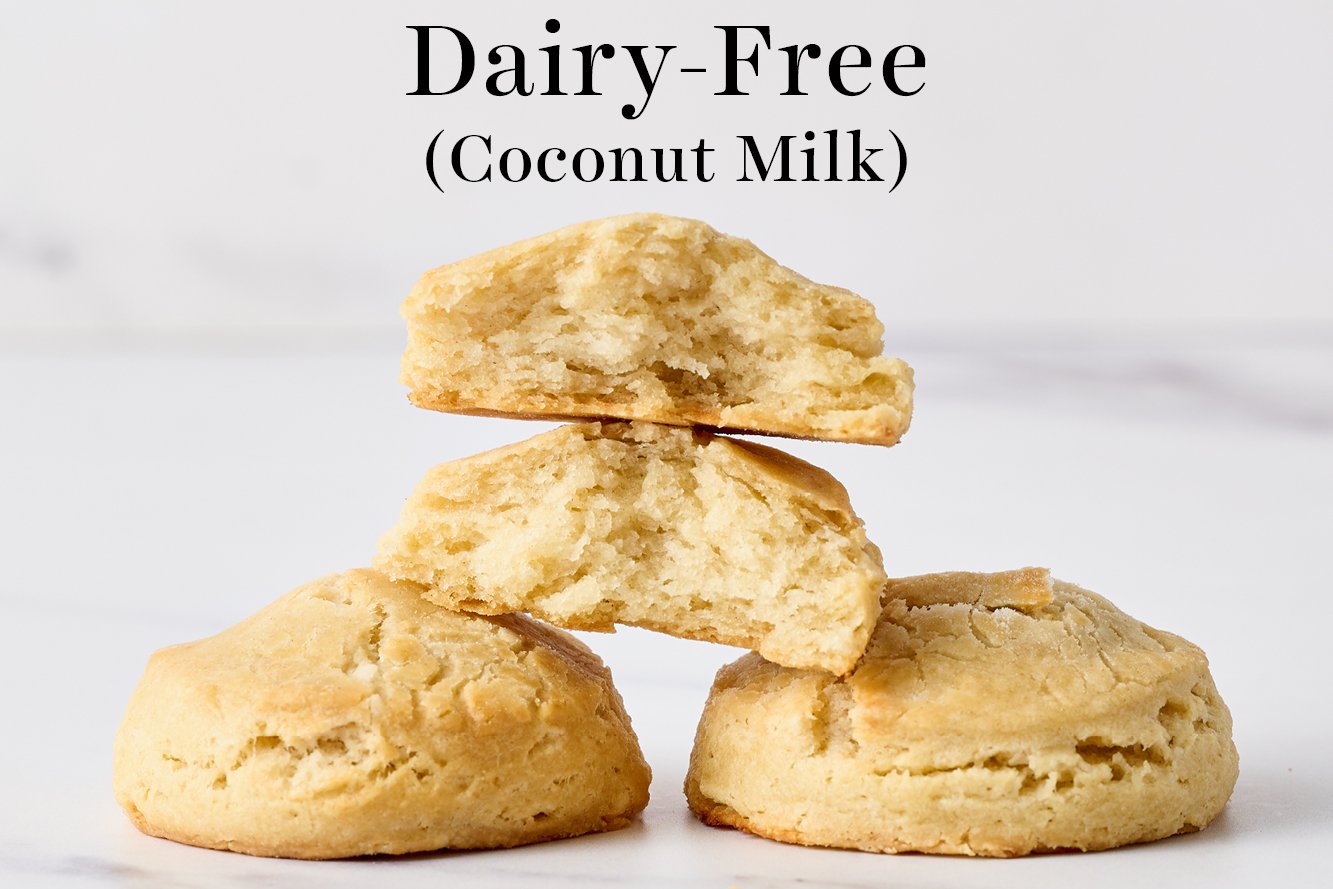
1 scant cup full-fat canned coconut milk + 1 tablespoon distilled vinegar
I combined the two and let sit for 5 minutes before mixing into the dough. I did *not* substitute the dairy butter in this batch because I wanted a direct comparison against the control batch and because this post is all about buttermilk. Check out my biscuit comparison with butter vs. shortening here if you’re interested.
I was curious to see if I could make a dairy-free substitute this way, thinking that coconut milk is rich and thick, unlike other non-dairy milks like almond milk or soy milk. The consistency ended up being very similar to real buttermilk, which made me excited. However, the resulting biscuits had a completely different flavor profile from all of the other biscuits and were way more crumbly. These were definitely not my favorite.
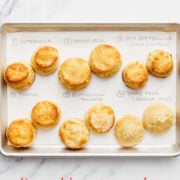
Final Comparison
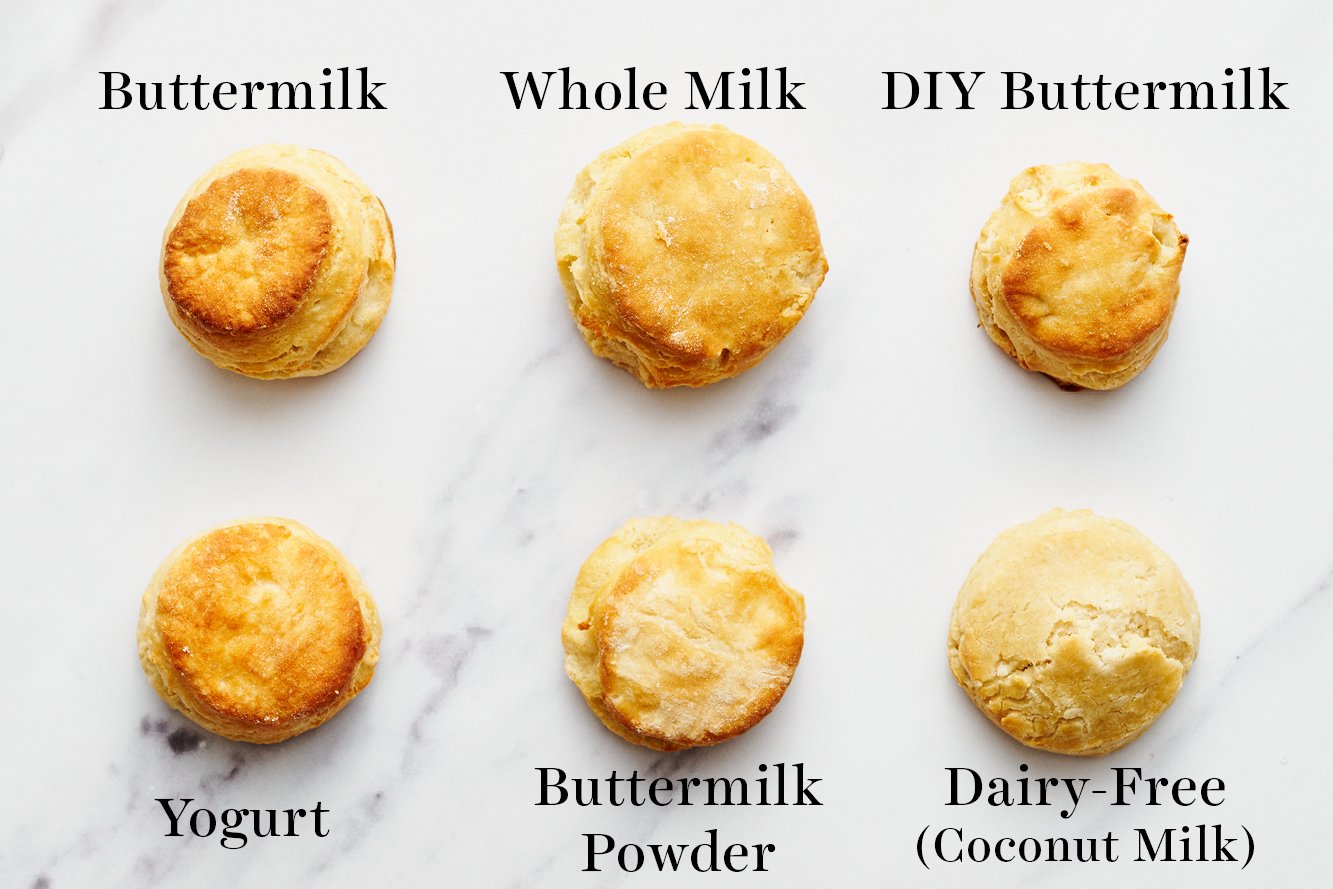
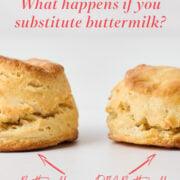
It’s funny because I feel like the biscuits appear to look very similar, but there were definitely noticeable differences in taste and texture.
Looks like I’ll be sticking with store-bought real buttermilk for the foreseeable future, since homemade buttermilk substitutes just didn’t yield the same results.
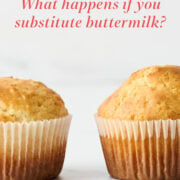
I also have tested a standard muffin recipe with whole milk vs. buttermilk to see how it impacts a different type of recipe:
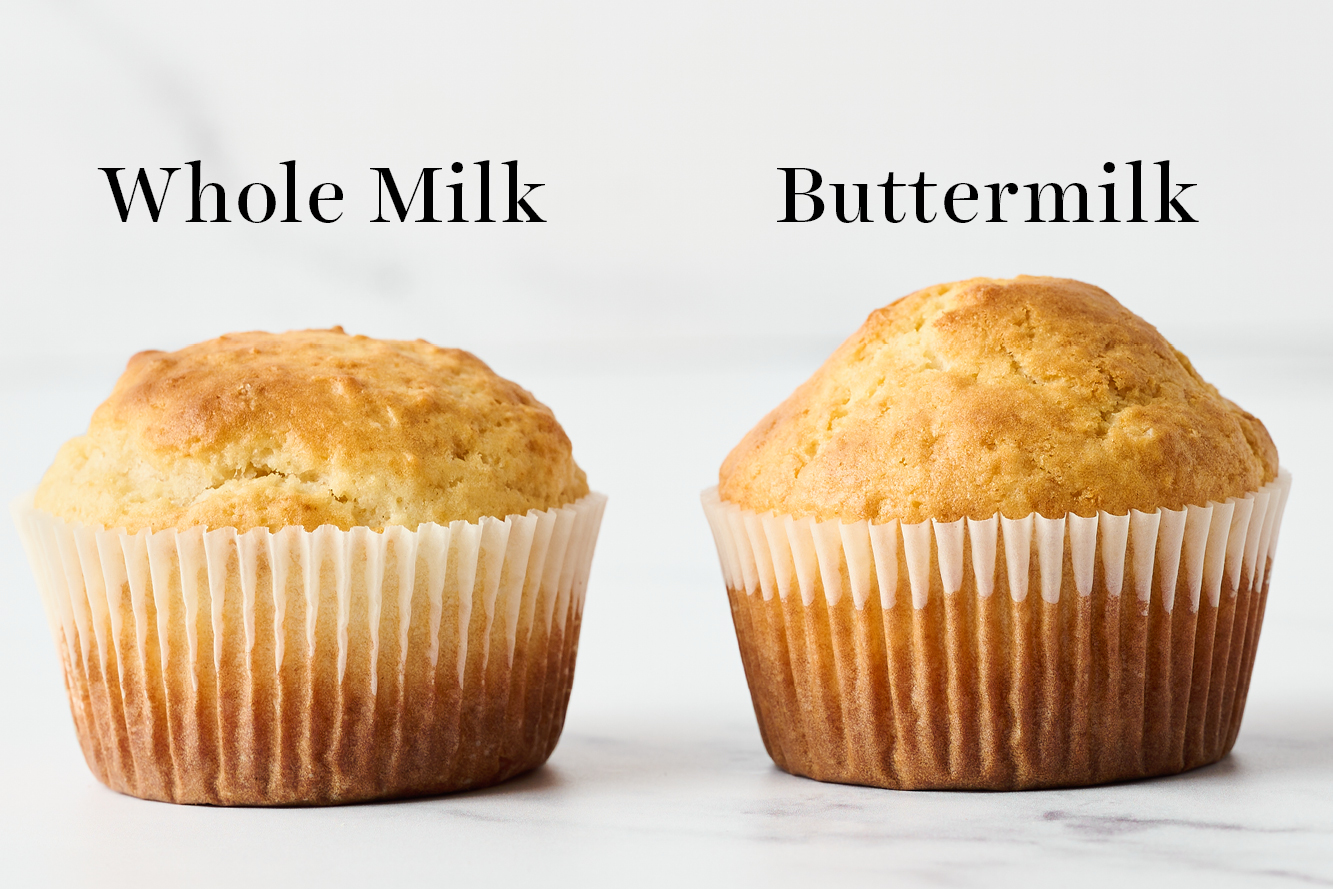
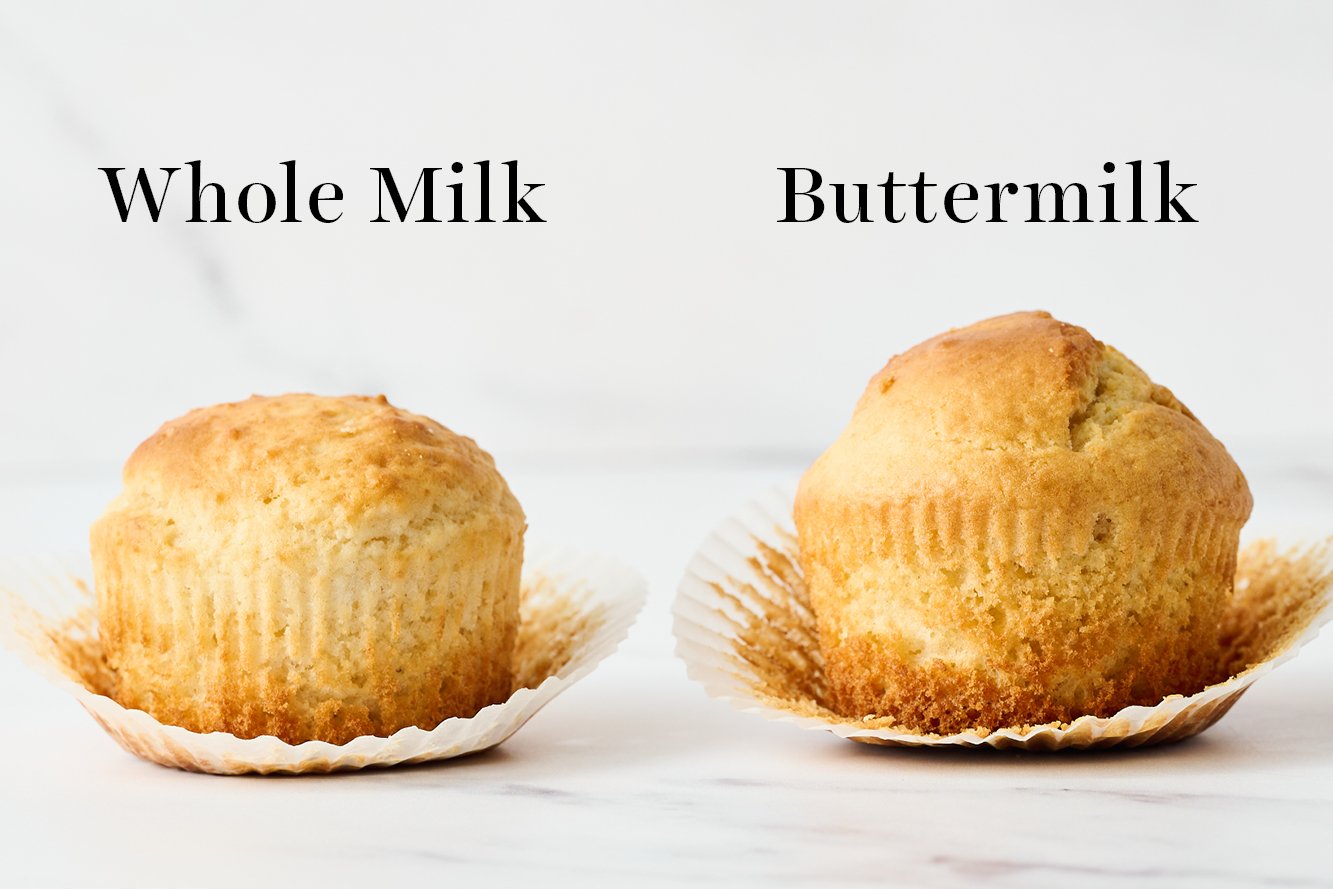
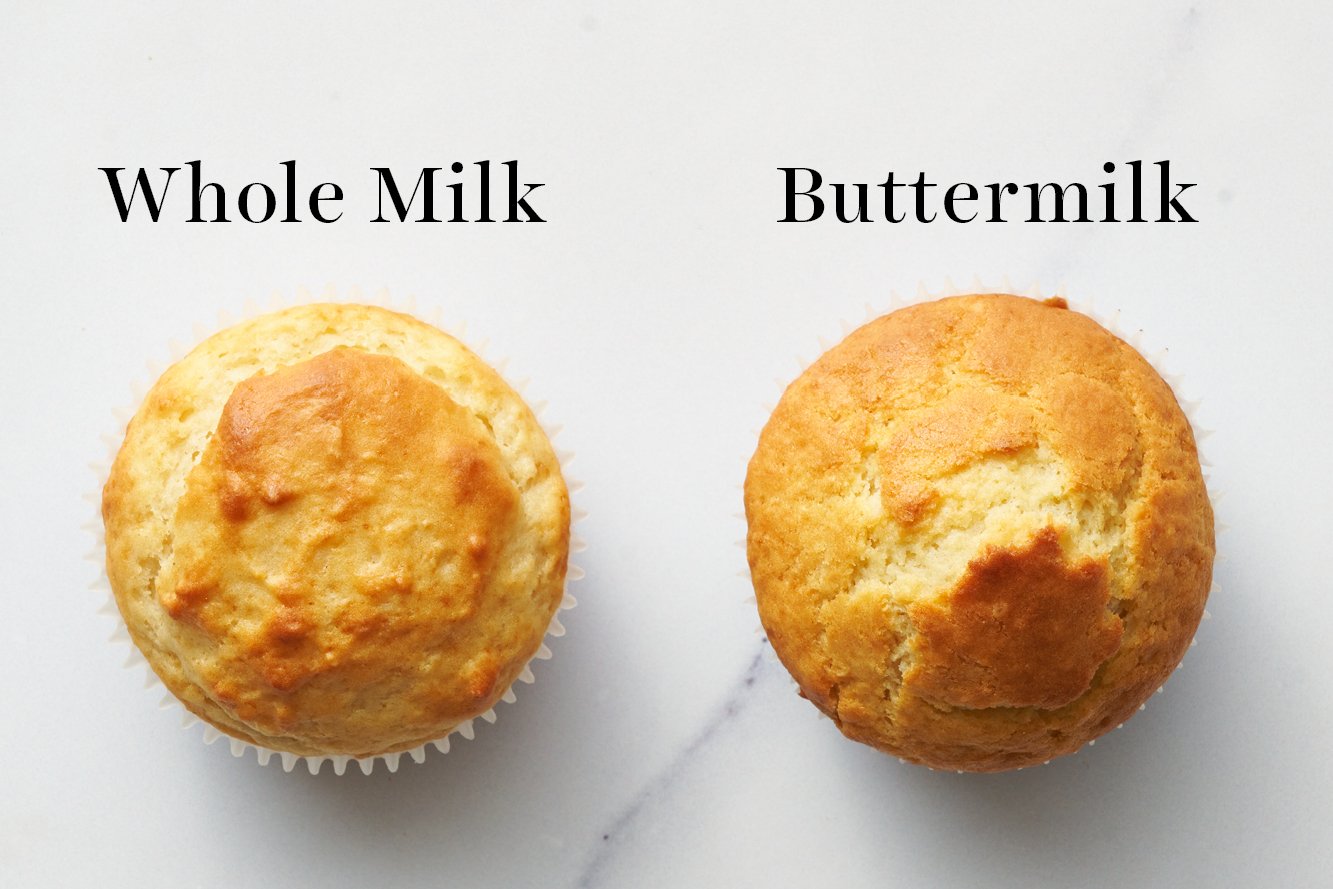
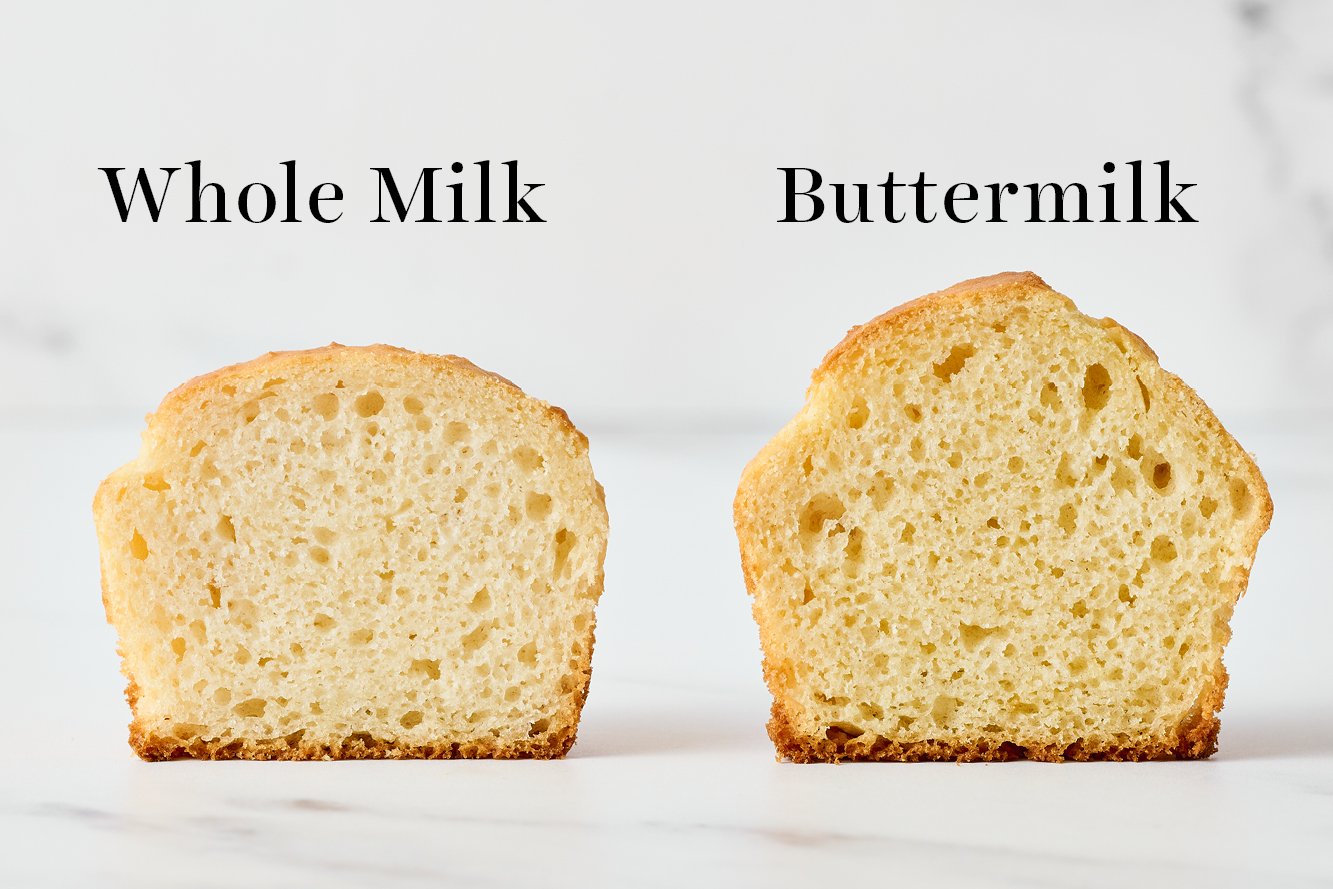
The buttermilk muffins had a more craggly open-crumb texture than the whole milk muffins and were SUPER moist and flavorful. I absolutely loved this batch and don’t think I’ll make muffins without buttermilk again. You can see my full Ultimate Guide to Muffins post here.
So as you can see, real buttermilk is the BEST choice. But since I know it’s not always easy to keep buttermilk on hand, I created the below video on How to Freeze Buttermilk so you always have some ready to use (and so you don’t waste any).
How to Freeze Buttermilk
More Baking Science Articles:
Recipes with Buttermilk:
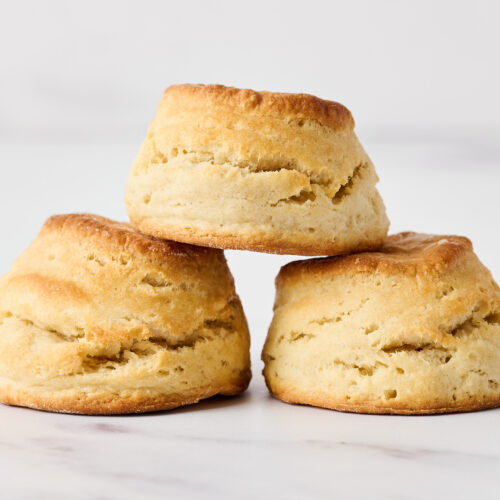
Basic Buttermilk Biscuits
Email This Recipe
Enter your email, and we’ll send it to your inbox.
Ingredients
- 2 cups (254 grams) all-purpose flour, plus more for dusting
- 2 teaspoons granulated sugar
- 1 tablespoon baking powder
- 1/4 teaspoon baking soda
- 1 teaspoon fine salt
- 6 tablespoons (85 grams) unsalted butter, very cold
- 1 cup buttermilk, chilled
Instructions
- Preheat the oven to 450°F.
- In a large bowl, combine the flour, sugar, baking powder, baking soda and salt. Using your fingertips or a pastry blender, cut the butter into the flour mixture until it resembles coarse meal. You can also do this in a food processor. The faster you do this the better, you want the fat to remain cold. Stir in the buttermilk until just combined. DO NOT overmix, the dough will be slightly sticky.
- Turn the dough out onto a floured surface and dust the dough with flour. Gently pat the dough out until it’s a 1/2-inch in thickness. Use a 2-inch round biscuit cutter to push straight down through the dough to cut out circles, try not to twist the cutter. Place the biscuits on the baking sheet, spacing 2-inches apart. Reform the scrap dough into 1/2-inch thickness, being sure to work with it as little as possible, before cutting out more circles.
- Bake the biscuits until golden brown, about 12 to 15 minutes.
The Ultimate Cookie Handbook
Learn the sweet SCIENCE of cookie baking in a fun, visual way to customize your own recipes frustration-free. Plus, my best 50+ homemade cookies!
Buttermilk 101 Article Credits:
- Written by Tessa Arias
- Edited by Jessie Bruce, Master’s of Public Health Nutrition and Dietetics Candidate at UC Berkeley
Sources:
- Amendola, J. (2002). Understanding Baking: The Art and Science of Baking (3rd Edition). Wiley Global Education US. VitalSource
- Figoni, Paula. How Baking Works: Exploring the Fundamentals of Baking Science, 3rd Edition. 3rd ed., John Wiley and Sons, 2010.
- McWilliams, M. (2016). Foods (8th Edition). Pearson Education (US). VitalSource






I use buttermilk in baking quite often. I buy a quart and freeze what I don’t use in 1 cup and/or 1/2 cup inurements. Then I always have it on hand. I plan on making your blueberry scones. I have not had much luck making scones so hopefully the envelope method will solve that problem.
Hi!!! Thanks a lot for your recipes they are all amazing!
I live in Chile and I haven’t been able to find buttermilk, so I made butter with fresh cream. Rright after I finished the butter I froze the leftover milk. Can I use that? If so, do I need to do something with it?
Thank you so much!!
Hi Claudia! Thank you so much for your kind words, we’re so happy you enjoy our recipes! 🙂 We haven’t tested using the liquid leftover from homemade butter as a buttermilk substitute, so we can’t say for sure how it compares. However, what you have is likely uncultured buttermilk, which is more like skim milk since all the butterfat has been removed. Traditional buttermilk sold in the U.S. is cultured, which gives it tanginess and acidity that help it react with baking soda & baking powder. You may still need to introduce a culture to yours to achieve the same effect. I’d recommend looking into homemade cultured buttermilk methods if you’d like to experiment! I wish I could help more, but I’d love to hear what you discover! Good luck.
Can you use powdered buttermilk in the biscuit recipe?
Hi Frances! Tessa did experiment with powdered buttermilk in this article. Here’s a quick link to the section and pics 🙂
I love following all your posts! I digest everything and try soooo many with great results.
Your cookie cookbook, is so informative and every recipe I’ve tried has been a hit. Do you have one in the works for breads sweet and savoury/ muffins/biscuits etc?
We’re so happy to have you following along, Karen! Thanks so much for the support. We don’t have current plans, but you never know what the future will bring! 🙂
I come from a long line of biscuit makers (and bakers) on both sides. My aunt (whose biscuits are to die for!) says that adding a teaspoon of baking soda will balance out the taste and make the sourness you describe (for vinegar and milk type buttermilk) non existent. It must work as a lot of people know that she always made the best biscuits!
I laminated this recipe dough three times and it was great! So east to make! The laminating just helped them rise even higher in the oven.
Served them split with macerated strawberries and whipped cream. Will def make this one again!!
Hi Tessa, love your cookie book! I have done several recipes for the kids and they just love it and my baking skills have improved so much. Here in the Philippines we do not have the liquid buttermilk. Commonly I use the powdered buttermilk. What is the best substitute for a liquid buttermilk aside from the powdered one.
Thanks for another very interesting comparison. Sadly you didn’t compare my go to subsitution for buttermilk, which is homemade milk kefir…easy to make and always available in my fridge 🙂 I would love to hear your results.
I just came accross your videos yesterday, looking for information on baking soda vs baking powder. Since them I have watched and read a bunch of stuff. Everything is very good, and I really like your scientific approach to baking.
I can’t this weekend, but next I am going to try making buiscuits. It has been a long time since I tried my hand at them, and now I realize that I was over-mixing them a lot, which is probably why I was never satisfied with them…
I have a question about this recipe. I see that you use both baking soda and baking powder, and I was wondering why you didn’t just use baking powder?
The other question is related. I am from Panama City, Panama, and here buttermilk is very rare. I doubt that I can get a hold of some. So I will probably have to use milk. The question is this. Since I won’t be using the acidic buttermilk, do I need to add more baking powder, or remove the baking soda (as there won’t be an acid ingredient)?
Thanks!