


Tessa’s Recipe Rundown
Taste: Just the right amount of chocolate and sweetness.
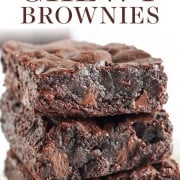
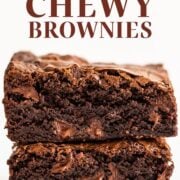
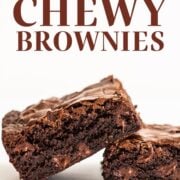
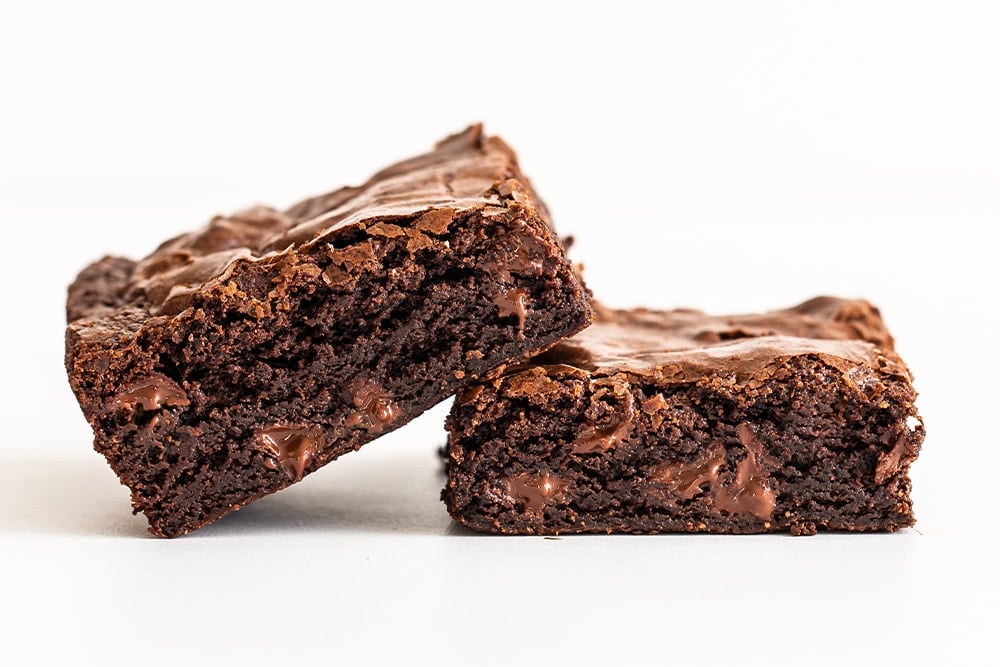
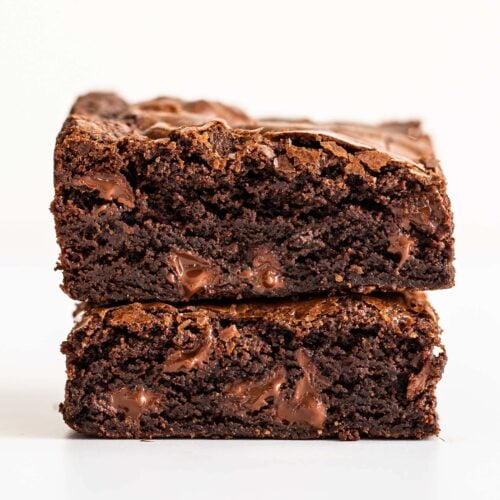
Texture: CHEWY, of course 🙂
Ease: Super easy. One bowl, no melting chocolate, and no electric mixer.
Appearance: You can just see how gooey and moist these are!
Pros: Better than boxed and almost as easy.
Cons: None.
I make this again? Absolutely.
This post may contain affiliate links. Read our disclosure policy.
I have shared a whole lot of brownie recipes over the years. Almost 40 to be exact!
Between all that brownie baking and completing my Ultimate Brownie Guide I’m pretty much your go-to brownie expert for the best brownie recipe. Really, I should put that on my business card.
But what I realized in looking at all those brownie recipes is that I’ve never shared a CHEWY brownie recipe. Sure, my Ultimate Brownies have a good level of chewiness. But they’re also very rich and fudgy. So these Chewy Brownies have been a long time coming. If you love box mix brownies, you’ll love these both for their chewiness and for how easy they are. Much quicker and easier than my Ultimate Brownies!
I think if you read some of the comments for these best homemade brownies below you’ll want to make this recipe ASAP. Just see what Susan said:
“These are the BEST brownies ever! My husband says that in the 31 years we’ve been married and I’ve been baking these absolutely his favorite of all time.”
The Kitchn recently tested this Chewy Brownie recipe, with author Grace Elkus raving about how quick and easy this recipe is! She says the brownies “form a shiny, crackly top as promised. Each square is thick and decadent, with melty chocolate chips studded throughout.” Thanks so much to Grace Elkus and The Kitchn team for trying this recipe.
Bon Appétit also recently used this Chewy Brownie recipe as part of their research in their quest to create a perfect brownie. Thanks so much to Chris Morocco and the Bon Appétit team for including us!
How to Make Chewy Brownies
Let me explain exactly what makes these brownies so chewy and easy. You can skip this if you don’t care WHY these brownies are the way they are and you just want the printable recipe asap.
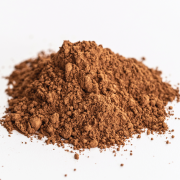
Chocolate & Cocoa Powder
Unlike my Ultimate Fudgy Brownies, which utilize two types of melted chocolate, these brownies get their main chocolate flavor from cocoa powder with semi-sweet chocolate chips stirred into the batter. Cocoa powder definitely yields a chewier brownie and has a flavor reminiscent of boxed brownies.
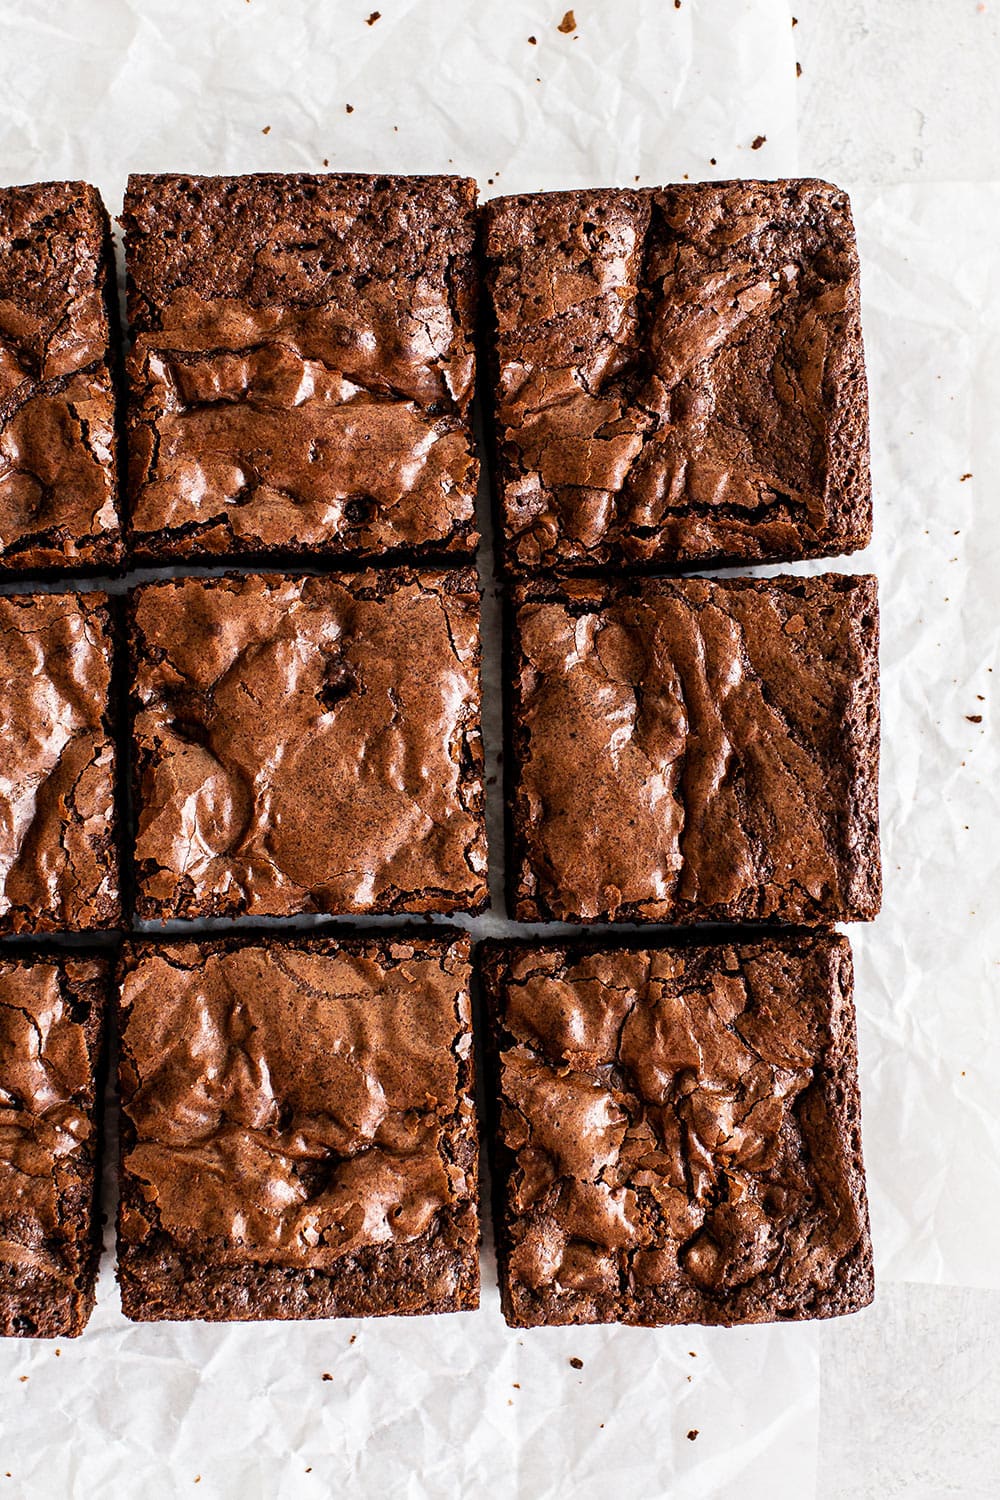
The photos on this post show what the brownies look like if you use regular unsweetened cocoa powder. In the recipe video, I used Hershey’s Special Dark cocoa powder. It gave the brownies an ultra dark chocolaty appearance with a little less sweetness.
Since creating this video, however, Hershey’s has changed the formula of that specific cocoa powder to a Dutched cocoa powder. I recommend sticking with a natural cocoa powder, such as Ghirardelli Cocoa Powder or Penzey’s Natural Cocoa Powder, for best results. Learn more about the differences between Dutch-process cocoa powder and natural cocoa powder here.
Feel free to fold in any kind of chocolate chips you want from dark chocolate or milk chocolate, but semisweet is my favorite. Whatever you do, don’t skip the chocolate chips! They help to develop that shiny crust on top of brownies.
Fat
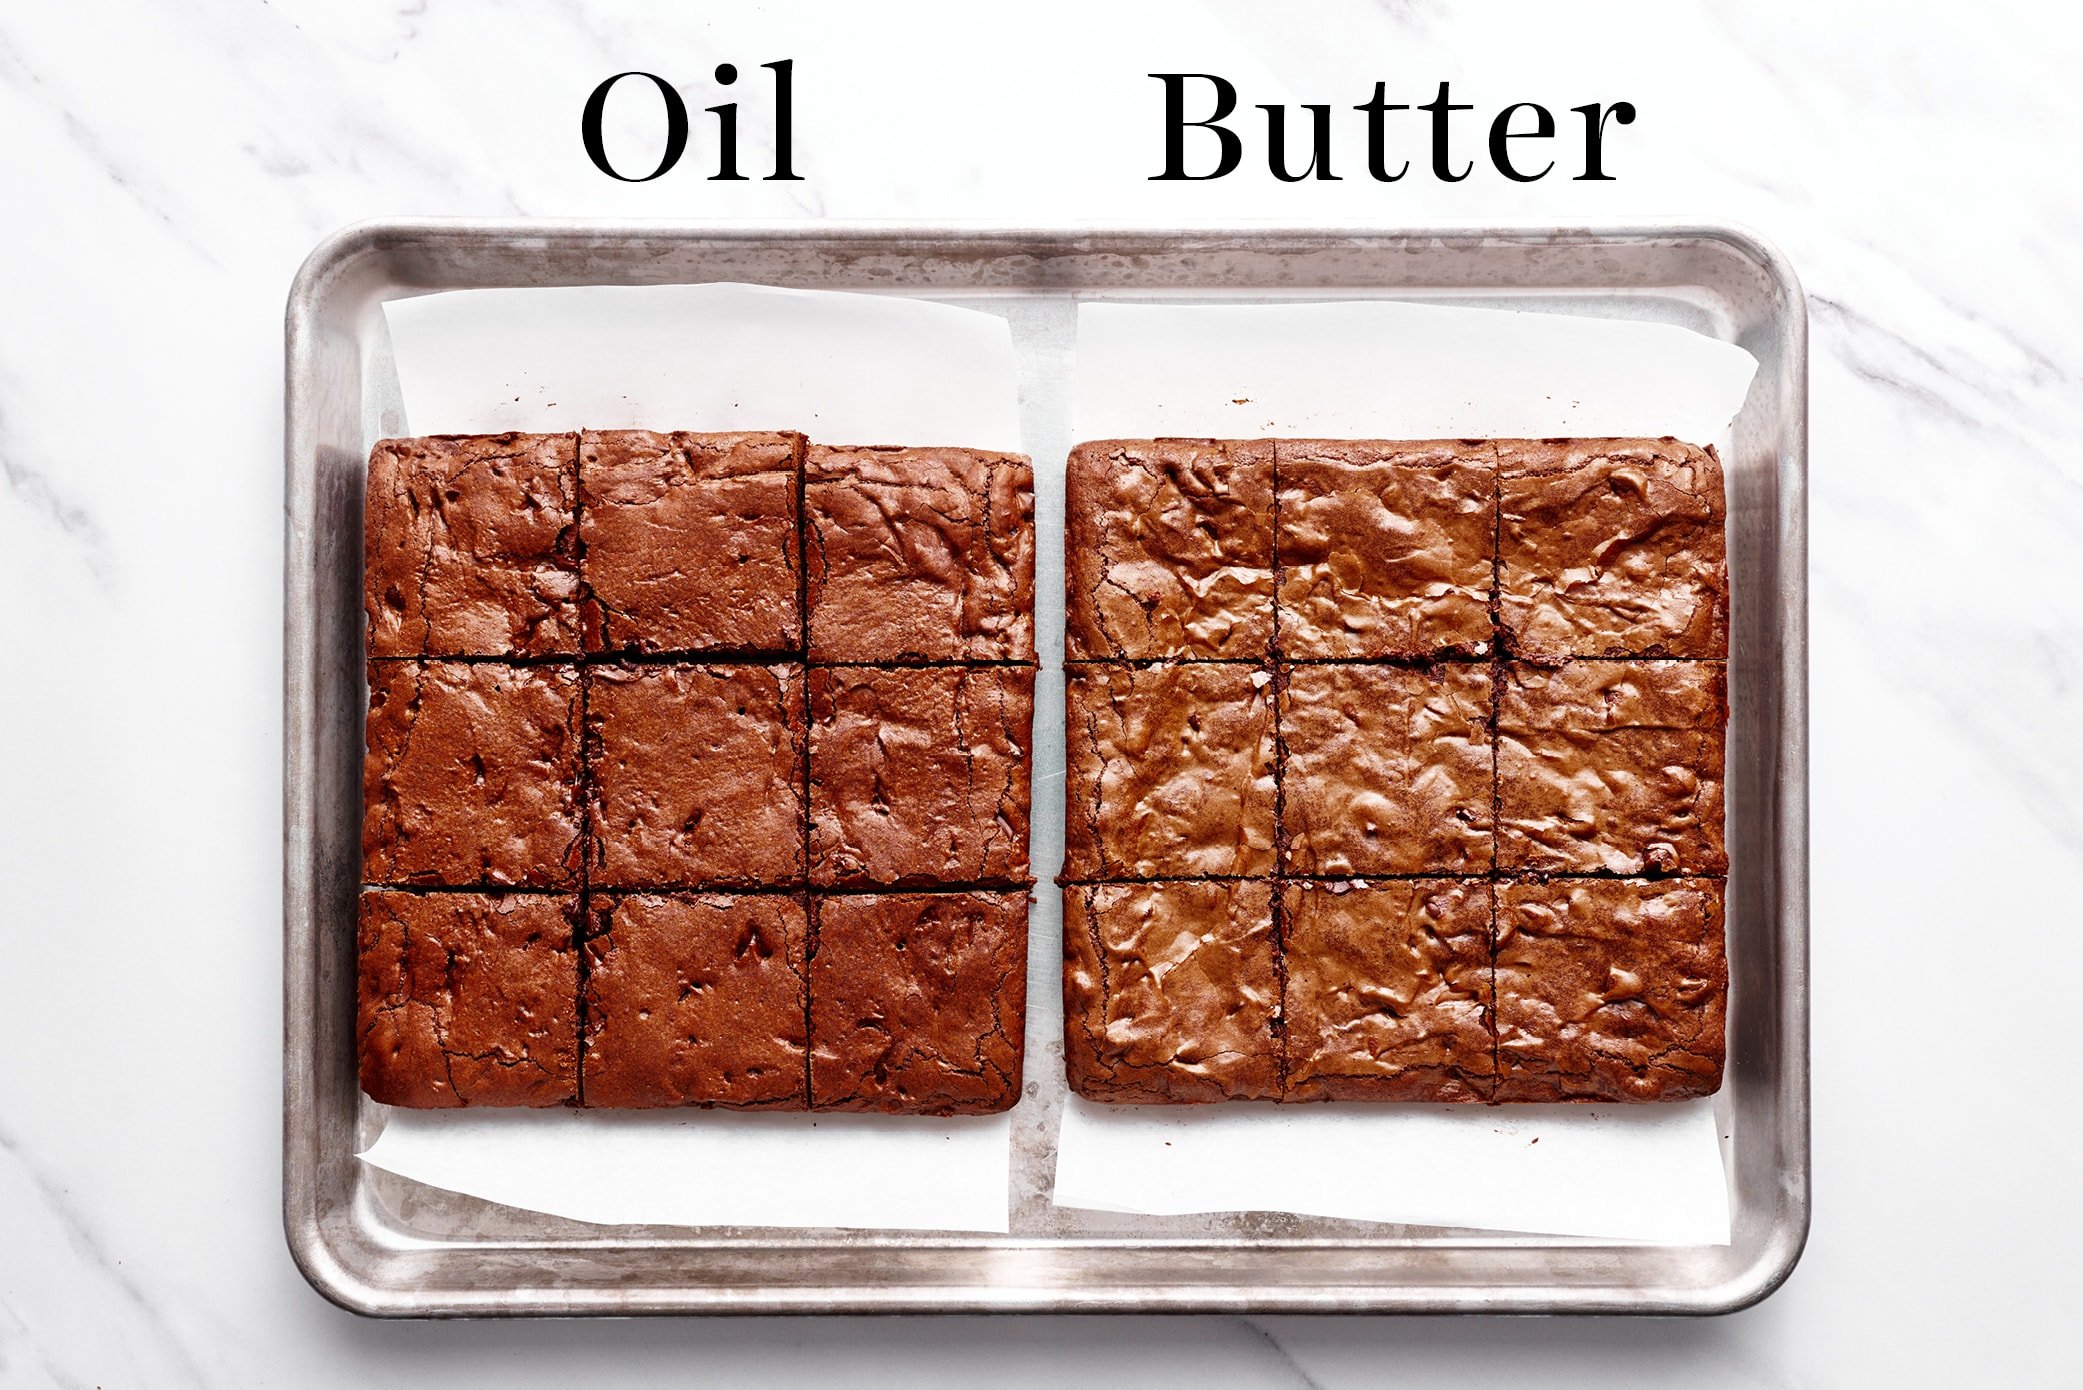
With any cocoa powder-based brownie recipe, we need quite a bit of fat to prevent the cocoa powder from drying the brownies out and making them crumbly. In looking at what makes box mix brownies so chewy, it appears that the combination of saturated (solid) fats and unsaturated (liquid) fats is the winning answer. According to Cooks’ Illustrated, boxed brownies have the saturated fat component covered which is why you add oil (unsaturated) to the mix. I opted for a combination of melted butter and vegetable oil for the best marriage of taste and texture.
Make sure your vegetable oil is fresh to avoid any off flavors and use unsalted butter so you can fully control the level of saltiness. I haven’t tested these brownies with canola oil.
For a full breakdown on these two types of fats and how they affect flavor, tenderness, and texture, check out my Butter vs. Oil in Baking article. There are lots more side-by-side comparisons like this one (and not just with brownies!):
Sugar
I stuck with granulated sugar here because although I love the taste of brown sugar, I didn’t want to add any more moisture (brown sugar contributes more moisture due to the molasses that’s added in) to these already very moist and rich brownies. Too much moisture creates brownies that have lots of holes on top instead of that shiny tissue thin crust.
Eggs
2 large eggs is pretty standard for an 8 by 8-inch brownie recipe, but I just had to add in an egg yolk for the extra dose of chewiness and richness it gives. The protein and the fat in the egg yolk helps achieve those textures. We use cold eggs, instead of room temperature, to prevent the brownies from doming and to increase moisture with a tighter crumb texture.
Flour
All-purpose flour is the way to go here, cake flour makes these brownies way too tender and light. We can achieve enough chewiness without having to use bread flour, which can prevent an extra trip to the store for a lot of people. To make chewy AND fudgy brownies, we only need to use a little bit of flour. Any more flour will create drier or cakier brownies. If you want to be super accurate and weigh your flour, 1/2 cup equals 63 grams or 2.25 ounces. Check out my How to Measure Flour article for step-by-step instructions for weighing dry ingredients using a digital scale.
If you live in a very humid environment, or really dislike any kind of “greasiness,” you may want to add an extra 2 tablespoons of flour to your brownie batter mixture.
Leavener
With my brownie recipes, I usually prefer a very small amount or no chemical leavener (baking soda or baking powder). The reason is because I like brownies to be very rich and on the denser side, not even remotely cakey. Since they lift and give a lighter airier texture to baked goods, we’re only using 1/8 teaspoon baking soda here for just enough leavening to get a nice thick texture.
Cornstarch
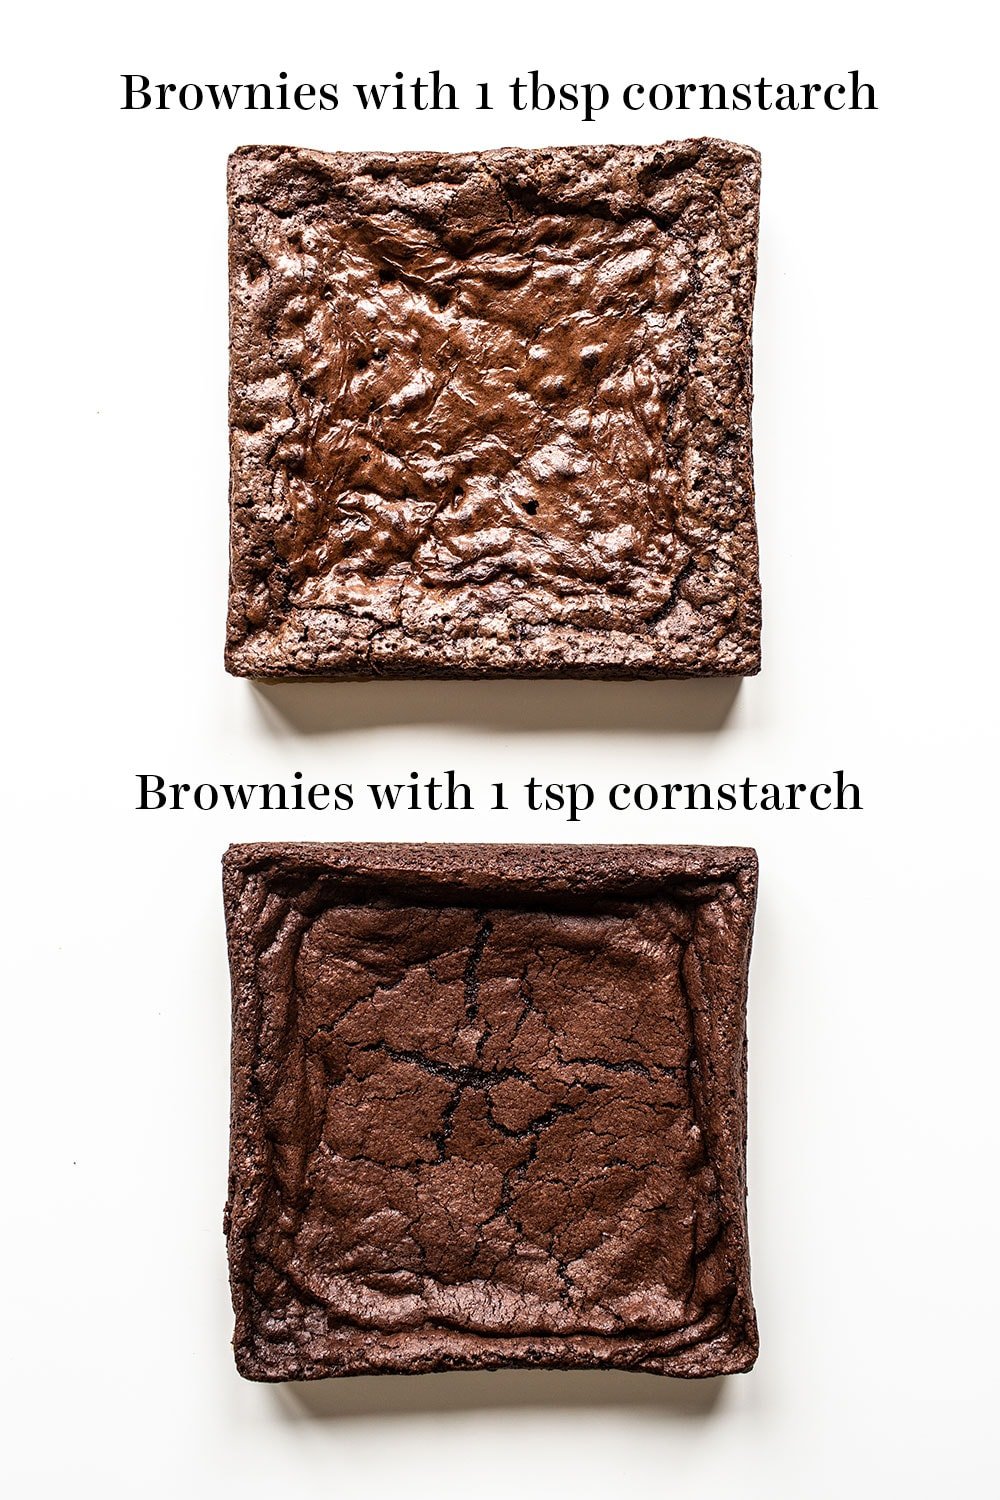
This little secret ingredient really helps to improve the texture of these brownies so they’re that much closer to the box mix kind. 1 tablespoon of cornstarch makes the brownies thicker and improves that crust on top.
Make sure to measure correctly, and don’t skip this ingredient! When shooting the photos for my article on how to make brownies with a shiny, thin crust, my food photographer captured the shocking differences between a batch made with 1 tablespoon of cornstarch vs brownies made with an accidental amount of 1 teaspoon cornstarch. The bottom brownies also had no chocolate chips. Take a look:
Can I Add Nuts to Brownies?
Yes! You can add 3/4 cup chopped walnuts or pecans. You can add them either in addition to the chocolate chips or in place of the chocolate chips. Just note if you remove the chocolate chips your crust on top may not be as shiny. For best flavor, try toasting the nuts on a lined tray in a 350°F oven for about 6 to 8 minutes, stirring once.
How Long to Bake Brownies:
Bake these brownies in a 325°F oven for about 30 minutes to avoid overbaking. There will absolutely be moist crumbs attached to a tester by the end of the baking time. That’s what we want. Even after 30 minutes if the middle still seems too moist, just remove the brownies from the oven. Carry-over cooking, the residual heat of the oven and pan, will continue to cook the brownies.
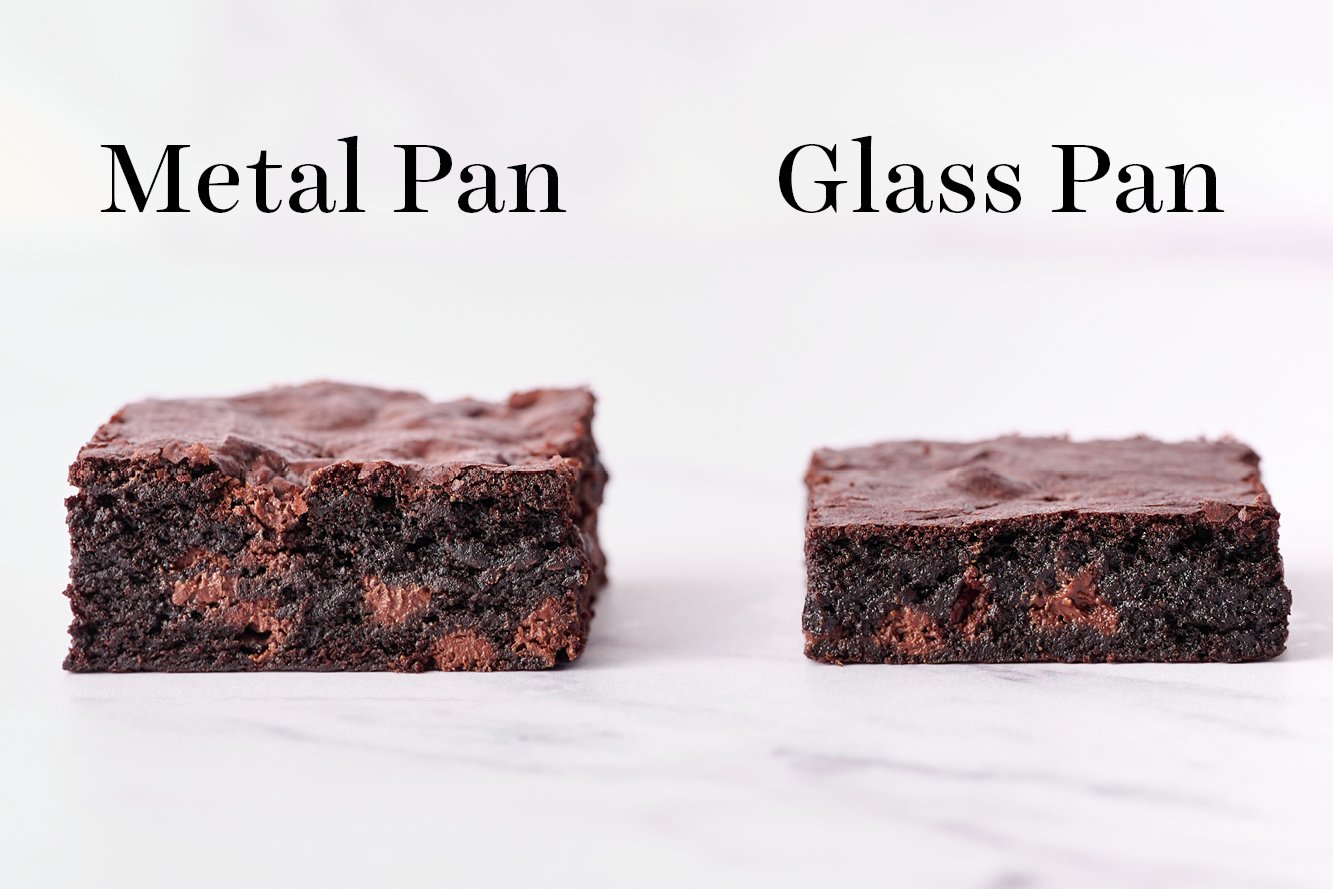
Some readers have said their brownies were really undercooked after 30 minutes. I’m guessing they used a glass baking pan, which I DON’T recommend for this recipe. I recommend a metal baking pan like this one lined with foil or parchment paper. Learn more about the differences between Glass vs. Metal Baking Pans here.
Also, you might want to check your oven temperature with an oven thermometer as many home ovens run cold (especially when they say they’ve just preheated).
For best results, allow the brownies to cool completely before slicing and serving.
How to Store Brownies:
The brownies definitely taste best the day they are baked, but can be stored in an airtight container for up to 3 days at room temperature or up to 5 days in the fridge. They are even more fudgy when they’re chilled.
Brownies Substitutions:
This brownie recipe is written exactly the way it is for very specific reasons, as noted in the explanations above. If you can’t use one of the ingredients listed, take a look at my extensive brownie index for other options (including coconut oil brownies). If you try to reduce the sugar, use a sugar substitute, use a butter substitute, or make this recipe vegan the results will NOT be the same. Feel free to add in nuts, chips, toffee bits, or anything else to the batter (1/2 cup to 1 cup, depending on how much you’d like).
Tessa’s Favorite Tools for This Recipe
- A metal baking pan (not glass) to avoid under-baking
- Digital kitchen scale to ensure your brownies don’t end up dry, dense, or cakey
- An oven thermometer is a game-changer as many non-commercial ovens run colder than the gauge displays
More Brownies Recipes:
Best Ever Chewy Brownies
Ingredients
- 5 tablespoons (71 grams) unsalted butter
- 1 1/4 cups (249 grams) granulated sugar
- 2 large eggs plus 1 egg yolk, cold
- 1 teaspoon vanilla extract
- 1/3 cup vegetable oil
- 3/4 cup (75 grams) unsweetened cocoa powder
- 1/2 cup (63 grams) all-purpose flour
- 1/8 teaspoon baking soda
- 1 tablespoon cornstarch
- 1/4 teaspoon salt
- 3/4 cup (128 grams) semisweet chocolate chips
Instructions
- Preheat the oven to 325°F. Line an 8 by 8-inch light-colored metal pan with foil or parchment paper and spray with nonstick cooking spray.
- In a microwave safe bowl, add the butter and sugar. Microwave for about 1 minute, or until the butter is melted. Whisk in the eggs, egg yolk, and vanilla. Stir in the oil and cocoa powder.
- With a rubber spatula, stir in the flour, baking soda, cornstarch, and salt until combined. Stir in the chocolate chips.
- Spread the brownie batter evenly into the prepared pan. Place in the oven and bake for 30 minutes, or until the brownies are set and a cake tester inserted into the center has moist crumbs attached. Do not overcook. Let cool completely to solidify before cutting and serving.
- Brownies can be stored in an airtight container at room temperature for up to 3 days. Brownies will be gooey when served warm, chewy when served at room temperature, and fudgy when served chilled.
Recipe Notes
This recipe was originally published in 2017 and updated in 2021 with more tips and new photos. Photos by Ashley McLaughlin.
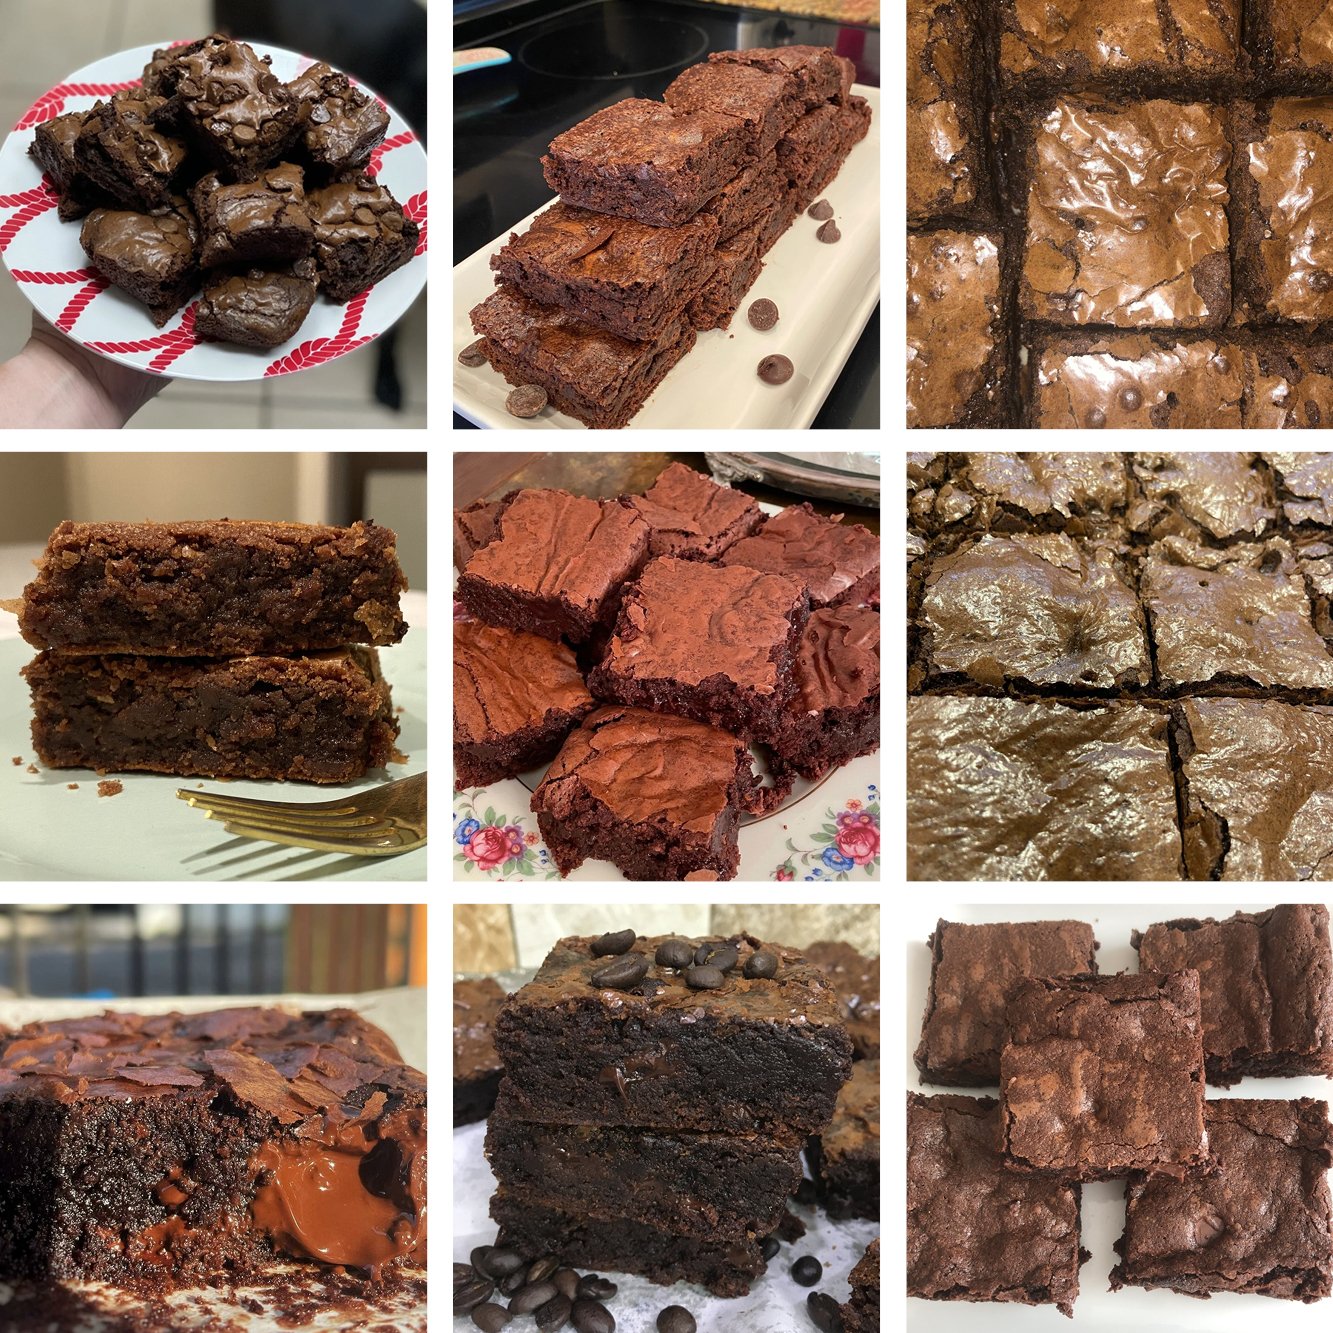
May 2021 Baking Challenge
This recipe was the May 2021 pick for our monthly baking challenge! Every month you can join the challenge by baking the recipe and snapping a photo for a chance to win prizes! Learn more about my monthly baking challenges here. Check out everyone’s brownies:


Does the cornstarch need to be dissolved before adding it to the mixture?
I made these to give as a gift yesterday, and got this glowing review from the recipient this morning: ‘AWESOME! The best brownies I’ve ever had!’ I followed the recipe exactly and they came out perfectly. It’s great to know the science behind the ingredients and techniques, and to have the measurements in grams. I’m binning all my other brownie recipes, this is the only one I need. Thank you!
Hi Tessa!
Just a quick question ..If I don’t have corn syrup ,what can I put instead? I can’t find corn syrup where I live.
Thank you!
BOOM!!!! The best homemade brownie recipe I found out there.. Amazing job on finding just the right ingredients to make such a delectable brownie.. ❤❤❤❤❤❤❤❤❤❤❤❤❤
My brownies were so great! Chewy, and fudgy.
Thank you, for the great recipe I will keep in my treasure chest of recipes I Love!
yummy but came out cakier than expected!
Hi! I tried baking this last week for a party and it was a hit! Chewy chocolatey goodness!
I wonder if I can top it with marshmallows and peanuts to make it rocky road. If so, do I put the marshmallows after the brownie is done or a few minutes before? Thanks again for this wonderful recipe. 🙂
I have made this recipe and its very good. I see that I can double it to bake in a 13×9 pan. I want to use a 13×9 sheet pan so they come out thinner. My plan is to use mini cookie cutters. Would these overflow if I used the sheet pan versus a high sided 13×9?
I made your brownies yesterday and they came out flawless. I didn’t have a square metal pan so I used one of my mom’s old Wilton round cake pans. Perfect. My mom took cake decorating classes back in the 70’s and I have a whole set. We got so tired of eating cakes that she would just turn the pan over and decorate the bottom for practice. LOL I also used peanut oil (which I am a big fan of) and still they were moist and chewy with a nice crunch on the top. Thanks again and Happy Holidays!!!
I reduce sugar to 1 cup and it comes out very nice. Everyone loves it, especially my daughter who’s fan of every chocolate dessert. I’ll try almond flour next time.
The steps to making this could be more clear and having the measurement for the butter be with the melted butter in cup form (vs. non melted in tsp form) would be much more useful and accurate. I used the same type of pan and found they were like liquid in the centre. Hopefully they turn out ok…
FOR “Coco”–The reason the butter in this recipe is in tablespoons is it is so much easier here in the U.S., especially if you are using sticks of butter which already have the measurements in tablespoons on the wrappers. If you need it in cups: 1) 5 tbsp=0.3125 cup, 2) 5 tbsp plus 1 tsp= 1/3 cup, so just measure 1/3 cup melted butter and remove 1 tsp, 3) 5 tbsp=2.5 oz, 4) 5 tbsp=71 g.
Food for thought, i saw some people complaining about the baking time, I didnt use a pan, instead i was using those aluminium foiled square thingys for one time use. I lined it with aluminium foil so i could reuse the pan. Also i only filled it up to about slightly less than half.
As for the cupcake pans, they were metal pans and i did needed to leave it in the half open oven to let the heat cook it for another 5-10minutes.
i have a feeling it may be due to people filling the pans too full thats why it required longer baking time just like my cupcakes did.
instead of asking the writer to change the baking time, u might want to fill in the lesser batter. since many baking shows actually taught that the right amount of batter is to always fill it up to HALF the pan’s height. And all bakers should always know that thicker batter needs longer baking time.
I tried this recipe with a little skeptism just hoping that it sould turn out alright, was kinda turned off with the amouny of sugar that had to be used…(still kinda wary of the calories) BUT THEY ARE JUST SO AWESOMEEEEEEE. I used baking powder instead of baking soda, also used chopped milk chocolates instead of chocolate chips (this helped to get the crinkly crust top layer i think), the browniea tasted kinda bitter fresh out of the oven or it might just be due to flu but after beinv refridgerated… oh my… especially when chunks of hardened milk chocolate came into bite… its definately worth the calories. I tried using cupcake pans too, still awesome, but needed slightly more baking time. Hope other readers will see this if they are thinking of alternate ways to enjoy this new recipe. Thanks for this recipe!
How long did you bake yours for in the cupcake pans? Thanks