Tessa’s Recipe Rundown
Taste: Gingerbread + chocolate = bliss!
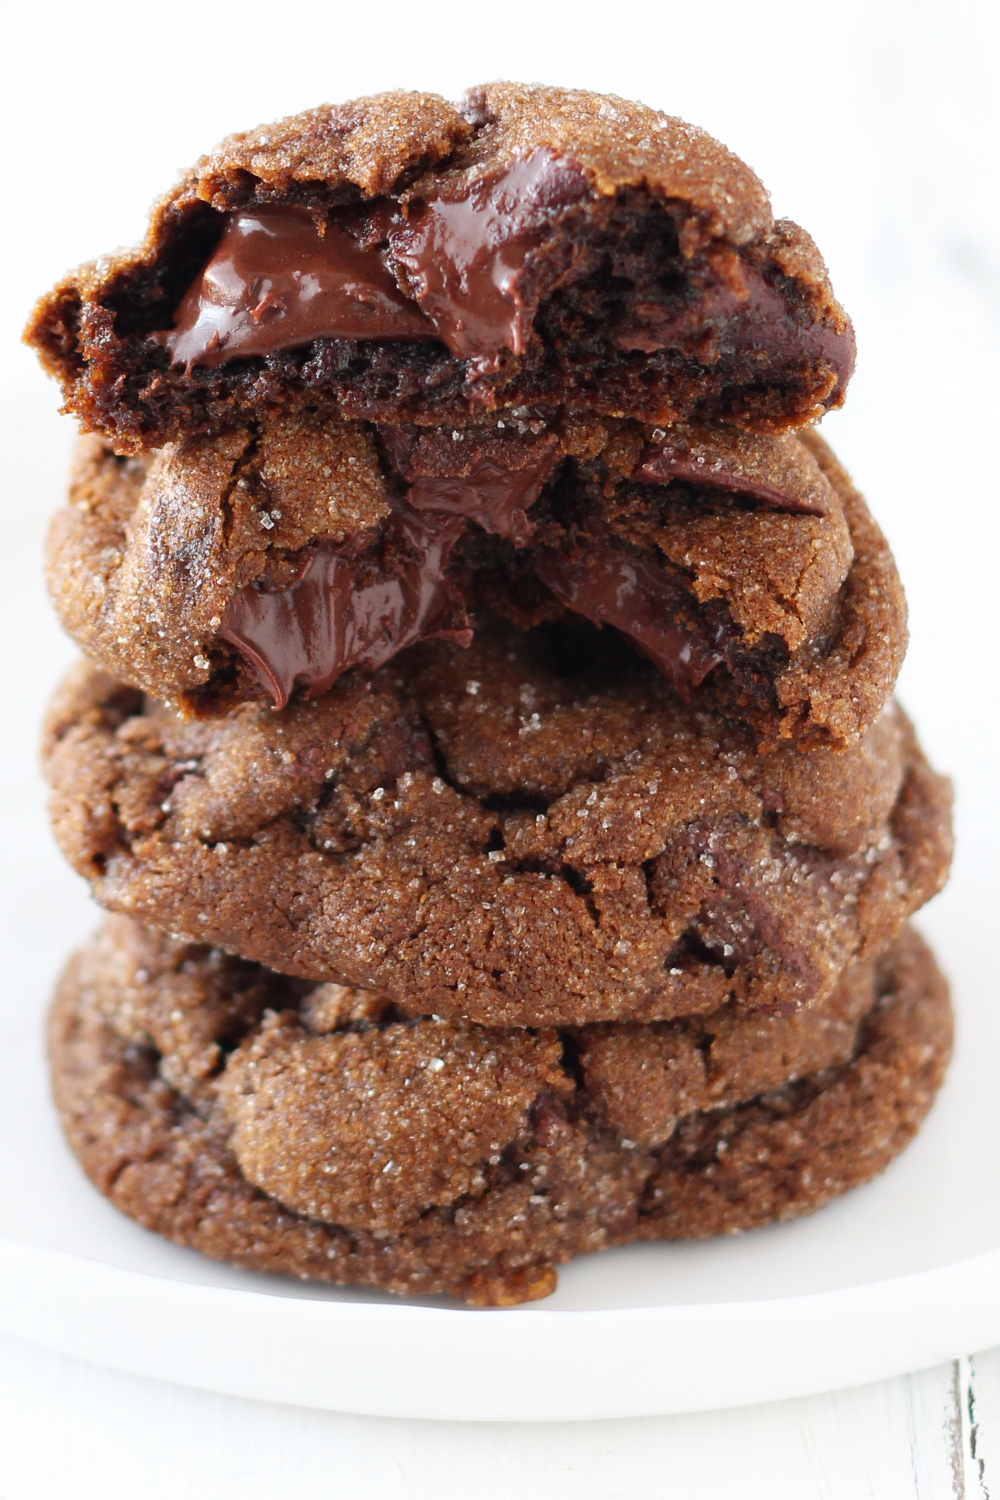
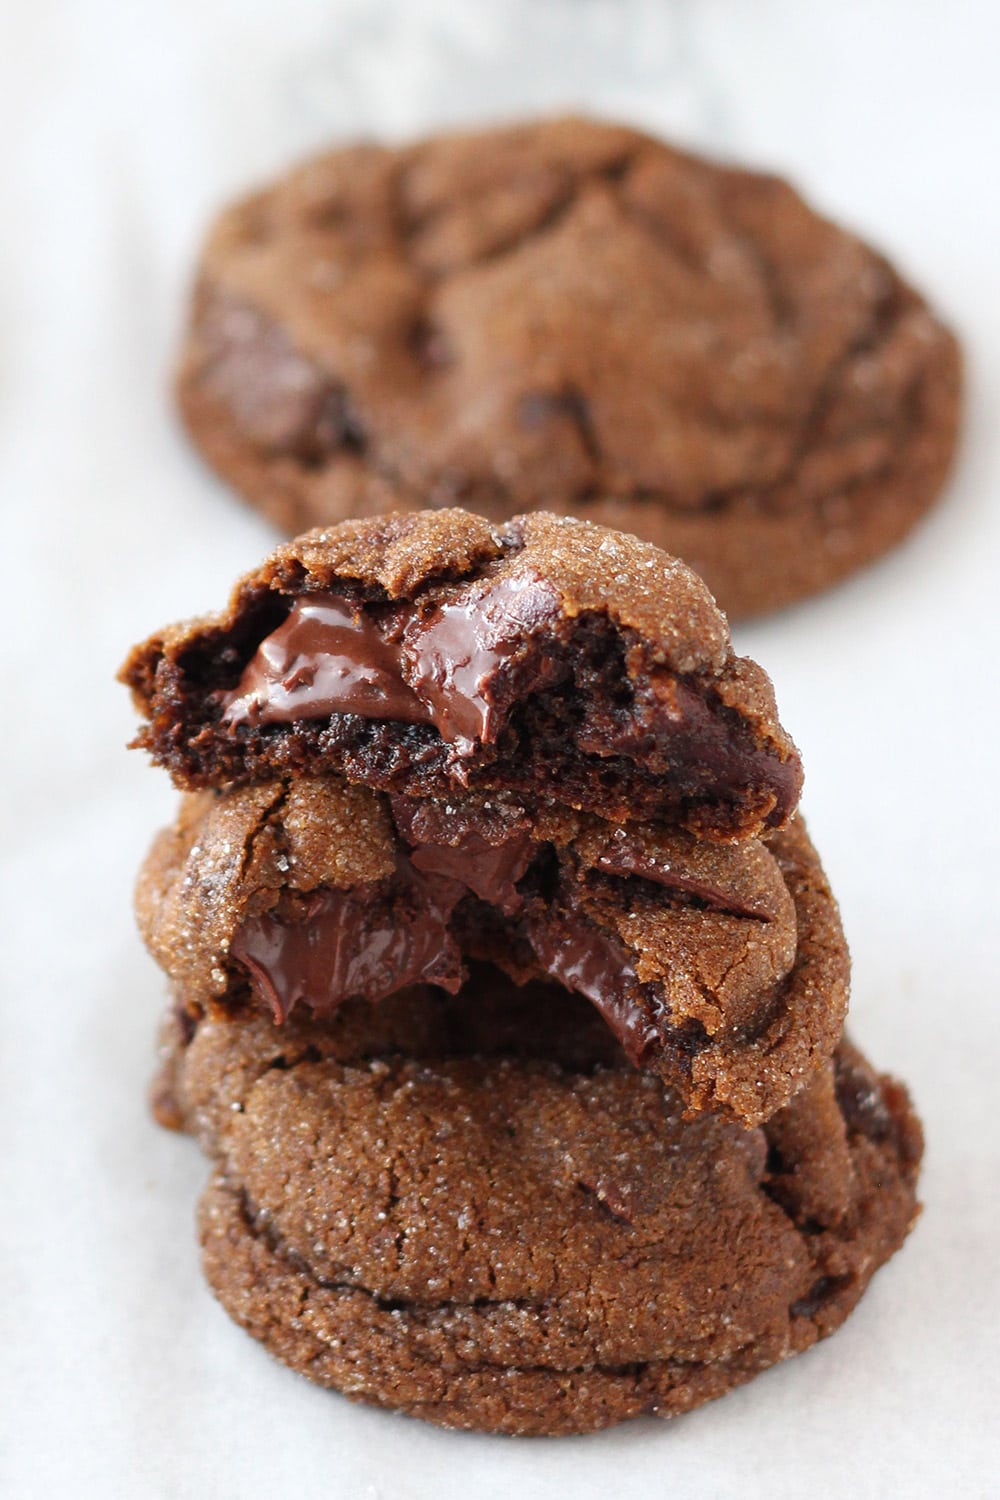
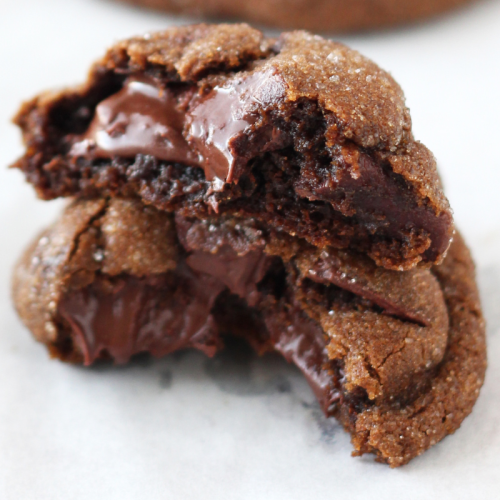
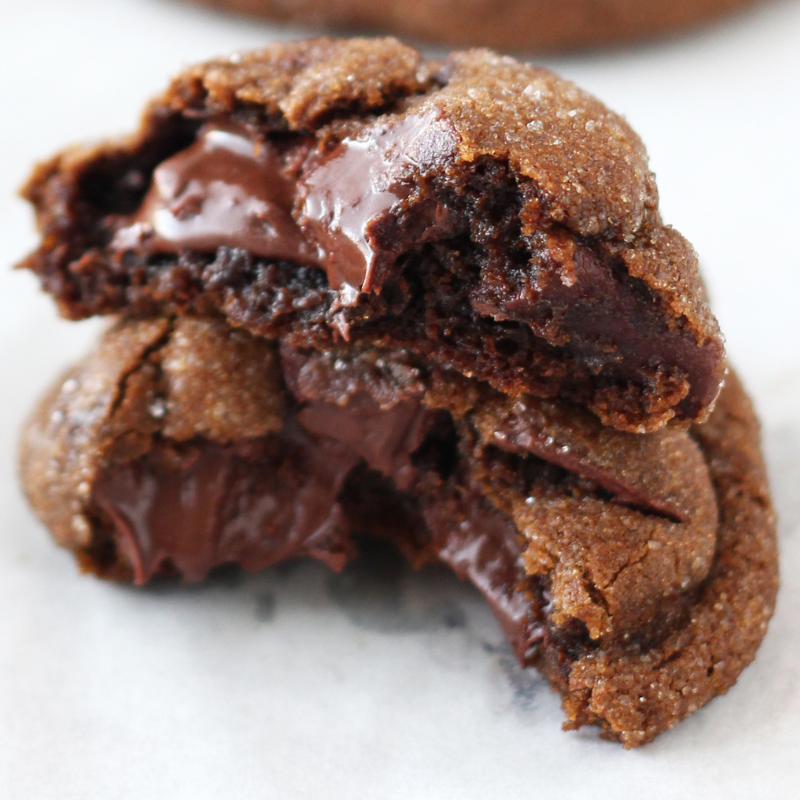
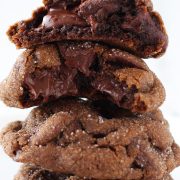
Texture: These cookies are perfectly chewy, gooey, and decadent with a slight crunch from the sugar coating.
Ease: There’s more prep work involved with this recipe – but it’s worth every second, promise!
Pros: My all-time favorite Christmas cookie. It isn’t December without these cookies.
Cons: No immediate gratification here unless you freeze the dough balls for baking off whenever the craving hits (which I definitely do).
Would I make this again? I’ve been making this recipe every Christmas for about a decade now!
This post may contain affiliate links. Read our disclosure policy.
Chewy Chocolate Gingerbread Cookies are the ultimate Christmas cookies!
They’re bursting with perfectly-spiced flavor, loaded with gooey chunks of chocolate, and are ultra soft and chewy throughout.
Plus, the sugar coating makes these cookies sparkly and crunchy and so beautifully Christmassy – perfect for gifting or any cookie exchanges.

Free Cookie Customization Guide!
The science-based guide so you can bake perfect cookies every time!
Sadly I cannot claim this recipe’s genius as my own creation. I adapted it from Martha Stewart’s Cookies cookbook, one of the first baking cookbooks I ever owned! I first made and shared this recipe in 2009 and I’ve made it every holiday season since.
I hope you love these fabulous cookies as much as I do!

Sprinkle of Science
How to Make Chewy Chocolate Gingerbread Cookies
Tips for Soft, Chewy Chocolate Gingerbread Cookies
- Be sure to measure your flour correctly by weighing it with a digital scale. If you don’t have one, use the spoon and level method to avoid creating cakey, dense, or tough cookies that don’t spread.
- Measuring your dry ingredients accurately is one of the best ways to improve your baking.
- If you don’t measure your flour correctly, you could end up with crumbly dough and dry, hard cookies lacking in flavor.
No Eggs?
Yes, this is an egg-free recipe, so it’s perfect for friends or family members who can’t eat eggs!
The Best Baking Pans for Cookies
I always use an unlined aluminum half-sheet pan, like this one, for baking cookies. Additionally, I always use parchment paper for baking cookies. Never use dark-colored pans to bake cookies, as they tend to overly brown or even burn the bottoms of the cookies. Learn more about the best baking pans here.
What Can I Use Instead of Molasses?
If you cannot get molasses where you live, you can try substituting golden syrup, honey, or dark corn syrup, though the results will not be the same.
Do I Have to Use Fresh Ginger?
Yes! I promise it’s seriously worth the extra effort, and it gives these cookies the most incredible taste and aroma.
The Spices
Check your spices to ensure they’re not expired. Even if they’re not expired, check they’re still very aromatic. Older spices carry less flavor and fresh spices will carry much more flavor. So, just be aware of that and feel free to adjust accordingly.
The Chocolate Chunks
I recommend purchasing a bar of baking chocolate and chopping it up, for the most delicious, ooey-gooey chocolate chunks throughout the cookies. You can use prepackaged chocolate chunks if you prefer.
Do I Need to Chill Chewy Chocolate Gingerbread Cookie Dough?
This Chewy Chocolate Gingerbread Cookies dough must be chilled for at least a couple of hours, but overnight is even better. Here’s why:
- Chilling cookie dough is very similar to marinating meat – things just get so much better!
- The texture becomes chewier and thicker and the flavor intensifies.
- If you don’t have time, no worries. You can bake the dough off as soon as it’s firm enough to portion out (about 2 hours), but note that your cookies may be a little thinner that the pictures here.
- Learn more about the magical things chilling cookie dough does here.
How to Store Chewy Chocolate Gingerbread Cookies
Store Chewy Chocolate Gingerbread Cookies in an airtight container at room temperature for up to 5 days. The cookies are gooey when warm, but become more chewy as they cool.
Chewy Chocolate Gingerbread Cookies
Email This Recipe
Enter your email, and we’ll send it to your inbox.
Ingredients
- 1 1/2 cups plus 1 tablespoon (200 grams) all-purpose flour
- 1 teaspoon baking soda
- 1 1/4 teaspoons ground ginger
- 1 teaspoon ground cinnamon
- 1/4 teaspoon ground cloves
- 1/4 teaspoon grated nutmeg
- 1 tablespoon Dutch-process cocoa powder
- 1 stick (113 grams) unsalted butter, at cool room temperature
- 1 tablespoon fresh ginger, peeled and grated
- 1/2 cup (100 grams) packed dark brown sugar
- 1/2 cup (170 grams) unsulfured molasses
- 8 ounces (227 grams) semi-sweet chocolate, cut into small chunks
- 1/4 cup (50 grams) granulated sugar, for rolling
Instructions
- Line two baking sheets with parchment paper.
- In a medium bowl, whisk together the flour, baking soda, ground ginger, cinnamon, cloves, nutmeg, and cocoa. Set aside.
- In the bowl of an electric mixer fitted with the paddle attachment, beat the butter and fresh ginger on medium speed until fragrant, about 2 minutes. Add brown sugar and beat until light and fluffy, about 2 to 3 minutes. Add the molasses and beat until combined.
- On low speed, gradually add in the flour mixture. Stir in the chocolate chunks until just combined. Cover with plastic and refrigerate until firm, at least 2 hours or overnight.
- Preheat the oven to 325°F. Using a medium spring-loaded cookie scoop, scoop the dough into 1 1/2-tablespoon balls and place 2 inches apart on prepared baking sheets. Roll each ball in the granulated sugar.
- Bake until surfaces just begin to crack, 10 to 12 minutes. Let cool 5 minutes. Transfer to a wire rack and cool completely.
- Store cookies in an airtight container for up to 5 days.
Recipe Notes
The Ultimate Cookie Handbook
Learn the sweet SCIENCE of cookie baking in a fun, visual way to customize your own recipes frustration-free. Plus, my best 50+ homemade cookies!
This post was originally published in 2009 and has been updated with recipe improvements, additional baking tips, and a new video.
Reader Chewy Chocolate Gingerbread Cookies Photos
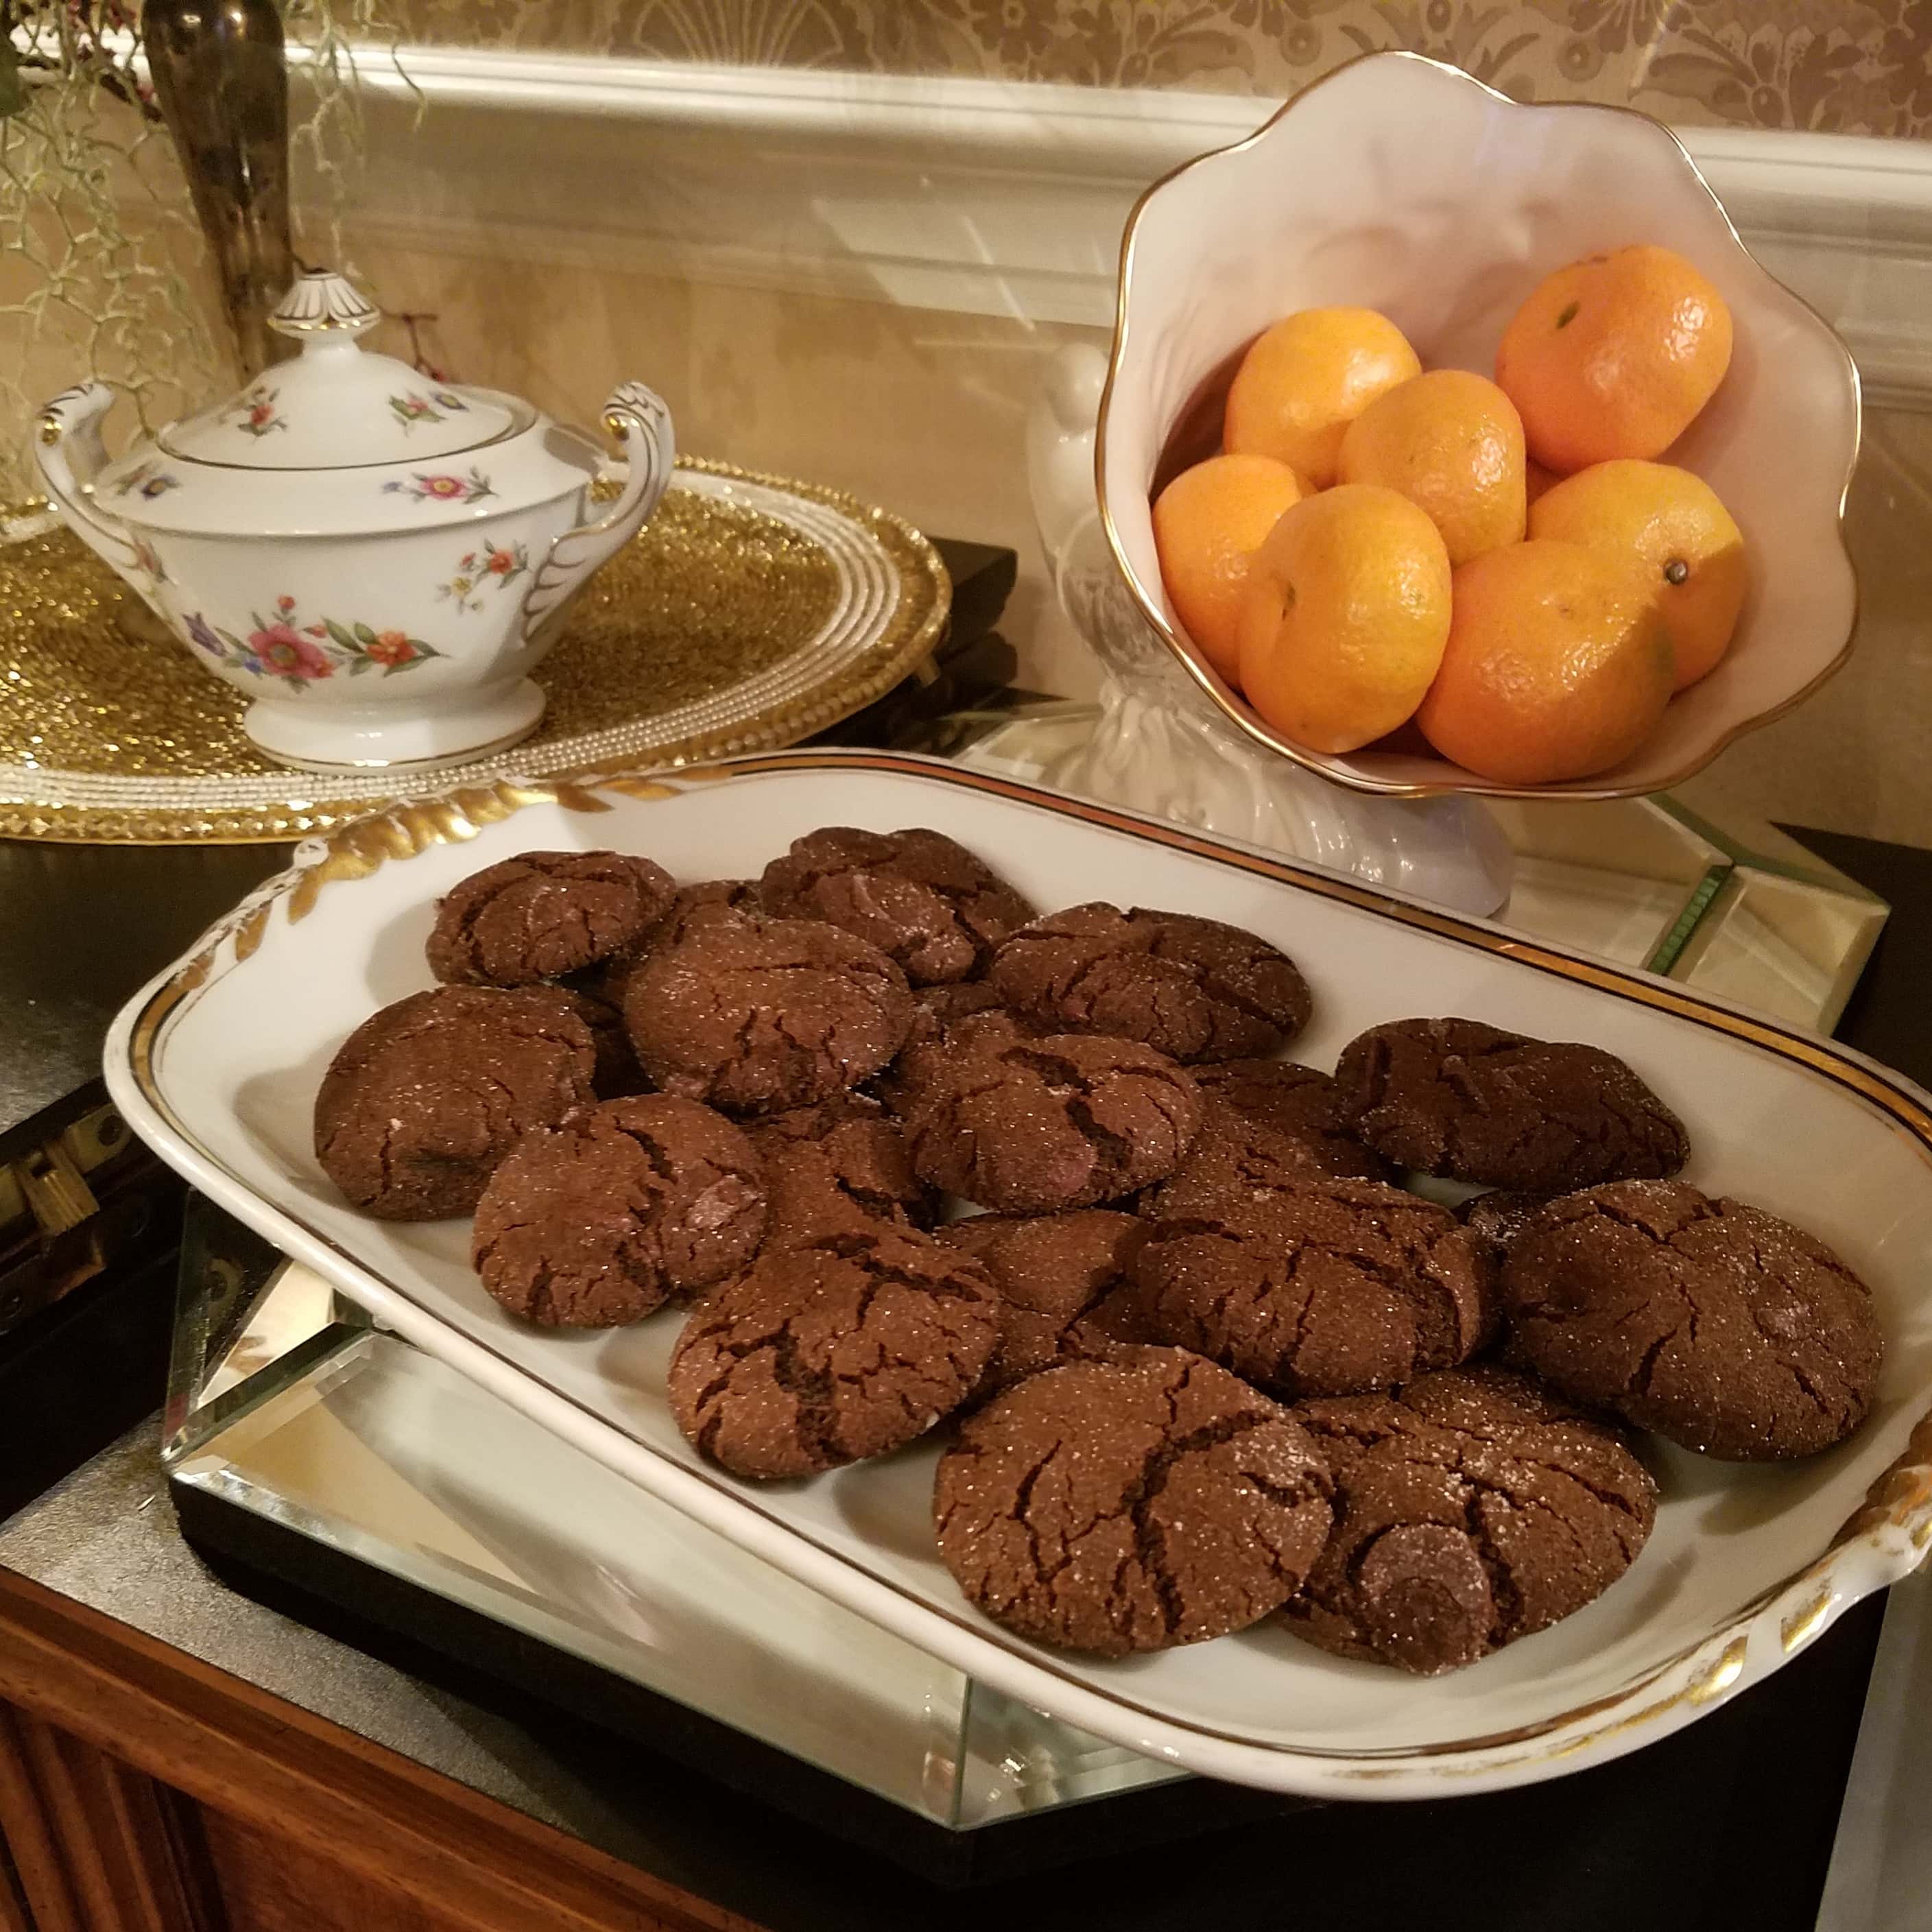
If you make any HTH recipe, post it to Instagram, tag me, and use the hashtag #handletheheat – I love to see your creations! Check out lovely HTH reader Alikane’s beautiful Chocolate Gingerbread Cookies:







If you love the combo of chocolate & gingerbread, this recipe is absolutely amazing! I substituted the fresh ginger with finely chopped candied ginger, reduced the sugar a tiny bit which produced a very addictive, chewy & morish cookie. It’s an excellent cookie & your friends & family will thank you for your baking expertise.
Chewy, delicious and easy to make. I did substitute raw sugar in place of the granulated, for rolling, to make them sparkle more. The chocolate compliments wonderfully with the ginger. These are definitely going into the holiday rotation.
Can we substitute ground nutmeg in place of grated?
Hi Patrick! While we prefer grated here, ground will work just fine. Let us know what you think of these cookies once you have given them a try 🙂
Hi Kiersten,
I ended up making the recipe with no substitutions at all, and while they tasted good, all of the cookies ended up looking flat and totally unlike the pictures. Some came out of the oven that way, and others came out looking OK but flattened while cooling. None of them ever really looked thick like in the pictures. I also thought they were a bit on the greasy side.
I’m having trouble identifying my issue: I weighed the ingredients to the gram, and my butter was about 68-69 degrees, so maybe just a tiny bit warm. The batter was chilled overnight and then sat out for about 30 minutes prior to being put in the oven. I did notice the batter was especially wet and messy, but just assumed that was normal for this recipe.
Any ideas on what could have caused my issue? Maybe expired baking soda?
Thanks!
Hi Patrick! Thank you so much for taking the time to share your experience. While it’s tough to pinpoint exactly what went wrong without baking right alongside you (we wish we could!), I hope something below helps you identify the issue.
Your butter temp sounds spot on, so unless there was a delay in mixing and the butter warmed up more, that likely wasn’t the problem. This dough is a bit sticky, but after chilling, it should be pretty firm and easy to scoop into balls and roll in sugar, as you can see in Tessa’s video below the recipe here. Was your dough easy to handle after chilling? If it still felt “wet and messy” after chilling, it’s possible there was a slight mismeasurement of an ingredient. It happens to the best of us!
Another factor could be climate. If you live in a humid environment (over 75% humidity), the extra moisture could affect the dough. If you think that’s the issue, try adding an additional tablespoon of flour next time to see if that helps.
As for baking soda, while it primarily causes cookies to spread outward, expired baking soda can still impact texture and structure. If you’re curious, here’s how to test for freshness. Lastly, ingredient brands can sometimes influence the final result. Even small differences in the fat content of butter or the protein level of the flour you use can impact how cookies bake and hold their shape, so that could have been a factor too.
I hope that helps! Please let us know if you have any other questions, but I’d encourage you to review the recipe again and see if anything stands out that could have caused the issue, then give it another shot. Good luck, and please let us know how your next attempt goes! 🙂
I had no idea that video was there! It was blocked by my adblocker. My dough seemed to be much wetter and stickier than what Tessa had in the video.
These were delicious! Chewy gingerbread + chocolate = delicious!!!
I’ve made these every holiday season for the past 3 years– they never disappoint and people always ask me for the recipe! The chocolate ginger combination is truly the best!
Wow. Just. Wow…Made these cookies yesterday. According to my boyfriend, who has been around the world, says they are the best cookies he has ever had!!! Is he prejudice? Maybe but thank you for the recipe. Definitely going to top of our cookie list!
So happy to hear that, Angie!
Hi! Planning on making this tonight. Just for my own curiosity, is there a reason this recipe does not contain eggs? Thanks!
Hi Kat! These cookies structurally just don’t require egg! If you are interested in learning more about ingredients and how they interact with one another, I recommend enrolling in our Handle the Heat Baking School, or taking our Magic of Baking course! 🙂