


Tessa’s Recipe Rundown
Taste: Chocolate + mint = one of my favorite flavor combinations! Refreshing and sweet without being overpowering.
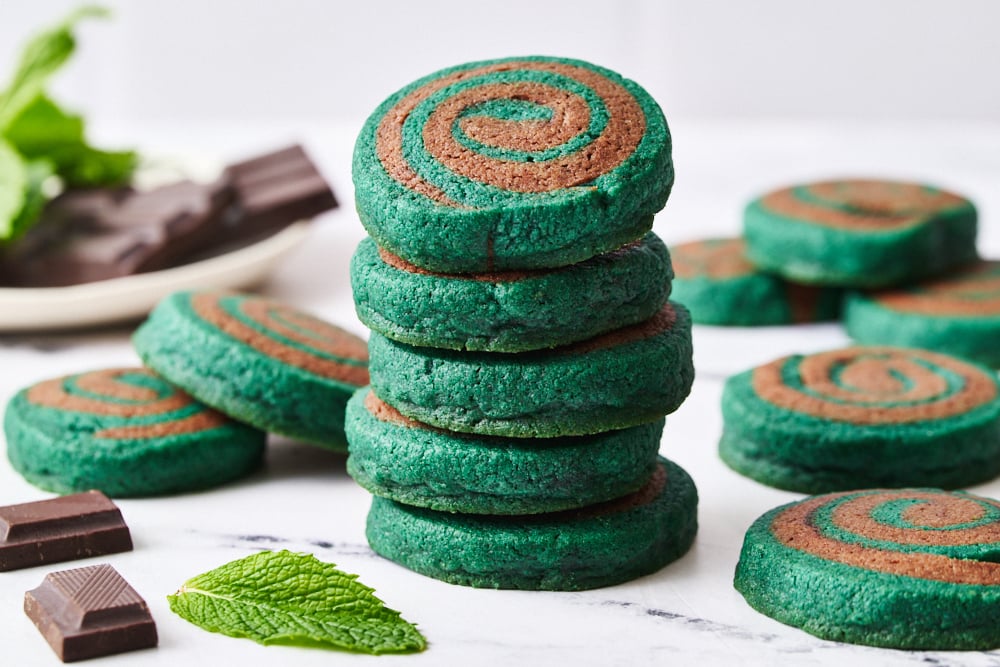
Texture: Beautifully crisp at the edges and tender and soft throughout.
Ease: These cookies look so impressive and are perfect for gifting.
Pros: Fun, festive, and easy.
Cons: None!
Would I make this again? Definitely!
This post may contain affiliate links. Read our disclosure policy.

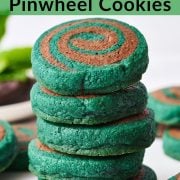


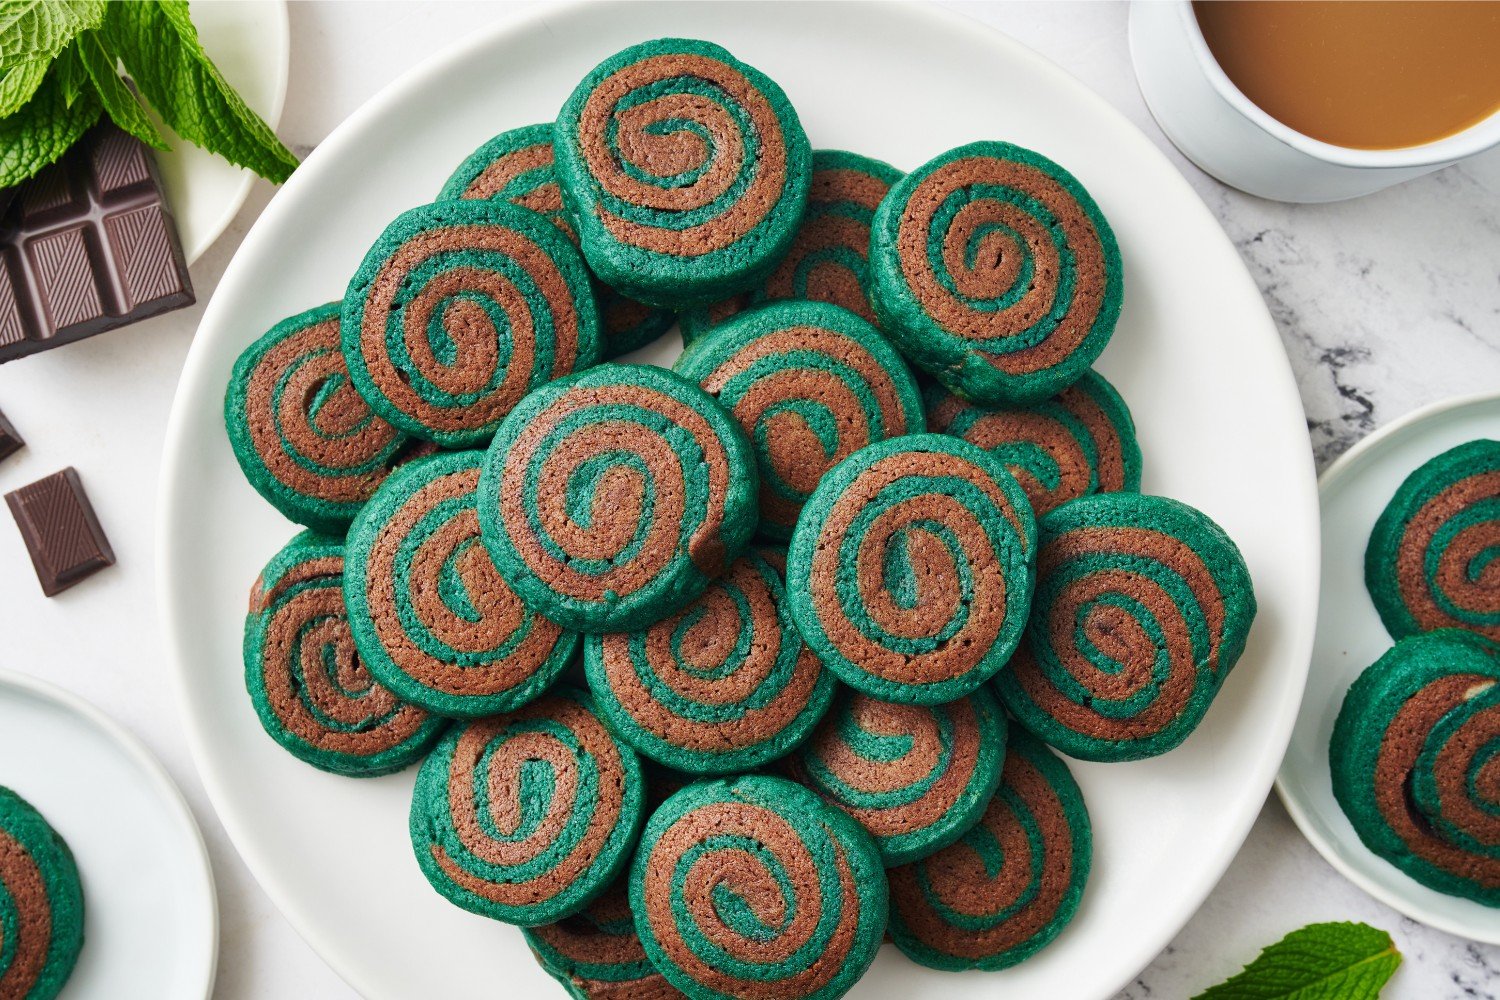
Chocolate Mint Pinwheel Cookies might just be the prettiest cookies you make this holiday season!
No Christmas celebration is complete without mint chocolate, and these cookies bring the best of both in a swirl of festive beauty. From my decadent Chocolate Peppermint Cheesecake to festive Peppermint Oreo Truffles and the show-stopping Peppermint Mocha Bundt Cake, this flavor combo always brings the magic–and these cookies are no exception!
I love how tender and light these pinwheel cookies are. They’re slightly crisp at the edges, soft in the middle, and wonderfully melt-in-your-mouth.
Each bite is a perfect balance of light chocolate and delicate mint. You’ll definitely find yourself reaching for more than one of these beauties 😉
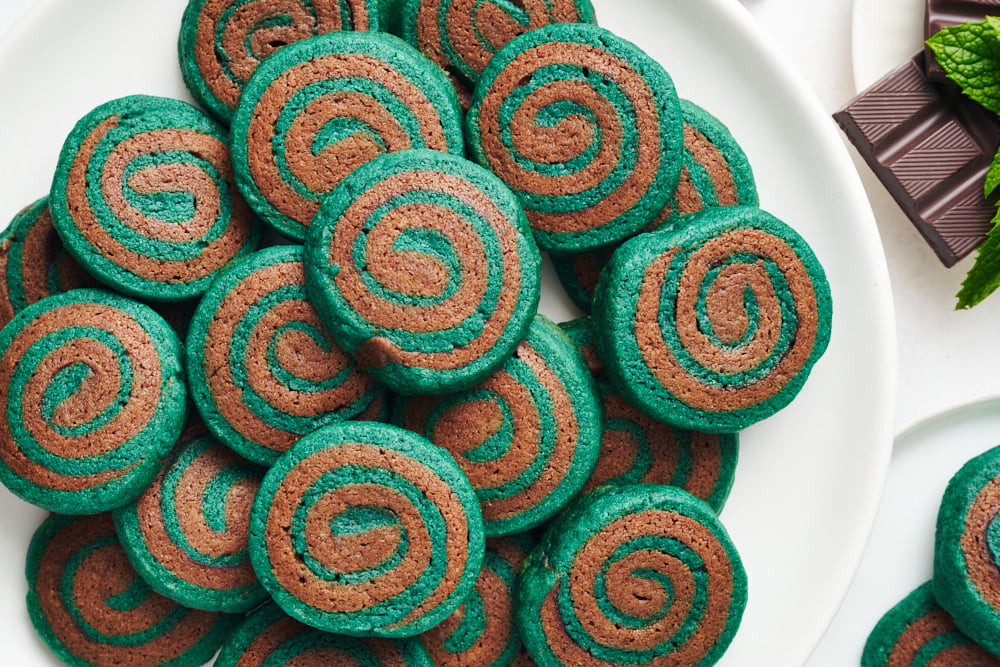
These Chocolate Mint Pinwheel Cookies are the perfect addition to any Christmas cookie box or holiday dessert platter, and they’re guaranteed to steal the spotlight at your next holiday potluck!

Sprinkle of Science
How to Make Chocolate Mint Pinwheel Cookies
How to Avoid Hard, Dry Pinwheel Cookies
To avoid dry, hard, flavorless pinwheel cookies, I highly recommend using a digital kitchen scale to measure your ingredients. Measuring by volume (using cups) makes it super easy to accidentally compact too much into each cup. If you don’t have a scale, learn how to use the spoon and level method here.
Making Perfect Pinwheel Cookie Spirals
- Be sure that your butter isn’t too warm! Start with butter at a cool room temperature, about 67°F. If your butter is too warm, your pinwheel cookies will spread too much in the oven.
- Chill your dough before baking. Follow the chilling instructions in the recipe to prevent spreading and maintain a perfect spiral. This will also prevent the dough from sticking and make it much easier to work with, so it’s a win-win!
- Keep your spiral fairly tight. Your spiral doesn’t have to be super tight, but ensure there are no gaps in your dough as you press the two halves together, then again as you roll it into a log, for a beautiful spiral.
The Extract
Be sure to use peppermint extract. I used McCormick Peppermint Extract. Avoid using mint extract as it can make your cookies taste like toothpaste!
Don’t like peppermint? Feel free to skip it and enjoy vanilla chocolate pinwheel cookies instead, or experiment with other extracts (just keep in mind that you may need to adjust the quantity, as potencies differ).
The Food Coloring
- Use gel food coloring for best results.
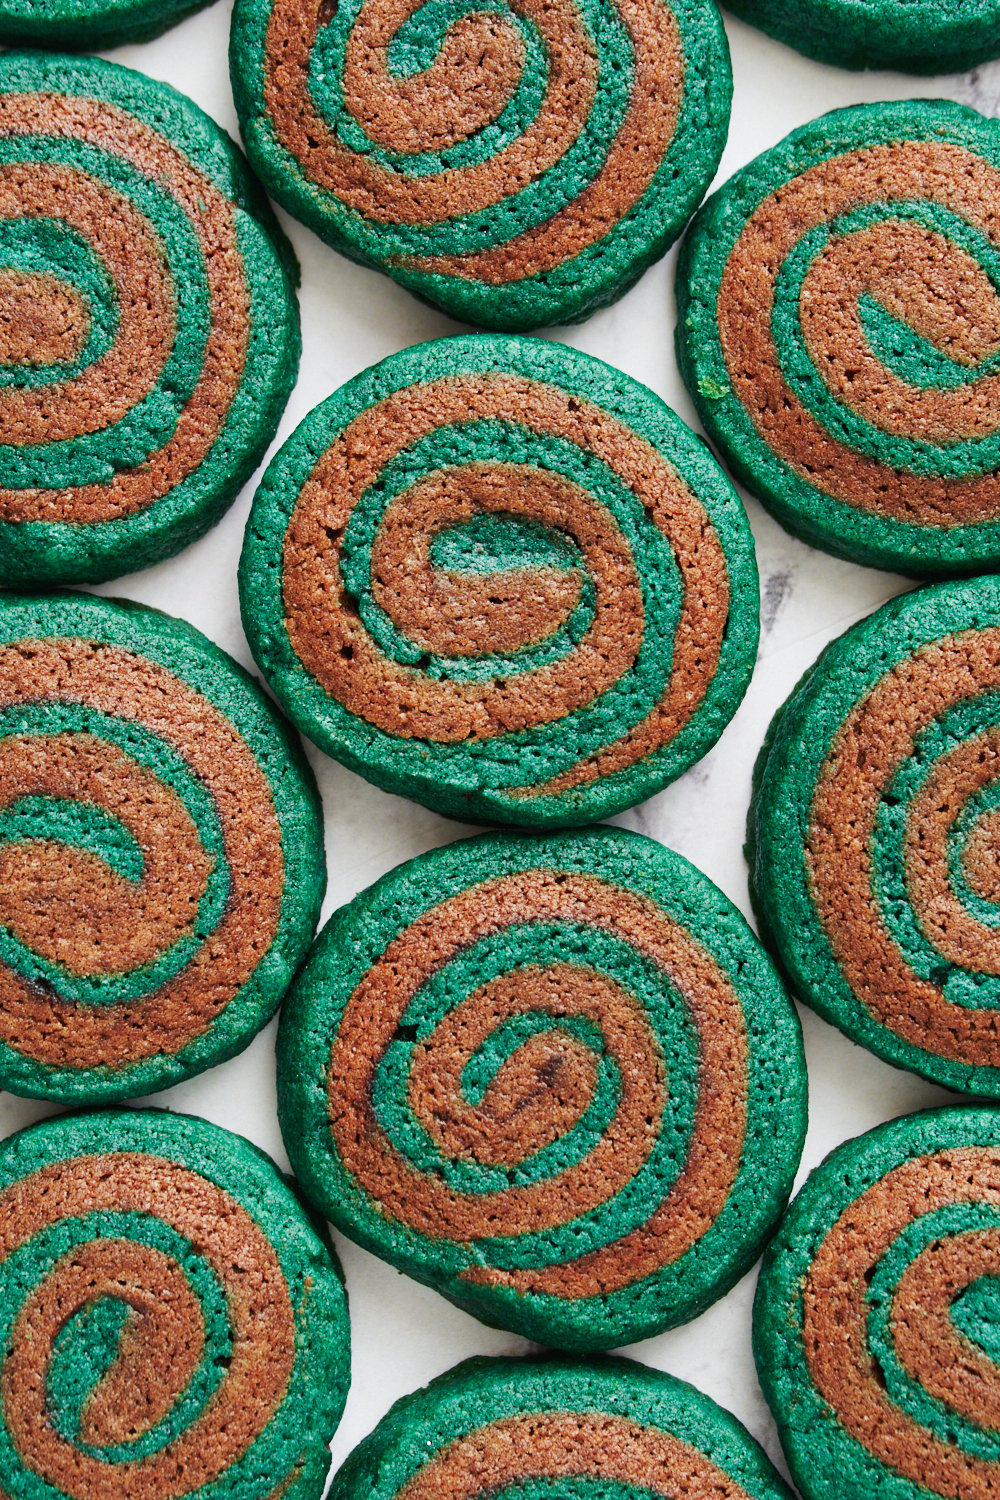
- We used Americolor Forest Green in the photos here for a darker Christmasy green color.
- You can alternatively use Americolor Leaf Green for a more vibrant green – perfect for St. Patrick’s Day or Halloween!
- Avoid using liquid food coloring, which can add too much excess liquid to the cookie dough.

Do I Have to Use Food Coloring?
No! Feel free to skip the dye and the peppermint extract, if desired, for a vanilla chocolate pinwheel cookie appearance.
How to Store Pinwheel Cookies
Store Chocolate Mint Pinwheel Cookies in an airtight container at room temperature for up to 5 days. Note that these cookies will soften more the longer they sit.
Can I Make Pinwheel Cookies Ahead of Time?
Yes! There are a few ways to make these pinwheel cookies ahead of time:
- Baked, cooled pinwheel cookies can be frozen inside an airtight container for up to 1 month.
- Alternatively, freeze the portioned pinwheel cookie dough slices on a parchment-lined baking tray until solid, then transfer to an airtight container for up to 3 months. Bake straight from the freezer at 330°F for 15 minutes, or until set. Check out my How to Freeze Cookie Dough post for all my tips on freezing cookie dough.
- Once formed into a log, wrap the dough well in plastic wrap and place inside an airtight container for up to 48 hours. Slice and bake straight from the fridge, adding a minute or so to the bake time. Learn more about chilling cookie dough here.
More Mint Recipes You’ll Love:
- Chocolate Peppermint Cheesecake
- Peppermint Oreo Truffles
- Peppermint Mocha Bundt Cake
- Mint Chocolate Whoopie Pies
- Peppermint Chocolate Cake

Email This Recipe
Enter your email, and we’ll send it to your inbox.
Ingredients
- 2 1/4 cups (286 grams) all-purpose flour
- 1/2 teaspoon baking powder
- 1/4 teaspoon fine sea salt
- 2 sticks (226 grams) unsalted butter, at cool room temperature
- 3/4 cup (150 grams) granulated sugar
- 1 large egg, at cool room temperature
- 1 teaspoon peppermint extract
- 1/2 teaspoon vanilla extract
- ¼-½ teaspoon green gel food coloring*
- 3 tablespoons (16 grams) unsweetened cocoa powder
- 1 tablespoon milk


Instructions
- In a medium bowl, whisk together the flour, baking powder, and salt.
- In a large bowl, use an electric mixer to beat the butter and sugar on medium-high speed until well-combined and smooth, about 2 minutes. Scrape down the sides and bottom of the bowl. Add the egg, peppermint extract, and vanilla extract and beat until combined, then scrape down the bowl again. On low speed, gradually add the flour mixture and mix until just incorporated.
- Divide the dough in half (it’s ok if it’s not exact) and place one half in a small bowl. Starting with ¼ teaspoon, add green food coloring and mix with a spatula until evenly colored. Add more coloring if desired. Into the remaining plain dough, add cocoa powder and milk and beat on low speed until just combined.
- Place each half of dough on a sheet of plastic wrap. Wrap and shape into a small rectangle. Refrigerate until firm but still pliable, about 1 hour.
- Place a sheet of parchment paper on top of a silicone-lined baking mat. Place one half of the dough on top. Cover with plastic wrap. Roll dough into an 8×14-inch large rectangle about 1/4-inch thick. Repeat with remaining dough. Place both doughs, still covered in plastic, in the fridge or freezer until firm but pliable, about 10 minutes.
- Once chilled, remove the plastic wrap from the green dough. Place dough down on a fresh sheet of parchment. Carefully peel away the parchment attached to the dough. Repeat the procedure to place the chocolate dough on top of the green dough, lining up as closely as possible. Press the dough together to ensure there are no gaps between layers. Trim the dough layers to create an even rectangle if needed.
- Using the parchment paper under the green dough as a guide, slowly roll the long side of the dough into a tight log, making sure there are no gaps. Wrap log in parchment or plastic wrap** and freeze for 1 hour or until firm.
- Line large baking sheets with parchment paper.
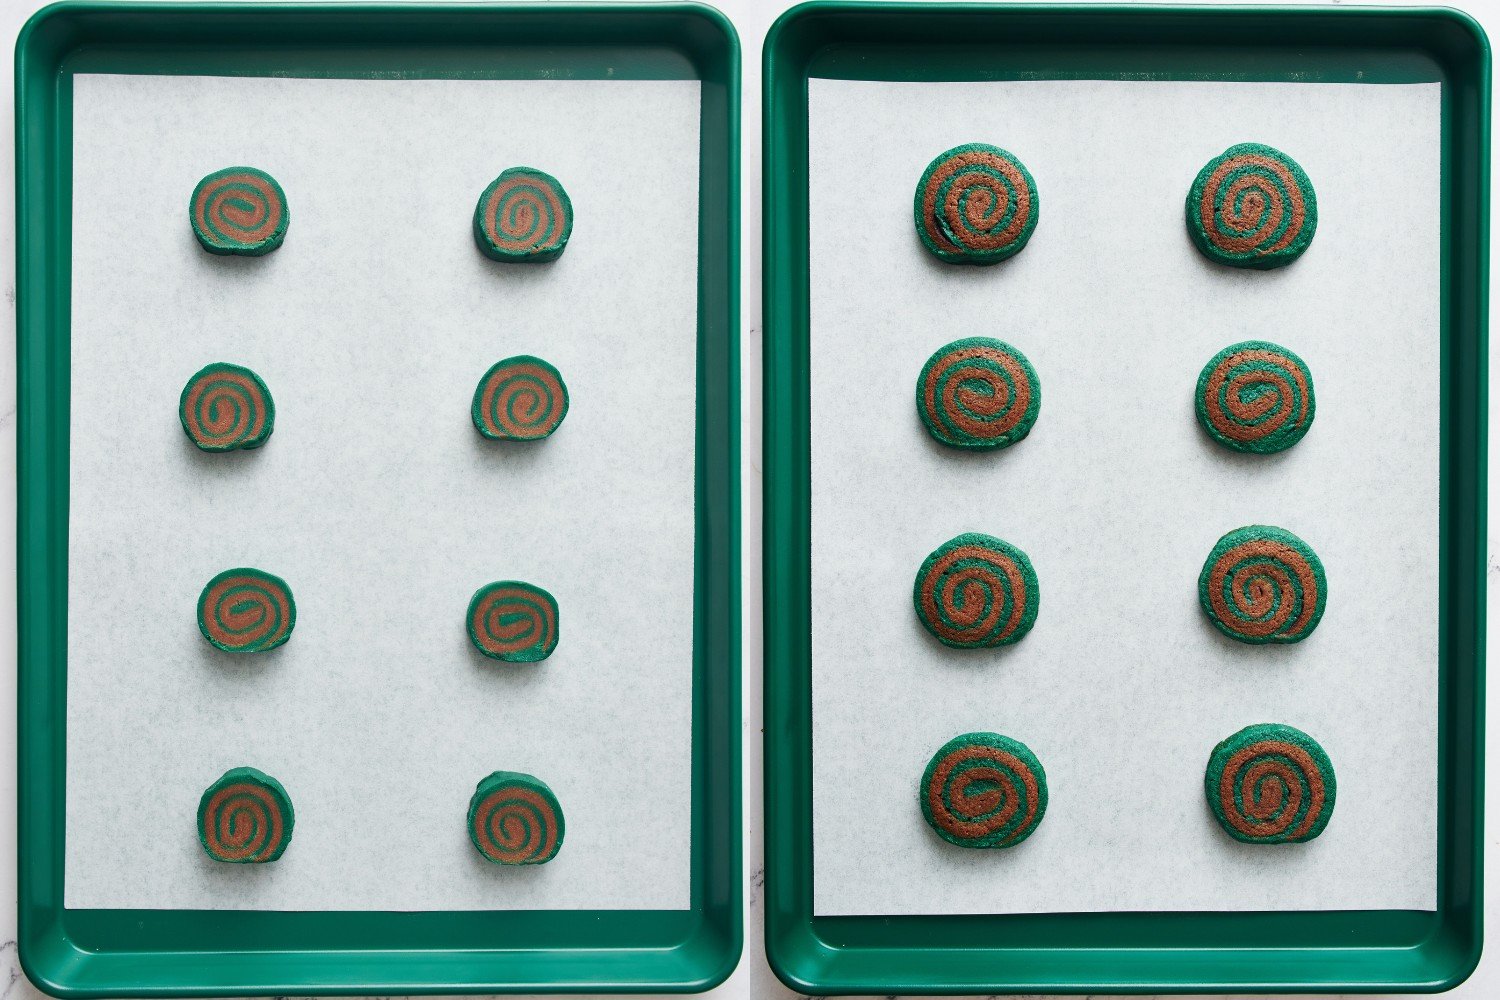
- Using a sharp knife, trim the edges of the dough, then slice the dough log into 1/2-inch slices. Place slices on prepared baking sheets, spacing 2 inches apart. If the dough is slightly flat on the bottom from resting, don’t worry, they’ll still bake up round. Place the baking sheets in the fridge or freezer while you preheat the oven to 350°F.
- Bake cookies for 10 to 12 minutes or until set. Place baking sheets on cooling racks and let cool for 2 minutes before removing the cookies to wire racks to cool completely.
- Cookies can be stored in an airtight container at room temperature for up to 5 days or in the freezer for up to 1 month. They will soften the longer they sit.
Notes
This post was originally posted in 2015 and was updated in 2024 with recipe improvements, additional tips, and new photos. Photos by Joanie Simon.


Hi! Question- what type of cocoa is recommended for this recipe? Thank you!
Hi Rani! We used unsweetened cocoa powder in the recipe, also known as natural cocoa powder.
These cookies taste great but be prepared for the added times for chilling the dough. Also beware of you don’t split the dough evenly enough the pinwheels will be very uneven!
Tessa, I struggle every year making Christmas Cookies when it come to slicing logs of dough. I can’t get the log round, I thinkk I have it then take it out of fridge the next day and the bottom is flat. I am using a sharp knife and noticed that this did help. I rotate dough after every slice but they still aren’t round. What am I doing wrong?
Hi Pamela! I completely understand your frustration — achieving perfectly round cookie dough logs can be tricky. For our pinwheel recipe, it’s normal for the bottom of the dough to slightly flatten during chilling (as you can see in this photo here), but it should still bake up into smooth circles. Here are a few tips that might help:
1. Try storing the dough in something cylindrical. Wrapping the dough in parchment paper, then in a clean, dry kitchen towel, or even sliding it into an empty paper towel roll can help maintain its shape.
2. After about 30-45 minutes chilled, when the dough starts to firm up but isn’t fully set, take it out and gently roll it again to reshape before chilling further.
3. Freezing the dough (as mentioned in step #7 of the recipe), instead of only refrigerating like some recipes call for, will also assist in setting its shape more quickly, preventing flattening.
From the picture you shared, I noticed a few other baking tips that could also help to improve your results:
1. Reduce the number of cookies on the baking sheet to ensure proper airflow and prevent them from spreading into each other. For this recipe, we placed a total of eight cookies on the pan, two in each row. If it’s more helpful to see visually, we included pics above the recipe in our baking tips section here.
2. Use parchment paper on your baking sheet to prevent sticking and promote even baking.
3. Opt for a light-colored aluminum baking pan (like this one) instead of a dark or nonstick one. Dark pans tend to brown cookies more aggressively.
I hope these suggestions help, and I hope you give our recipe a try – I’m excited to hear how it goes! Good luck 🙂
Is there any way that I can substitute the mint extract for matcha? I want to make matcha chocolate pinwheel cookies 🙂
Hi Luli! We haven’t tried that, but any extract should be able to be swapped for the mint – just note that different extracts will carry different levels of potency, so be cautious when adding another extract. If you’re using a powder, this will be more difficult and will require some experimentation, as it will be a dry ingredient instead of a tiny amount of a liquid. Good luck and happy baking!
I made my pinwheel cookies ahead of schedule and froze them. How long should I thaw them before slicing and baking?
Hi Devona! We recommend thawing overnight in the fridge, before baking (or before slicing and baking, in your case). Let us know what you think once you’ve given these cookies a try! 🙂