


Tessa’s Recipe Rundown
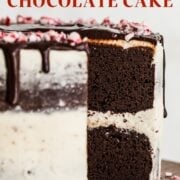
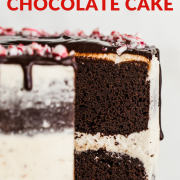
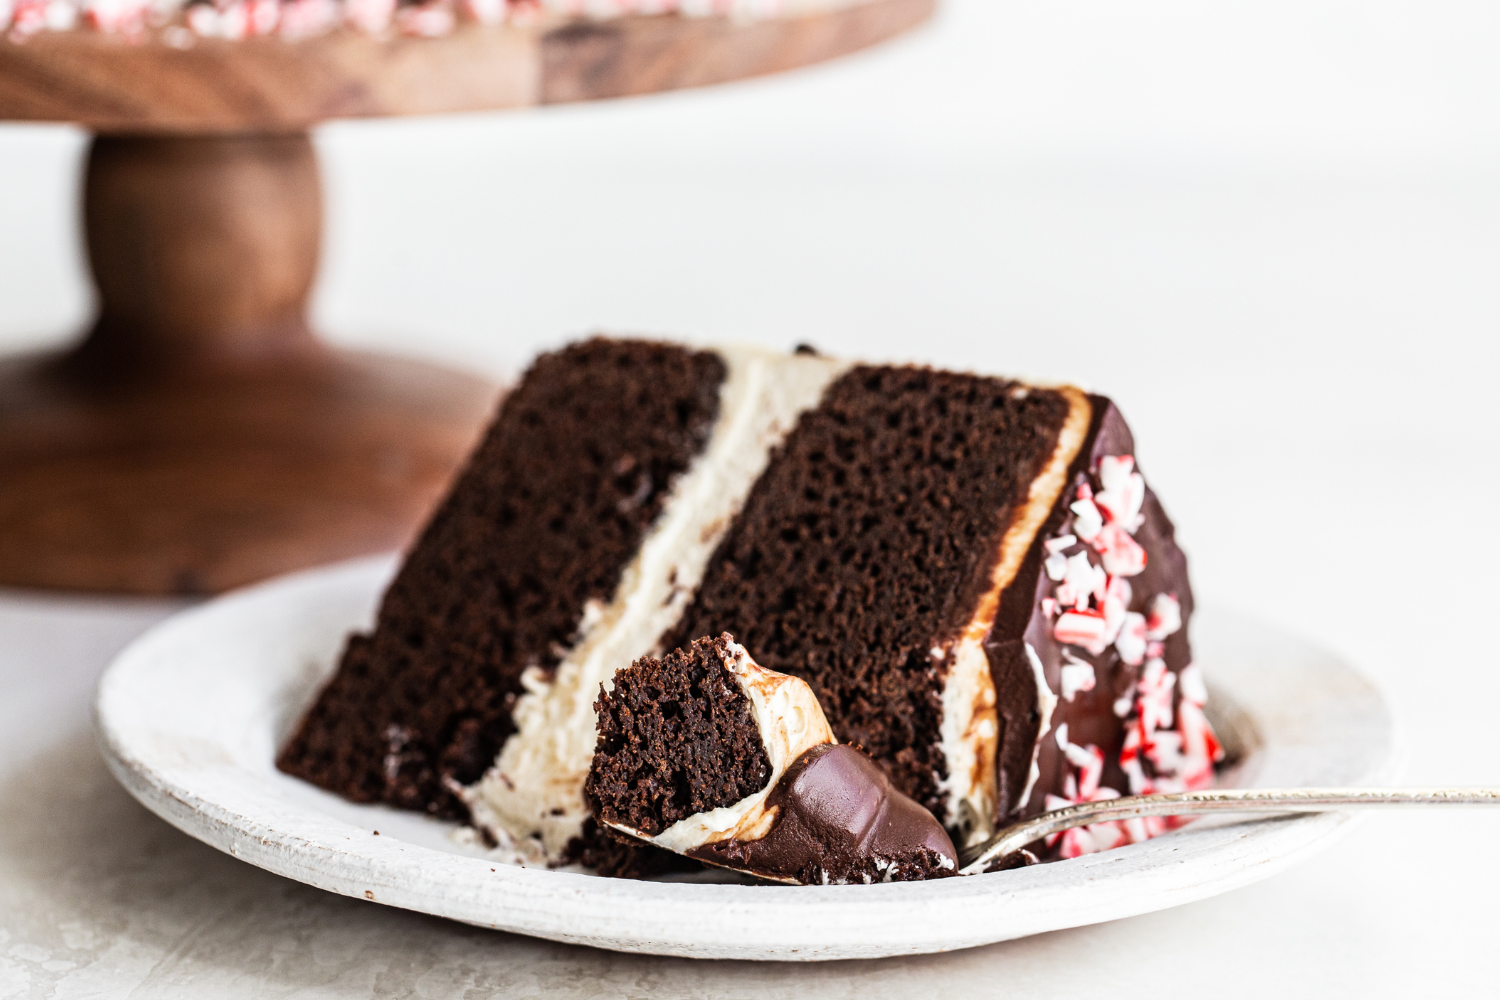
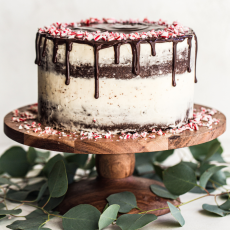
Taste: Super chocolaty from the cake and drip effect but perfectly balanced with a ridiculously light and fluffy peppermint buttercream.
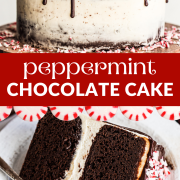
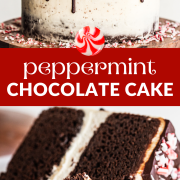
Texture: Incredibly moist and tender with the silkiest peppermint buttercream you’ll ever taste. You won’t be able to stop eating the buttercream! The peppermint candies on top give this cake a delicious added crunch.
Ease: The cakes are very simple to whip up, as is the frosting. Creating a layer cake is a little more involved, but completely doable.
Pros: This cake is everything you wish for in a stunning holiday cake and more!
Cons: A little time-consuming but very simple to break up the process over two days!
Would I Make This Again? Absolutely!!
This post may contain affiliate links. Read our disclosure policy.


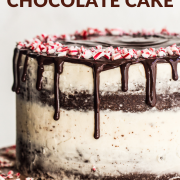
I am so excited to share this Peppermint Chocolate Cake recipe! If you’re not in the holiday spirit yet, you will be after making this incredible cake!

This recipe involves two of my all-time favorite flavors of Christmas: chocolate and peppermint. I’m not dreaming of a White Christmas, I’m dreaming of making this cake again.

Have you ever attempted a layer cake before? I promise they’re easier than they look!
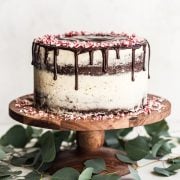
One of our Handle the Heat Baking School alumni, Erica, who has never made a naked cake before, produced this spot-on replica! Check out Erica’s stunning cake below:

I hope you’ll give this fantastic cake a try this holiday season! It’s sure to be a crowd-pleaser at any dinner, party, or potluck.

Sprinkle of Science
How to Make Peppermint Chocolate Cake
How to Make a MOIST Chocolate Cake
- Be sure to follow the recipe as written. There are ingredients such as sour cream, vegetable oil, eggs, and brown sugar that contribute to a moist and tender texture.
- Measure your flour and cocoa powder correctly. The best way is to weigh it, the second best way is the spoon and level method. It’s super easy to accidentally add way too much flour and cocoa powder which will create a dry and/or dense cake. Check out my article on How to Measure Flour here.
- Don’t overbake the cake. Start checking for doneness with a toothpick at 30 minutes, especially if your oven tends to run hot.
- Avoid using dark-colored cake pans which will dry out the edges of the cake and cook faster. If that’s all you have, shave a few minutes off the baking time.
Do I Have to Use the Espresso Powder in this Chocolate Cake Recipe?
No! Feel free to omit it. The espresso powder simply enhances the chocolate flavor and you can’t actually taste it. You can also use 1 cup of strongly brewed coffee in place of the espresso + hot water. Whichever is easier in your kitchen!
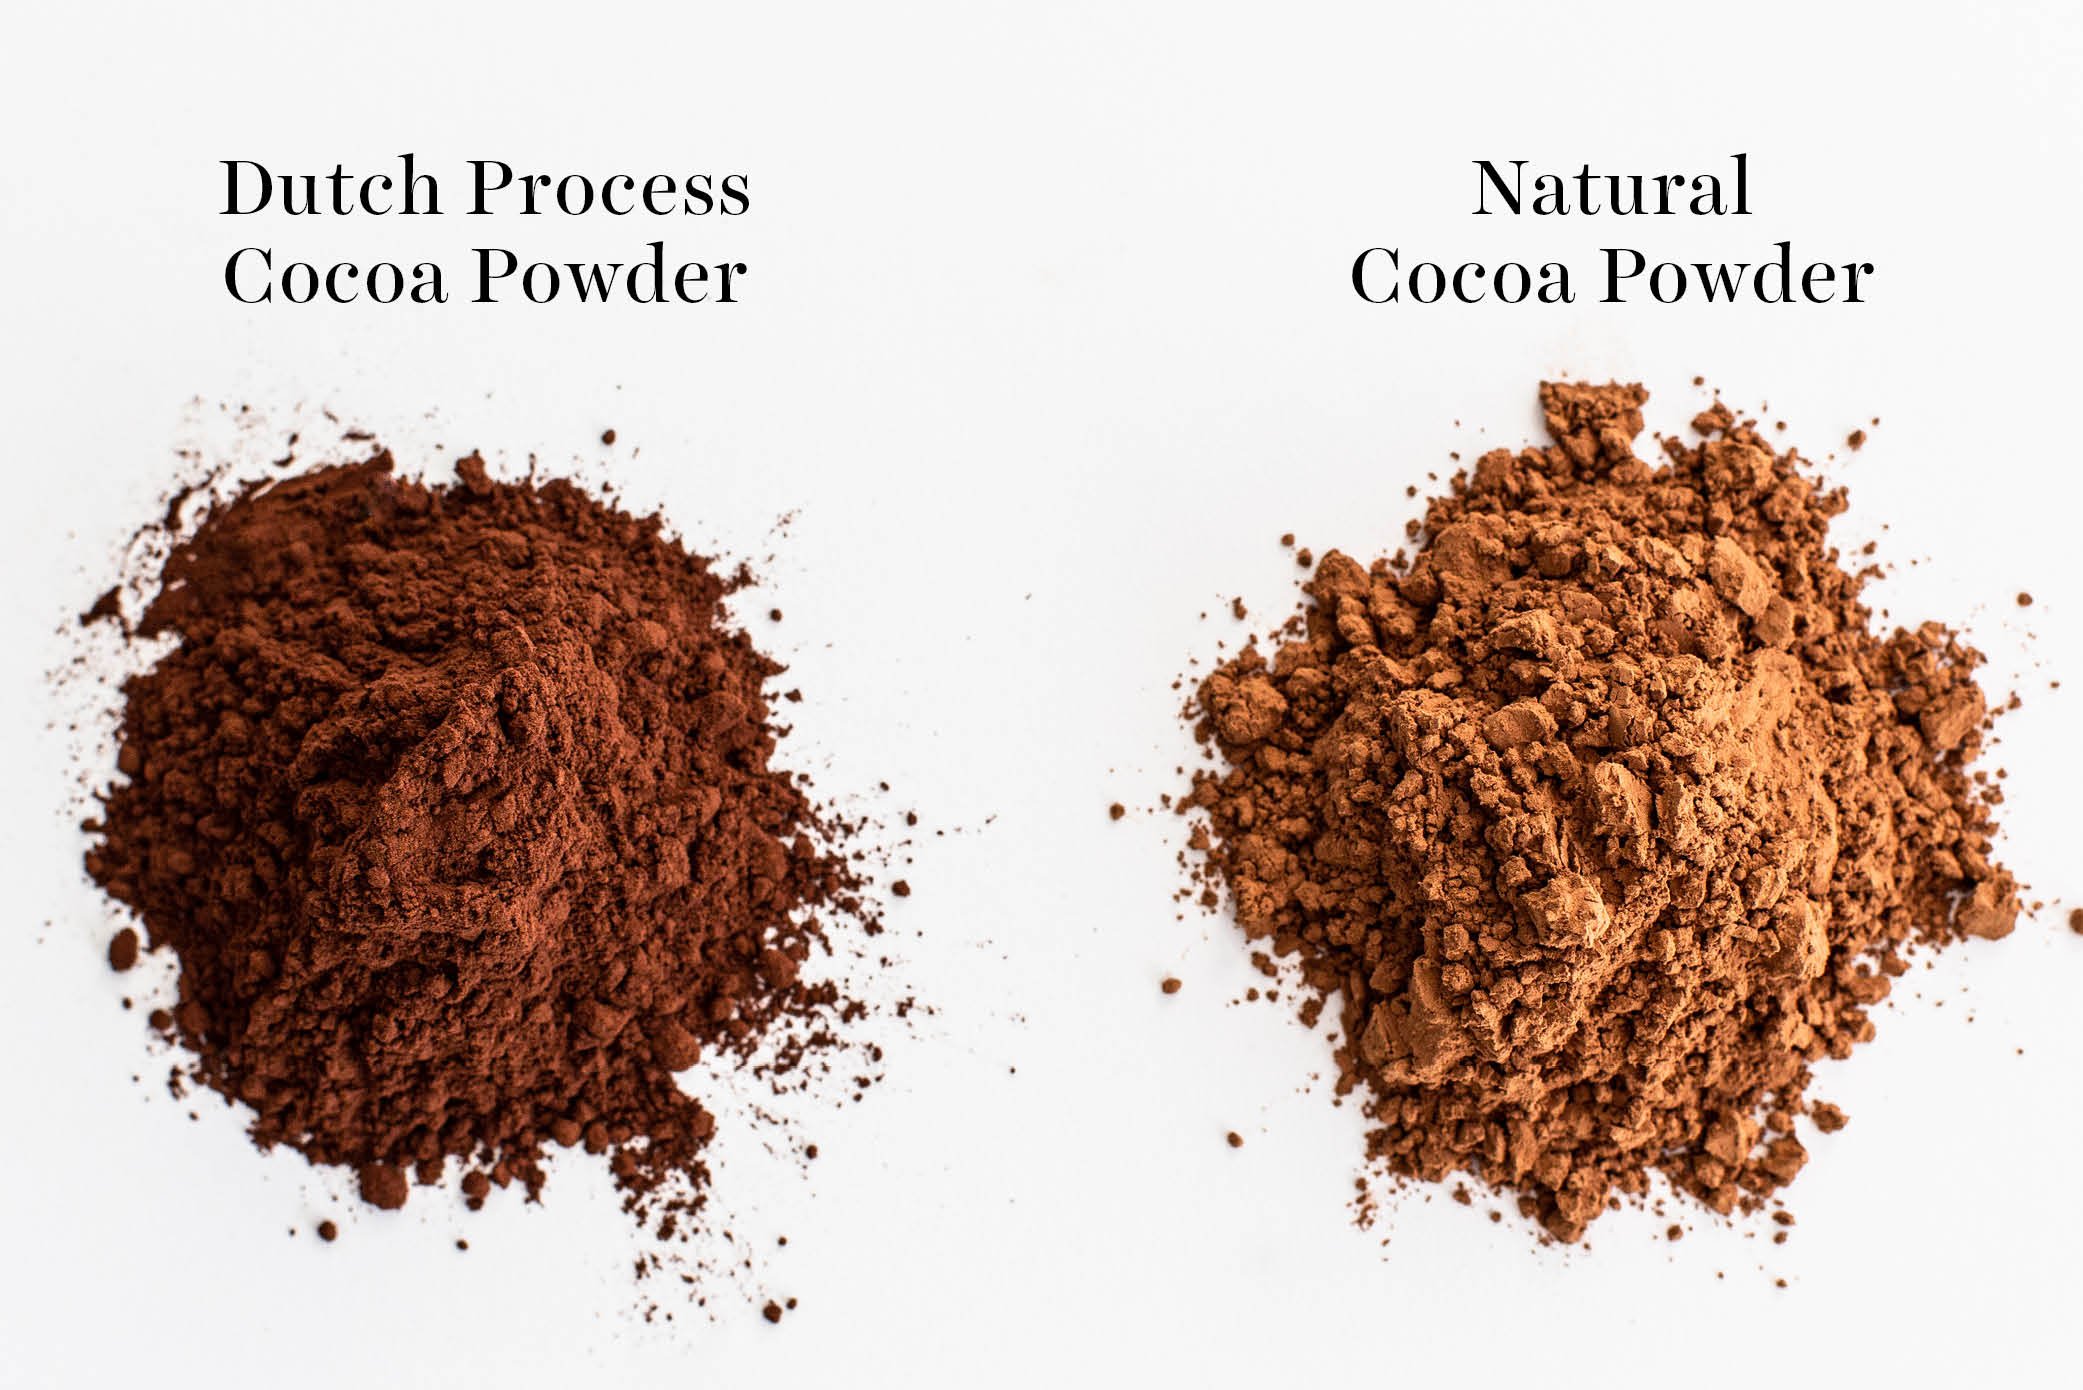
Natural vs. Dutch Process Cocoa Powder
I prefer Dutch Process Cocoa Powder in this recipe. It gives this cake a perfect cocoa flavor and deep, bold color. You can find Dutch Process Cocoa Powder in some supermarkets, or online here. If you can’t find it, you can also use regular natural unsweetened cocoa powder instead. This recipe can work with both since it uses baking soda + acidic ingredients (brown sugar, coffee, and sour cream). You can learn more about the differences between cocoa powder here.

The Best Cake Pan
As I mentioned above, never use dark-colored cake pans if you can avoid it. They tend to overcook the edges, making them too brown and dry. My favorite cake pans are definitely my Fat Daddio’s pans. They bake evenly and clean up easily!
Can I Use a 9-inch Pan Instead?
This recipe calls for 8-inch baking pans, which is what will work best. You can also use 9-inch if that’s what you have, but just note that your cake layers will be thinner. Shave about 5 minutes off the baking time.
My Favorite Tools for Layer Cakes
Can This Peppermint Chocolate Cake Recipe Be Made Into Cupcakes?
Almost any cake recipe can be made into cupcakes. Check out my full guide on how to convert cake to cupcakes (and vice versa!).
How to Make Peppermint Chocolate Cake Ahead of Time
To make this Peppermint Chocolate Cake process easier, plan on baking your cakes in advance. Wrap unfrosted un-cut cooled cake layers in several layers of plastic wrap. Place inside a freezer bag (if freezing). Store at room temperature for up to 4 days or freeze for up to 2 months. Defrost overnight in the fridge (do not defrost at room temperature or you’ll end up with mushy cake). Frost the cake a day prior to serving, decorating with the crushed candy canes on the day of serving.
How to Store Peppermint Chocolate Cake
The frosted cake can be stored, covered, at room temperature for up to 1 day or in the fridge for up to 3 days. Note that candy canes will bleed into the chocolate drip and frosting, so this cake is best served the day it’s decorated.
Want an Even More Decadent Topping?
Try topping this cake with my Peppermint Oreo Truffles! You’ll be in chocoholic heaven.
More Peppermint Chocolate Recipes:
More Christmas Dessert Recipes:
- Tiramisu
- Oreo Cheesecake
- Loaded Peanut Butter Christmas Cookie Bars
- Christmas Brownies
- Flourless Chocolate Cake
- Chocolate Bundt Cake
P.S. Check out ALL my Christmas desserts HERE!
Email This Recipe
Enter your email, and we’ll send it to your inbox.
Ingredients
For the cake:
- 10 ounces (283 grams) bittersweet chocolate, finely chopped
- 2/3 cup (57 grams) Dutch-process cocoa, sifted
- 2 teaspoons instant espresso powder
- 1 cup boiling water
- 1 3/4 (222 grams) cups all-purpose flour
- 1 cup (200 grams) granulated sugar
- 3/4 cup (150 grams) packed light brown sugar
- 1 teaspoon fine sea salt
- 1 teaspoon baking soda
- 1 cup (227 grams) sour cream, at room temperature
- 1/2 cup vegetable oil
- 4 large eggs, at room temperature
- 2 large egg yolks, at room temperature
- 1 tablespoon white vinegar
- 2 teaspoons vanilla extract


For the buttercream:
- 4 sticks (452 grams) unsalted butter, at room temperature
- 5 cups (625 grams) powdered sugar (preferably organic with tapioca starch instead of cornstarch)
- 1/4 cup milk or heavy cream
- 2 teaspoons vanilla extract
- 1/2 teaspoon fine sea salt
- 1/2 teaspoon peppermint extract
For the chocolate drip:
- 2 1/2 ounces (75 grams) semisweet or bittersweet chocolate, finely chopped
- 2 1/2 ounces (75 grams) heavy cream
For decorating:
- Crushed candy canes*
Instructions
Make the cake:
- Preheat the oven to 350°F. Butter and flour two 8-inch round cake pans.
- In a large heatproof bowl, add the chocolate, cocoa powder, and espresso powder. Pour boiling water over mixture. Cover and let stand for 5 minutes. Whisk mixture gently until smooth then set aside to cool completely.
- In a medium bowl, whisk together the flour, sugars, salt, and baking soda. Set aside.
- Whisk sour cream, oil, eggs, yolks, vinegar, and vanilla into the cooled chocolate mixture until smooth. Stir in the flour mixture until smooth, being careful not to overmix.
- Divide the batter evenly between the prepared pans and bake for 35 to 40 minutes, or until a cake tester comes out clean. Cool in the pans for 30 minutes, then carefully turn them out onto a cooling rack to cool completely. Refrigerate to chill before assembling and frosting.
Make the buttercream:
- In the bowl of a stand mixer fitted with the paddle attachment, beat together the sugar and butter. Continue beating on medium speed until well blended and then increase the speed to medium high and beat for another 3 minutes. Scrape down the bowl before adding the milk or cream, vanilla, salt, and peppermint and beat on medium-high for 1 minute, adding more cream or more powdered sugar if needed to achieve desired consistency.
Assemble:
- Place one cake layer on a cake stand or serving plate. Frost the top of the cake generously, as this will become the filling. Top with the other cake layer, flat side up.
- With an offset spatula, spread a very thin layer of frosting all over the cake. This layer is a crumb coat and should act like spackle. For the smoothest frosting, return the cake to the fridge or freezer until firm to the touch. Spread the remaining frosting all over the cake. If desired, focus the frosting on the top to maintain the 'naked' look.
- Refrigerate while you prepare the chocolate drip.
Make chocolate drip:
- Place the chopped chocolate in a heatproof bowl. Bring the heavy cream to a simmer, then immediately remove from heat and pour over chocolate. You can also do this in the microwave. Cover for a few minutes then stir until smooth.
- Allow to cool until it has thickened but is still pourable, about 10 minutes. Don’t place ganache in the fridge to cool. Test the consistency of the drip by pouring down the side of a glass. If it’s too thick, microwave for 5 to 10 seconds. If it’s too thin, allow to continue to cool. Spread the drip all over the top of the cake and allow it to drip slowly down the sides. Sprinkle crushed candy canes in a border around the diameter of the top of the cake before the drip sets.
- The cake can be stored, covered, at room temperature for up to 1 day or in the fridge for up to 3 days. Note that candy canes will bleed into the chocolate drip and frosting, so this cake is best served the day it’s decorated.


I doubled the powdered sugar for the frosting because 4 sticks is a lot of butter to 5 cups. Could really do 10 and have a fluffier frosting.
Good recipe, I didn’t realize the cake itself wasn’t chocolate peppermint so I added peppermint extract to it and it turned out pretty good. A bit on the denser side, but the recipe was easy to follow and still tasted great.
I loved this cake! It was so fun to make. I accidentally used 8×1.5 pans. The sides weren’t as perpendicular as I’d like from those pans, but luckily didn’t overflow. I wasn’t making this for Christmas, but a birthday so I added some green food coloring and crumbled thin mint on top, no candy cane. I had leftover chocolate fondue from Valentines day that I reheated for the top. It was hard getting the right consistency. The cake looked amazing, everyone thought it was professional. It also tasted amazing. The layers I made super thick, so I kept it in fridge until people came over so it stayed stiff.
Your cake looks incredible, Emily! So thrilled to hear that it turned out so well for you!
beautiful and much easier to decorate than I thought it’d be using the squeeze bottle tip. friends & family even said it looked professionally done. the cake itself was moist and deeply flavorful without being too sweet (I used bittersweet chocolate). and the frosting was also not too sweet when paired with the ganache. it felt decadent without being overbearingly sweet, a nice choice for those who’ve maybe indulged in too many Christmas cookies and candies during the holidays season and are a little bit sick of all the sugar.
So happy you loved this recipe, it’s one of my favorites 🙂 Thanks for sharing!