




This post may contain affiliate links. Read our disclosure policy.



Tessa’s Recipe Rundown
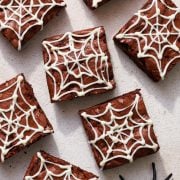
Taste: Rich, chocolatey brownies with a subtly sweet white chocolate topping.
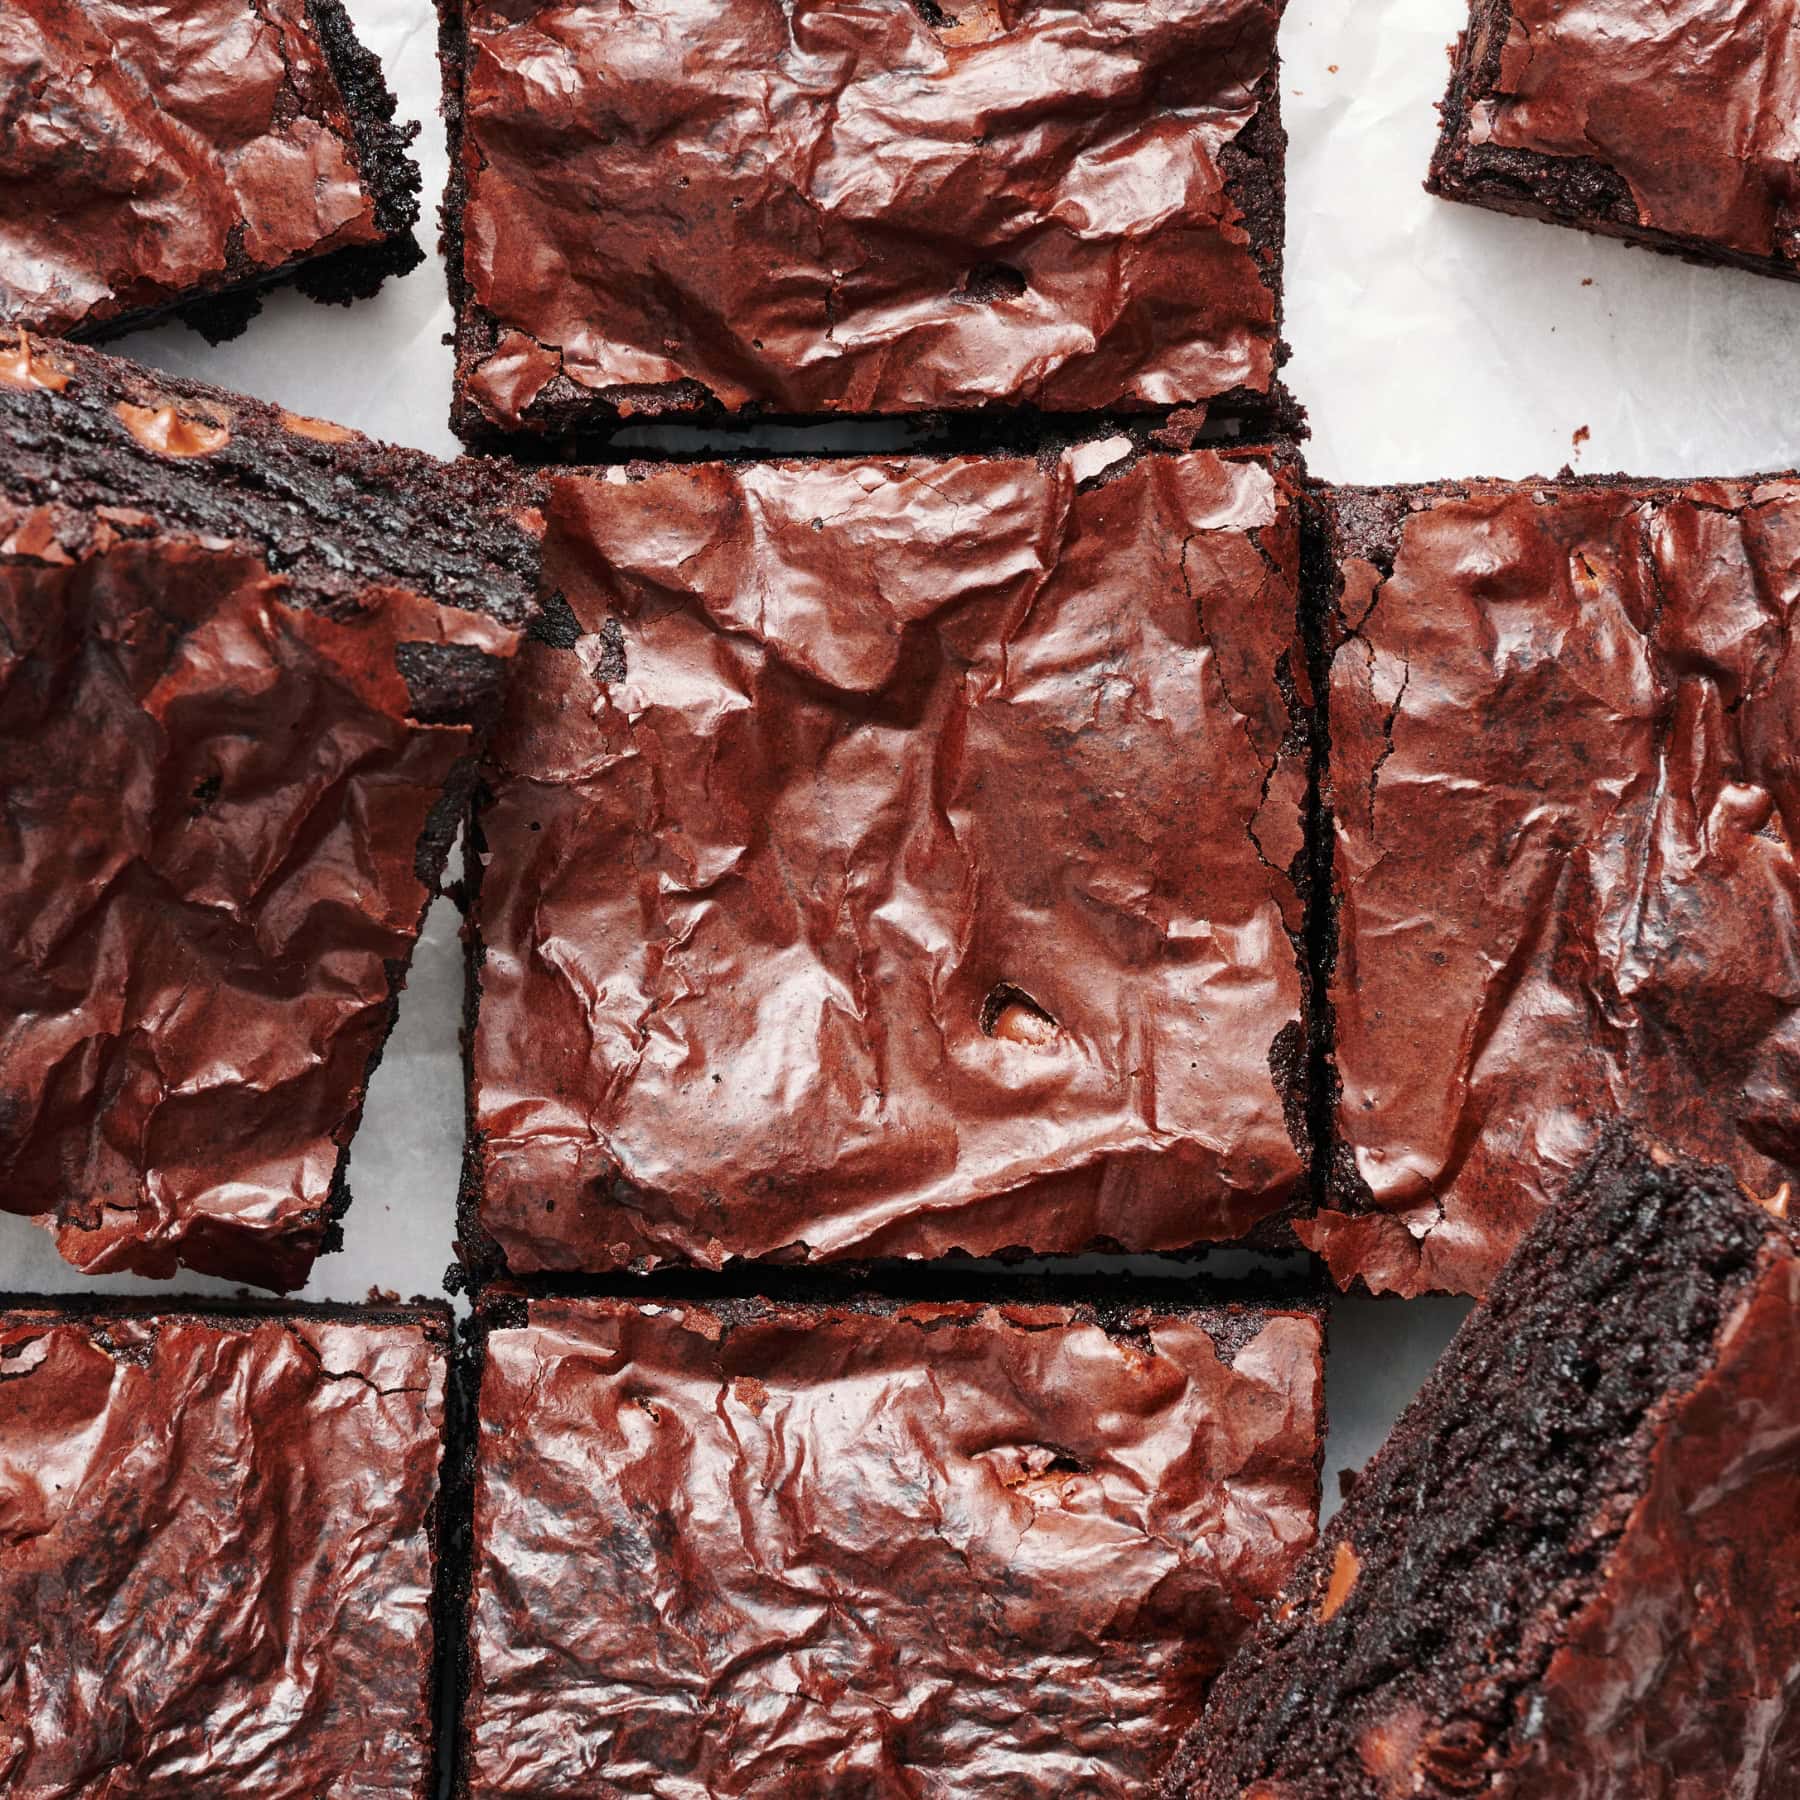
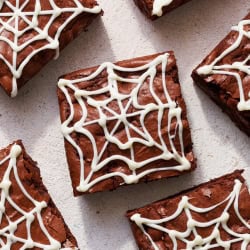
Texture: Chewy and fudgy with bites of chocolate chips and a slightly crisp chocolate cobweb.
Ease: So easy! The cobweb decoration is simple enough to make with kids.
Why you’ll love this recipe: An easy, festive chocolate Halloween dessert that’s fun to make and even more fun to eat.
If you’re looking for the perfect blend of spooky and delicious, these Halloween Brownies are it. And the best part? They’re incredibly easy to make!

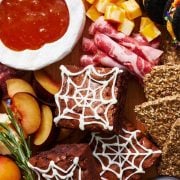
Creating fall recipes, especially for Halloween, is always a highlight for me. You guys went crazy for my Halloween Cookies, super spooky Monster Cookies, and my show-stopping Halloween Charcuterie Board.
In fact, the brownies photographed in that charcuterie were so popular that I created this dedicated post with all the tips and tricks you’ll need to make the perfect cobweb brownies.

Recipe Ingredients & Equipment
Chewy Brownies: These Halloween Brownies start with my viral Best Ever Chewy Brownies and get topped with an easy white chocolate cobweb. This one-bowl brownie recipe is ready in less than an hour, with simple ingredients you might already have in your pantry.
White Chocolate:
- For best flavor: Use white baking chocolate. Keep in mind that white chocolate might not fully harden at room temperature, so the brownies may need to be refrigerated if you want the cobwebs to stay firm.
- For easy transport: Use white melting wafers instead. The flavor isn’t quite as good as white baking chocolate, but it works well if you’re serving these at a party or want to stack the brownies without damaging the cobwebs.
- I don’t recommend white chocolate chips here, since they melt more slowly and are more likely to burn.
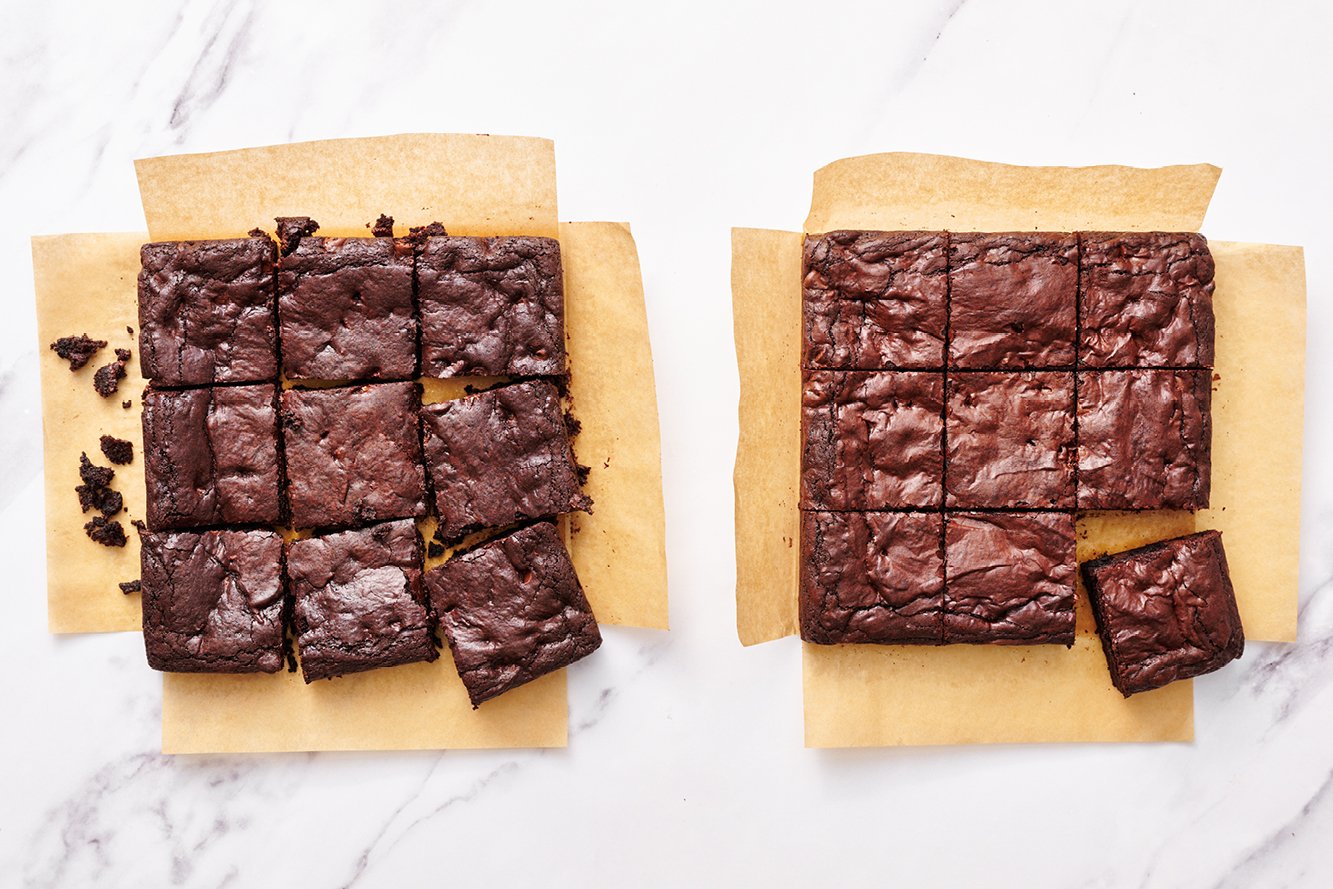
8×8-Inch Metal Baking Pan: Don’t use a glass pan to bake brownies – they won’t bake as evenly, and the edges might dry out before the center has baked through. See my side-by-side comparison of baking brownies in Glass vs Metal Baking Pans here.
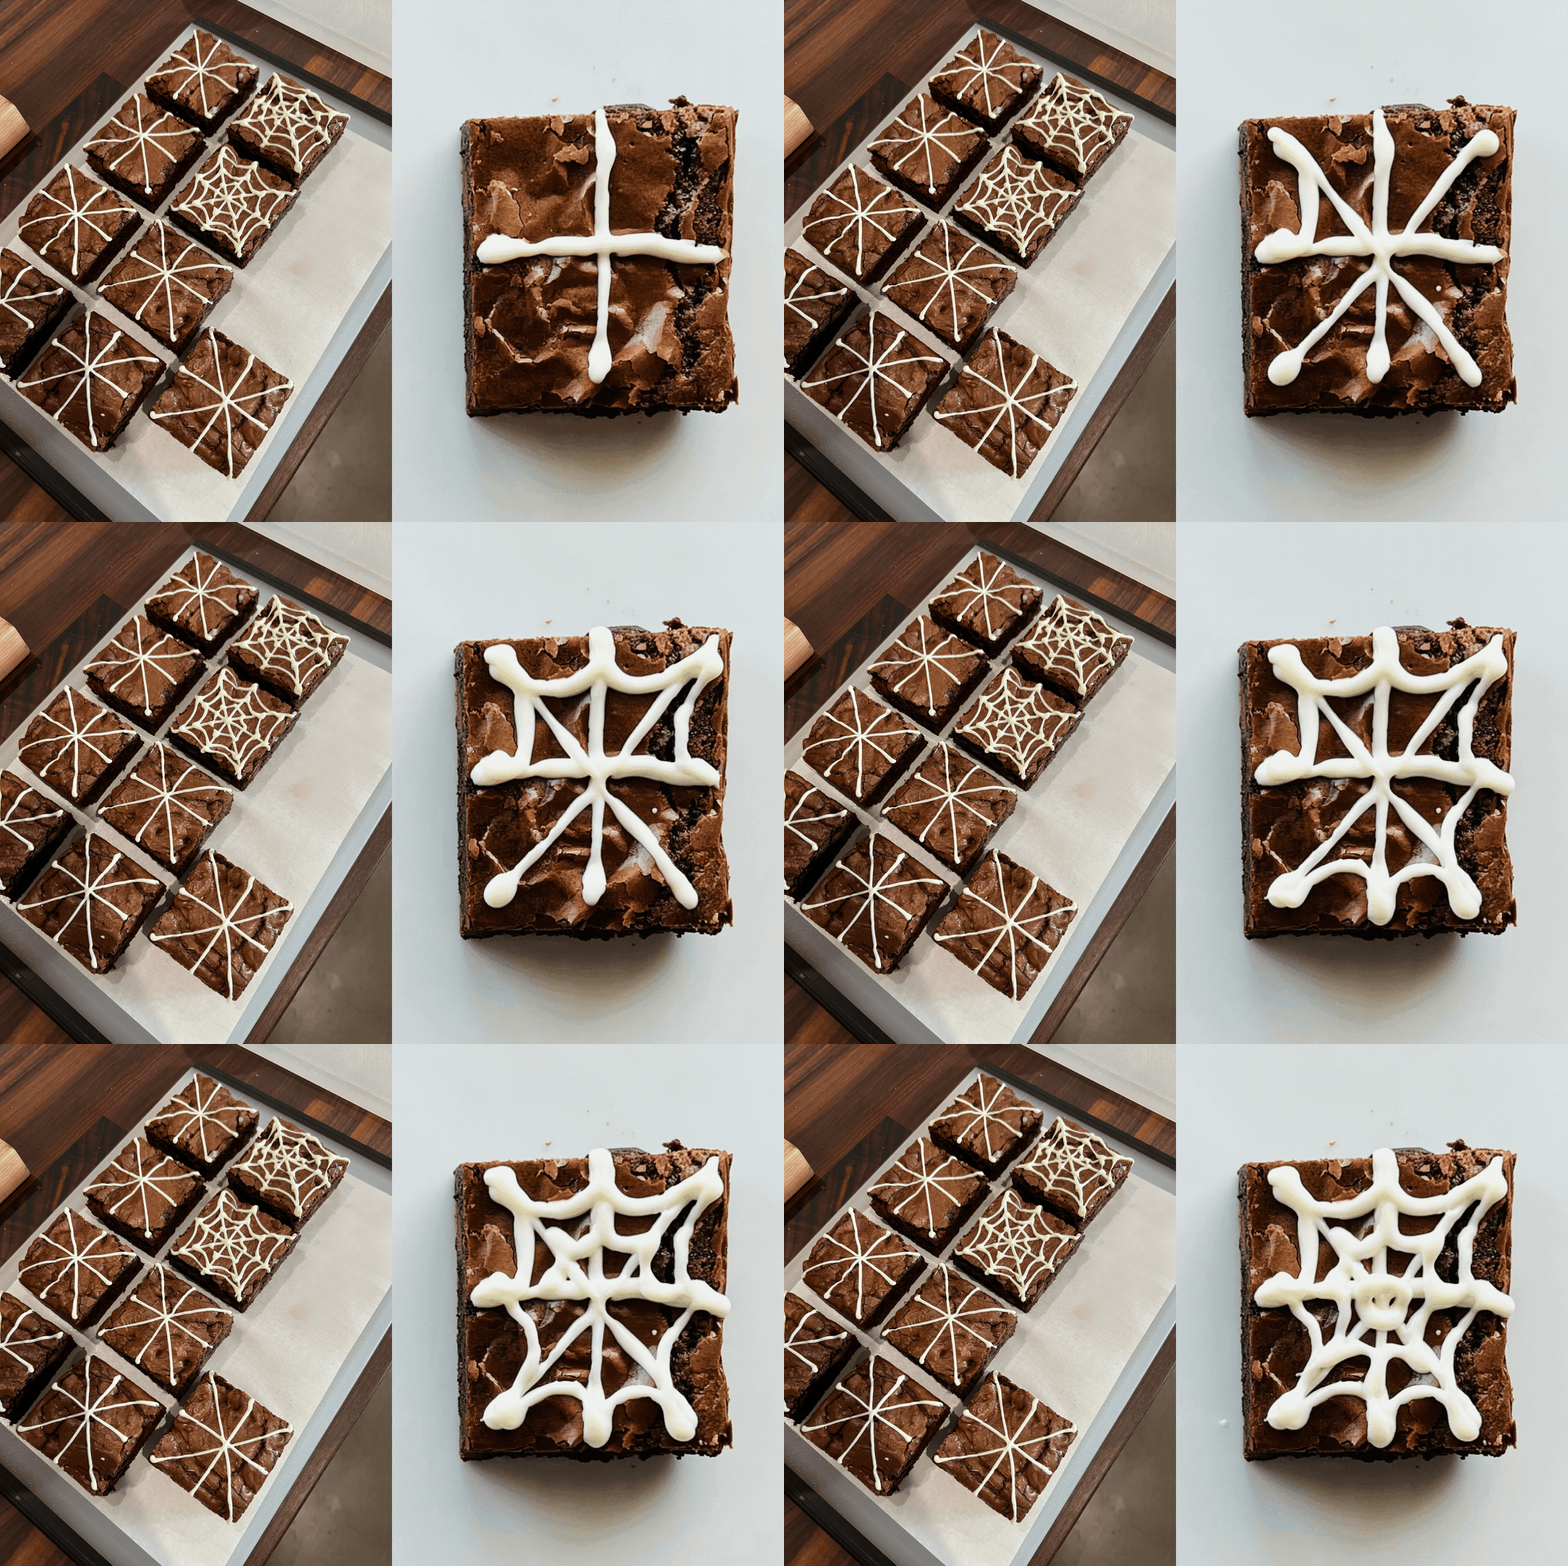
Decorating Halloween Brownies: How to Pipe Spider Webs
- Melt the white chocolate or wafers and transfer to a disposable piping bag or zip-top bag with the corner snipped off.
- Pipe four lines across one brownie slice to create a snowflake pattern, stopping just before the edges.
- Pipe curved lines between each spoke to create the web. Repeat with a few more rows of curves (about 3-4), then finish with a small circle in the center.
- Let the chocolate set before serving.
Don’t worry about making perfect spiderwebs! The imperfections make each brownie a little more fun and unique.
How to Perfectly Slice Brownies
Check out my How to Cut Brownies Cleanly in 5 Steps article for all my tips on slicing brownies perfectly.
Storage & Make ahead
Storage: Store in an airtight container for up to 3 days at room temperature or up to 5 days in the fridge. They’re even fudgier when chilled! Please note that once cut, the edges of the brownies will dry out quickly if not stored in an airtight container.
Freezer, Not Decorated: Wrap the whole slab or slices in plastic wrap and place in a freezer bag or airtight container for up to 1 month. Thaw overnight in the fridge or for a couple of hours at room temperature before decorating, setting, and serving.


Email This Recipe
Enter your email, and we’ll send it to your inbox.
Ingredients
- 1 batch
Best Ever Chewy Brownies - 1/3 cup (56 grams)
white candy melts , or white baking chocolate*
Instructions
Make the brownies:
- Make a batch of my Best Chewy Brownies.
- Allow to cool completely. If time allows, chill the brownies until firm. Once chilled, evenly slice the brownies into 9 large slices or 16 smaller slices.
Melt the candy melts:
- In a microwave-safe bowl, melt white melting wafers or white chocolate in the microwave at 50% power, stirring every 30 seconds, until melted and completely smooth. A double-boiler works just fine for this, if preferred.
- Transfer the melted white chocolate/melting wafers to a disposable piping bag or zip top bag fitted with a small plain piping tip such as Wilton #3, or simply cut a very small hole at the bottom of the bag.
Decorate the brownies:
- One brownie slice at a time, pipe crisscrossing lines on each brownie to create a snowflake pattern, then connect the lines with curved arches to form a spiderweb. Repeat for all brownies.
- Once the spiderwebs have dried fully, place inside an airtight container with pieces of parchment paper or wax paper between stacked layers. Halloween Brownies can be stored at room temperature for up to 3 days, or up to 5 days refrigerated.
Notes
Photos by Joanie Simon.