


Tessa's Recipe Rundown
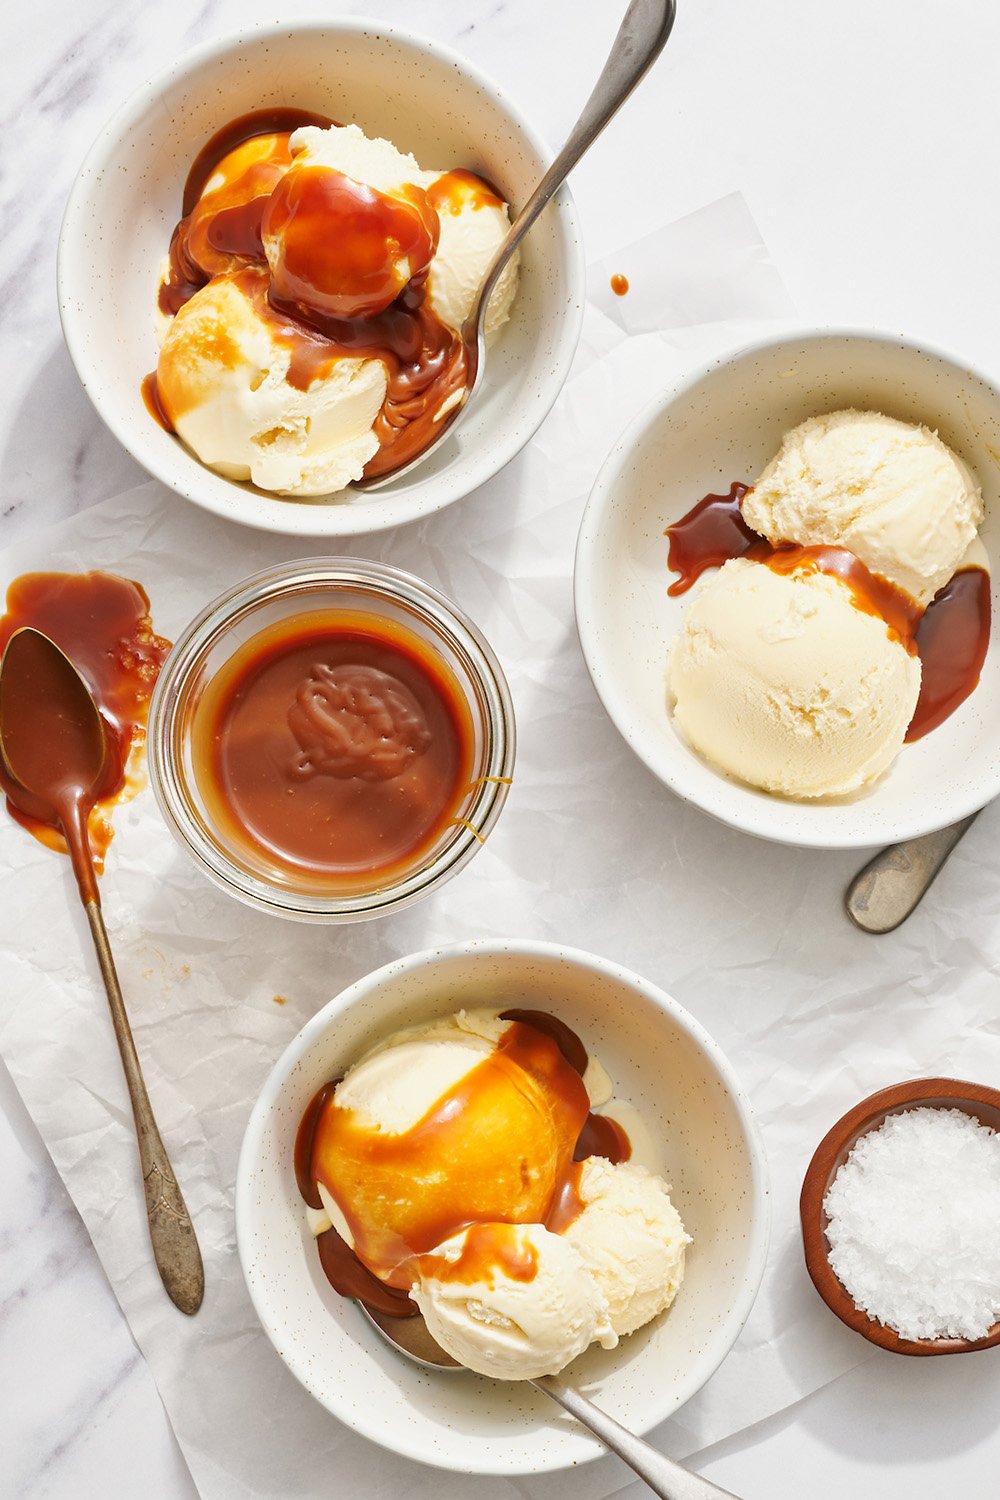
Taste: This caramel sauce is deeply rich and perfectly sweet, with just the right amount of salt for balance.
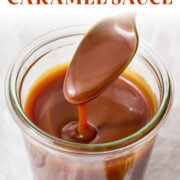
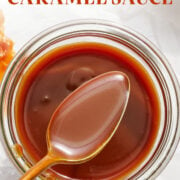
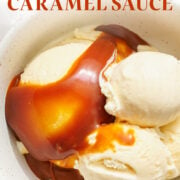
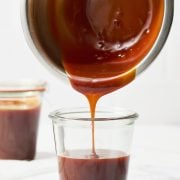
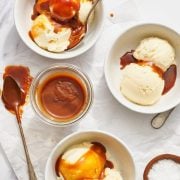
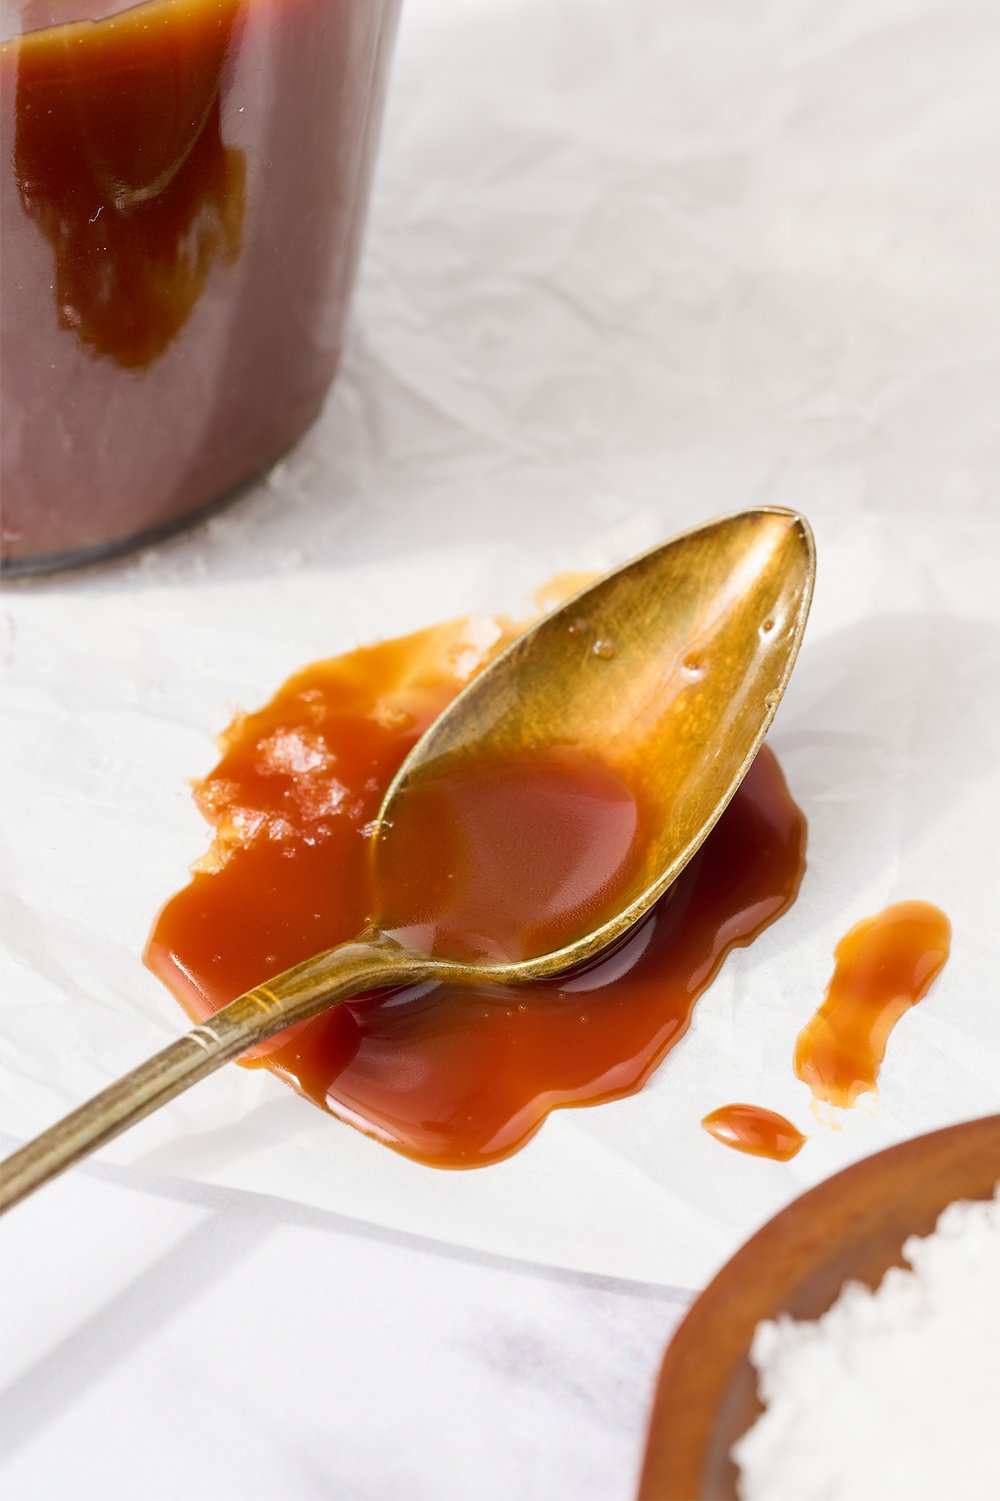
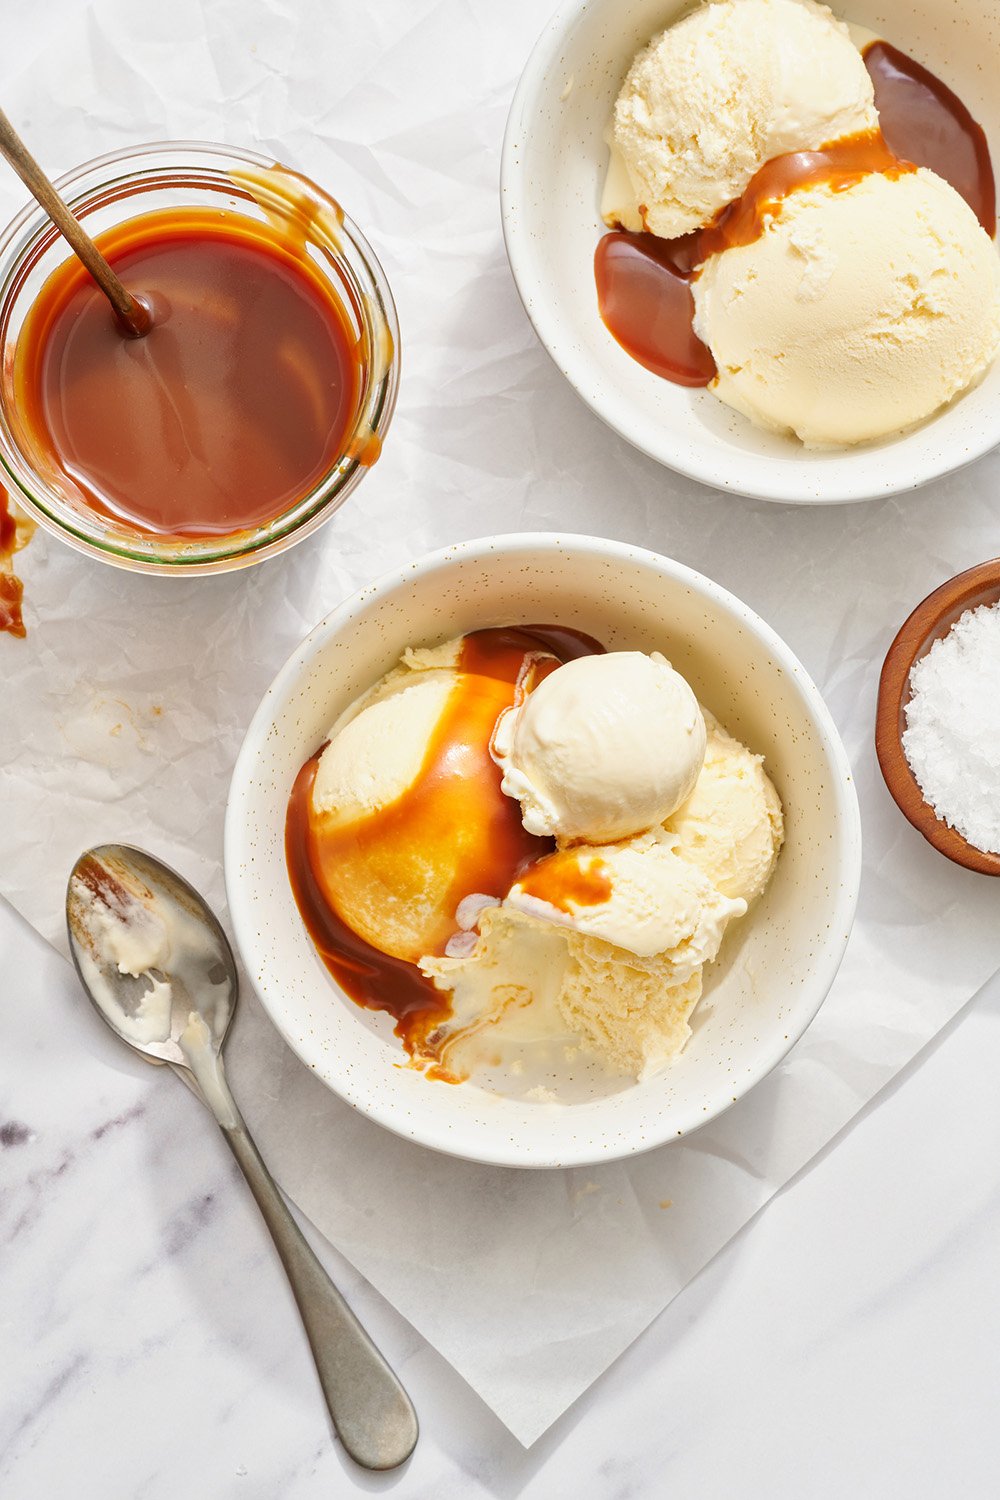
Texture: The sauce is smooth, silky, and just thick enough to cling to ice cream and other treats without running off.
Ease: This recipe is much easier than it looks, and I’ve broken it down step-by-step for a successful batch every time!
Why You’ll Love This Recipe: Homemade caramel sauce is seriously 1,000 times better than store-bought.
This post may contain affiliate links. Read our disclosure policy.


Homemade caramel recipes can feel intimidating, but I promise they’re completely doable — no candy thermometer required! In culinary school, I spent days perfecting caramel candies, so I know how fussy they can seem! That’s why I love this simple, no-thermometer method. It gives that rich, toasty flavor without the stress.
This recipe breaks the process down step by step to make it approachable and stress-free from start to finish. In just 15 minutes, a rich, luscious salted caramel sauce comes together that outshines anything at the store.
Ingredients Notes
Four simple ingredients are all that’s needed to make this easy caramel sauce. Here are a few notes before you shop:
- Granulated sugar: White sugar produces the best consistency for this recipe. Brown sugar adds extra moisture and can make the caramel thicker, darker. I prefer to use it with my homemade butterscotch and toffee bits!
- Unsalted butter: Unsalted butter gives the best control over the salt level in caramel. Salted butter can vary in saltiness, so I prefer adding a pinch at the end for salted caramel. (Or skip the salt altogether for a sweeter sauce.)
- Heavy cream: Heavy cream (or heavy whipping cream) adds richness and a smooth, pourable texture to the caramel. Its high fat content helps balance the sweetness of the sugar and butter for a glossy, silkier sauce.
- Salt: A pinch of salt balances the sweetness of the caramel and enhances its rich, buttery flavor. It also helps bring out the depth of the sugar’s caramelized notes, making the sauce taste more complex.
Reader Love
My brother and i make this caramel all the time. He makes it for his coffee. I make it for my ice cream. It is absolutely amazing. So delicious. We give it to all our friends and family and they all absolutely love it as well. Good job.
–

Sprinkle of Science
The Science of Caramelization
Caramel is made by melting sugar and combining it with butter and cream, sometimes with a pinch of salt, to create a rich, sweet sauce. This process is known as caramelization.
There are two basic methods of making delicious caramel: wet and dry. The basic difference between the two methods is water. Both methods heat sugar, then add fat, like butter and cream.
The wet method uses water to dissolve the sugar faster. The drawback with wet caramel is that it can create sugar crystals on the sides of the pan, which is disastrous for your caramel.
I prefer the dry method. It takes a little longer and can burn easily, but I prefer having more control over the color and flavor. Just keep a close eye on the sugar as it cooks. It’s pretty foolproof beyond that!
Step-By-Step: How to Make the Perfect Caramel Sauce
These easy instructions result in a soft caramel that’s far better than anything you can buy at the store. My recipe takes just 15 minutes to make caramel!
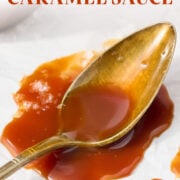
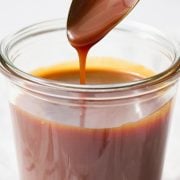
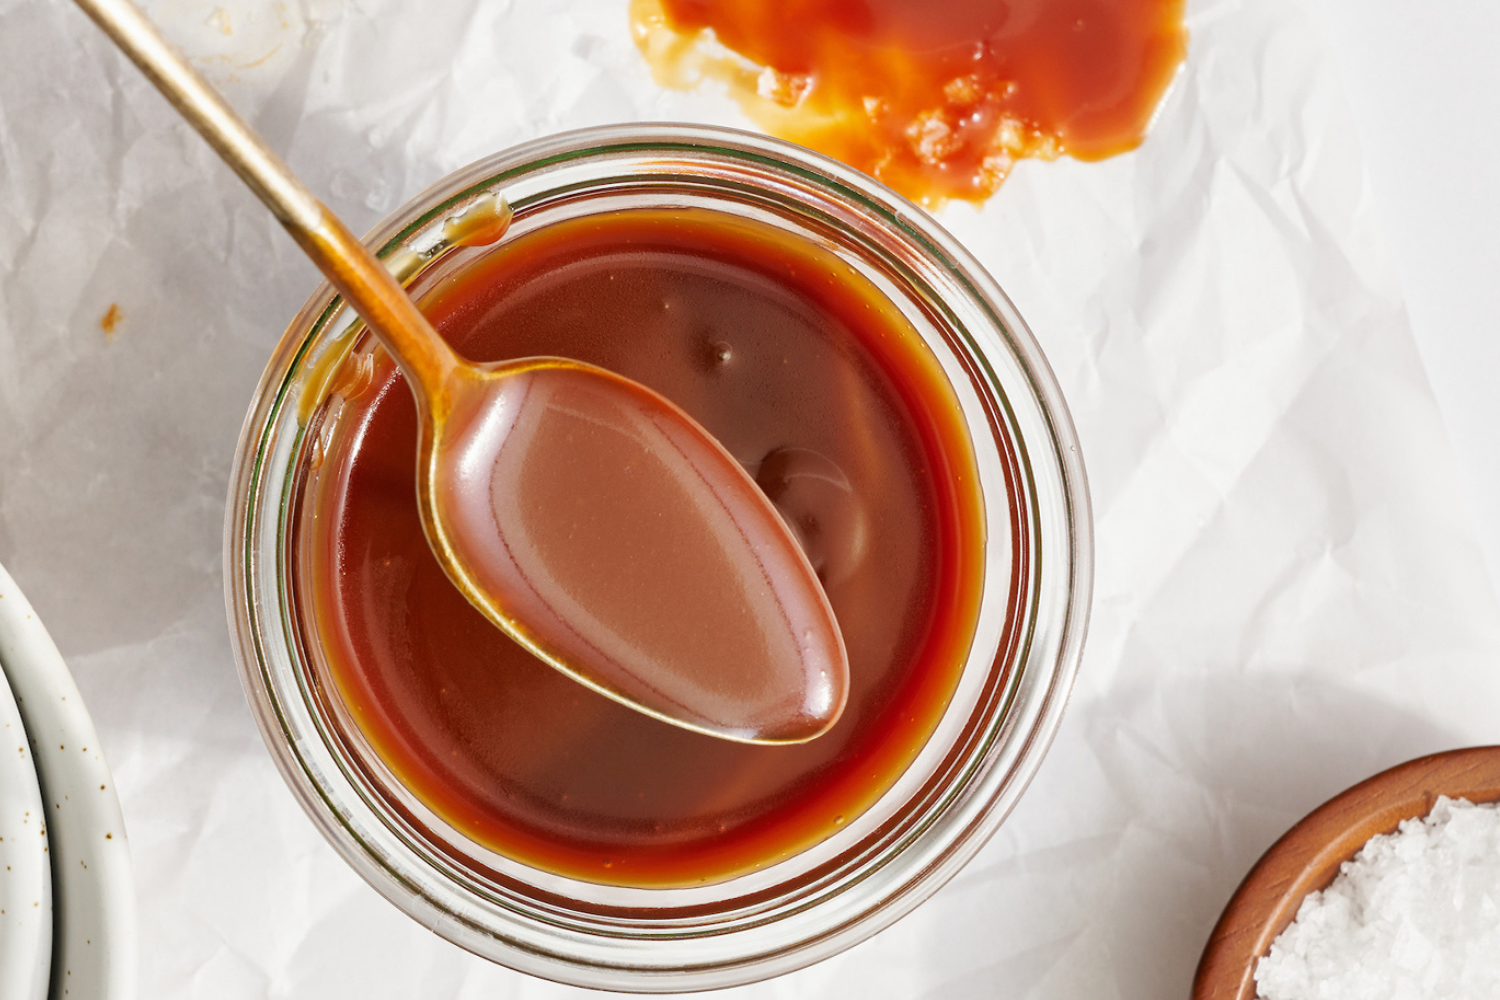
This sauce is all about the senses. Pay attention to color, smell, and texture. The perfect caramel should be amber and glossy, smell toasty and sweet, and pour smoothly from a spoon. Small temperature changes matter, so it’s critical not to rush the process.
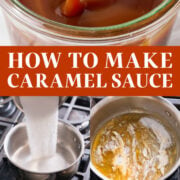
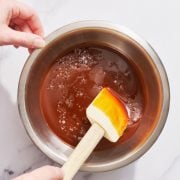
1. Melt the sugar. Add granulated sugar to a dry, light-colored stainless steel saucepan over medium heat and watch closely as it melts. (High heat will burn the sugar!)
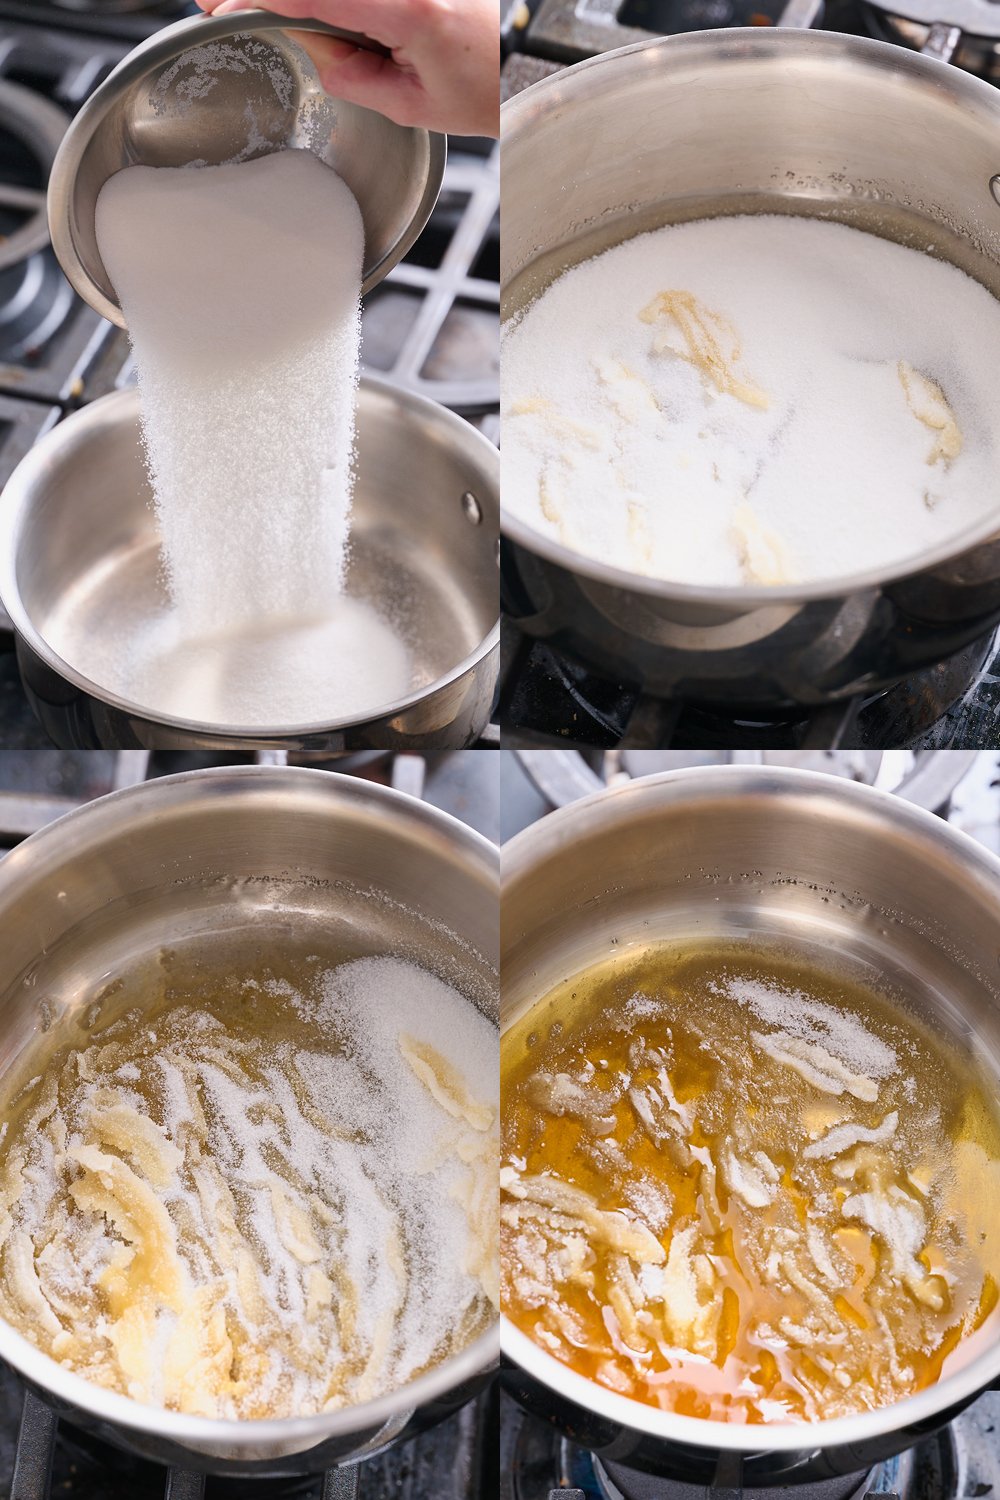
Swirl the pan occasionally to help the sugar melt evenly. The crystals should start to liquefy and turn a warm amber color. This is a sign that it’s caramelizing. This usually takes about 5 to 6 minutes.
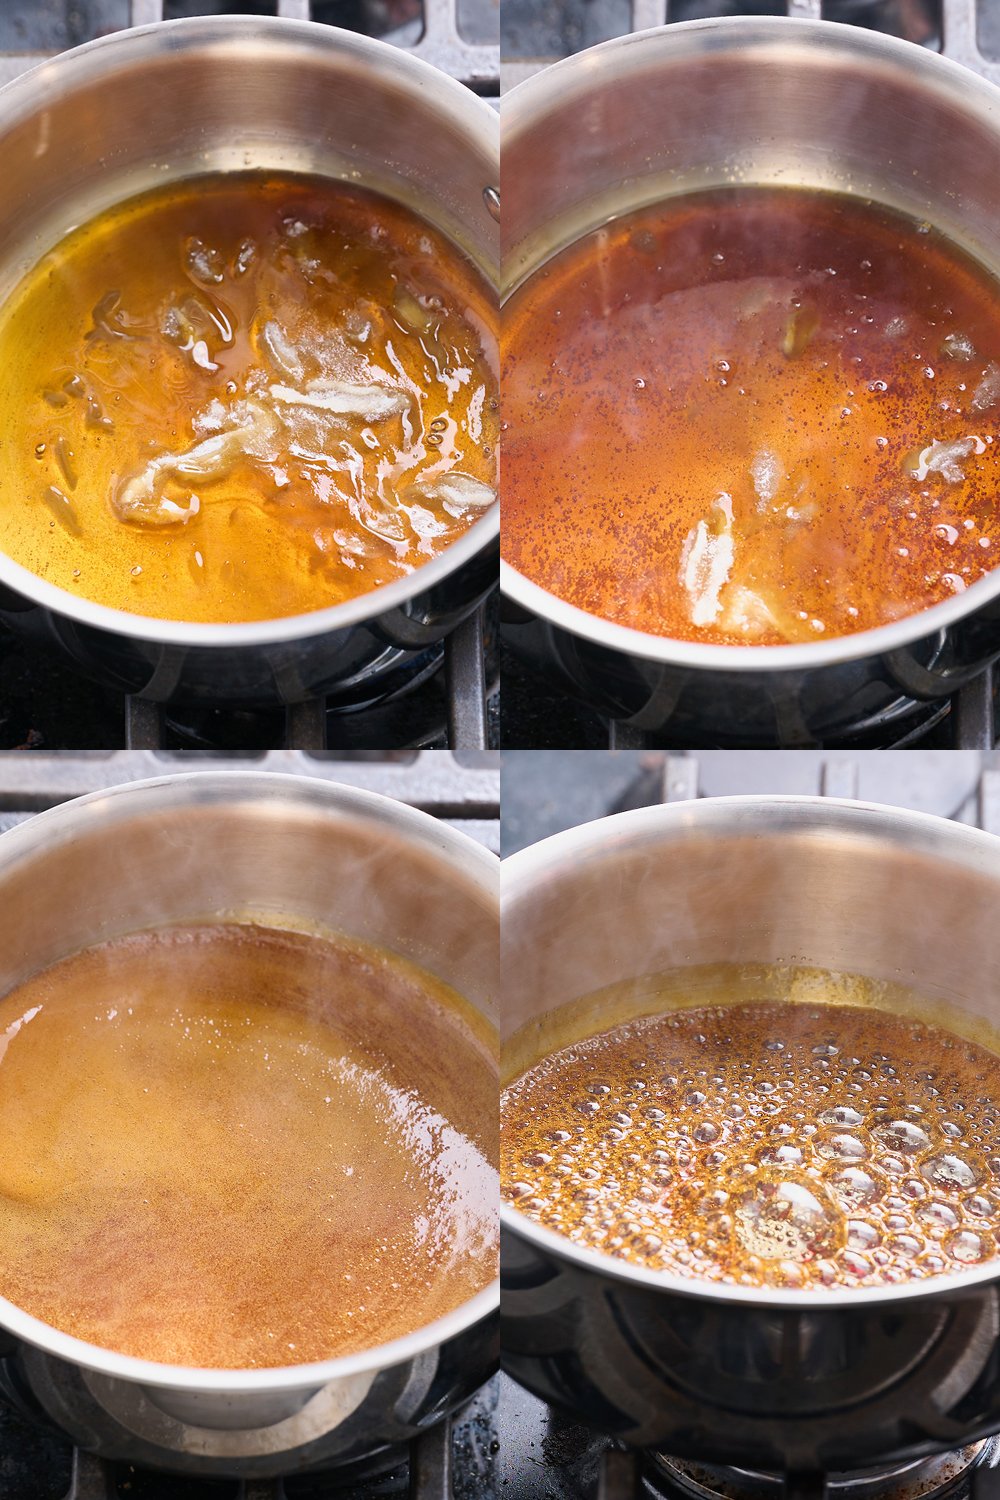
2. Add butter. After melting the sugar fully, turn off the heat and whisk in butter until incorporated.
3. Add cream. Gradually add the cream, whisking until smooth. The mixture will bubble up dramatically. The sauce should become smooth, glossy, and slightly thickened.
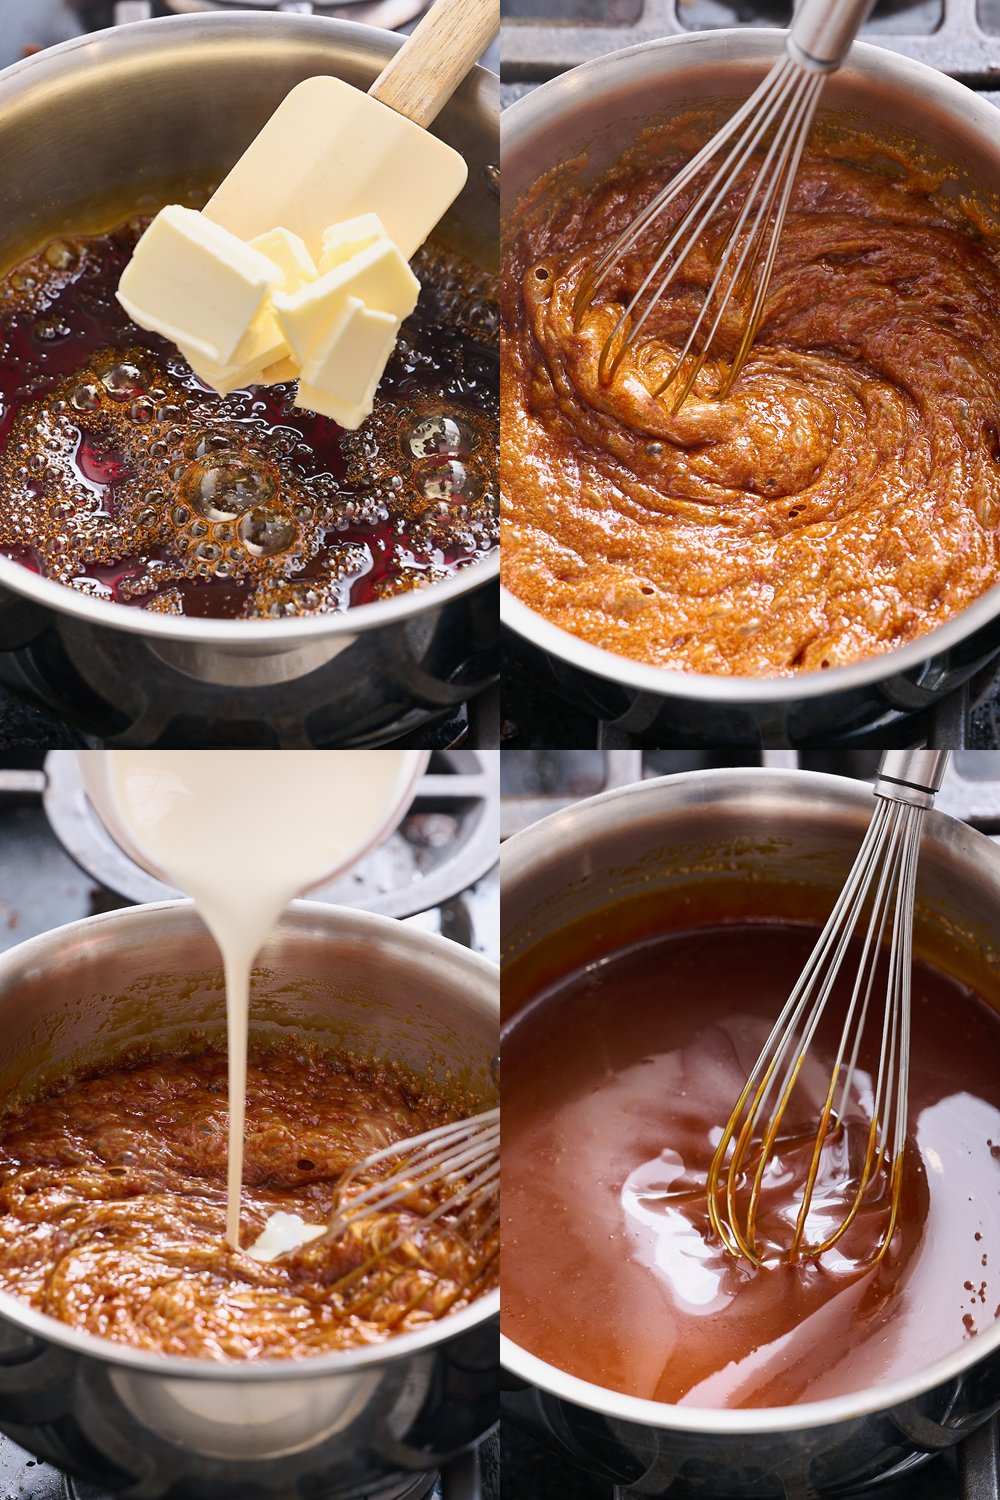
4. Troubleshooting: At this point, the caramel may seize. If clumps of sugar form — this is crystallization — continue heating over low heat until they melt back into a smooth sauce.
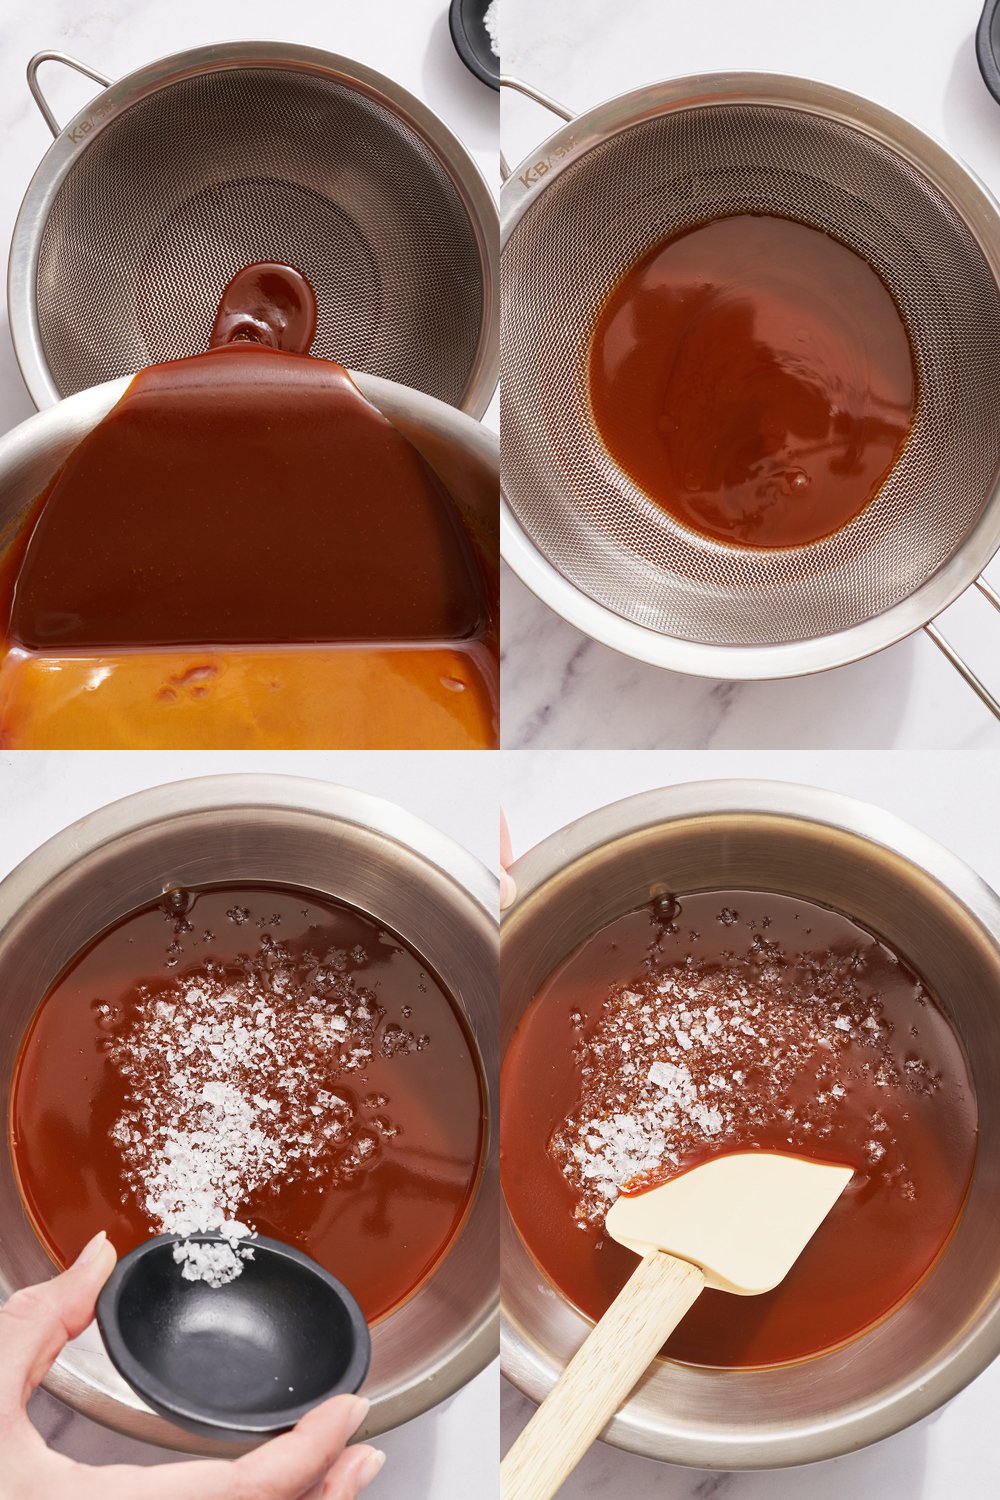
5. Strain the sauce. Remove the pan from the heat and pour the caramel through a fine mesh strainer into a heatproof container. This removes any stray sugar crystals for a perfectly smooth result.
6. Finish with salt (optional). A teaspoon of flaky sea salt balances the sweetness and enhances the buttery depth.
Let the caramel sit until it cools slightly and thickens, and then enjoy! For even thicker caramel, pop it in the fridge before serving.
Tips and Troubleshooting
A few simple tips and tricks can make the difference between a perfectly smooth, glossy sauce and a crystallized mess the first time and every time after.
- Use the right pan. A medium-sized, light-colored stainless steel pot works best. It heats evenly and makes it easy to see when the sugar has reached the perfect amber color.
- Stay close. Caramel can go from perfect to burnt in seconds, so it’s essential to keep an eye on it at all times, especially as the sugar dissolves.
- Swirl, don’t stir. When the sugar is melting, gently swirl the pan instead of using a utensil. This prevents sugar crystals from forming on the sides of the pot and helps avoid seizing.
- Temperature matters. Small shifts in heat make a big difference in color and flavor. Adjust the stovetop slightly if the sugar is browning too fast or too slowly for the perfect consistency.
- Use heatproof utensils. After adding the butter and cream, the caramel will bubble quite a bit. I use a wooden spoon or silicone spatula to avoid burns and prevent splatter.
- Saving seized caramel. If sugar crystallizes or the caramel clumps, return it to low heat and whisk until smooth. Pour through a fine mesh strainer to remove any remaining crystals.
- Fix the texture, too. This caramel sauce will be liquid and runny when it comes off the heat. As it cools, it’ll thicken. If preferred, add 1-2 tablespoons more cream to thin it.
- Patience pays off! Don’t rush any stage, from melting the sugar to whisking in cream. Careful attention ensures a glossy, silky sauce every time.
When it’s time to clean up, caramel can be a little tricky to get off the pot once hardened. If you get any stubborn sugar stuck to your pot, simply pour a cup of water over it and bring the pot to a boil. It’ll dissolve right off!
Flavor Variations
Caramel sauce is incredibly versatile. Feel free to get creative! I like to stir in pure vanilla extract for a warm, classic flavor or add a splash of bourbon or rum for a boozy twist. A pinch of cinnamon or espresso powder can deepen the flavor, especially when used in coffee. Once you complete the base method, make this caramel your own!
Serving Ideas
- Best Ever Chewy Brownies
- Caramel Apple Pie
- Classic Cheesecake
- Easy Cheesecake Bars
- French Vanilla Ice Cream
Storage and Reheating
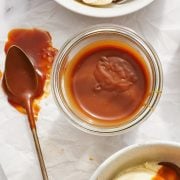
Once the caramel sauce has cooled completely, transfer it to an airtight glass container, like a mason jar, and store it in the fridge for up to 2 weeks. The sauce will thicken as it chills, so microwave it for 20-30 seconds to bring it back to a caramel drizzle.
You can freeze caramel sauce for up to 3 months. Thaw it in the fridge overnight before using, then reheat in the microwave or stovetop over low heat. If the caramel looks separated or grainy after reheating, simply whisk it until it’s smooth again.
Don’t let the extra steps keep you from making this sauce ahead of time. I love gifting this one as a treat over the holidays or as a little something special for any occasion.
More Dessert Recipes You’ll Enjoy
- Caramel Apple Coffee Cake
- Caramel Pecan Blondies
- Salted Caramel Apple Sheet Cake
- Salted Caramel Pumpkin Cheesecake
- Salted Caramel Toffee Cupcakes
- Pumpkin Cheesecake With Biscoff Cookie Crust
- Dutch Apple Pie With Caramel Streusel Topping
FAQs
The best caramel sauce is usually made with sugar, butter, and cream, giving it a thick, glossy, and rich texture perfect for drizzling over desserts or snacking by the spoonful.
Caramel syrup, on the other hand, is usually just sugar and water, and sometimes corn syrup or vanilla extract. It’s thinner and more pourable, like a liquid sweetener for coffee or pancakes.
This caramel sauce recipe calls for heavy cream, which gives the caramel its rich, pourable consistency. Using condensed milk instead creates more of a dulce de leche. It’s thicker, gooier, and sweeter than caramel sauce, with a slightly different flavor.
This recipe won’t work for caramel apples. The caramel sauce stays too soft to coat and harden on whole apples. However, this recipe is delicious drizzled over sliced apples or as a sweet dip. I have a different recipe for caramel apples if that’s what you need! It’s easy for caramel beginners, too.
My recipe doesn’t call for any corn syrup. I like that you can still drizzle it once it’s ready, but if you want it a little thicker, chill the sauce in the fridge for a bit. It’ll firm up as it cools.

Email This Recipe
Enter your email, and we’ll send it to your inbox.
Ingredients
- 1 cup (200 grams) granulated sugar
- 5 tablespoons (71 grams) unsalted butter
- ½ cup plus 1 tablespoon heavy cream
- 1 teaspoon flaky sea salt (optional)
Instructions
- In a dry, medium-sized stainless steel saucepan or pot, cook the sugar over medium heat.
- Swirl the pan occasionally, until the sugar melts and begins to turn a deep golden color, about 5 to 6 minutes.
- Turn off the heat and whisk in the butter until melted.
- Whisking constantly, gradually add the cream. Whisk until the mixture is smooth. If the caramel seizes or clumps of sugar form, continue heating on low heat until they melt back into a smooth sauce.
- Remove from heat and pour through a fine mesh strainer into a heatproof container.
- Stir in the salt (if using).
- Let hot caramel cool until warm and thick. Use or store in an airtight container in the fridge for up to 2 weeks.
Notes
This post was originally published in February 2014 and has been updated with new photos and recipe improvements. Photos by Joanie Simon.


Tessa makes everything seem so easy. Well, guess what? This recipe IS! Just made my first batch of caramel ever and following her directions it turned out delicious! So. Should I just drink it or wait till it cools and make my own caramel apples?
Ooh caramel apples sound amazing! So glad you tried this recipe out.
Hi Tessa, I usually premake caramel sauce for cooking. But no matter how careful I am or how long I wait, the sugar always seize and crystalized around the rim right above the already melted sugar. How do I avoid this or help it melt back into the sugar without over burning the sugar that had turned golden brown?
I tried to make this twice. First time it took about 15 minutes to melt and the final product tasted burnt. Then I tried it again in a bigger pot so the bottom surface was bigger, hoping that would work. Nope. It took 10 minutes to melt and the final product still tasted burnt. I’m typically a pretty good cook and have no idea why mine took so much longer to melt.
Going to buy some caramel sauce tomorrow for your cheesecake. I give up.
I wasn’t planning on putting a rating on it but it won’t let me post the comment without.
Can I substitute regular sea salt for flaky?
Could I use brown sugar?
Brown sugar is actually used to make butterscotch sauce! https://handletheheat.com/make-butterscotch-sauce/
Could I use brown sugar?
Hi! Should I use cold heavy cream or let it come to room temp?
Thank you!
Sincerely,
Trying this recipe for Thanksgiving dessert 🙂
This was so easy and sooooooo good. Why would anyone buy caramel sauce. Thank you so much for sharing this recipe.
Looking forward to trying this recipe!! Question though; how do you think this caramel recipe will behave when baked into a cheesecake? Do you think it will be sturdy enough? Thanks!
I made this sauce yesterday. I was a bit frustrated by my process, but in the end I was successful and it is delicious! You see, I have an electric stove. The process is much harder. My sugar took at least 15-20 minutes to get to a syrupy point. When I stirred in the butter and cream, it was ridiculously clumped. But I got out my whisk and persevered. It smoothed out very nicely after I put it back on the burner. But there was quite a bit in the bottom and sides of the pan that I couldn’t get to mix in. I would definitely say it was worth the process though!
I came here to leave feedback nearly identical to this! While my caramel sauce ended up being a success eventually, I would have appreciated more detail in the instructions on this one. When melting the sugar in step 1, do you have to wait until all of the sugar is completely melted and smooth or just golden brown in color (yet still solid) before adding the butter? Is there a reason you can’t stir it with a spoon to keep clumps off the edges vs “swirling” like the directions say? I found mine to take way longer than the 15 minutes (probably 30+ minutes). But I kept whisking away on low heat and eventually it was smooth. When I poured it through the fine mesh strainer there was quite a bit of hard crunchy bits left in the pot so I’m guessing something went wrong. I’m glad the end product still tasted great and it did not burn!
Hi Leanne! We are glad to hear that your caramel turned out so well in the end! Check out all the step-by-step pictures and instructions Tessa added to the top of the post, as well as all the tips and info in the pink tip box – all above the recipe. Hopefully this will make the process easier for you next time 🙂
As a tip, I keep a large bowl or casserole dish filled with ice water when I am melting sugar for a safety precaution. As you know, the heightened danger when cooking sugar is its ability to keep burning when it touches skin. By having the ice water available, I am able to immediately cool the sugar if it were to accidentally contact my skin. Thanks for all you do. Impressive website.
Hi,
I was just wondering if it is a good idea to double or triple the recipe?