

This post may contain affiliate links. Read our disclosure policy.
Tessa’s Recipe Rundown
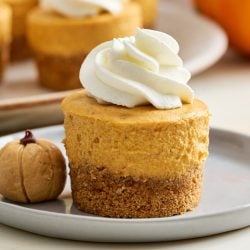
Taste: Since these aren’t baked, they offer a deep pumpkin spice flavor balanced by the touch of white chocolate in the filling.
Texture: The filling is creamy, rich, and smooth and perfectly contrasted by the buttery crunch of the crust.
Ease: No water bath, no baking, no special techniques.
Why you’ll love this recipe: Bold flavor without any hassle, you’re just prepping and assembling! Perfect for a fall party.
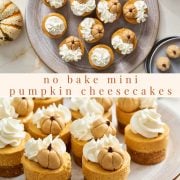
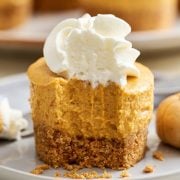
These No-Bake Mini Pumpkin Cheesecakes have a few tricks up their sleeves.
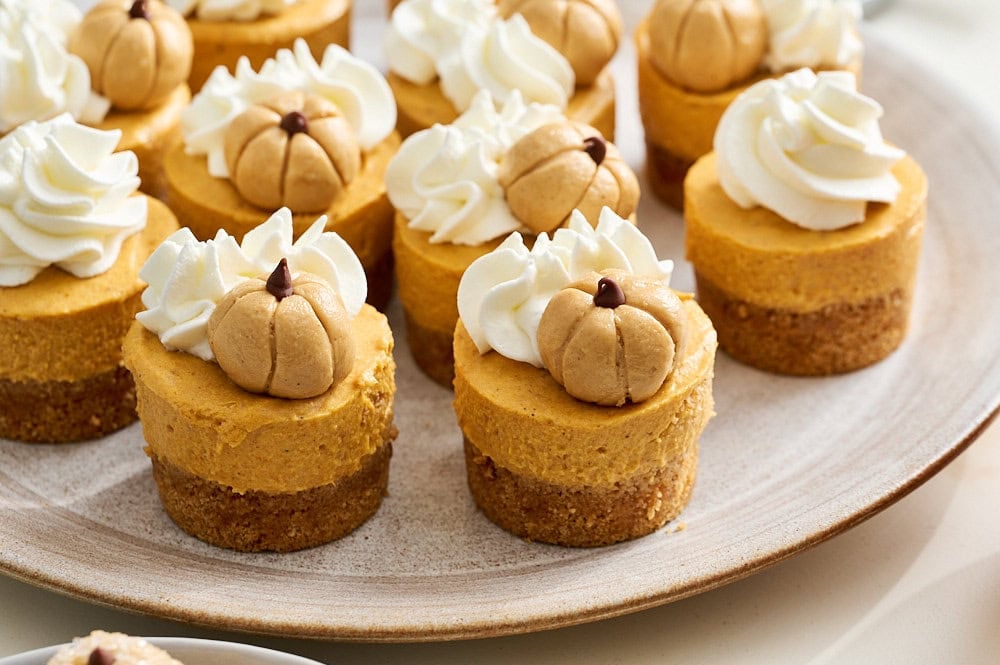
Firstly, the lack of baking means none of the pumpkin spice flavor is diminished. Not only is it perfectly balanced by the sweetness of the melted white chocolate in the filling, but that chocolate also helps set up a firm texture for a beautiful appearance.
No gelatin, no oven, no water bath, no fuss! I love using a mini cheesecake pan for this recipe, but I’ve tested it with multiple other pan options to give you plenty of choice.
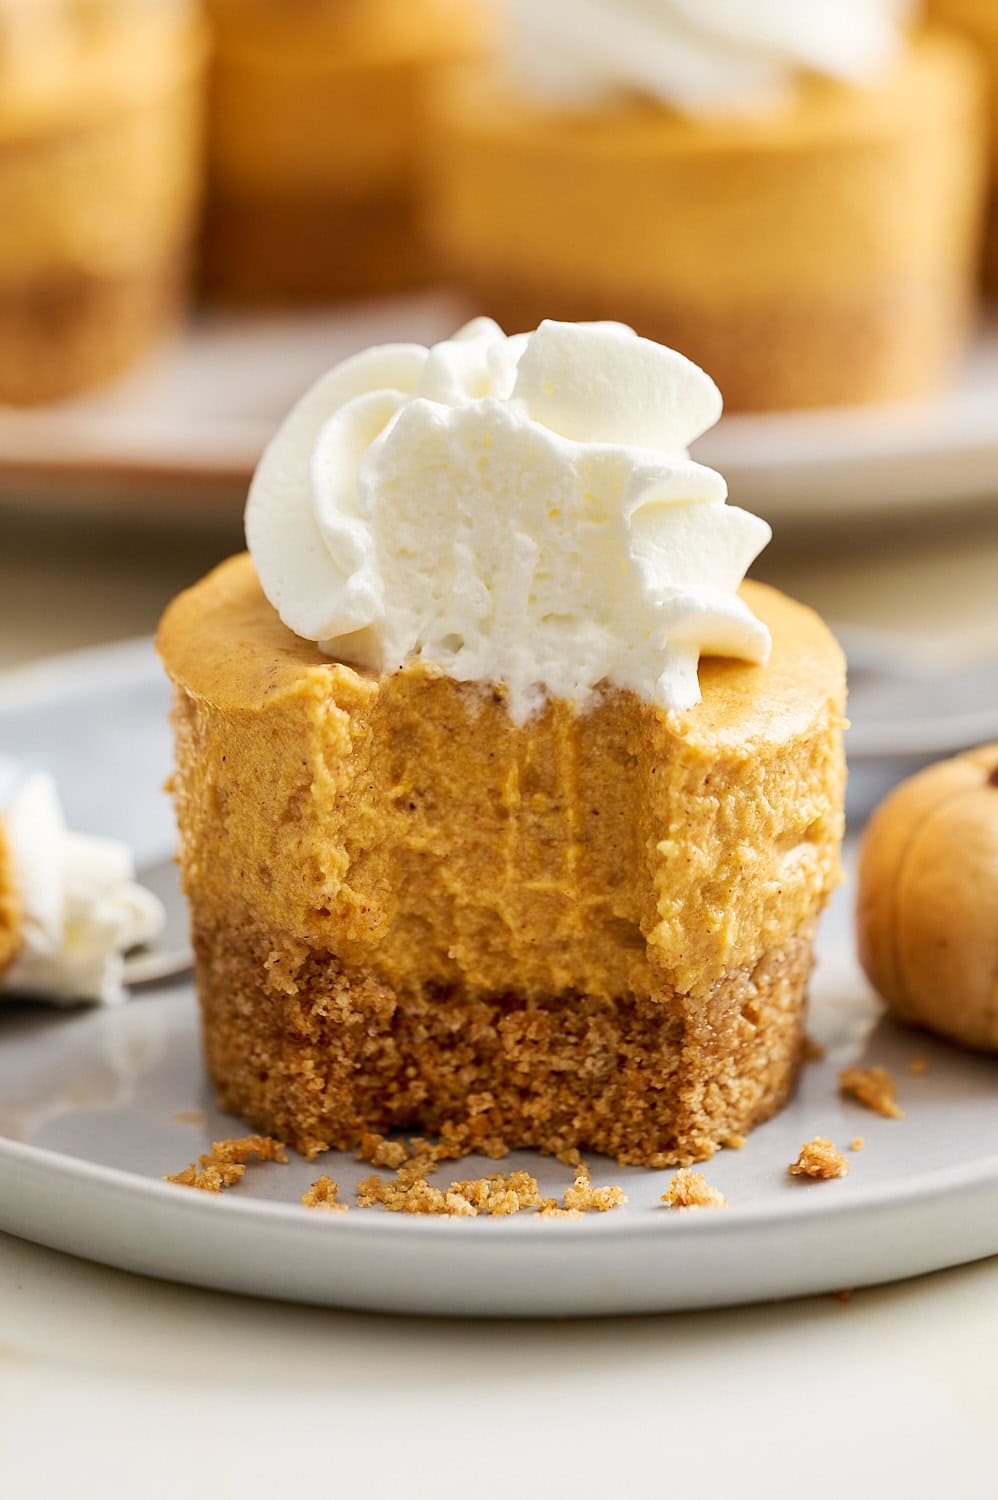
If your oven is busy with other holiday baking, this is the perfect holiday party recipe. Plus, it’s super simple to transport and serve.
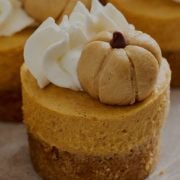
For extra flavor and cuteness, top these with my homemade Peanut Butter Pumpkins — they take just 7 minutes to make!
Recipe Ingredients
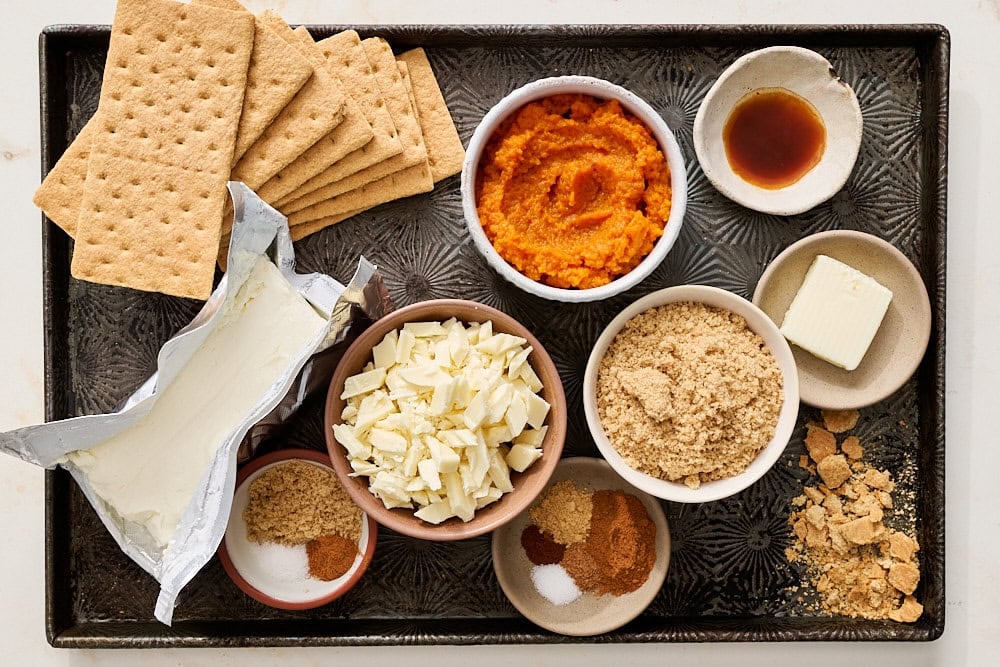
Graham Crackers: Use one full sleeve (9 crackers) of rectangular crackers. I prefer Annie’s brand, but any brand will work. Be sure they’re ground into fine crumbs so the crust doesn’t crumble since it isn’t baked.
White Chocolate: This is what balances the pumpkin spice flavor and sets the filling in place of gelatin. I recommend chopping up a bar of white baking chocolate, like Ghirardelli, instead of using chocolate chips which don’t melt as well. Let it cool to just warm before adding to the filling (more on this below).
Cream Cheese: Only use a full-fat block of cream cheese at room temperature. Cold cream cheese will result in unincorporated white lumps and streaks in your filling. Don’t use tub cream cheese meant for bagels.
Pumpkin Puree: For best results, use room temperature canned pure pumpkin puree, preferably Libby’s. I don’t recommend homemade puree for this recipe, as it contains too much water. Learn more about fresh vs. canned pumpkin puree here.
Warm Spices: Be sure they’re fresh so they convey enough flavor! If you don’t have the individual spices, you can also use about 1 ¾ teaspoons pumpkin pie spice.
Heavy Whipping Cream: Keep it cold so it whips properly.
How to Make No Bake Mini Pumpkin Cheesecakes (Step by Step)
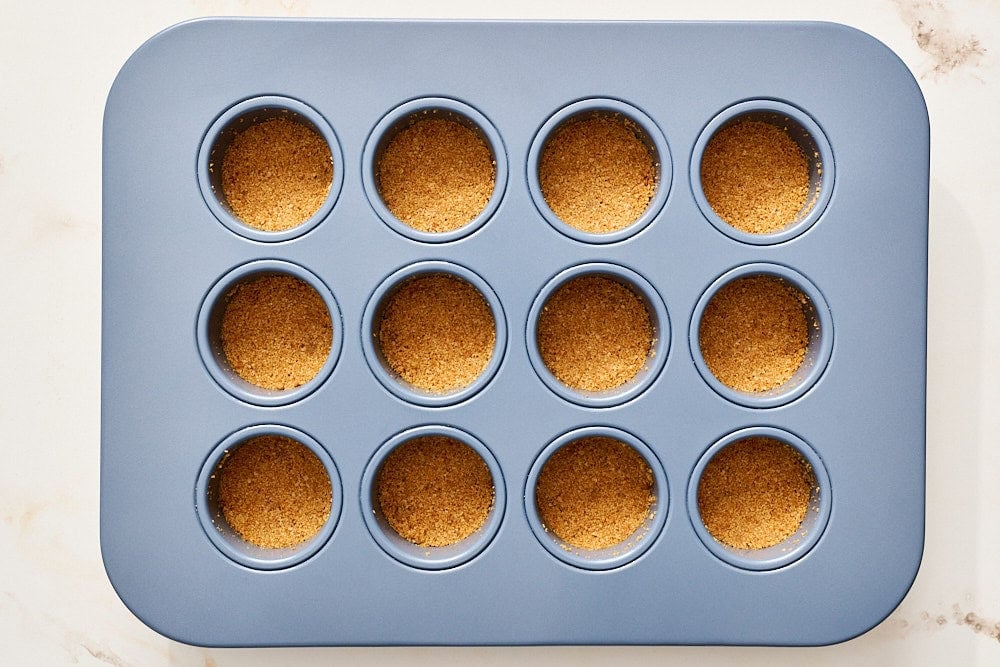
Prepare & divide crust. Firmly press the graham cracker crust into each cavity. A shot glass, tart tamper, or flat muddler works well here.
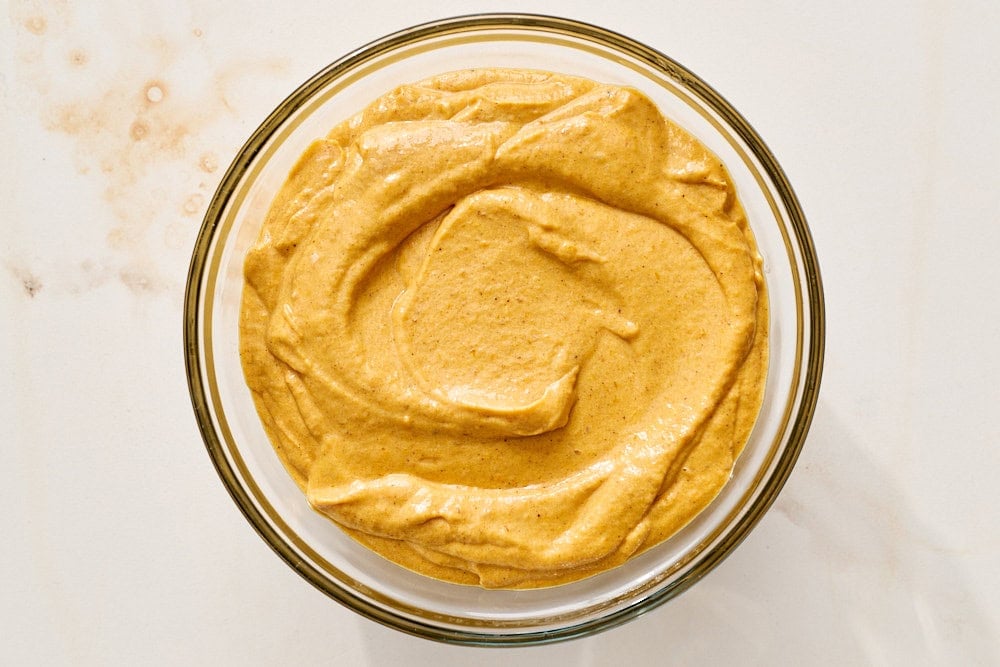
Prepare filling. Combine filling ingredients with an electric mixer until smooth.
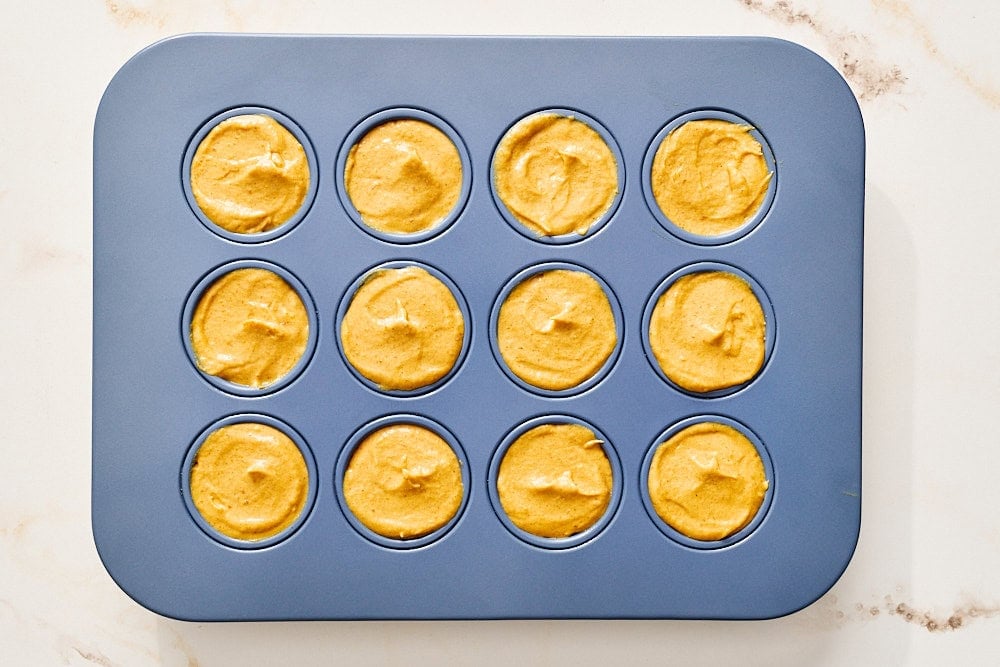
Divide filling evenly among cavities, smoothing the top. Let chill for at least 5 hours.
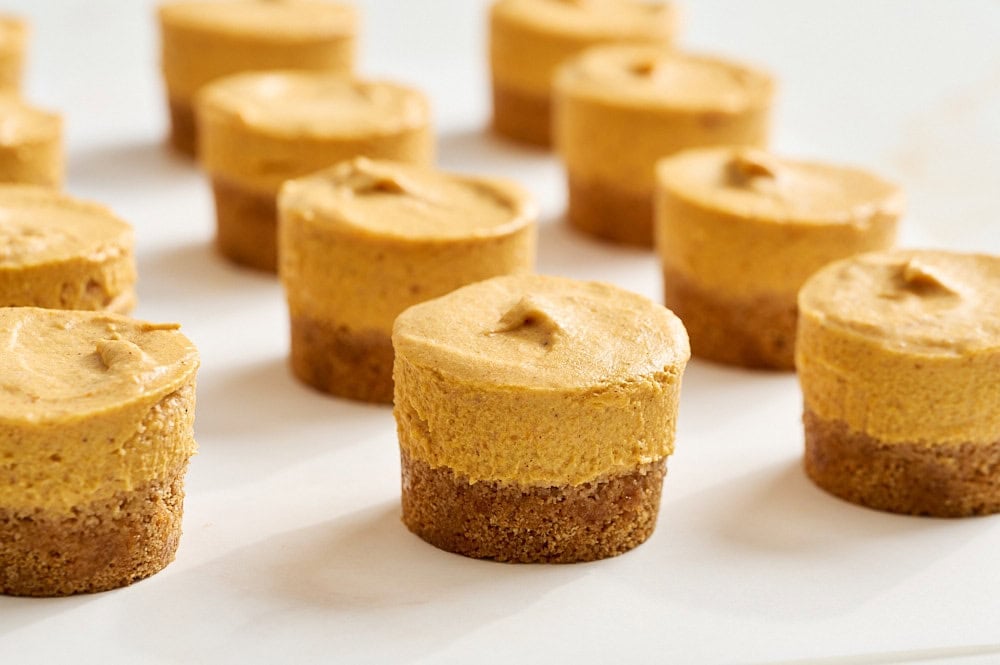
Remove from pan. For the easiest release from the pan and/or muffin liners, freeze 30 minutes beforehand.
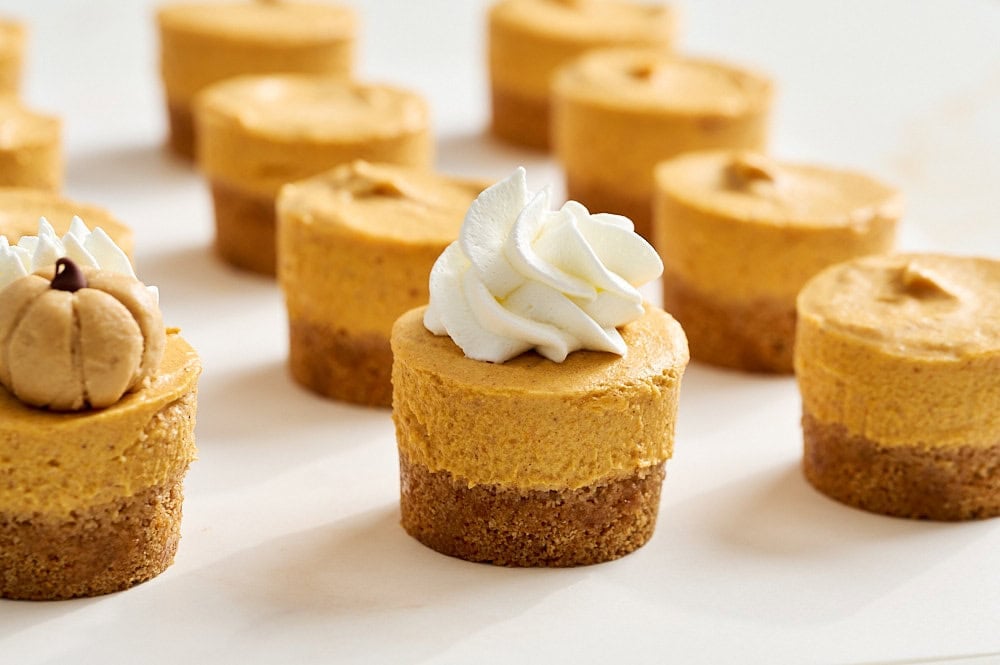
Garnish. Pipe whipped cream on top and garnish with a peanut butter pumpkin, if desired.
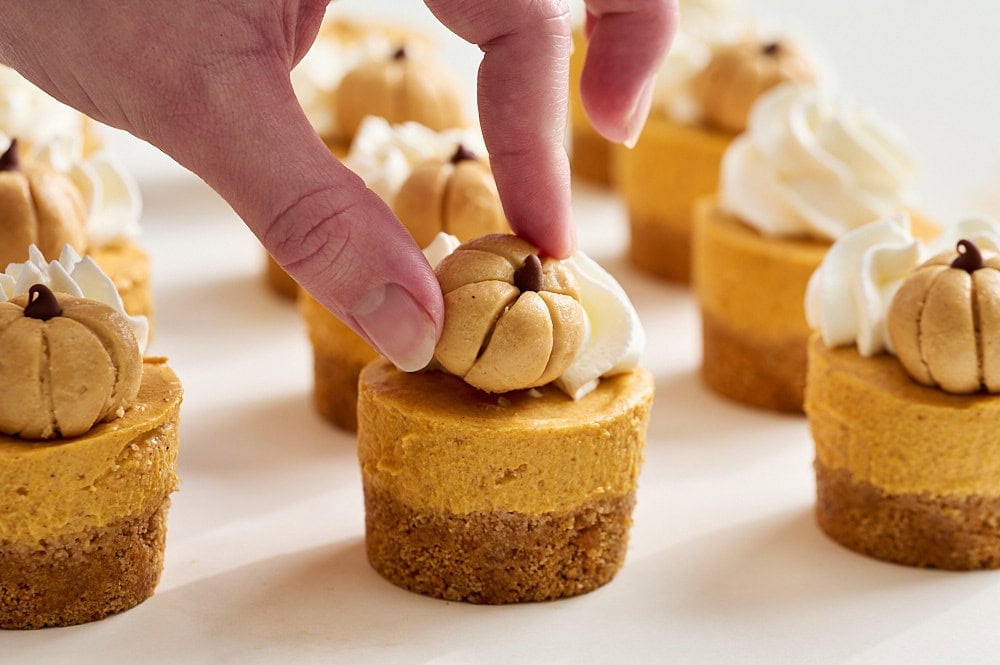
Pan options for mini cheesecakes
- Mini Cheesecake Pan: This is what you see photographed. I LOVE my mini cheesecake pan. It makes adorable shapes that pop up and out of the pan thanks to the removable bottom disks.
- Standard 12-Cup Muffin Tin: Use about 3 tablespoons of filling per cavity. A large cookie scoop makes easy work of this!
- Mini Muffin Tin: Double the crust recipe. Use 1 tablespoon crust with 1 tablespoon filling. If topping with mini peanut butter pumpkins, 2.5x the recipe and make into 6-gram balls. Yield: 36 mini cheesecakes.
- Mason Jars: If you don’t have any of the above, you can layer the crust, filling, and whipped cream into mason jars to serve for dessert. I haven’t tested specific sizing and yields, so you’ll have to experiment.
Tessa’s Tips
- Bring all filling ingredients to room temperature. If you’re using leftover refrigerated puree, bring it to room temperature or your filling will be lumpy.
- Cool the white chocolate until it’s just warm to the touch, about 70-75°F. If it’s too hot, it’ll thin out the filling. If it’s too cold, it’ll seize into little hard bits in your filling and can affect how the cheesecake sets.
- Chill for at least 5 hours, but preferably overnight. This will allow the filling to set and the flavors to ripen fully.
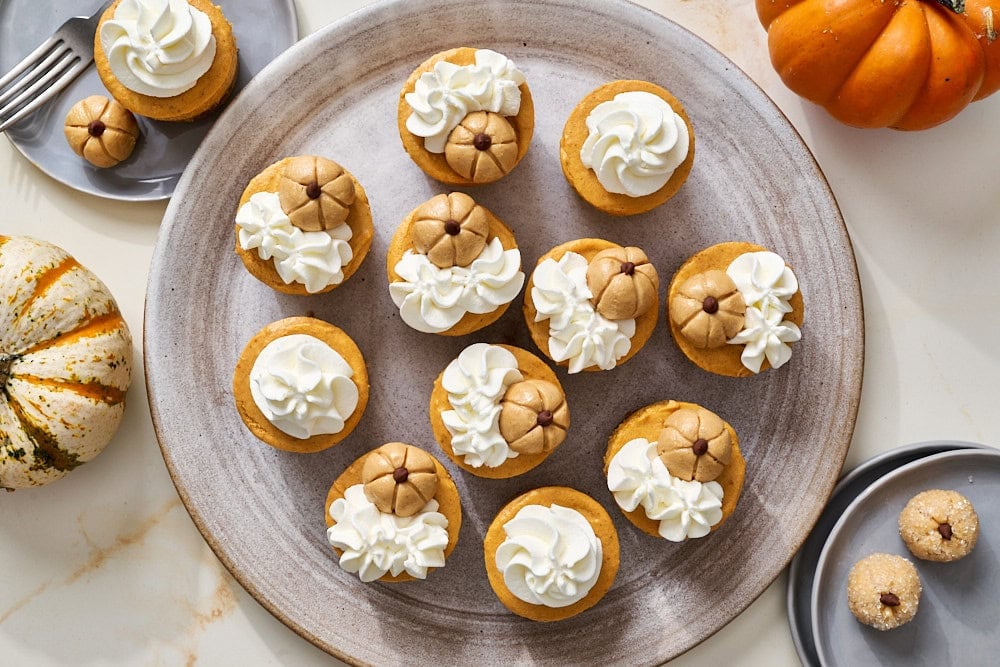
Storage & Make ahead
Fridge: Store assembled cheesecakes in an airtight container in the fridge for up to 2 days. If making ahead for a party, reserve the whipped cream topping and pumpkins until the day you plan to serve.
Freeze: Freezing works for leftovers, but isn’t recommended for make-ahead as the crust softens slightly. If needed, freeze the cheesecakes without toppings and thaw overnight in the fridge.

Email This Recipe
Enter your email, and we’ll send it to your inbox.
Ingredients
For the crust:
- 1 sleeve (9 cookies, 135 grams) graham crackers
- 4 tablespoons (56 grams) unsalted butter, melted
- 1 tablespoon light brown sugar
- 1/4 teaspoon ground cinnamon
- Pinch of salt
For the filling:
- 4 ounces (113 grams) white chocolate, chopped into small pieces
- 8 ounces (227 grams) cream cheese, at room temperature
- 1 tablespoon (14 grams) unsalted butter, at room temperature
- 1/2 cup (100 grams) light brown sugar
- 1 cup (244 grams) pumpkin puree, at room temperature
- 1 teaspoon vanilla extract
- 1 teaspoon ground cinnamon
- 1/4 teaspoon ground ginger
- 1/8 teaspoon ground cloves
- 1/8 teaspoon ground nutmeg
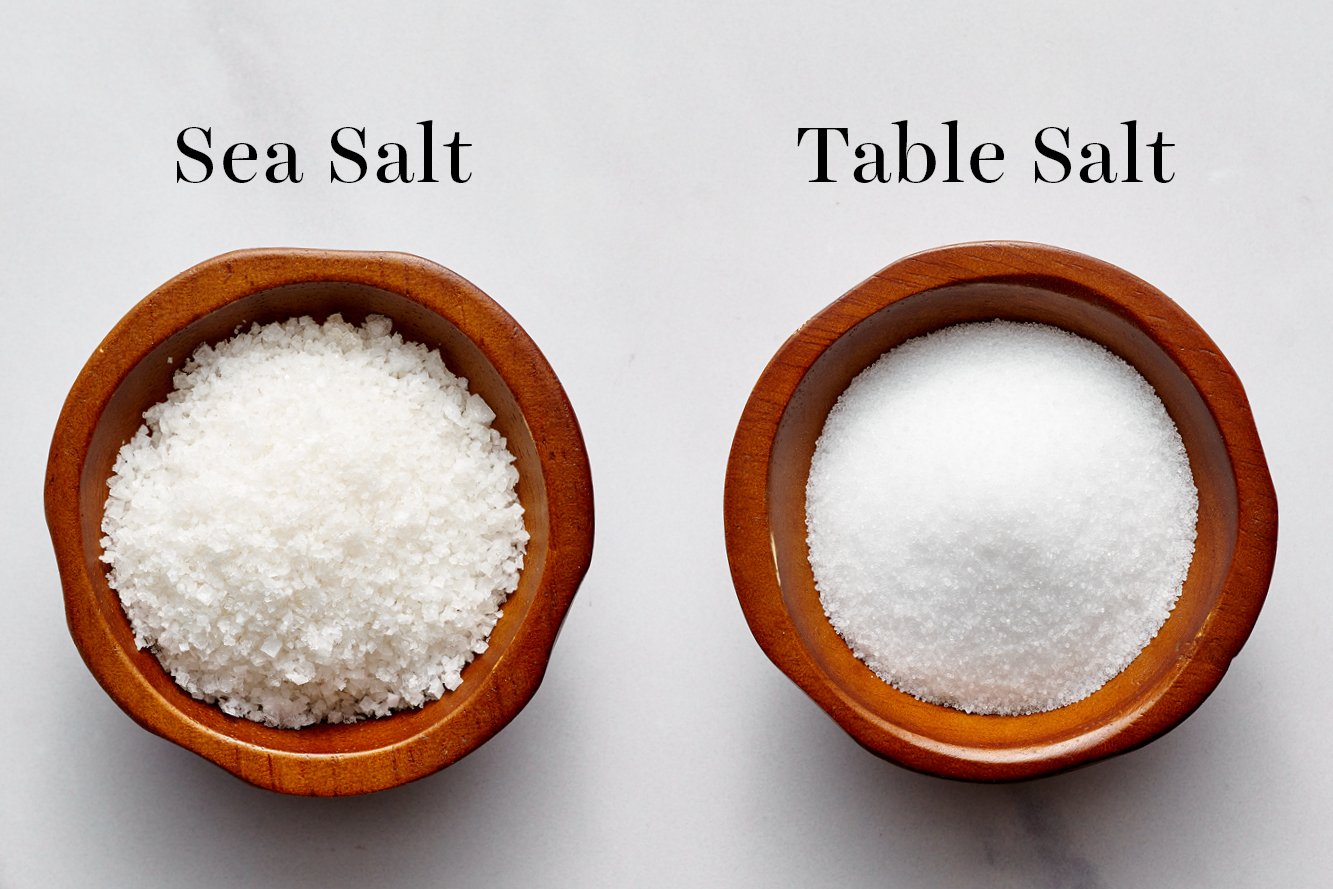
- 1/8 teaspoon fine sea salt
For the peanut butter pumpkins:
- 12
Peanut Butter Pumpkins , optional
For the whipped cream topping
- 1/2 cup (119 grams) heavy whipping cream, cold
- 1 tablespoon powdered sugar
Instructions
Make the crust:
- Thoroughly grease the cavities of a mini cheesecake pan with nonstick cooking spray, or line a standard cupcake tin with paper liners.*
- In a food processor, pulse the graham crackers until finely ground. Add the melted butter, brown sugar, cinnamon, and salt and pulse until moistened.
- Divide the mixture among the cavities, about 1 1/2 tablespoons each. Firmly press into the bottom of each cavity. A small object like a shot glass, flat muddler, or tart tamper makes this easier. Set aside.
Make the cheesecake:
- Melt the white chocolate in a microwave-safe bowl in 15-second bursts, stirring well after each burst, until smooth. Set aside to cool to just warm, about 75°F.
- In the bowl of an electric mixer fitted with a paddle attachment, beat the cream cheese, butter, and brown sugar on medium-high speed until light and creamy, about 2 minutes. Scrape down the sides and bottom of the bowl.
- Add the pumpkin puree, vanilla, cinnamon, ginger, cloves, nutmeg, and salt. Mix on low until combined, then increase speed to medium-high and beat until thickened, about 1-2 minutes. Scrape down the sides and bottom of the bowl.
- Add the cooled white chocolate and mix on low until fully combined.
- Divide the mixture evenly among the cavities. If using a cupcake tin, use a large cookie scoop to add about 3 tablespoons of filling to each liner. Lightly tap the pan on the countertop a few times to release any air bubbles. If using a cheesecake pan, smooth the tops with an offset spatula.
- Cover with plastic wrap and refrigerate until firm for at least 5 hours, but preferably overnight for the best flavor and a set texture.
- When ready to assemble, freeze for 30 minutes before removing from the pan.
Assemble the cheesecakes:
- In the bowl of an electric mixer fitted with a whisk attachment, beat the heavy cream and powdered sugar until stiff peaks form, about 2-3 minutes.
- Using a piping bag with a small star tip, pipe swirls of whipped cream over the top of each cheesecake, or leave one-third of the top empty to make room for a peanut butter pumpkin. Serve immediately, or refrigerate until ready to serve.
- Assembled cheesecakes are best served the day they are made but can be stored in an airtight container in the fridge for up to 2 days. For the best appearance, add the whipped cream and peanut butter pumpkins within a few hours of serving.
Notes
- Mini Cheesecake Pan: This is what you see photographed. I LOVE my mini cheesecake pan. It makes adorable shapes that pop up and out of the pan thanks to the removable bottom disks.
- Standard 12-Cup Muffin Tin: Use about 3 tablespoons of filling per cavity. A large cookie scoop makes easy work of this!
- Mini Muffin Tin: Double the crust recipe. Use 1 tablespoon crust with 1 tablespoon filling. If topping with mini peanut butter pumpkins, 2.5x the recipe and make into 6-gram balls. Yield: 36 mini cheesecakes.
- Mason Jars: If you don’t have any of the above, you can layer the crust, filling, and whipped cream into mason jars to serve for dessert. I haven’t tested specific sizing and yields, so you’ll have to experiment.
More Recipes You’ll Love:
- No-Bake Pumpkin Mousse Pie
- Pumpkin Cheesecake with Biscoff Cookie Crust
- No-Bake S’mores Mini Cheesecakes
Photos by Joanie Simon.