Tessa’s Recipe Rundown
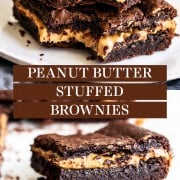
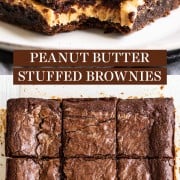
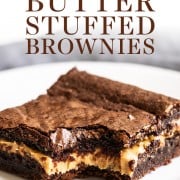
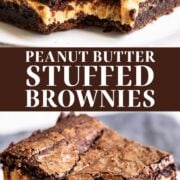
Taste: Like an even more flavorful Reese’s peanut butter cup!
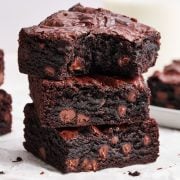
Texture: Crazy rich, fudgy, and gooey.
Ease: Super strong peanut butter taste and texture, which is hard to achieve when baking with PB.
Pros: Fun twist on brownies for PB lovers.
Cons: None!!
Would I make this again? Yes yes and yes.
This post may contain affiliate links. Read our disclosure policy.
I’m obsessed with peanut butter and have no shortage of peanut butter desserts in my recipe index. You guys know this already!
However, sometimes the most frustrating part of baking with peanut butter is that the intensity of that distinct nutty taste is subdued with baking.
Unless you’re making my No Bake Peanut Butter Cheesecake or Peanut Butter Frosting, you just lose some of that peanutty goodness once it enters the oven. Especially when you add another strong flavor like chocolate to the mix.
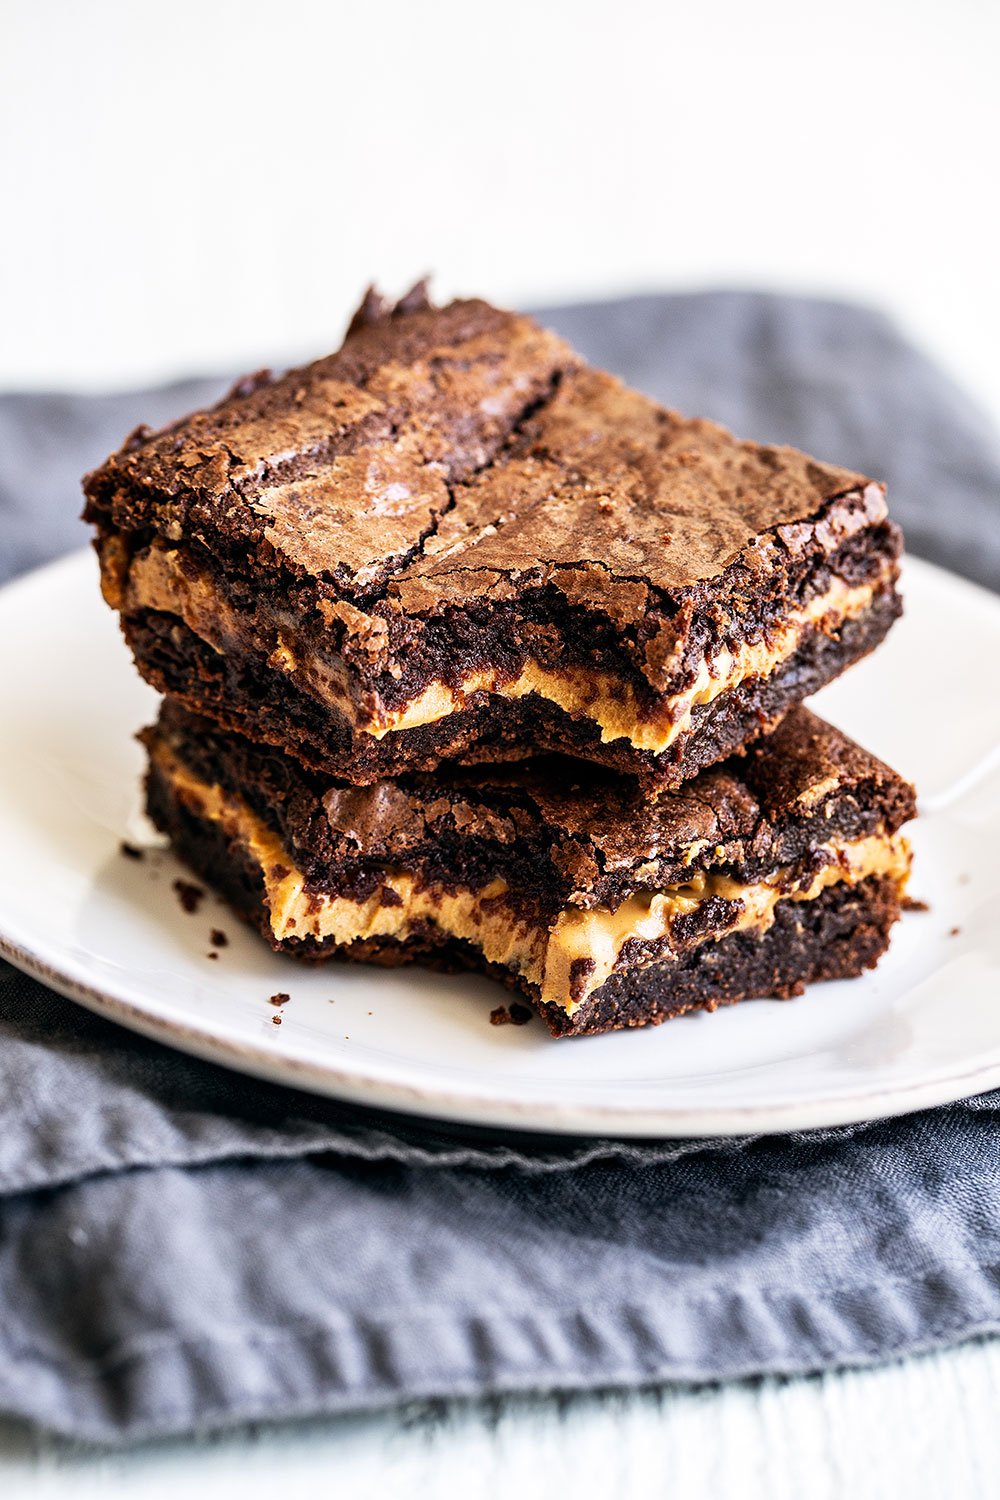
So I challenged myself to create Peanut Butter Brownies that maintained the integrity of the peanut flavor even after baking.
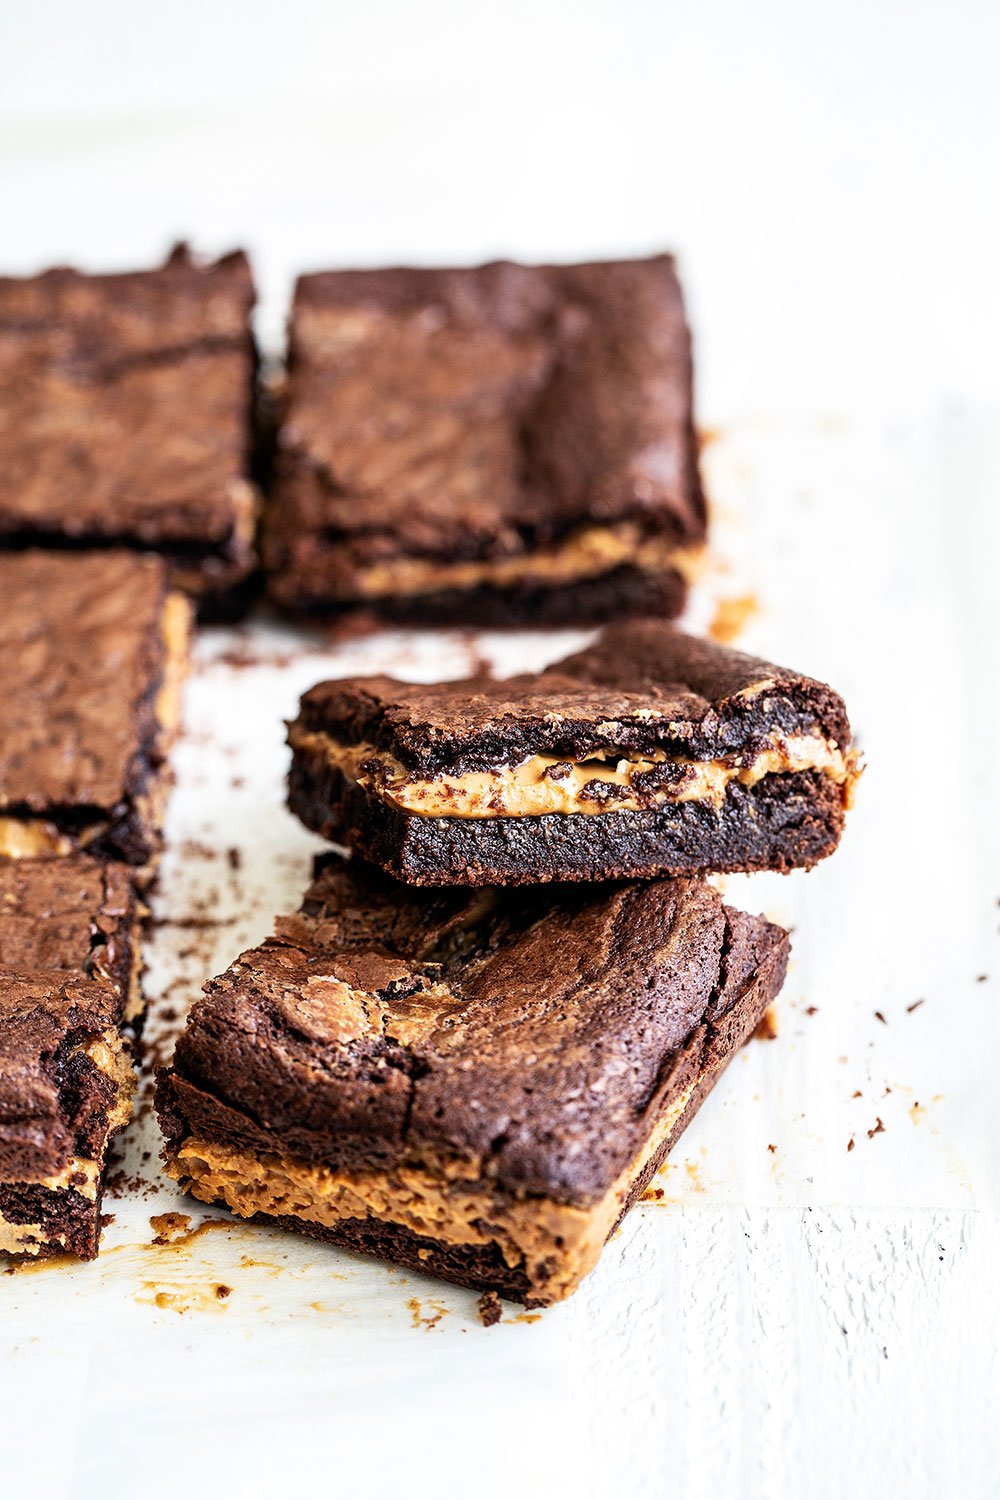
I thought about just topping chocolate brownies with a PB frosting or adding peanut butter chips to the brownie batter. But I wanted them to be ultra-rich, fudgy, and slightly gooey. I wanted them to be like a peanut butter cup, but with brownie instead of solid chocolate enrobing the PB. Because this is how my mind works.
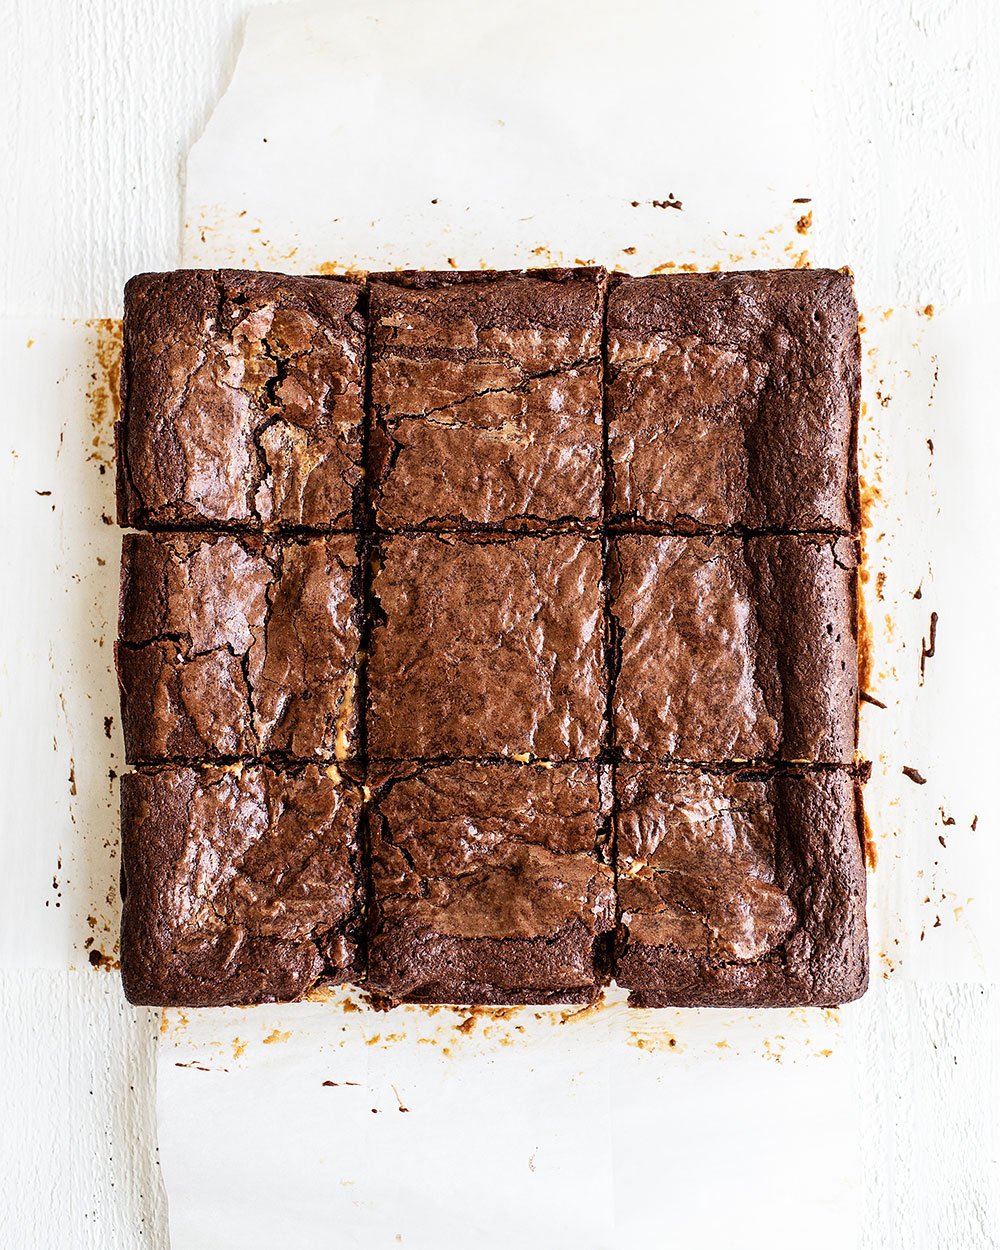
So I came to the conclusion that stuffing the brownies with peanut butter would do the trick. But how do you prevent the peanut butter from melting into the batter as it bakes and losing its distinct taste and texture?
Well, you basically freeze a layer of peanut butter in advance of stuffing! Doing so gives you the best texture that peanut butter has to offer.
I got the idea from Recipe Tin Eats, who did the same thing but with Nutella!
So I took that technique and coupled it with PB and my favorite simple brownie base, and the results were nothing short of mouthwatering.
Make sure you have a glass of cold milk handy when serving. These babies are so thick, rich, and fudgy, they practically require it!

Sprinkle of Science
How to Make Peanut Butter Stuffed Brownies
How to Add Peanut Butter to Brownies
This is the fun part of this recipe! To get the best peanut butter flavor AND texture:
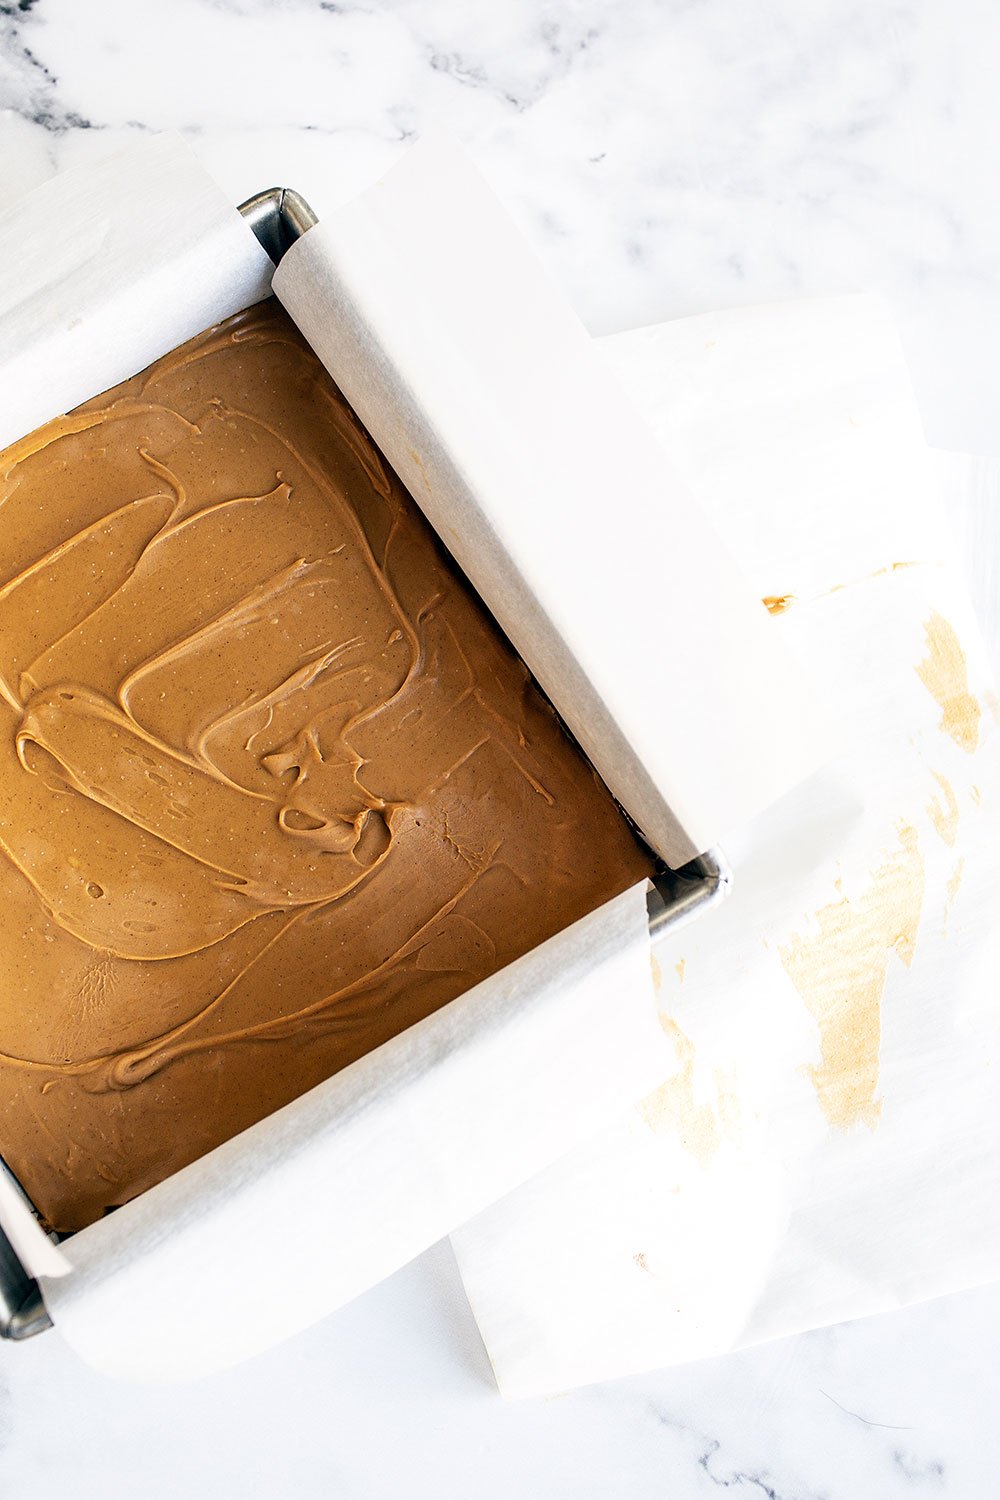
- Prepare the pan. Line an 8×8-inch pan with parchment paper. Create an overhang so that you can lift the sheet of peanut butter out of the pan and place it back in the freezer while you mix up the batter.
- Melt the peanut butter. Pour it into the prepared pan.
- Freeze. Place the pan of PB in the freezer until solid, about 1 hour.
- Prepare the brownie batter as directed below. Pour half the brownie batter into the pan. Top the batter with the frozen sheet of PB, then pour the remaining batter on top. Bake immediately!
- Please note: be sure to use conventional creamy peanut butter like Skippy or Jif. Any kind of “natural” peanut butter in which the oil separates won’t work in this recipe.
How to Make Fudgy Brownies
- The butter content in these brownies helps create a rich, fudgy brownie.
- The extra egg yolk adds even more richness.
- You’ll also notice there’s no baking soda or baking powder in this recipe. That’s because we’re making fudgy rich brownies, not cake.
- Whisking the eggs vigorously for a full minute as the recipe instructs will add enough air to slightly leaven the brownies without creating a cakey texture.
- Whatever you do, be sure not to accidentally over-measure the flour and cocoa powder. For perfect measurements and best results, weigh all ingredients with a digital kitchen scale.
- If you don’t have one, then lightly spoon each ingredient into the measuring cup and sweep off the excess. This will prevent you from compacting too much into the cup and creating dry brownies.
- Use a high-fat cocoa powder – learn more about high fat cocoa powders here.
- Don’t reduce the sugar – learn more about sugar’s role in baking brownies here.
- Additionally, try not to overbake your brownies to prevent them from drying out. I found the perfect bake time to be around 30 minutes in my oven.
Is Oil or Butter Better For Fudgy Brownies?
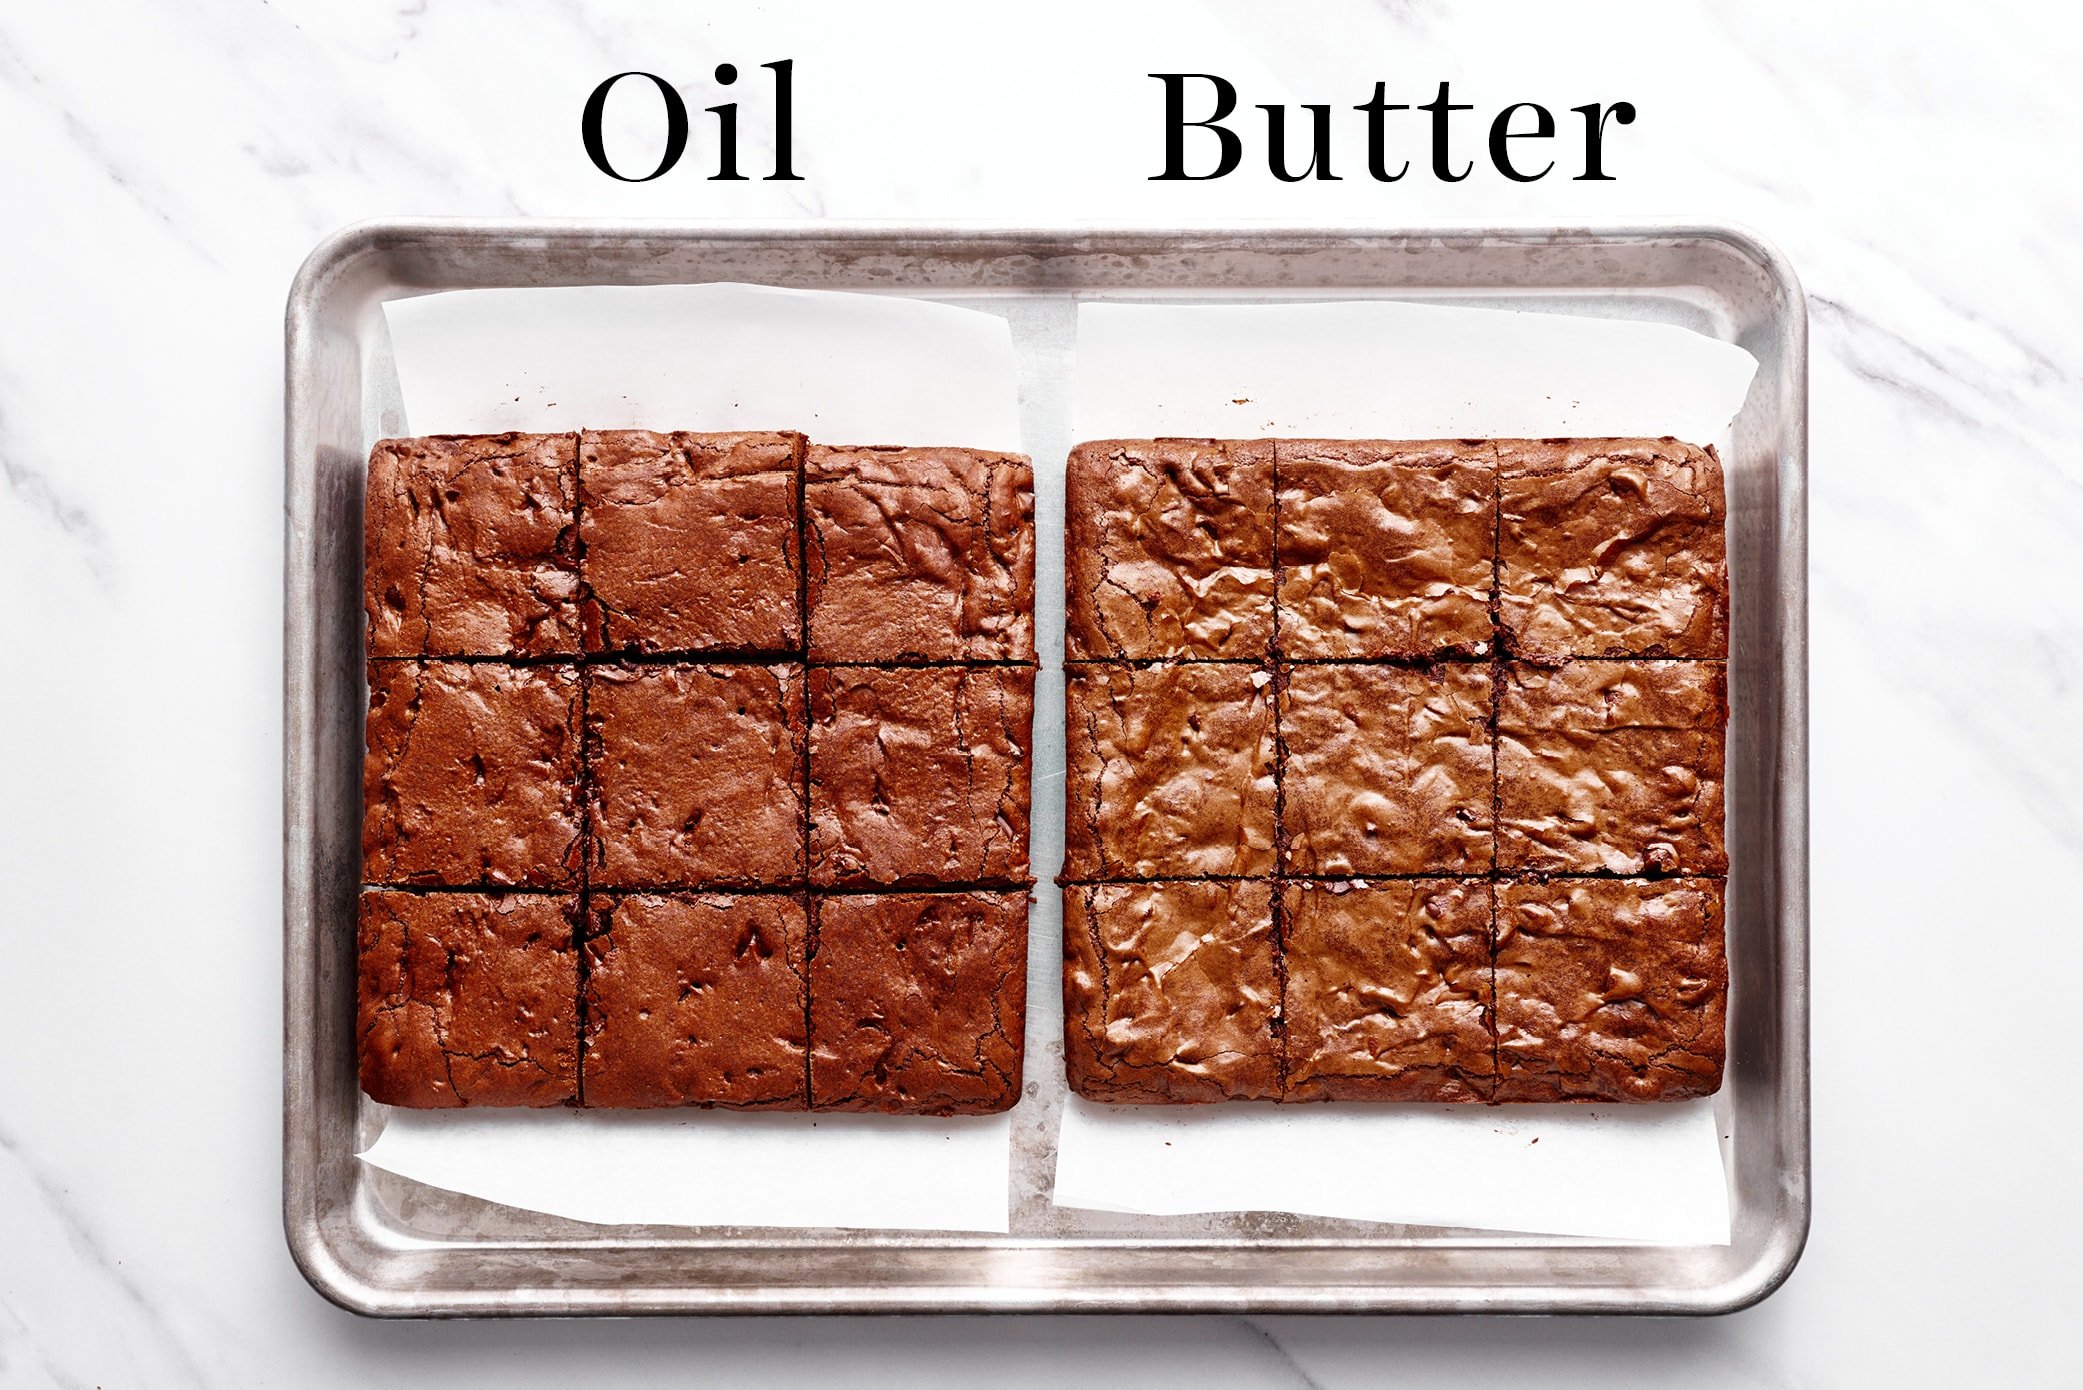
I recently experimented with Butter vs. Oil in brownies to see how the type of fat used affects the final result. The brownies made with butter were fudgier and softer than the oil brownies. There were also some shocking differences in the crusts of the two brownie batches! You’ll find this Peanut Butter Brownie recipe uses all butter for the perfect texture and flavor.
Check out my Butter vs. Oil in Baking article for a full breakdown of each of these fats and how they affect tenderness, flavor, and texture in baked goods (and not just brownies).
What Pan is Best For Baking Peanut Butter Stuffed Brownies?
- A square light-colored metal baking pan like this one is always my go-to for any brownie recipe.
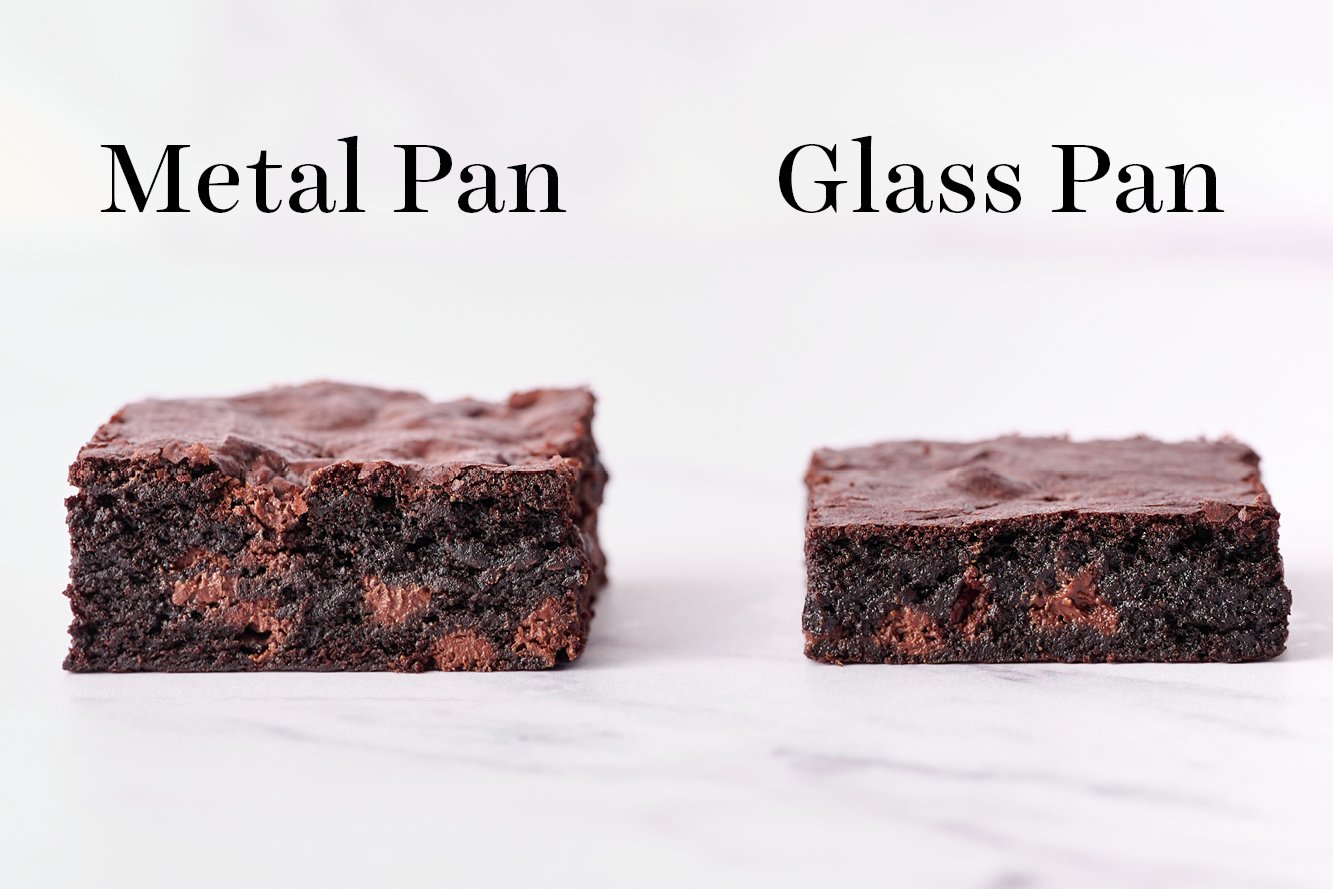
- Metal (namely high-quality heavy aluminized steel or anodized aluminum) conducts heat more quickly and efficiently than glass or ceramic pans.
- Avoid metal pans that are darkly colored as they conduct heat too aggressively and will likely lead to burnt or dried edges.
- If you must use a glass or ceramic pan please note that the texture of the brownies may become gummy or overly dense and they’ll likely take significantly longer to bake. You run the risk of the center never cooking through with glass or ceramic.
- Learn more in my Glass vs. Metal Baking Pans article.
Are Peanut Butter Brownies Supposed to be Gooey in the Middle?
- I like my brownies to remain slightly gooey and soft in the middle. Especially these ones since they’re stuffed with peanut butter!
- However, they should still bake up so they’re safe to eat and solid enough to eat by hand once cooled and sliced.
- Make sure to allow your brownies to cool completely if they seem gooey.
- I love eating brownies chilled, especially in the summertime! Cold brownies are super fudgy – give it a try!
- You can always let them cool, cut into squares, then nuke in the microwave if you want them so gooey they require a fork to eat.
How to Make Brownies with Shiny Thin Crust
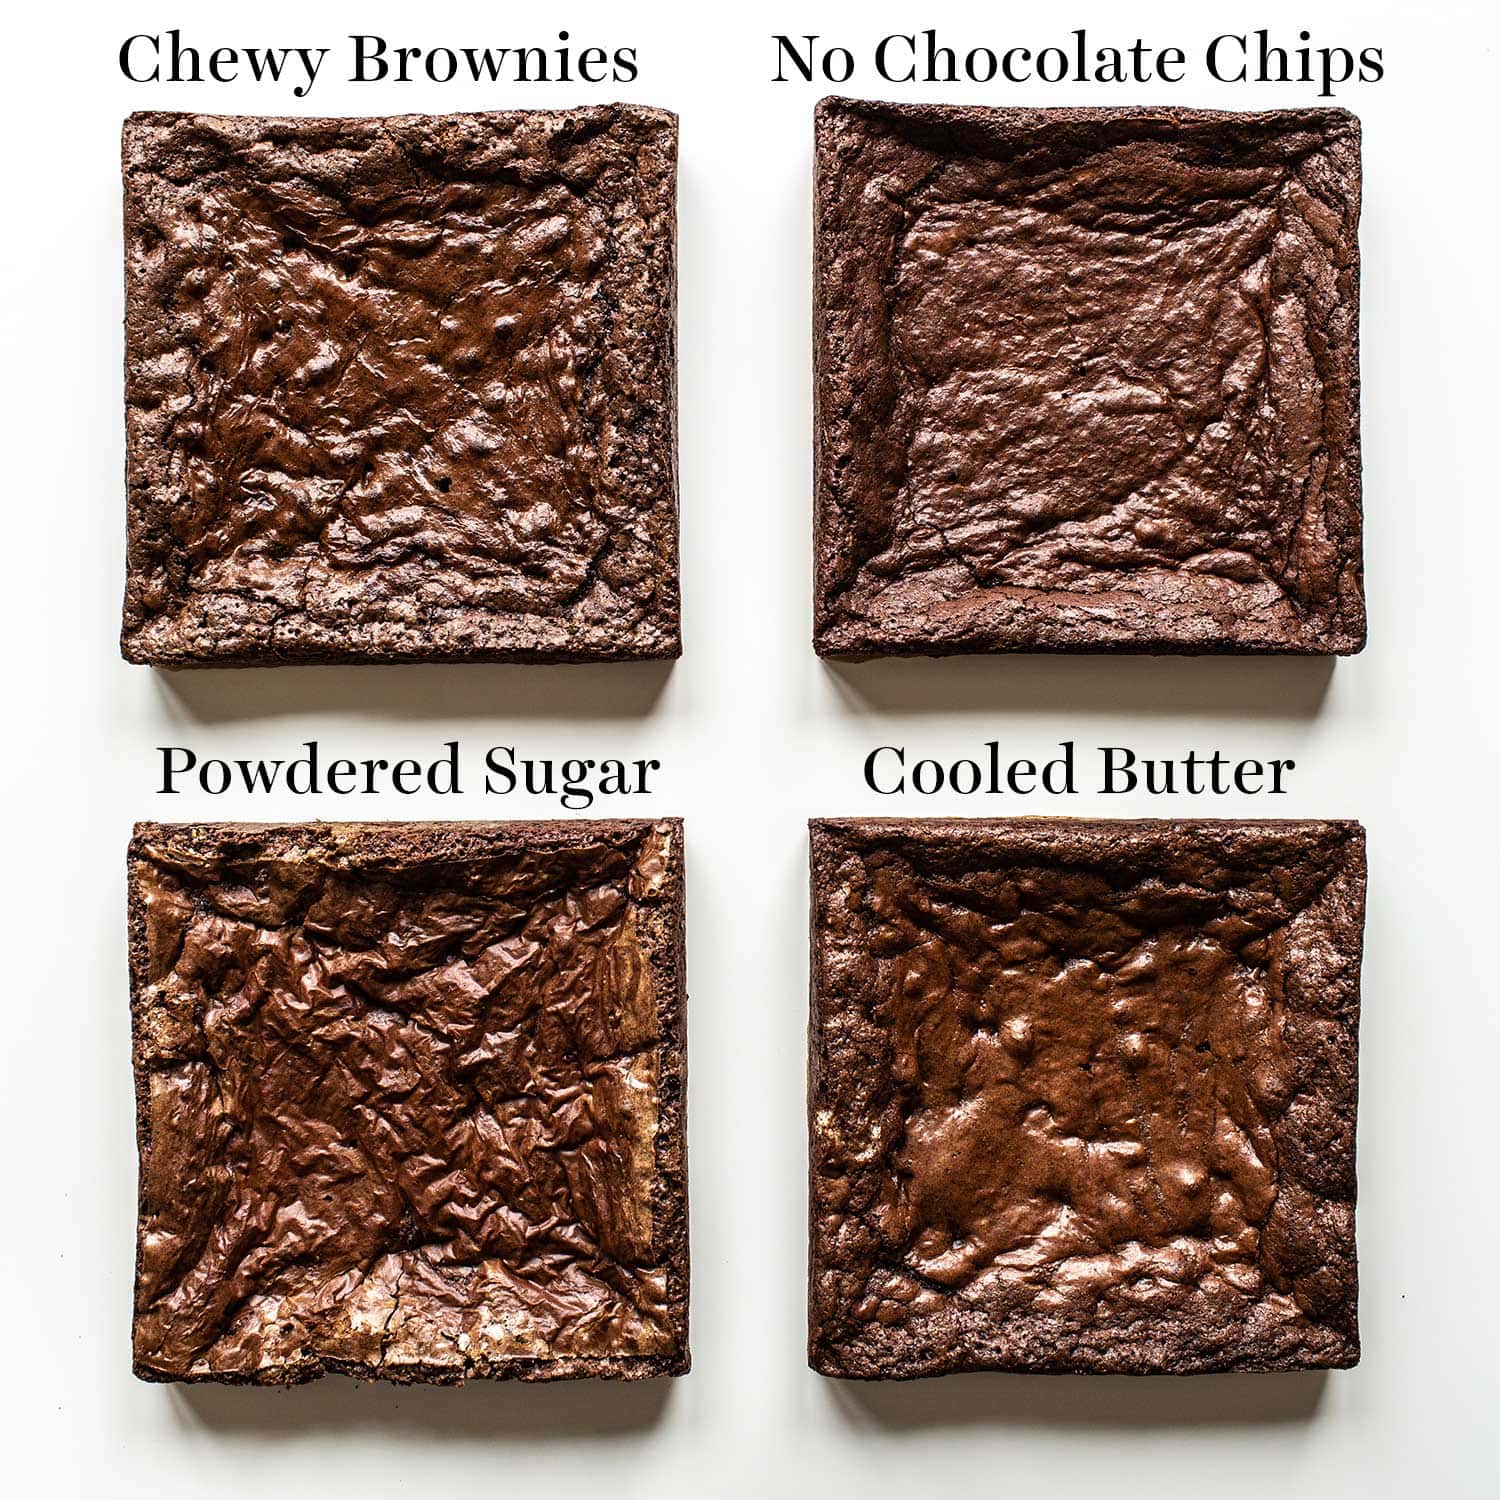
You know that shiny, glossy, crinkly, tissue-thin crust on top of brownies? The key to achieving that crust requires dissolving your sugar properly! I share all my secrets for perfectly crinkly brownie tops here. And some surprising mistakes you may be making which prevent the brownie “skin!”
How to Get Perfect Brownie Slices
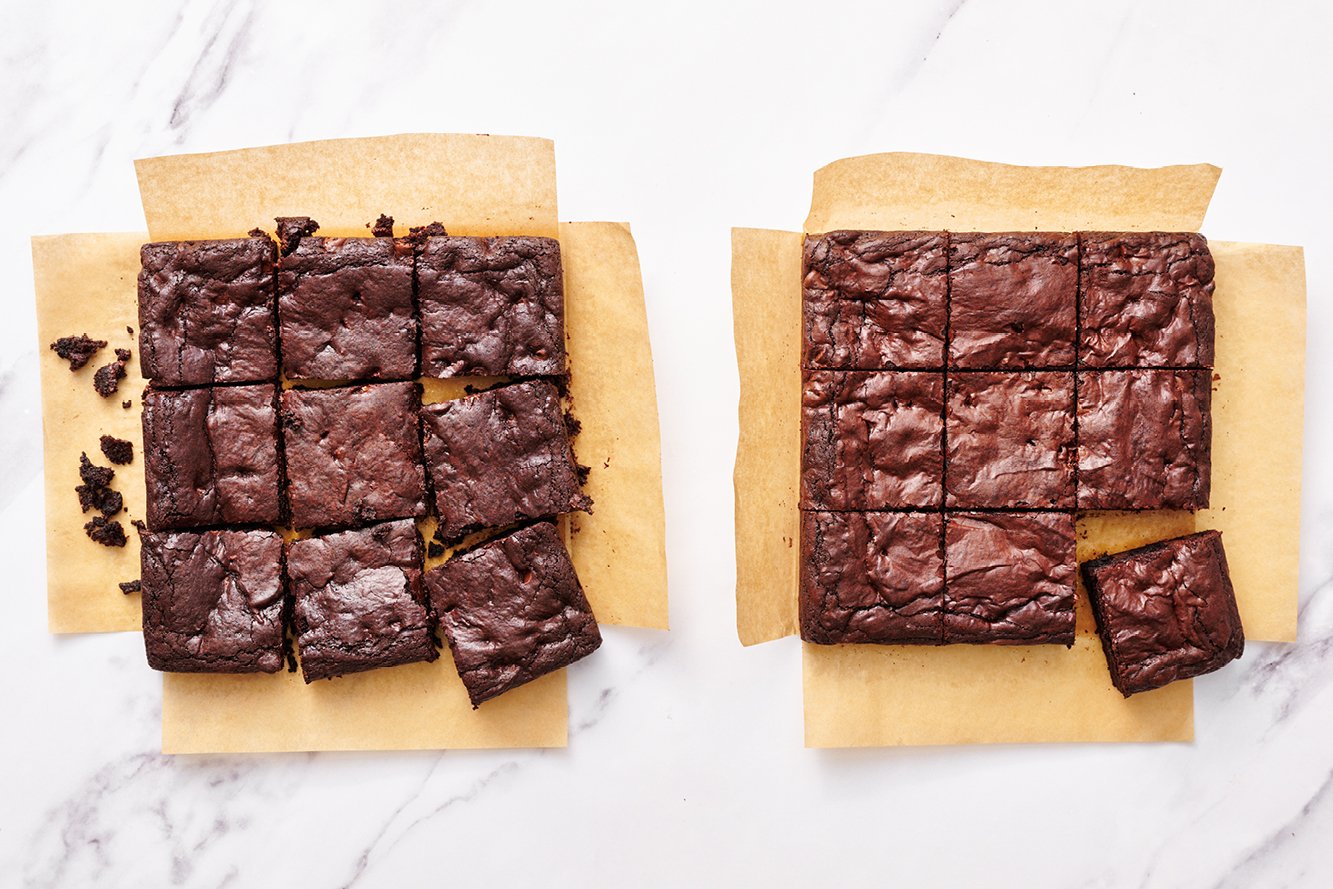
Science has shown our visual perception of food actually influences how tasty we perceive food to be. If you want to get perfectly clean, neat, and even brownie slices, check out my How to Cut Brownies Cleanly in 5 Steps article. Don’t worry – even if you don’t follow all these tips, your brownies will taste super delicious.
How to Store Peanut Butter Stuffed Brownies:
- Brownies can be stored in an airtight container at room temperature for up to 3 days or in the fridge for up to 5 days.
- They’ll become more like a thick fudge in the fridge in the most delicious way.
- You can also reheat the brownies in the microwave until they’re gooey again, if you’d prefer.
More Recipes You’ll Love:

Become a Baking Genius!
Sign up for our free email newsletter for NEW recipes & baking science secrets.
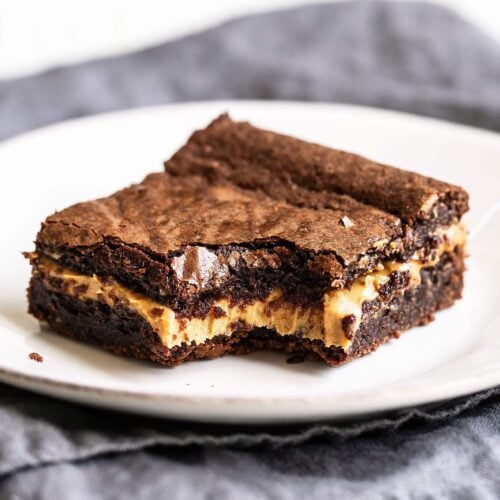
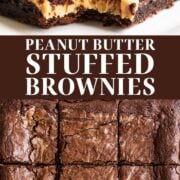
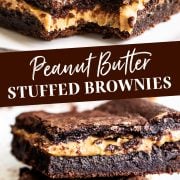
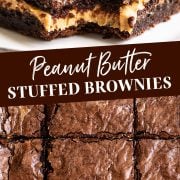
Peanut Butter Stuffed Brownies
Ingredients
Peanut butter filling:
- 1 1/4 cups (336 grams) creamy conventional peanut butter (NOT 'natural')**
Brownies:
- 10 tablespoons (142 grams) unsalted butter
- 4 ounces (113 grams) semisweet baking chocolate, chopped
- 1 cup (200 grams) granulated sugar
- 2 large eggs plus 1 egg yolk
- 1 teaspoon vanilla extract
- 1/2 cup (64 grams) all-purpose flour
- 1/4 cup (25 grams) unsweetened cocoa powder, sifted
- 1/4 teaspoon fine salt
Instructions
Make the peanut butter filling:
- Place the peanut butter in a heat-safe bowl and microwave for 20 to 30 seconds, or until pourable but not super hot.
- Line a metal 8-inch square pan with parchment paper, leaving an overhang. Spread the peanut butter into an even layer in the pan. Freeze for 1 hour or until solidified. Use the parchment to remove from pan and return peanut butter sheet to freezer. Keep frozen while making the brownie batter.
Make the brownies:
- Preheat oven to 350°F. Line the square pan again with parchment paper, leaving an overhang.
- In a large microwave-safe bowl, combine the butter and chocolate. Microwave in 30-second bursts, stirring between each burst, until the mixture is melted and smooth. Add the sugar to the hot butter mixture and whisk vigorously until combined. Allow to cool until just barely warm.
- Add in eggs, yolk, and vanilla extract and whisk for about 1 minute, or until very well combined.
- Use a rubber spatula to stir in flour, cocoa powder, and salt until just combined.
- Pour half of the batter into prepared pan and smooth out. Carefully place the frozen peanut butter sheet over the batter. Pour remaining batter on top, covering completely.
- Bake in the preheated oven for about 30 minutes, or until cooked through but still very slightly gooey in the center. Let cool in pan 30 minutes. Remove from pan and allow to cool for another 30 minutes before slicing and serving.
- Brownies can be stored in an airtight container at room temperature for up to 3 days or in the fridge for up to 5 days. Serving chilled makes the brownies extra fudgy!







I really loved this recipe! I’m not a big fan of peanut Butter… but when i saw the picture i got curious about how it tastes… and i was very surprised because it was so so good! Now I love peanut Butter ❤️
These are amazing!!! Best brownies ever and so easy to make!!
Baked these for the first time and they were delicious. I also added a drizzle of homemade Nutella to the layer of peanut butter before freezing it. Such a great combination of peanut butter and chocolate.
Delicious and easy. I was able to whip these up before dinner and they were a perfect dessert. Even my picky 5 year old loved them!!
This recipe was super easy to make and a hit at my family’s July 4th outing! I plan to make these again because I can’t deny a peanut butter chocolate craving when one hits.
So incredibly delicious! I think they tasted better the following day. This recipe is definitely a keeper. Thanks for sharing Tessa!
Hi Tessa,
I made these and are divine. For a brownie and pb lover this is just the ultimate dessert. I used 90% dark chocolate and also brown sugar instead of white(reduced sugar to 3/4cups). I could also see that these were more of a darker shade like mentioned in your brownie guide.
Depending where you fall on the peanut butter lover category will determine your appreciation for these. My son loves PB and thinks these are the best thing ever! Next time (for my sweet tooth) I’m going to try add a little powdered sugar to the PB for a slightly sweeter and firmer texture. Either way, these are a winner!!
These are so decadent and rich and gooey! Chocolate and peanut butter are one of my favorite combinations, and these are simple to make, though I think they may be too peanut buttery. Next time, I would halve the peanut butter. Still totally yummy!
Very decadent. Peanut butter sounded tasty but I simply could not pass up a Nutella filling. I would definitely make this again. The only tricky part is deciding how long to cook. My oven is gas and not very precise. The toothpick method of testing is a no go since the Nutella remains liquid. I did have to cook longer than recipe called for and took it out just as the first crack appeared about an inch from edge. It was perfect. Thank you so much for an awesome brownie recipe!
Delivers on everything Tessa says about them! Ooey, gooey, peanut buttery.
Good recipe with a yummy result! Maybe a little too much peanut butter? (Can’t believe I’m saying that, but it was a pretty thick layer…)