




Tessa’s Recipe Rundown
Taste: Uniquely balanced with a gentle cocoa backdrop, a hint of tang from the buttermilk and vinegar, and a smooth, buttery sweetness.
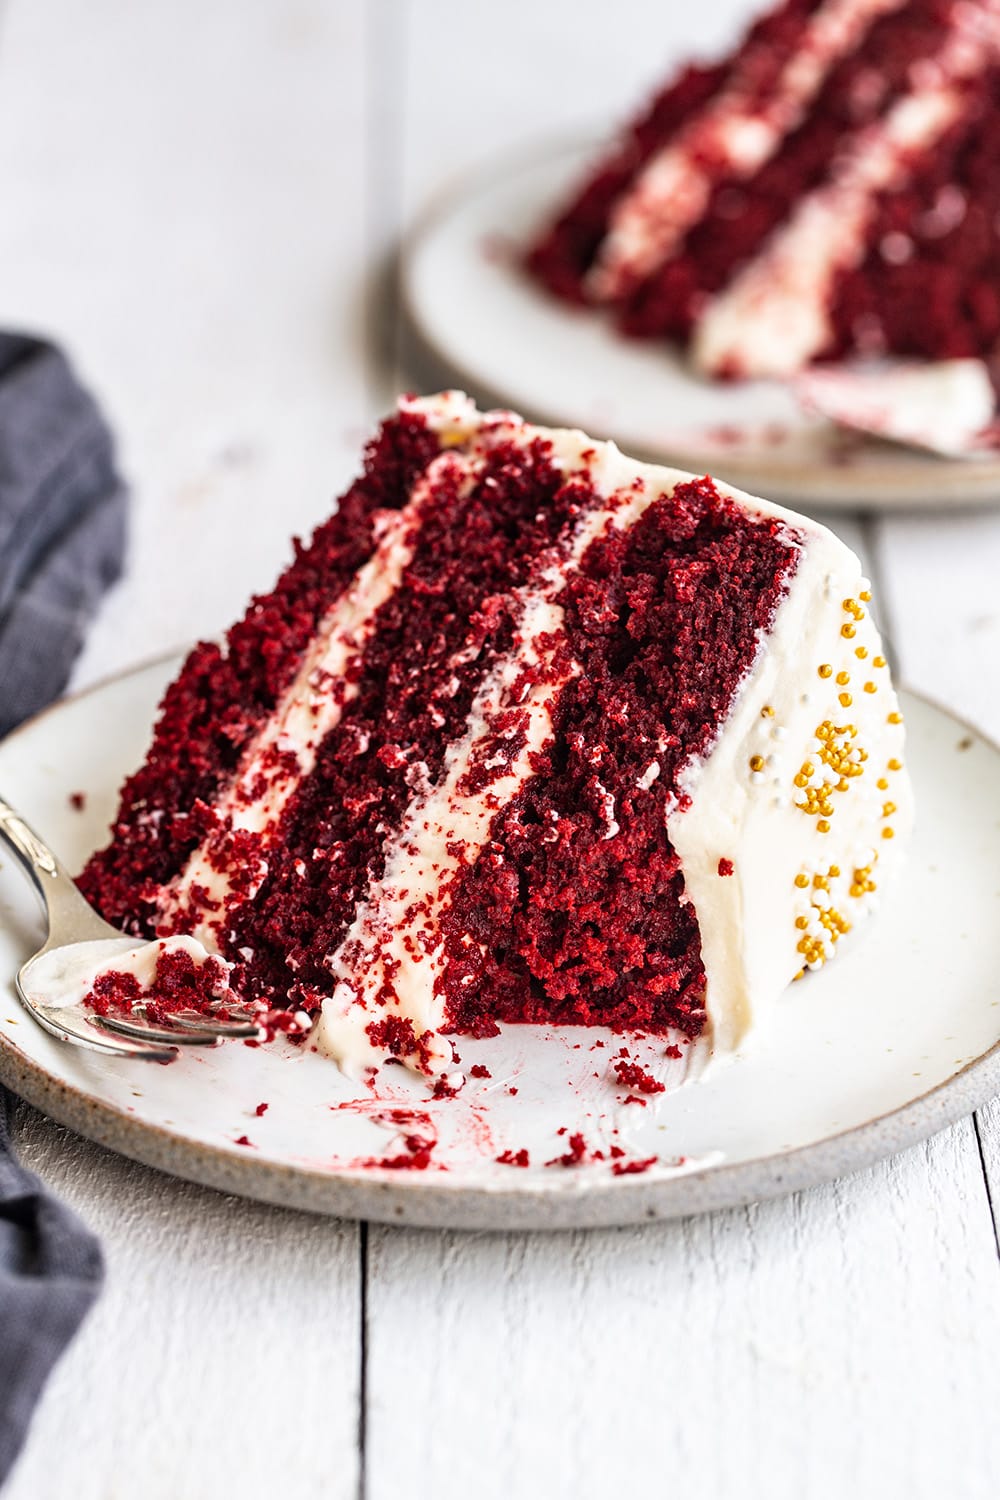
Texture: Moist and melt-in-your-mouth soft, with just enough structure to withstand generous layers of frosting.
Ease: The batter comes together in no time!!
Why You’ll Love This Recipe: It’s a tried-and-true crowd-pleaser. The red color makes it a great option for holidays like Valentine’s Day, the Fourth of July, or Christmas.
This post may contain affiliate links. Read our disclosure policy.
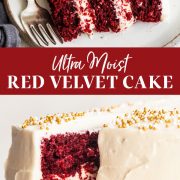

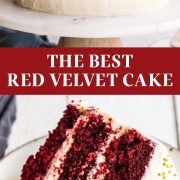
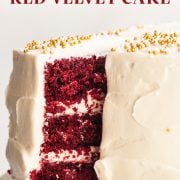
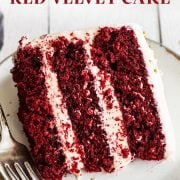
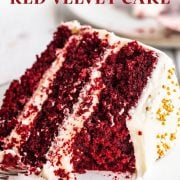
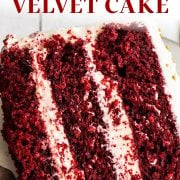
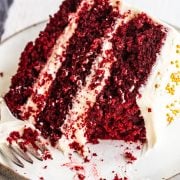
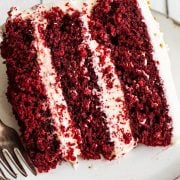
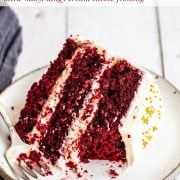
There’s something utterly irresistible about a classic Red Velvet Cake. It feels celebratory but familiar — decadent but never heavy. The combination of cocoa, vinegar, and buttermilk gives it a truly unique flavor.
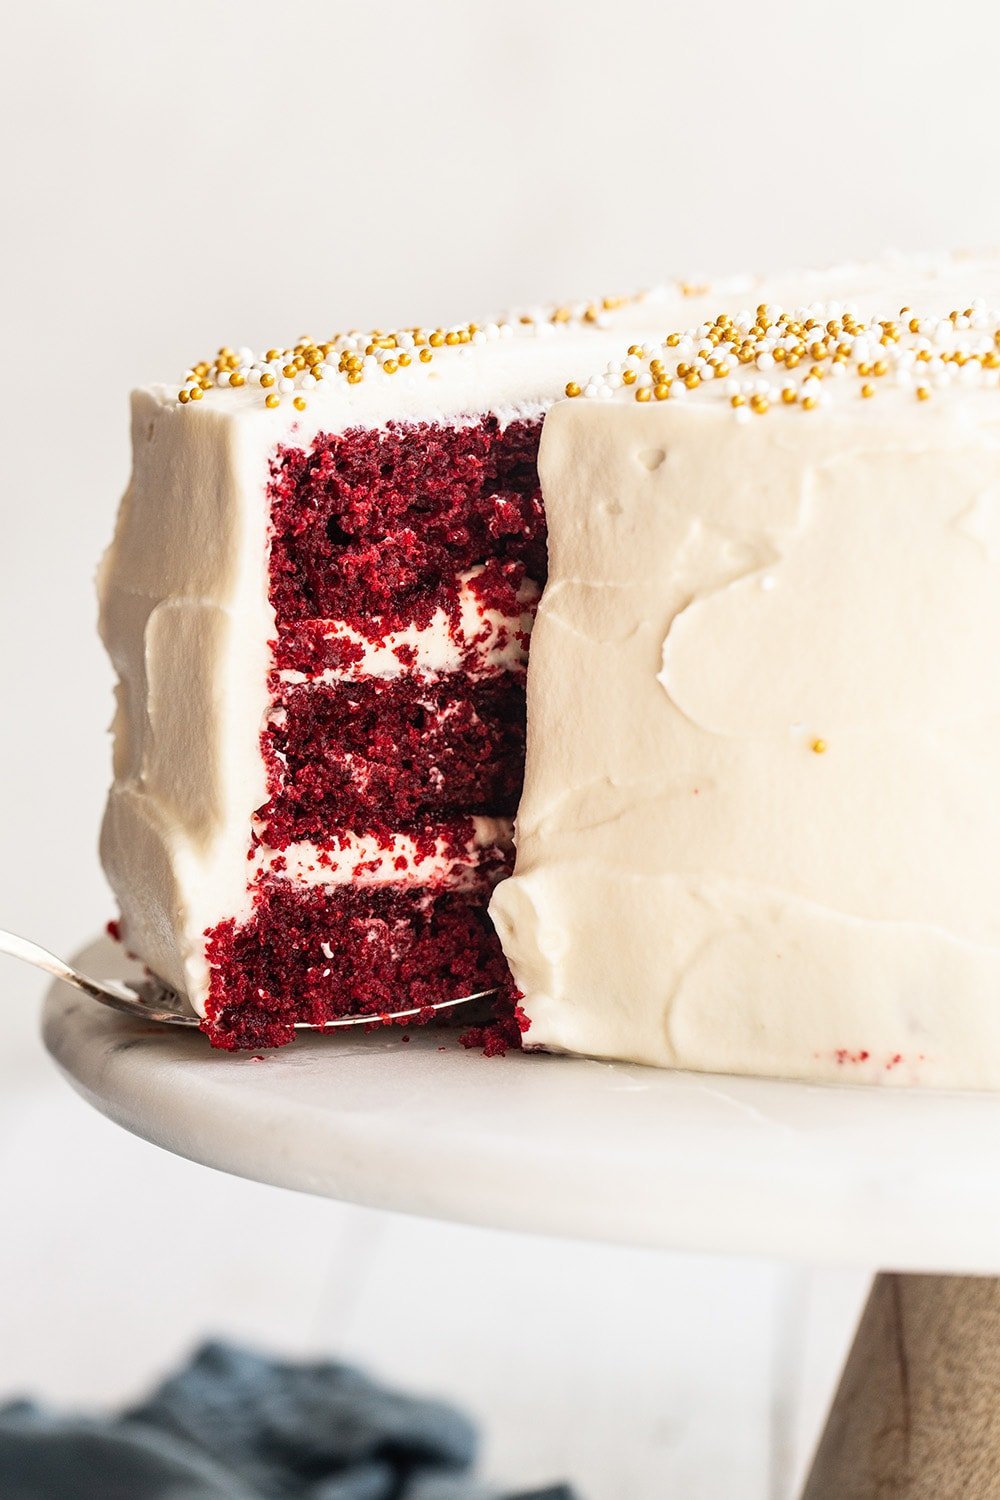
This recipe in particular makes a soft, buttery, and moist cake (the trifecta 😉). If you’ve never made red velvet before, this is the perfect place to start. The batter comes together easily, bakes up beautifully, and stays incredibly soft even after frosting!
Do you want to make cupcakes instead of a cake? Check out our Red Velvet Cupcake recipe.
Great recipe, stays moist and delicious, even stood up to me messing up the way its combined. 🙂
I baked this cake for my daughter’s birthday and it was delicious!!!!
Recipe Ingredients
While the ingredient list is on the longer side, don’t let it intimidate you. It’s all easy! Each item plays an important role in creating the cake’s signature flavor and texture. Here’s what you’ll need:
- Cream cheese and unsalted butter: Used in the cake and frosting for richness and structure. Make sure both are at room temperature for smooth mixing.
- Dry ingredients: This kitchen-tested combination of flour and leavening agents gives the cake lift and balance. Measure carefully (preferably with a scale) to avoid a dense crumb.
- Sugars: Granulated sugar sweetens and moistens the cake, while powdered sugar helps make the smooth, stable frosting.
- Egg and egg yolk: Adds richness and helps create a tender crumb.
- Vegetable oil: Keeps the cake moist even after chilling (butter is not a good substitute).
- Unsweetened cocoa powder: Just enough to give classic red velvet depth without turning it into a chocolate cake.
- Hot coffee (or boiling water): Hot liquid blooms the cocoa, bringing out its full flavor. Water works as a substitute if needed, but coffee is preferred.
- My Best Chocolate Cake is another delicious coffee-infused cake!
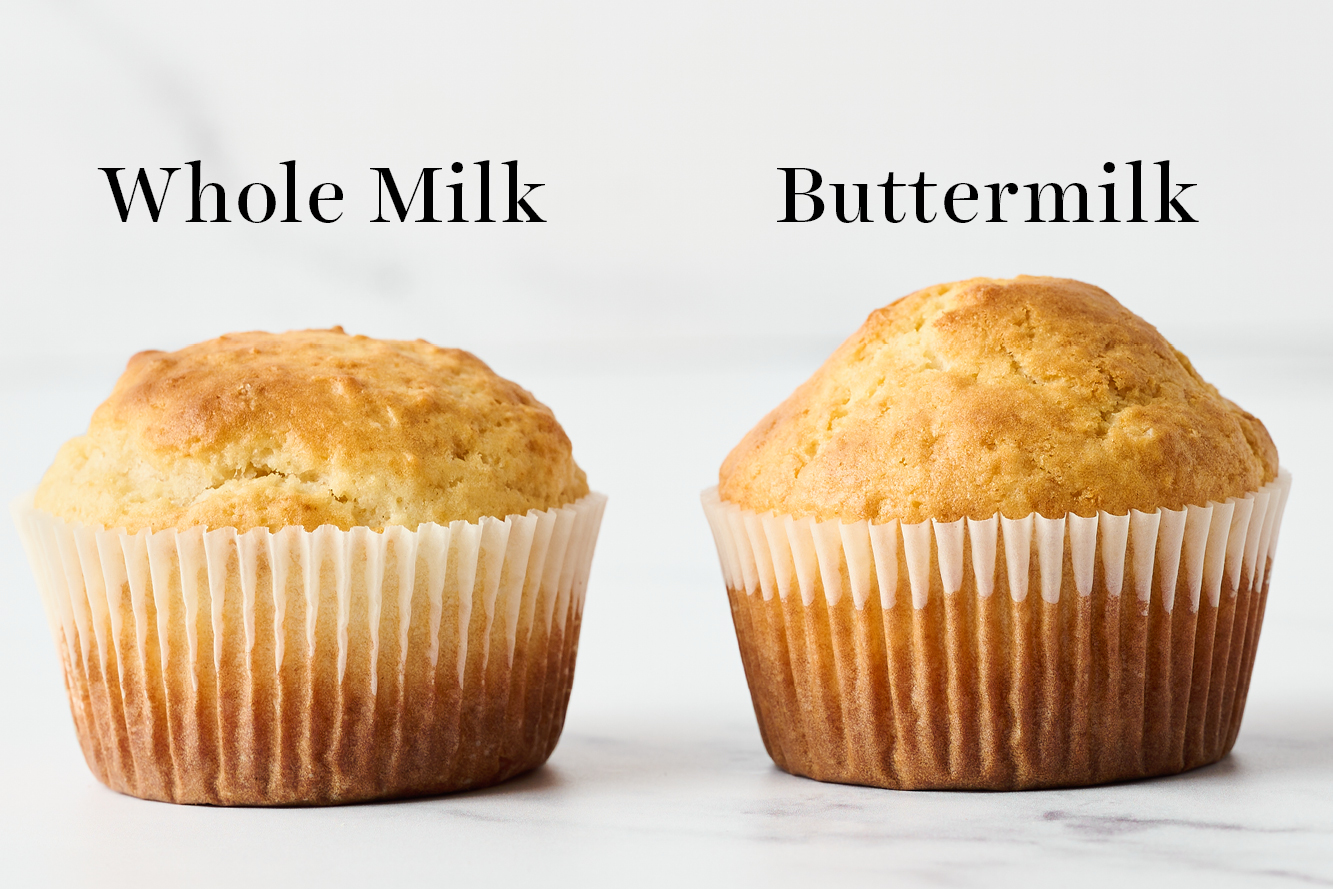
- Buttermilk: This helps create the tenderness and flavor. I don’t recommend substituting it, but whole milk can work in a pinch with slightly different results.
- Distilled white vinegar and vanilla extract: This recipe uses small amounts to balance the sweetness and activate the leavening process.
- Red gel food coloring: I recommend using gel food coloring over natural or liquid options. I use the Americolor or Chefmaster brands!
- Ground cinnamon (optional): This adds a subtle warmth and enhances the cocoa without being overpowering.
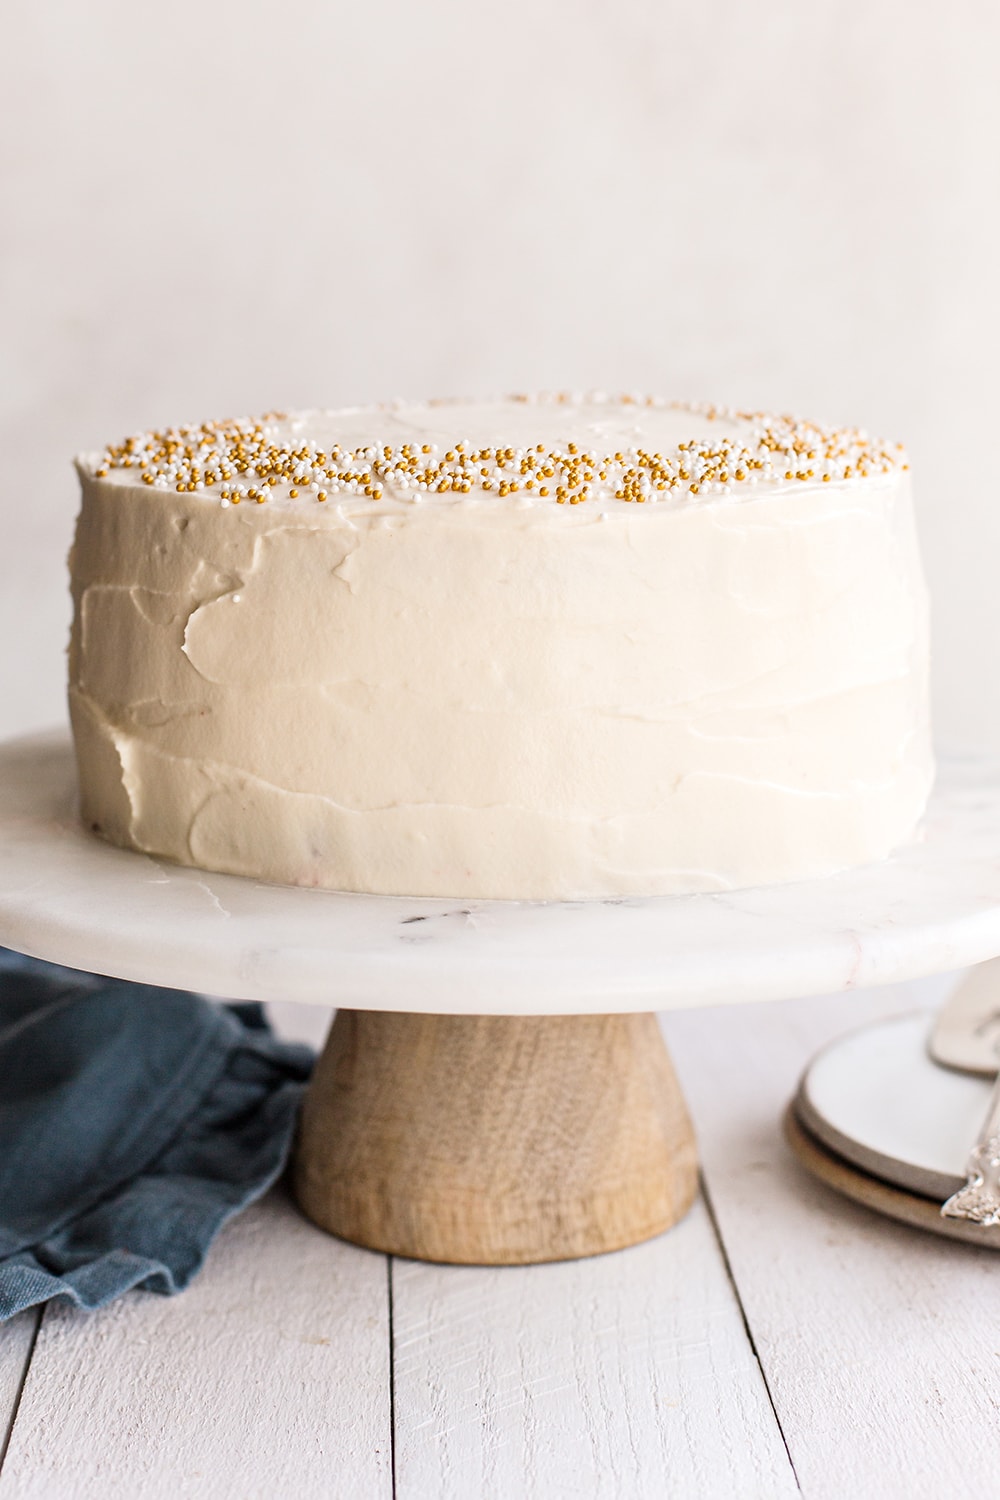
The Perfect Frosting
Cream Cheese Frosting is the go-to for red velvet cake because its tangy flavor complements the cake’s sweetness so well. This is the same frosting I use on my Red Velvet Cookies, and it works just as beautifully on layered cakes.
For something more sturdy or to add more detailed cake decorations, try my Best Buttercream Frosting instead.
Storing & Freezing
- Storing: The cream cheese frosting for this cake will spoil if left out for extended periods. Store the cake, covered, at room temperature for up to 6 hours, then refrigerate for up to 3 days.
- Freezing: For longer storage, freeze the cake for up to 2 months. Chill until the frosting is firm, then wrap tightly in plastic wrap or place in an airtight container. If freezing the cake whole, thaw it overnight in the refrigerator before serving. Thaw individual slices in the fridge or at room temperature for 1-2 hours.
- Make-ahead: To prepare in advance, wrap the uncut, cooled cake layers tightly in several layers of plastic wrap and place in a freezer bag or airtight container. Store cake layers at room temperature for up to 4 days or in the freezer for up to 2 months. Thaw overnight in the refrigerator.
Note: A fully frozen, well-sealed cake is still safe to eat after extended freezing (like for an anniversary bite), but some quality loss is normal. Over time, moisture migrates out of the cake, resulting in a drier, slightly spongy texture. The frosting may become grainy or weepy once thawed, and freezer odors may develop.
More Cake Recipes You’ll Love
Looking for more tried-and-true cakes? Browse some of my favorite cake recipes below, perfect for birthdays, holidays, and special occasions.
FAQs
Red velvet cake is buttery, moist, and plush, with a soft, airy crumb. It has a mild chocolate flavor and subtle tang that gives it more depth than a standard vanilla cake.
Not at all — it’s got a personality all its own! Unlike chocolate cake, red velvet cake uses only a small amount of unsweetened cocoa powder. It’s just enough to add color and depth, but let the other flavors shine through. The tangy ingredients help balance the sweetness and truly set it apart.
For a red velvet recipe that’s on the more chocolatey side, try my Chocolate-Stuffed Red Velvet Cupcakes!
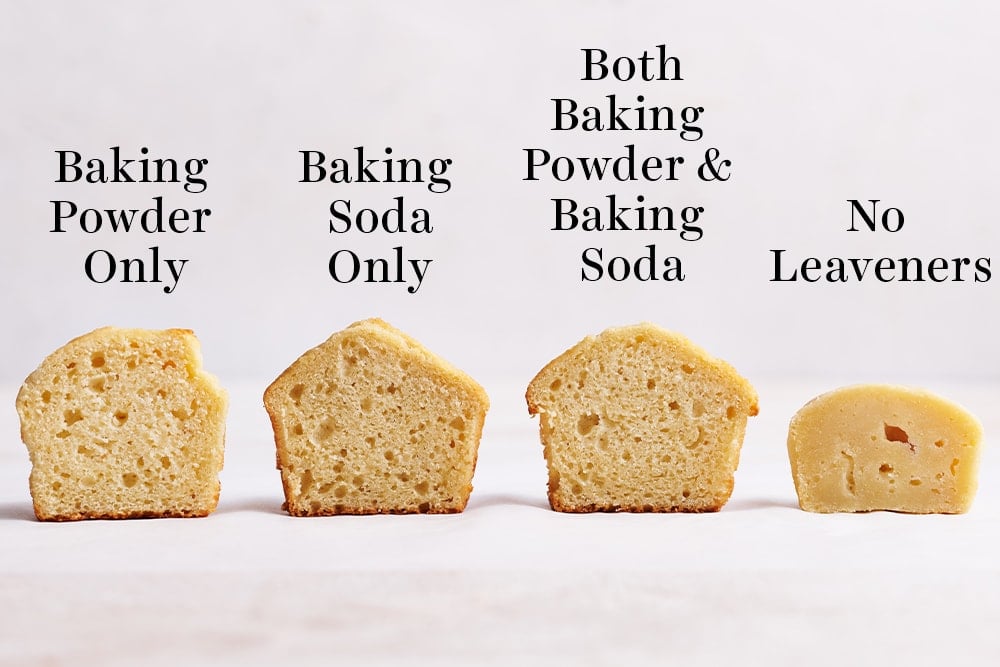
Vinegar enhances the subtle tangy flavor that makes red velvet cake distinct, while also playing an important role in the cake’s texture. It reacts with the baking soda, alongside the buttermilk and cocoa powder, to help create soft, tender layers.
A few key elements work together to create that perfectly moist and fluffy crumb. Oil keeps the cake moist even after chilling or refrigeration, and the tiny bit of cocoa ensures it doesn’t dry out.
Be careful not to overmix the batter, as this can prevent the crumb from turning out tender and light.
You can, but for the best results, I recommend using my Red Velvet Cupcakes recipe! It uses the same base flavors as this cake, with a few small adjustments to ensure the cupcakes bake evenly.

Email This Recipe
Enter your email, and we’ll send it to your inbox.
Ingredients
For the cake:
- ½ cup of plain hot coffee or boiling water
- ¼ cup (21 grams) unsweetened natural cocoa powder
- 2 ¼ cups (279 grams) all-purpose flour
- ½ teaspoon baking powder
- 1 teaspoon baking soda
- 1 teaspoon salt
- ¼ teaspoon ground cinnamon, optional
- 2 cups (400 grams) granulated sugar
- ½ cup (109 grams) fresh vegetable oil
- 1 stick (113 grams) unsalted butter, melted
- 2 large eggs, at room temperature
- 1 large egg yolk, at room temperature
- 1 cup buttermilk, at room temperature
- 2 teaspoons vanilla extract
- 3 teaspoons red gel food coloring, plus more if needed*
- 1 teaspoon distilled white vinegar
For the cream cheese frosting:
- 2 sticks (227 grams) unsalted butter, at cool room temperature
- 4 cups (500 grams) powdered sugar, sifted
- 16 ounces (454 grams) brick-style cream cheese, at room temperature
- 2 teaspoons vanilla extract
Instructions
For the cake:
- Preheat oven to 325°F and line three 8-inch round cake pans with parchment rounds.
- Spray parchment and sides of pans generously with nonstick cooking spray.
- In a glass measuring cup, whisk the hot coffee and cocoa powder together, then cover and let stand for 5 minutes.
- In a medium mixing bowl, whisk together the flour, baking powder, baking soda, salt, and cinnamon.
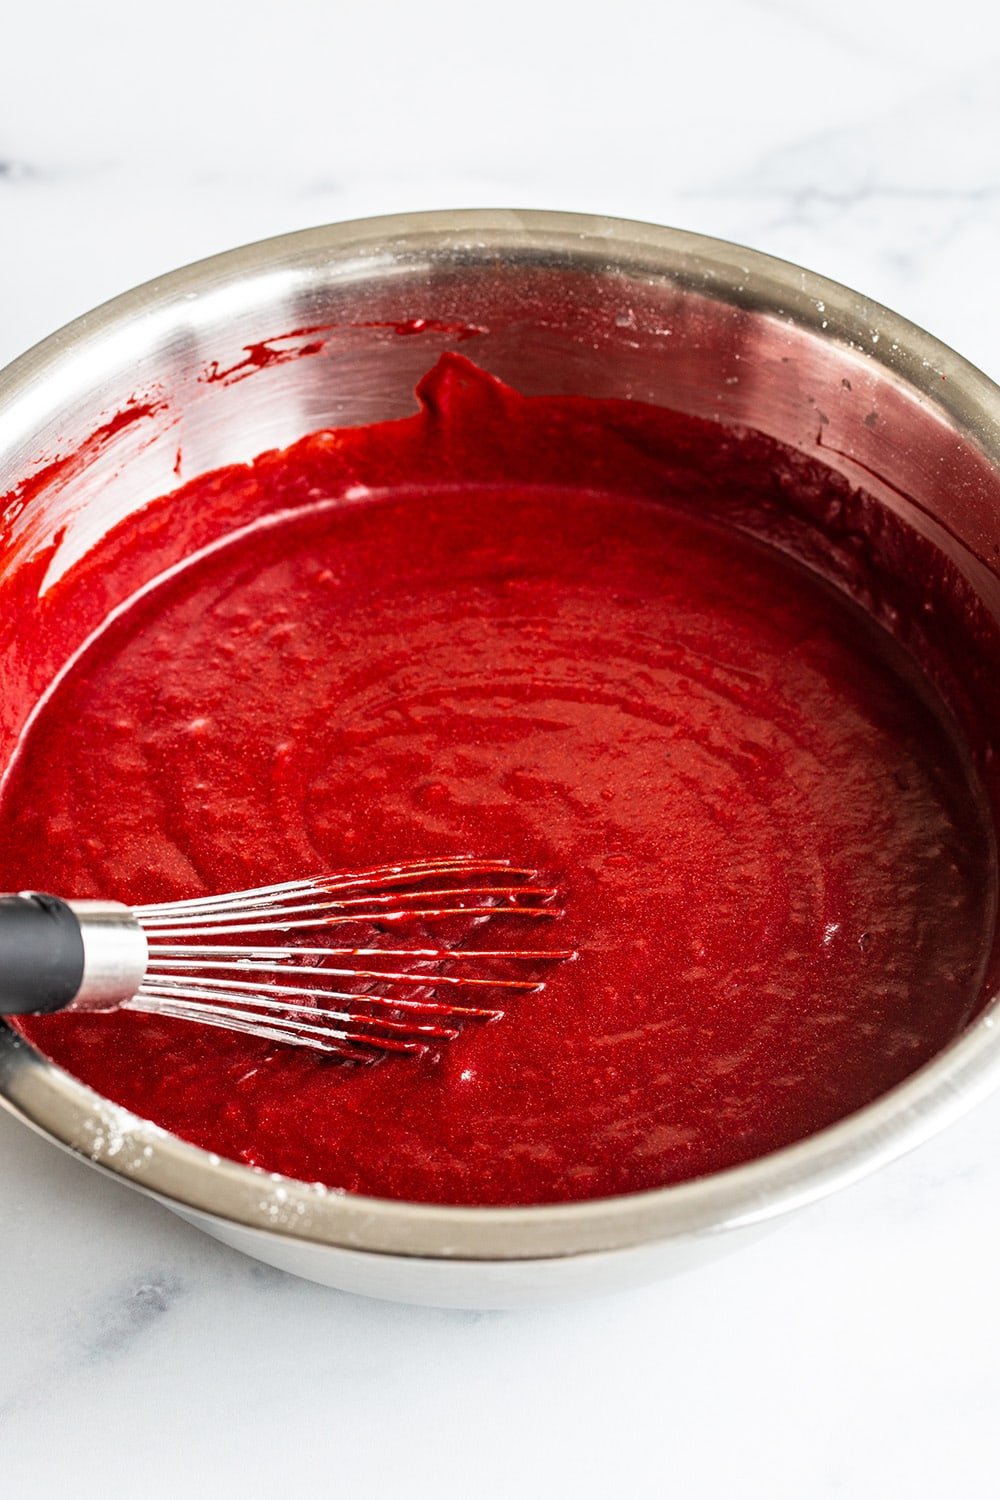
- In a large mixing bowl, whisk together the sugar, vegetable oil, and melted butter. Add in the eggs and egg yolk and whisk for around twenty seconds (or until very well combined). Add in the buttermilk, vanilla, and red food coloring and whisk to combine. Whisk in the vinegar and coffee mixture.
- Using a fine mesh sieve, sift the flour mixture into the batter in three additions, whisking until each addition is incorporated.
- Divide the batter equally between the prepared pans, then tap the bottoms of the pans against the counter several times to release any air bubbles.
- Bake for 25 to 30 minutes, or until a cake tester or toothpick inserted into the center comes out clean.
- Place the cake pans on cooling racks, and when they’re cool enough to touch, run a thin knife around the edges of the pans to loosen the cakes. Invert onto the wire racks and let cool completely.
For the frosting:
- In the bowl of a stand mixer fitted with the paddle attachment, beat the softened butter and sifted powdered sugar on low. Gradually increase to medium-high to prevent a sugar cloud.
- Beat for 3 minutes until the mixture is pale, light, thick, but smooth. It may look dry or crumbly at first, but keep beating until it holds together.
- Scrape down the bottom and sides of the bowl and paddle, then add the cream cheese and beat on medium-high for 1 minute until fluffy.
- Add the vanilla and salt and beat for 30 seconds until fully incorporated. Scrape down the bowl again as needed.
To assemble:
- Lay one cake layer flat-side up on a cake plate or pedestal. Tuck in strips of baking paper under the cake edges to keep the plate clean.
- Use about a third of the frosting to fill the bottom cake layer, then top with the second cake layer and repeat.
- Place the final cake layer flat-side up and use the remaining frosting to ice the whole cake.
Notes
This post was originally published in 2013 and updated in 2022 with recipe improvements and new photos. Photos by Ashley McLaughlin.


Hi Tessa. I’ve seen the reviews on this recipe and would love to try it out soon.
I just want to know if I can halve the recipe, reduce the amount of sugar and also use buttermilk substitute as it’s not readily available in the supermarkets in my country.
Hi Edima! We haven’t tried halving the recipe, so I couldn’t say for sure, but Tessa talks about how to turn this cake into cupcakes, in the pink tip box above the recipe! We highly recommend using real buttermilk, if you can, but using a substitute should work, if you cannot find the real thing (just note, the final taste and texture will differ as a result). Read Tessa’s article about buttermilk and various substitutes before you start, though! As for the sugar, we really recommend sticking with the original quantity of sugar in any recipe, for many reasons. Sugar doesn’t just sweeten baked goods; it moistens, provides tender structure, assists with gluten formation, extends the shelf-life (meaning it will be fresh and moist longer), and assists in creating a taller and lighter finished product – just to name a few things! Reducing the sugar content in a recipe doesn’t just lower sweetness; it messes with the recipe’s chemistry and creates a totally different baked good. I hope that answers your questions! Please let me know if you need any further assistance!
Hi. I don’t understand the last part of the method.. Do you combine the wet and dry ingredients or what? What do you mean sieve in the flour 3 times in what?
Hi Zeenat! Yes, you combine the wet and dry ingredients in the final step. The instructions specify to sieve the dry into the wet, because this is a delicate cake, so we want to really make sure there are no lumps or clumps of flour, leavener, etc!
You will mix the dry in one bowl. Follow the directions for mixing the wet together in a separate bowl. Then, when all the wet ingredients have been combined per the instructions, you will use a fine mesh sieve to sift the dry mixture into the wet mixture in three additions (not three times; just one third of the dry mixture at a time). Again, we are just taking extra precautions to ensure no lumps end up in the batter!
I hope that helps and makes more sense to you now! Happy baking! 🙂
This is an amazing recipie and I have tried other red velvets, one from preppy kitchen and one from sugar geek show but this recipe is hands down the best ever red velvet. I’m a cake decorator so it’s important to have amazing recipes this will definitely be the one I use for all my customers requests for red velvet. It’s a big win
And the added cinnamon gives the cake a great taste.
Hi Tania! I’m so excited you loved this recipe! So happy it works for your cake decorating 🙂 Thank you!
Hi! Thank you for this! But do I make this recipe into a 6 inch round pan?
Hi there! This recipe, as written, will make three 8″ cake layers. We have not tried making the recipe in 6″ pans, but you can try! Just watch that you don’t overfill your pans, as we wouldn’t want them to overflow in the oven! You will also need to watch your bake times carefully, as they will be very different from the recipe as written. Bake just until a toothpick inserted comes out clean, and no longer than that (to avoid dry cakes!). I hope that helps! Let us know how you like the recipe, once you have tried it! 🙂 Happy baking!
OMG I made this cake just yesterday as a birthday cake for my mom as she loooves red velvet. Well this is my new go to recipe! This cake was moist, delicious and the frosting was perfect! The only thing with my cake is that it wasn’t overly red after adding the cocoa/ coffee mix, but certainly not a deal breaker. I also did not have the gel food colouring so that may have been the reason.
Anyhow Tessa I have never been to your site before but you now have a repeat customer. Thanks for sharing!!
I’m SO happy you loved this recipe, Francine! The gel food coloring will make a huge difference in the future, but I’m so glad it was still delicious, regardless of the color! We can’t wait for you to try more of Tessa’s recipes 🙂
Delicious! This cake turned out perfectly. I followed the recipe exactly – I just used 2, 9-in pans and baked for 30 min, rotating the pans halfway through. It was so moist. Everyone raved about it. Thank you!
So happy to hear that, Jamie! Glad you enjoyed this recipe 🙂
Loved this recipe. Like Tessa I didn’t have a favorable impression of RV Cakes as all previous ones I tried seemed to be a vehicle for the cream cheese.
I made these into mini Bundts using the Nordic Ware 6-cavity Bundt pan. I baked for 20 minutes but I believe it can be checked at 15 minutes for doneness. These tasted great without icing.
Fantastic! So happy to hear they turned out beautifully in mini bundts too! I’m not a huge fan of rv cakes either, but this have become a favorite in our house 🙂
This recipe looks wonderful – how can I adjust the measurements to bake a mini cake for my daughter’s 1st birthday cake smash?
So fun! We haven’t tried baking this cake in smaller pans, so I can’t say for sure! I’d suggest using Wilton’s handy cake serving guide for more help. You could always make the entire recipe, but follow the instructions in the pink box above the recipe to bake any leftovers as cupcakes too 🙂 Let us know what you think of this recipe when you give it a try!
Can I make this recipe using two–9 inch round pans? If so, how long should I bake?
Thanks!
Hi Lynn! Check out the pink tip box above the recipe, we included details on how to bake with 9-inch pans there 🙂 Let us know what you think of this recipe when you give it a try!
This is the best red velvet cake recipe, hands down! It’s moist and chocolate-y: two components other recipes that I’ve made have lacked! The only alteration I made was using a little less sugar for the frosting than the recipe called for. 🙂
So happy you love this recipe!
Whoops!
CHECK FLOUR MEASUREMENTS
Made the fatal mistake of not double checking cups to grams. Conversions can be different for different ingredients.
Trust your instincts too!
Hi Tessa, can this be made in a sheet pan?
Hi Karyn! We haven’t tried that, so I can’t say for sure how it’ll turn out, but you’re welcome to experiment! Let us know how it goes if you do 🙂