


Tessa's Recipe Rundown
Taste: These cupcakes are perfectly balanced with a chocolate flavor that’s rich but not bitter. The cinnamon adds a deep warmth, while the buttermilk and vinegar create a slight tang.
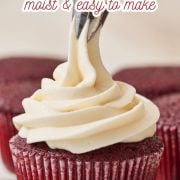
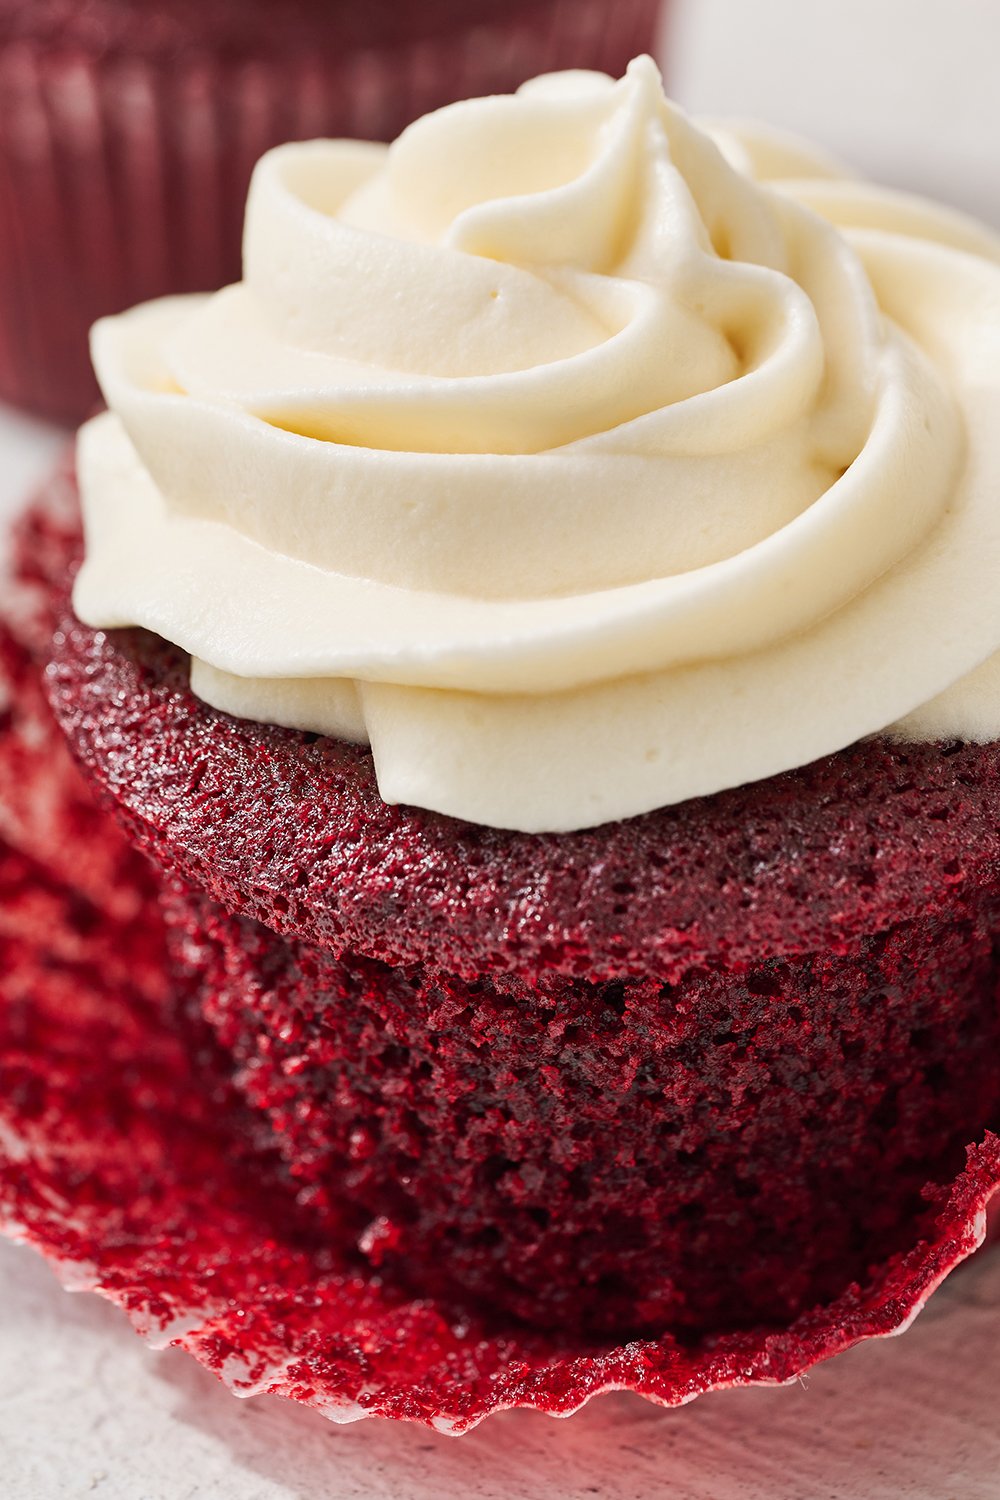
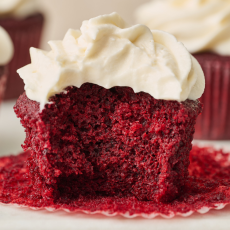
Texture: Soft, tender, and moist, with a silky, fluffy frosting.
Ease: Not effortless, but totally doable and worth every minute spent preparing and baking.
Why You’ll Love This Recipe: With this recipe, you get bakery-level flavor, reliable results, and a guaranteed crowd-pleaser.
This post may contain affiliate links. Read our disclosure policy.
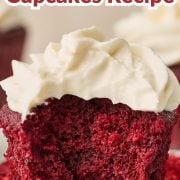
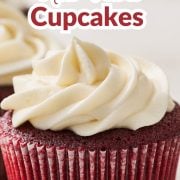

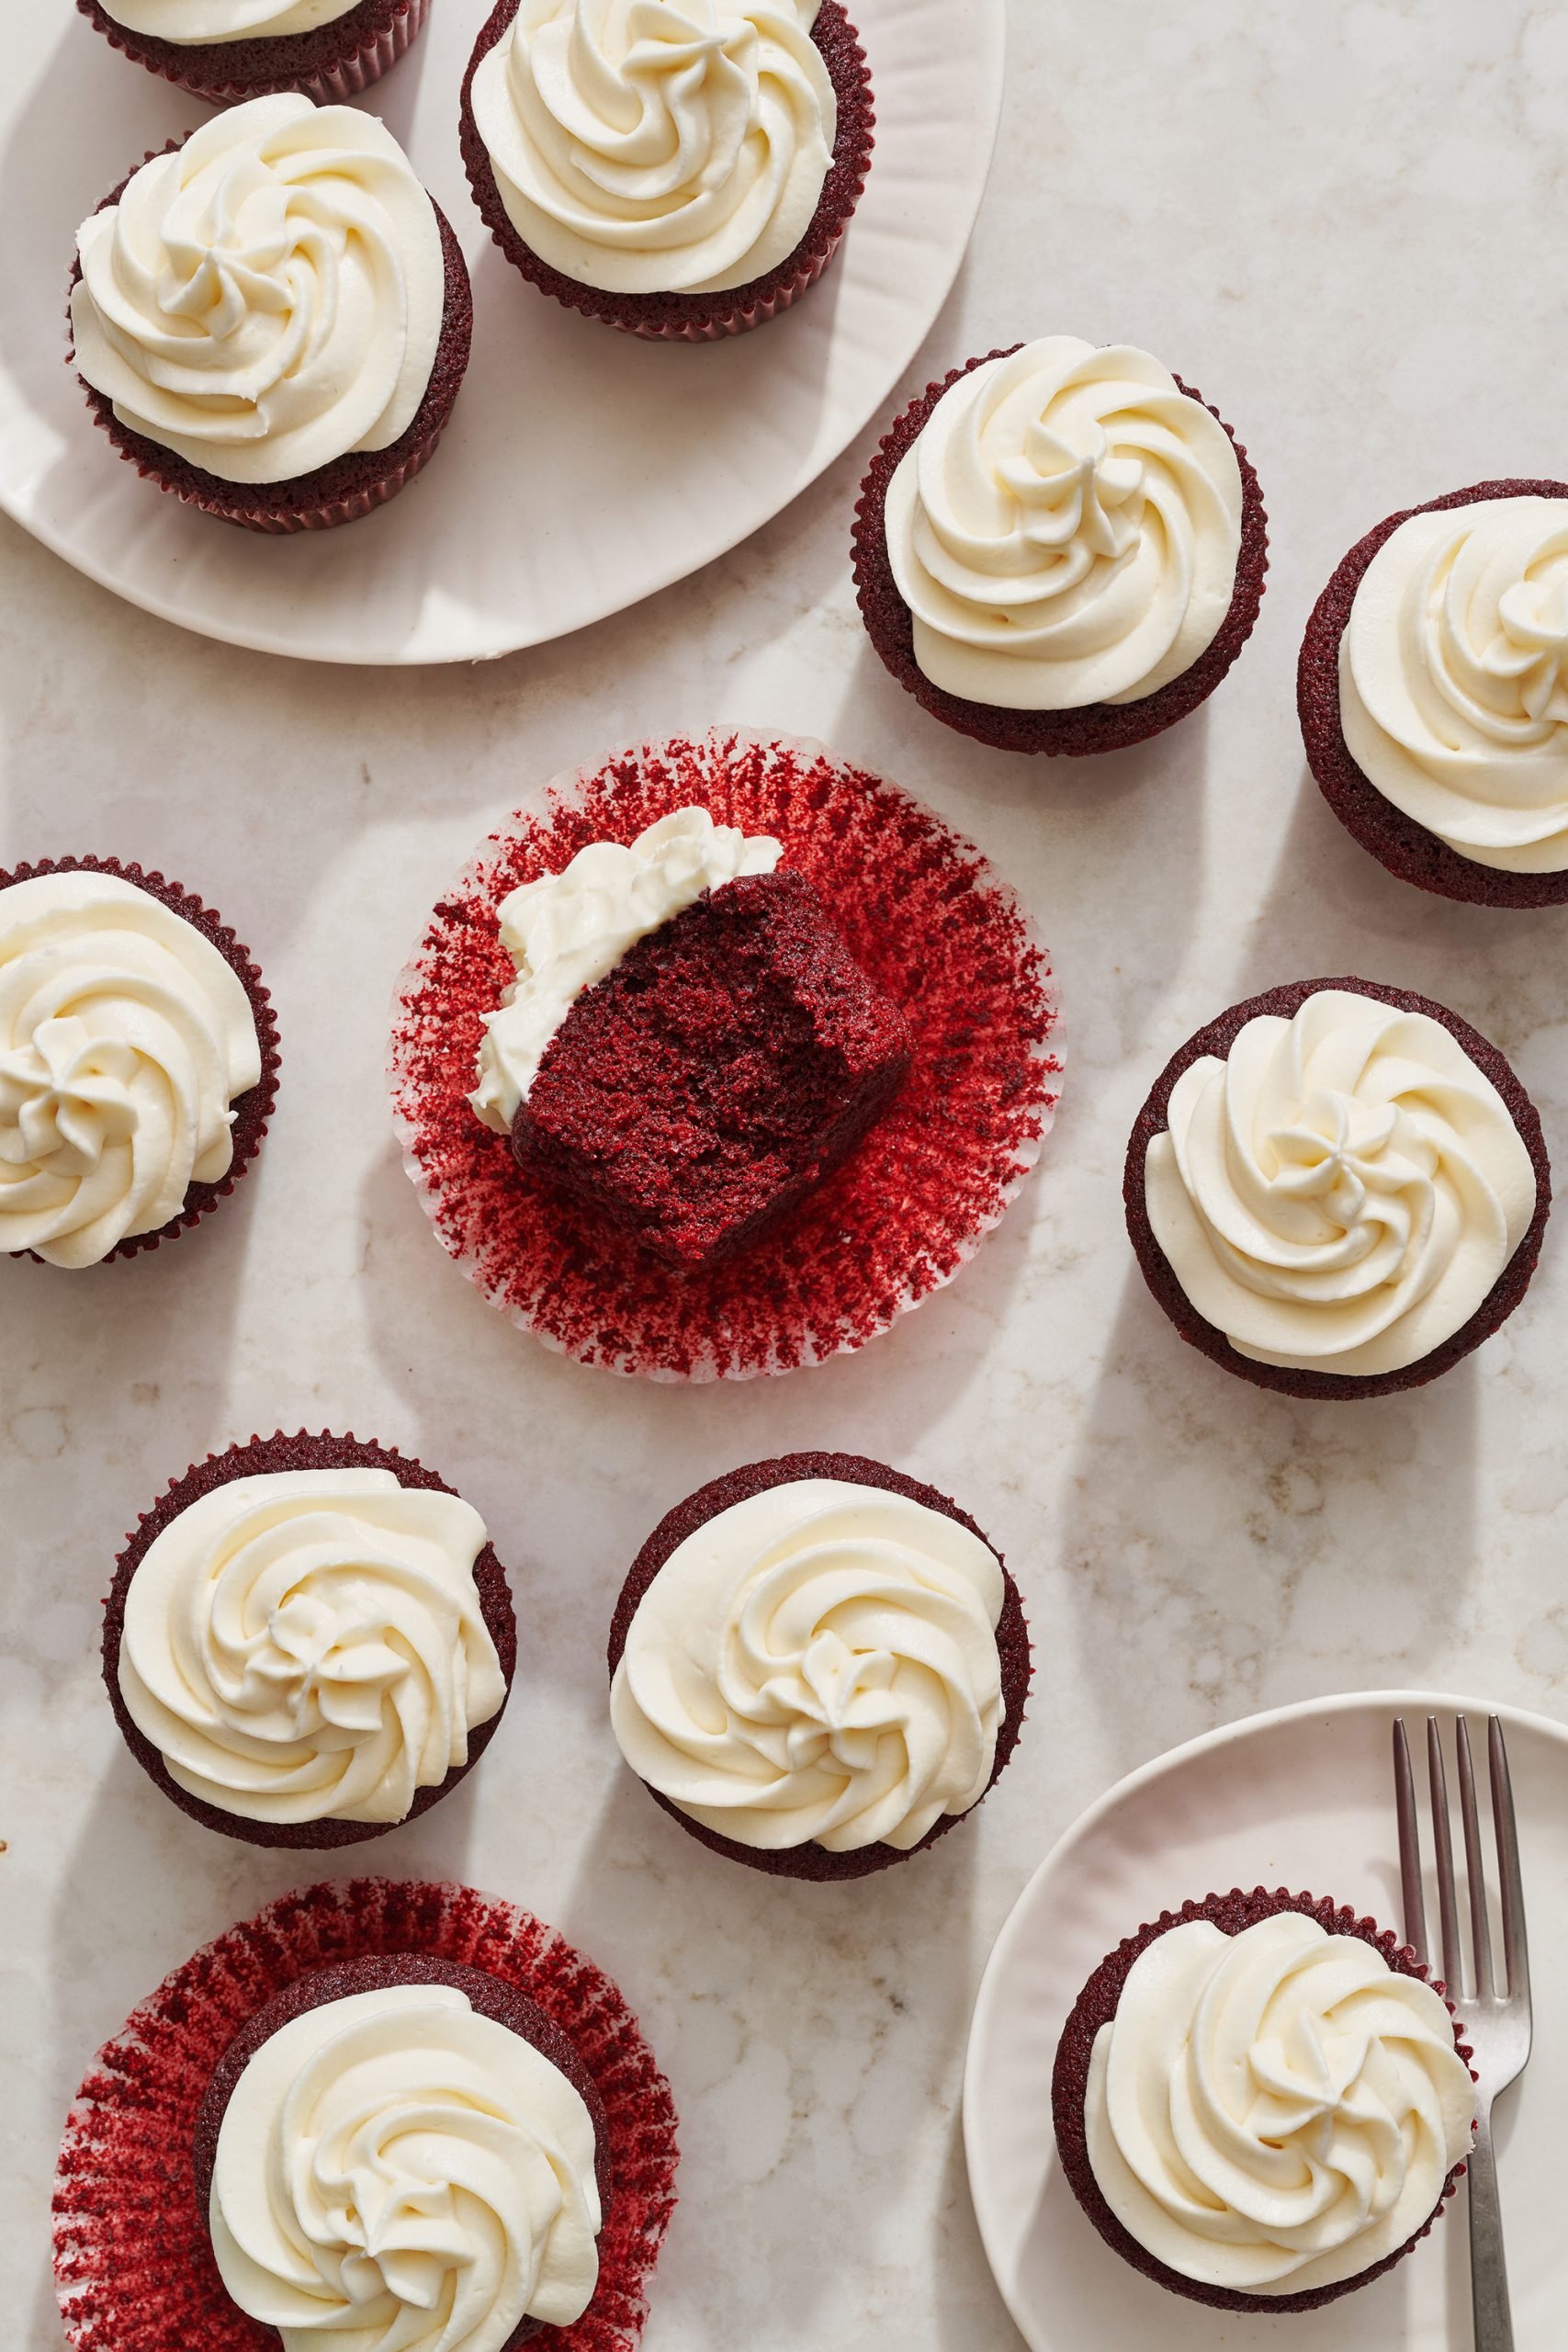
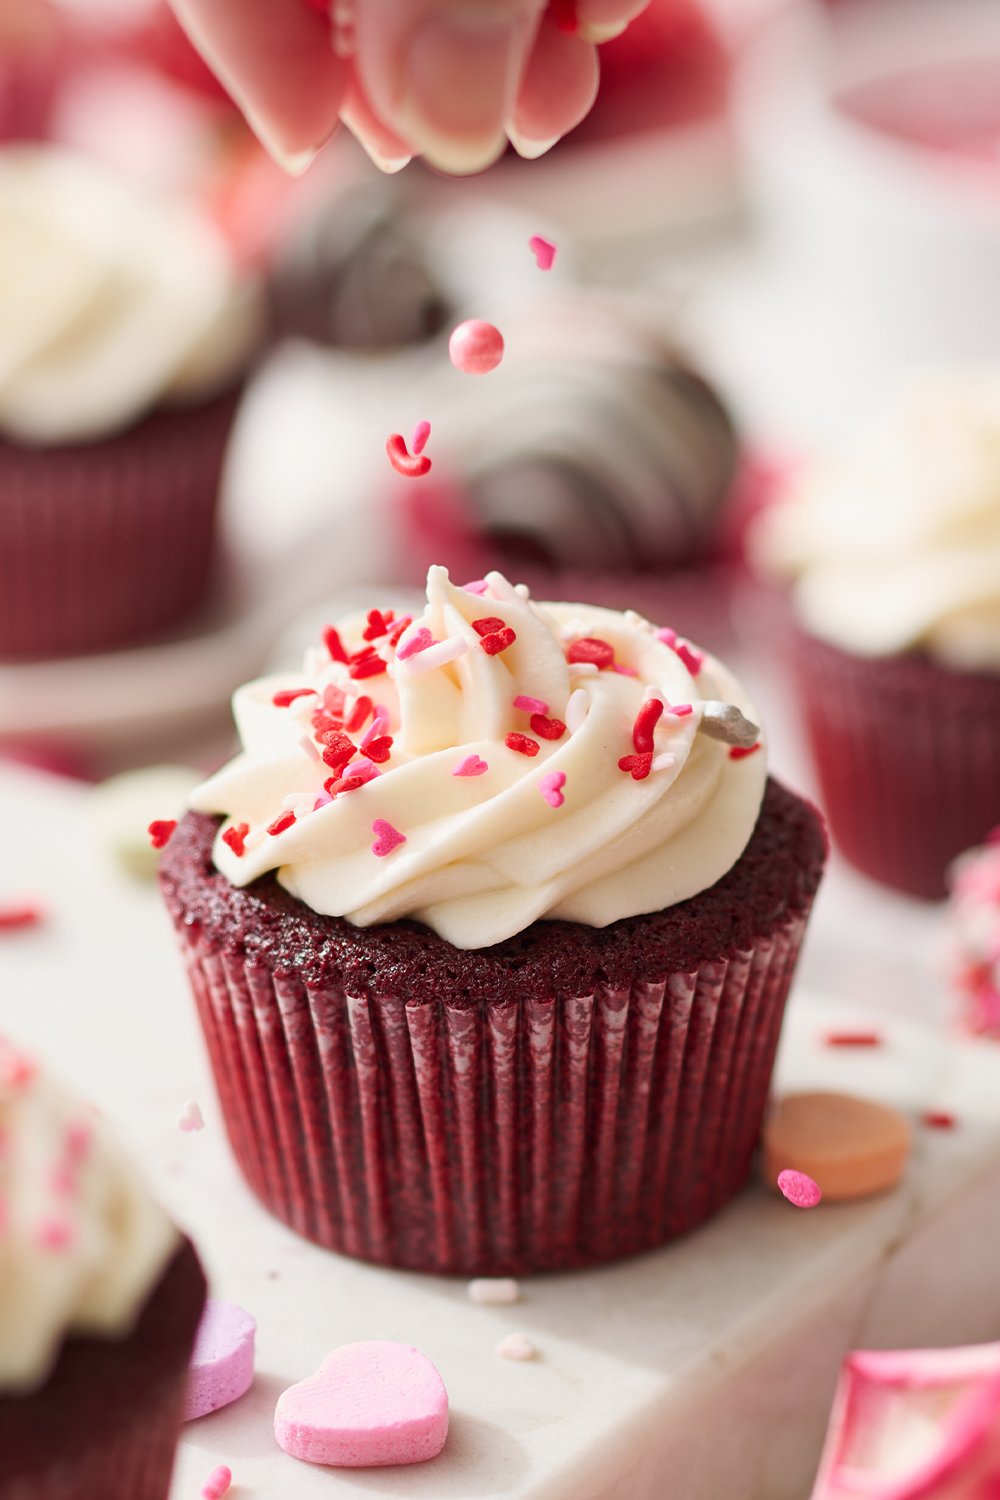
There’s something undeniably charming about red velvet. It’s classic, a little indulgent, and always feels like a treat. These Red Velvet Cupcakes strike the perfect balance between rich and light. They offer a subtle chocolate flavor, a gentle tang from buttermilk and vinegar, and a soft crumb that practically melts in your mouth.
I adapted my favorite Red Velvet Cake recipe, refining and retesting until it worked just as beautifully in cupcake form. After a few tweaks, the result is tender, fluffy cupcakes that bake up perfectly and stay moist long after they’re frosted.
Reader Love
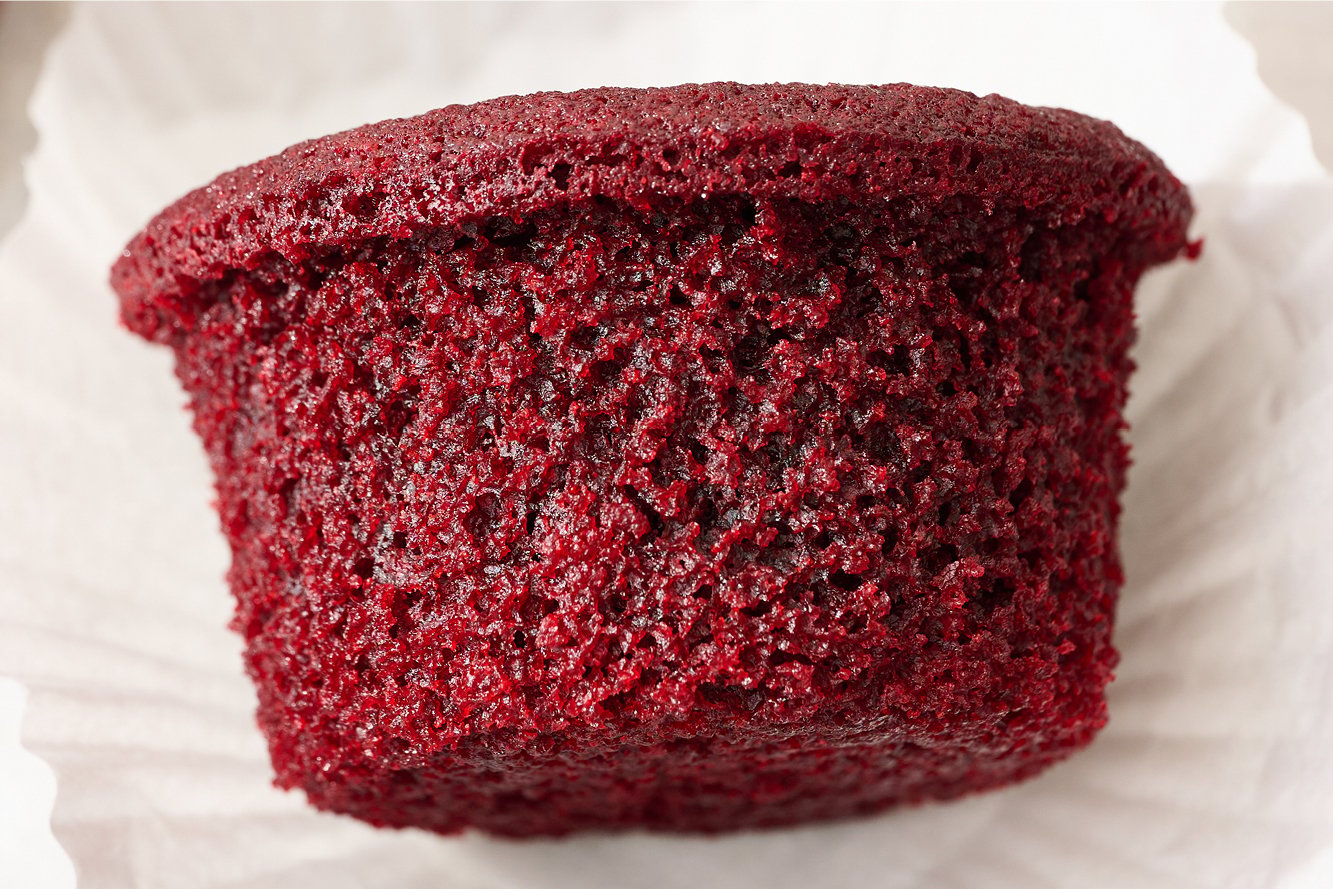
These cupcakes are HANDS DOWN the BEST red velvet cupcakes I have ever had! They are moist (and 100% done so no pretend lava middle 🙂 and they are easy to make. The icing was delicious as well .. not too sweet and just the right balance of cream cheese and PS (I added the extra 3/4 C PS so I could pipe the frosting).
–
Reader Love
Dear lord, these are perfection. I’ve never been a fan of red velvet but I tried this recipe and all of a sudden, red velvet is my new favorite!! Brilliantly soft, boldly flavored, and easy to make. I’m forever grateful for this recipie!
–
Ingredients Needed
The full list of ingredients found in the recipe card is on the longer side, but each ingredient plays an important role in creating that signature red velvet texture and flavor. Here are a few key ingredients worth noting:
For the cupcakes:
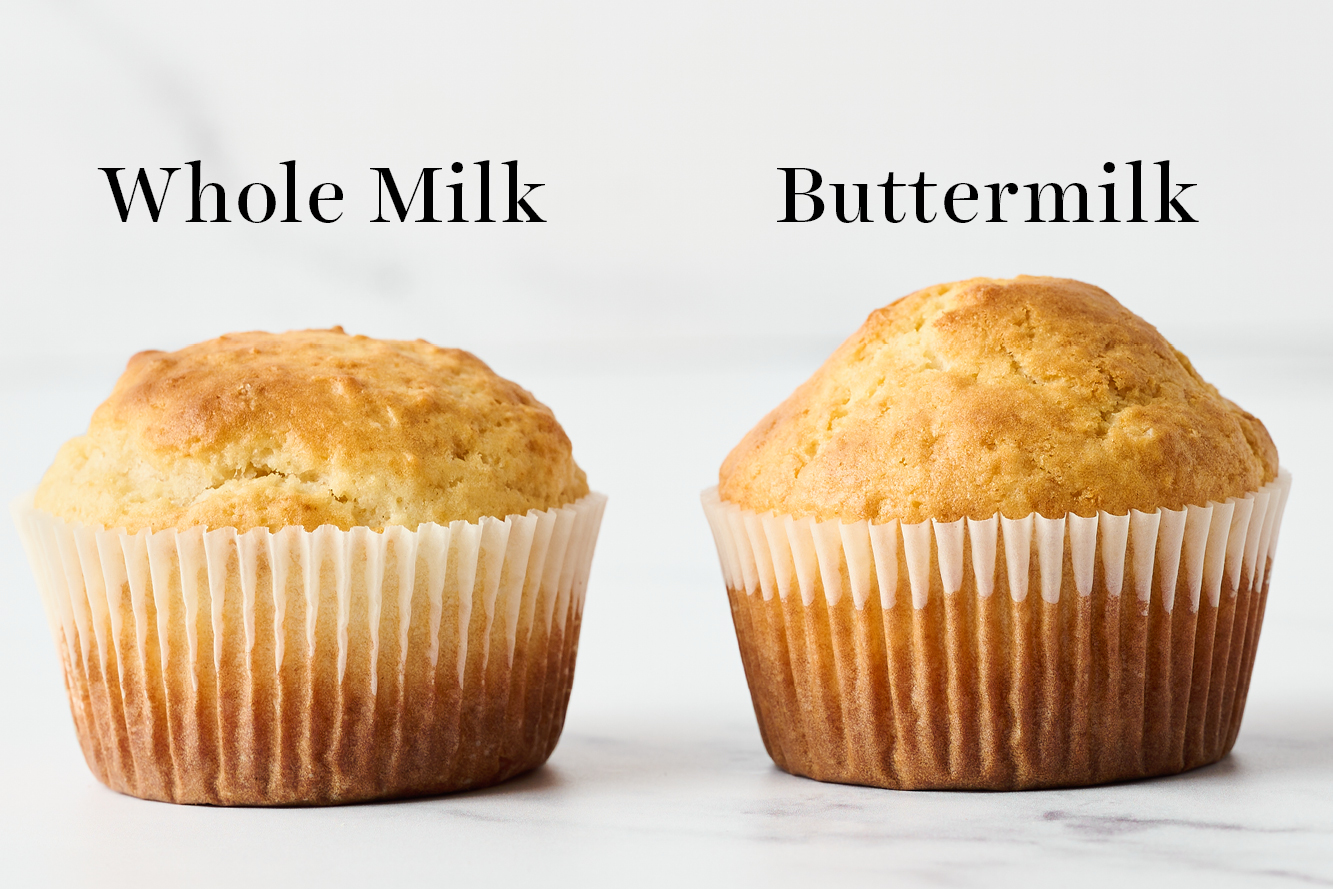
- Buttermilk: A must for rich, tender, and moist cupcakes. It also activates the baking soda and provides the classic tang that red velvet is known for. I don’t recommend using a DIY buttermilk (made from milk and vinegar or lemon juice). Plain Kefir is a better substitute, or use whole milk in a pinch, knowing the texture and flavor will change.
- Hot coffee: Just like in my Best Chocolate Cake recipe, these Red Velvet Cupcakes use hot coffee. The heat of the liquid helps to bloom the cocoa, bringing out its full flavor. You won’t taste the coffee, but it does help to balance the sweetness. Hot water works as a substitute.

For the cream cheese frosting:
- Powdered sugar: I recommend investing in organic powdered sugar that contains tapioca starch instead of cornstarch. It dissolves much more readily for a smooth, creamy frosting.
- Cream cheese: Use regular, full-fat cream cheese at a cool room temperature. The whipped or spreadable cream cheese made for bagels doesn’t work here.
- Butter: Use unsalted butter at cool room temperature (about 67°F). Butter that’s too warm can lead to runny frosting.
Find the full list of ingredients in the recipe card below.

Sprinkle of Science
How to Make Red Velvet Cupcakes
Prepare to do some whisking and combining! You’ll need 3 separate mixing bowls– one small, one medium, and one large.
- Use the small bowl to whisk the hot coffee and unsweetened cocoa powder together.
- The medium mixing bowl is for whisking together the dry ingredients.
- The large bowl is for the wet ingredients and for combining all three mixtures — but pay close attention to when and how everything is incorporated.
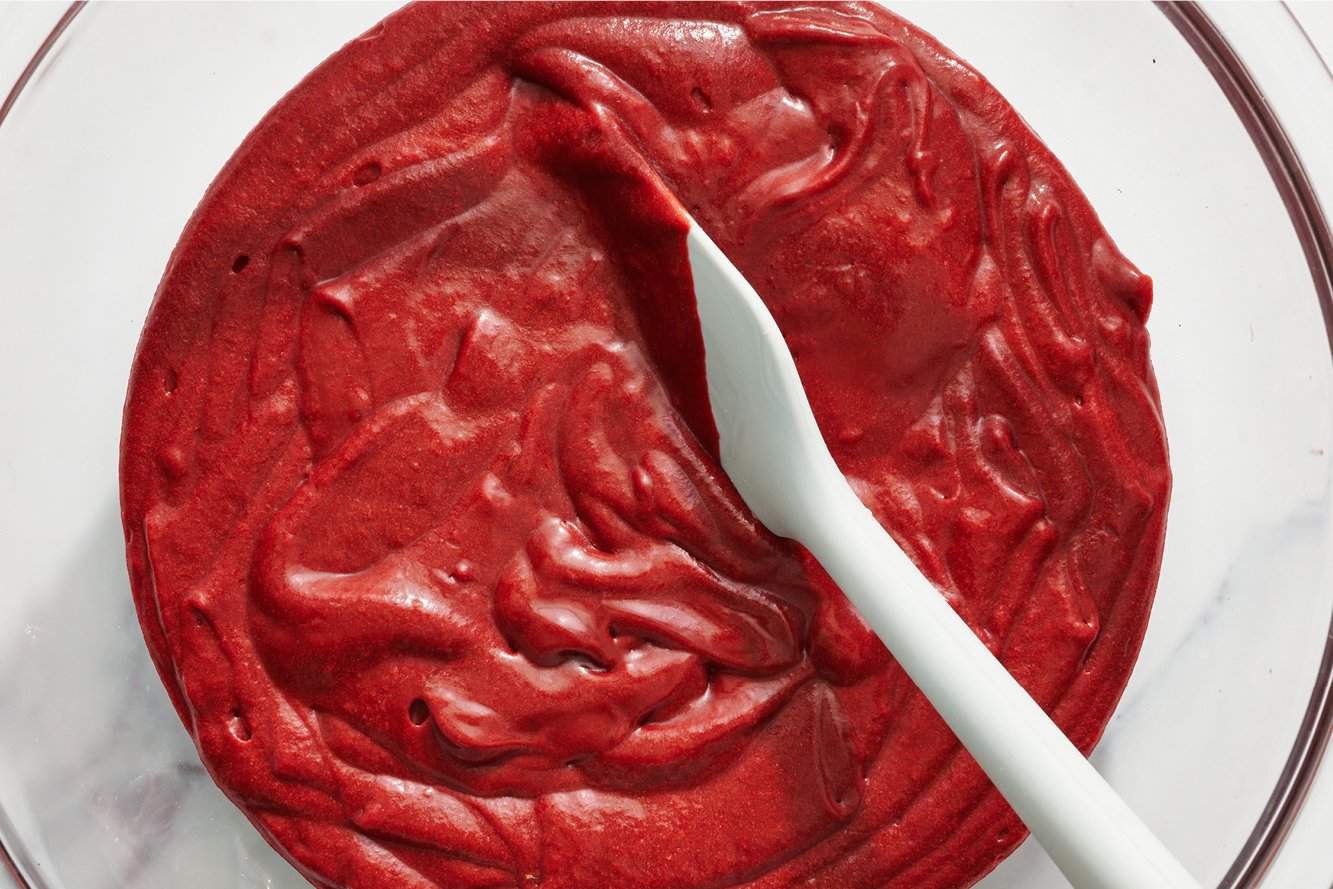
Be careful not to overmix, and scrape down the sides and bottom of each bowl to ensure no clumps remain. The cupcake batter should have a thin, pourable consistency. Distribute it evenly into the lined cupcake pan, filling each liner about 2/3 full to allow enough room for the batter to rise.
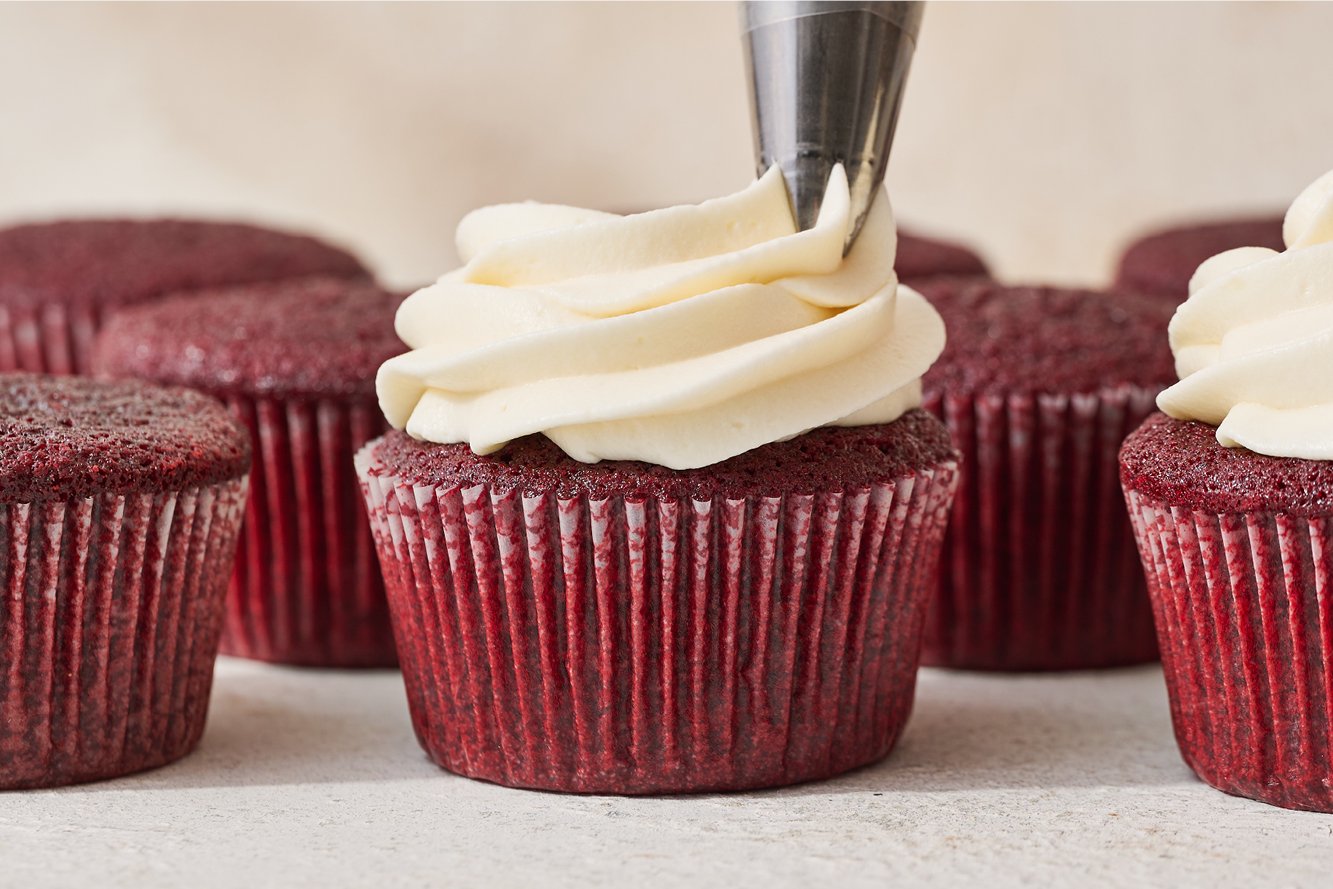
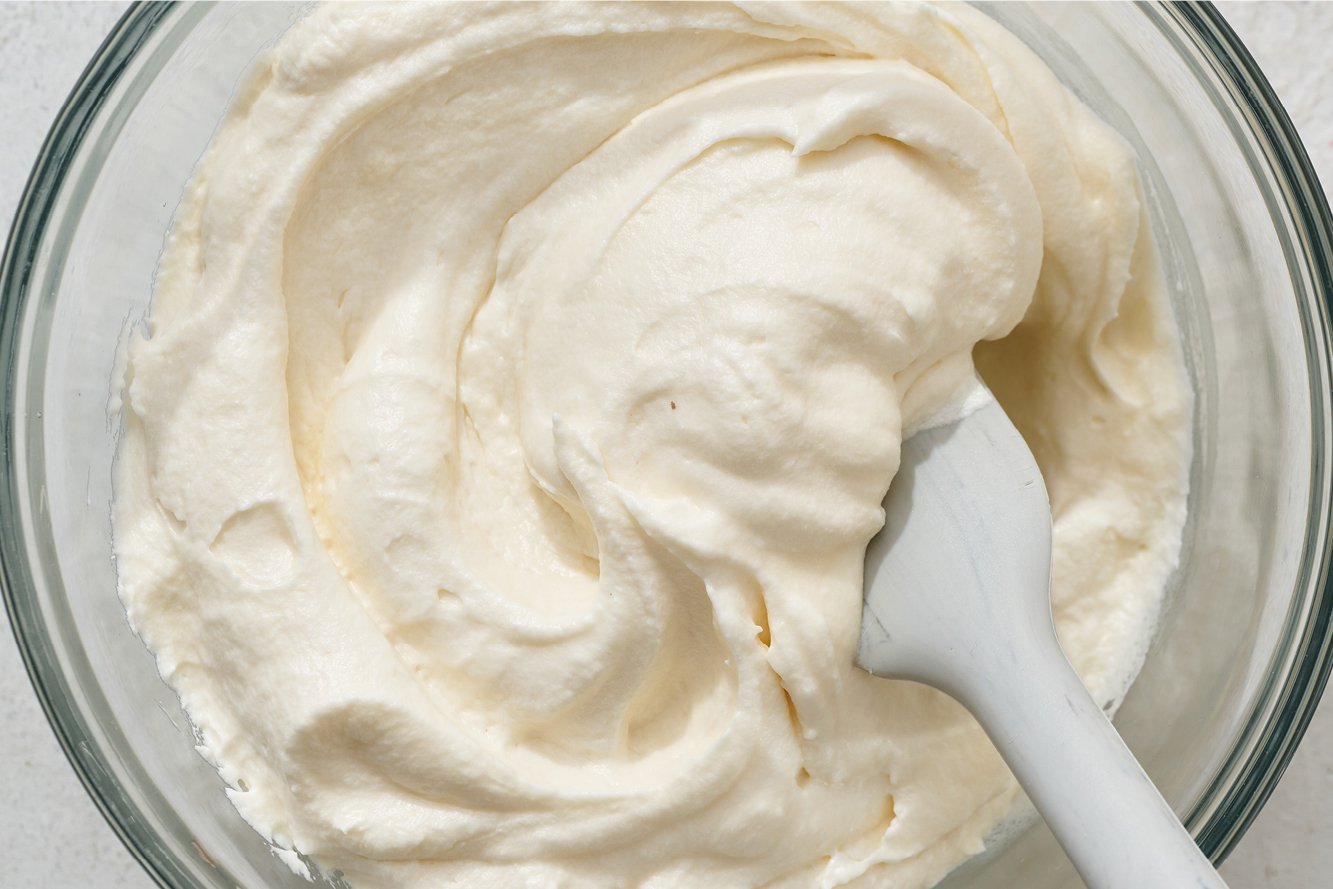
To make the frosting, beat the cream cheese and butter using the paddle attachment of a stand mixer on medium-high speed until smooth. Add in the vanilla and beat until combined, then reduce to low speed and gradually add the sifted powdered sugar. The frosting should be light, creamy, and fluffy once fully mixed.
Pro Tips for Perfect Cupcakes
The recipe is relatively simple to follow, but these tips will help create delicious, bakery-worthy cupcakes every time.
- Use high-quality liners: These are my favorite because they don’t stick to the cupcakes. If this is a common issue, check out my tips for preventing cupcake liners from sticking.
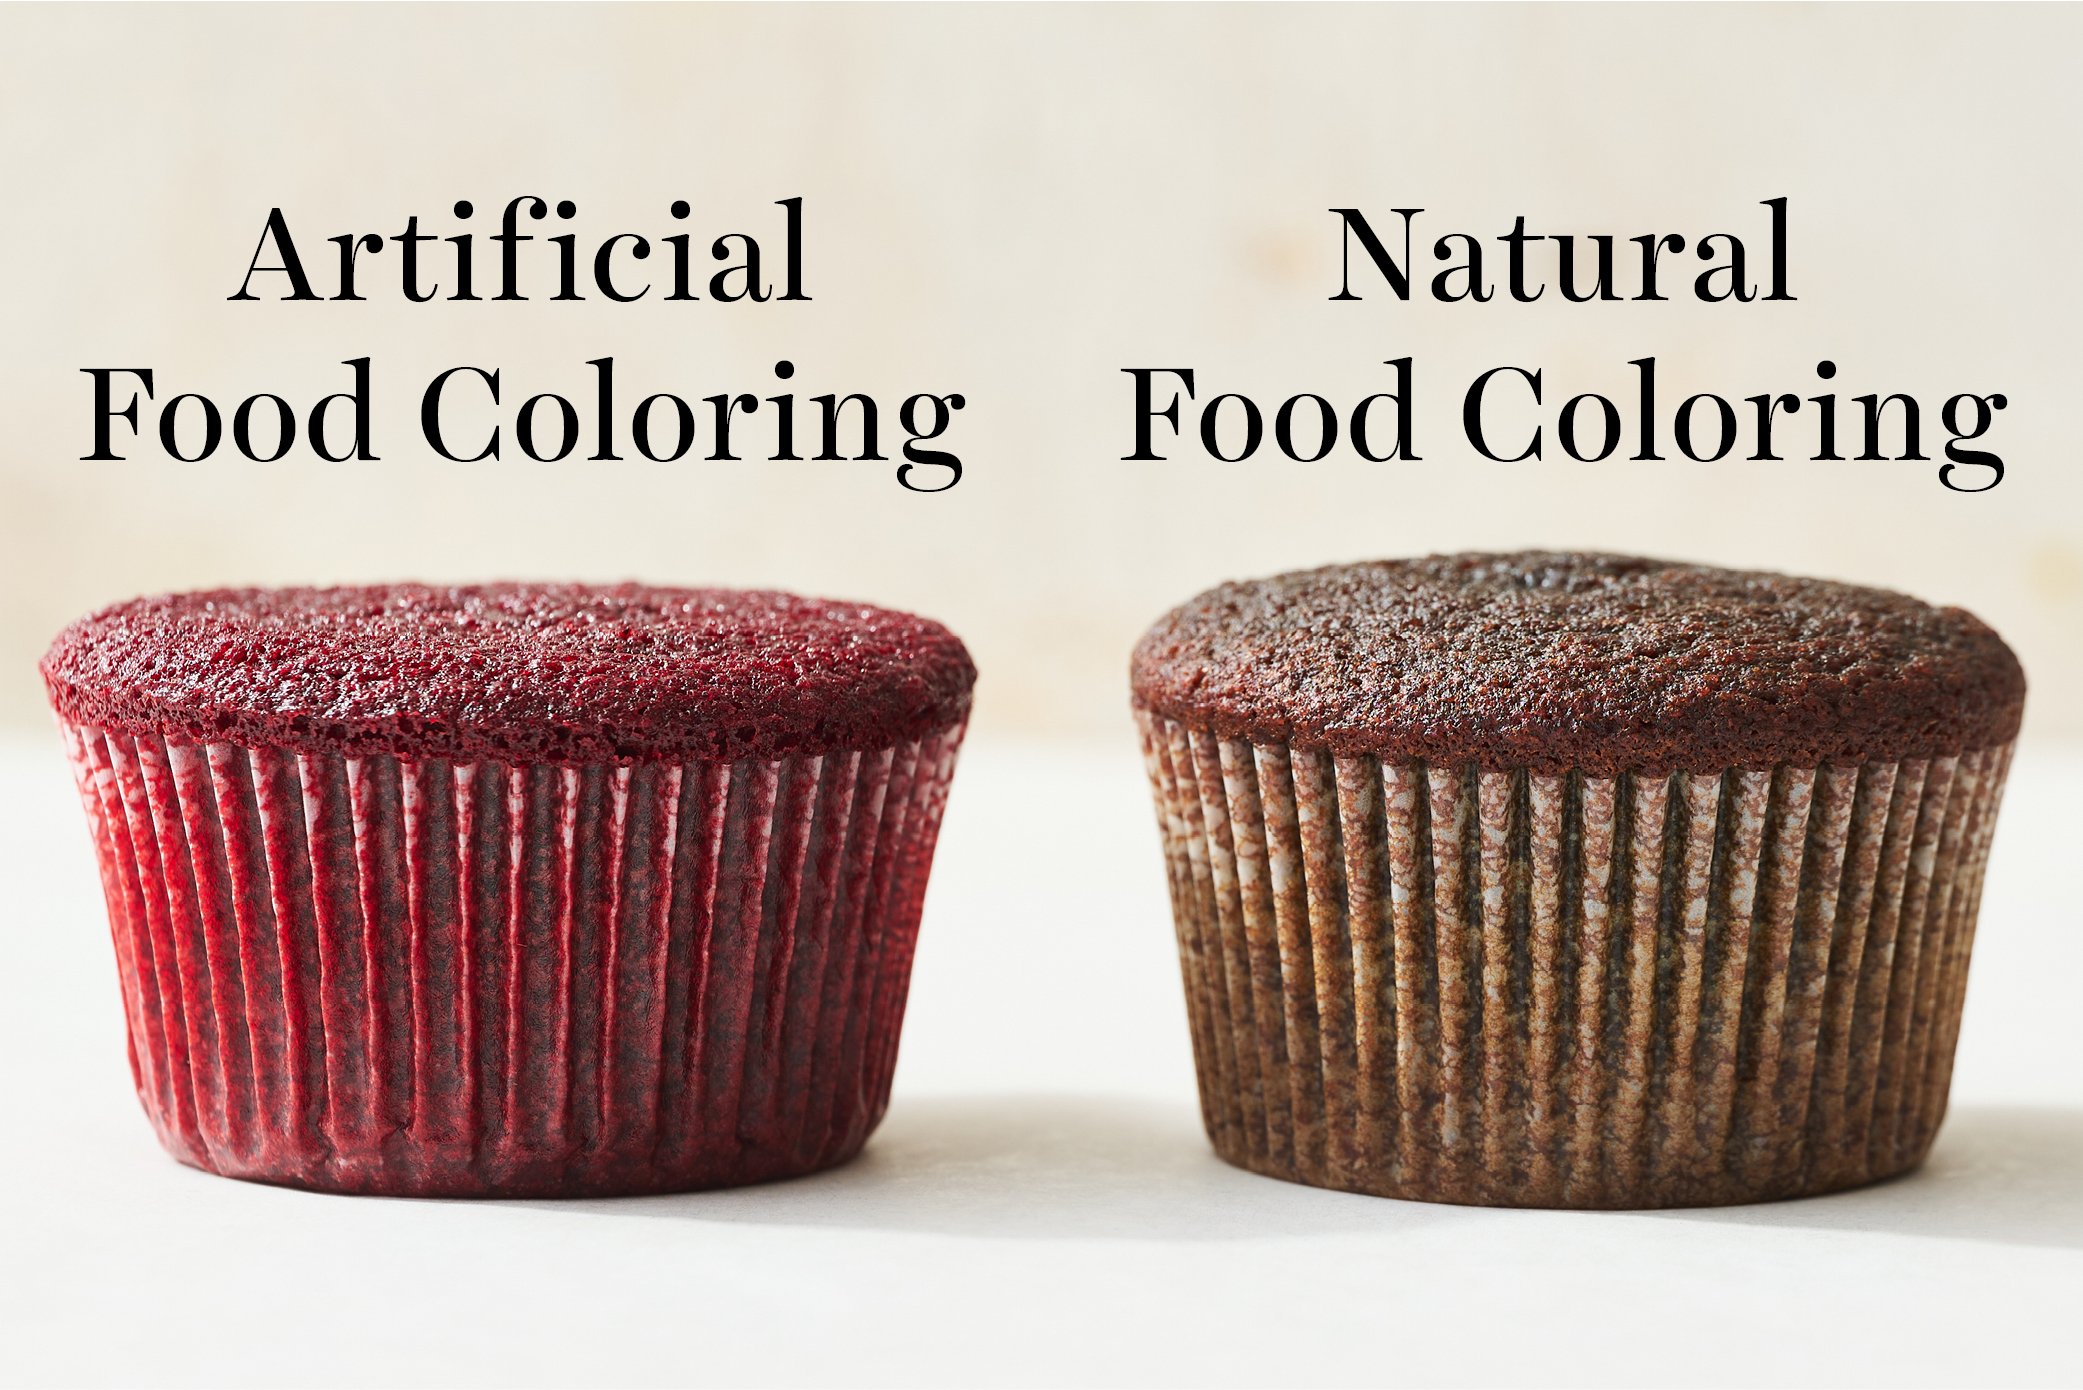
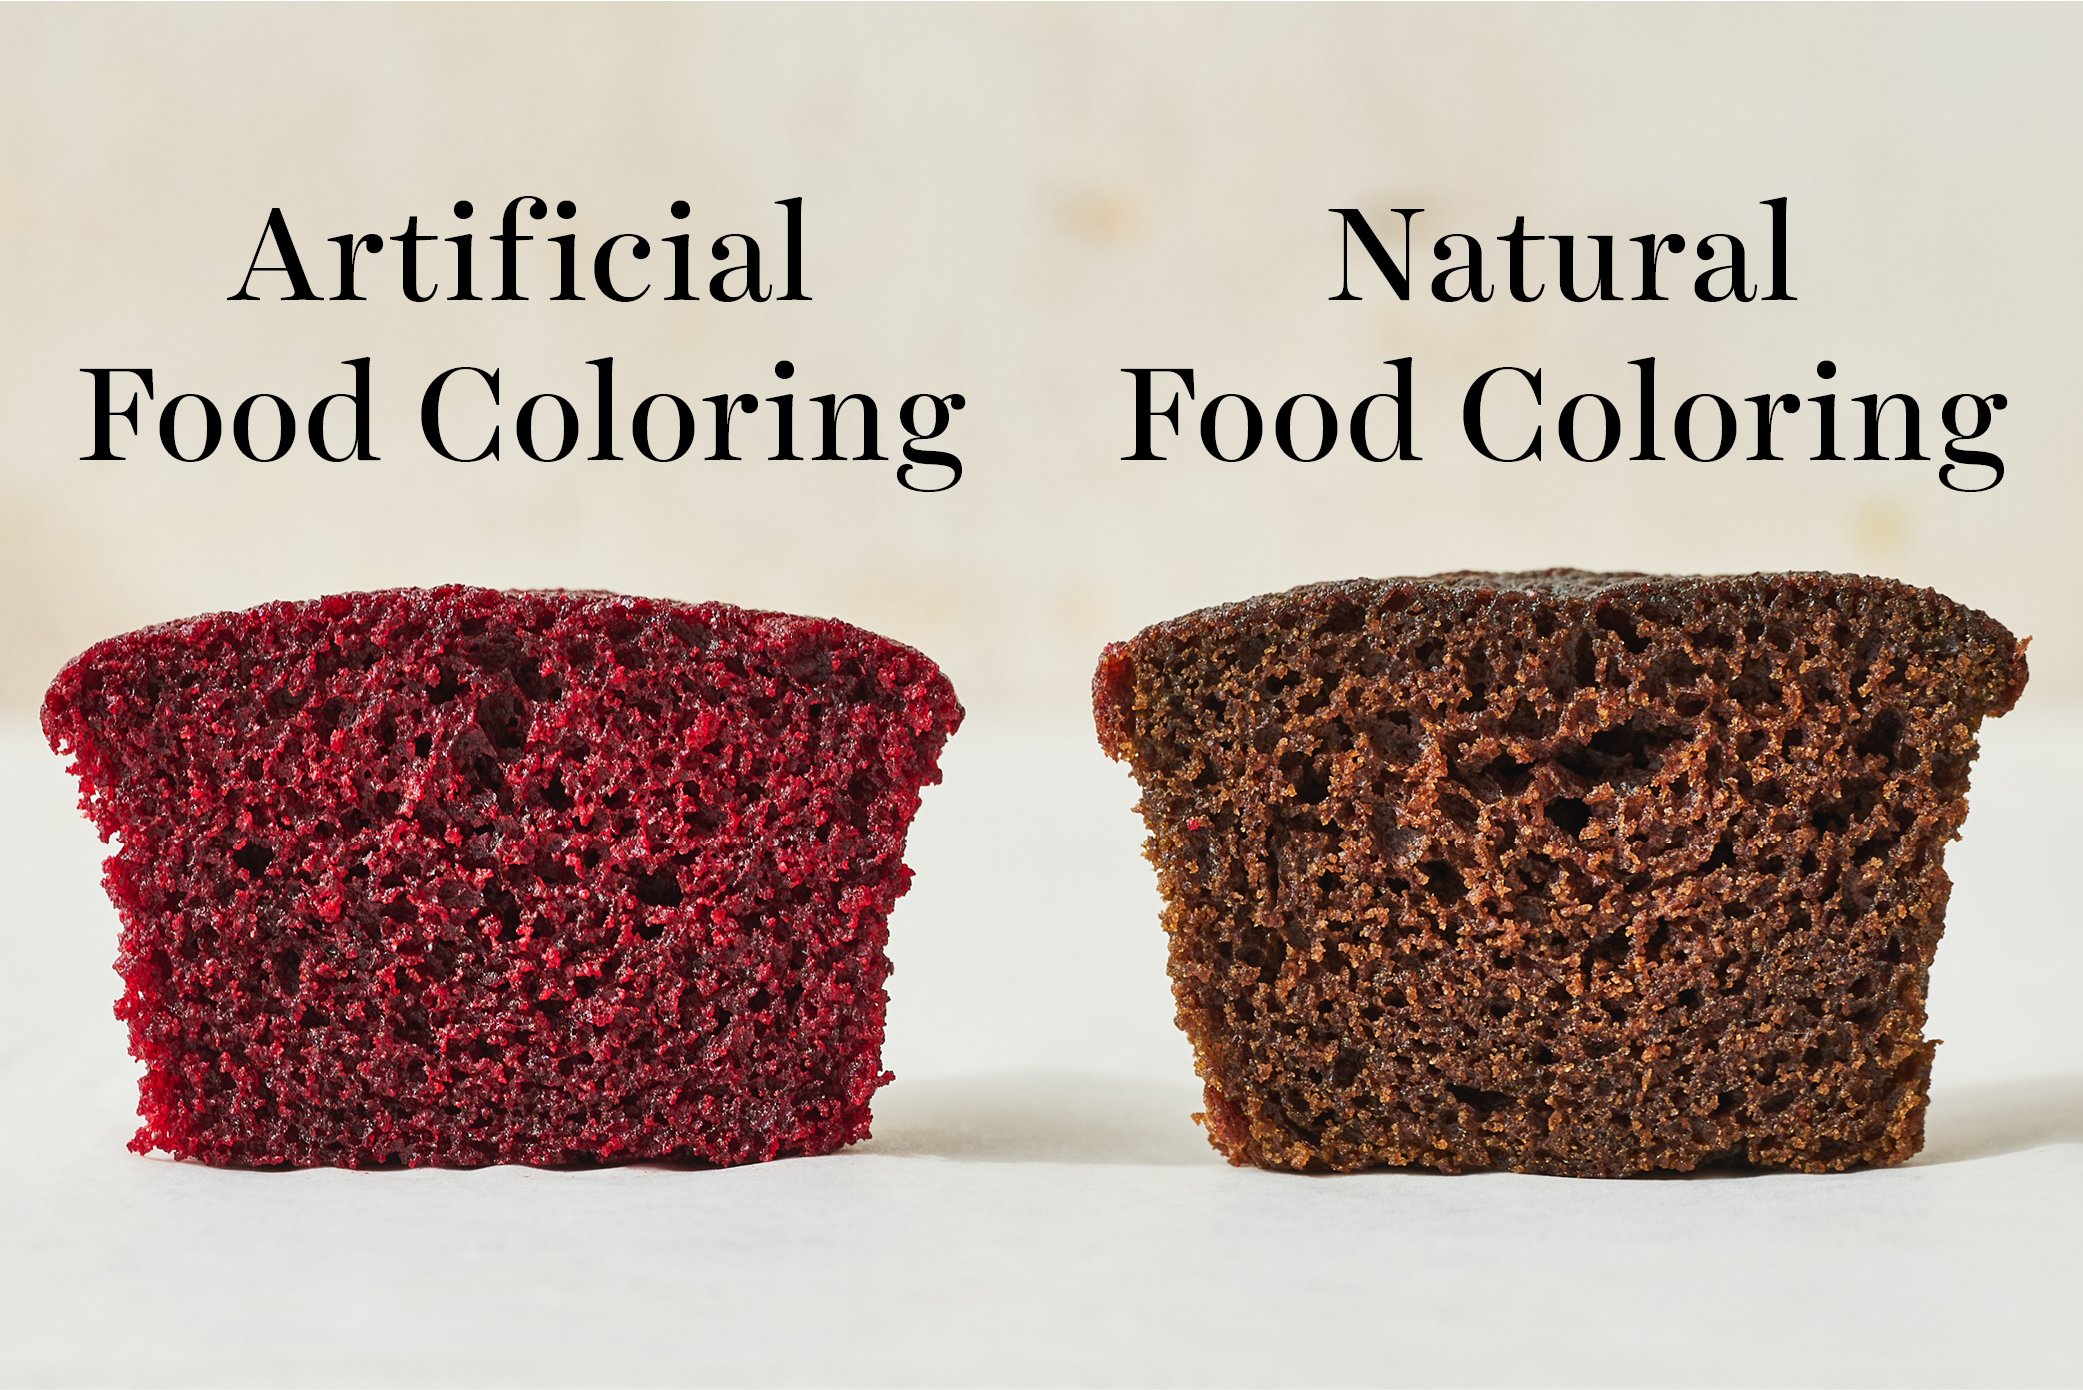
- Food coloring: Gel food coloring creates a more vibrant red velvet color than liquid food coloring. Buy more than you think you’ll need — it’s better to have extra. I like Americolor, Chefmaster, or Wilton gel food coloring for this recipe.
- Use room temperature ingredients. Let the eggs and buttermilk come completely to room temperature for a uniform, cohesive cupcake batter.
- Measure the flour correctly. Too much flour will result in dry, tough cupcakes. Use a digital scale for accuracy or the scoop-and-level method.
- Don’t reduce the sugar. Sugar does more than sweeten! It plays a major role in the moisture and overall texture.
- Make sturdier frosting for decorative piping. Totally optional, but adding an additional 3/4 cup (94 grams) of powdered sugar creates a sturdier, more pipeable frosting. This works beautifully with my Cream Cheese Frosting recipe.
- Use real buttermilk. It gives these cupcakes their signature softness, subtle tang, and bakery-quality crumb. For the best texture and flavor, it’s worth using the real thing instead of a DIY substitute.
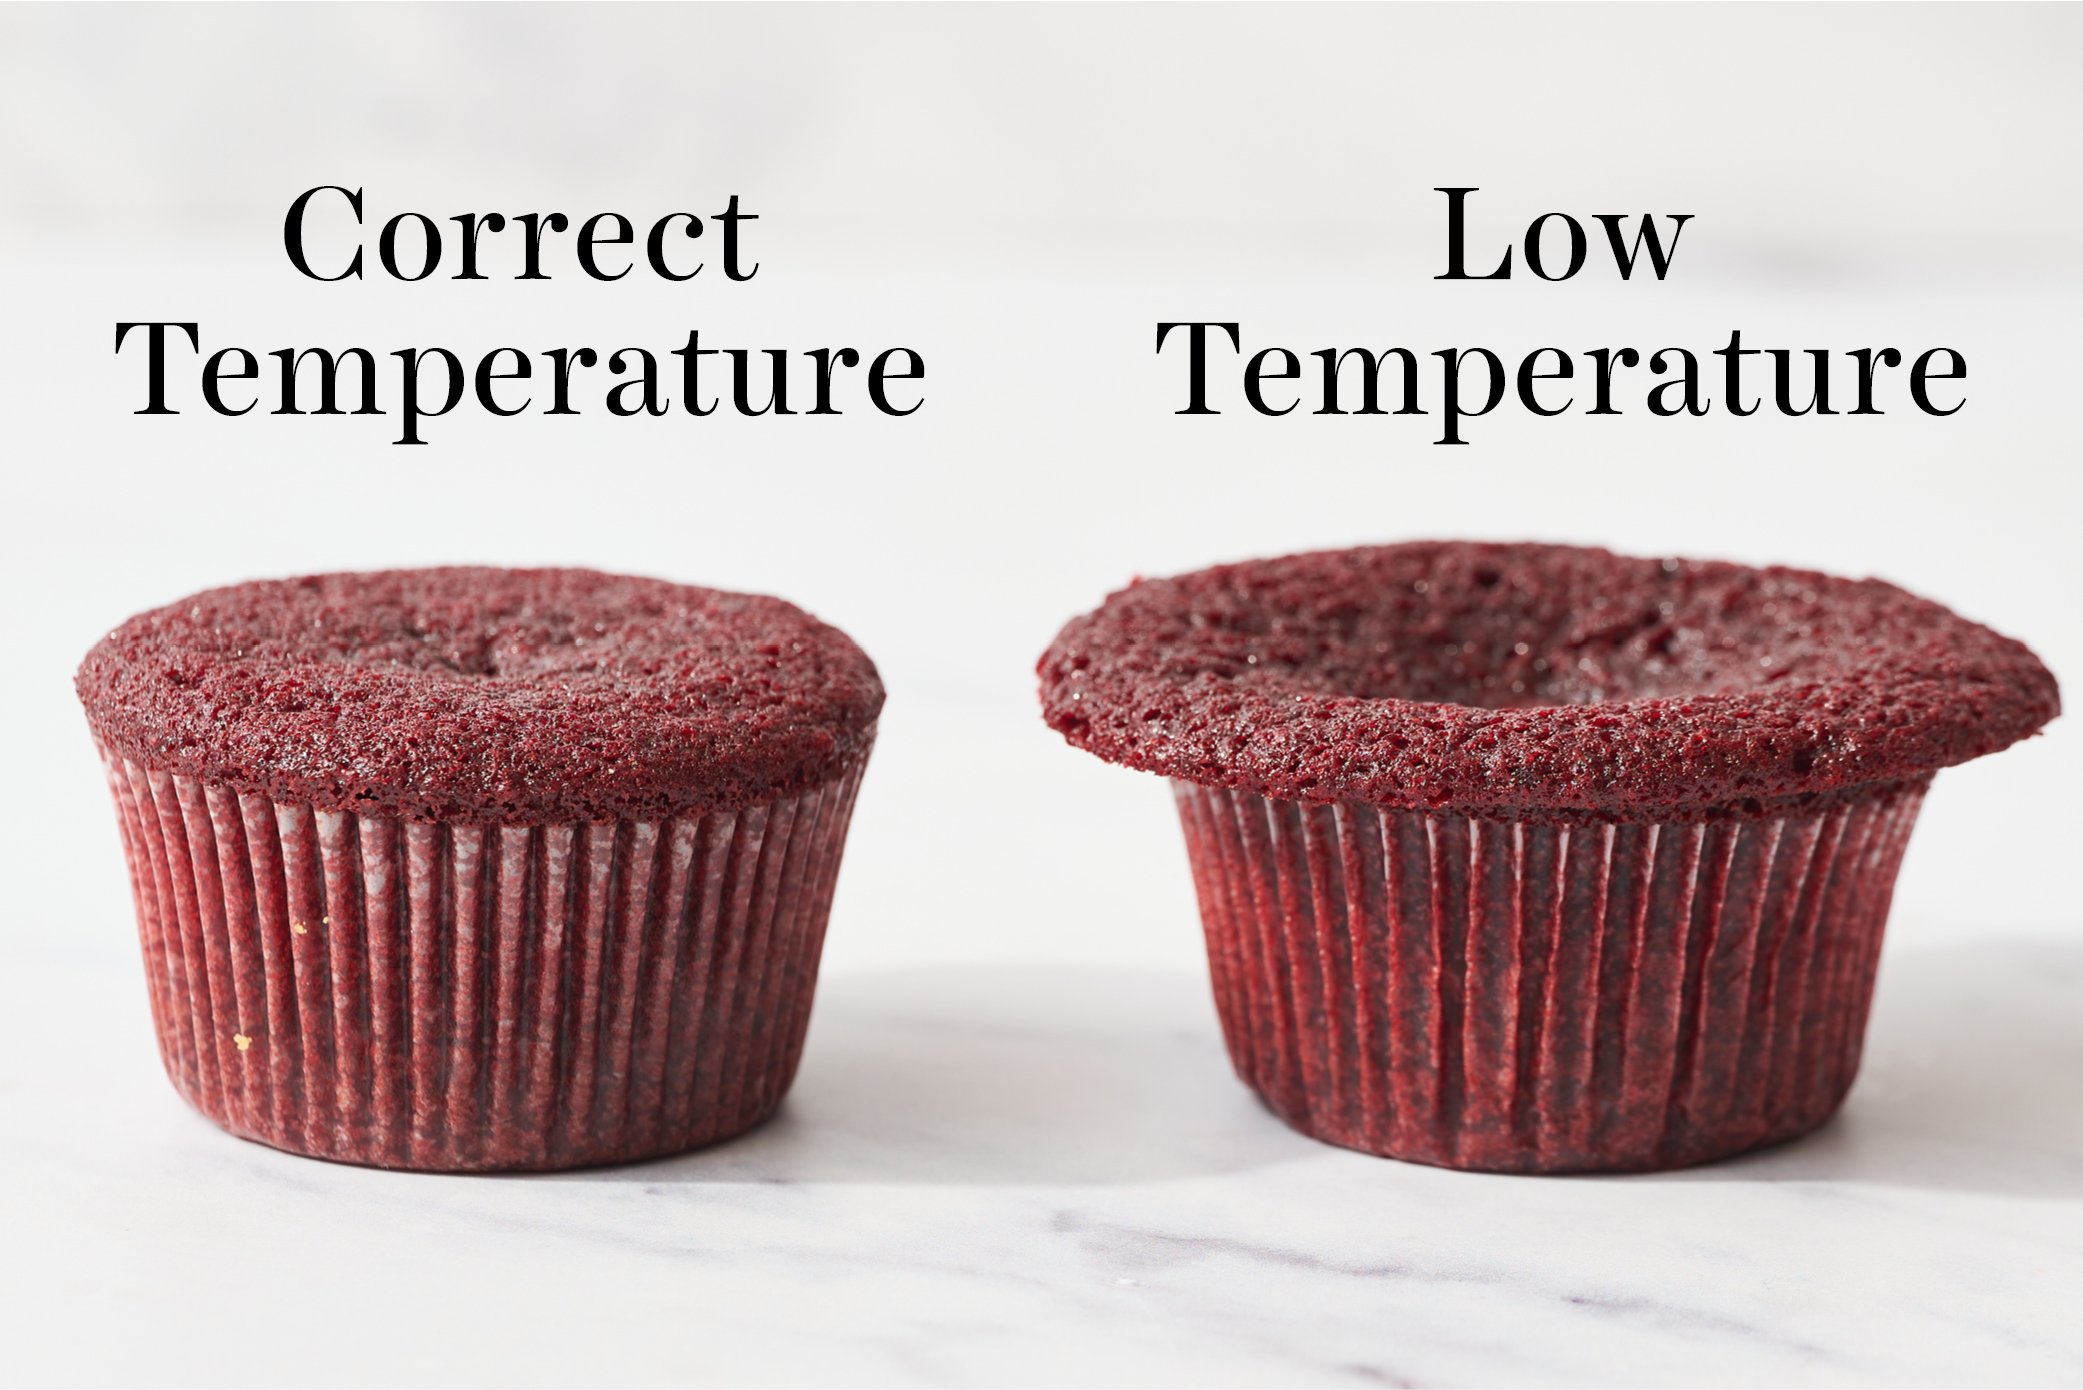
- Don’t overbake. Overbaking sacrifices the signature softness and balance — timing it right is what keeps these cupcakes tender, flavorful, and bakery-worthy.
- Cool completely before frosting. If the cupcakes are even slightly warm, the frosting can melt and slide off, losing its shape and volume. Fully cooled cupcakes also won’t absorb the frosting unevenly and compress the crumb.
Storing, Freezing, and Make-Ahead
Store cupcakes covered at room temperature for up to 1 day, or in the refrigerator for up to 3 days.
To freeze, wrap unfrosted cupcakes individually in plastic wrap to prevent freezer burn. Place them in an airtight container or freezer bag and store them on a flat shelf where they won’t get crushed. Freeze for up to 2 months. Thaw overnight in the fridge before frosting and serving.
To make the cupcakes ahead of time, store completely cooled, unfrosted cupcakes in an airtight container at room temperature for up to 3 days. The tops may become a little sticky, but it’s nothing frosting can’t cover, and they’ll still taste incredible!You can also make the frosting up to 3 days in advance — store it in an airtight container in the refrigerator. Bring it to room temperature, then re-whip with an electric mixer before using to restore that light, creamy texture.
FAQs
You can make these cupcakes without food coloring, and they’ll still have the same flavor and moist texture! They will just be a light shade of brown instead of the signature red color.
There are plenty of customization options for filling red velvet cupcakes. Keep the cream cheese vibes going with a cream cheese filling or add an element of tartness with raspberry or strawberry jam. Vanilla pastry cream, whipped cream, chocolate ganache, salted caramel, or white chocolate mousse would all be delicious options, too!
You can freeze red velvet cupcakes with cream cheese frosting by following these simple steps:
– Freeze the cupcakes uncovered for 1–2 hours, or until the frosting is firm.
– Once frozen solid, wrap each cupcake individually in plastic wrap, then place them in an airtight container or freezer bag.
Freeze for up to 1 month.
– Thaw in the refrigerator for several hours or overnight, then bring to room temperature before serving.
This Red Velvet Cupcake recipe was specifically created to bake up perfectly in cupcake form. If you’re looking to make a layer cake, I recommend using my Red Velvet Cake recipe!
Cupcakes sinking doesn’t affect the flavor or texture, but if you want to prevent it, I have a full guide on how to stop cupcakes (and cakes) from sinking.
In short, use room-temperature ingredients, measure accurately, and avoid overbaking, overbeating, overmixing, or undermixing the batter.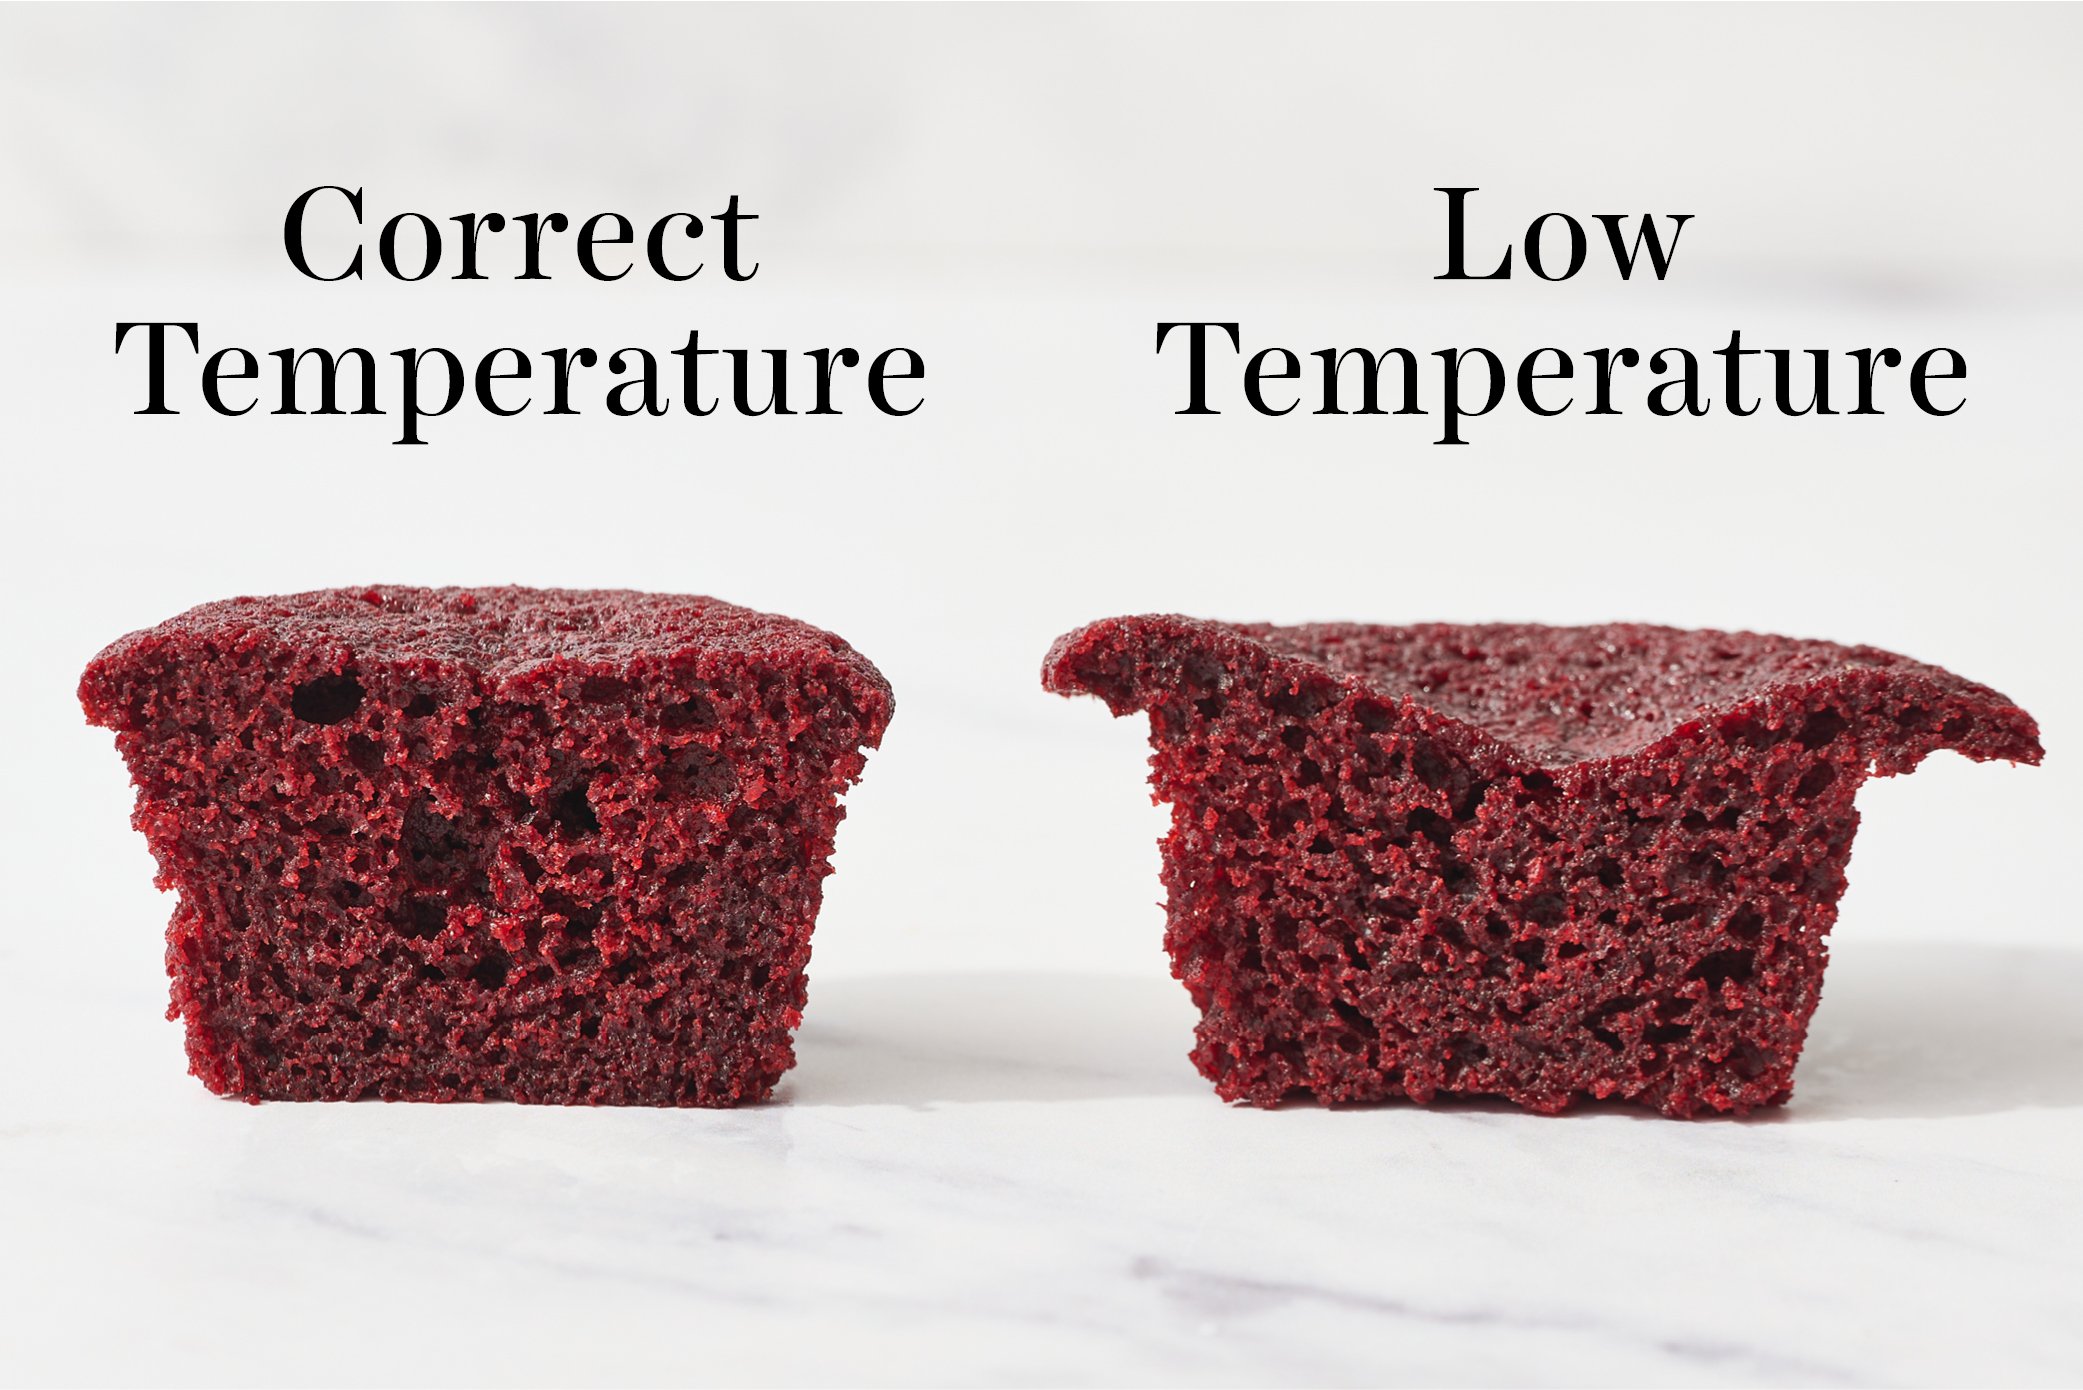
More Dessert Recipes You’ll Love
- Red Velvet Cake
- Best Chocolate Cupcakes
- Carrot Cake Cupcakes
- Red Velvet Crinkle Cookies
- Red Velvet Cookies with Cream Cheese Frosting
Email This Recipe
Enter your email, and we’ll send it to your inbox.
Ingredients
For the cupcakes:
- ¼ cup (56 grams) plain hot coffee or boiling water
- 2 tablespoons (12 grams) unsweetened natural cocoa powder
- 1 cup + 2 tablespoons (140 grams) all-purpose flour
- ½ teaspoon baking powder
- ½ teaspoon baking soda
- ½ teaspoon fine sea salt
- ⅛ teaspoon ground cinnamon, optional
- 1 cup (200 grams) granulated sugar
- ¼ cup (55 grams) fresh vegetable oil
- ½ stick (57 grams) unsalted butter, melted
- 1 large egg, at room temperature
- ½ cup (119 grams) buttermilk, at cool room temperature (67°F)
- 1 teaspoon vanilla extract
- 1 ½ teaspoons
red gel food coloring - ½ teaspoon distilled white vinegar


For the cream cheese frosting:
- ¾ stick (85 grams) unsalted butter, at cool room temperature (67°F)
- 1 ½ cups powdered sugar (188 grams), sifted (Don’t skip sifting!)
- 6 ounces (170 grams) cream cheese, completely softened to room temperature (brick-style, not spreadable)
- 1 ½ teaspoons vanilla paste or vanilla extract
Instructions
For the cupcakes:
- Preheat oven to 350°F and line a standard 12-cup muffin tin with paper liners.
- In a glass measuring cup or small bowl, whisk the hot coffee and cocoa powder together, then cover and let stand for 5 minutes.
- In a medium mixing bowl, whisk together the flour, baking powder, baking soda, salt, and cinnamon.
- In a large mixing bowl, whisk together the sugar, vegetable oil, and melted butter.
- Add in the egg and whisk for twenty seconds, or until very well combined.
- Add in the buttermilk, vanilla, and red food coloring and whisk to combine. Then whisk in the vinegar and coffee mixture.
- Using a fine-mesh sieve, sift the flour mixture into the batter in three additions, whisking until each addition is incorporated. The batter will be thin.
- Using a spring-loaded scoop, divide the batter evenly among prepared muffin cups. Lightly tap the bottom of the muffin pan against the counter several times to release any air bubbles.
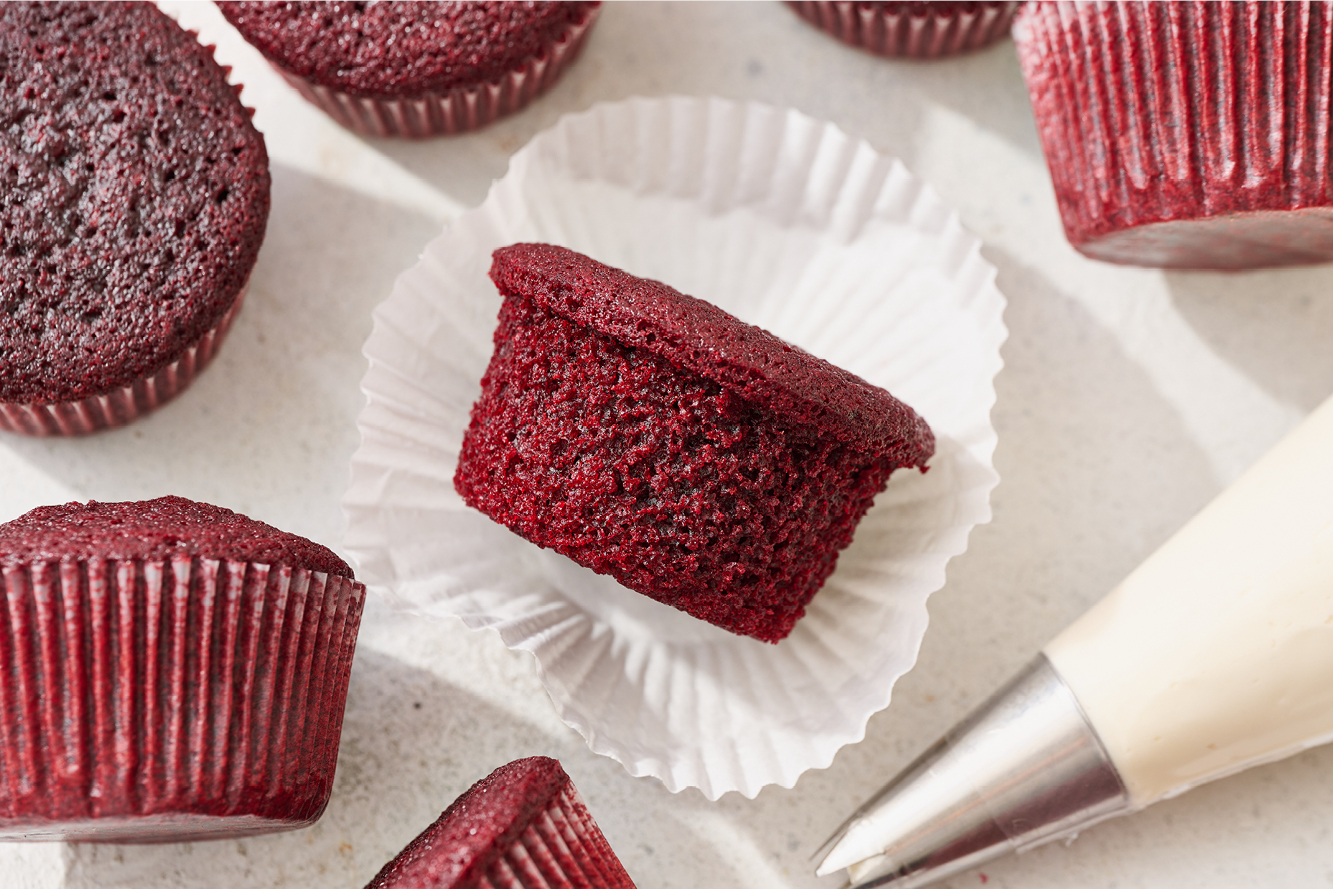
- Bake until cupcake tops are no longer sticky to the touch and a cake tester or toothpick comes out clean (about 17-20 minutes). It’s normal for the tops to look slightly spongy.
- Let cupcakes cool in pan on a wire rack for 10 minutes before removing from the pan to cool completely (about 1 hour).
Make the frosting:
- In the bowl of a stand mixer fitted with the paddle attachment, beat the softened butter and sifted powdered sugar on low. Gradually increase to medium-high to prevent a sugar cloud.
- Beat for 3 minutes until smooth. (It may look dry at first, but it will come together like magic!)
- Scrape down the bottom and sides of the bowl and paddle, then add the cream cheese and beat on medium-high for 1 minute until fluffy.*
- Add the vanilla and beat for 30 seconds until fully incorporated. Scrape down the bowl again as needed.
Notes
Photos by Joanie Simon.


Note to readers who look at comments: Read the whole recipe before beginning. I missed a few steps because I only skimmed. That being said, the cupcakes turned out fine, and the fluffy white frosting was plentiful and divine!
I can’t believe how moist and fluffy these cupcakes were, great recipe! Definitely making them again!!
These moist and delicious cupcakes are perfect for a birthday, Valentine’s Day or any time you want a special treat. The cream cheese frosting is the perfect accompaniment to the hint of chocolate and cinnamon flavors in the cake. Great recipe!
So pretty!! Glad you enjoyed these cupcakes, Lucille! 🙂
These cupcakes are soo good! So soft and moist (we can say that because it’s baking, right?) and super delicious. The frosting is light and sweet with a tang from the cream cheese. I’ll be coming back to this recipe to frost other cupcakes for sure. I will 100% make these again. Possibly before the month is out. But there’s only 12, so which of my friends will be lucky enough to get one????
So glad you enjoyed these cupcakes and the frosting, Rebecca! Your swirls look amazing!! PS the word ‘moist’ always gets a pass in baking lol
This recipe is worth every ounce of work! I made these cupcakes for a friends birthday and everyone was floored by how delicious and moist they were. The frosting was also a hit, although my piping had some issues this day. I had a bit of extra batter and was able to make two extra cupcakes per batch, even with very full tins- yay me!
Your red velvet cupcakes look fantastic, Kate! Great job 🙂
Your piping is lovely, I’m still getting the hang of it too.
Great recipe! I made purple velvet for a friend’s birthday, since that’s what she requested. Just changed the food coloring but, otherwise, followed the recipe!
So glad you enjoyed these cupcakes, Erin! They sound beautiful 🙂
These are absolutely fantastic! Although the chocolate flavor isn’t strong, they are SUPER moist and fluffy, which totally makes up for it. I did end up making it into 13-14 cupcakes, as 12 was just too full unless using tulip liners. As always, cream cheese frosting is simply a dream and seems to make the cake!
Fun recipe with some unexpected ingredients. I want to make them again and try piping 🙂
These are delicious- best red velvet cupcake recipe out there!
I thought the cupcake turned out really well! I overfilled slightly should’ve saved the extra batter and made a 13th cupcake but still turned out great! I didn’t think the frosting recipe was enough to cover all of my cupcakes since I piped it on and the frosting was a little less stable than I would’ve liked for a cupcake. I would probably make this again but use a different frosting recipe.
Really delicious and moist!
I made this recipe and ended up with 17 cupcakes but my cupcakes were on the shorter side even though I filled them 2/3 full. Should I have filled the cups more? This piece of information wasn’t mentioned.
Hi Riri! It sounds like you didn’t quite fill your cupcake pan cavities enough. Though we didn’t specify how full the cavities need to be, the recipe does state to “divide the batter evenly among prepared muffin cups”, so you should end up with 12 even, tall cupcakes 🙂 I hope you still enjoyed your cupcakes – they still look delicious from your photo!
Yes, they were delicious! Next time I will divide it to fit in 12 🙂