Tessa’s Recipe Rundown
Taste: Big butterscotch flavor without being too sweet. These cookies taste how you imagine a chocolate chip cookie should taste!
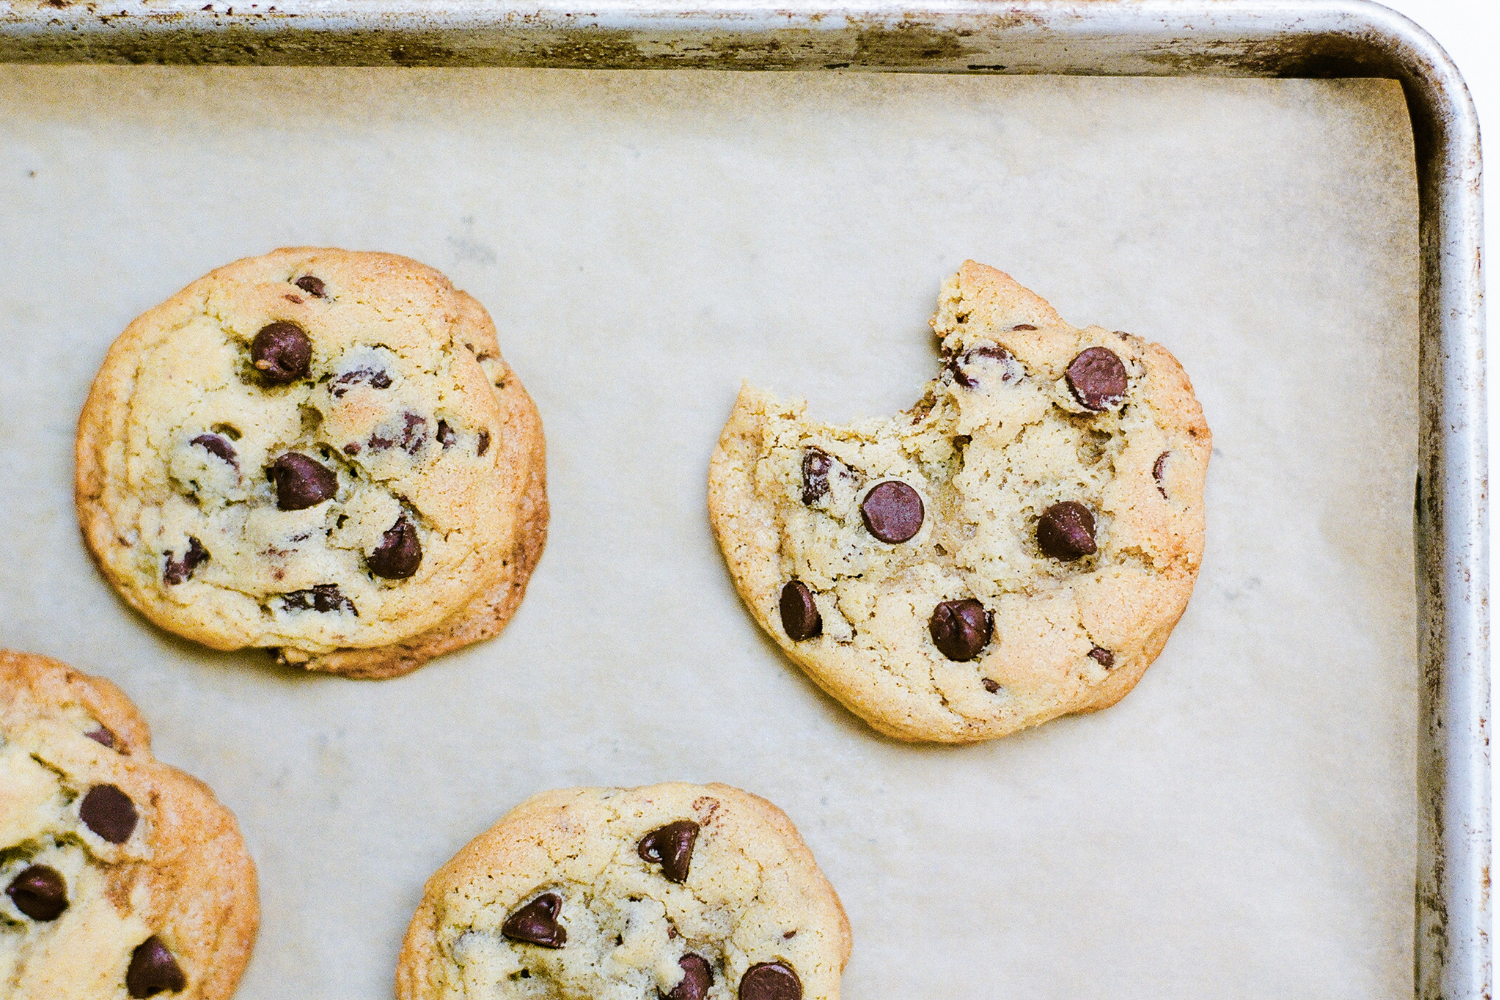
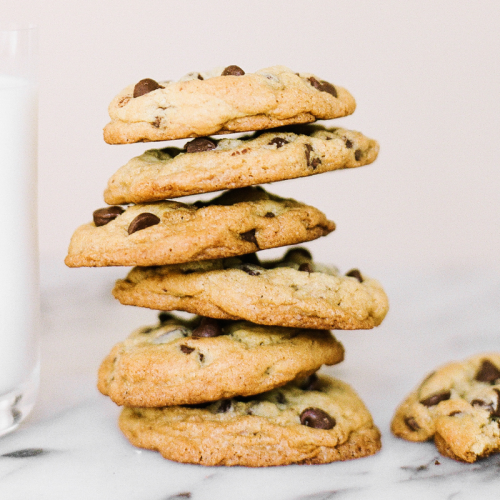
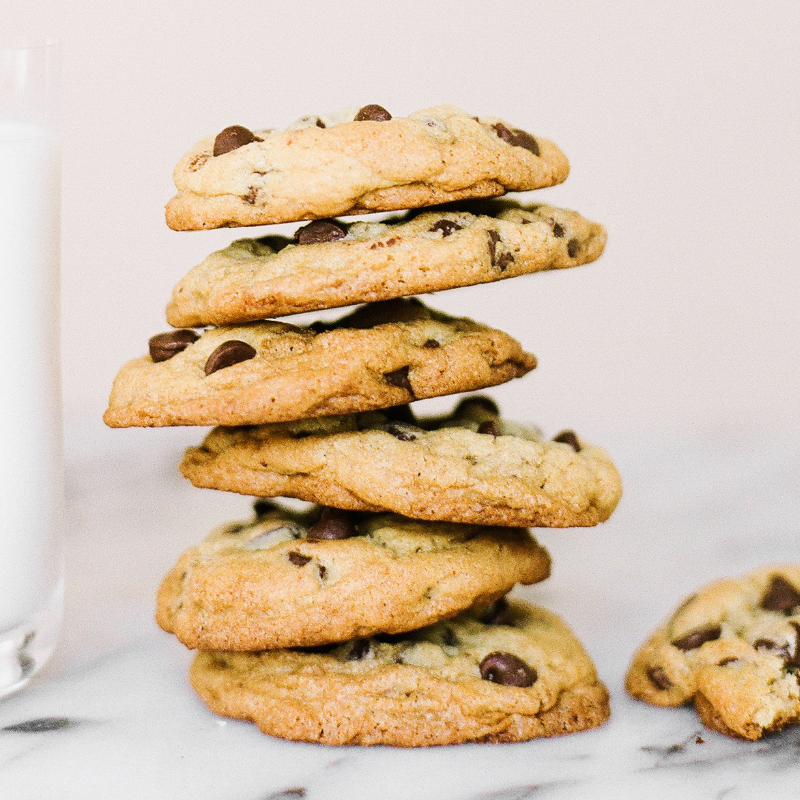
Texture: The best part! These babies are big, thick, super chewy yet soft on the inside, and crisp at the edges. Perfection!
Ease: Very easy, though I do use two different flours and there is a chilling period so patience is involved. You can make a double batch, shape the dough into balls, chill for a day or two, then freeze the balls. Bake when the cookie cravings come!
Pros: My all-time favorite cookie recipe.
Cons: None.
Would I make this again? A thousand times yes, I’ve made this recipe countless times and have extra dough stashed in the freezer at all times.
This post may contain affiliate links. Read our disclosure policy.
I’m super duper excited to share with you my Ultimate Chewy Chocolate Chip Cookies complete with a video to show you exactly how they’re made.
This is a perfect recipe to learn some of the basics of the science of baking because with cookies it’s so easy to see how different tweaks impact the final result!
If you’re anything like the hundreds of people who have taste tested and tried this recipe, you’re going to love it! (Just read some of the comments below!)
Be sure to check out my Ultimate Guide to Chocolate Chip Cookies before you make these!
You may be asking yourself, what makes this recipe the “ultimate?” Well, these cookies have HUGE butterscotch flavor, which is exactly what I adore in a chocolate chip cookie. Beyond the flavor is the texture, which is nothing short of incredible.
These cookies have my version of the ultimate texture combination: thick, super chewy, soft, and a little gooey in the middle, crisp and slightly crunchy at the edges, with gooey chocolate chips throughout. Does anything get better than that? I don’t think so. I would want these cookies to be a part of my last meal on earth, that’s how much I love them!
How to Make Chewy Chocolate Chip Cookies
Do you remember my Ultimate Guide to Chocolate Chip Cookies Part 1 and Part 2? That is where I discovered ALL the secrets to making my version of the best chocolate chip cookie.
Why This is the Ultimate Chocolate Chip Cookie Recipe
- This recipe utilizes half bread flour, which lends chewiness to the cookies.
- It also uses a good amount of brown sugar, which lends that butterscotch flavor and thick and soft texture.
- The extra egg yolk in this recipe also helps keep these cookies soft yet chewy and adds richness in flavor.
- You can think of the 24 – 72 hour chilling period as a “marinating” period. The flavors intensify and the texture will become thicker and chewier. It’s pretty amazing.
Do I Really Need to Use Bread Flour?
You don’t absolutely HAVE to use bread flour, but it adds a ton of chewy texture to these cookies that’s worth the extra trip to the store. If you can’t get bread flour, then use all AP flour in its place.
Do I Really Need to Chill the Dough?
- The last key element is the 24 to 72 hour chilling period which is a huge pain in the butt, I know, but it is so completely worth it.
- The flavor and texture improve SO much as the dough chills!
- If you’re absolutely strapped for time, you can bake off some cookies as soon as the dough is done. But I’d definitely encourage you to try chilling and see all the wonders it works on your dough.
- Make the dough and scoop into balls using a cookie scoop. Place in an airtight container and place in the fridge for 24-72 hours. Bake straight from the fridge when ready. Learn more about chilling cookie dough here.
- The colder the dough, the thicker the cookies!
Can you Freeze Chocolate Chip Cookies?
I love cookies straight from the oven. I always keep pre-scooped balls of chocolate chip cookie dough in a resealable bag in my freezer so I can bake cookies off and have them warm from the oven in a matter of minutes whenever I want. Here are more tips for freezing cookie dough.
How to Keep Cookies Soft
- Most cookies can be stored in an airtight container at room temp for up to 3 days. Be sure they are completely cooled before storing.
- To keep your baked chocolate chip cookies soft, you can add an apple wedge, piece of bread, or a tortilla on the top and bottom of the cookies to the container a day or two after baking them, or whenever you find the texture starting to harden.
- The moisture from the bread or apple will migrate to your cookies, making them soft and chewy again.
- A tortilla is a new favorite of mine because it takes up much less room than a slice of bread, and doesn’t transfer any flavors or aromas like an apple wedge, and takes up almost no room!
How to Refresh Stored Cookies
If desired, reheat and refresh the cookies in a 350°F oven for 3-5 minutes. Your toaster oven should work just fine. This improves the texture, and there’s nothing like a warm chocolate chip cookie!
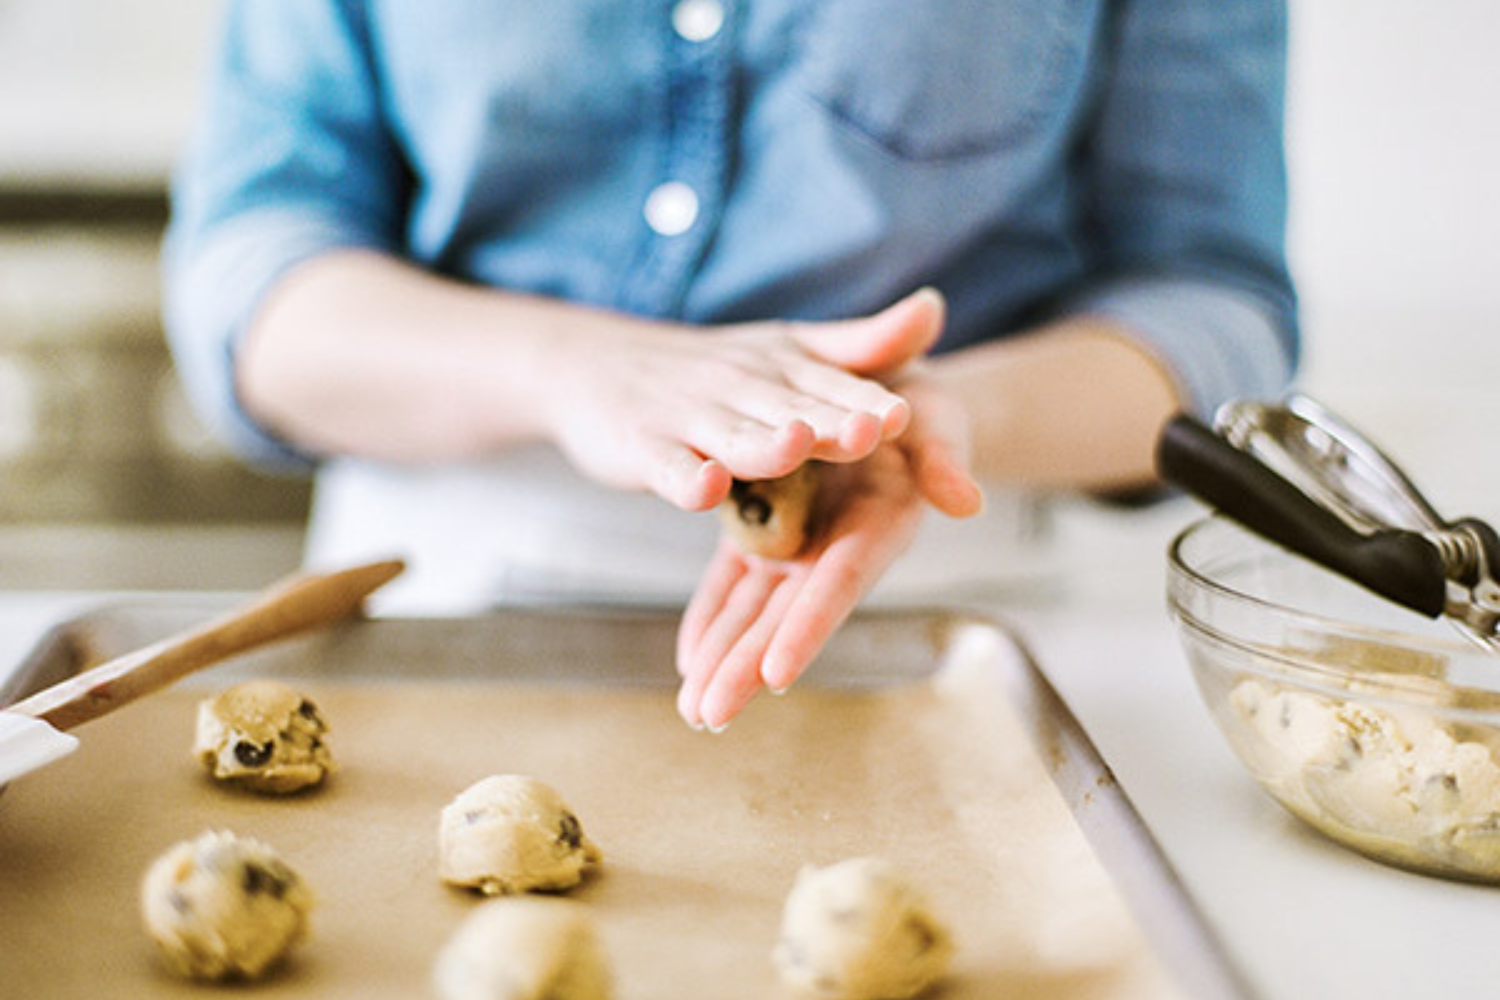
Step-by-Step Video
If you want to watch me demonstrate how to make this cookie dough LIVE, with all of my scientific explanations, tips, and tricks, check out this live Facebook video I did a while back!
More Chocolate Chip Cookie Recipes:
- Bakery Style Chocolate Chip Cookies (one of my most popular recipes!)
- Oatmeal Chocolate Chip Cookies
- Chocolate Chip Cookie Cake
- Soft Double Chocolate Chip Cookies
- Giant Reese’s Pieces Peanut Butter Cookies
See ALL of my chocolate chip cookie recipes + tips & insights into the SCIENCE of cookie baking here!
Ultimate Chocolate Chip Cookies
Ingredients
- 1 1/2 cups (191 grams) all-purpose flour
- 1 1/4 cups (159 grams) bread flour
- 1 teaspoon baking soda
- 1 teaspoon baking powder
- 1 teaspoon fine sea salt
- 2 sticks (227 grams) unsalted butter, at cool room temperature
- 1/2 cup (100 grams) granulated sugar
- 1 1/4 cups (250 grams) lightly packed brown sugar
- 2 teaspoons vanilla extract
- 2 large eggs plus 1 egg yolk, at cool room temperature
- 2 cups (340 grams) semisweet chocolate chips
Instructions
- If baking right away, preheat oven to 350ºF. Line baking sheets with parchment paper.
- In a medium bowl, whisk together the flours, baking soda, baking powder, and salt.
- In the bowl of an electric mixer, beat the butter, granulated sugar, and brown sugar on medium-high speed until light and fluffy, about 2-3 minutes. Add the eggs and yolk, one at a time, beating well after each addition. Add the vanilla. Slowly beat in the flour mixture. Stir in the chocolate chips.
- Using a large spring-loaded cookie scoop, divide the dough into 3-tablespoon sized balls.
- If time permits, wrap dough balls in plastic wrap and refrigerate for at least 24 hours but no more than 72 hours. This allows the dough to “marinate” and makes the cookies thicker, chewier, and more flavorful.
- When ready to bake, place dough balls on prepared baking sheets, at least 2 inches apart.
- Bake for 12-15 minutes, or until golden brown. Cool for 5 minutes before removing to wire racks to cool completely.
- Although I prefer cookies fresh from the oven, these can be stored in an airtight container for up to 3 days. See pink tip box above the recipe for storage tips.
This recipe was originally published in October 2013 and updated in 2021 with more baking tips and new photos. Photos by Constance Higley.








I made these and shared them with my friends, we all loved them. They are chewy and full of chocolate. Did not have bread flour, so I replaced it with more all purpose flour and they still turned out great
Hi, these cookies are fantastic, thank you!
I made the dough on Friday but didn’t use all of it then forgot about it, will it be ok to bake today (Tuesday) o in fridge 5 days , is that pushing it? Thank you
Hi Olwyn! That night be pushing it, unfortunately. Once you go past three days, the cookies will dry out and can spoil. They might look dried out, darker in color, smell strange, or be really hard. I wouldn’t recommend eating the cookies at this point; since cookies contain raw egg, the spoiled cookies could potentially contain Salmonella. For future knowledge, you can always freeze your cookie dough! I’m linking an article where Tessa talks about freezing cookie dough and baking from frozen here! I’m sorry you didn’t get to enjoy all your delicious cookies this time 🙁
I swear i just started baking and I have gone through like 5 or 6 cookie recipes online already…. I’m not even half way though baking these ones and they already look amazing!! If I could show you the diffrence in some of the other recipes online I’ve cooked and their cookie recipe you would see a difference. I will be making thses again. Also I appreciate all the tips applied to the recipe I just followed what you said and they came out perfect…. i will be completely honest with you I never take the time to write these reviews so the fact you see it from me is definitely important…
Hi Megan! Wow, what an incredible review! I’m so thrilled Handle the Heat is a part of your newly-discovered baking journey 🙂 I’m so happy you found Tessa’s baking tips here helpful! I hope you continue to peruse our site (we have sooooo many fantastic recipes!!!) and soak up all the baking knowledge and the fascinating science of baking that Tessa shares across her blog. Welcome to the wonderful world of baking – we couldn’t be more excited for you to join us here 🙂
Hi! I’ve made this recipe twice and both times the cookies have gone super flat. Any suggestions? They still taste amazing and work wonderfully with vanilla ice cream :).
Hi Karen! Oh no – they definitely shouldn’t be super flat! Were the cookies chilled before baking? We recommend chilling for 24-72 hours prior to baking. That can definitely help them set up while baking, as well as lending so much more depth of flavour and chewiness to the baked results! The colder the cookies, the thicker the cookies! Another big thing is the temperature of your butter when you go to cream the butter and sugars. If your butter is too warm, that warmth will prevent the butter from holding onto air bubbles as it creams. Ideally, butter should be around 67°F when creaming. Tessa discusses this (about 1/3 way down the page), as well as under-creaming and over-creaming your sugar and butter here, in this article. The last thing would be whether or not you are weighing your ingredients. Weighing vs. measuring by volume can also have a huge impact on your baked goods. Tessa also talks about how to measure properly in this article here. I hope some of this proves helpful to you, and if you still experience issues, feel free to reach out to our team and we can continue to troubleshoot with you! Happy baking 🙂
Love love these cookies they are a favorite in my house… i have a question if i am using a bakeux oven with a fab should i adjust the temperature? And make it lower?
Hi Fatuma! Yay – we love hearing that!! I’m sorry, I’m not familiar with that type of oven, but we recommend investing in an oven thermometer! It’s amazing how every single oven (even two ovens of the same make and model) will vary greatly in their temperatures. Popping an oven thermometer in your oven will eliminate the guess work and ensure you are baking at the correct suggested baking temperature every time, rather than relying on your oven’s displayed temperature. I hope that helps!
Hi – in the video you mention that you like to use a cookie scoop. What size and which brand do you use?
Thanks.
Hi Sonya! Tessa uses a 3 tablespoon scoop for these cookies, I’ll include a link to her favorite HERE 🙂
Thanks Emily – the link didn’t work but it looks like she was using the oxo large cookie scoop?
Wow, how strange! Amazon must have changed the link since I sent it out. Yes, it’s the OXO Good Grips Large Cookie Scoop. I’ll try linking again HERE. Hopefully that one works!
I’ve made this recipe many times and have never had a cookie left!! Chilling the dough and freezing balls of dough makes it easy to have cookies any time!! My cookies are now famous thanks to this recipe!!
OMG….for over 20 years I have used the recipe on the package of Ghirardelli chocolate chips as my go to chocolate chip cookie recipe. It’s even in my prenup agreement that I can never change this recipe (kidding…sort of). The last time I made them I was disappointed because they were so crunchy and flat, and not soft and chewy as I prefer. With permission (again kidding, not kidding) I made this recipe and we are sold. My husband and kids all raved about this recipe and I’ve made it twice in a week now. I may still have to make the old recipe to stay married, but when I want cookies this is the one I will make. Thank you, Tessa!!!
haha, that’s so great to hear, yay!!
These were a huge hit at my house. Crunchy on the outside, chewy on the inside. Exactly how we like them. I did not refrigerate the dough this time around, but will definitely try next time to see the difference. I have a feeling these will be our go-to chocolate chip cookies!
These are the most amazing cookies I have ever made. I bake a lot and have had a very hard time finding a recipe that yields thick, chewy, round cookies. After years of searching and baking, I can finally say this recipe beats any other. Thank you so very much!
That’s wonderful to hear! So happy you love this recipe, thanks for taking the time to comment and let us know! 🙂
While my favorite is the Browned Butter Chocolate Chip Cookie recipe, my family loves these. I always chill, and usually overnight. I even freeze the dough as well.
I just wanted to say that this is a great recipe! Thank you!
Thanks for the comment, Linda! We’re so happy you love this recipe!
I have question bread flour is it the same flour t55 ?
Hi Alia! While we don’t use T55 flour, it sounds like it may be the same thing or at least similar. The most important things to look at are consistency (bread flour looks and feels just like regular all-purpose flour; it’s very fine, white flour), and protein content (bread flour is typically around 12 to 14%). I hope that helps!
I have been using this recipe since May 2021 it’s absolutely amazing… but i have a question mine tend to be flat i made sure the butter isnt to warm and measured all ingredients by scale but they are kind of flat (but amazing!!) could it be that i am using chocolate bar chopped instead of chocolate chips? Hope u can help me out
Hi Fatma! So glad you’re enjoying this recipe 🙂 How thick are you chopping your chocolate? I wouldn’t think that’d be the issue, but do you live in a location where it’s very warm/humid? If you have a digital food thermometer, try taking your butter’s temperature (sounds a little weird, but this should help!). If you’re looking for thicker cookies, you’ll want cool room temperature butter, which is about 67°F. If the butter is too warm at the beginning, it actually affects the end result, even after chilling the dough! A great visual of what your butter should look like can be found in our “How to Cream Butter and Sugar” article, about 1/3 of the way down the page. I hope that helps! Please let me know how it goes the next time you make your cookies!