


Tessa's Recipe Rundown
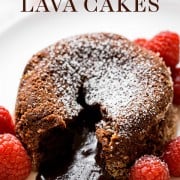
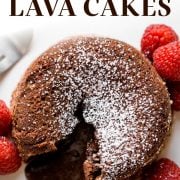
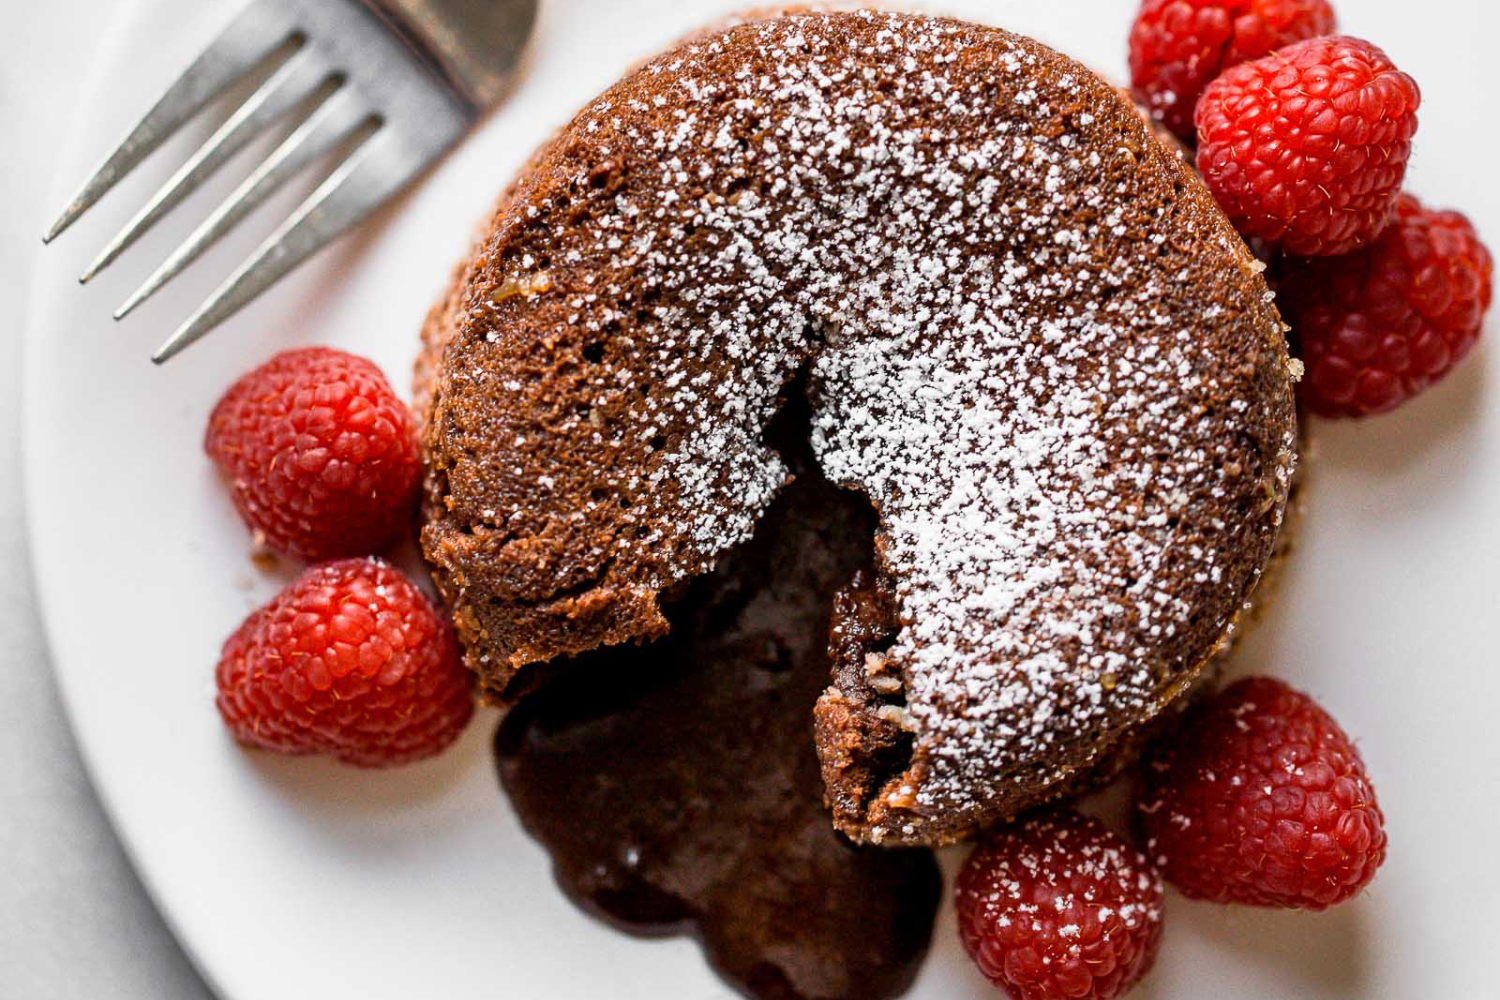
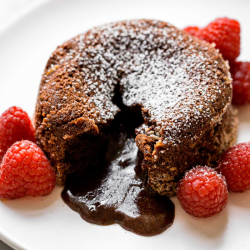
Taste: Ultra chocolatey and decadent. I love pairing with fresh berries and a dusting of powdered sugar.
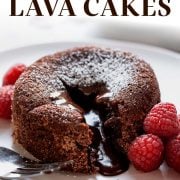
Texture: The best part! The cake itself is moist and tender around the edges, but molten ooey-gooey rich and thick chocolate lava in the middle. HEAVEN on Earth.
Ease: So surprisingly easy.
Why You’ll Love This Recipe: One of my all-time favorite desserts, and it’s easy! Perfect Valentine’s Day recipe or for any special occasion.
This post may contain affiliate links. Read our disclosure policy.

Chocolate Lava Cakes might be one of my favorite recipes on the entire planet.
They’re so quick and easy, you’ll want to make them all the time. They look so complicated and intimidating, like something you’d only get to indulge in at a restaurant – but I promise, they’re secretly SO simple.
I remember the first time I ever ate a Chocolate Lava Cake at a local restaurant that soon became a family favorite throughout my childhood. I think that was the moment I became a true chocoholic.
Because seriously, what’s better than that rich, decadent molten chocolate lava filling!?
These Chocolate Lava Cakes are perfect for date night, a dinner party, or Valentine’s Day dessert. Anyone you bake these for is surely going to enjoy!

Sprinkle of Science
How to Make Chocolate Lava Cakes
Can I Use Chocolate Chips Instead of Baking Chocolate?
- Do not use chocolate chips! Chocolate chips contain added ingredients that help them maintain their chip shape when exposed to heat, so they will not melt down smoothly.
- Baking chocolate is essential to creating the molten lava center.
- I like to use bars of Ghirardelli baking chocolate or E. Guittard chocolate baking wafers.
- This recipe calls for semisweet chocolate, which I find provides the perfect balance of chocolate flavor and sweetness. You could also use bittersweet chocolate if you prefer, but I don’t recommend using white or milk chocolate.
Can I Make Chocolate Lava Cakes in Different Flavors?
Yes! There are so many possibilities with these Chocolate Lava Cakes to switch up the flavor profile. Add in a tablespoon of espresso powder to the batter for a mocha flavor. Add the zest of an orange, or a tablespoon or two of flavored liqueur such as Grand Marnier or Chambord – anything your heart desires!
What Can I Use Instead of Ramekins for Chocolate Lava Cakes? Can I Use a Muffin Pan?
You can bake the batter in a muffin tin! Divide the batter between 10 muffin pan cavities and bake for 10 minutes for smaller, more portable servings. Be sure to use high-quality muffin pan liners, like these liners.
Can I Halve This Recipe?
Yes! Simply divide all ingredients in half to yield 3 Chocolate Lava Cakes, no other modifications needed – or make the whole recipe and see the freezing instructions below!
Can You Make Chocolate Lava Cakes Ahead of Time?
Absolutely! After making the batter and filling the ramekins, cover and refrigerate for up to 1 day.
Can You Freeze Chocolate Lava Cakes?
Sure! Bake the Chocolate Lava Cakes, and allow to cool completely. Freeze until solidified. Wrap well in plastic wrap and store in an airtight container in the freezer for up to 1 month.
Thaw frozen Lava Cakes overnight in the fridge and reheat them in the oven at 350°F for about 8 minutes. Alternatively, you can reheat them from frozen in a preheated 400°F oven for 15-18 minutes.
What to Serve with Chocolate Lava Cakes
I serve my Lava Cakes with some fresh raspberries and dust with powdered sugar or a little cocoa powder. You could also serve your lava cakes with:
- Strawberries
- Fresh mint
- Whipped cream
- Vanilla ice cream
- Caramel Sauce
- Whatever your heart desires!

More Valentine’s Day Dessert Recipes:
- Chocolate-Covered Strawberries
- Valentine’s Day Cake
- Cookie Dough Hearts
- Red Velvet Crinkle Cookies
- Chocolate Souffles for Two
- Red Velvet Cake
Check out our entire collection of Valentine’s Day recipes here!
Email This Recipe
Enter your email, and we’ll send it to your inbox.
Ingredients
- 10 tablespoons (142 grams) unsalted butter, plus more for coating ramekins
- 1/2 cup (100 grams) granulated sugar, plus more for coating ramekins
- 8 ounces (227 grams) semisweet chocolate, chopped*
- 4 large eggs
- 4 large egg yolks
- 1 teaspoon vanilla extract
- 1/2 cup (64 grams) all-purpose flour
- 1/2 teaspoon fine sea salt
- Fresh raspberries or strawberries, for garnish, optional
- Powdered sugar, for garnish, optional

Instructions
- Preheat the oven to 425°F. Grease 6 (6-ounce, 170 gram) ramekins generously with butter. Coat the insides of the buttered ramekins with granulated sugar, tapping out the excess.
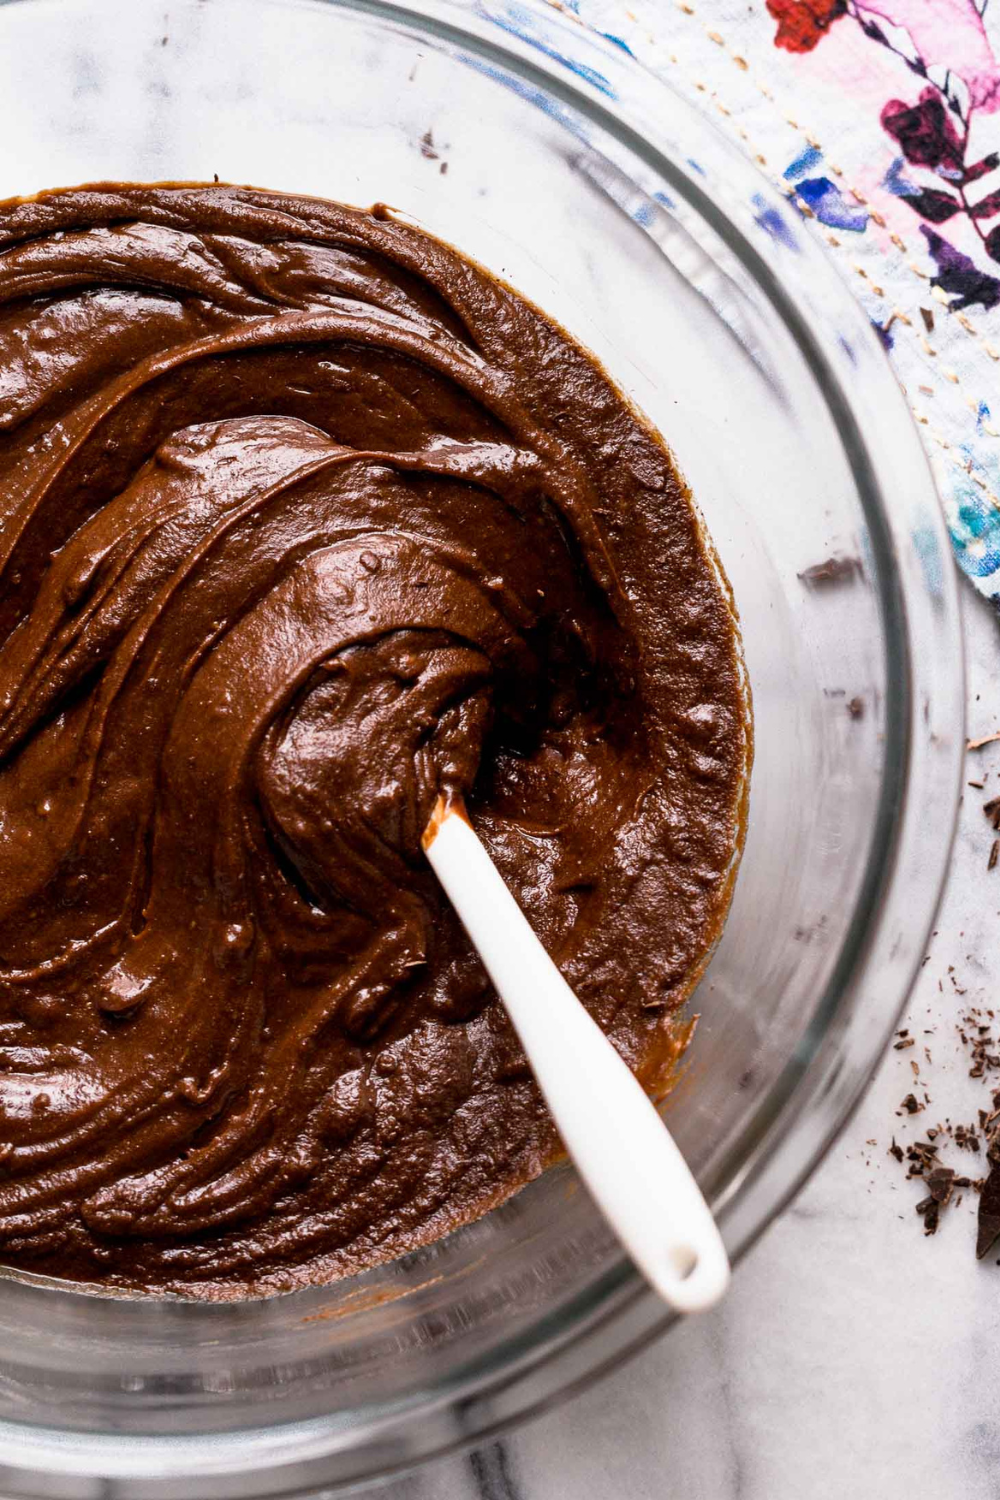
- Combine the 10 tablespoons of butter and chocolate in a microwave-safe bowl. Microwave on high for 1 minute. Stir, then continue heating in 30-second bursts, stirring between bursts, until the mixture is melted and smooth. Alternatively, melt the chocolate and butter in a double boiler. Let cool.
- In a medium bowl, vigorously whisk the eggs, egg yolks, vanilla, and the 1/2 cup of granulated sugar until slightly thickened and pale in color, about 90 seconds. Gently fold the melted cooled chocolate mixture into the egg mixture.
- Gently stir in the flour and salt. Divide the batter among the ramekins.
- MAKE AHEAD: At this point, the batter-filled ramekins can be covered and refrigerated for up to 1 day.
- Bake for about 10 to 12 minutes, or until the edges are firm and the top is set but the center is runny. Add an additional minute of baking time if baking straight from the fridge.
- Run a knife around the edges to loosen and let cool for 1 minute. Invert onto dessert plates then let stand inverted for about 30 seconds. You can also serve straight from the ramekin. Serve with fresh berries and powdered sugar, whipped cream, or ice cream if desired.
Notes
This post was originally published in 2014 and has been updated with new photos and metric weight measurements. Photos by Jess Larson.


Does anyone know if the center of the lava cakes gets to a food safe temperature (at least 165 degrees F)? Thanks!
Gracias por compartir tan deliciosas recetas!!! La verdad no todas las recetas que comparten funcionan, pero de las suyas, todas las que he realizado han salido perfectas y deliciosas!!
Super yummy! 🤤
Gonna save this recipe in our “make it again” book. I used semi-sweet chocolate chips. Ended up with 5 ramekins amd cooked for 26 minutes. Delicious!
Made these today. The recipe is perfect. Cakes came out cozy, chocolaty , delish .
If I bake the cake ahead of time and then rehear it 8 hrs later will there still be lava?
Hi Sabrina! Yes, there will still be some lava – but the best way is to prep the ramekins ahead, and bake right before serving. Check out Tessa’s instructions for this in the tip box (above the recipe) here. Let us know what you think once you have given these lava cakes a try!
Do these need to be refrigerated after placed into the ramekins. I guess i’m a little thrown off because it says “Make Ahead” Then proceeds to cover and add to refriegerator. Any clarification would be apprecaited. Thank You
Hi Jerrod! If you’re baking these immediately, skip #5 and go right to baking them 🙂 No refrigeration needed!
Tried this and doubled the recipe. Did the make ahead idea. Made 12 little beautiful cakes and everyone loved them. I think next time I would use a little less sugar. Or maybe use bittersweet chocolate. Very good though and you will impress!
This is a great recipe! I have made it at least half dozen times and love it. It’s so easy and comes out perfect. I also make a no churn vanilla ice cream that compliments it very well.
I had some friends over for dinner last night and made this for dessert. they were perfected so easy to make. Just follow the directions. Everyone loved them. Will definitely be making these again!
Dang, almost perfect on my end. I cooked it an extra 2 minutes and that made it to where there was NO lava 🙁 Be very careful not to overcook. Should have taken it out when I very first looked at it but the top didnt seem firm just yet. Could have been my saucers, as well, as mine were a little more shallow so I probably should have cooked less time. Regardless, the taste is delicious and I will definitely make it again
I’ve made a few different cakes and this is hands down the best!
Thank you for being so detailed on the science behind all the ingredients.