Tessa’s Recipe Rundown
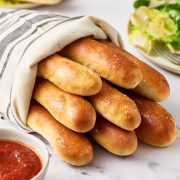
Taste: Buttery and garlicky, AKA, heaven!
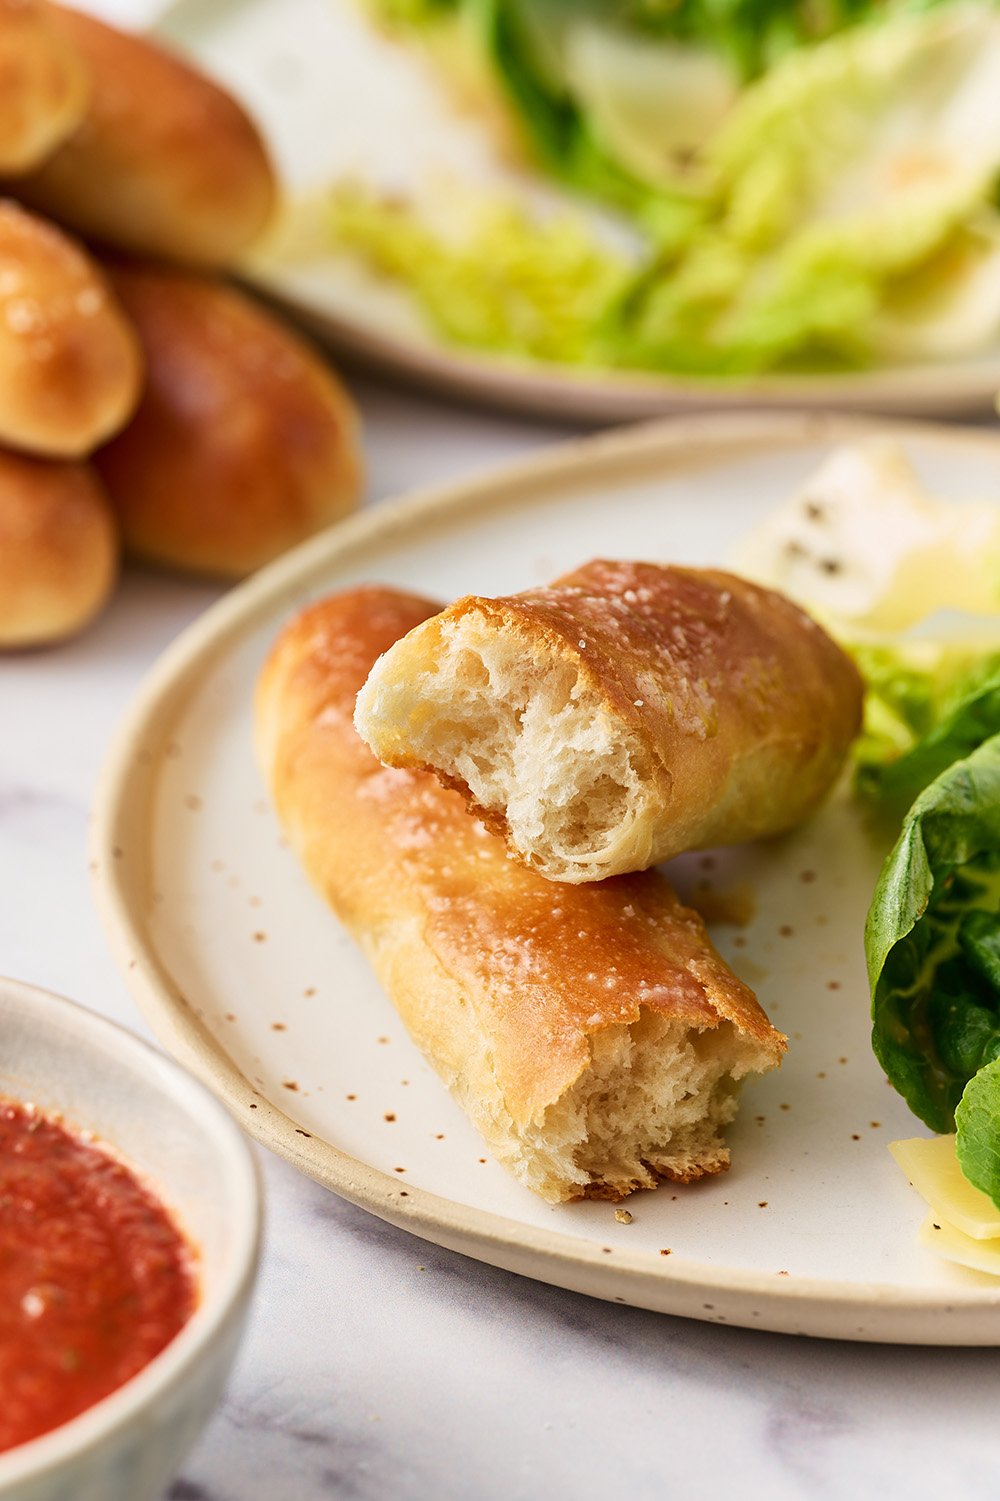
Texture: A lightly golden crust hides the soft and fluffy interior, with the perfect amount of chewy.
Ease: Homemade breadsticks may sound intimidating but there’s only a handful of ingredients. You can do this!
Why You’ll Love This Recipe: Better than the restaurant, and super impressive.
This post may contain affiliate links. Read our disclosure policy.
I cannot tell you how positively tantalizing these breadsticks smell while baking.
As someone who went to culinary school and has studied the science of homemade bread, I’m not afraid to admit there’s nothing very fancy about this recipe.
In fact, it only has 7 ingredients. No complicated resting or rising periods. It’s about as simple as it gets.
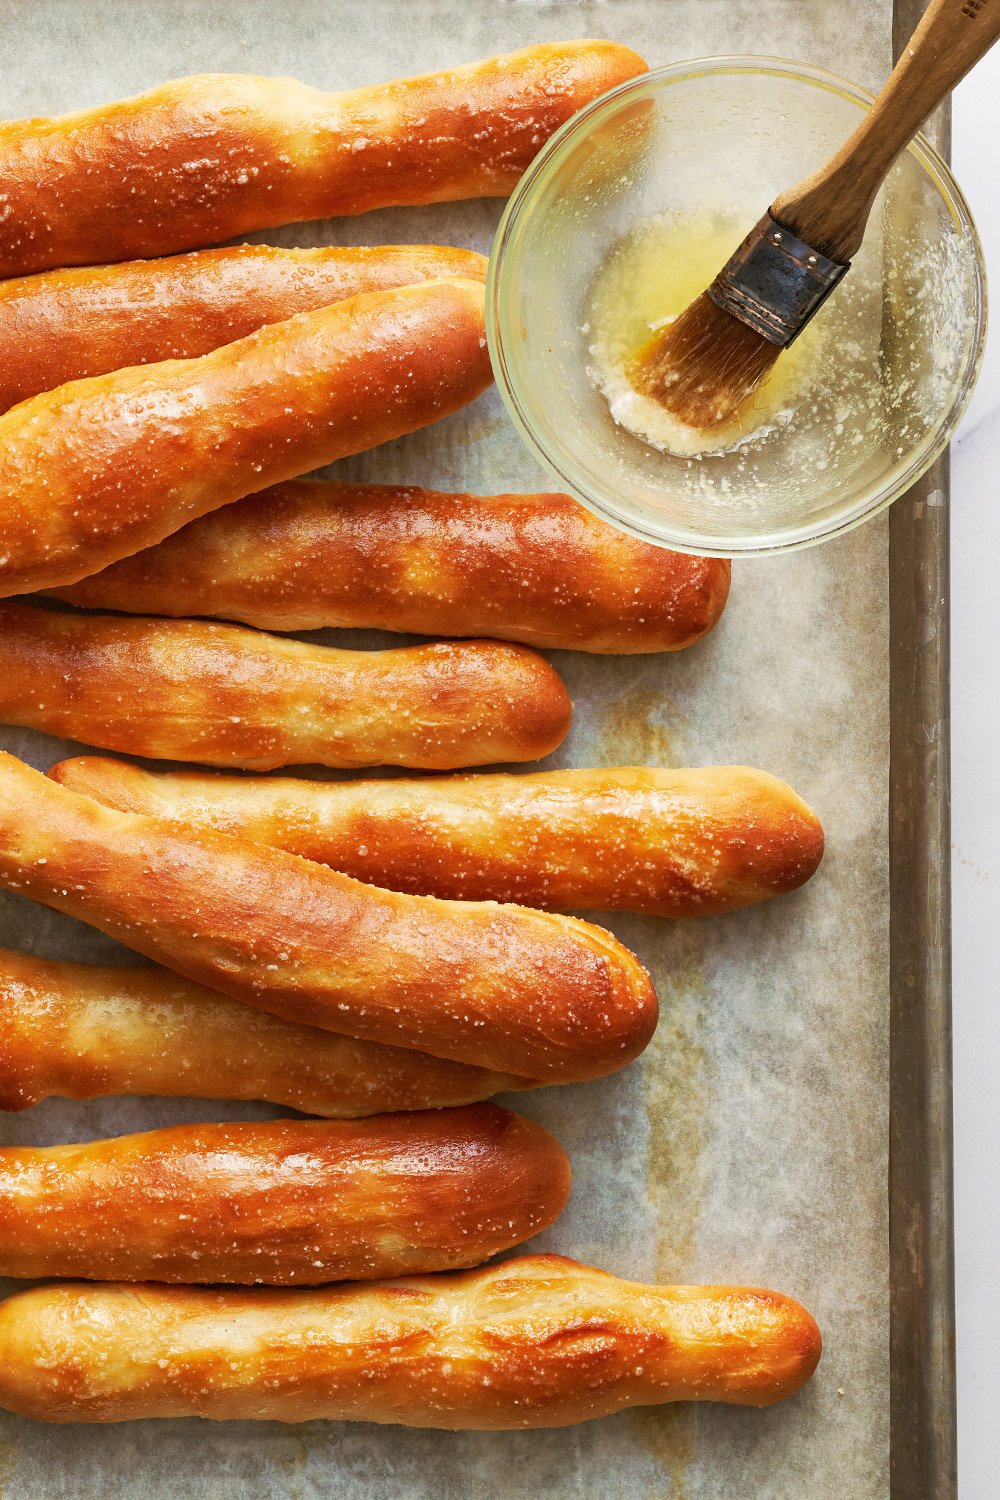
And yet, it transports me back to being a kid going to Olive Garden as a special treat, only to fill up entirely on breadsticks.
This homemade breadsticks recipe is about 1,000x better than the restaurant version. I promise, your whole family will go crazy for this copycat recipe at Sunday night dinner. Especially when paired with a rich soup or sauce for dipping!
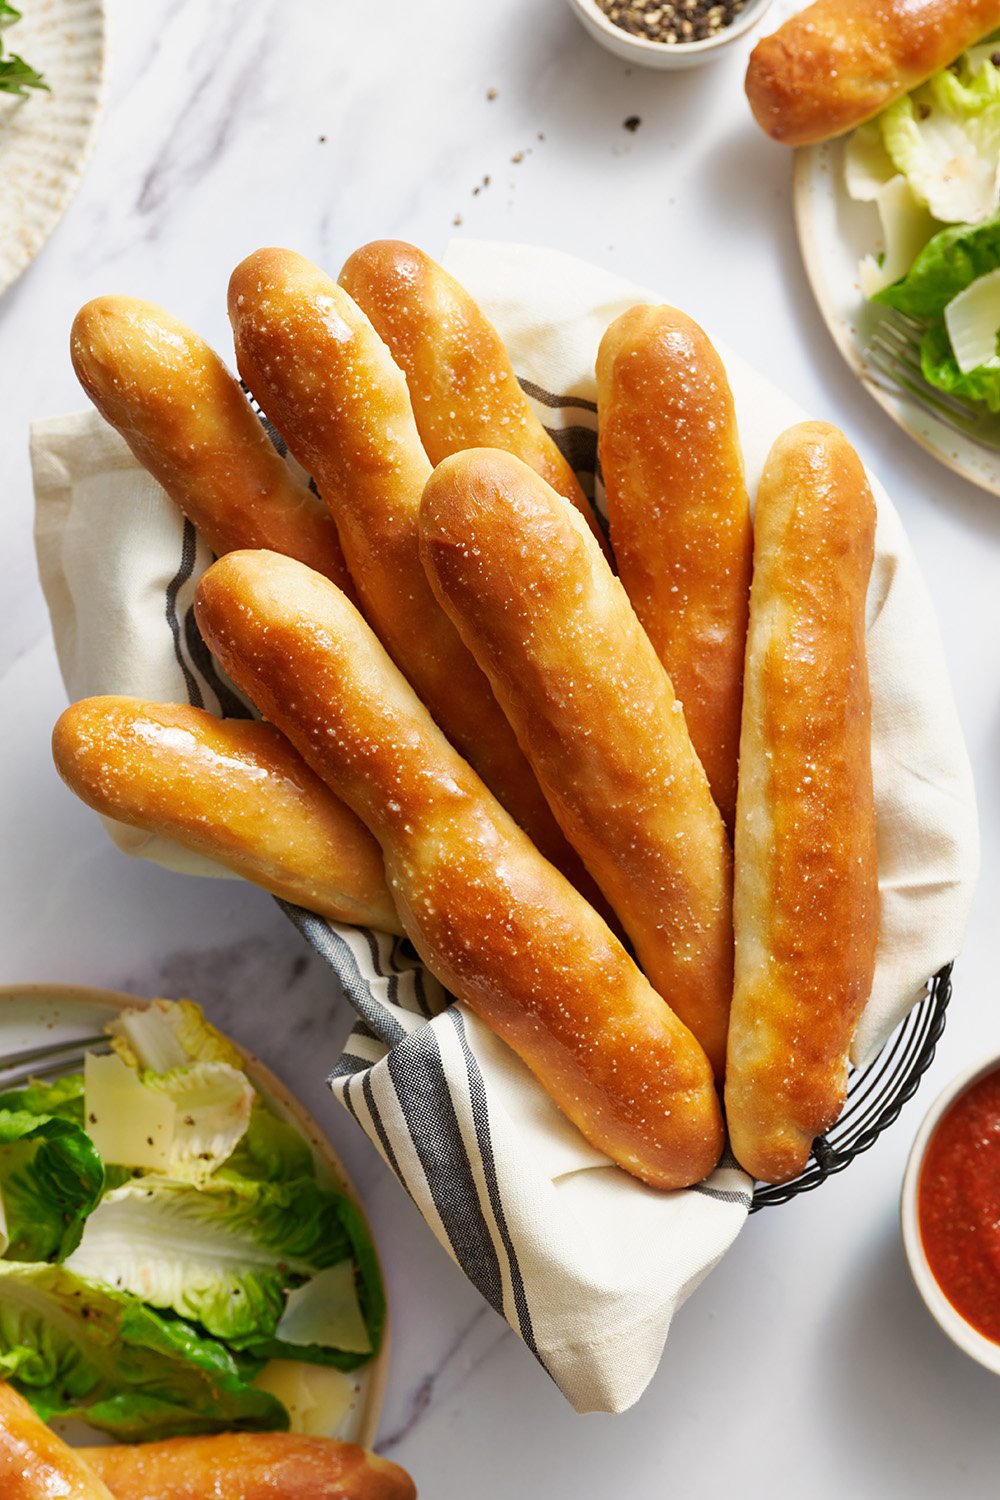
You don’t need any fancy skills, equipment, or know-how to nail this recipe. You do need to be forewarned…
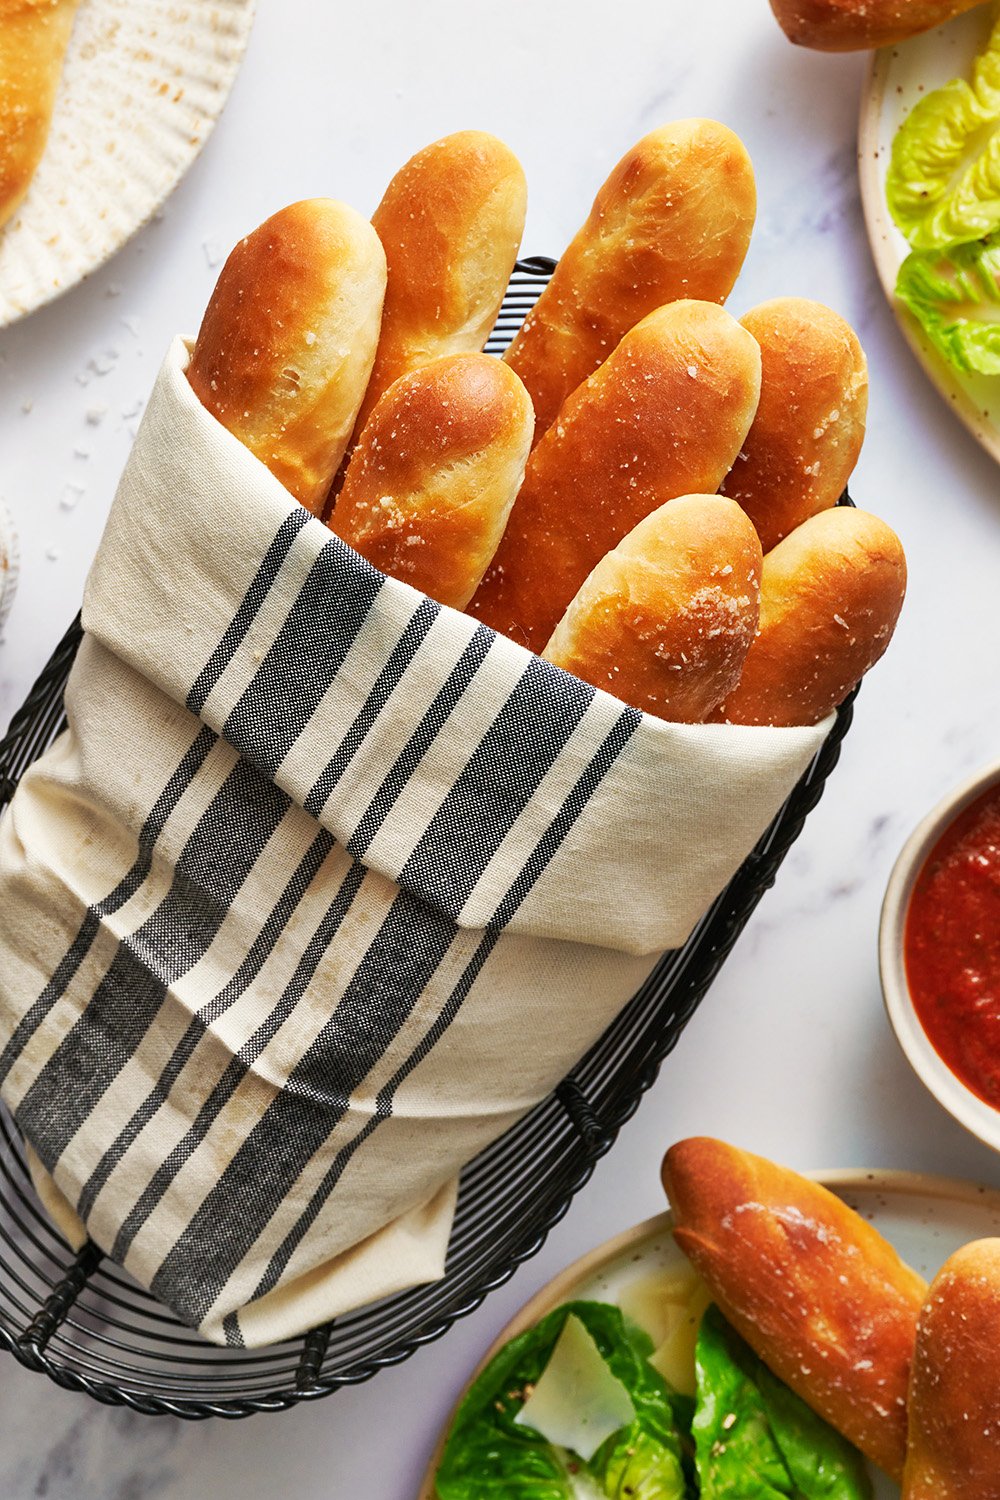
These breadsticks are positively irresistible!

Sprinkle of Science
3 Tips for Perfect Breadsticks:
- Water: Be sure to use water that is not too hot. Hot water will kill the yeast and prevent the breadsticks from rising. 100-110°F is perfect.
- The Sugar: There’s a little in these breadsticks to help activate the yeast, tenderize the breadsticks, and make them a little softer. Don’t skip the sugar! I promise you won’t find the breadsticks sweet. Learn more about sugar’s role in baking here.
- Measure correctly: Be sure to measure your ingredients correctly. When measuring by volume (using cups), it can be super easy to accidentally over-measure ingredients, especially flour. I highly recommend using a digital kitchen scale, but if you don’t have one, use the spoon-and-level method.
Do I Have to Use Bread Flour? Can I Use All-Purpose Flour Instead?
Bread flour has a higher level of protein content than all-purpose flour, which helps create taller, well-rounded breadsticks with a nice chewy, fluffy texture.
If you don’t have bread flour, use the same amount of all-purpose flour. Keep in mind that your kneading time will increase to properly develop the gluten and your breadsticks may turn out more soft than chewy.
Are Olive Garden Breadsticks Vegan?
These Copycat Olive Garden Breadsticks are not vegan. However, several readers have had success with Country Crock plant-based sticks (avocado oil-based) or using olive oil in the dough and Earth Balance for the topping. If you give anything else a try, let me know how it goes in the comments!
Which Yeast Should I Use for Breadsticks?
- This recipe utilizes a shortcut ingredient: instant yeast, also called rapid rise or quick rise yeast.
- One of the three should be available at most grocery stores, or you can buy my all-time favorite yeast on Amazon here.
- These types of yeast are specifically formulated to allow you to skip proofing. You can add instant yeast directly into the mix with all of the ingredients.
Help! I Only Have Active Dry Yeast!
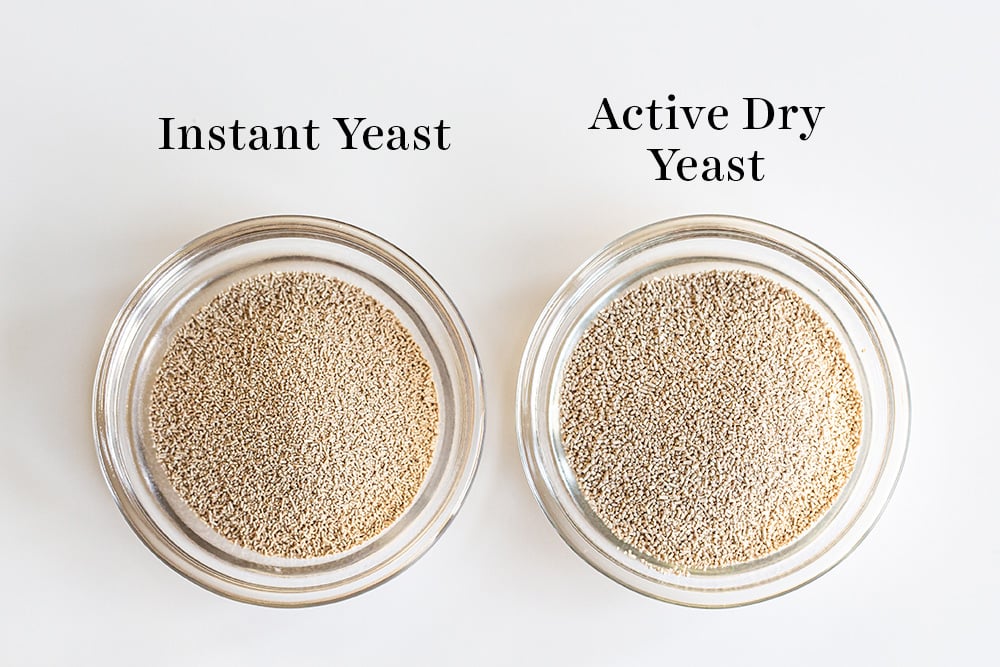
If you don’t have or can’t find instant yeast, you can easily use active dry yeast instead at a 1:1 ratio. Add it right in with the dry ingredients like instant yeast, but just note that the dough will take about 20% longer to rise.
Alternatively, you can speed up that rise time slightly; simply combine it with the warm water and a pinch of the sugar called for in the recipe, and allow it to proof until it becomes bubbly (about 5 minutes) before adding into the bowl with the other ingredients. Learn more about the different types of yeast, and how to substitute yeasts, here.
Can I Knead the Dough By Hand?
Yes! Be sure to knead the dough properly so the breadsticks hold their shape and don’t become sad flat sticks. I call for a stand mixer to make easy work of kneading in this recipe, but you can also knead by hand. Be prepared for a bit of a workout, as you’ll need to knead by hand for about 15 to 20 minutes. You can see my full tutorial on how to knead dough here.
How to Tell When Dough Is Risen
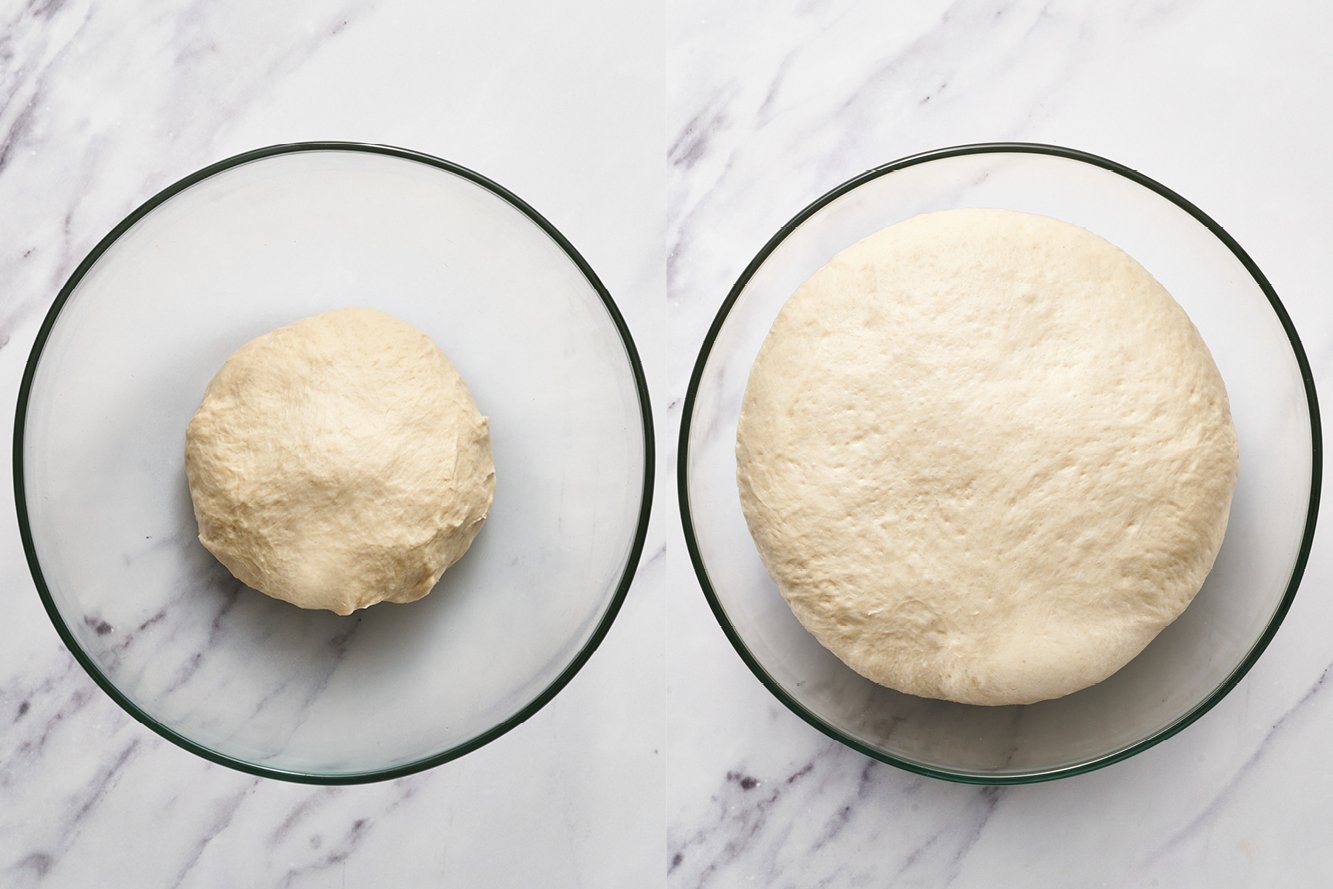
- After kneading, shape the dough into a ball.
- Place in a lightly oiled mixing bowl. I like to use glass and take a picture so I can see how much it’s rising later.
- Cover the bowl with plastic wrap, foil, or a clean kitchen towel. Let the dough rise in a warm, draft-free location. Ideal rise temperatures are between 80°F and 90°F. Lower temperatures will require more rising time.
- The dough is done rising when it’s about doubled in volume and passes the “ripe” test. Gently stick two fingers in the risen dough up to the second knuckle and then take them out. If the finger marks remain, the dough is ready for shaping. If not, cover and let the dough rise longer until it is.
How to Shape Breadsticks
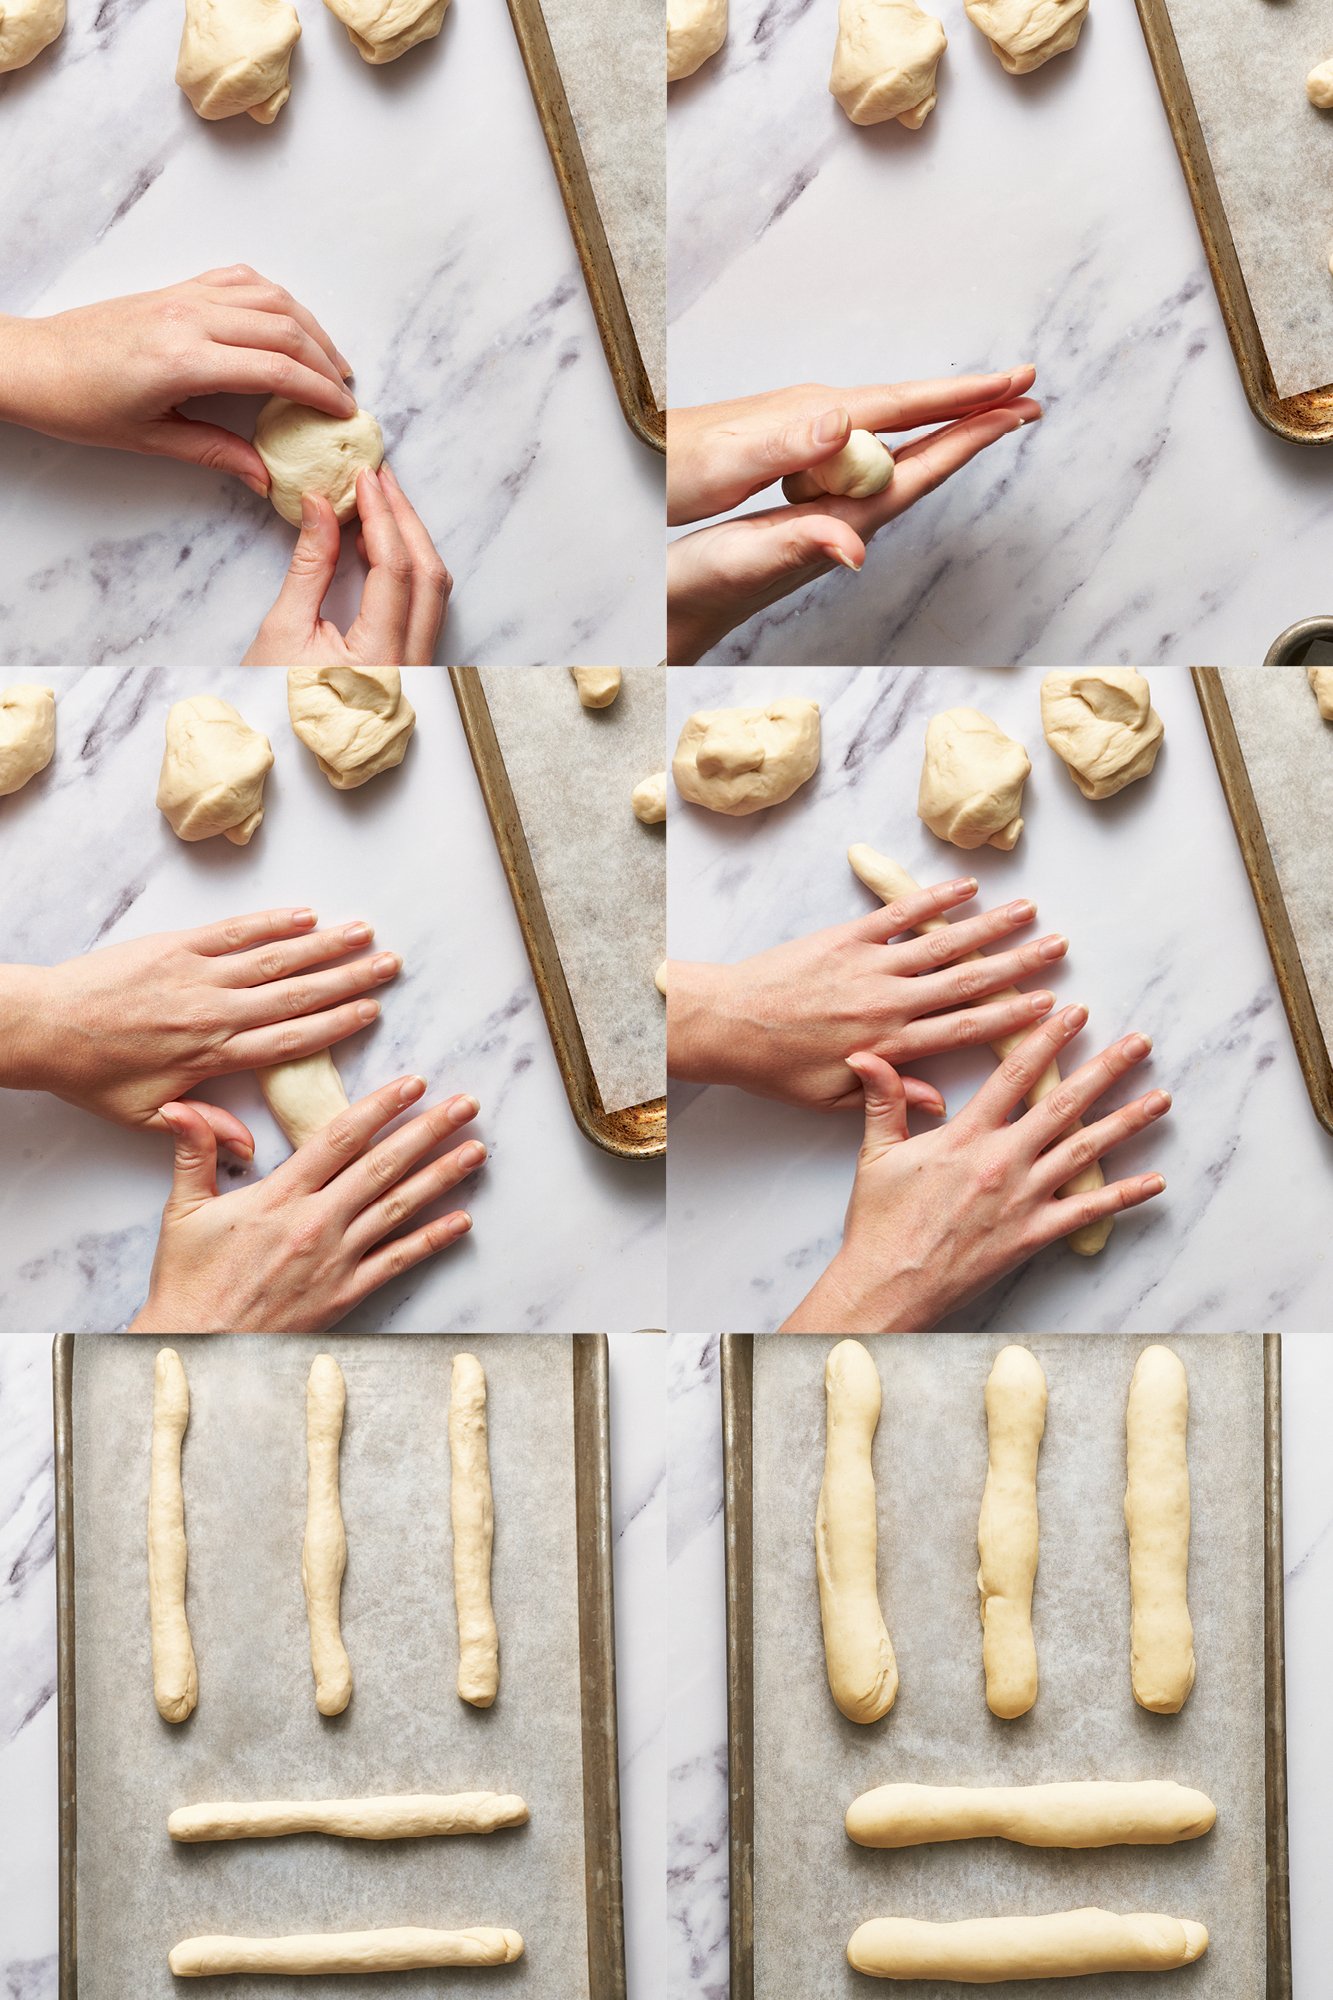
- Once the dough is risen, press it down to deflate it slightly.
- Place the dough onto a clean surface (not a floured surface).
- Use a bench scraper to section the dough into 12 equal pieces. Don’t worry if they’re not perfectly equal in size – but if you prefer, you can weigh the entire mass of dough, divide that number by 12, then portion each piece perfectly by weight.
- Roll each piece of dough into an 8-inch log. Don’t worry if they’re not perfectly shaped.
How to Make Breadsticks Ahead of Time
Basically all yeast doughs can be made ahead of time and baked off later. Refrigerating stunts the rise time and can actually allow more flavor to develop!
Fridge option:
Allow the dough to rise once and shape the breadsticks. Once shaped, cover them well (so they don’t dry out) and place in the refrigerator for up to 24 hours.
Bring to room temperature as the oven preheats before baking as the recipe directs. If the breadsticks haven’t doubled in size yet, allow them to sit at room temperature until doubled.
Freezer option:
To make ahead further in advance, you can freeze the dough after it has risen for the first time and been shaped into logs.
Place the shaped breadsticks on a baking tray lined with parchment, freezing just until solid, and then transfer to a ziptop bag or airtight container to store in the freezer for up to 2 months.
Once ready to bake, place the frozen breadsticks on parchment-lined baking trays and allow to thaw to room temperature. Let rise until an indentation made with your finger into the dough remains. Proceed with the recipe as written.
Can I Double This Recipe?
Yes, if you have a large enough mixer (at least 6 quarts). Most home mixer bowls won’t mix such a big batch of dough well enough.
If you’re using a 5-quart tilt-head mixer, your mixer may become overheated with that amount of dough. So I recommend simply making a single batch of dough twice.
How Long Will These Breadsticks Keep?
Breadsticks are best served right out of the oven, but they will keep for 3 days in an airtight container.
To refresh, place the breadsticks on a baking sheet and reheat in the oven at 425°F for 4-5 minutes, or until warmed through. You can also re-brush with butter and sprinkle with garlic powder and salt at this point, if you wish.
How to Freeze Breadsticks
Place the baked, cooled breadsticks in an airtight container and store in the freezer for up to 2 months. Thaw at room temperature for a couple of hours, then place the breadsticks on a baking sheet and reheat in the oven at 425°F for 4-5 minutes, or until warmed through.
You can also re-brush with butter and sprinkle with garlic powder and salt at this point, if you wish, before serving.
What to Serve with Copycat Olive Garden Breadsticks:
- A side salad
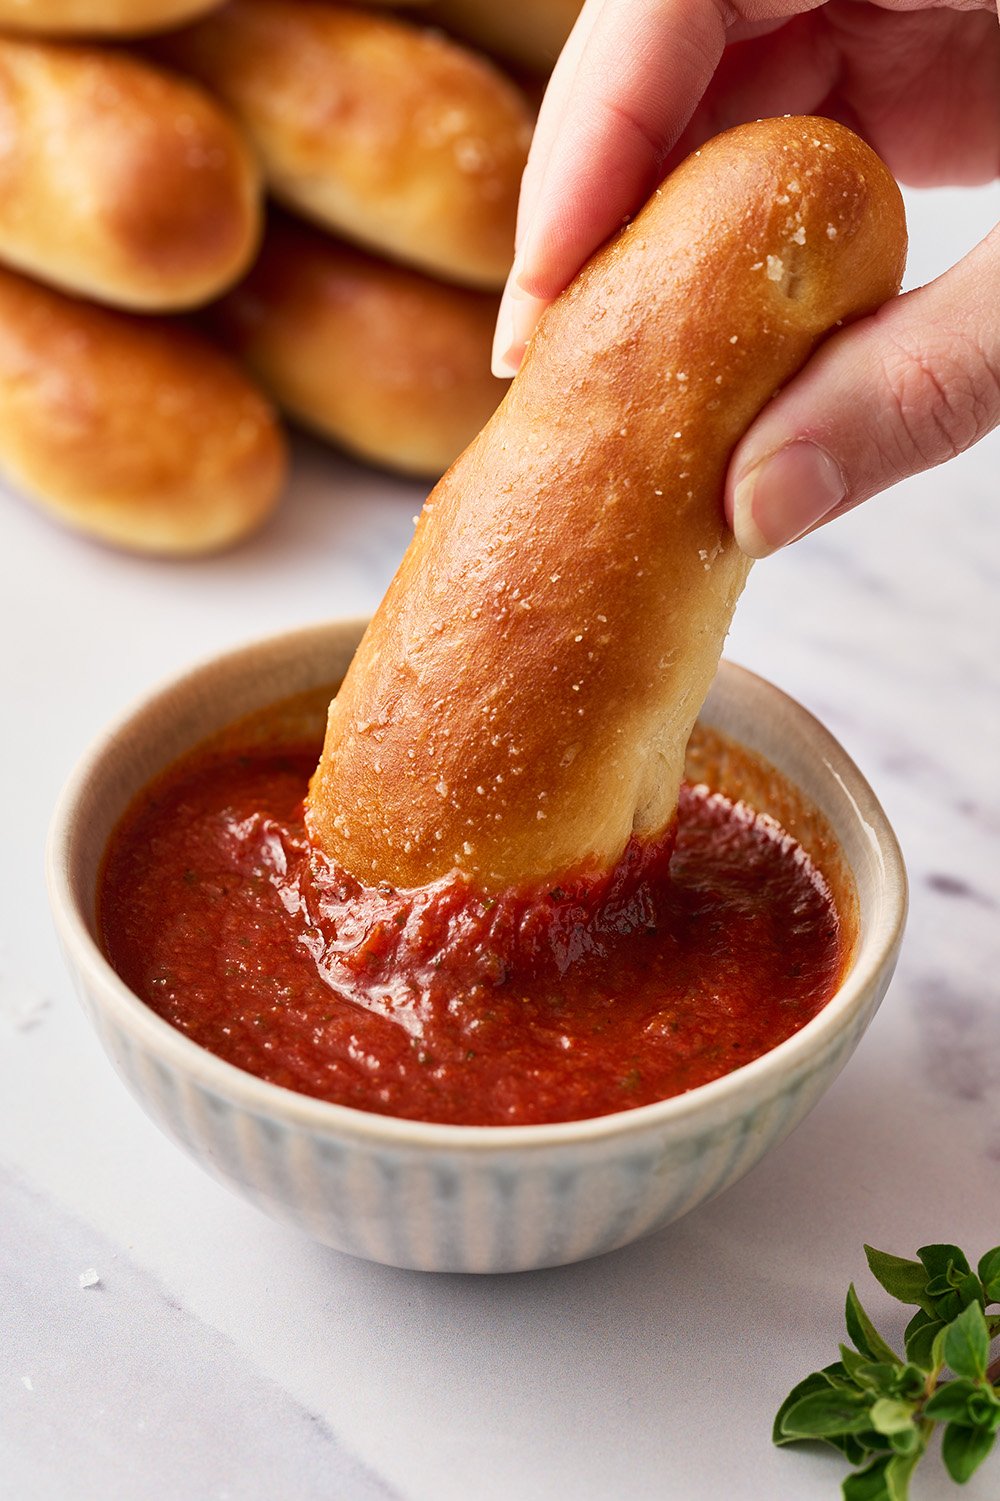
- Marinara sauce
- Creamy soup, like my Pot Pie Soup
- Your favorite pasta dish
More Recipes You’ll Love:
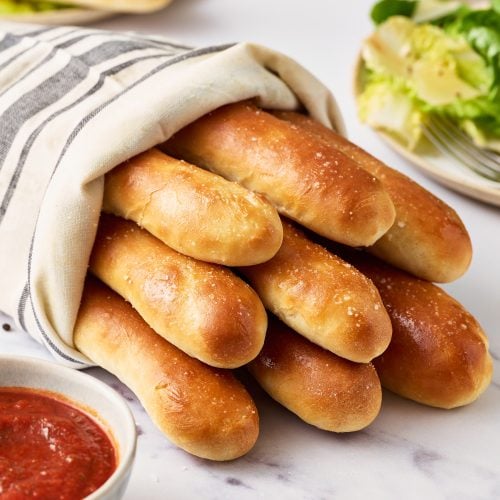
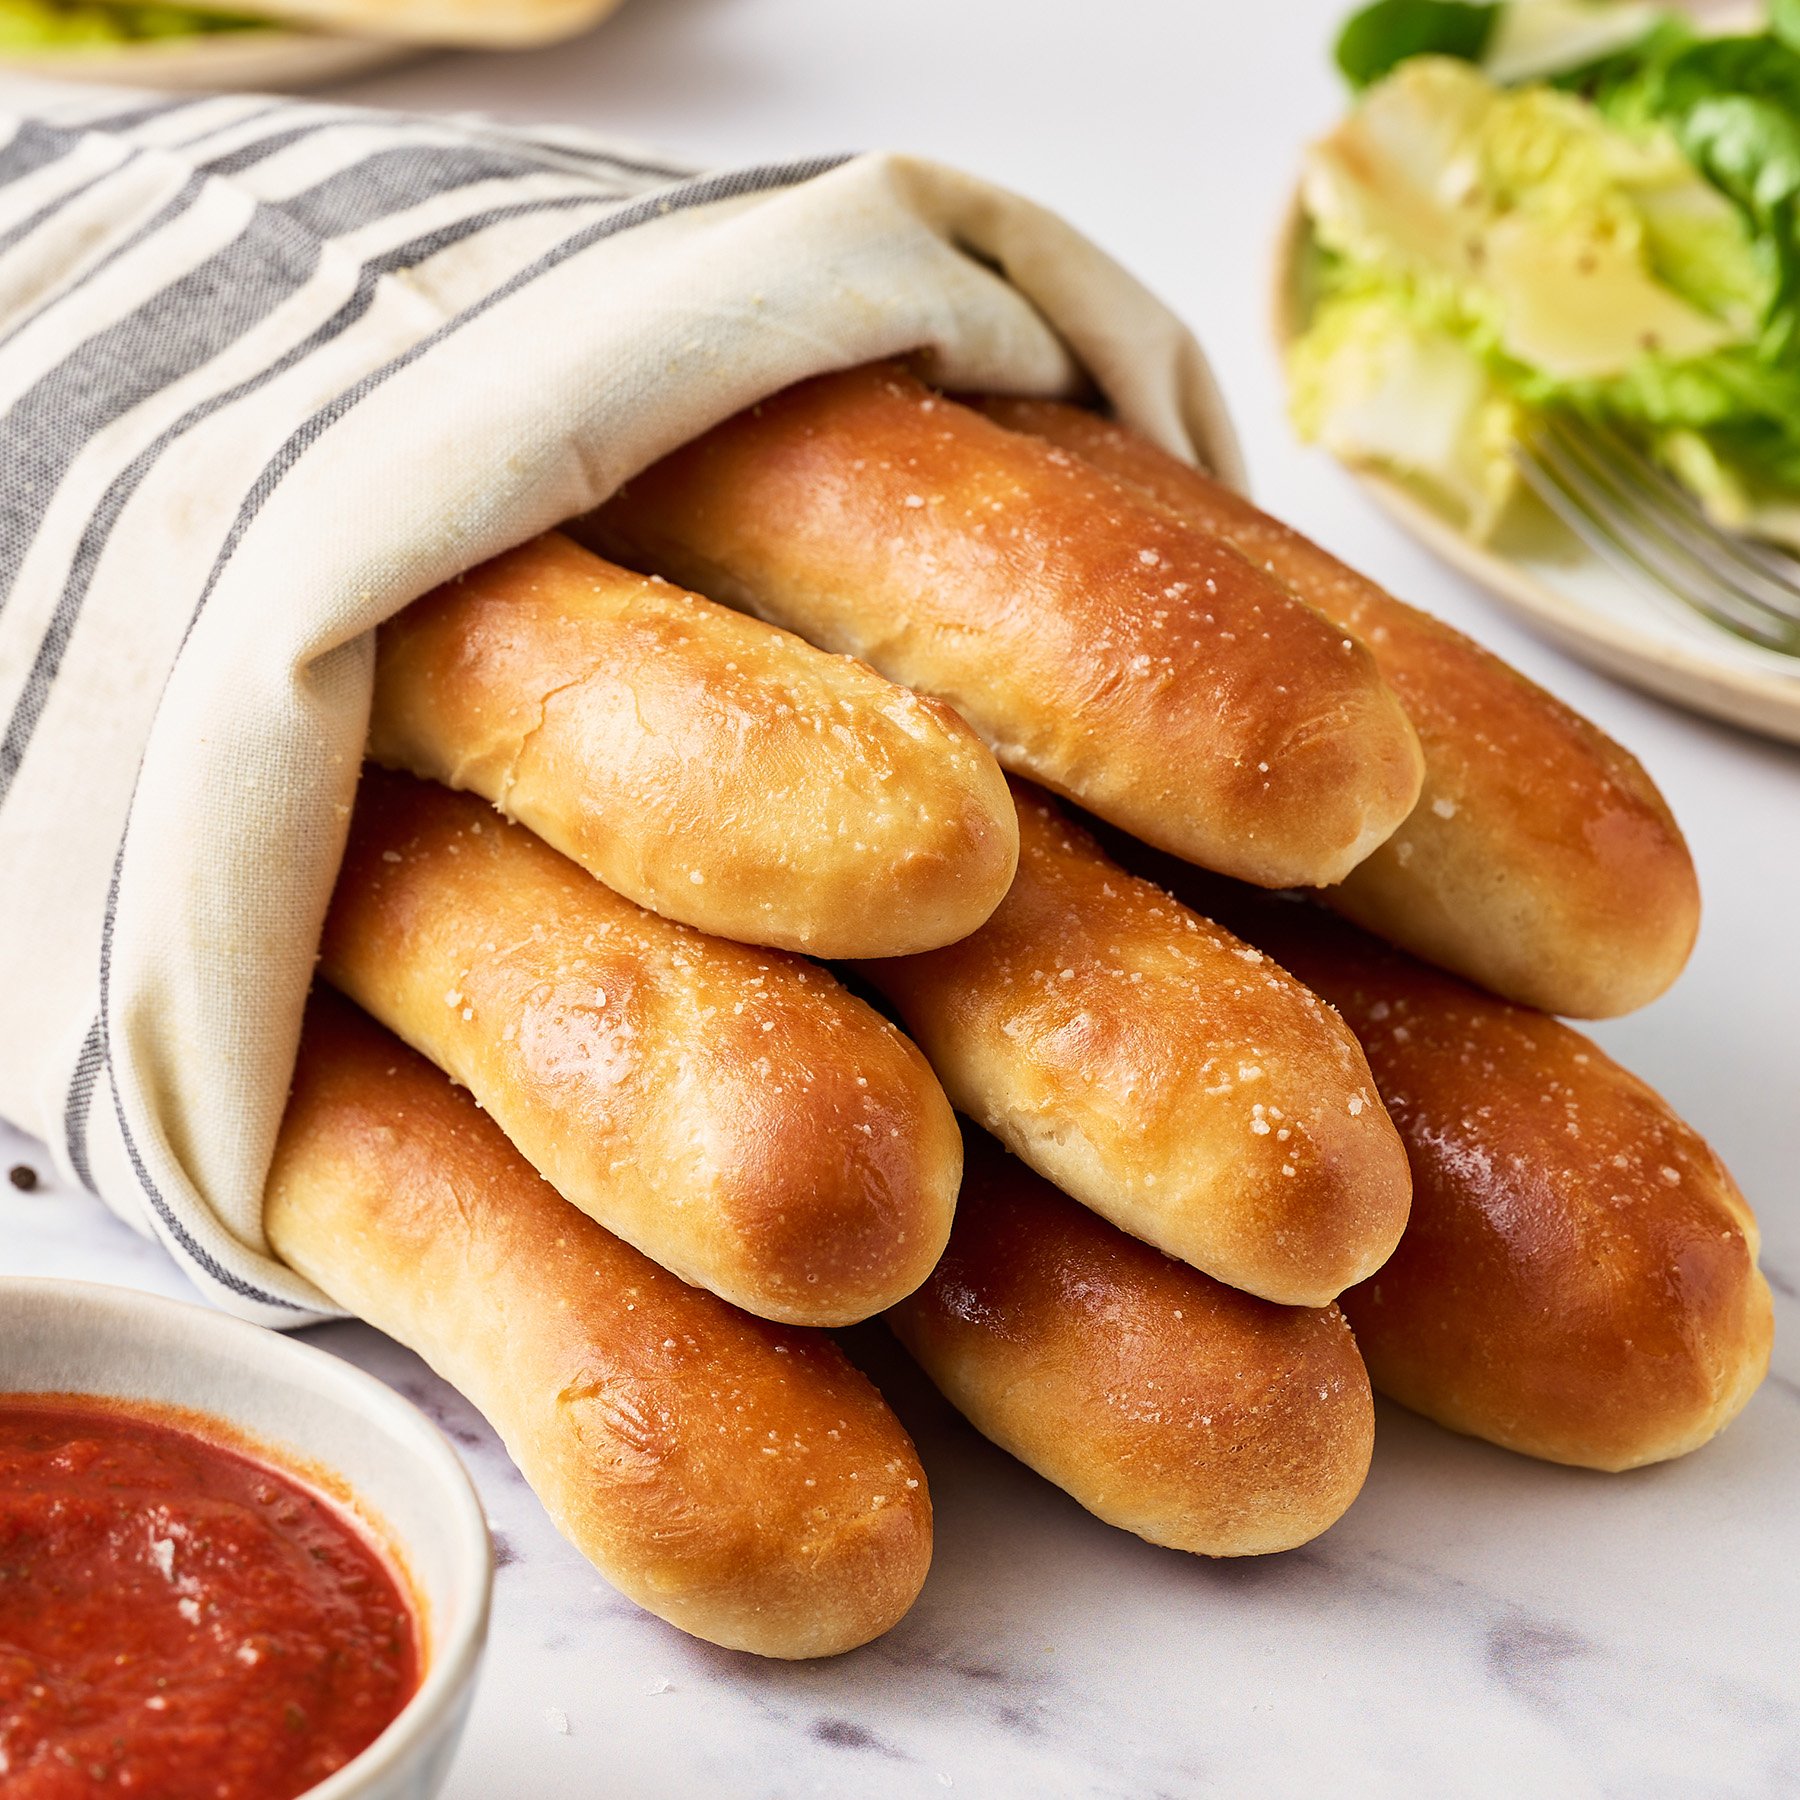
Copycat Olive Garden Breadsticks
Email This Recipe
Enter your email, and we’ll send it to your inbox.
Ingredients
For the dough:
- 1 cup plus 2 tablespoons (250 grams) warm water, about 100-110°F*
- 1 1/2 teaspoons instant yeast
- 2 tablespoons (25 grams) granulated sugar
- 3 tablespoons (42 grams) unsalted butter, melted
- 1 3/4 teaspoons fine sea salt
- 3 cups (381 grams) bread flour, plus more as needed**
For the topping:
- 2 tablespoons (28 grams) unsalted butter, melted
- 1/2 teaspoon kosher salt
- 1/4 teaspoon garlic powder
Instructions
- Prepare two baking sheets lined with parchment paper and set aside.
- In the bowl of a stand mixer fitted with a dough hook attachment, combine the water, yeast, sugar, melted butter, and salt. Begin to gradually add the flour while the mixer runs on low speed. Increase speed to medium and knead the dough for about 10-15 minutes, or until it is tacky and very elastic. Add more flour, a tablespoon at a time, if the dough is extremely sticky.
- Remove the dough and place in a lightly oiled bowl and cover with plastic wrap. Let rest in a warm place until doubled in size, about 1 hour to 1 1/2 hours (the exact proof time will depend on your kitchen environment; the warmer it is, the faster your dough will proof).
- Once doubled in size, divide the dough into 12 portions (use your kitchen scale for accuracy, but it should be approximately 57 grams per piece). Roll each piece of dough into an 8-inch log. Place the dough logs on your parchment-lined baking sheet, about 2 inches apart. Cover, and let rise until doubled in size, about 1 hour to 1 1/2 hours.
- Preheat your oven to 400°F. Bake for 12 to 14 minutes, or until golden brown. Remove from oven and immediately brush with melted butter. Combine the salt and garlic powder and sprinkle evenly over breadsticks. Serve warm.
- To refresh, place the breadsticks on a baking sheet, and reheat in the oven at 425°F for 4-5 minutes, or until warmed through. You can also re-brush with butter and sprinkle again with garlic powder and salt, if you wish.
Recipe Notes
This post was originally published in 2013 and updated in 2023 with new photos and recipe improvements. Photos by Joanie Simon.









These turned out professional. I used regular yeast so I let it rise a little longer. This was easy. I make bread weekly so I know how to make bread but these were awesome. I actually made the butter garlic and put it on fresh rolls. Mind blown. Great idea.
Sounds incredible!! So happy you loved this recipe, thanks for sharing!
EXCELLENT!!!! Turned out perfect 🙂
I would like to make these using a bread maker.
I will use the dough setting. What tips do you suggest?
Thank you, Janet Howe
Hi Janet! We haven’t tried making these with a bread maker, so I can’t say for sure! Please let us know how it goes if you give it a try, we’d love to know!
I made these for the first time this evening and they were perfect! Love how simple the recipe is. I’ll be making these often. ( my husband absolutely loves them)
At what stage may I freeze for later baking?
Hi Michael! To make ahead, bake as the recipe instructs and then let the breadsticks cool completely before freezing. We like to freeze them on a baking sheet until solid before removing to a resealable bag so that they don’t stick together. We suggest reheating in a 300°F oven until warmed through when you’re ready to enjoy
This recipe truly does come out tasting exactly like Olive Garden breadsticks!
The only things I did differently was bloom my yeast in the warm water for 10 minutes before mixing all the ingredients in my bread machine on the dough setting.
Secondly, when they came out of the oven I rubbed/melted a cold stick of butter on the breadsticks and sprinkled with garlic salt.
Perfection! Thanks for the recipe!
Thanks for letting us know how it went using your bread machine! So happy to hear how much you enjoyed this recipe 🙂
Taste exactly like the restaurant’s!!!
So happy you loved this recipe!
This recipe is so good!!! And is so easy to follow and make
Like one of the other people who left a review, I had a hard time incorporating the flour into the wet mixture.
It was VERY crumbly. Also, my very old Sunbeam Stand Mixer (and it’s pathetic dough hooks) had a hard time mixing the dough. The dough got caught up in the beaters where they click in. I had to stop using it and mix it in by hand.
Even still, I didn’t like the consistency of the dough….but I went ahead and covered it to see if it would rise.
It did not.
I did level the dough off when measuring but next time, I will weigh it.
And hope that it turns out!!
PS
What temperature do you usually like the water to be at?
On the internet, I read that it was 100°F.
Also, I’m not sure which type of yeast I used – if that might have made a difference in its not rising.
Sorry to hear of your issues, Kelly! Were you able to finish baking them? If so, how did they turn out? It definitely sounds like too much flour was added. Or is it possible you live in a climate where less flour was needed? Warm water is typically 110-115°F. You might be interested in reading our article about the difference in Active Dry Yeast vs Instant Yeast, though you can use either with this recipe. How long did you end up mixing the dough by hand for?
I didn’t end up finishing them since the dough didn’t rise. I searched the internet for the temperature that the water should be (I read: 100°), I used my old Sunbeam mixer, which I’ve never used for bread before (unless there is a hand mix option for the recipe) as I don’t like the dough hooks. I used the least amount of flour that the recipe calls for. When it became too much work for my mixer, I proceeded to mix by hand – I’d say at least 7 minutes total (including the time it was mixed electronically). I’m not sure what type of yeast I used as someone had given me some in a bag. I’ve been keeping it in my freezer. Maybe it needed to come to room temperature?? I want to try this again…but I’m afraid I’ll just be wasting ingredients.
PS I live in Vancouver Canada.
hmmm…I would double check that your yeast is fresh. You can find more details in the article I included in my last comment. I’d increase the water temp to 110-115°F as well. If you’d like to mix by hand next time, I’d suggest mixing for about 10 minutes, until the dough is smooth and elastic. I’d also suggest starting out with 3 cups (381 grams) of bread flour, then slowly adding in the remaining amount so you can keep an eye on it. Tessa lives in Phoenix, AZ, and I live in Michigan, so neither of us bake at high altitude. Reducing the amount of flour may be key for your breadsticks to turn out perfectly. I really hope you give this recipe another try, they are incredible when they turn out! Please let me know how it goes if you do. Good luck!
You might have accidentally killed your yeast if you added the melted butter while it was still too hot.
It never mentioned anything about salt or yeast in the instructions.
Hi Brendan! In the first paragraph of instructions, it says “In the bowl of a standing mixer, combine the water, yeast, sugar, and butter. Add in the salt…” Hope that helps!
They came out great. I actually got 13 instead of 12 and they were still a bit big (I think I inadvertently went a little heavy on the flour). Still Delicious!
I think that extra breadstick is just one for the chef to taste-test 🙂 Glad you loved this recipe!
Absolutely amazing. I made this for a holiday get-together and everyone was wishing I had made a double-recipe. (And I brought 2 other types of bread that they also enjoyed, but this was the one they couldn’t get enough of.)
The recipe is perfect as is. The only thing I changed was I mixed the butter, sea salt, and garlic powder together when I melted the butter to brush on the breadsticks in the final step.
Don’t change a thing about this recipe. Serve it with some dipping sauce if you like, but the recipe itself is perfect as it is!
Put this recipe in your regular rotation, especially if you’re serving pasta or will be going to a potluck that will have pasta. Or: take some sauce and these breadsticks and make everyone wish there was also some pasta!
Yay! So happy these were such a hit. Thanks so much for the rave review!