


Tessa’s Recipe Rundown
Taste: Absolutely packed with chocolate flavor and the perfect balance of sweetness.
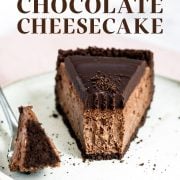
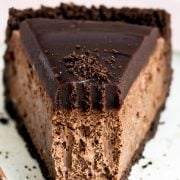
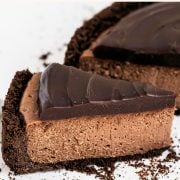
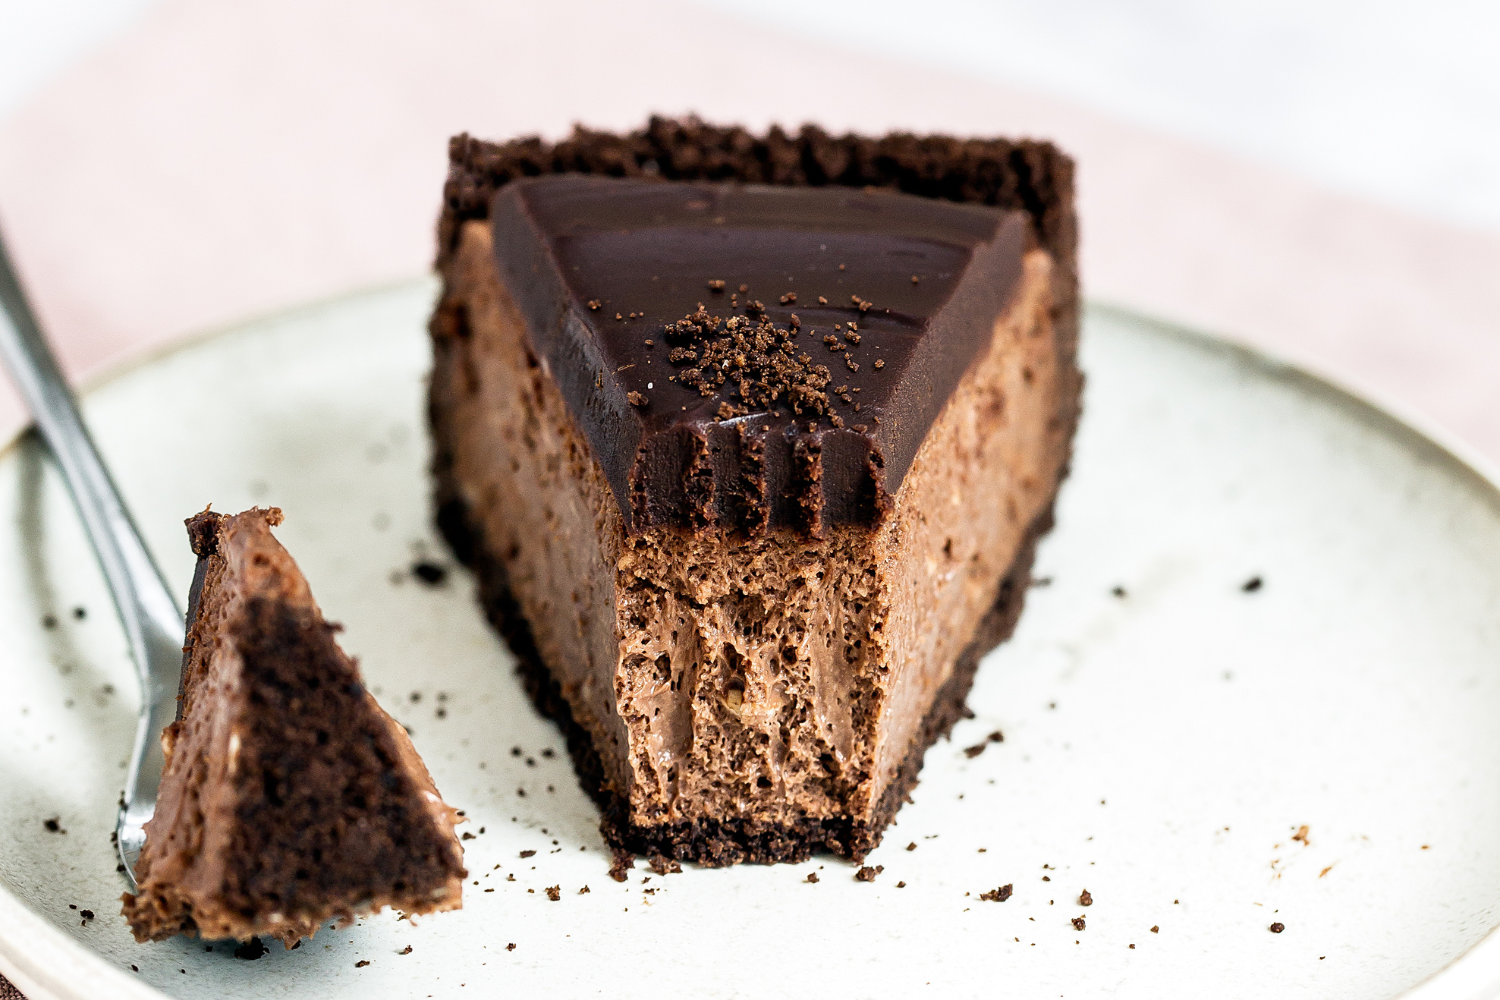
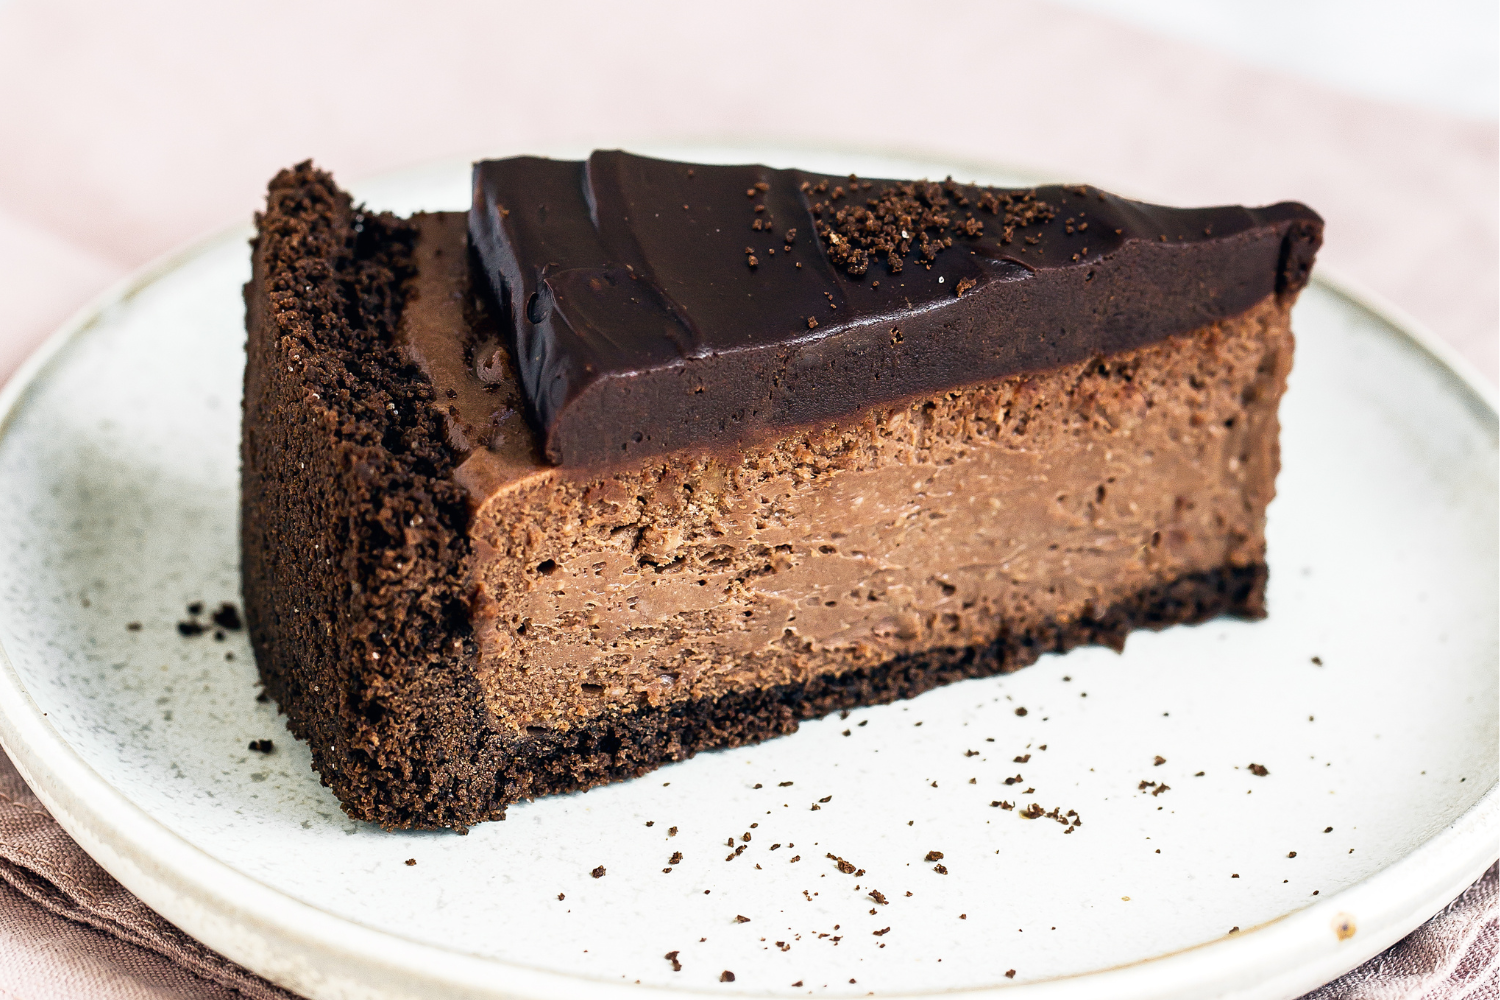
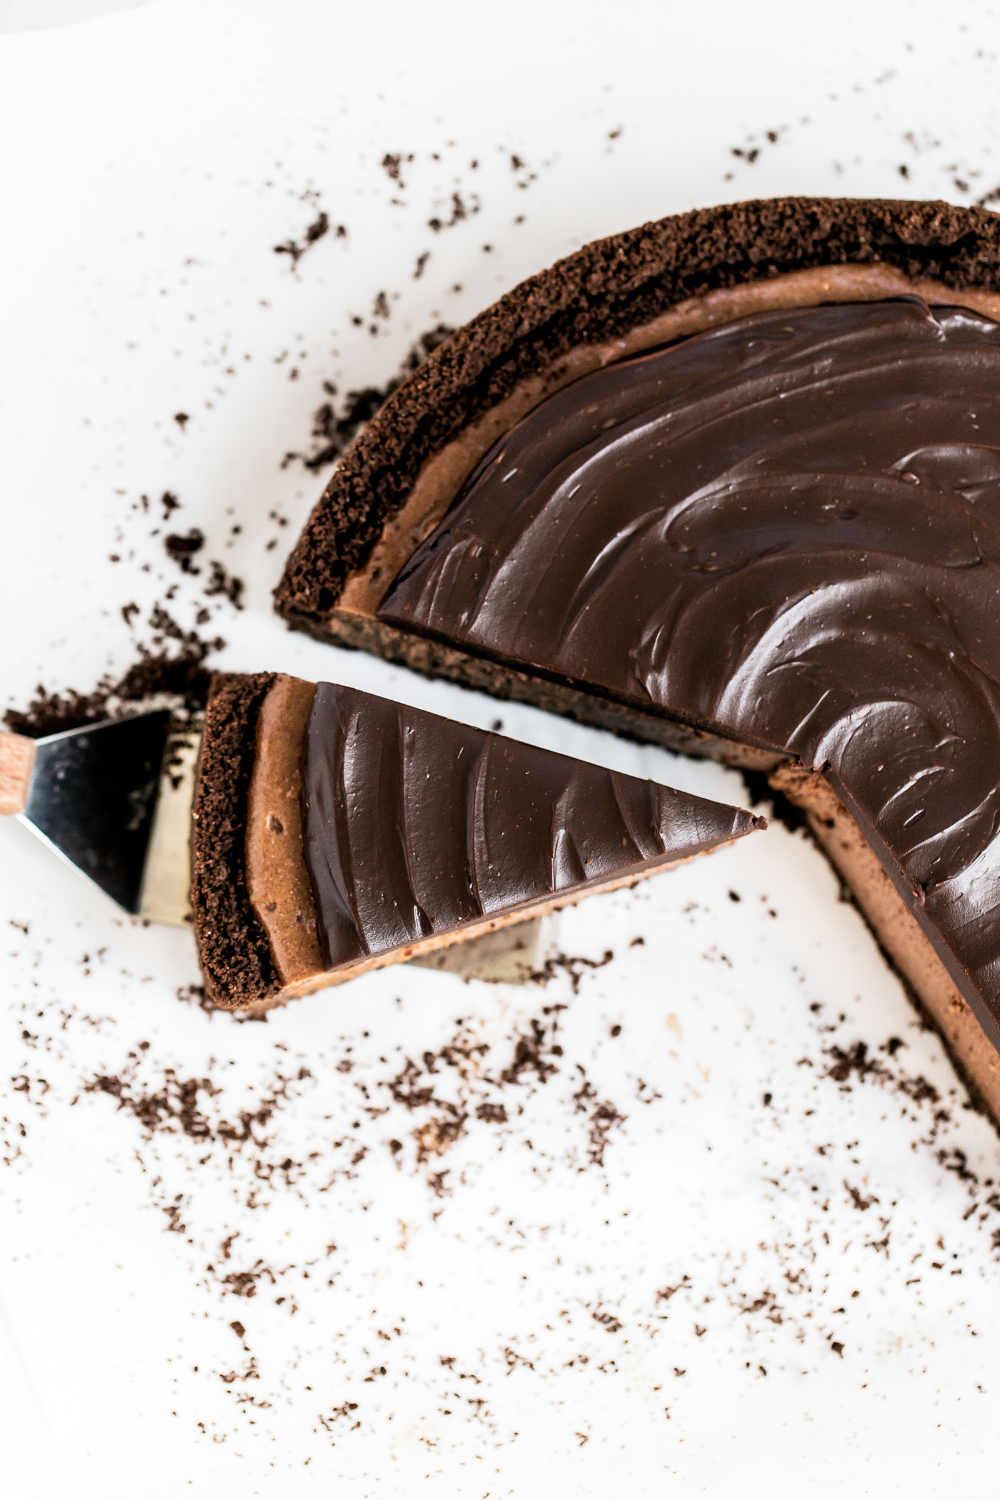
Texture: Rich, creamy, smooth, and fudgy with a hint of crunch from the crust.
Ease: No water bath required! There are a few steps involved, and you will dirty some dishes, but it’s nothing you can’t handle.
Why You’ll Love This Recipe: It’s a chocoholic’s dream come true!
This post may contain affiliate links. Read our disclosure policy.

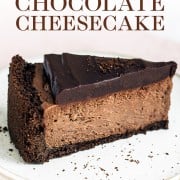
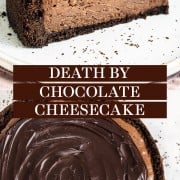
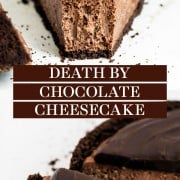
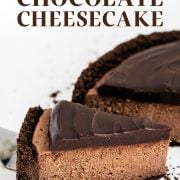
Death by Chocolate Cheesecake is a true chocoholic’s dream come true!
Life without chocolate would be no life at all. As a total chocolate lover, I strongly believe that! I enjoy at least a bite of chocolate every single day.
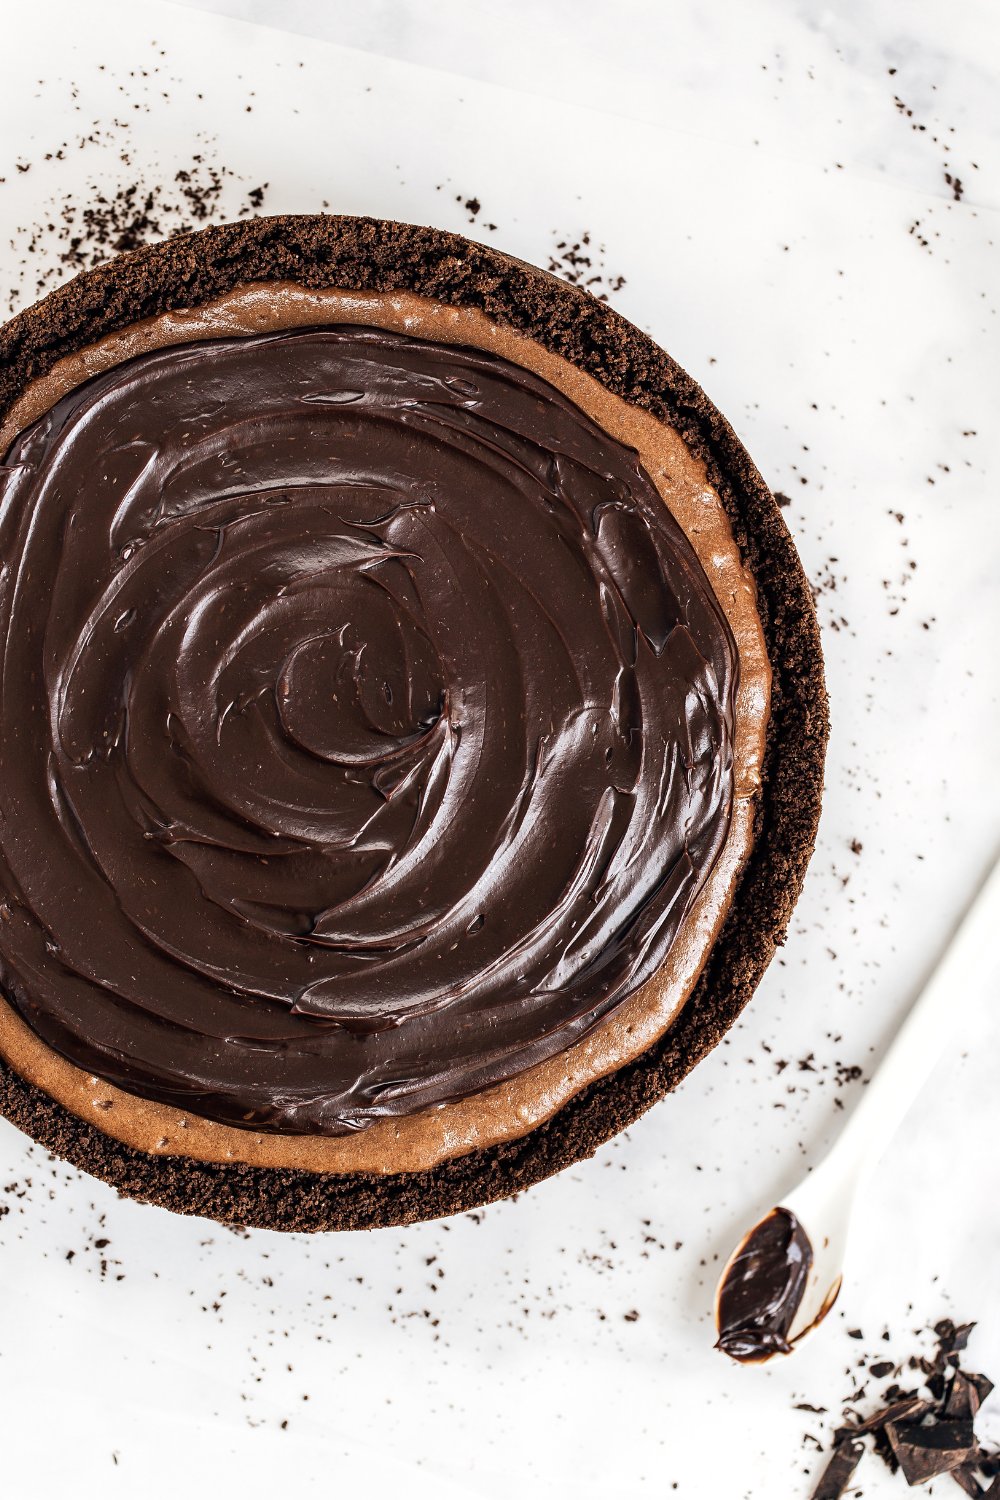
There’s chocolate in four forms: chocolate graham cracker crust, double chocolate filling (both cocoa powder and melted chocolate), and a chocolate ganache topping.
If you’ve ever muttered, “This is too rich and chocolaty” in your life, this may not be the recipe for you.
Besides the delightful chocolate flavor, the texture in this recipe is simply incredible. You get that perfect contrast of a slightly crunchy yet buttery crust, rich and smooth filling, and fudgy ganache topping.
Reader Love
I made this for Thanksgiving dessert. It was utterly fantastic. The smoothest texture I’ve ever achieved in a cheesecake! Thanks!!
–
This chocolate cheesecake is the perfect addition to any birthday, Thanksgiving, Friendsgiving, or Christmas celebration!
Ingredient Notes
Chocolate Cookie Crust:
- This recipe calls for 15 “full size” chocolate graham crackers, meaning the entire rectangular sheet of graham cracker. This should weigh 225 grams or 8 ounces, and create 1 cup crumbs.
- If you are unable to find chocolate graham crackers, simply use chocolate Teddy Grahams instead (1:1 ratio).
- You could also make an Oreo cookie crust if you’d prefer! Simply swap in 30 (340 grams) standard whole Oreo cookies (NOT double-stuffed) and reduce the butter to 4 tablespoons (57 grams).
Baking Chocolate: I used semisweet baking chocolate blocks for the cheesecake, and semisweet chocolate chips for the ganache. You can use dark or bittersweet chocolate if you prefer – just note that this will alter the overall sweetness of the recipe. Learn more about Chocolate in Baking here.
Cocoa Powder: Because this recipe doesn’t use any leavening agent, you can use either natural unsweetened cocoa powder or Dutch-processed cocoa powder. I highly recommend sifting it first, so you don’t create lumps of cocoa in your cheesecake. Learn more about Natural Cocoa vs. Dutch Process Cocoa Powder here.

Tessa’s Tips for Smooth, Creamy Cheesecake
- Be sure to use bricks of full-fat high-quality cream cheese. Nothing spreadable. It makes a big difference!
- The cream cheese should be completely softened to room temperature. If it’s too cold, it won’t mix properly and you’ll end up with little pockets of unblended cream cheese throughout.
- Scrape down the mixing bowl often, even if you’re using a paddle attachment that scrapes as it blends, to ensure everything is thoroughly mixed.
Baking Cheesecake Without a Water Bath
There is no water bath required for this chocolate cheesecake recipe! Even if some cracks form, they’ll be hidden by the thick chocolate ganache.
I’m using the oven door trick to prevent dramatic changes in temperature that cause cracks. Once the cheesecake is almost done baking, turn off the oven but leave the cheesecake inside. Crack the oven door just slightly to allow the oven to cool down slowly.
Err on the side of underbaking than over-baking. The edges should be set and dry, but if the center is still slightly wobbly or jiggly that’s fine. The residual heat will continue to cook the cheesecake even once it’s removed from the oven. To be certain, you can check the cheesecake internal temperature with an instant-read thermometer — it should be 150°F when it’s done baking.
Completely cool the cheesecake to room temperature before chilling to further prevent cracking.
The Best Pan for Cheesecake
- This recipe requires a 10-cup, 9-inch diameter springform pan like this one.
- Not all springform pans are made equally; you want one that’s heavy-duty and sturdy.
- Avoid putting your pan in the dishwasher — hand washing will extend the life of a springform pan.
- Just because your pan is 9-inches in diameter doesn’t necessarily mean it has a 10-cup batter volume capacity. Brands may vary slightly, so be careful not to overfill your pan if yours has a smaller capacity!
Serving & Storage
To Slice & Serve: The hardest part of this recipe is that you must let it chill for at least 4 hours before you slice and serve it! I usually like to let it chill overnight, just to make sure it’s completely set and I’m able to cut clean slices.
Use a sharp knife, run it under hot water, and carefully wipe dry in between cuts, for beautiful bakery-quality slices. I like to serve with strawberries or raspberries to cut the richness.
Refrigerate: Store this cheesecake in the fridge loosely covered for 2 days. The longer it sits in the fridge, the softer the crust will become.
Freeze: This cheesecake freezes beautifully! Place whole or individual slices on a baking sheet inside the freezer until firm. Wrap the cheesecake or each individual slice in plastic wrap and place in a freezer bag. Freeze for up to 2 months.
To serve, defrost the whole cheesecake in the fridge overnight, or defrost individual slices in the fridge overnight, or at room temperature for about 30 minutes.

Email This Recipe
Enter your email, and we’ll send it to your inbox.
Ingredients
For the crust:
- 15 (225 grams) full size chocolate graham crackers
- 6 tablespoons (85 grams) unsalted butter, melted
For the filling:
- 8 ounces (227 grams) semisweet chocolate, chopped
- 24 ounces (680 grams) full fat cream cheese, softened completely to room temperature
- 1 cup (200 grams) granulated sugar
- 1/4 cup heavy cream
- 1/4 cup (21 grams) unsweetened cocoa powder, sifted
- 4 large eggs, at room temperature
For the topping:
- 1 cup (170 grams) semisweet chocolate chips
- 1/2 cup heavy cream
Instructions
For the crust:
- Preheat the oven to 325°F. In the bowl of a food processor, process the cookies until you have 1 cup of finely ground crumbs. Add the butter and pulse until moistened. Press into the bottom and halfway up the sides of a 9-inch springform pan.
- Bake for 10 minutes, or until fragrant. Let cool slightly and maintain oven temperature while making the filling.
For the filling:
- In a microwave-safe bowl, microwave the chopped chocolate in 30-second bursts, stirring between bursts, until melted and smooth. Let cool.
- In the bowl of an electric mixer, beat the cream cheese until smooth, about 1 minute. Add the sugar, cream, and cocoa powder and beat until well combined. Scrape down the sides and bottom of the bowl to make sure everything is being incorporated. Add the eggs, one at a time, beating just until smooth. Beat in the melted chocolate until just combined. Be careful not to overbeat.
- Pour the batter into the cooled crust. Place the springform pan on a rimmed baking sheet and bake for about 50 minutes, or until the top looks slightly dry and the middle is slightly wobbly, or an instant-read thermometer inserted to the center reads 150°F. Err on the side of under-baking.
- Turn off the oven and crack the oven door open and allow to cool for 10 minutes (this helps prevent cracking). Remove the cheesecake from the oven to a wire rack to cool to room temperature.
- Refrigerate until completely chilled, at least 4 hours. Release the cheesecake from the pan onto a serving plate.
For the topping:
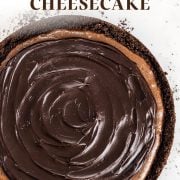
- Once the cheesecake has cooled, place the chocolate chips in a medium heatproof bowl. In a small saucepan, heat the cream just until simmering. Pour over the chocolate chips.
- Let sit for 3 minutes before stirring until the mixture is melted and smooth. If needed, allow to cool and thicken. Pour over the cheesecake.
Notes
More Cheesecake Recipes You’ll Love:
This post was originally published in 2018 and has been updated with additional recipe tips. Photos by Ashley McLaughlin.


hello! wondering if you have an adaptation to make this a peppermint chocolate cheesecake?! thanks!!
Hi Lily! Check out Tessa’s Chocolate Peppermint Cheesecake recipe here!
It was incredible, we made it for thanksgiving and people were fighting over it
Can you use a premade crust for this? I was going to be a store crust as I need to be able to travel with this!
Hi Cara! This cheesecake crust is super quick and easy to make. Feel free to use pre-ground chocolate graham crackers/Teddy Grahams/Oreos, if you can find them, to make the process even quicker. I don’t believe stores sell entirely premade cheesecake crusts, and we haven’t tried this cheesecake in a pie crust (which I believe would be far too shallow and also bake very differently compared to the recipe as written). This recipe should travel very well. Store inside a cooler, if possible, if your travel time is longer. I hope this helps! Happy baking 🙂
Can I use this batter for mini cheesecakes and simply adjust baking time?
Hi Carol! We haven’t tried that, so I can’t say how well that will work! Feel free to give it a try – or alternatively, try Tessa’s No Bake Mini Peanut Butter Cheesecakes or her No-Bake S’mores Mini Cheesecakes! I hope that helps! Happy baking 🙂
Hi , recipe says Four forms of chocolate but I only see three . ?
Hi Deb! There’s chocolate graham crackers in the crust, chocolate + cocoa powder in the cheesecake itself, and more chocolate in the ganache topping. Let us know what you think if you give this cheesecake a try! 🙂
Made this for my birthday, and it was fabulous! One of my favorite desserts I have ever made! Want to make again
Can you make this in cup cakes
Hi Bridget! We haven’t tried that, but it should work okay! Alternatively, check out Tessa’s new cupcake-sized No-Bake Mini S’mores Cheesecakes 🙂 happy baking!
Can part of it be frozen after making it? It’s a lot for two people.
Hi Jeff! Yes, cheesecake freezes and thaws beautifully, so just be sure to wrap slices well in plastic wrap and store in a freezer bag or an airtight container, to prevent freezer burn. Thaw in the fridge overnight before serving. If possible, it’s best to freeze without the ganache topping, as this may lose its shine and weep a little upon thawing – but it won’t ruin the cheesecake’s flavor if you’ve already topped the cheesecake. I hope that helps. Happy baking! 🙂
I made this for my Memorial day picnic and it turned out delicious. Now I did have some baking issues it did crack on top even with me turning the oven off and letting it sit for 10 minutes. But it did not affect the taste and with the ganache on top nobody even noticed. Everyone raved about it!
Hi Samantha! So glad to hear that you enjoyed this cheesecake! Some ovens have trouble maintaining temperature evenly and will fluctuate throughout baking – which could be why your cheesecake developed a crack. Luckily, as you mentioned, the ganache hides it with this recipe! Tessa also has an article about using a water bath with a cheesecake – which pretty much guarantees a crack-free cheesecake. The article also mentions some water bath alternatives, if you prefer to bake without a water bath. Check out the article here. I hope that helps! Happy baking 🙂
Loved it!
Wondering if I could substitute a third of the cream cheese with marscapone. I have some in the fridge and would like to use it so it doesn’t go to waste. Thanks.
Hi Sonya! We haven’t that, so we can’t say for sure how well that will work – but if you’re up for some experimenting, feel free and let us know how it goes 🙂
Idk what I did wrong
But majority of the middle didn’t bake at all. It was still liquified. The tips I got from google didn’t help at all. I’ve made so many cheesecake recipes before making Christmas deserts the day before Xmas dinner – bad idea
Hi Kathy! Oh no, that’s so strange! It’s so hard to say exactly what went wrong here without having baked alongside you, but here are a few ideas as to what may have happened:
– How do you measure your ingredients? By volume (using cups), or by weight (using a digital kitchen scale)? When measuring by volume, it’s so easy to mis-measure ingredients (particularly flour) and throw off the entire chemistry of a recipe. Tessa talks about how to best measure ingredients to ensure accuracy every time, in this article here!
– Your oven might be running a little cold, and you therefore perhaps simply needed to leave the cheesecake in the oven longer. Do you have an oven thermometer to check that? Check out Tessa’s article here about ovens, full of tips! If you don’t have an oven thermometer to ensure your oven is at the temperature it says it is, invest in one now! They are inexpensive and really help your baking so much! This oven thermometer is one of Tessa’s favorites.
– Did you use full fat cream cheese bricks (not the stuff meant for bagels)? And did you alter any of the ingredient amounts (like cutting down the sugar). Any deviation from the recipe as-written could unfortunately change the chemistry of the recipe and therefore prevent the cheesecake from baking as it should.
Hopefully something here helped, Kathy! Feel free to reach back out to us with any further questions – we are always happy to help!! 🙂
I made this cake today around that time. So funny lol. I just got done with everything. Sorry to hear yours came up a bit short. What was the temperature? I’m always a bit nervous when it jiggles (feel like it haven’t baked long enough) are you using an air oven? If not you should consider. Best investment. The ninja air oven is awesome. Would love to hear back from you