


This post may contain affiliate links. Read our disclosure policy.


Tessa’s Recipe Rundown
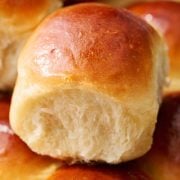
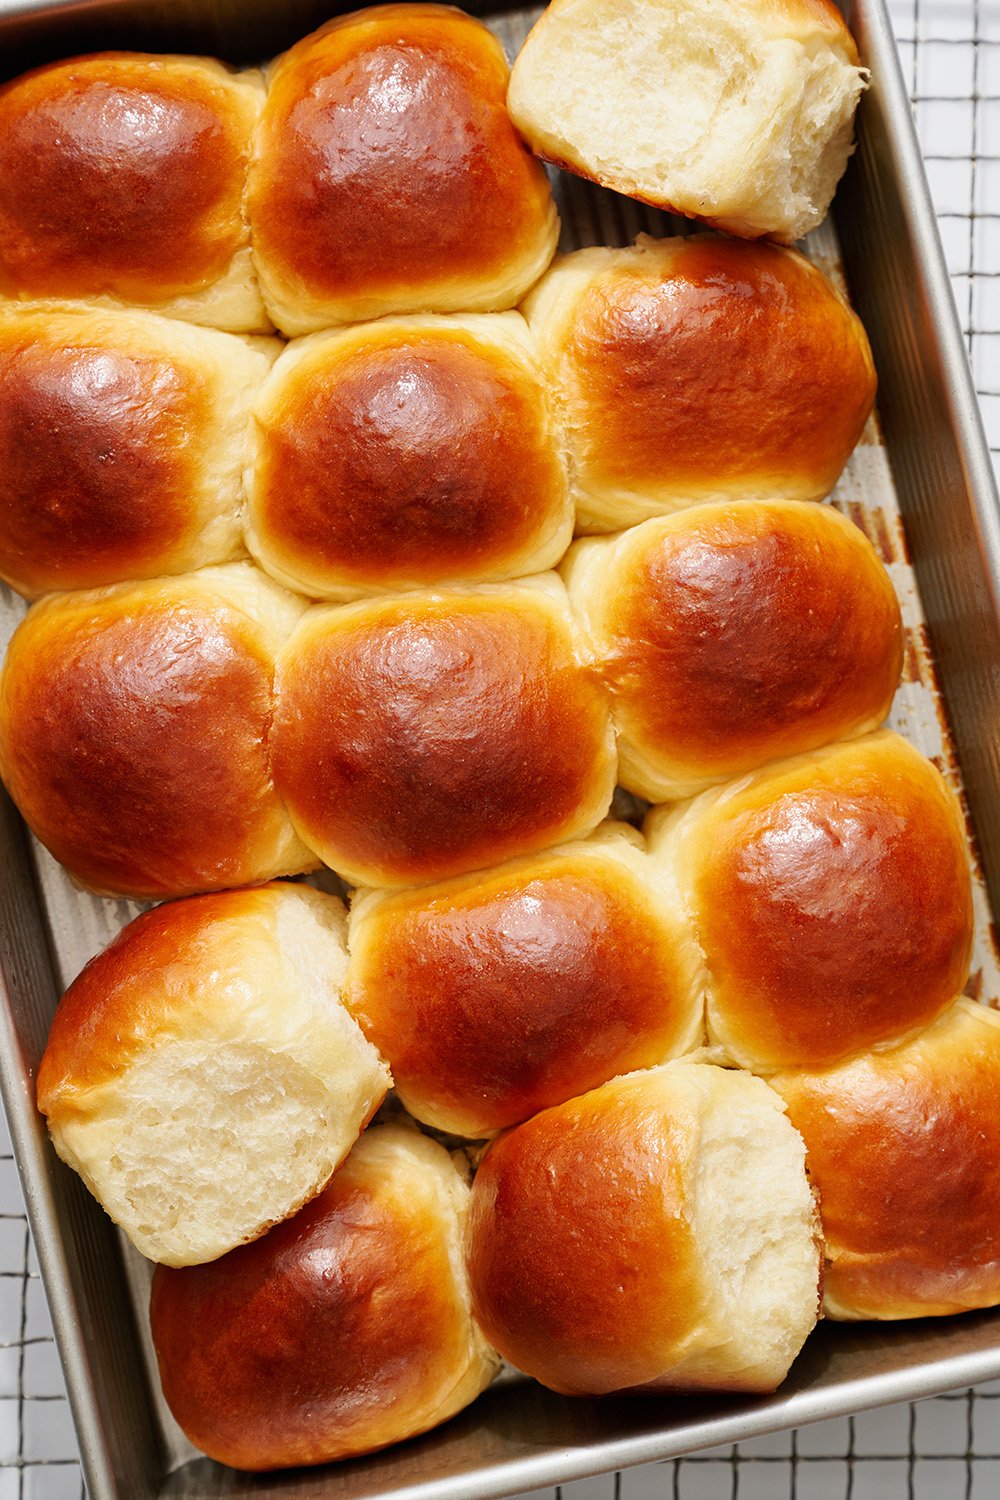
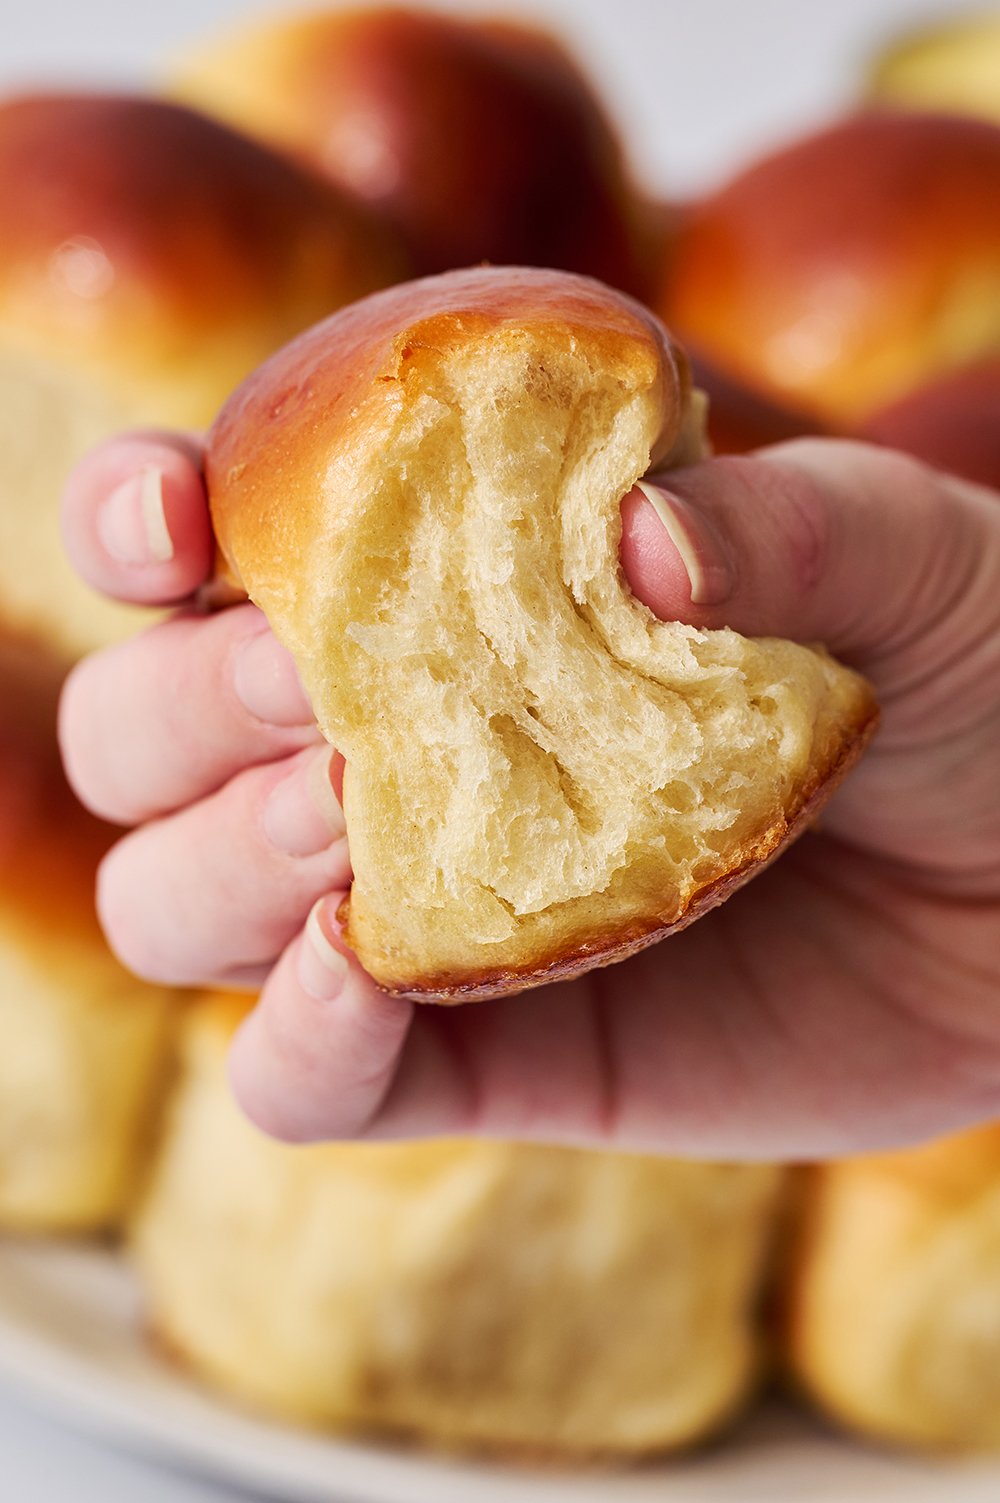
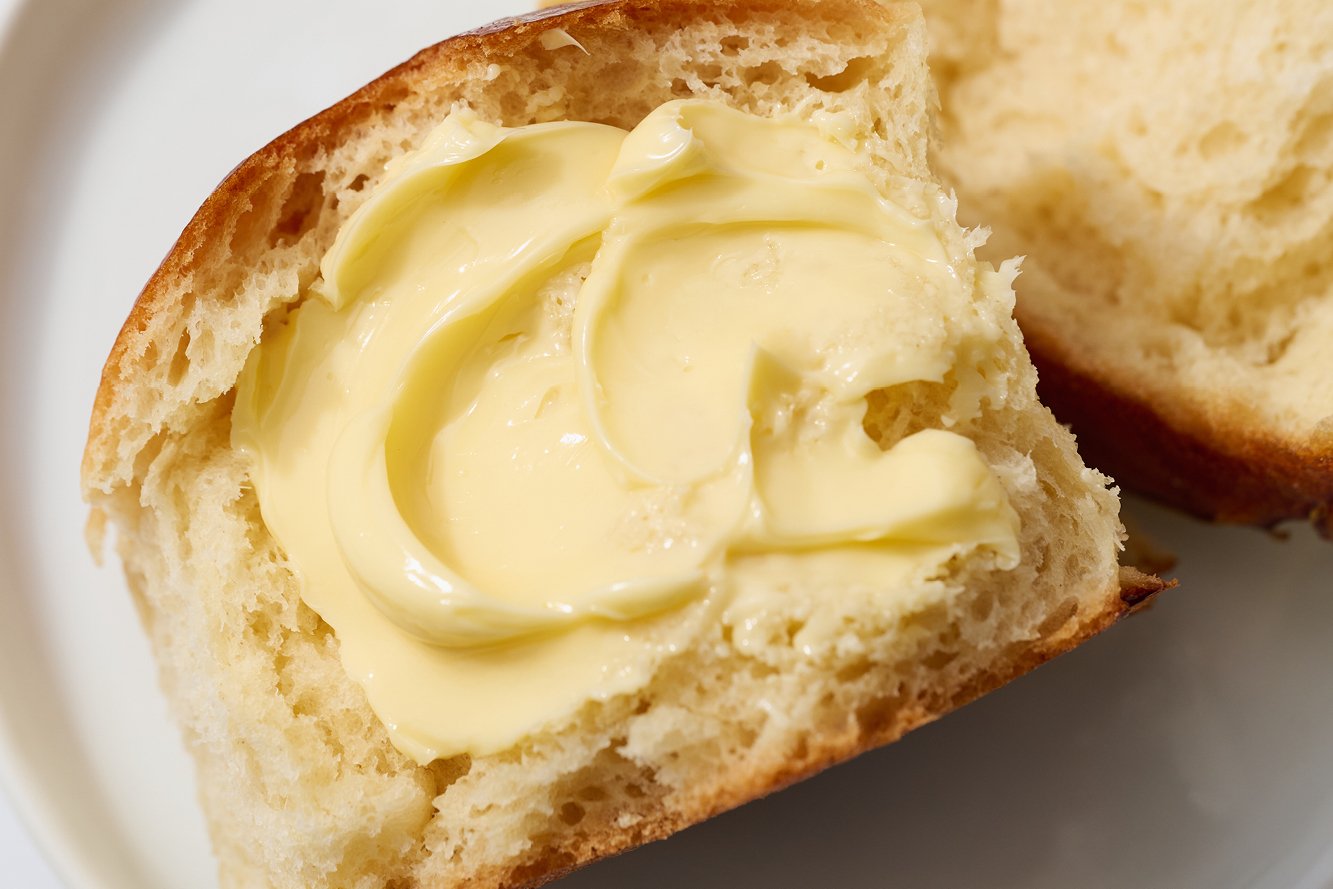
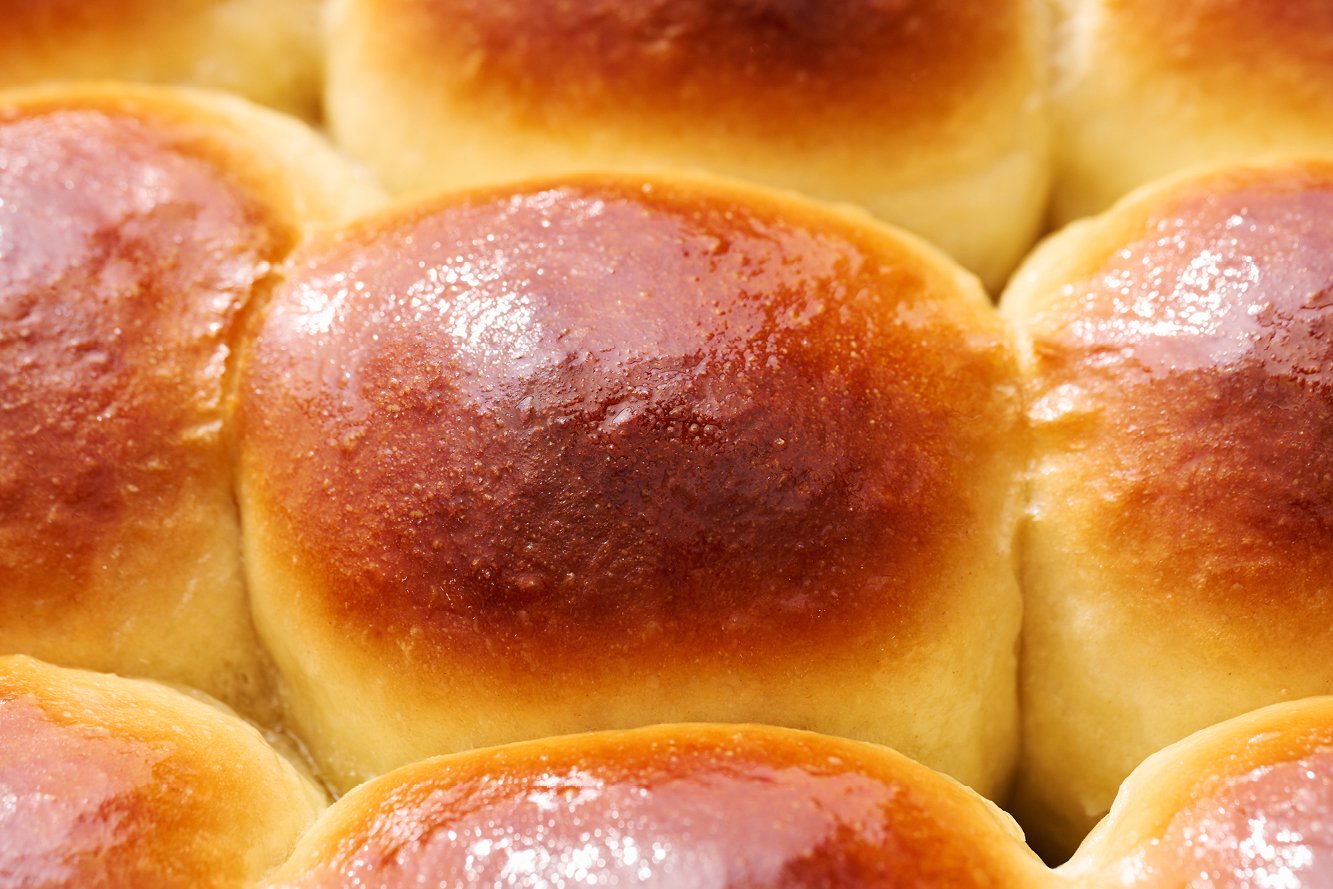
Taste: Buttery and slightly sweet, just like store-bought Hawaiian Rolls – but better!
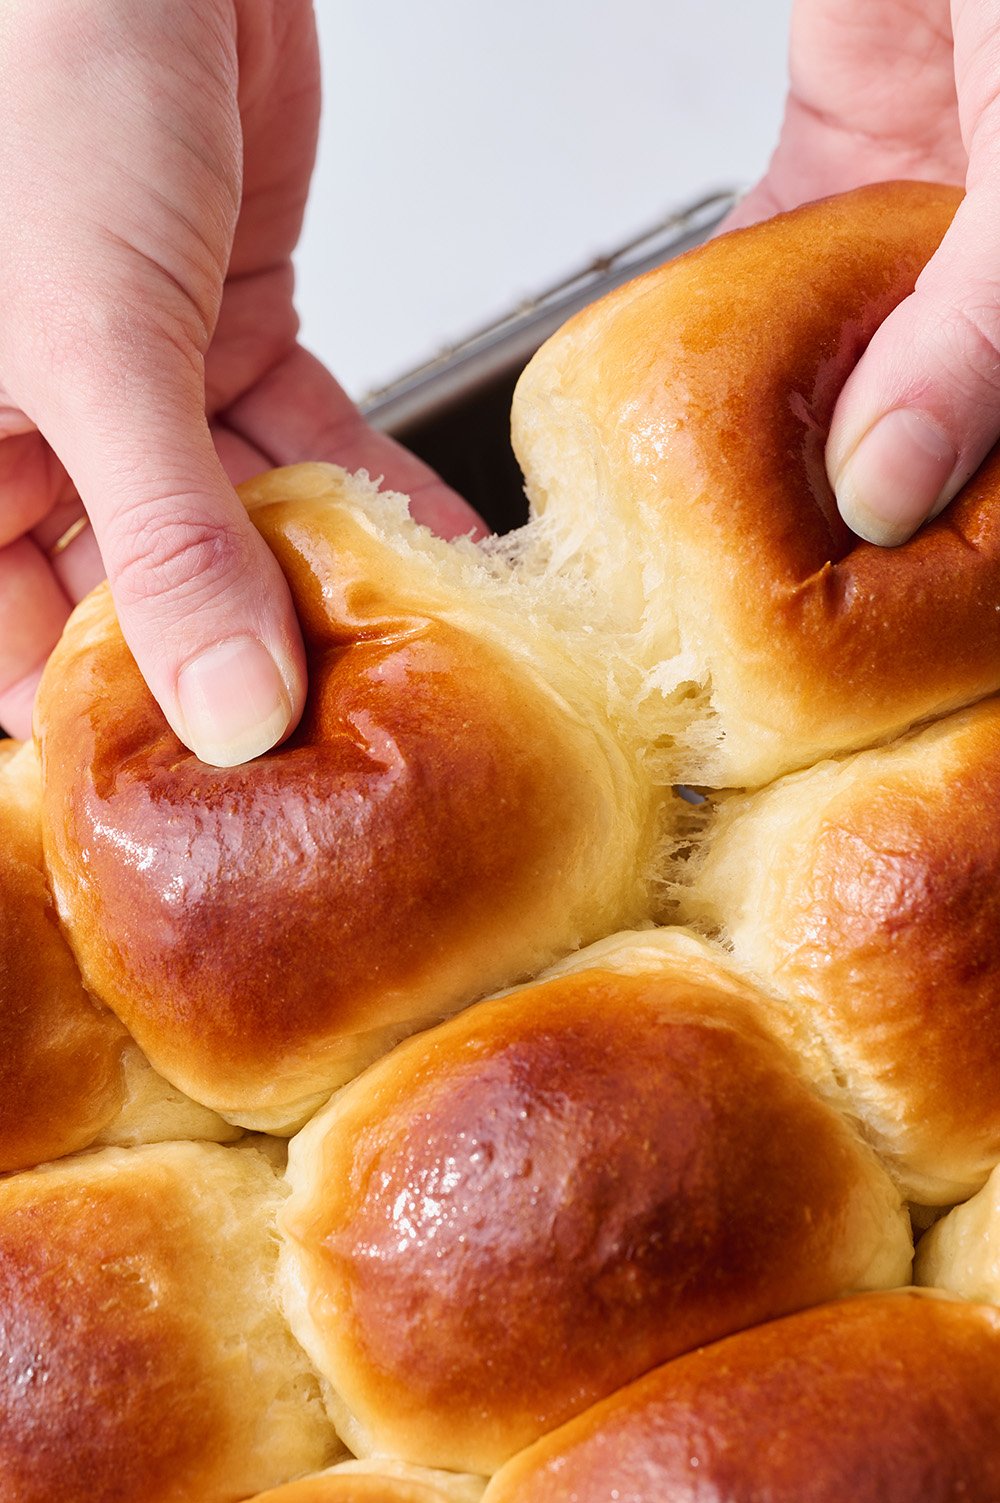
Texture: Light, squishy, and SO fluffy.
Ease: Great recipe for bread beginners.
Why You’ll Love This Recipe: Perfect for cookouts, Easter, Thanksgiving, or anytime you crave fluffy, delicious rolls!
This Homemade Hawaiian Roll recipe was a true labor of love to get just right. The store-bought ones have quite a few ingredients not available in the home kitchen, so it took a LOT of testing.
At first, the rolls weren’t fluffy enough. So I worked with several recipe testers to get the texture to match the store-bought kind. Then they weren’t sweet enough. 15 test batches later (yes, 15!), the recipe was finally perfected.
Followed the recipe and these came out great! One hour out of the oven and almost gone.
It took over a year to get this copycat recipe perfected. Luckily, I didn’t mind testing these rolls so many times because they’re THAT good.
These Homemade Hawaiian Rolls are so versatile. They’re perfect as a side with dinner or as the main course (think ham and cheese sliders!). Take them as a side to a barbecue or cookout. Serve for Thanksgiving or Easter.
And bonus: the scent that will waft through your house as these bake is utterly intoxicating.
These Hawaiian Rolls are so much better than the prepackaged versions. You’ll never want to buy store-bought again after trying these!
If working with yeast feels a little intimidating, don’t fret. I’ve included a ton of tips and tricks below so even newbie bread bakers can nail this recipe.

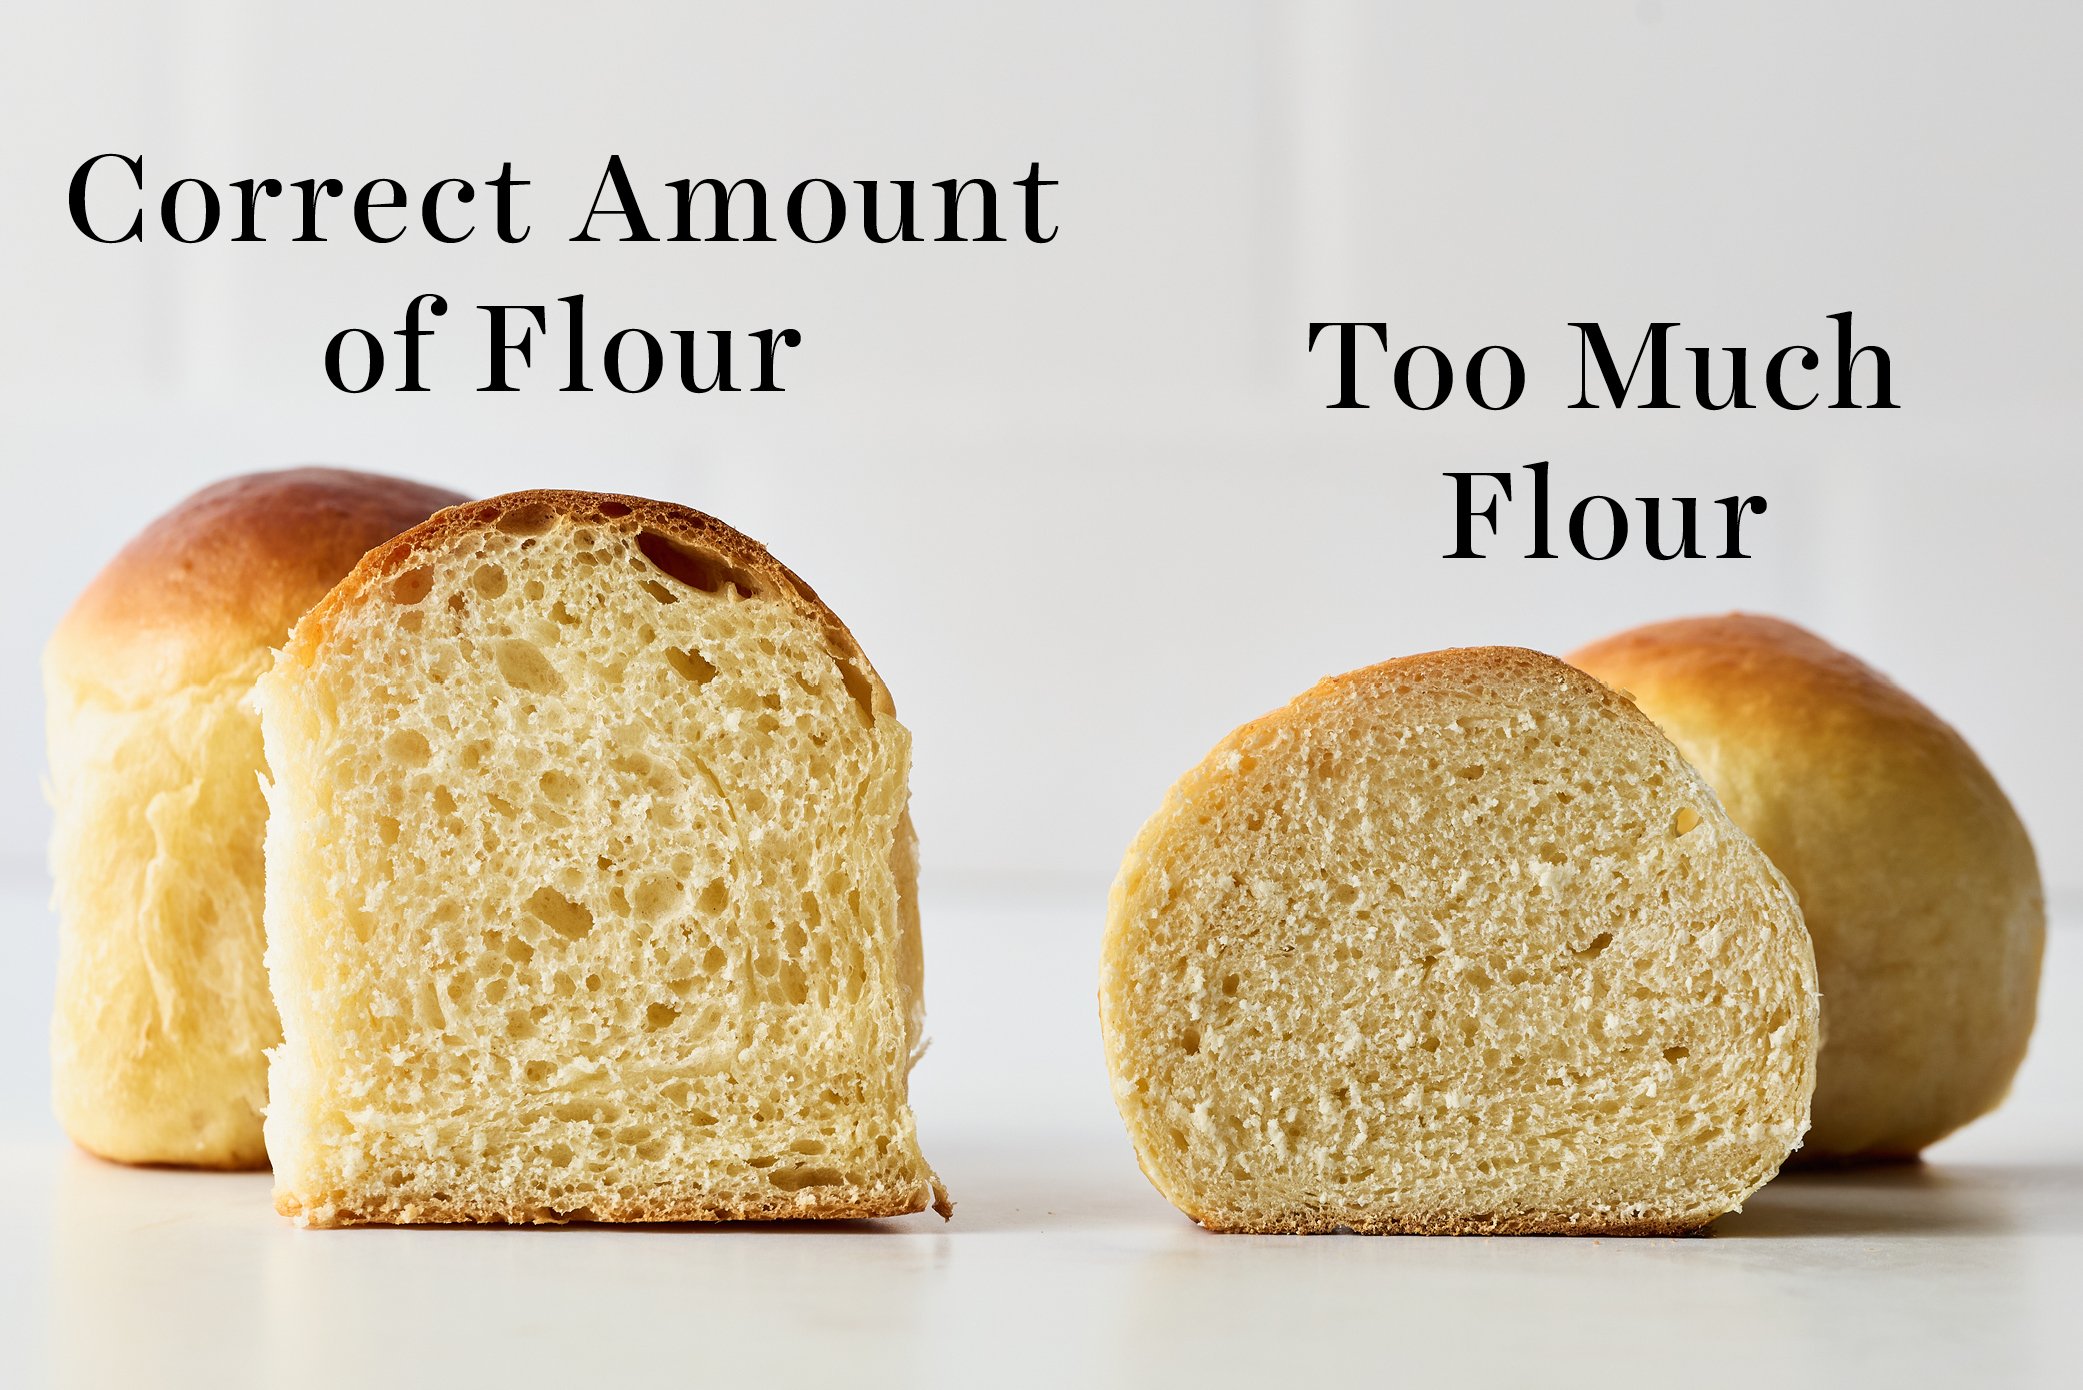
For Fluffy Rolls, Don’t Add Too Much Flour!
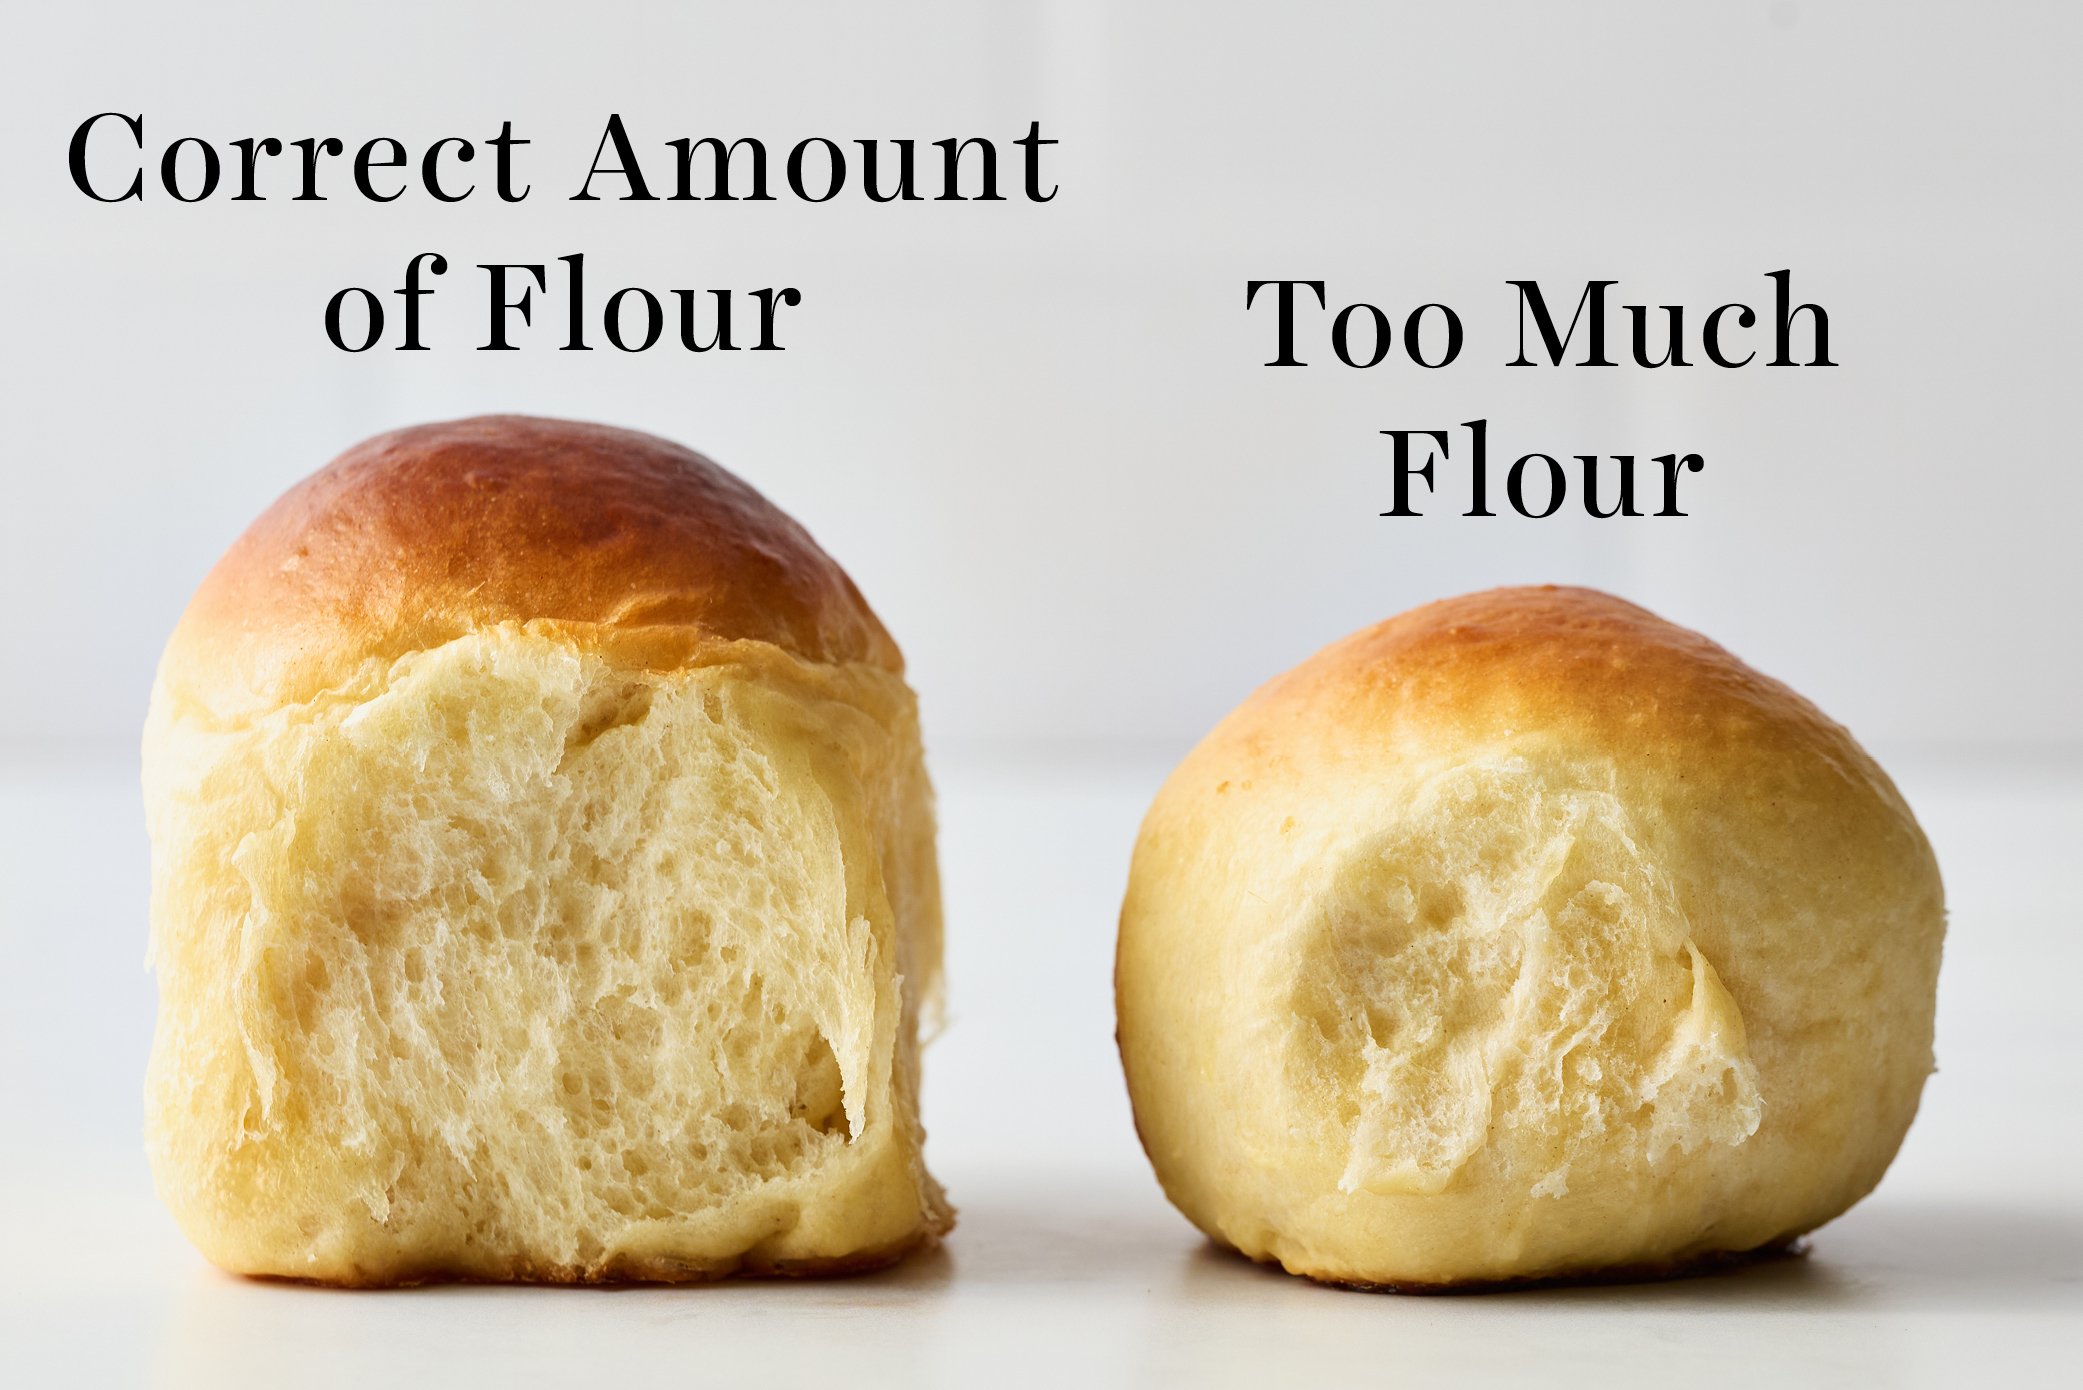
Since this dough is slightly sticky and enriched with milk, butter, and a lot of sugar, it takes quite a while to come together. These ingredients slow down gluten development.
Your instinct might be to add extra flour; however, any extra flour will create a denser, tougher bun instead of the light, fluffy bun you want. Resist the urge to add too much extra flour.
If your kitchen is humid, add more flour, 1-2 tablespoons at a time
Proofing Homemade Hawaiian Rolls Sliders
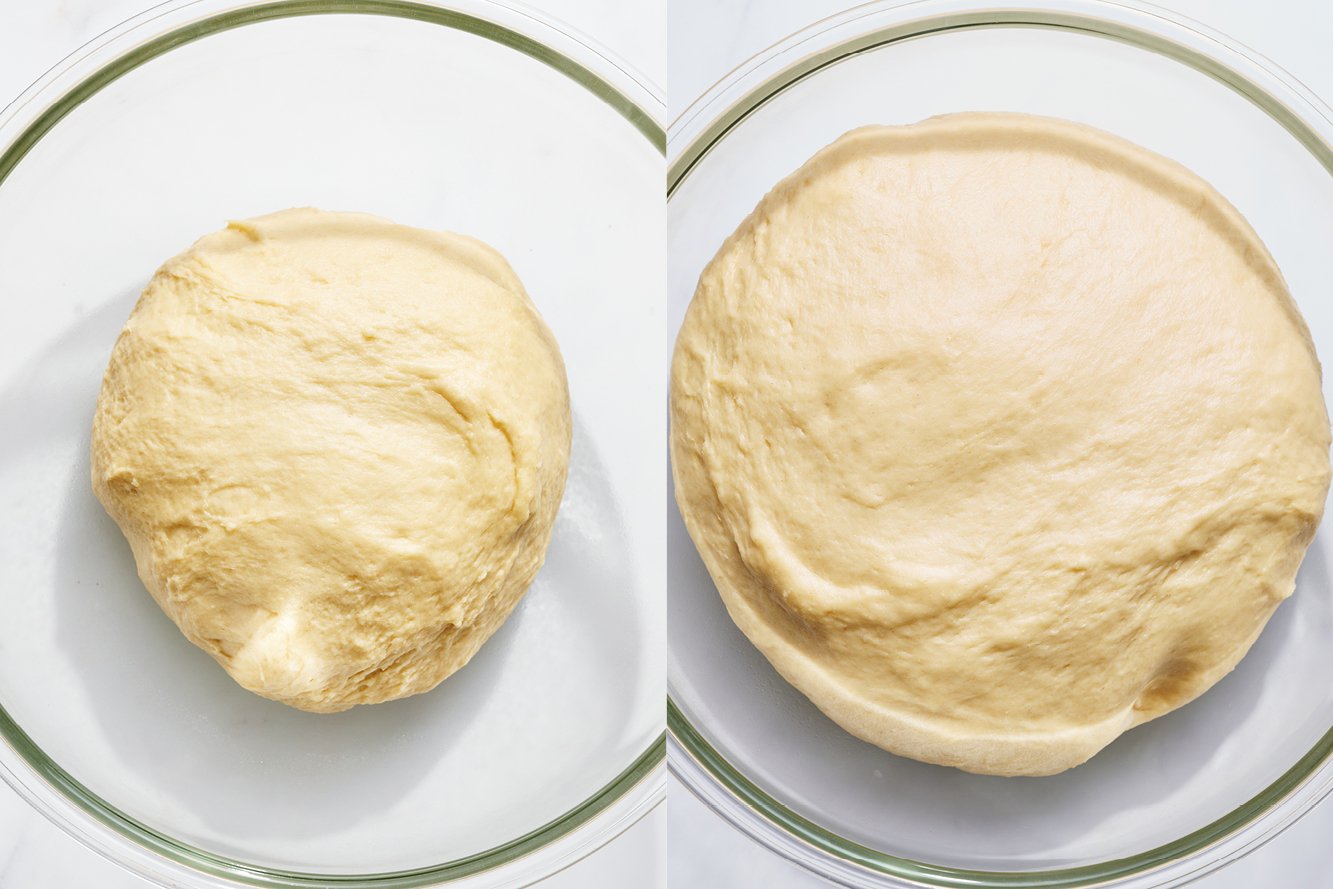
This dough will take some time to proof, especially if your kitchen is cold. The sugars, pineapple juice, eggs, and butter in this recipe add deliciousness but also slow the proofing process. The first rise will take about 90 minutes, and the second rise will take about 1 hour; however, these times are completely influenced by the temperature of the rising environment.
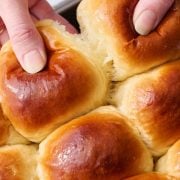
How to tell if your dough is proofed: Give it a gentle poke with your finger or knuckle. Bread dough that has proofed well will spring back slowly when poked and leave an indent. If it snaps back too quickly, it needs more time.
How to tell if your dough is overproofed: This can happen easily if your kitchen is very hot. If your rolls have over-proofed, they will likely deflate while egg washing, or look flat and deflated once baking. Over-proofed rolls may look a little sad, but they should still taste fine.
How to Shape Hawaiian Rolls
It’s important to properly shape your bread rolls for beautiful, tall, fluffy rolls.
- Once the dough has risen, press it down to deflate it slightly.
- Place the dough on a clean surface (not a floured surface). Use a bench scraper to section the dough into 15 equal pieces. Don’t worry if they’re not perfectly equal in size. However, if you’re a perfectionist, you can weigh the entire mass of dough, divide that number by 15, then portion each piece perfectly by weight.
- As you’re shaping each piece into a round, make sure to pinch the dough into one central point to create a tight ball. This will help the rolls rise beautifully. Don’t flour your work surface when shaping the rolls because you want some resistance to roll them into taut balls.
Do I Have to Use Bread Flour? Can I Use Just All-Purpose Flour Instead?
For best results, I firmly recommend sticking with both bread and all-purpose flour as written.
Using only all-purpose flour, the rolls I tested were way too dense, noticeably drier, and took significantly longer to knead and rise.
I also found that making the rolls with only bread flour yielded rolls that were too firm. The addition of a little all-purpose flour balances this out, making the rolls softer.
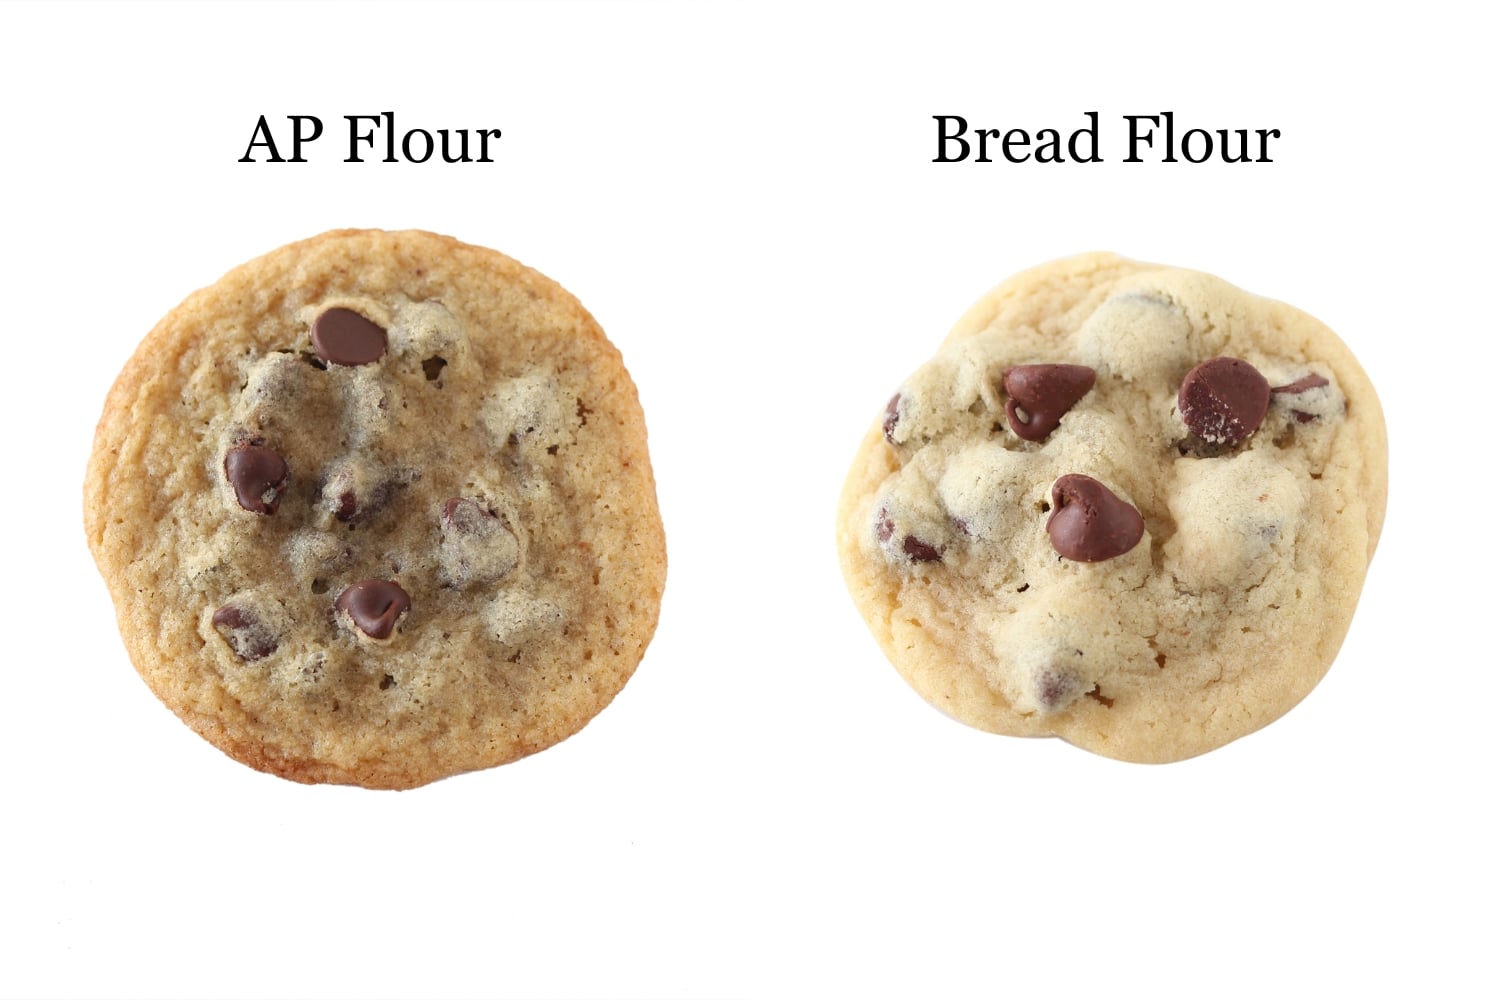
If you absolutely must use only all-purpose flour, just note that they’ll take much longer to knead, longer to proof, and they won’t be as soft and fluffy.
Storage & Make ahead
Room Temperature: These rolls will keep for 3 days in an airtight container, stored at room temperature. Refresh in a 300°F oven for 5 minutes, or pop in the microwave for 15-20 seconds, or until warm, before serving.
Freeze: Enriched yeast doughs can have issues rising properly if made ahead. Instead, I recommend freezing the fully baked rolls. Once cooled, place rolls inside an airtight container and freeze for up to 3 months. To thaw, leave at room temperature for a few hours. Reheat in a 400°F oven for 5-10 minutes, or pop in the microwave for 15-20 seconds, until warmed through, if desired.
FAQs
You may have seen Hawaiian Rolls at your local supermarket – but these homemade versions are SO much better! Hawaiian Rolls are distinctly sweet and ridiculously soft and light, perfect for making delicious mini sandwiches, breakfast sandwiches, sliders, and more. Your kids will go crazy for these rolls, too!
Probably… but it won’t be easy! Your KitchenAid stand mixer does all the hard work in kneading these Homemade Hawaiian Rolls. By hand, it’s going to take a lot of elbow grease, a long time, and give your arms and hands a heck of a workout. Learn how to knead dough by hand here.
These rolls are subtly sweet, but please don’t experiment with reducing the sugar (we’ve tested it!). It’s an essential part of this copycat recipe. The texture will dramatically worsen with a reduction in the sugar. Learn more about sugar’s role in baking here.
If you prefer a less sweet roll, try my Ultimate Dinner Rolls recipe instead.
Email This Recipe
Enter your email, and we’ll send it to your inbox.
Ingredients
- ½ cup (116 grams) canned pineapple juice1, at room temperature (do not use fresh juice, see notes)
- ½ cup (116 grams) whole milk, warmed, (100-110°F)
- 5 tablespoons (71 grams) unsalted butter, melted and slightly cooled to just warm (~85°F)
- 6 tablespoons (75 grams) granulated sugar
- 2 tablespoons (25 grams) light brown sugar
- 2 eggs, at room temperature
- 1 teaspoon vanilla extract
- 2 ¼ teaspoons (1 packet)
instant yeast2 - 4 cups + 1 tablespoon (516 grams) – 4 1/4 cups (540 grams) bread flour3, dependent on kitchen climate, see notes
- ¼ cup (32 grams) all-purpose flour
- 1 ½ teaspoons fine sea salt

For egg wash & finishing:
- 1 egg, lightly beaten
- 2 tablespoons water
- 1 tablespoon (14 grams) salted butter, melted
Instructions
- Combine the pineapple juice, milk, melted butter, sugars, 2 eggs, vanilla, and yeast in the bowl of a stand mixer. Add the all-purpose flour, plus 2 cups (286 grams) of the bread flour, and stir with a wooden spoon until the dough forms a rough, shaggy mass. Stir in the salt. Attach the dough hook to the mixer and turn to medium-low speed. Gradually add the remaining flour JUST until the dough comes together. You may only need some of the flour, depending on your kitchen environment and brand of flour. Continue kneading on medium-high speed for 4 to 5 minutes, until a soft and smooth ball of dough forms.
- Lightly grease or wet your hands and place the dough in a lightly greased medium-sized bowl. Cover with plastic wrap. Let rise until puffy and doubled in size, about 1 ½ hours4.
- Spray a 9×13-inch metal baking pan with cooking spray. Gently deflate the dough. Use a bench scraper or knife to divide the dough into 15 equal pieces. Shape each piece into a ball and place in the prepared pan.
- In a small bowl, combine the remaining egg with 2 tablespoons of water. Brush all over the rolls. Cover with plastic wrap and let rise again until doubled in size, about 1 hour**.
- Meanwhile, preheat the oven to 375°F.
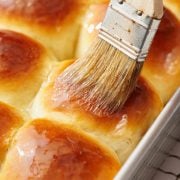
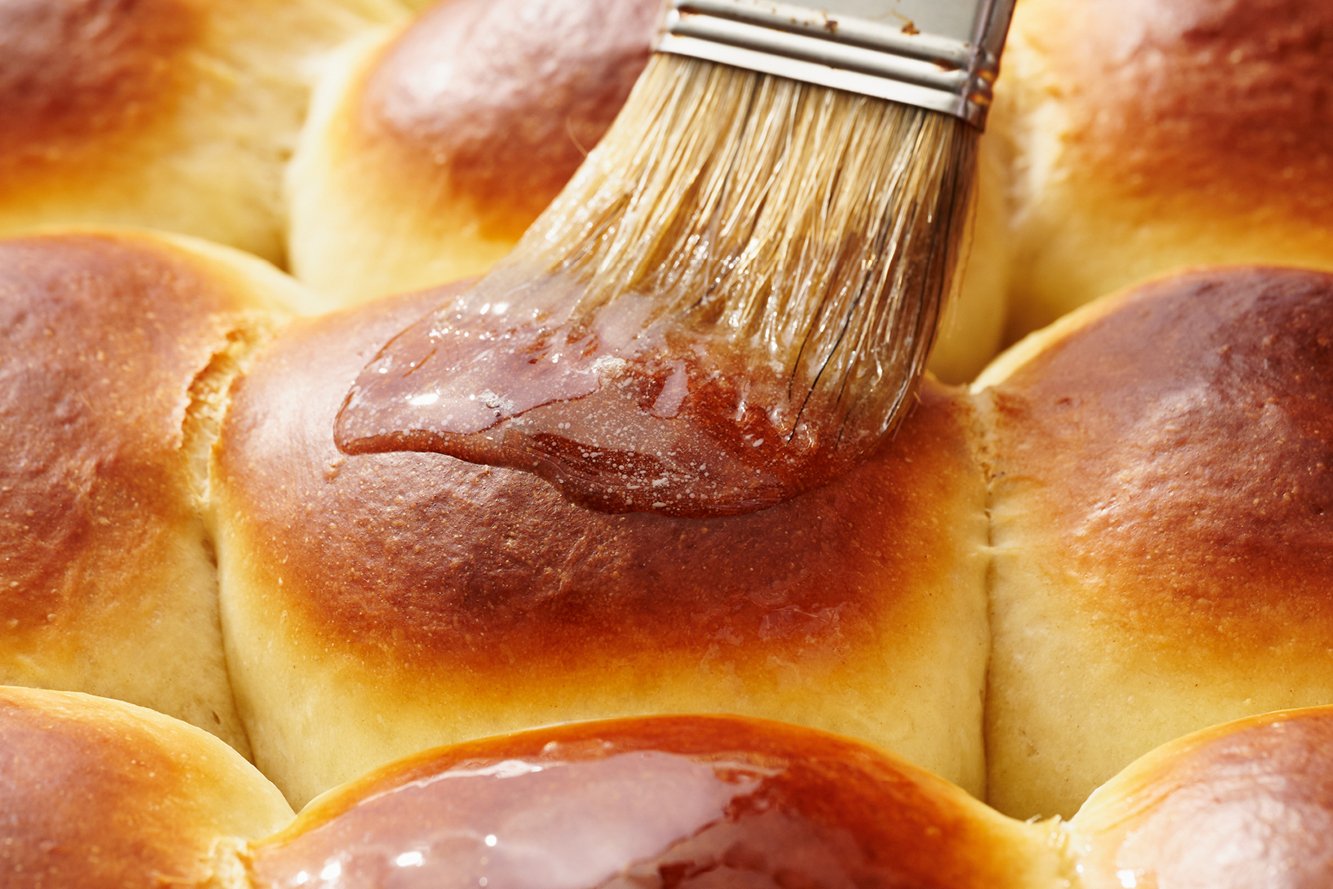
- Bake the rolls for 20 minutes, or until golden brown. Brush with melted butter. Serve warm. Store leftovers in an airtight container for up to 3 days.
Notes
More Bread Recipes You’ll Love:
- Ultimate Dinner Rolls (if you prefer a less sweet roll)
- Garlic Knot Rolls (drenched in garlic butter!)
- Copycat Olive Garden Breadsticks
- Burger Buns
- Focaccia Bread
- Pretzel Buns
- Salted Honey Butter Rolls
This post was originally published in 2014 and has been updated with additional tips, recipe improvements, and new photos. Photos by Joanie Simon.


I ended up needing to use about 5 cups of flour to get it to be dough but that could be because my homegrown eggs were kind of large. Other than that these came out delicious, fluffy and tasted just like the real thing only fresher and better! These will be on the menu for the holidays this year, thank you so much for a terrific and easy recipe!
I made these for dinner tonight, they are AMAZING!! So soft & fluffy, just a hint of sweetness! Major hit with everyone in my family, including my pickiest eater!!
would I be able to make this unto a loaf? would the rising and baking times change?
Hi Jordan! Unfortunately, we haven’t tried that, so we can’t say for sure. Let us know how it goes if you give that a try 🙂
I have made these rolls many times and they are great! With that said my husband requested that I make a loaf yesterday. I put the dough into a 9×5 pan and baked at 350 for 40 min. I did have to tent the loaf with aluminum foil the last 10 min. to keep the the top from browning too much and I did not use the egg wash for the top. It turned out very good.
This recipe is wonderful! Made it exactly as written and made hamburger buns instead of rolls. Perfection! Thank you for sharing!
Thrilled you enjoyed them, Sondra! Thanks for the comment!
hi, am I able to make this recipe then store it in the fridge to proof, and bake the following day?
Hi Aurora! Yes, Tessa has included instructions for this above the recipe 🙂 Let us know what you think once you’ve given these rolls a try!
I’ve made this recipe several times and it is perfect. The only think I did was to make 12 rolls insteal of 15 because my family wanted a little larger roll in the slider. Thanks so much for a great recipe.
I hope you don’t mind but I had a happy accident with these and modified the recipe slightly to make some to die for pretzel nuggets… The first time I made the rolls they came out closer to a pretzel roll than a dinner type roll… my own fault but I’ve since with the modifications been making the nuggets regularly and everyone loves them. Paired with a buttercream frosting dip I can’t make enough! The sweet and tangy flavor from the pineapple juice paired with the frosting just makes them impossible to resist.
Hi Paul! That sounds like a fun modification! Glad you’re enjoying it 🙂
Hi can I use the bread machine?
Hi Mary! We haven’t tried using a bread machine, but other readers have with success and left how they use it in the comments 🙂 Let us know what you think when you give this recipe a try!
I made this recipe today and the rolls turn out amazing!
Definitely I will make them again, and again……..
My question is: in case I don’t have pineapple juice at home, what I can substitute the pineapple juice with?
Hi Dorota! I’m sorry, we have not tried these rolls with anything other than pineapple juice, so I cannot say for sure! I’m glad you enjoyed what you made today! 🙂
I have made this recipe twice now. The buns good, but there is a problem with the recipe. Salt should not be added until the yeast has proofed. Adding salt before will prevent the yeast from activating and dough will not raise properly. Followed recipe first time. After 5 hours dough still had not raised. I don’t live in a high altitude area and I put dough in warm area of kitchen. This second time, I didn’t add salt until yeast had proofed and dough raised just fine. I will be making these again, just adding salt later.
Hi Jean! Thanks for the feedback! Tessa has actually discussed this matter with Red Star Yeast directly, and they let her know that the way their yeast is manufactured, it is able to withstand many more conditions than it once could. Basically, as long as the salt is added to the yeast alongside other ingredients (i.e. not just directly), the salt should not inhibit the yeast’s rising abilities. That being said, perhaps other yeast manufacturers’ yeasts do not have the same stability. We will be taking your feedback into account and editing the recipe with clearer instructions. Thank you again for your feedback here!
Hi!!
Made these hawaiian buns yesterday and it came out fantastic…..my daughter loves it!!
Just some points based on making this recipe:
1) The pineapple taste is not apparent…just a mild sweet taste….was hoping for a bit of pineapple flavour
2) I did use bread flour and the texture was nice and fluffy….added a little more water to bring the dough together since i did knead by hand.
3) the dough was a bit tough and didnt poof as much as other bread recipes i have tried so i was a little concerned but it came out perfect…so be warned! It also took longer to poof in both instances but was well worth it!
4) i did replace half cup of the flour with some whole wheat and the buns were still soft and delicious
Give it a try!! You might be pleasantly surprised
Hi Ray! So happy you enjoyed these rolls!! Thanks for sharing your findings and tips, too! Bread is a strange beast sometimes – it can rise so differently for everyone, or even differently for the same person two days in a row. It all depends on the environment in your kitchen at the time, and how warm and humid it is. I’m glad they came out well and you found them delicious! 🙂
can I sub pineapple juice for milk to make them little sweeter or is 1/2 c of juice sweet enough.
I am going to make this weekend.
tia. bags
Hi there! No, the milk is essential to this recipe, I wouldn’t suggest substituting pineapple juice instead. How did your rolls turn out?