


Tessa's Recipe Rundown
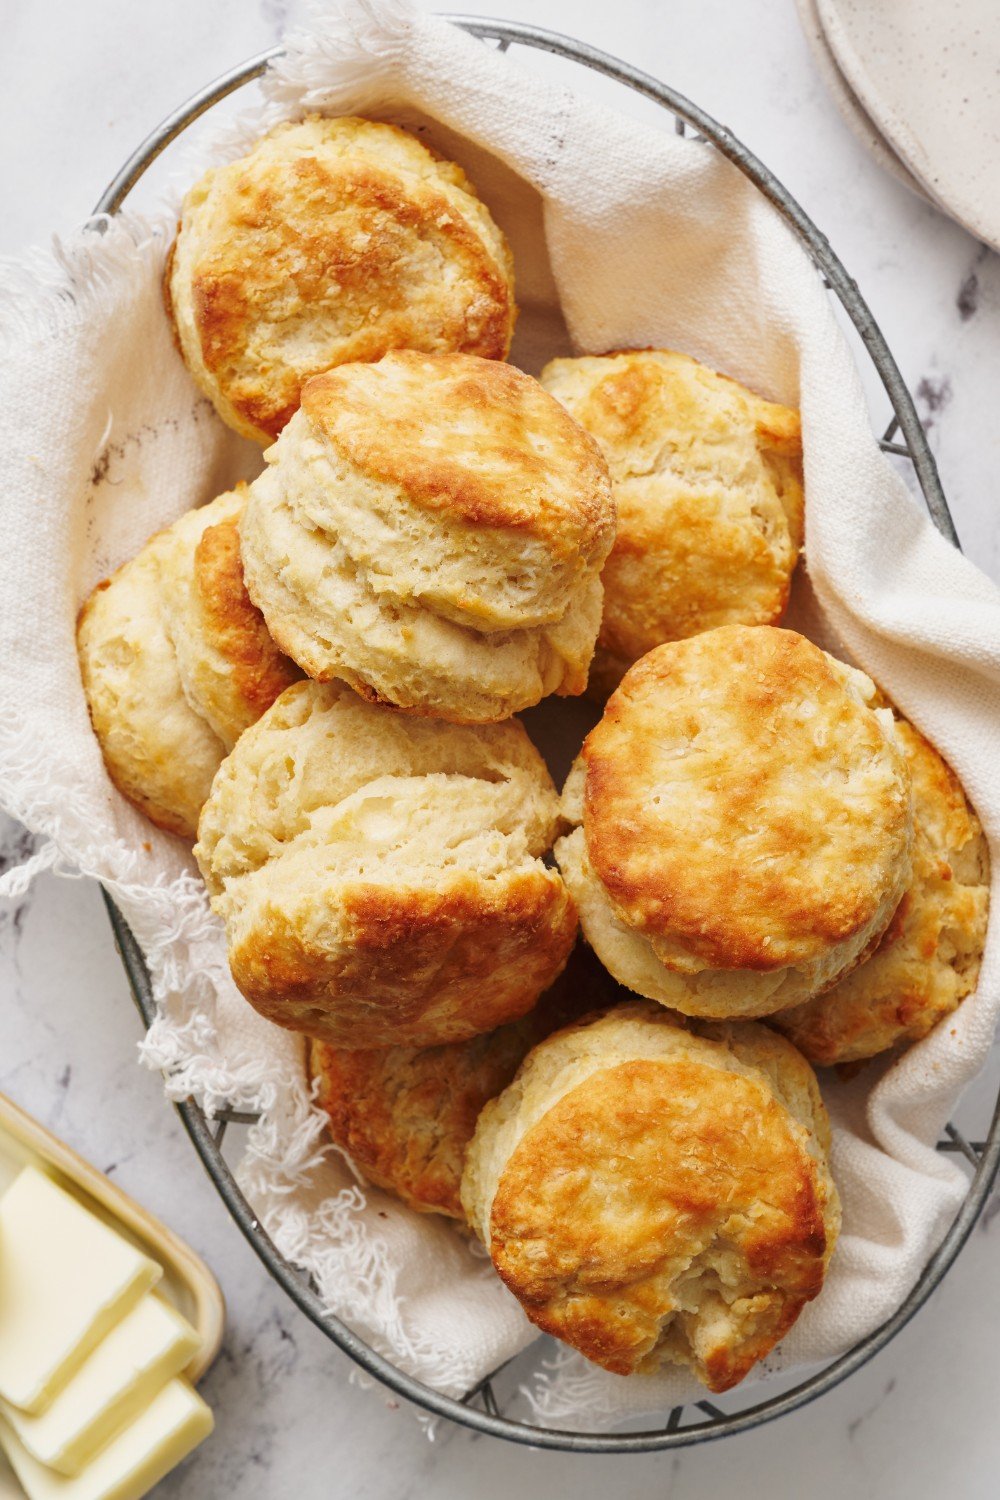
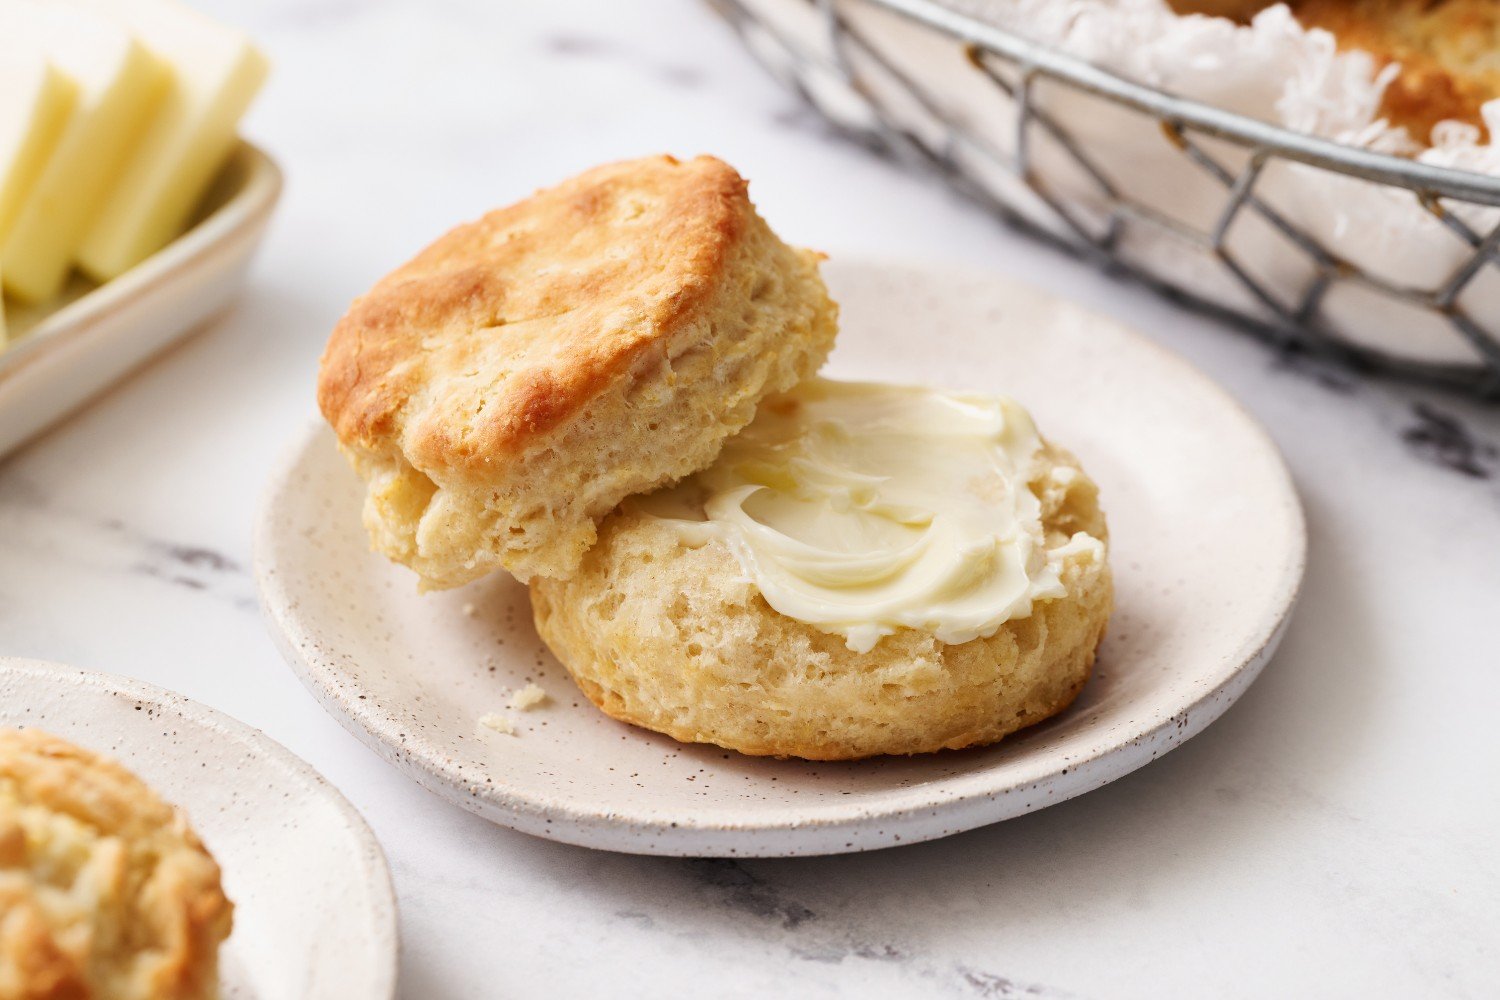
Taste: Buttery with a slight tang from the buttermilk – perfect for topping with jam, gravy, or honey.
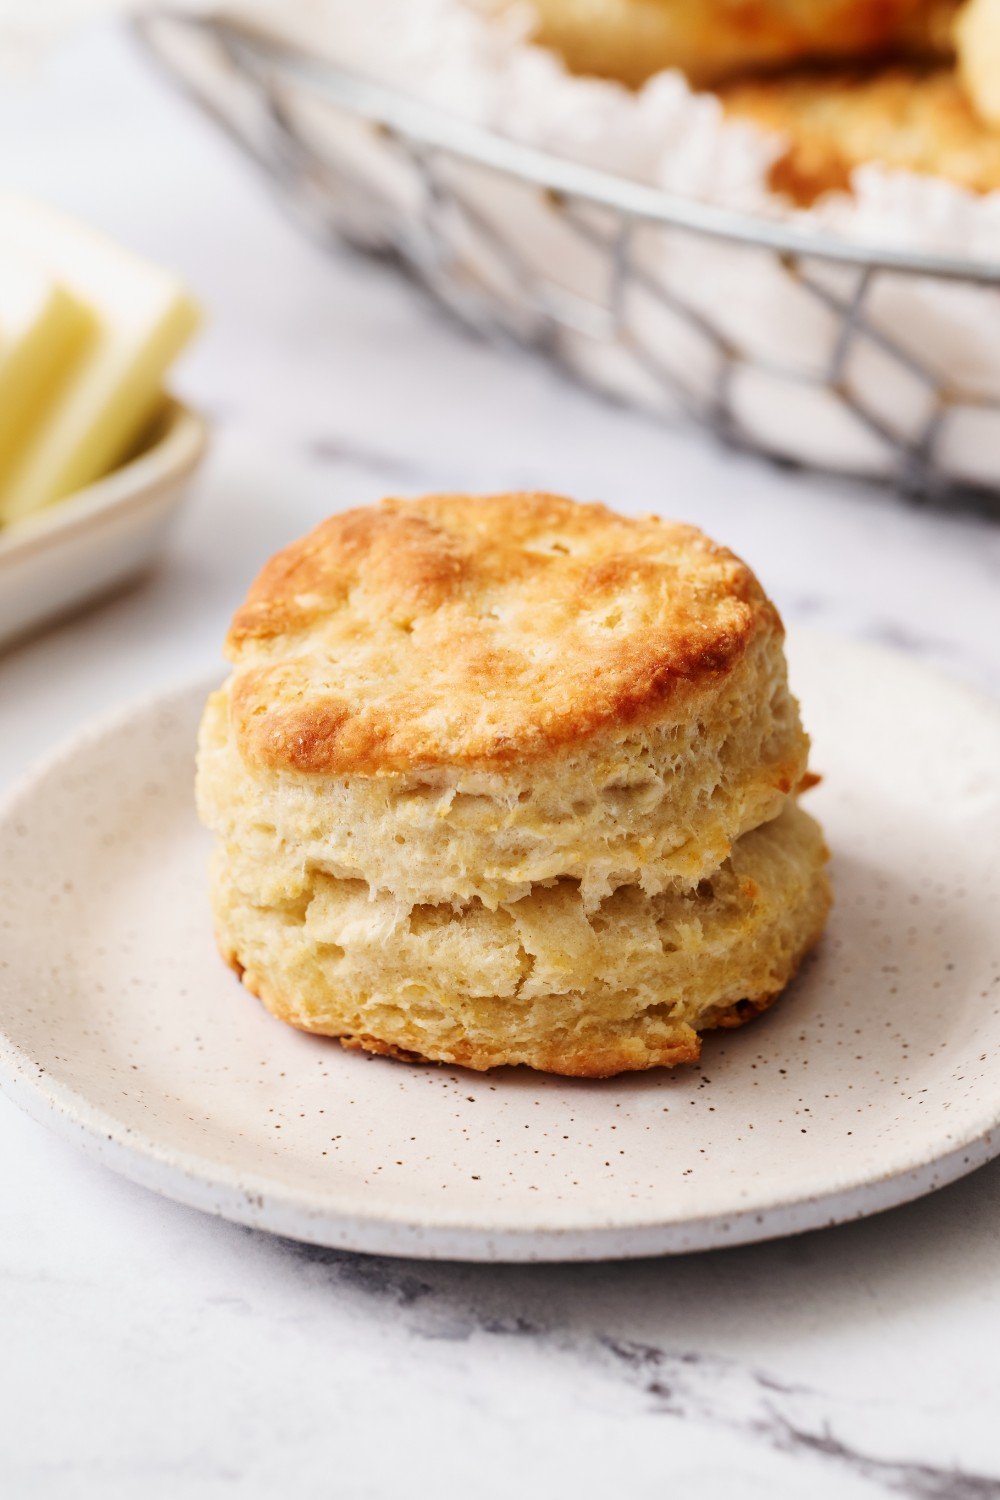
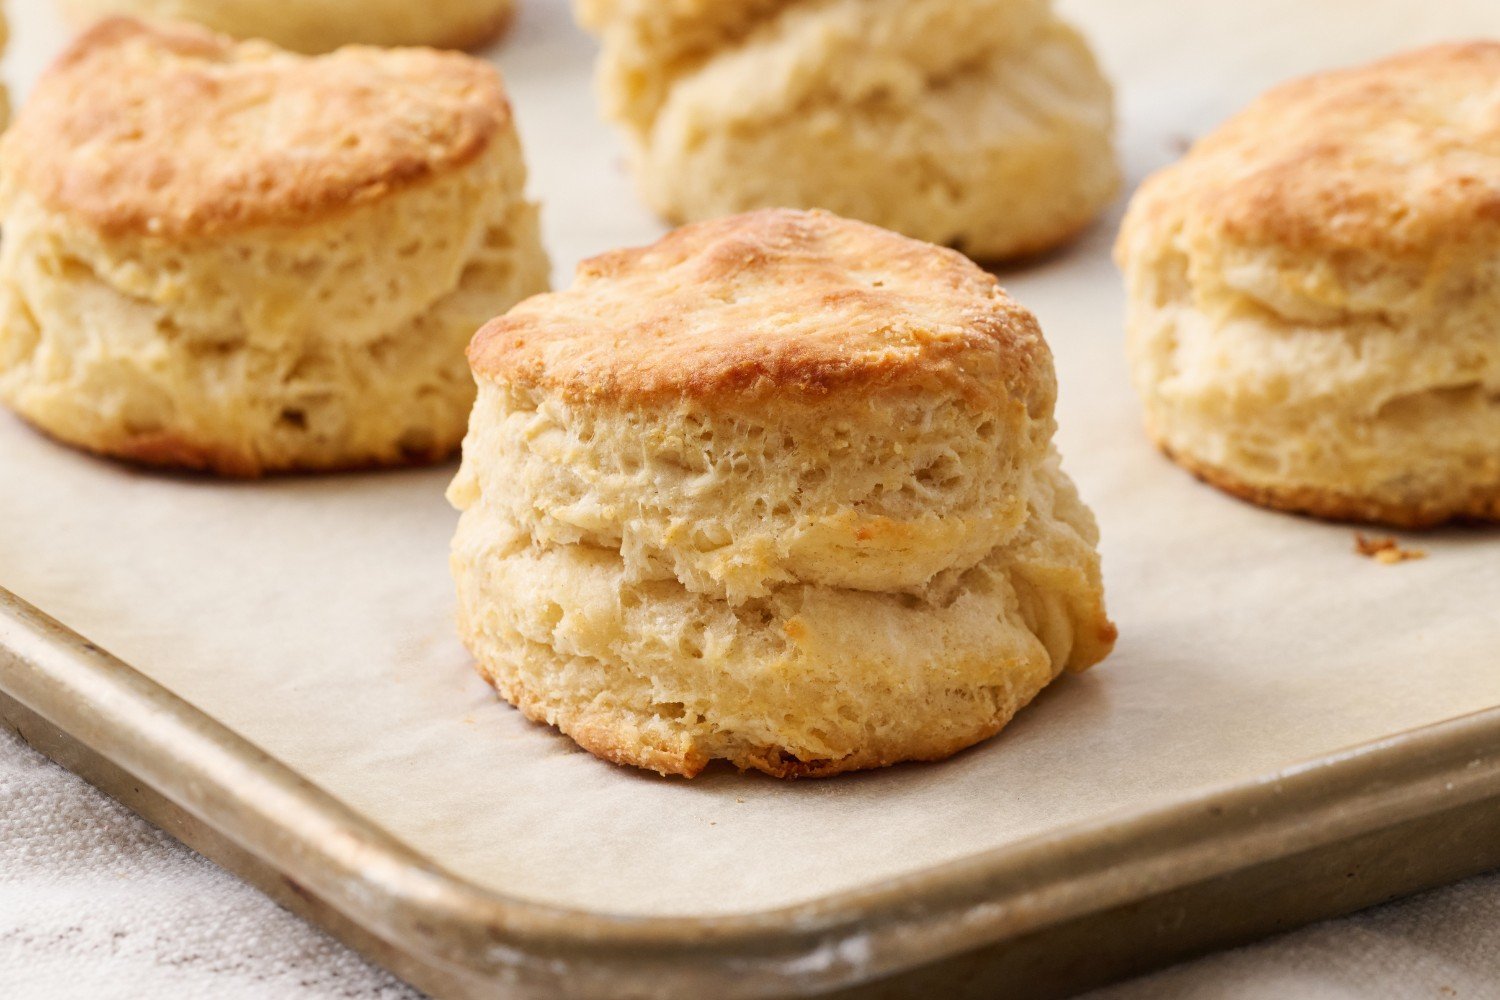
Texture: Crisp on the outside, light and fluffy on the inside, with super flaky buttery layers throughout.
Ease: So easy! I’ve included plenty of tips for tall, flaky biscuits below.
Why You’ll Love This Recipe: Quick comfort food that everyone adores.
This post may contain affiliate links. Read our disclosure policy.


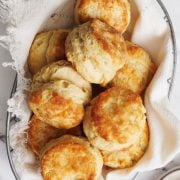

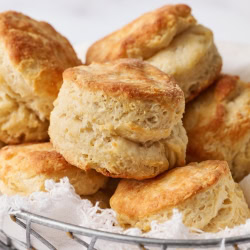
Perfectly tender, buttery Buttermilk Biscuits are one of those treats where you just can’t stop at one.
Homemade Biscuits are a must for Thanksgiving and Friendsgiving celebrations. They pair beautifully with my crowd-pleasing Sweet Potato Casserole, delicious Cheesy Green Bean Casserole with Bacon, and my favorite Soft Pretzel Stuffing. With sides this good, who even needs turkey?!
But biscuits aren’t just for Thanksgiving—they’re wonderfully versatile and can be served sweet or savory. Whether they’re part of breakfast (think sausage & gravy!), a midday snack, or a fun dinner side, the possibilities are endless!
This biscuit recipe has become a reader favorite. Just take a look at one of the many glowing 5-star reviews:
Reader Love
These were FANTASTIC!!! It’s DEFINITELY a keeper recipe!! Thank you so much for all the extras that you included, i.e. the “laminating”, which I’ve not heard of!! They were SO TALL and YUMMY!!!!!!!
–
Serve these warm, homemade biscuits slathered with jam for breakfast, alongside a cozy dinner, or as the ultimate Christmas or Thanksgiving side dish. Your friends and family will adore them!

Sprinkle of Science
How to Make Perfect Buttermilk Biscuits
Do I Have to Use Buttermilk in Biscuits?
For the very best flavor and texture, yes, I highly recommend using real buttermilk. After much testing using buttermilk substitutes and alternatives, I find that nothing quite compares to the tangy taste and thick texture of real buttermilk.
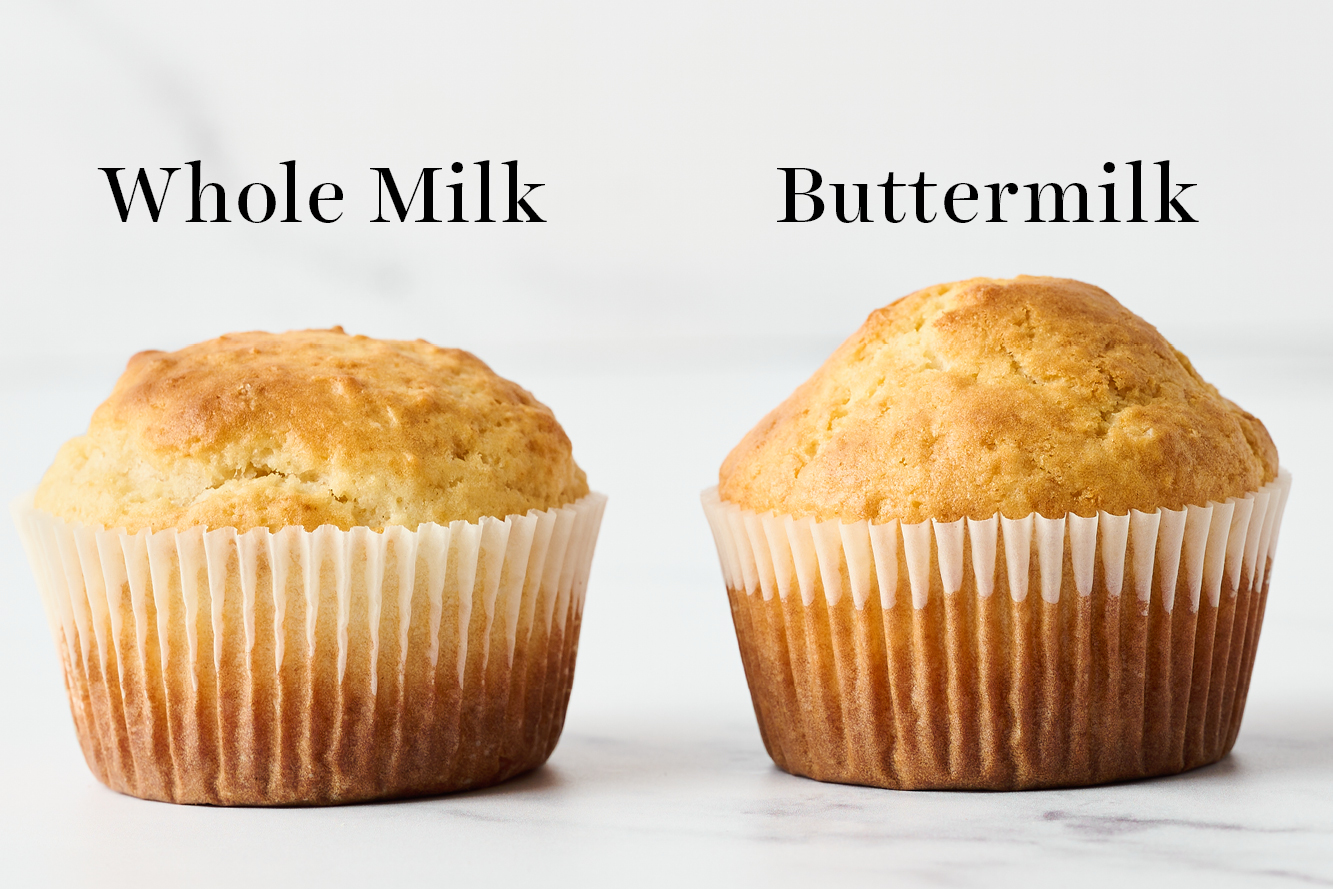
See my side-by-side experiments and read about the science of baking with buttermilk here.
Help – I Don’t Have Buttermilk!
If you can’t use real buttermilk, use 1 scant cup whole milk + 2 teaspoons distilled vinegar or lemon juice – just note that this will change the flavor and texture of the biscuits.
If you’re using this substitute, I recommend adding some mix-ins to the dough, such as shredded cheese, diced jalapeño, garlic powder, green onion, or everything bagel seasoning, to enhance the flavor of your biscuits.
How to Make Tender Biscuits
Be super gentle with the dough. I usually make biscuits by hand with a pastry cutter because you’re less likely to overwork the dough. I’ve also included instructions for using a food processor if that’s your preferred method.
I like my biscuits to be slightly crunchy on the outside and tender and fluffy on the inside, which is what this recipe produces. If you prefer very tender biscuits, use a southern-style flour such as White Lily, which has a lower percentage of protein. If you can’t find that, you can combine all-purpose flour with pastry flour for a similar result.
Whichever flour you use, make sure to measure your flour correctly. Too much flour will result in dense, dry, and tough biscuits.
Butter or Shortening for Biscuits?
I’ve also done side-by-side testing with biscuits made with butter vs. shortening and found I much prefer the taste and texture when using only butter. However, biscuits made with shortening create a more traditional Southern-style texture. Feel free to use half cold shortening and half cold butter for the best of both worlds.
How to Make Tall Buttermilk Biscuits
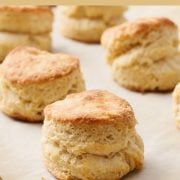
- Tall biscuits require tall dough: The dough should be 1 inch in height. You could even pat the Buttermilk Biscuits dough out to 1 1/4 inches for mile-high biscuits – but note you’ll end up with fewer biscuits.
- Use a metal biscuit cutter: You want to create sharp edges when you shape the biscuit dough so nothing prevents the biscuits from rising. A round cookie cutter also works.
- Do NOT twist the biscuit cutter as you shape the dough, as this seals the edges and prevents the biscuits from rising as nicely.
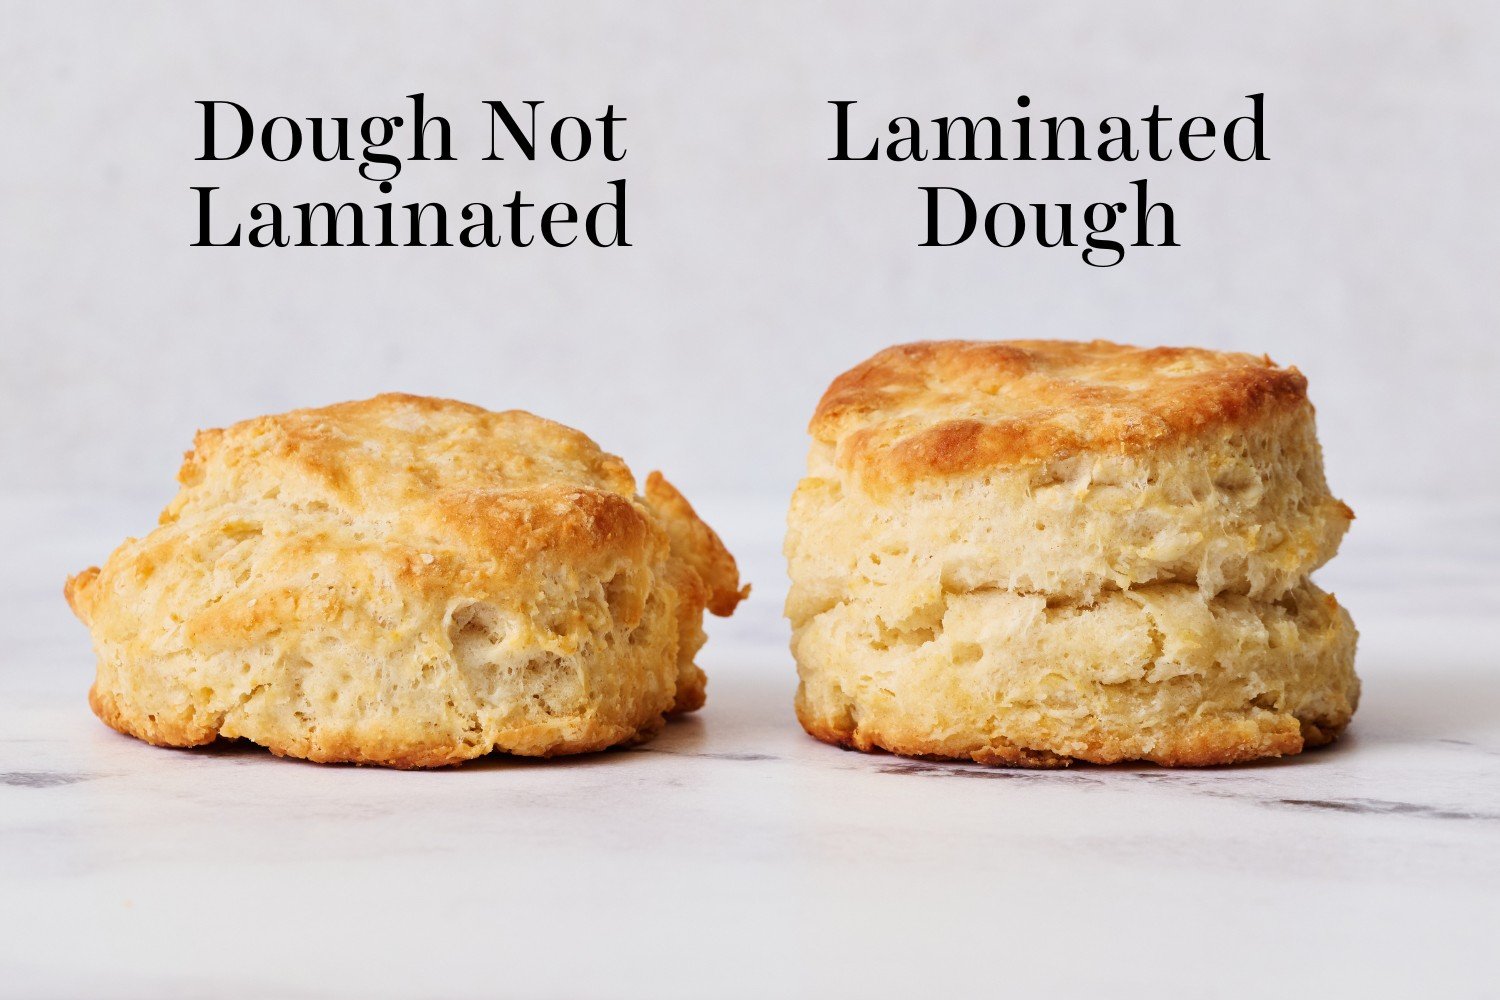
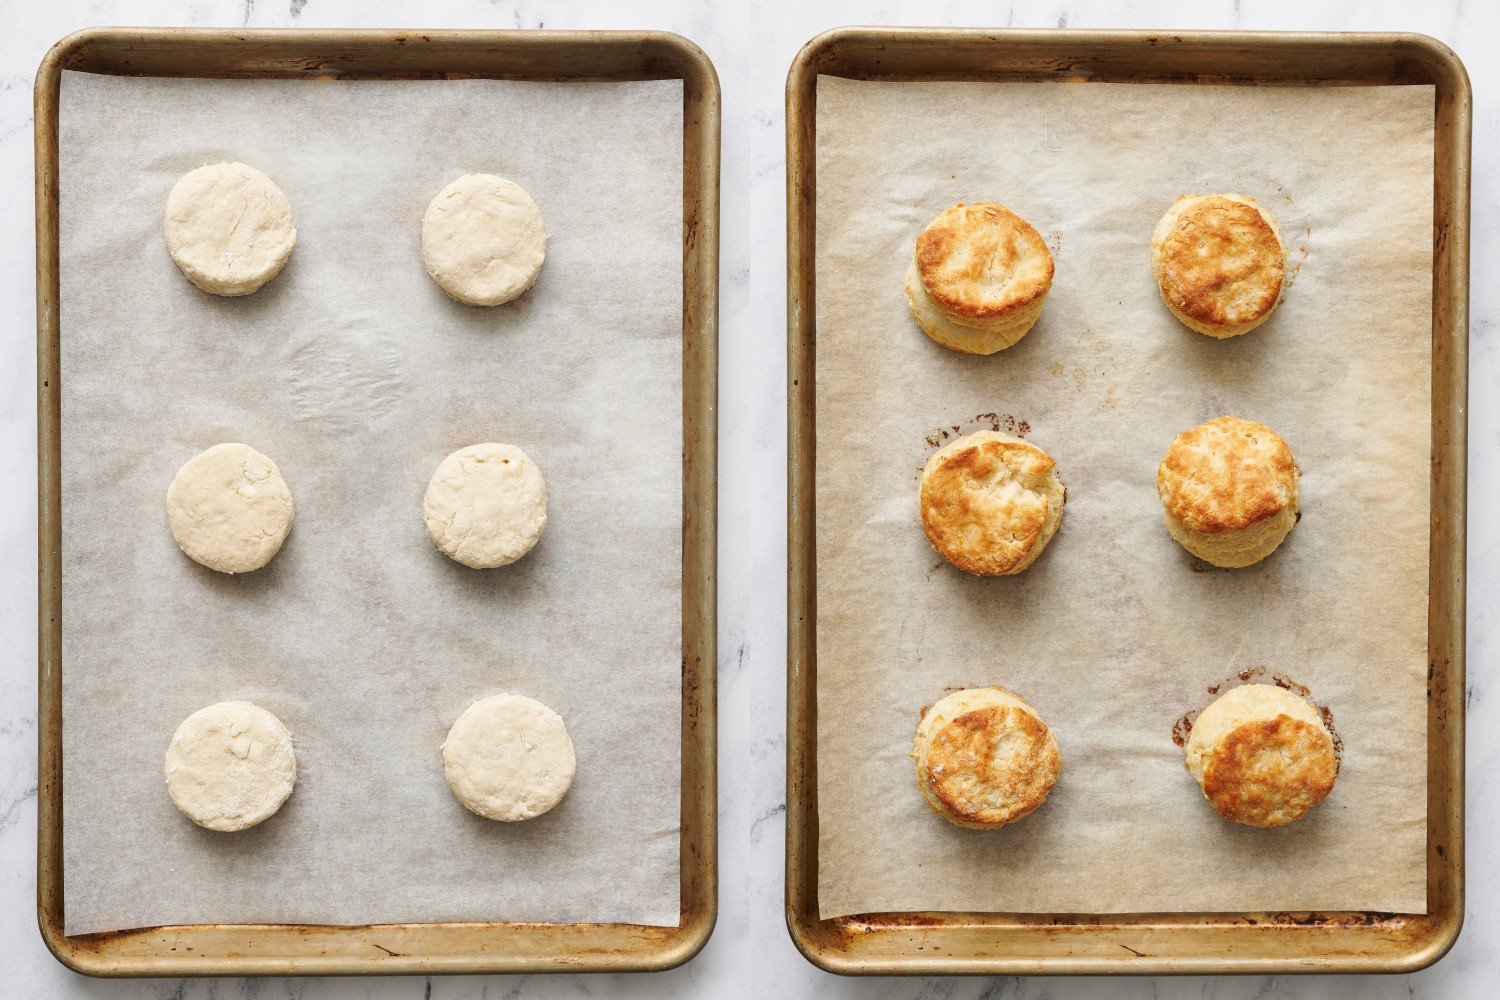
- Lamination: The most important step in creating tall biscuits is to “laminate” the dough. Take a look at the picture below to see the difference in laminating your dough makes. Check out my How to Make Tall Scones & Biscuits article for even more tricks.
How to Laminate Biscuit Dough
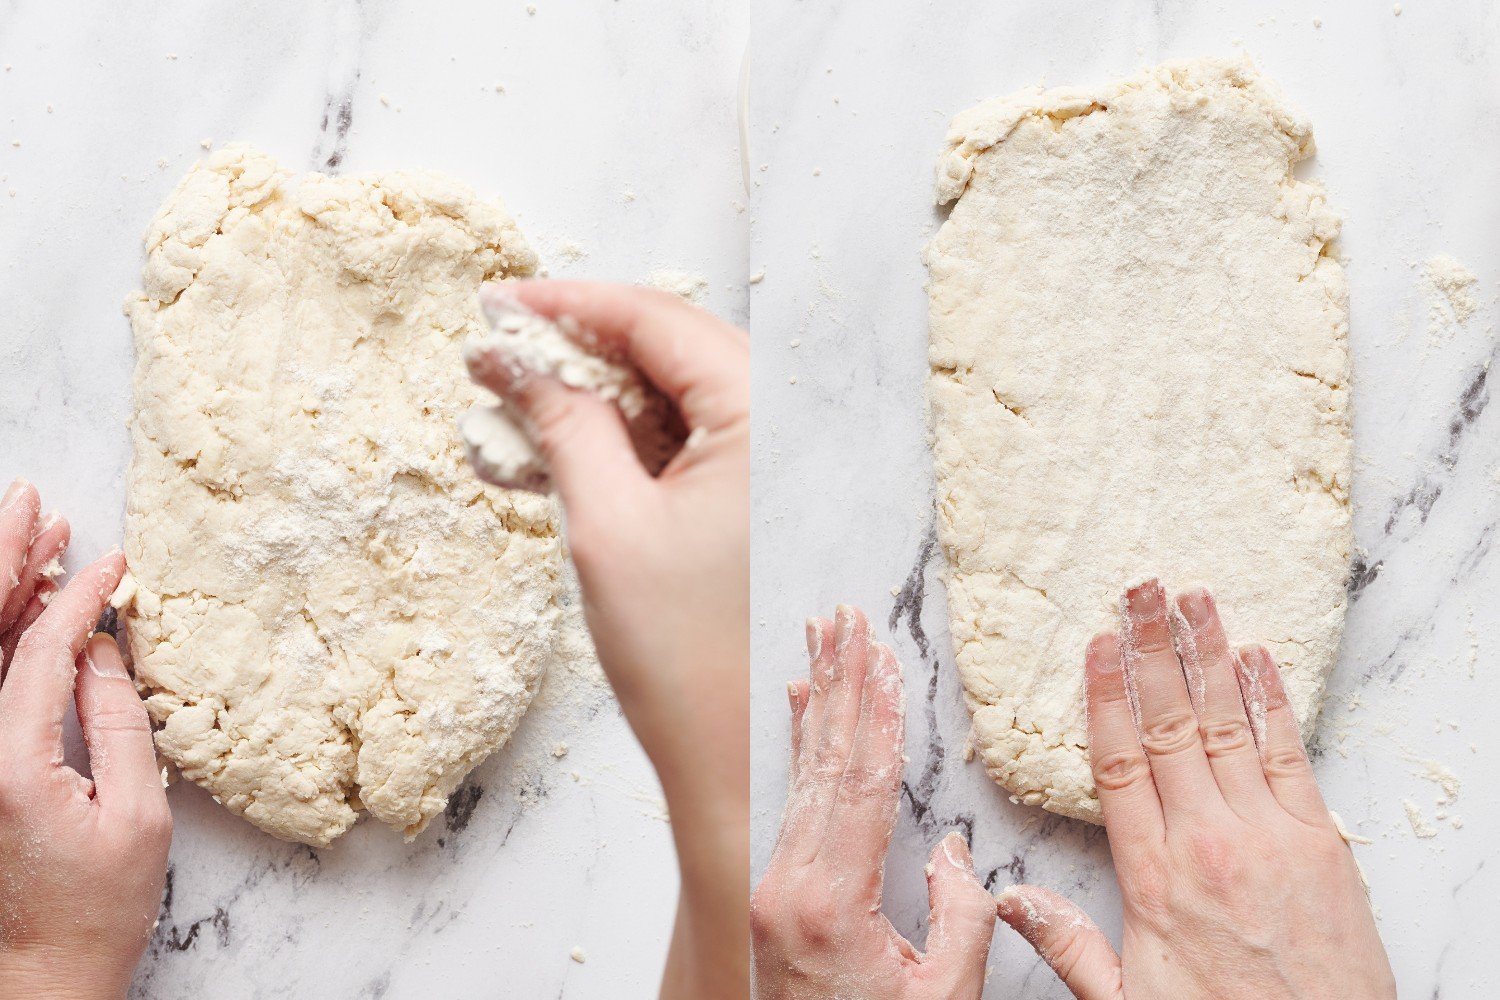
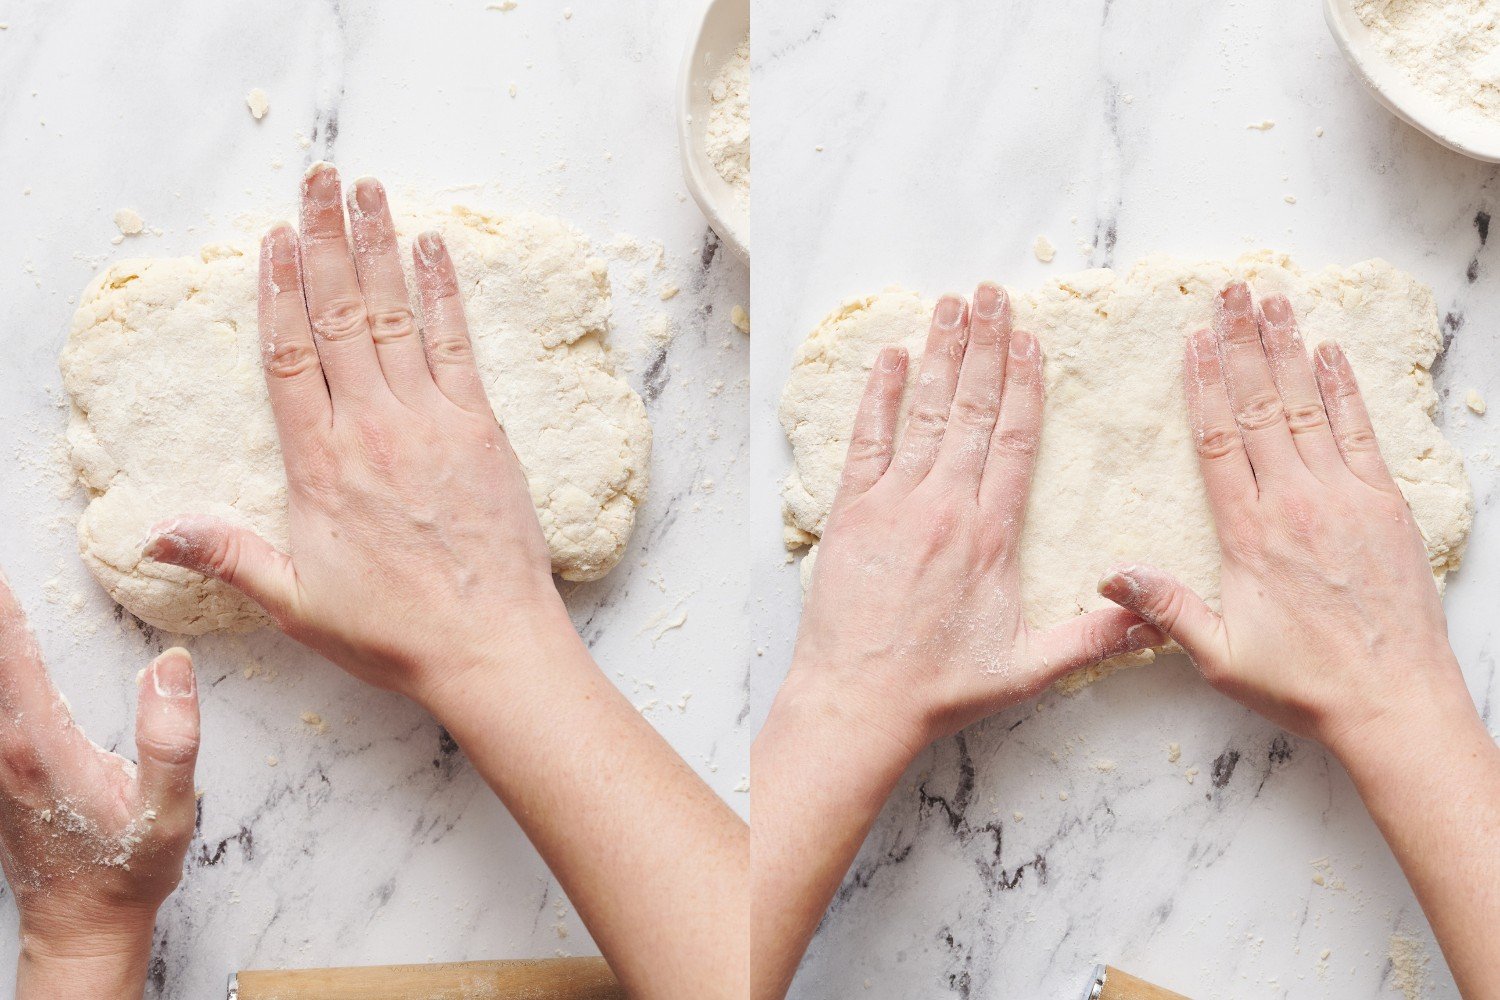
1. Turn the dough out onto a floured surface and dust the dough with flour. I like to use a powdered sugar shaker to dust a little flour without using too much. Gently pat the dough out into a 1/2-inch thick rectangle using your hands (no rolling pin needed!).
2. Fold the dough into thirds like a letter. Don’t worry if it’s not perfect. Be quick and gentle with the dough, and only use as much flour as necessary to prevent it from sticking. Adding too much flour will create dense, tough biscuits.

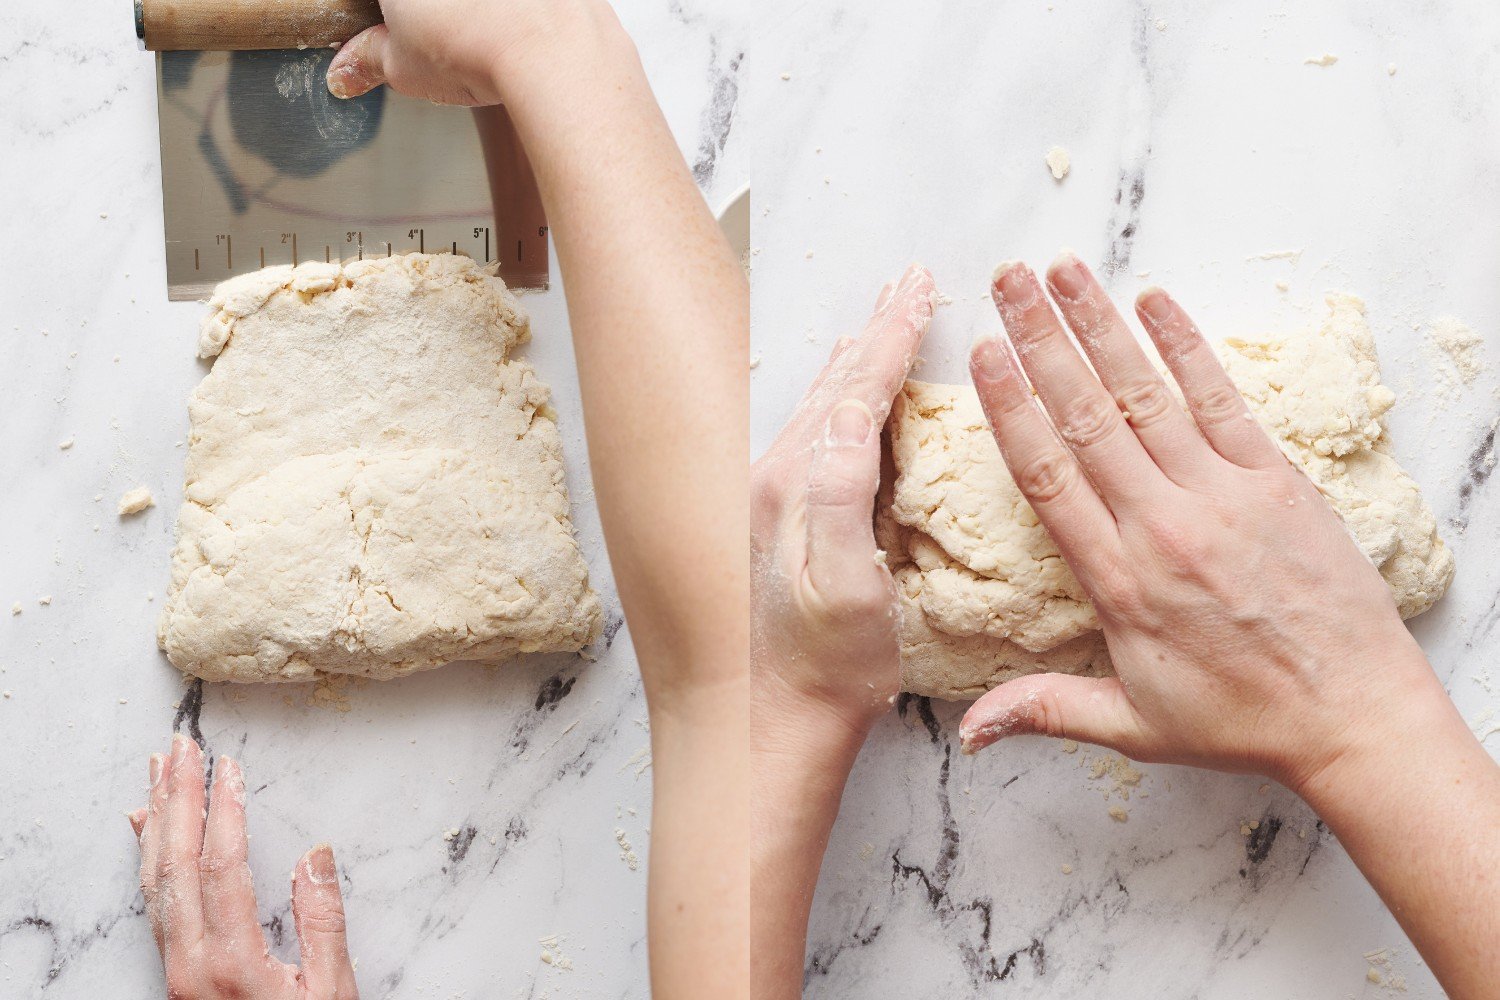
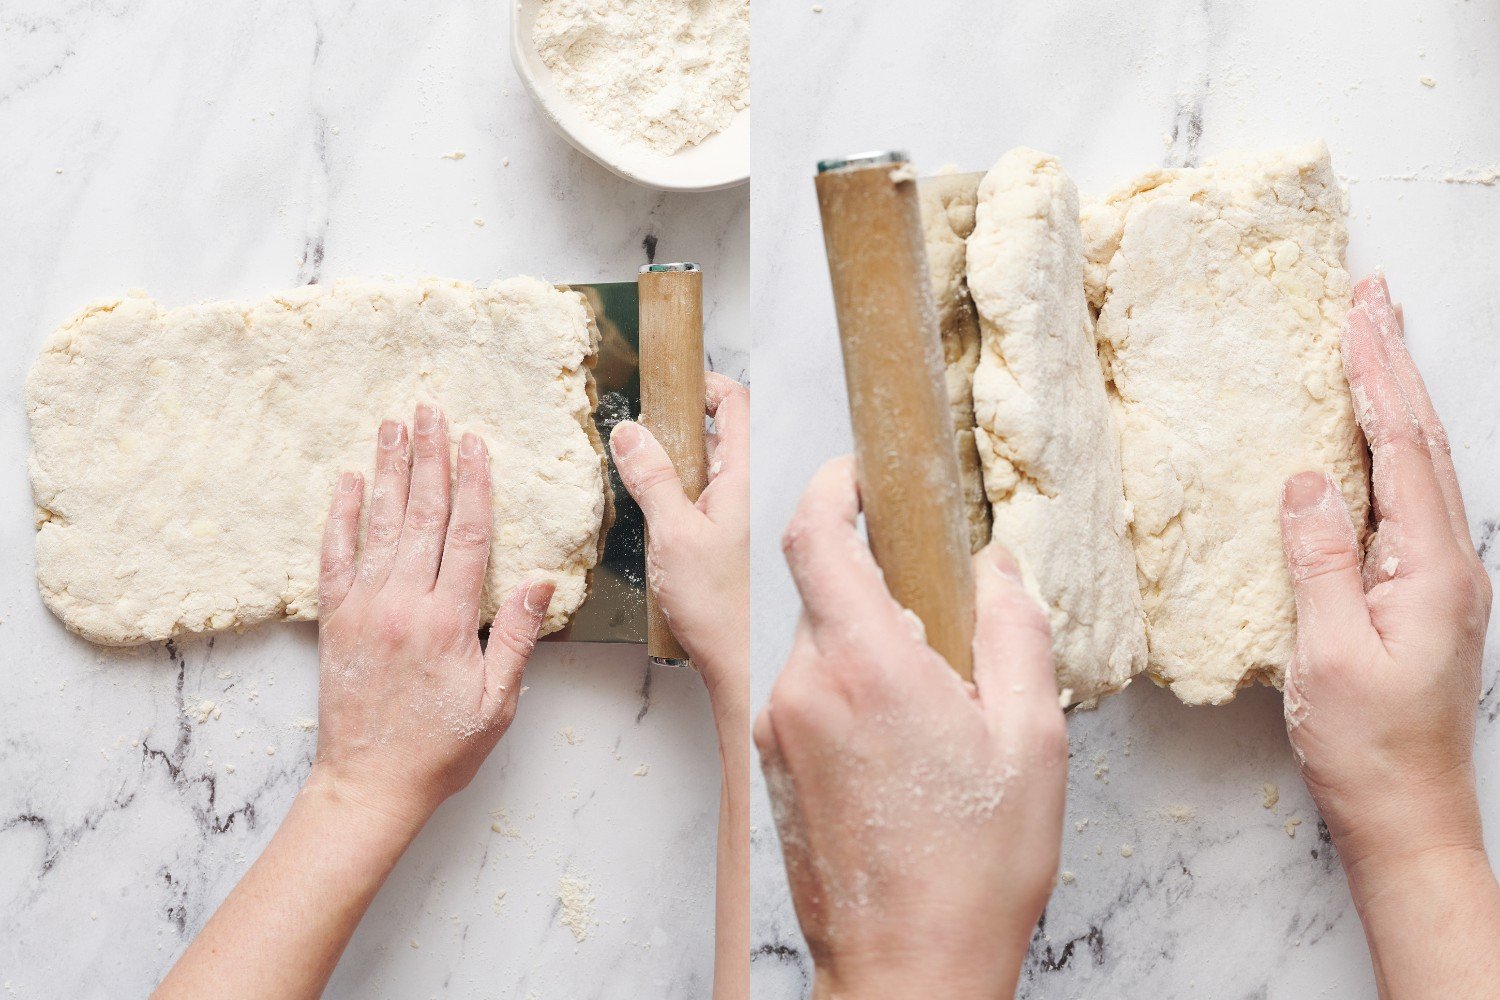
3. Repeat this process two more times, rotating the dough 90 degrees before each fold. Use a bench scraper to easily move the dough. This process creates layers of butter similar to a croissant, so the biscuit bakes up tall and super flaky!
Baking Buttermilk Biscuits
- Keep the butter cold. Pop the tray of shaped biscuits in the freezer while your oven preheats. This keeps the butter extra cold. When the biscuits hit the heat of the oven, the steam from the water in the butter creates those tall, flaky layers.
- Ensure your oven is fully preheated before baking. This helps the biscuits rise tall. If you don’t have an oven thermometer to be certain, wait at least 10 minutes after your oven tells you it’s preheated. Learn more oven tips for baking here.
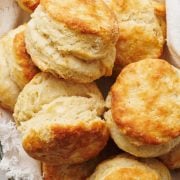
- Baking preferences: I prefer my biscuits to develop a golden crust, but some people prefer their biscuits to be paler and tender without a crisp crust, so adjust the baking time to suit your preferences.
Can I Double This Recipe?
Sure – simply double all ingredients in the biscuit recipe below and follow the instructions. No modifications are needed to make about 16 to 20 biscuits.
How to Store Biscuits?
Since Buttermilk Biscuits are best served the day they’re baked, use the make-ahead instructions just below to prep biscuits ahead of time.
How to Make Biscuits Ahead of Time | How to Freeze Biscuits
To freeze before baking: Place the unbaked, shaped biscuits on a parchment-lined baking sheet and freeze until solid. Transfer to an airtight container and freeze for up to 2 months. Bake as directed in the recipe below, adding a few minutes to the baking time, or until golden brown.
To freeze after baking: Freeze baked biscuits in an airtight container for 1-2 months. Simply thaw to room temp, then reheat in the microwave or the oven at 300°F until warmed through.
Email This Recipe
Enter your email, and we’ll send it to your inbox.
Ingredients
- 2 cups (254 grams) all-purpose flour, plus more for dusting
- 2 teaspoons granulated sugar
- 1 tablespoon baking powder
- 1/4 teaspoon baking soda
- 1 teaspoon fine sea salt
- 6 tablespoons (85 grams) very cold unsalted butter, cut into small cubes
- 1 cup (237 grams) buttermilk, chilled


Instructions
- In a large bowl, combine the flour, sugar, baking powder, baking soda, and salt. Using your fingertips or a pastry blender, cut the butter into the flour mixture until it resembles coarse meal. You can also do this in a food processor. The faster you do this, the better, as you want the butter to remain cold. Stir in the buttermilk until just combined. DO NOT overmix. The dough will be sticky.
- Turn the dough out onto a floured surface and dust the dough with flour. Gently pat the dough out into a 1/2-inch thick rectangle. Fold the dough into thirds like a letter. Repeat this two more times, rotating the dough 90 degrees before each fold.
- Pat the dough out into a final 1-inch thickness. If at any point the dough becomes too warm, pop it in the fridge until it’s firmed up slightly.
- Use a sharp 2-inch round metal biscuit cutter to push straight down through the dough to cut out circles. Don't twist the biscuit cutter, as this seals the edges and prevents the biscuits from rising as nicely. If you don’t have a sharp cutter, use a knife and cut squares instead.
- Place the biscuits on a parchment-lined baking sheet, spacing 2 inches apart. Reform the scrap dough into 1-inch thickness, being sure to work with it as little as possible, before cutting out more circles.
- Freeze the uncooked biscuits while you preheat the oven to 450°F.
- Make-Ahead Instructions: At this point, the unbaked biscuits can be frozen and stored in an airtight container in the freezer until ready to bake. Bake straight from the freezer, adding a couple minutes to the baking time.
- Bake the biscuits until golden brown, about 12 to 15 minutes.* Biscuits are best served the day they're baked.
Notes
This post was originally published in 2014 and recently updated with recipe changes and improvements and new photos. Photos by Joanie Simon.


Flaky, tender biscuits!! Will make again!
A bit challenging to bring dough together once I added the buttermilk. Didn’t want to work it too much.
Only two of the 8 biscuits browned nicely because I put them in a springform pan that was too deep. However, they all tasted great!
So happy you enjoyed this recipe!
I made these tonight to go with chicken pot pie soup and my husband said, these are the best biscuits I’ve ever had
Already planning on making them again this week for a friend!
That sounds like the ultimate cozy meal, yum!! So happy your husband loved these biscuits!
These biscuits are so good and easy to make. They get requested so much. My friends love them. The hardest thing is deciding what to put on them. Easy and delicious!! I make them at least once a week. Checking out your website for other recipes after this recipe is one of my favorites.
So happy you love this recipe so much! Thanks so much for taking the time to comment 🙂
Turned out great! Did substitute buttermilk with cup of milk and a tablespoon of vinegar!
Turned out fabulous, your directions are easy to follow and spot on, Thank You.
Happy I’m wearing elastic waste band pants.
haha! So happy to hear you love these biscuits, Theresa! Thanks for the comment 🙂
Love it !!
I love how these biscuits taste! They are wonderful and so fluffy. Unfortunately, every time I have made them, the bottoms are burned. I’ve tried reducing the time and reducing the temp. None of the things that I try have made the perfect finish. Thanks for the recipe.
Lucinda, what kind of baking pan are you baking them on, is it light or dark colored? Are you baking them on the middle rack? You could try using parchment paper to see if it’d help with your browning. The bottoms do get more brown than the rest of the biscuit, but they shouldn’t burn!
I’ve been baking for over 40 years. This is by far, the best biscuit recipe I’ve ever made.
What an honor, Karen! I’m absolutely thrilled to hear this!! 🙂
I’ve been wanting to make these for months and just did this morning. Oh my gosh. SO good!!! They were so light and fluffy! I added strawberry butter to mine and it was heavenly. My husband is a picky biscuit eater and he declared “they were the best!” You never fail me with your recipes! I know anything I make is going to be great. Now off to make your bakery style chocolate chip cookies! Yummm!
omg strawberry butter SOUNDS heavenly! I’m so happy to hear your biscuits were such a hit! Thank you for your sweet comment 🙂
Hi! I made this and they are delicious! They weren’t very tall though, I think the dough wasn’t tall enough when I cut them, so I will try again. Also, I cooked them on a cookie sheet with parchment. Is this ok or do you recommend cooking them on a plain greased or ungreased cookie sheet? Thanks!!!
Hi I am just wondering because this always confuses me. If there is baking soda in the mix does it have to be used straight away as it is activated once the liquid is added? I would really appreciate some advice!
Hi Caroline, yes, once baking soda has been activated, it begins to leaven as soon as it touches liquid/acid (I talk about that in this article) so if you wait too long before baking, you may notice a decrease in leavening effect. Definitely no refrigerating overnight with this specific recipe; however, I did not notice a change in freezing the biscuits, so no problems with rise or texture. It definitely makes planning meals ahead much easier!
Hi Tessa, I made these biscuits this morning and they were yummy. Last night I measured and stirred the dry ingredients in a bowl. Then I cut the butter into small cubes and added it to the bowl. I covered it with plastic wrap and put it in the fridge overnight. This morning I preheated my oven, cut the butter into the dry ingredients, added not quite all of the buttermilk and proceeded as the recipe stated. So easy and they turned out great! I made them square. Next time, and there definitely will be a next time, I will do the same thing but I will also cut the butter into the dry. Saves so much time then in the morning add buttermilk and proceed with the folding and baking. Thanks so much for this recipe, it will be my go to for biscuits!!
So happy you tried this recipe out!