Tessa’s Recipe Rundown
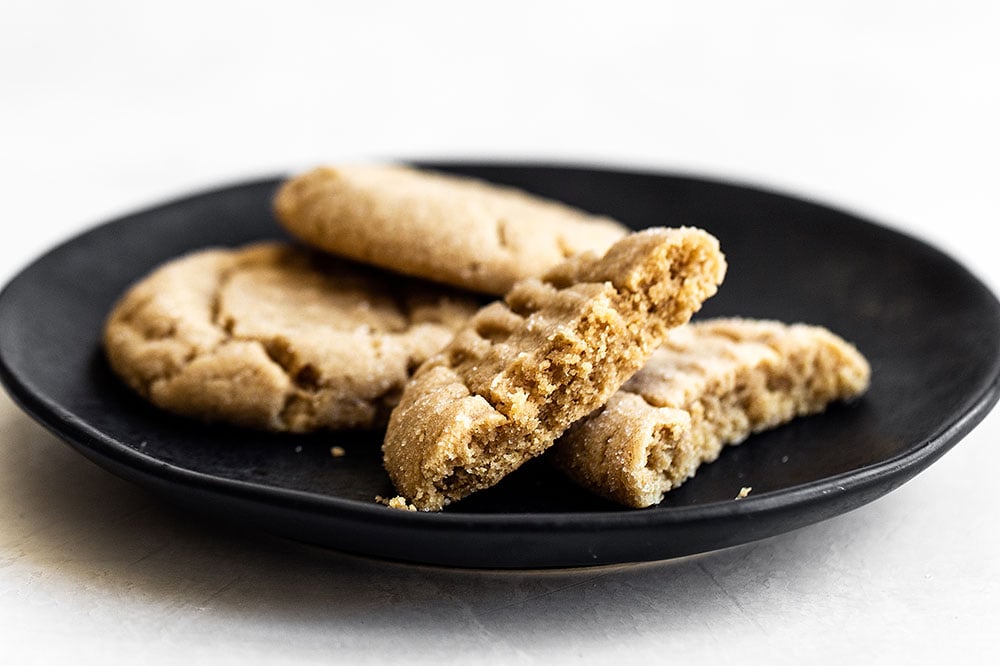
Taste: Ultra peanut buttery and perfectly sweet.
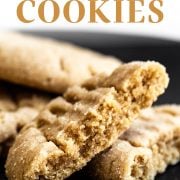
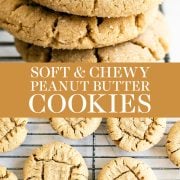
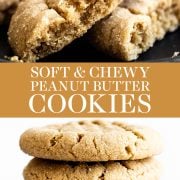
Texture: Soft, tender, and slightly chewy. Perfect with a glass of cold milk!
Ease: SO simple and easy. No dough chilling required.
Why You’ll Love This Recipe: These are my favorite PB cookies and they’re about to be yours, too!
This post may contain affiliate links. Read our disclosure policy.
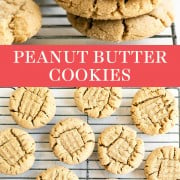
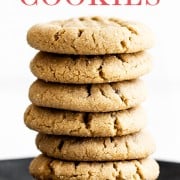
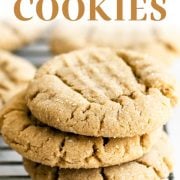
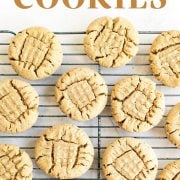
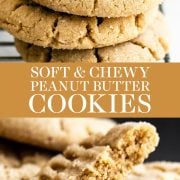
These Peanut Butter Cookies are soft, tender, slightly chewy, and packed with tons of PB flavor. These are the perfect treat if you’re totally PB-obsessed like me!
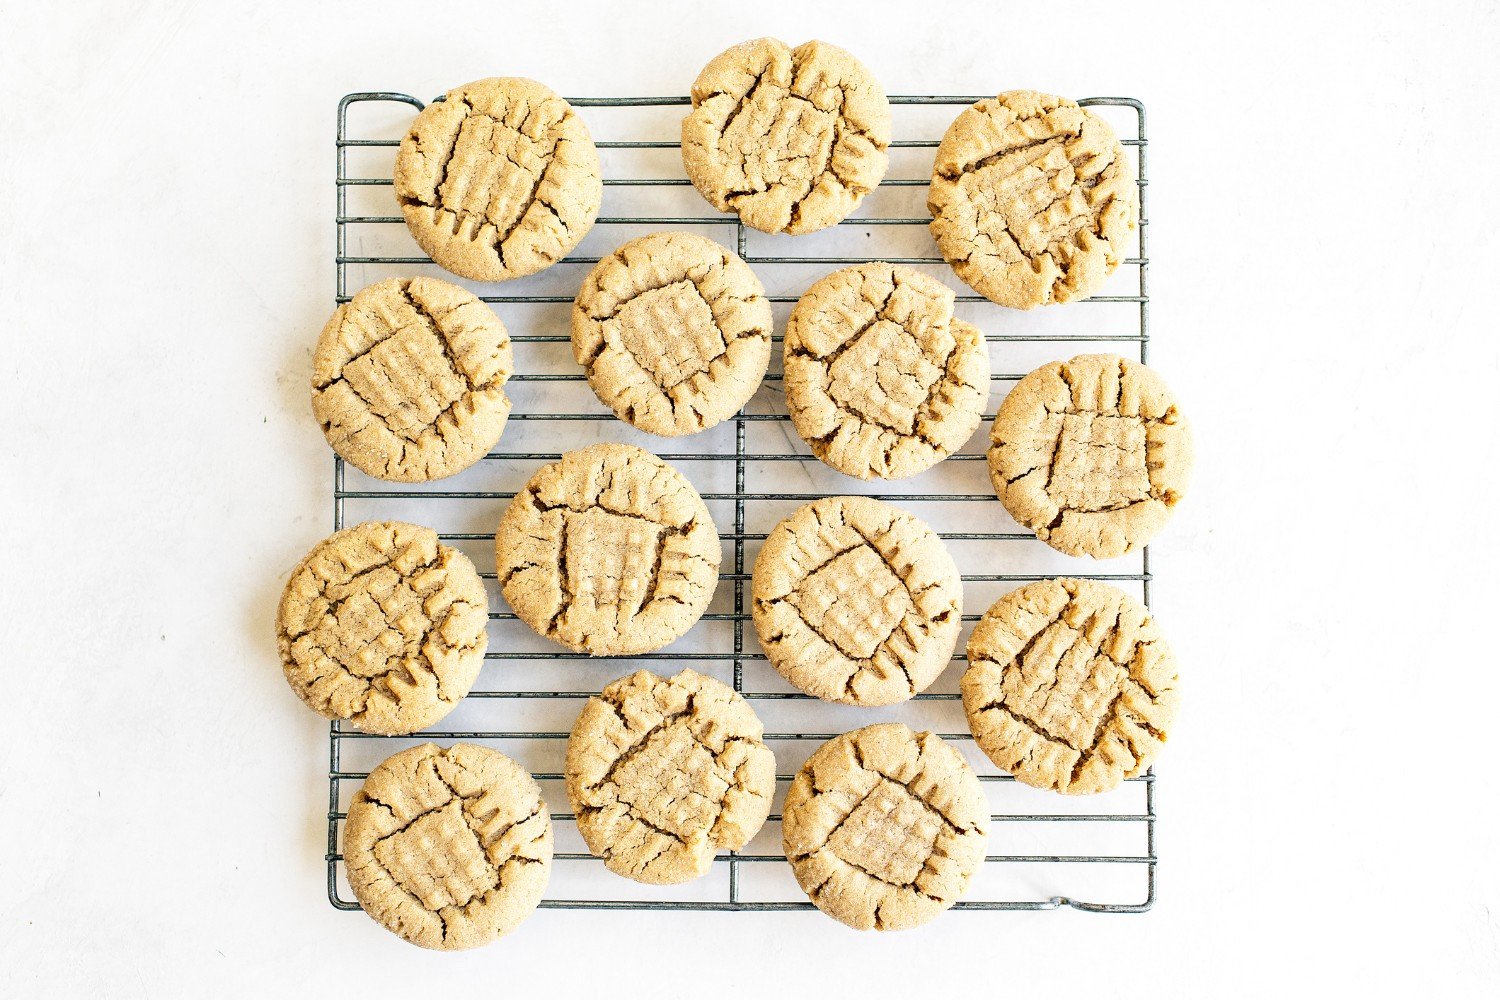
I tweaked, adjusted, and tested these cookies relentlessly until I struck the perfect balance of nutty flavor and thick, tender, chewy texture in every bite.
This is one of those classic, crowd-pleasing recipes you’ll add to your repertoire and return to again and again – especially during the Christmas cookie season!

Free Cookie Customization Guide!
The science-based guide so you can bake perfect cookies every time!
These perfect Peanut Butter Cookies are like biting into nostalgia. I hope you enjoy them as much as I do!
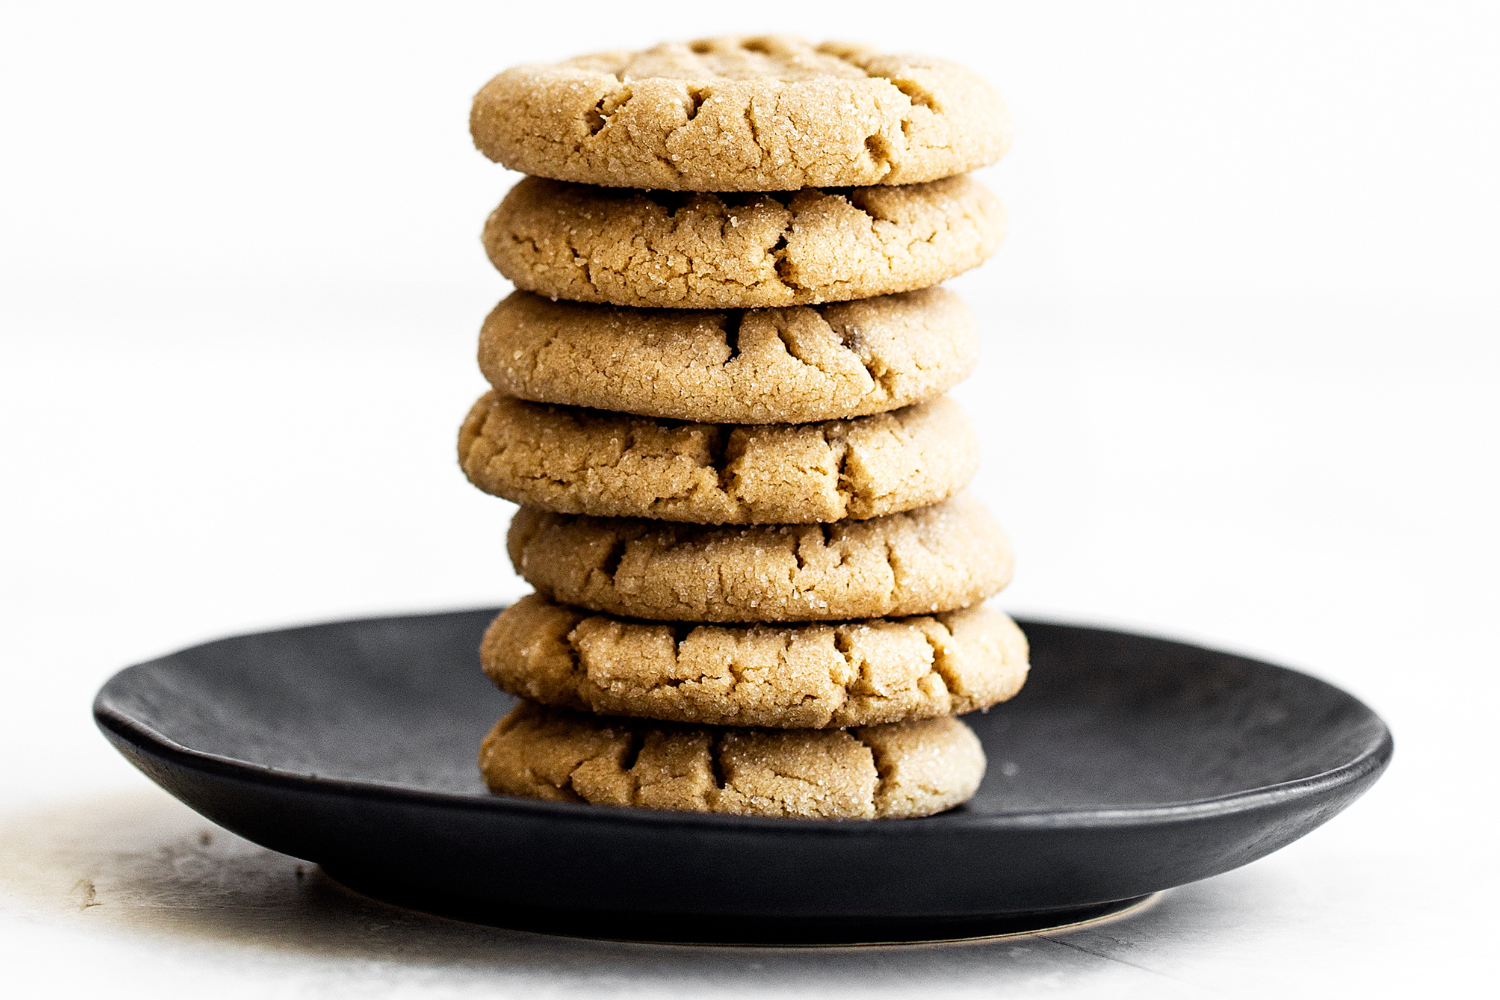

Sprinkle of Science
How to Make the BEST Peanut Butter Cookies
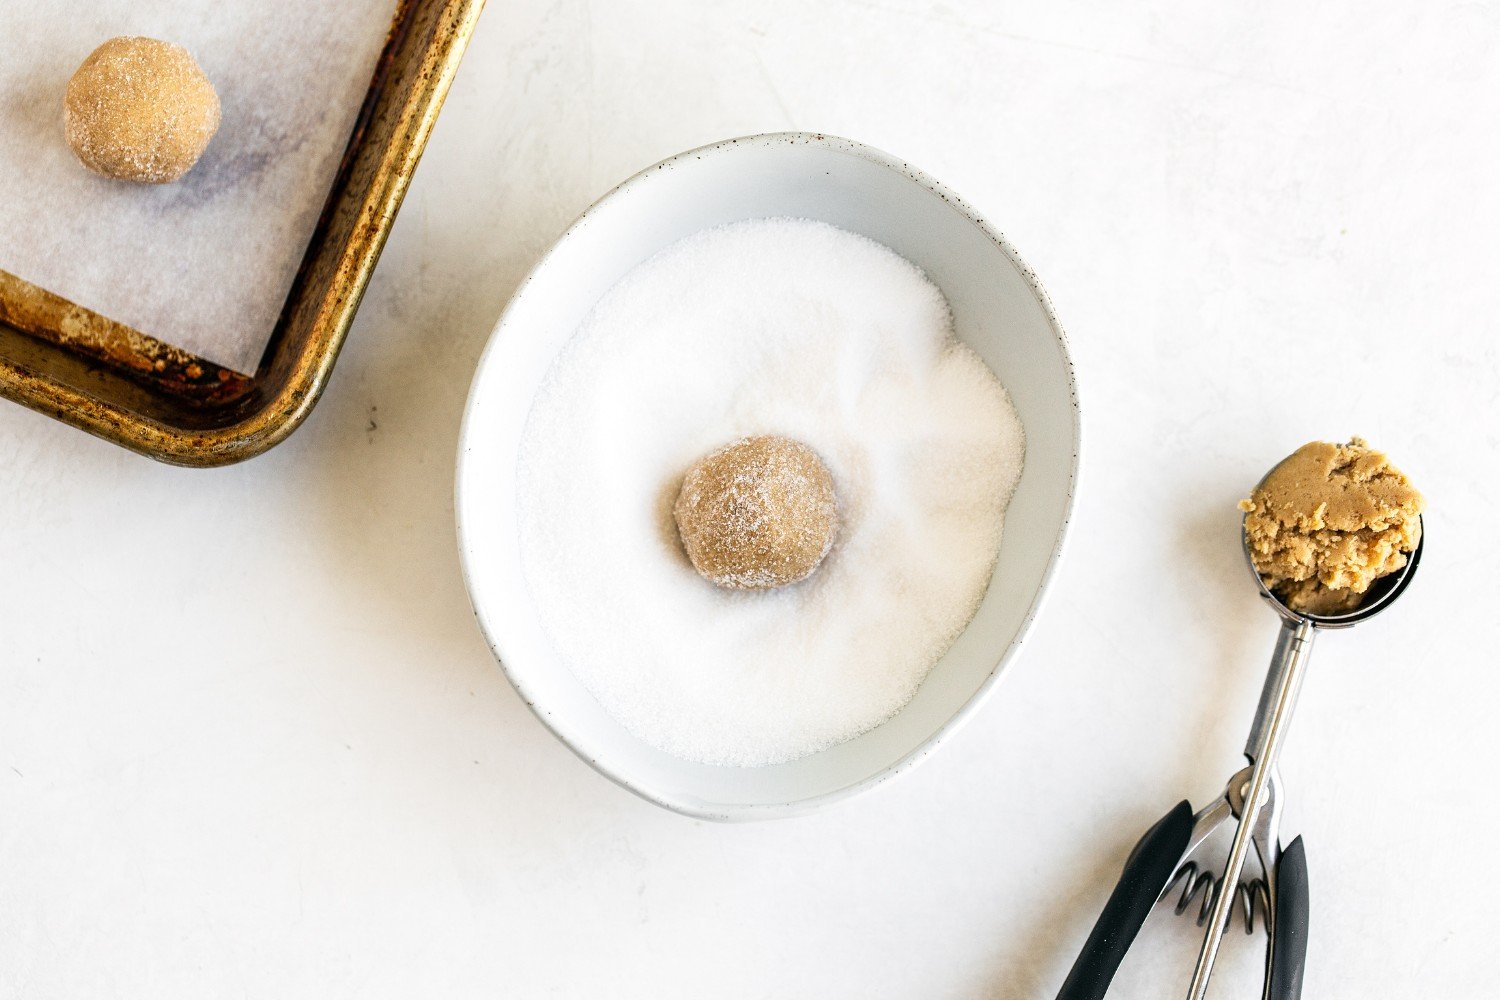
How to Make Thick, Soft PB Cookies
- The PB: Peanut butter’s fat, protein, and oils create a thick, chewy cookie by adding richness and moisture while preventing excess spread.
- Ingredient ratios: The key to soft peanut butter cookies is the perfect ratio of PB, butter, flour, and leavening. Plus a hefty amount of brown sugar, which draws in moisture, for soft and tender cookies. Don’t reduce the sugar – learn what sugar does in cookies here.
- Measure correctly: When measuring flour, be sure to use a digital kitchen scale or the spoon & level method to prevent dry or crumbly cookies.
- Don’t over-bake. The cookies will continue to bake from the residual heat of the oven. Remove them just before they look completely done to maintain softness.
What’s the Best Peanut Butter for Cookies?
This recipe has been successfully tested with conventional peanut butter (Skippy and Jif) AND natural peanut butter. Check out our peanut butter experiment here.
Only use natural peanut butter if it’s VERY well stirred to be completely smooth and cohesive with no oily or dry bits. When it’s very smooth, natural peanut butter will yield a much bolder peanut butter flavor!
You can alternatively use almond butter at a 1:1 ratio. More on this below.
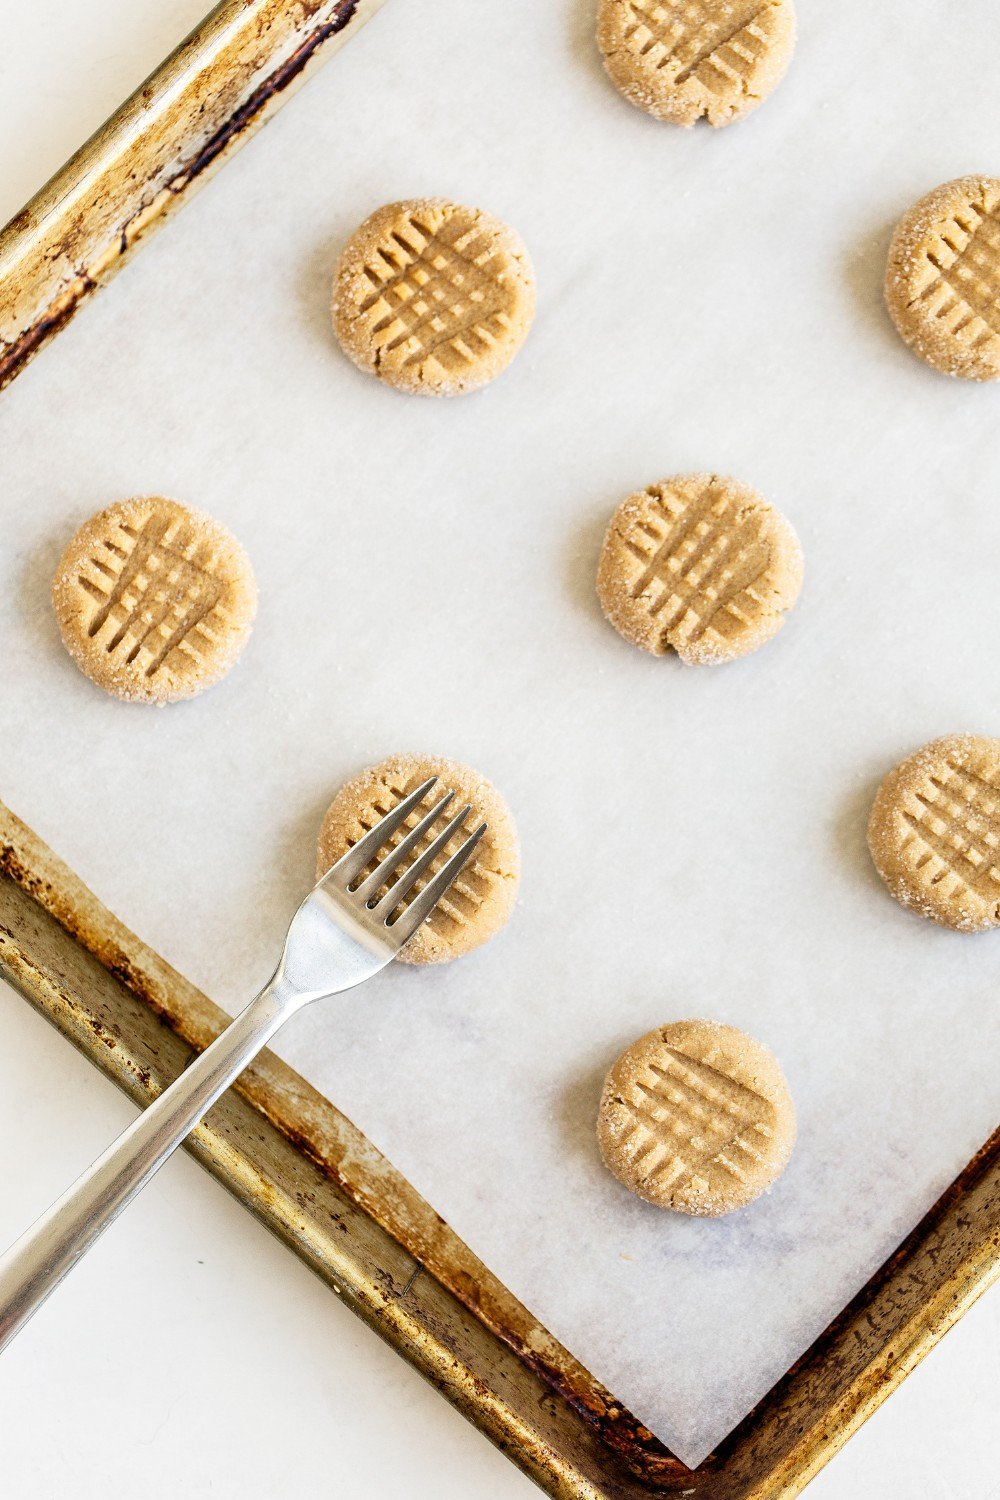
Why Do You Put a Criss-Cross Pattern on Peanut Butter Cookies?
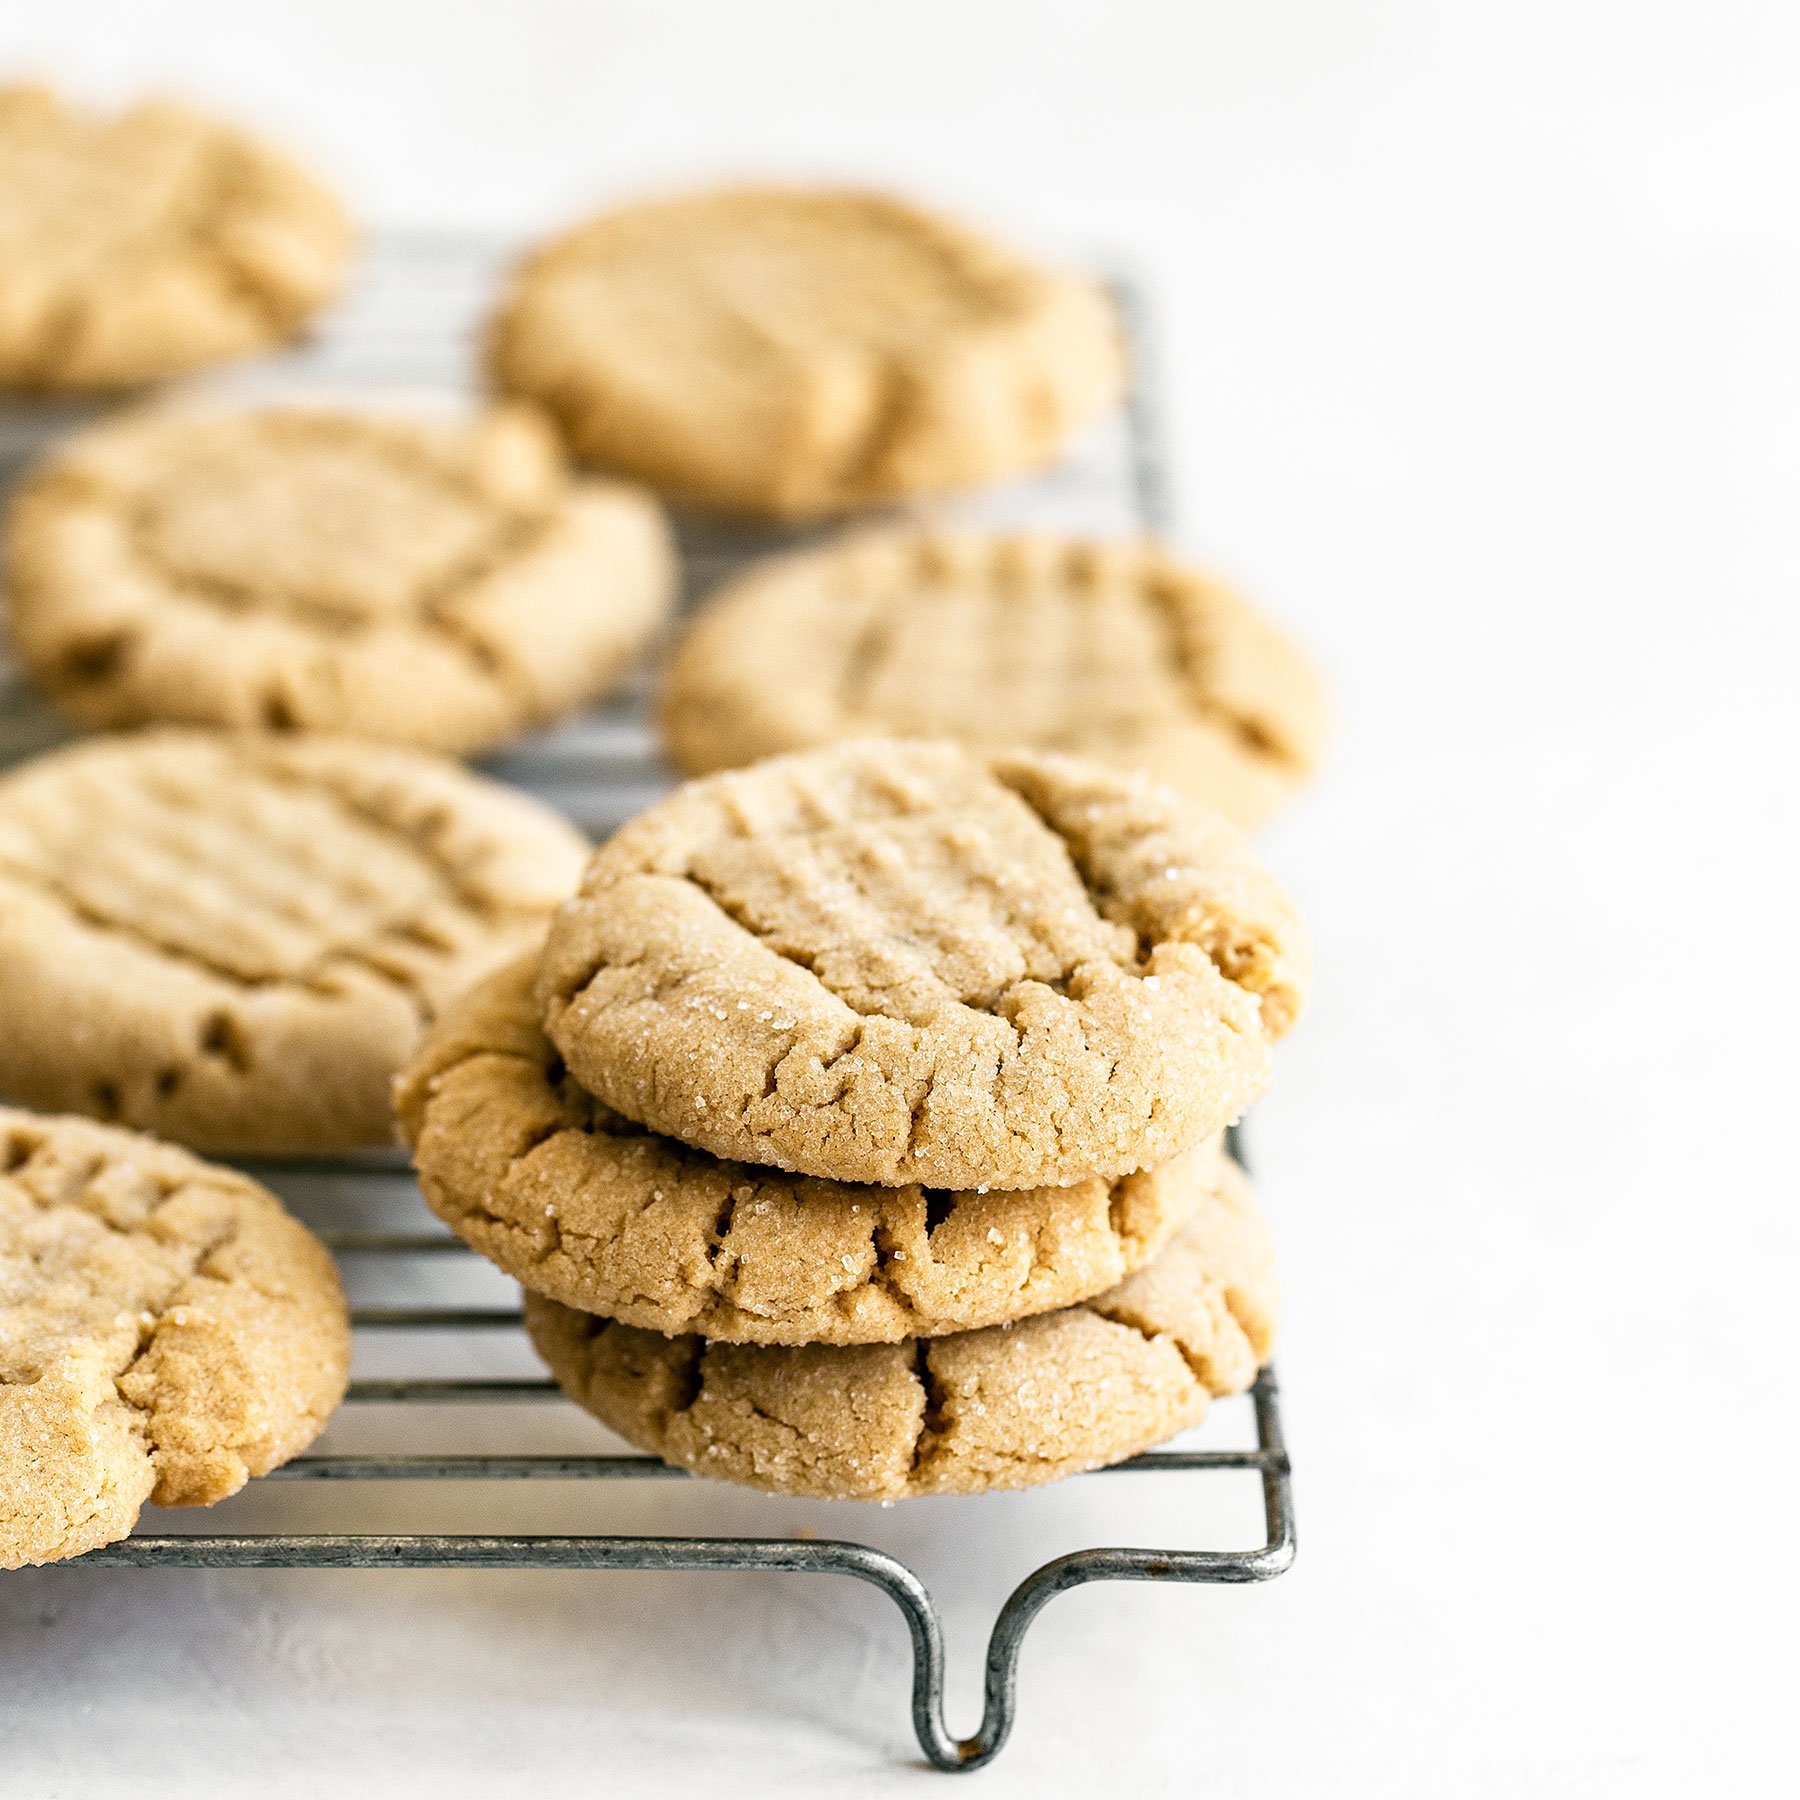
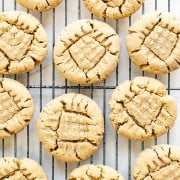
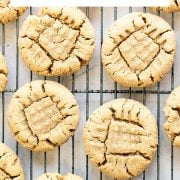
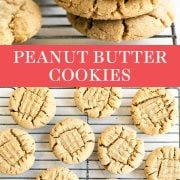
Pressing a fork into Peanut Butter Cookies prior to baking helps flatten the cookies slightly, so they spread perfectly, bake more evenly, and brown evenly.
If we skipped that step, these cookies would be so thick that they’d barely spread, and they may not bake all the way through.
Do I Have to Refrigerate This Cookie Dough? What Does Chilling Cookie Dough Actually Do?
You do not have to chill this Peanut Butter Cookie dough for perfectly thick cookies that are full of peanut buttery flavor.
You can chill the dough for up to 72 hours if you prefer. The baked cookies become chewier and thicker, and the flavor intensifies. Learn more about why we chill cookie dough and the benefits of chilling cookie dough here!
How to Store Peanut Butter Cookies
Store cooled cookies inside an airtight container for 3 days at room temperature. Keep a tortilla in the container with the cookies to keep them soft and chewy and prevent them from drying out or getting hard as quickly.
Can PB Cookies be Frozen?
Yes! Freeze the baked, cooled cookies inside an airtight container for 1 month. Allow to defrost at room temperature then refresh in a 300°F oven for about 5 minutes, if desired.
You can also freeze the Peanut Butter Cookie dough disks (rolled in sugar and pressed with the fork) in an airtight container for up to six weeks. Allow to thaw to room temperature before baking as written. See all my tips for freezing cookie dough here!
Peanut Butter Cookies Variations & Substitutions
These cookies have endless variations, so feel free to have some fun with them!
- Almond butter: Use almond butter in place of the peanut butter at a 1:1 ratio. Our team tested this substitution successfully using Barney Butter Smooth Almond Butter. No need to adjust anything else.
- Mix-Ins: Add up to 1 ½ cups (255 grams) chocolate chips, peanut butter chips, toffee bits, toasted peanuts, or any other mix-ins you desire!
- More PB: Add an additional 1/4 cup peanut butter (so 1 cup or 270 grams in total) and increase the vanilla to 1 teaspoon to really amp up the PB flavor.
- Crunchy PB: I haven’t tried crunchy peanut butter, but it should work just fine at a 1:1 ratio.
- Bars: If you’re looking for PB bars, try my Peanut Butter Chocolate Chunk Bars, my Loaded Peanut Butter Christmas Cookie Bars, or even my Peanut Butter Stuffed Brownies.
- Make mini cookie sandwiches: Use a small 1-tablespoon size cookie scoop and bake the cookies for about 8 minutes, or until the edges are slightly browned. This makes about 30 small cookie sandwiches. Fill cooled cookies with the filling recipe below.
Peanut Butter Filling Recipe
- 1/4 cup (56 grams) unsalted butter, at cool room temperature
- 1/2 cup (135 grams) smooth peanut butter
- 1 teaspoon vanilla
- 1/8 teaspoon salt
- 1 1/4 cups (157 grams) powdered sugar, sifted
- 3 tablespoons (44 grams) heavy cream (keeps filling light, fluffy, creamy, and not as sweet)
In the bowl of an electric mixer fitted with the paddle attachment, beat the butter and peanut butter on medium-high speed until light and fluffy, scraping down the sides and bottom of the bowl as needed. Add the vanilla, salt, powdered sugar, and heavy cream, and continue beating until the frosting is smooth and fluffy, about another 3 minutes.
More Peanut Butter Recipes:
Peanut Butter Cookies
Email This Recipe
Enter your email, and we’ll send it to your inbox.
Ingredients
For the cookies:
- 2 1/4 cups plus 2 tablespoons (302 grams) all-purpose flour, measured correctly
- 1 teaspoon baking soda
- 1/4 teaspoon baking powder
- 1/4 teaspoon fine salt
- 1 1/2 sticks (170 grams) unsalted butter, at cool room temperature
- 1/4 cup (50 grams) granulated sugar
- 3/4 cup (150 grams) light brown sugar
- 3/4 cup (200 grams) creamy peanut butter* (see notes)
- 1 large egg, at cool room temperature
- 1/2 teaspoon vanilla extract
For rolling:
- 1/3 cup (67 grams) granulated sugar
Instructions
- Preheat the oven to 350°F. Line large rimmed baking sheets with parchment paper.
- In a medium bowl, whisk together the flour, baking soda, baking powder, and salt.
- In the bowl of an electric mixer, beat the butter, granulated sugar, and brown sugar on medium-high speed until smooth and well combined, about 2 minutes. Scrape down the sides and bottom of the bowl. Beat in the peanut butter until well combined. Beat in the egg and vanilla. On low speed, gradually add the flour mixture, beating until combined.
- Place the granulated sugar for rolling in a separate small bowl. Using a medium spring-loaded cookie scoop, form the dough into 1 1/2 tablespoon rounds. Roll between your palms to smooth, then roll in the granulated sugar before placing on the prepared baking sheets, spacing about 2 inches apart. Slightly flatten the dough by pressing the back of a fork into each ball of dough twice, to create a criss-cross pattern.
- Bake for 10 to 12 minutes or until the edges are slightly browned. Let cool on baking sheets for 10 minutes before removing the cookies to a wire rack to cool completely.
Recipe Notes
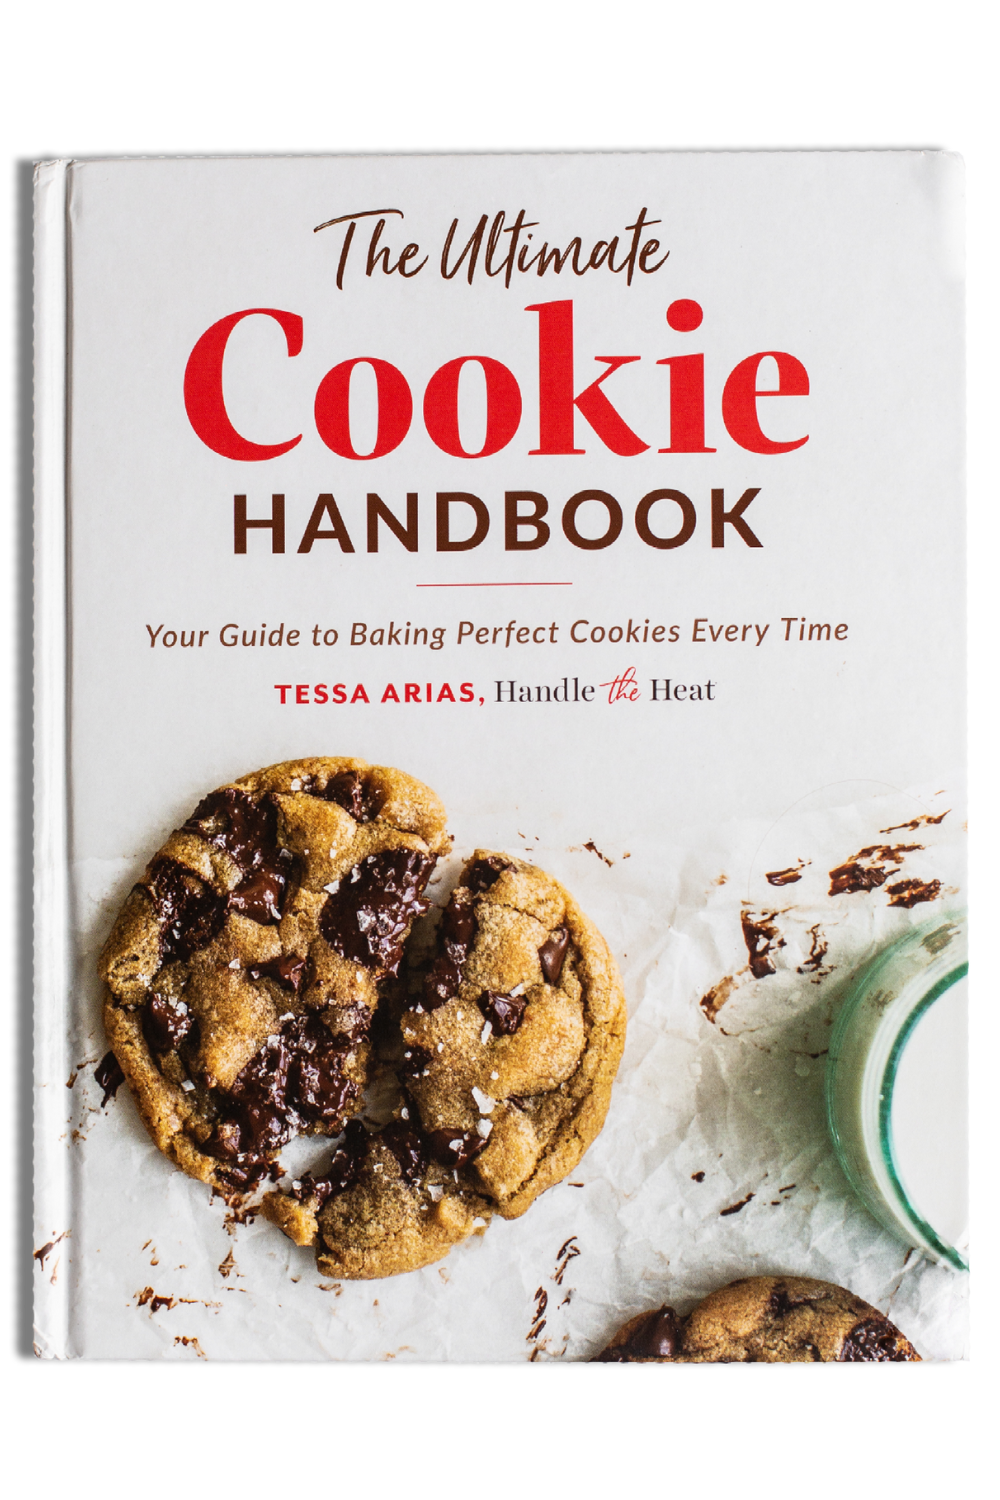
The Ultimate Cookie Handbook
Learn the sweet SCIENCE of cookie baking in a fun, visual way to customize your own recipes frustration-free. Plus, my best 50+ homemade cookies!
This recipe was written in 2019 and has been updated with additional tips and recipe improvements. Photos by Ashley McLaughlin.






Hello!
I’d also like to know if Crunchy Pnut Butter will work just as well as creamy in this recipe.
Thanks
Hi, can you tell me if chunky peanut butter would be appropriate to use?
These are a crowd pleaser! So delicious! We added in chocolate chips and toffee bits, and they complemented the peanut butter very well. My daughter said they are her new fav cookie. For sure watch them closely towards the end of baking. They will dry out if baked even a tiny bit too long, but the tip about adding a tortilla to the container did work really well.
Your additions sound just like our Peanut Butter Toffee Chocolate Chunk Bars, Andrea! So happy your cookies were such a hit, thanks for sharing!
Soft, thick, classic! Great recipe.
These cookies are now my go to. Will always make these, best recipe ever…
I liked the taste really well, but they seemed to be a little dry
Hi Anneliese! I’m sorry to hear that your cookies didn’t turn out as they should. How do you measure your ingredients? By volume (using cups), or by weight (using a digital kitchen scale)? When measuring by volume, it’s so easy to mismeasure ingredients (particularly flour) and throw off the chemistry of a recipe – resulting in dry, lackluster cookies. Check out Tessa’s article here, where she talks about how to best measure ingredients to ensure accuracy every time. I would also recommend reducing the bake time next time by a minute or two – perhaps your oven bakes faster than most, and the cookies were slightly overbaked – which would create dry cookies. I hope something here helps, Anneliese, and I hope you’ll give these cookies another try sometime – they really are so delicious!! Happy baking 🙂