

This post may contain affiliate links. Read our disclosure policy.


Tessa’s Recipe Rundown
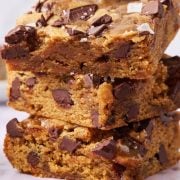
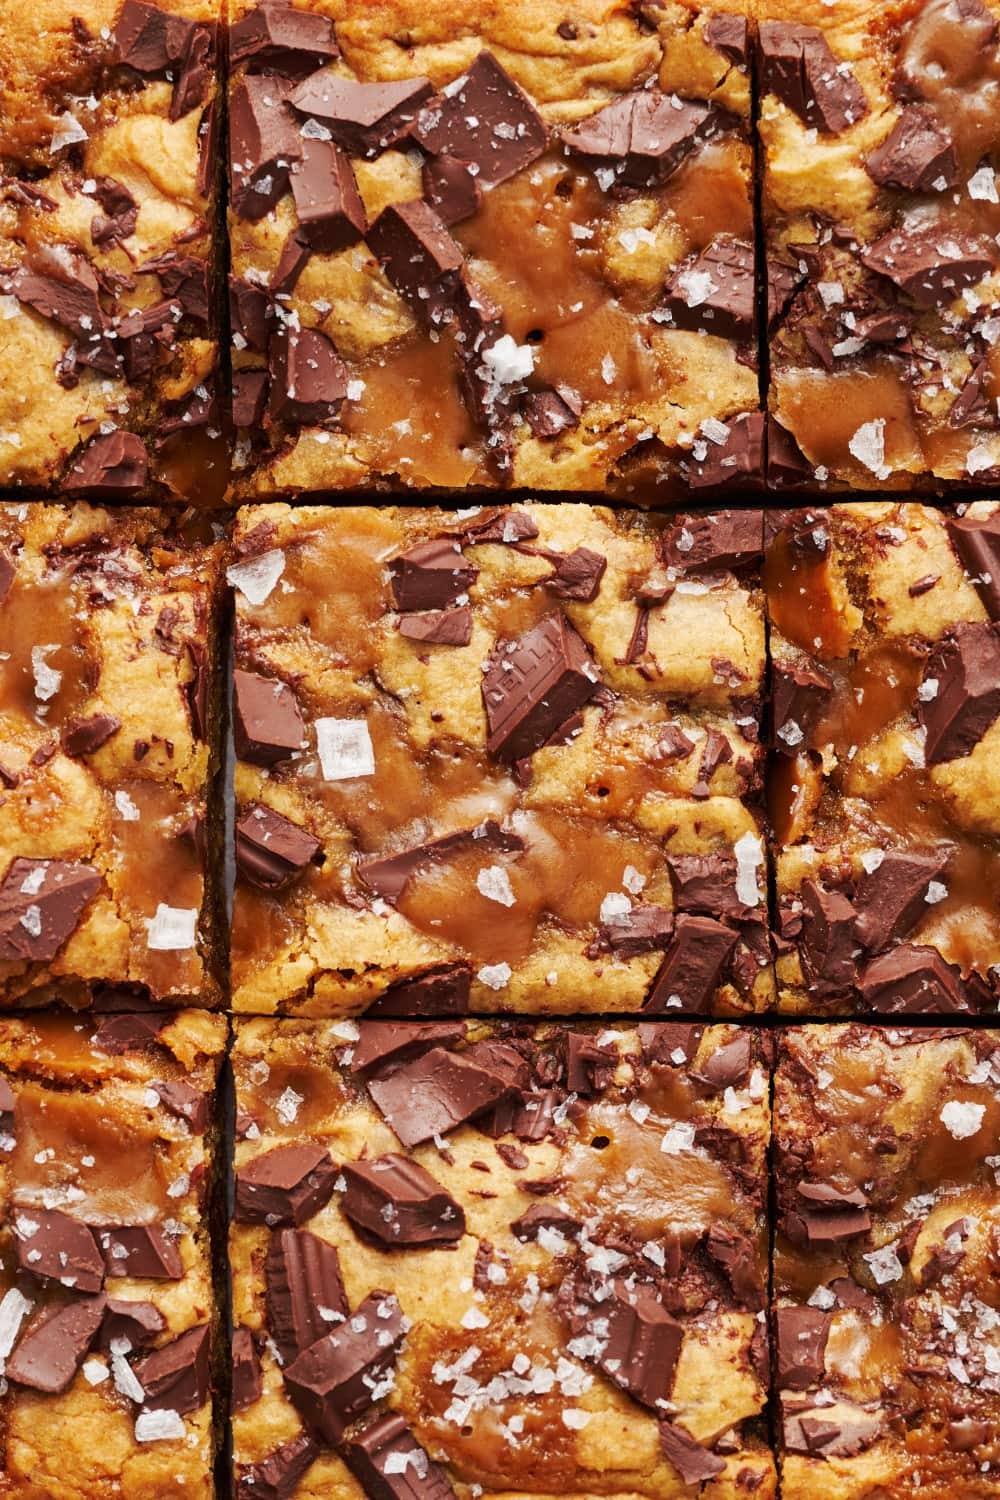
Taste: Like a Butterfinger bar! Plenty of peanut butter flavors with decadent chocolate chunks, rich toffee, and a little salt on top to balance the flavors out perfectly.
Texture: Chewy, thick cookie bars, with a slight crunch throughout thanks to the chocolate and toffee.
Ease: Super simple! You don’t even need a mixer for these cookie bars.
Why you’ll love this recipe: The depth of flavor and incredible texture.
Peanut Butter Toffee Chocolate Chunk Bars are the most flavorful cookie bar you’ll ever bake!

Bar desserts are such a joy to make and perfect for sharing. I often find myself baking a batch of my Best Ever Chewy Brownies, kid-approved Chocolate Frosted Sugar Cookie Bars, or my Classic Cheesecake Bars to take to any party.
These cookie bars were born from a spontaneous craving. I wanted a thick, chewy peanut butter cookie bar packed with deep, complex flavors.

After a few rounds of tweaking, I nailed the perfect recipe that uses dark brown sugar for added richness, toffee bits for a delightful crunch and flavor, and a sprinkle of sea salt on top to balance the sweetness.
The result? A Butterfinger in cookie bar form!

Delicious combo of peanut butter, toffee bits and chocolate chunks!

Trust me, your whole family is going to fall in love with these Peanut Butter Toffee Chocolate Chunk Bars.
Key Recipe Ingredients
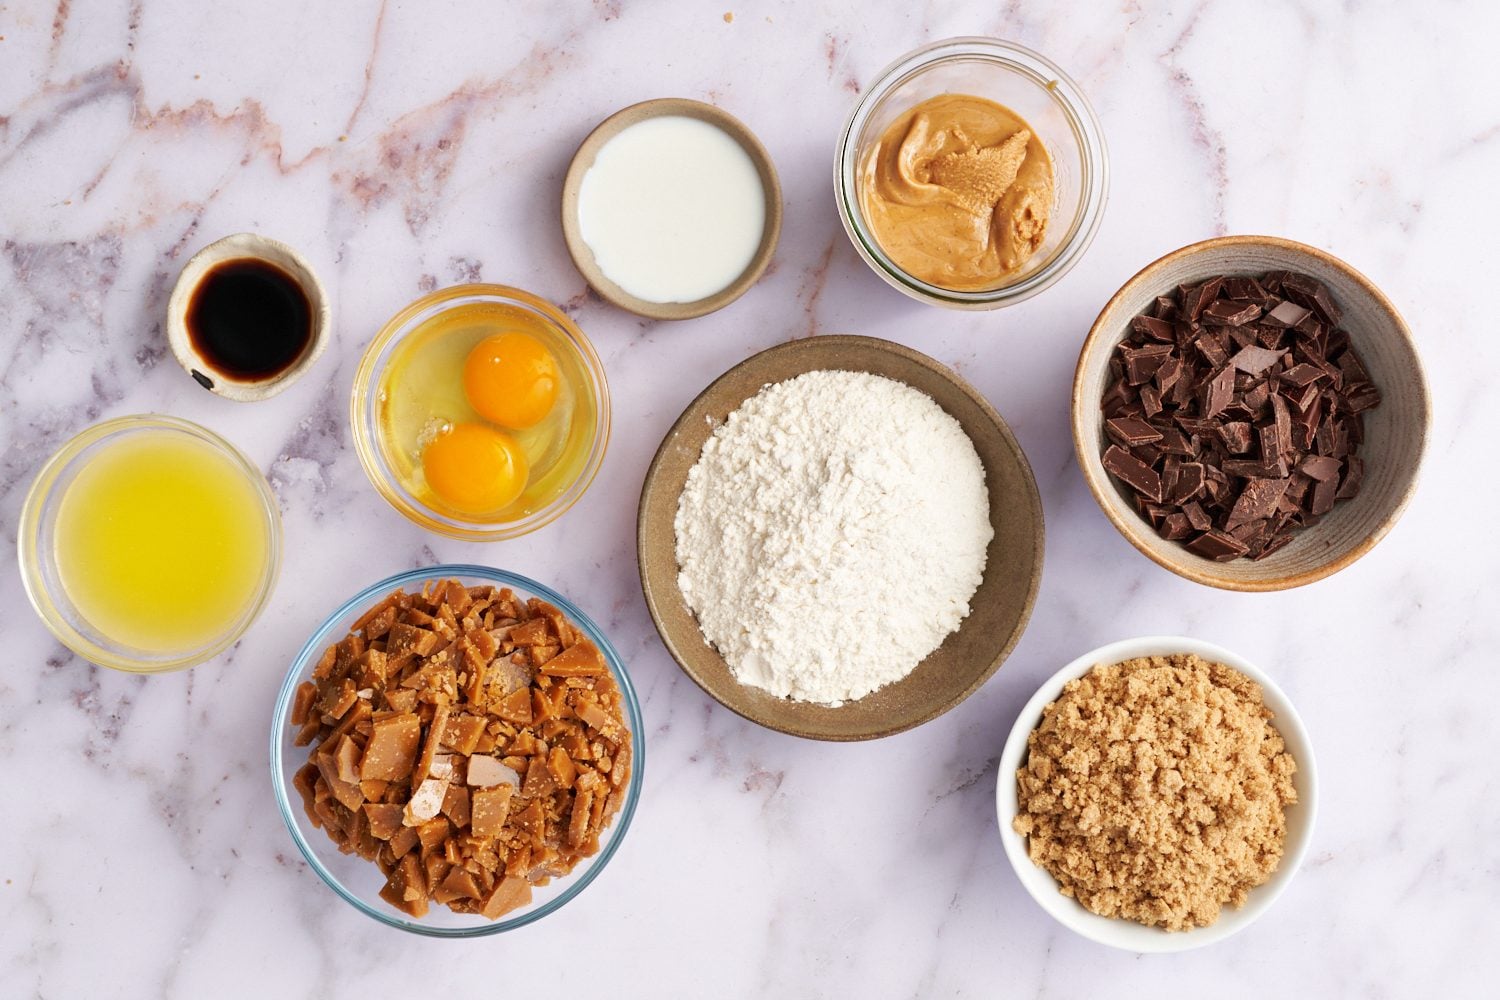
Peanut Butter: Natural peanut butter will give these cookie bars the boldest PB flavor, but conventional peanut butter (like Skippy) will work in a pinch, though your bars will be sweeter. If using natural peanut butter, make sure it’s extremely well-stirred before using, with no oily or dry pockets. I have not tried using crunchy peanut butter in these bars.
- Note: In testing, we found that Peter Pan brand peanut butter didn’t give the bars much PB flavor and, in fact, altered these bars to have a softer, slightly cakey texture. I recommend avoiding using this brand if possible. If that’s all you have, be sure to chill the dough for 24-72 hours before baking to allow the flavors to develop – otherwise, you won’t taste much peanut butter.
Dark Brown Sugar: Helps bring a fantastic depth of flavor. The molasses in the dark brown sugar draws in more moisture, making the cookie bars thicker, softer, and chewier, with rich butterscotch flavors.
- Swap: Light brown sugar can be substituted 1:1, but you will lose some of the additional flavor and texture, and your cookie bars will be lighter in color.
Chocolate Chunks: I used semisweet chocolate baking bars chopped into chunks, which creates more marbling throughout and a better texture overall.
- Swap: Chocolate chips work in a pinch. You can also use milk, dark, or bittersweet baking chocolate – just note that this will alter the overall sweetness. Dark chocolate might overpower the other flavors.
Toffee Bits: I love using my Homemade Toffee Bits recipe, but you can also use Heath brand English toffee bits, available in many supermarkets by the chocolate chips in the baking aisle.
- What to do with leftover toffee? A double batch of these cookie bars uses up one batch of homemade toffee perfectly – or you can use the rest in my Toffee Brownies or Browned Butter Toffee Chocolate Chip Cookies! Or to snack on or top ice cream with.
Tips for the BEST Cookie Bars
- Measure correctly. Too much flour will yield dry, tough cookie bars that are not chewy. I recommend using a digital kitchen scale to avoid this. If you don’t have a scale, use the spoon-and-level method to measure your flour.
- Do NOT lower the sugar in this recipe. Sugar does so much beyond sweetening your baked goods. Learn more about sugar’s role in baking here.
- Use a light-colored metal pan. More on this below.
- Allow cookie bars to cool before serving. After experimenting with the best time to slice these bars, we recommend waiting at least 3 hours for the chewy texture and flavors to develop fully.
What’s the Best Pan for Cookie Bars?
I highly recommend using an 8×8-inch light-colored metal baking pan. Darker metals can dry out the edges before the middle has a chance to bake through.
I do not recommend baking cookie bars in a glass or ceramic, as they will take much longer to bake and can result in dry edges with underdone, even collapsed, middles. Learn more about Glass vs. Metal Baking Pans here.

Do I Really Have to Chill These Cookie Bars?
Time is a significant factor in these bars, taking them from good to WOW. Here are your options:
- My recommendation: Cover and chill the cookie dough in the pan for 24-72 hours before baking. These bars will have deep, complex butterscotch flavors, a wonderfully chewy texture, and a pronounced PB flavor.
- Second best option: Bake right away but allow the bars to sit overnight before serving. The flavor and texture will improve significantly as the flavors meld together and the bars sit, even post-bake.
- Not recommended: If you skip the chill period and serve as soon as the bars have cooled, your cookie bars will be softer, slightly cakey, and less flavorful with a subtle PB flavor.
- Note: Freezing dough does not work the same as chilling. Learn more about chilling cookie doughs here.
Storage & Make ahead
Room Temperature: Store in an airtight container for up to 4 days.
Refrigerating: Store in an airtight container for up to 5 days.
Freezing: Wrap individual bars in plastic wrap, place in an airtight container, and freeze for up to 1 month. Thaw at room temperature for about 30 minutes before serving.

Frequently Asked Questions
I’ve got a recipe for that! Try my Peanut Butter Toffee Chocolate Chip Cookies and swap in baking chocolate if you prefer its texture. You might also like my viral Browned Butter Toffee Chocolate Chip Cookie recipe or my Peanut Butter Chocolate Chip Cookies.
Yes, but chopped baking chocolate is preferred for better distribution and texture.
Sure! Though the taste and texture won’t be quite as good as homemade toffee.
Yes! Simply double all ingredients and bake in a light-colored metal 9 by 13-inch baking pan, adding a few minutes to the bake time.


Email This Recipe
Enter your email, and we’ll send it to your inbox.
Ingredients
- 4 tablespoons (57 grams) unsalted butter
- 1/2 cup (135 grams) creamy peanut butter*
- 3/4 cup (150 grams) dark brown sugar
- 1 large egg + 1 egg yolk, at room temperature
- 1 tablespoon milk, any kind
- 2 teaspoons vanilla extract
- 1 cup (127 grams) all-purpose flour
- 1 teaspoon baking powder
- 1/2 teaspoon fine sea salt
- 3/4 cup (128 grams)
toffee bits , divided - 4 ounces (113 grams) semisweet chocolate, chopped into chunks, divided
- Flaky sea salt for topping, optional
Instructions
- Preheat the oven to 350°F. Line a metal 8 by 8-inch baking pan with parchment paper. Spray with nonstick cooking spray.
- In a large bowl, melt the butter and peanut butter until smooth. Add the sugar to the hot mixture, stirring to combine. Let cool to just warm (about 80°F) before whisking in the egg, egg yolk, milk, and vanilla. Stir in the flour, baking powder, and salt with a rubber spatula. Stir in three-quarters each of the toffee bits and chocolate chunks.
- Press dough evenly into prepared baking pan. Sprinkle with the remaining toffee bits and chocolate chunks.
- Bake for about 26 minutes, or until the top and edges are golden brown. Remove from oven onto a wire rack. Sprinkle with flaky sea salt. Let pan set for three hours (yes, three hours!) for best flavor and texture before cutting into squares and serving.
- The bars can be stored in an airtight container at room temperature for up to 4 days.
Notes
Photos by Joanie Simon.


I made these bars exactly as the recipe was posted. I used natural peanut butter as was recommended. I doubled the recipe for my 9 x 13″ USA Pan. Along with the chocolate chunks (I used milk chocolate chunks) and the toffee bits, I also added a cup of peanut butter chips to bump up the peanut flavor. I rested them unbaked for 24 hours in the fridge. The bars came out delicious, They are a bit on the cakey side. I suspect that is due to the natural peanut butter which typically produces a slightly more cakey texture. They are moist and not overly sweet, which I think is a plus.