


Tessa's Recipe Rundown
Taste: Ultra chocolaty. This recipe uses a combination of semisweet chocolate chips and unsweetened chocolate to give you a knockout punch of chocolaty goodness.
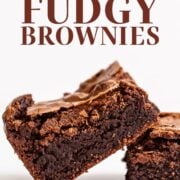
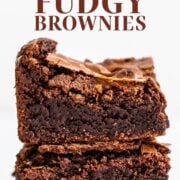
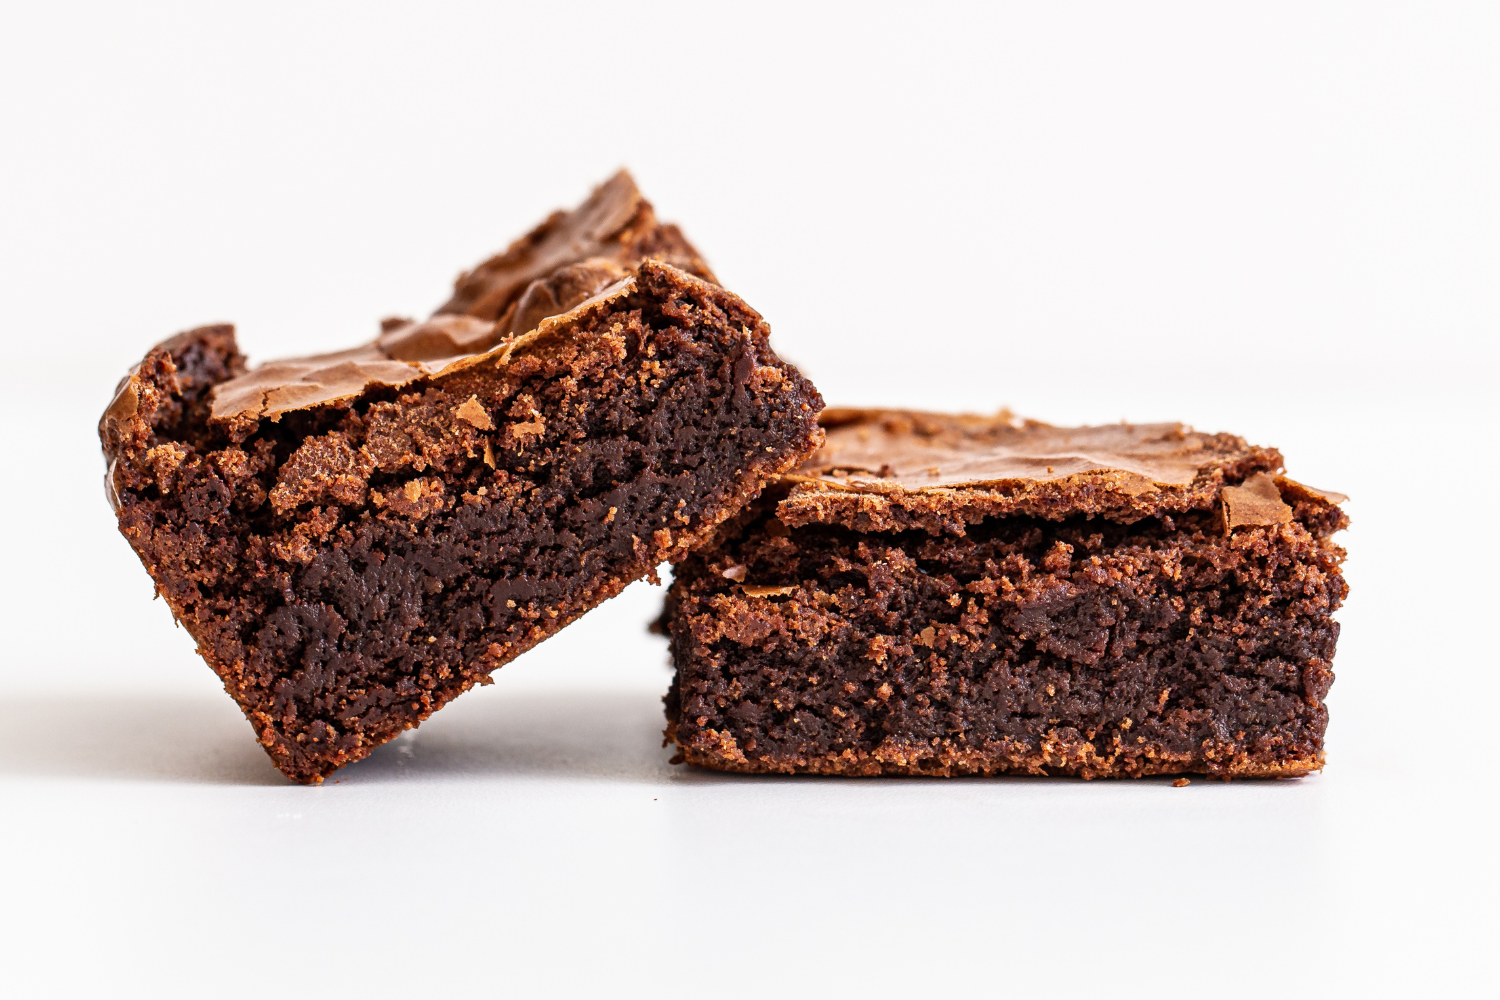
Texture: The best part. These brownies are thick, fudgy, and chewy. They are ultra-moist without feeling heavy and underbaked.
Ease: These brownies take slightly more work than some recipes, but I promise that fudgy consistency and ultra-crinkly crust are totally worth it.
Why You’ll Love This Recipe: Brownie perfection.
This post may contain affiliate links. Read our disclosure policy.
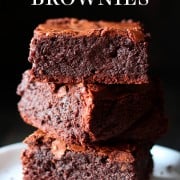
These Ultimate Brownies are the definition of FUDGY. As dense, rich, and fudgy as a brownie could be without actually being candy.
I’ve shared a LOT of Brownie Recipes throughout the years. Each recipe meets different texture and flavor cravings.
This recipe only took 6 batches to perfect. I wanted to give you the ultimate version of this Fudgy Brownie Recipe, so I tweaked and adjusted until the texture was perfect.
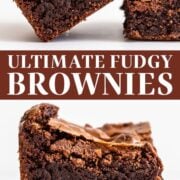
These Ultimate Brownies are ultra fudgy, packed with rich chocolate flavor, and have the most incredible brownie crust imaginable.
Read through all my tips and tricks below for the perfect Fudgy Brownies everyone will adore!

Sprinkle of Science
How to Make the Ultimate FUDGY Brownies
What Kind of Chocolate is Best in Fudgy Brownies?
With making Fudgy Brownies, melted chocolate is key. If we add cocoa powder to this recipe, the texture can become more cakey or chewy instead of fudgy, rich, and dense.
We are using two types of chocolate: semisweet chocolate chips and unsweetened chocolate. They’re melted together with the butter to form the base of this recipe.
I find this gives the perfect balance of chocolate flavor without tasting too bitter or intense. Plus, the chocolate chips play a secret role: they help to form that brownie crust on top!
Be sure to let the melted chocolate cool slightly before adding it to the batter, you don’t want to scramble your eggs with molten hot chocolate.
Learn more about Chocolate in Baking here.
The Butter in Ultimate Brownies
The recipe takes 1 1/2 sticks of unsalted butter (6 ounces, 170 grams, or 12 tablespoons) and melts it down with the chocolate. This helps prevent the chocolate from seizing if melted by itself, and allows the ingredients to become homogenized.
To make these Ultimate Brownies ultra thick and tall, we’re basically baking a 9×13-inch pan worth of batter in an 8×8-inch pan. That’s why there seems to be so much butter!
Why do we melt butter in brownie recipes instead of beating room temperature butter with sugar? Because that helps give a rich, chewy, fudgy texture. Beating butter incorporates air and gives a more light, airy, cakey texture, which we don’t want in a brownie. (Well, you might want that, but I don’t!)
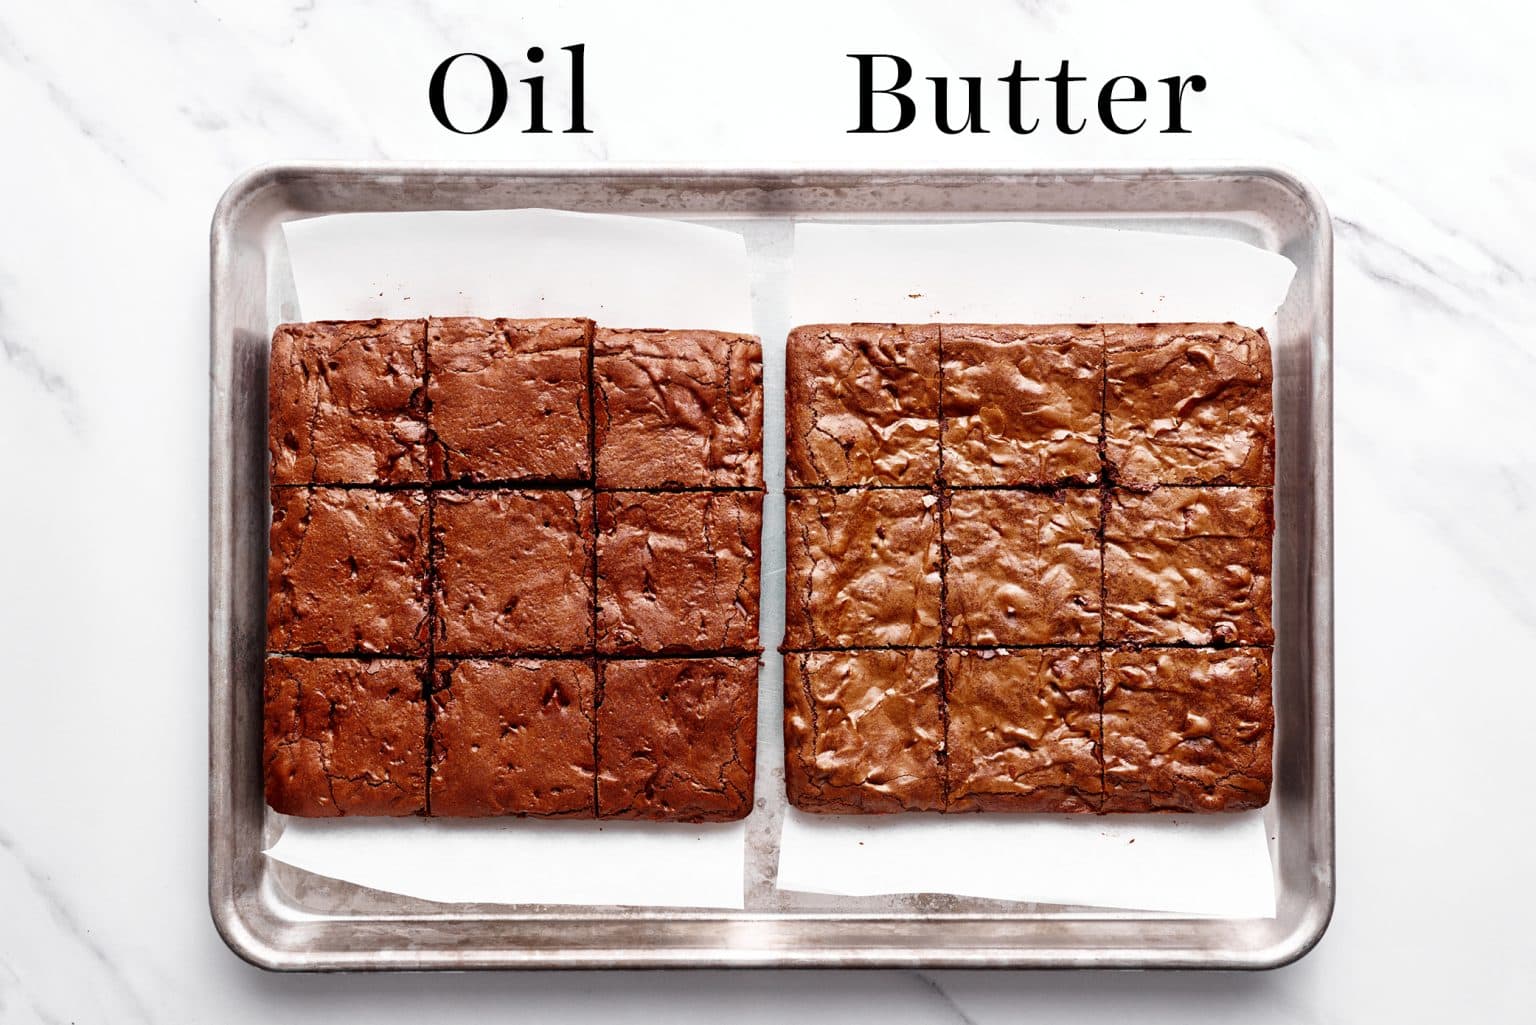
I actually recently experimented with Butter vs. Oil in Brownies to see how the type of fat used affects the final result. Check out my Butter vs. Oil in Baking article for a full breakdown on each of these fats and how they affect tenderness, flavor, and texture in baked goods (and not just brownies). You might just understand why I opted to only use butter in these Fudgy Brownies!
Can I Use Salted Butter Instead?
Yes, just omit the salt called for in the recipe.
How Much Sugar in Brownies?
We’re using 1 1/2 cups of granulated sugar. Again, if this seems like a lot, that’s because these are very tall brownies, so there is a lot of brownie batter.
Also, we’re using a large amount of unsweetened chocolate, so we need to sweeten the brownies up a little. I promise it won’t make them too sweet!
Note: the sugar doesn’t just provide sweetness, it also affects the texture. Sugar is essential to creating ultra moist and rich brownies. If you reduce the sugar, the brownies become dry and cakey. Learn more about sugar’s many roles in baking brownies here.
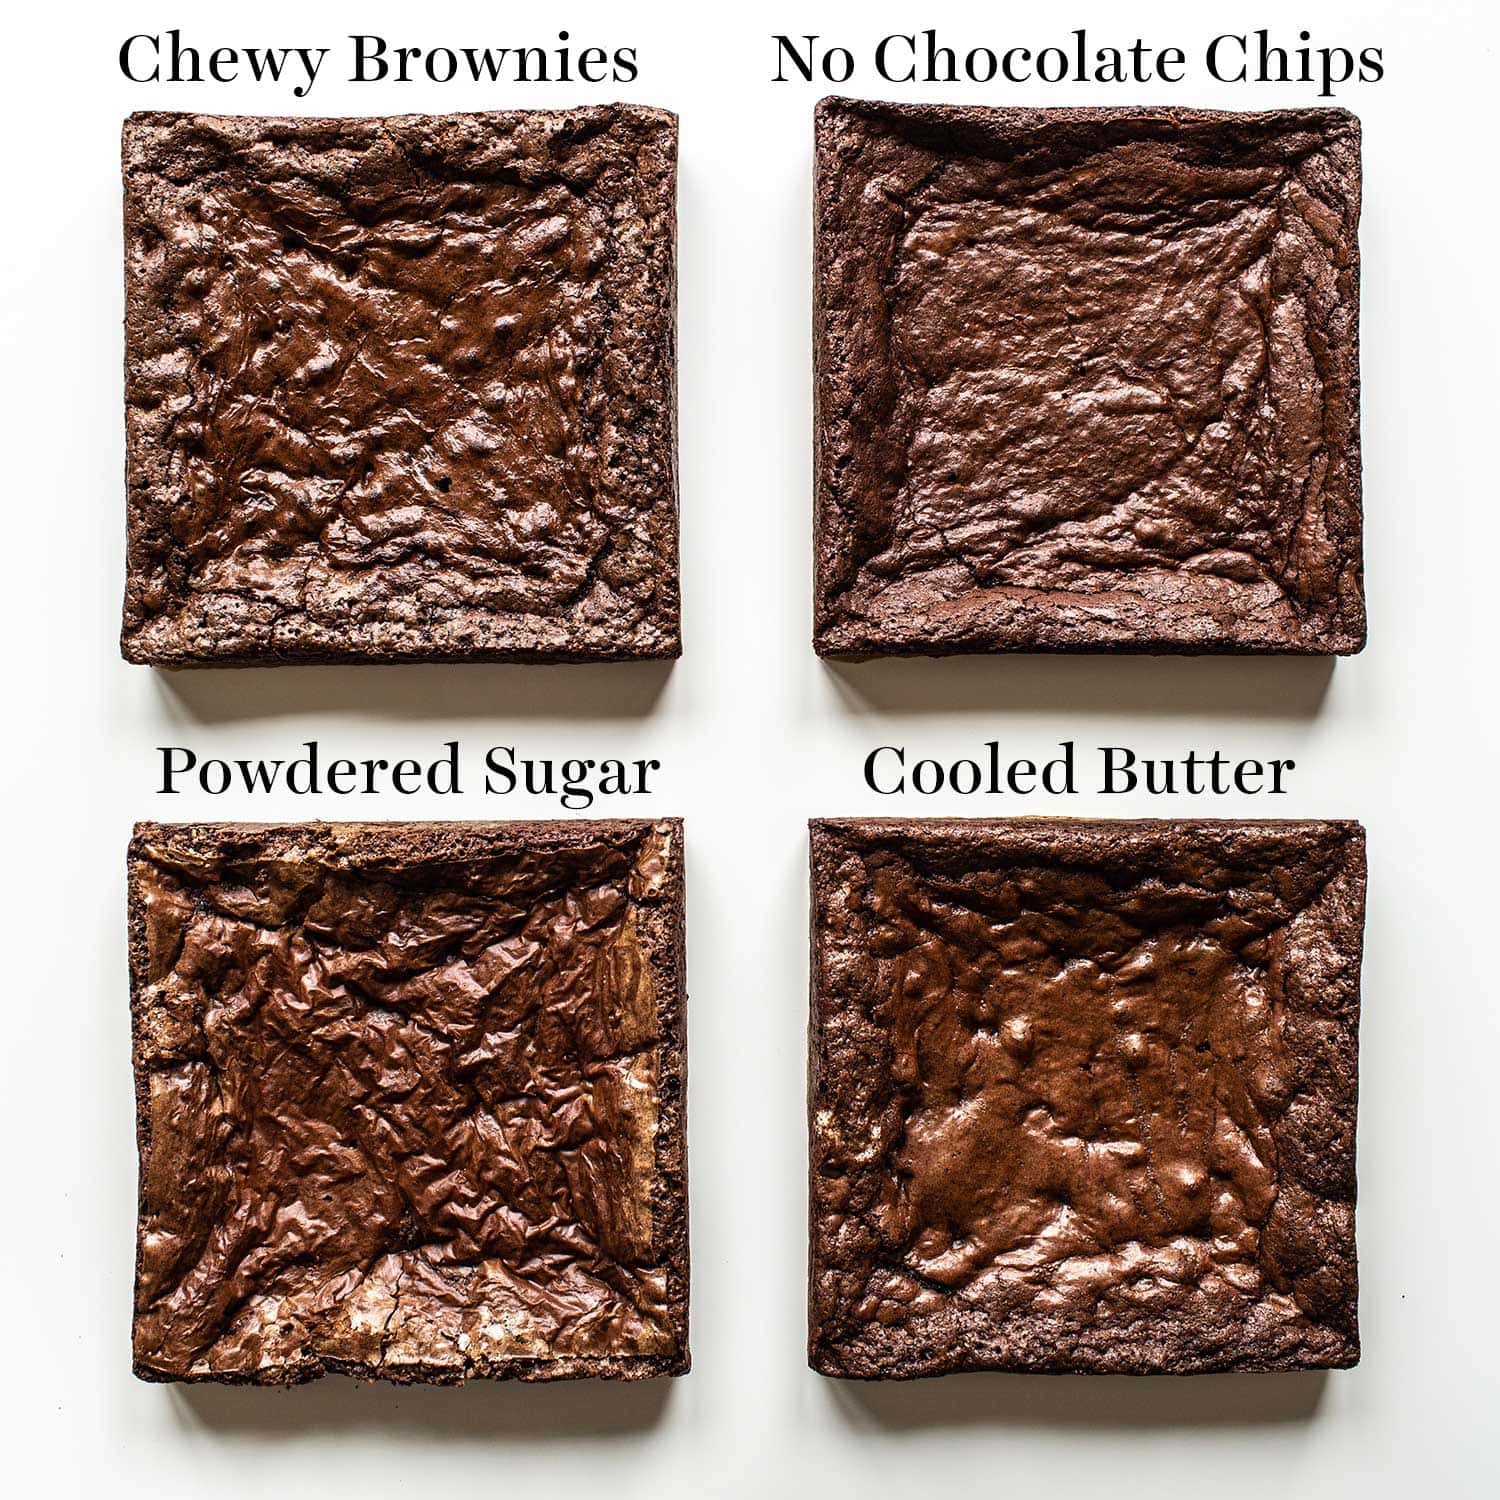
How to Get Brownies With a Shiny, Crinkly Crust on Top
In these Ultimate Brownies, we use an electric mixer to beat the sugar with the eggs until the mixture is light and ribbon-thick.
Why? This ensures the sugar is dissolved into the batter, enabling a soft yet fudgy texture and stunning shiny, crackly crust. I learned this technique from this brownie recipe!
Note: The amount of time it takes for your mixer to beat the eggs and sugar will vary. The mixture should lighten in color and become really thick. This can take anywhere from 3 to 8 minutes, depending on your machine and kitchen environment.
More tips for achieving those perfectly crinkly crusts in my How to Make Brownies with Shiny, Thin Crust article. Lots of shocking side-by-side comparisons included, like this one below:
Want Fudgy, Chewy Brownies? Add an Extra Egg Yolk!
Eggs not only act as a binding agent in baked goods, but they also add structure, richness, and enhance texture – but too many eggs (and especially the egg whites!) can cause a cakey texture.
This recipe calls for three whole eggs plus one egg yolk. Be sure to use large eggs (about 56 grams in shell).
Why the extra yolk? The fat in the yolk creates a rich, moist, fudgy, chewy texture, without causing cakiness!
I was so pleased when I discovered I was able to add an egg yolk and STILL get that tissue-thin crust on top. Beating the eggs and sugar is pretty magical.
The Flour
All-purpose flour is the way to go here. Cake flour makes these brownies way too tender and light.
To make perfectly Fudgy Brownies, we only need to use a little bit of flour. Any more flour will create tough, dry, or cakey brownies.
I highly recommend weighing your flour with a digital kitchen scale, but if you don’t have one, be sure to use the spoon and level method to measure your flour to avoid dry brownies.
Important: How to Tell When Brownies are Done Baking?
Bake these Ultimate Brownies in a 350°F oven for 35 to 40 minutes. There should be moist crumbs attached to a tester by the end of the baking time.
The brownies will continue to set as they cool. This recipe must be served after the brownies have cooled to room temperature completely.
In fact, they’re even more fudgy and delicious when served chilled!
If you prefer less rich and gooey brownies, add 5 to 10 minutes to the baking time.
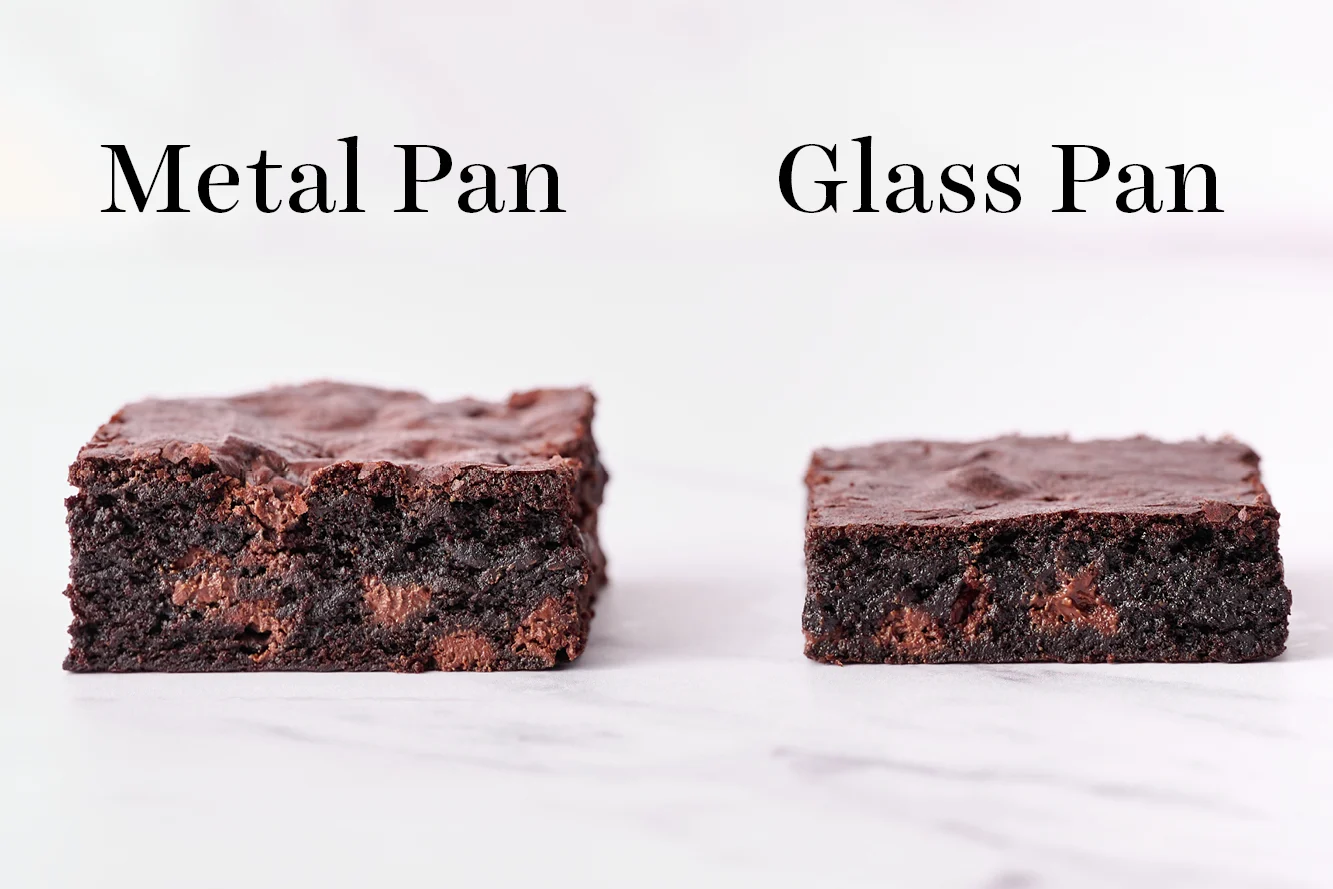
Use a Metal Pan for Baking Brownies!
Glass and ceramic pans will not work for this recipe. They take longer to heat up and will prevent the center of the brownies from cooking before the outside edges are too hard. You’ll be left with gummy brownies instead of perfectly fudgy brownies. This is my favorite pan to use for brownies. Learn more in my Glass vs. Metal Baking Pans article.
How to Cut Brownies Perfectly
For perfectly clean, neat brownie slices, check out my How to Cut Brownies Cleanly in 5 Steps article.

How to Store Ultimate Fudgy Brownies
The Ultimate Fudgy Brownies can be stored inside an airtight container for up to 2 days at room temperature or up to 4 days in the fridge. I actually prefer to serve them chilled – they’re even fudgier when cold!
Recipe Substitutions
This Fudgy Brownie Recipe is written to yield specific textures, as noted in the explanations above. If you try to reduce the sugar, use a sugar substitute, or alter ingredients, the results will NOT be the same. Feel free to add nuts, chocolate chips, toffee bits, or anything else to the batter.
More Brownie Recipes:
- Best Chewy Brownies – my most popular recipe!
- Best Easy Brownies
- Coconut Oil Brownies
- Copycat Cosmic Brownies
- Malted Brown Butter Brownies
Email This Recipe
Enter your email, and we’ll send it to your inbox.
Ingredients
- 1 cup (170 grams) semisweet chocolate chips
- 4 ounces (113 grams) high quality unsweetened chocolate, chopped
- 1 1/2 sticks (170 grams) unsalted butter, cut into pieces
- 3 large eggs plus 1 egg yolk
- 1 1/2 cups (300 grams) granulated sugar
- 1 teaspoon vanilla extract
- 3/4 cup (94 grams) all-purpose flour
- 1/4 teaspoon fine sea salt

Instructions
- Preheat the oven to 350°F. Line an 8×8-inch metal baking pan with foil or parchment and spray with nonstick cooking spray. Do NOT use glass or ceramic baking pans for this recipe, they will not allow the brownies to cook through the center.
- In a large microwave-safe bowl, combine the chocolate chips, unsweetened chocolate, and butter. Microwave for 1 minute, then stir. Continue heating in 30-second bursts, stirring between each burst, until the mixture is melted and smooth but not scorched. Remove from the microwave and let cool slightly.
- In a large bowl, use an electric mixer to beat the eggs, egg yolk, and sugar on medium-high speed until light and thick and ribbony, about 3 to 5 minutes or more depending on your mixer. Beat in the vanilla extract.
- Using a rubber spatula, gently stir in the cooled chocolate-butter mixture. Gently fold in the flour and salt until combined.
- Pour the batter into the prepared baking pan. Bake until a tester comes out with moist crumbs still attached, about 35 to 40 minutes. Do not overbake the brownies as they will continue to bake once they’re out of the oven.
- Let cool completely to room temperature before slicing. Serve at room temperature or chilled for an even fudgier texture.
Notes
This recipe was originally published in 2014 and updated with additional recipe tips and baking science info. Photos by Ashley McLaughlin.


These looked so amazing I HAD to try making them. I”m not sure why others had an issue with baking because these turned out perfectly. Crunchy on top and moist and chewy inside. The tester looked a bit moist when I tested for doneness, but I knew they would bake a little while cooling, which they did. I used the foil to lift them out of the pan after a couple of minutes so stop the cooking process. I took the idea from Carmel Blondie Pecan Brownies and put melted caramel on top and pecans on top of the caramel. They were a huge hit. Thanks Tessa.
I’m so thrilled to hear that, Pamela! xo
I made these today and they were perfect. I just used the usual unsweetened chocolate brand that’s widely available. I baked in a 9×9 Williams Sonoma gold pan, lined with foil and sprayed. They are so rich and decadent! Just delicious!!
I love this recipe! I’m wanting to make them more “Christmas-y” by putting peppermint baking chips in them. Do you think that would change the end result of how the brownies bake? Are there any adjustments you would make? Thank you!
hi tessa, im still having trouble finding unsweetened chocolate, i know unsweetened choc is 100% cocoa solids so can i use dark chocolate with a high percent of cocoa solids instead? like this one: https://www.tesco.com/groceries/en-GB/products/266160990
or if not can you recommend a different substitute?
thanks
This is one of the most incredible recipes! I tried this today and the brownies taste amazing.. airy, chocolatey wit her a crispy crust. I followed the recipe to the T, just that my brownies crumbled when I took them out of the baking pan.. where did i go wrong?
I like the flavor of chocolate in the newly baked pie. Thanks for the ideas
sorry, to correct, i get 16 brownies out of a pan, not 12.
I have baked the ultimate brownie a few times and i wanted to try the chewy brownie (link on this page) to compare. i baked one batch of each yesterday to taste compare and my preference is the ultimate brownie. Both are very good. the ultimate brownie is chewy enough and is a bit sweeter (not too sweet) and the chewy brownie is has a bitter’er’ chocolate flavour. also, personally for me, i didn’t really like that the chocolate chips in the chewy brownie dont really melt and i didn’t really like bitting into them. the ultimate brownie is dense and chewy and fudgy all at once. the top comes out shiny and crinkly and beatiful. regardless..both are excellent recipes and great tasting and fool proof. as an aside, i don’t line my tins. i used Teflon coated pans if you let them cool a bit, gently score the side of the pan, you can flip it over and the whole thing just pops out in your hand. i also add a package of chopped walnuts and it does not affect the outcome. i cut them into 12 pretty nice sized brownies.they come out high enough that you can cut them smaller to get more brownies. thanks for these great brownie recipes. its hard to find good ones!
Thanks for recipe. I will try today. Happy weekend!
Hi! I made this a few times before this and they all turned out well and tasted great!
But lately, eveytime i bake this, the top would be thick and hard and the inside would still be gooey. I’m not sure what has gone wrong, I made sure I used the exact same ingredients but for some reason my brownie has not turned out well :/
Hi Tessa,
I’ve been commissioned for my family’s event to make “cake-y” brownies with frosting. What frosting recipe goes well with these?
Also, how can I tweak these to make them less fudgy to meet the request? I’m assuming less eggs or perhaps less egg yolks?
Second, I will also be making a batch of fudgy, because, well, I like my brownies fudgy. Also making your Ultimate Chocolate Chip cookies.
Thanks for the great recipes and technical information.
So I made these twice. First time kept it in for exactly 40 min and the top was great the inside came out right with the toothpic test but when it came to completely cooling then cutting they tasted pretty raw on the inside. Very confusing. Baked them again and left them for an extra 10 min and they were MUCH better. Still a little overly moist and not crumbly at all in the middle but they were devoured by all the guests that came over that night. I think my oven might run a little hotter than it should since the outside was super chewy (MY FAV) but overall this is still the best recipe I’ve come across basing it on my 2nd attempt.
Hi Tina, I’d definitely suggest purchasing an oven thermometer to check the accuracy of your oven! Most home ovens are off a little. Also, what kind of baking pan did you use? Lastly, it’s important to be super careful not to overmix the batter. The moment the flour is incorporated stop mixing 🙂