


This post may contain affiliate links. Read our disclosure policy.


Tessa’s Recipe Rundown
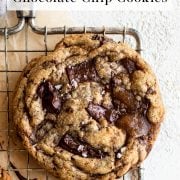
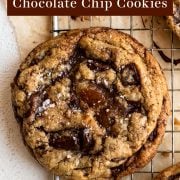
Taste: Possibly the most flavorful chocolate chip cookies I’ve ever tasted.
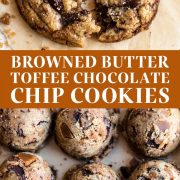
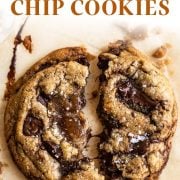
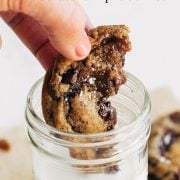
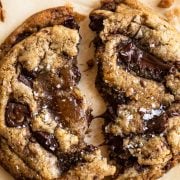
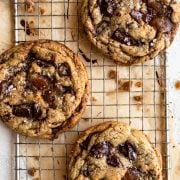
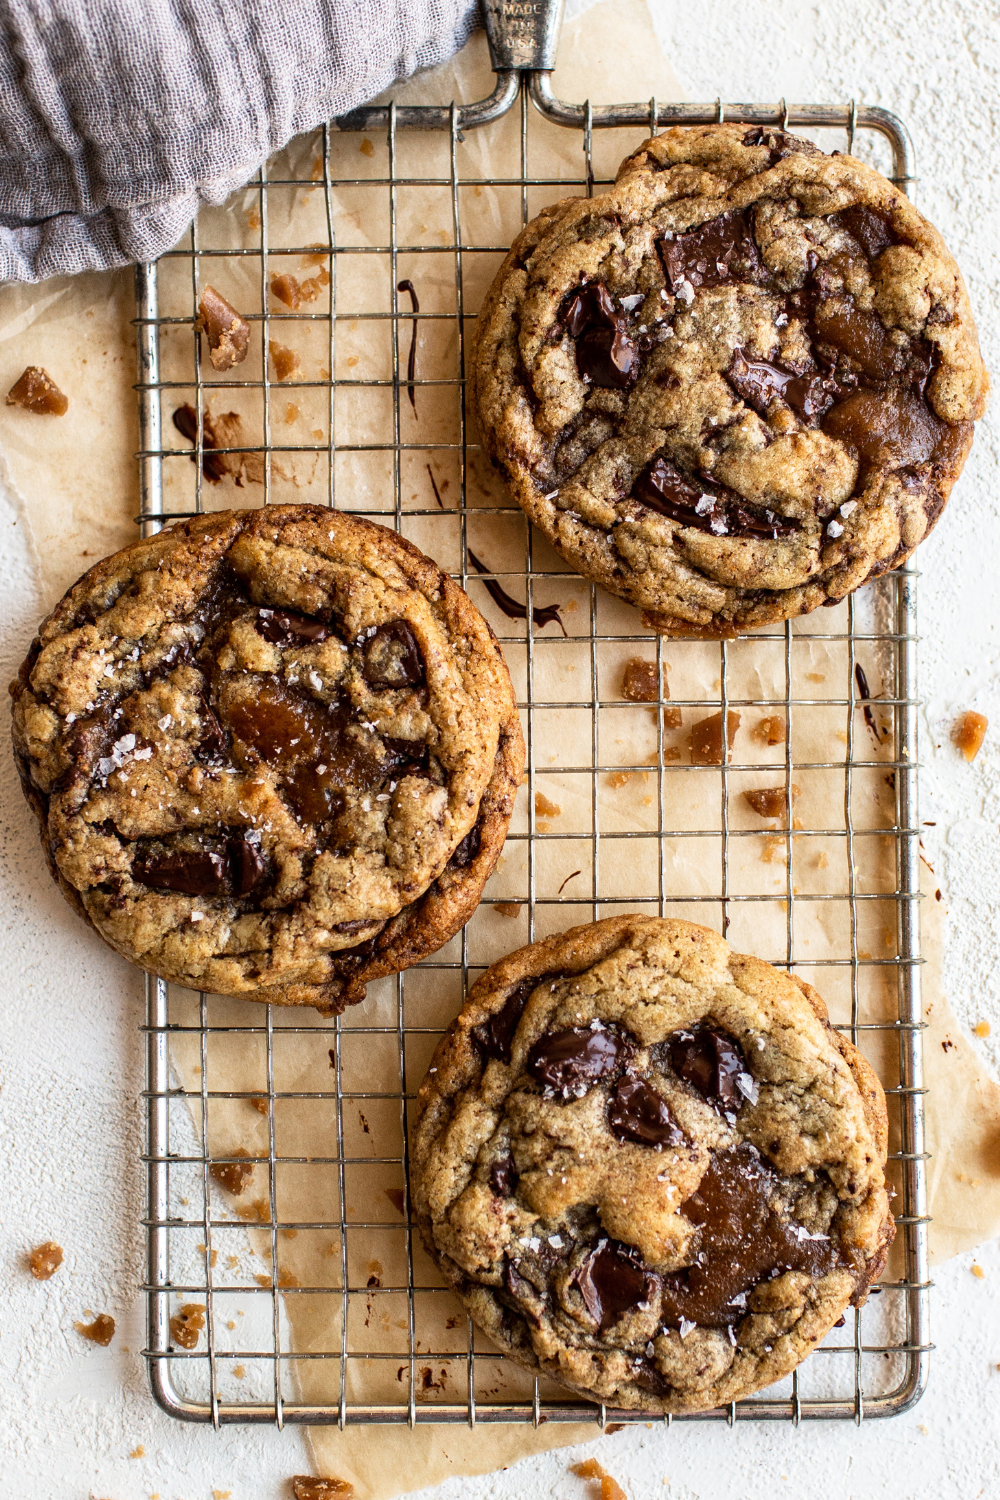
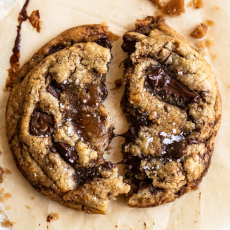
Texture: Big, thick, chewy, slightly gooey, with perfectly sticky bits of toffee.
Ease: This is a higher effort recipe. Perfect for a weekend bake or special occasion, or when you truly need to impress.
Why you’ll love this recipe: I’ve been told by hundreds of people this recipe has ruined all other chocolate chip cookies for them…
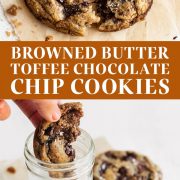
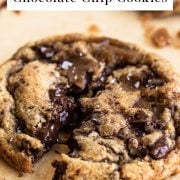
These Browned Butter Toffee Chocolate Chip Cookies are about to be the BEST cookies you’ve ever tried.
This recipe has gone completely viral. It’s been featured on Good Morning America, and TikTok videos of people making this recipe have gotten millions of views.
I originally published this recipe in 2014 but just had to update it with recipe improvements and new photos. These cookies deserved it!
In fact, my recipe photographer Ashley, who shot all 50 recipes in my cookie cookbook, said this may just be my BEST COOKIE RECIPE yet. People have been known to fight over these cookies. Yes, they’re that good.
These are one of the most flavorful chocolate chip cookies I’ve ever tasted, and the texture is absolutely perfect. You NEED to try this recipe. If your friends and family are anything like mine, they plead and beg you to make it again and again.
Yes, this recipe is a little extra work. But the best things in life usually are.
You may even want to make a double batch so you have plenty of dough to freeze when the craving hits. Trust me… it WILL hit!
Seriously THE BEST cookie I’ve ever made!! The homemade toffee chips are a game changer!
How to Brown Butter:
- Use a stainless steel sauté pan for best results.
- Nonstick prevents the butter from browning completely and prevents you from being able to visually see how browned it’s getting. Same with the dark color of cast iron.
- Something with a wider surface area, like a sauté pan over a saucepan, encourages browning more quickly.
- Don’t step away from butter that’s browning after it’s melted. It can go from browned to burnt quickly.
- At the same time, don’t be afraid of letting that color develop. It should become a rich and fragrant amber.
- Scrape all the brown bits into the mixing bowl – that’s where the flavor lives!
- I highly recommend using unsalted butter – learn why here.
- Learn all my tips and tricks for browning butter in my How to Brown Butter article here.
Ingredients Notes
Do I Really Need to Use Bread Flour?
You don’t absolutely have to use bread flour, but it adds a ton of chewy texture that’s worth the extra trip to the store.
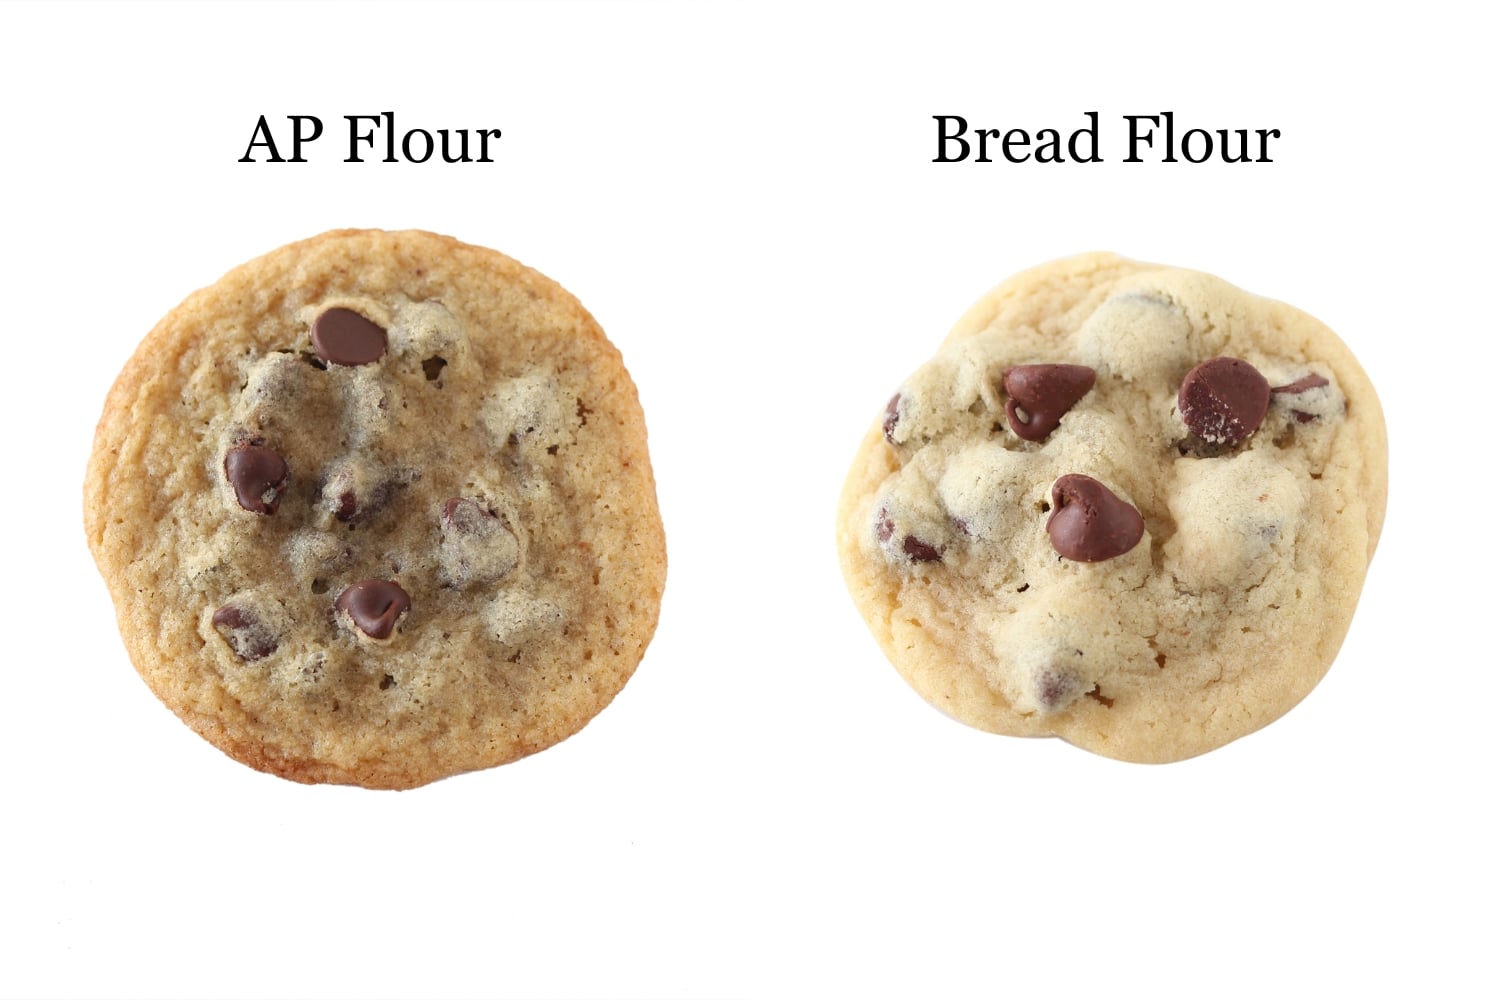
If you don’t have bread flour, then use a total of 2 1/2 cups all-purpose flour in the recipe. Make sure to weigh your flour accurately. If you add too much flour, your cookies may end up dry, dense, or crumbly cookies that barely spread.
Granulated Sugar + Dark Brown Sugar
This combination brings sweetness, a fantastic texture, and a butterscotch flavor that’s so rich and delicious. The extra molasses in the dark brown sugar draws in more moisture, making the cookies thicker, softer, and chewier. You can use light brown sugar instead, but you may lose some of the additional flavor.
Eggs + an Extra Yolk
Eggs are essential to forming a beautifully pliable dough and cookies that stay soft for days – and we’re adding an extra yolk for extra richness and added chewiness. Eggs should be at room temperature when beginning your dough, but separate the one yolk from its white while cold for best results (yolks are more fragile and tend to break more easily when warmer).
Espresso Powder
I really like the way the bitter espresso plays off the sweetness of the toffee and the nuttiness of the browned butter. It’s totally optional, so if you don’t have it or don’t want to use it, feel free to simply omit it.
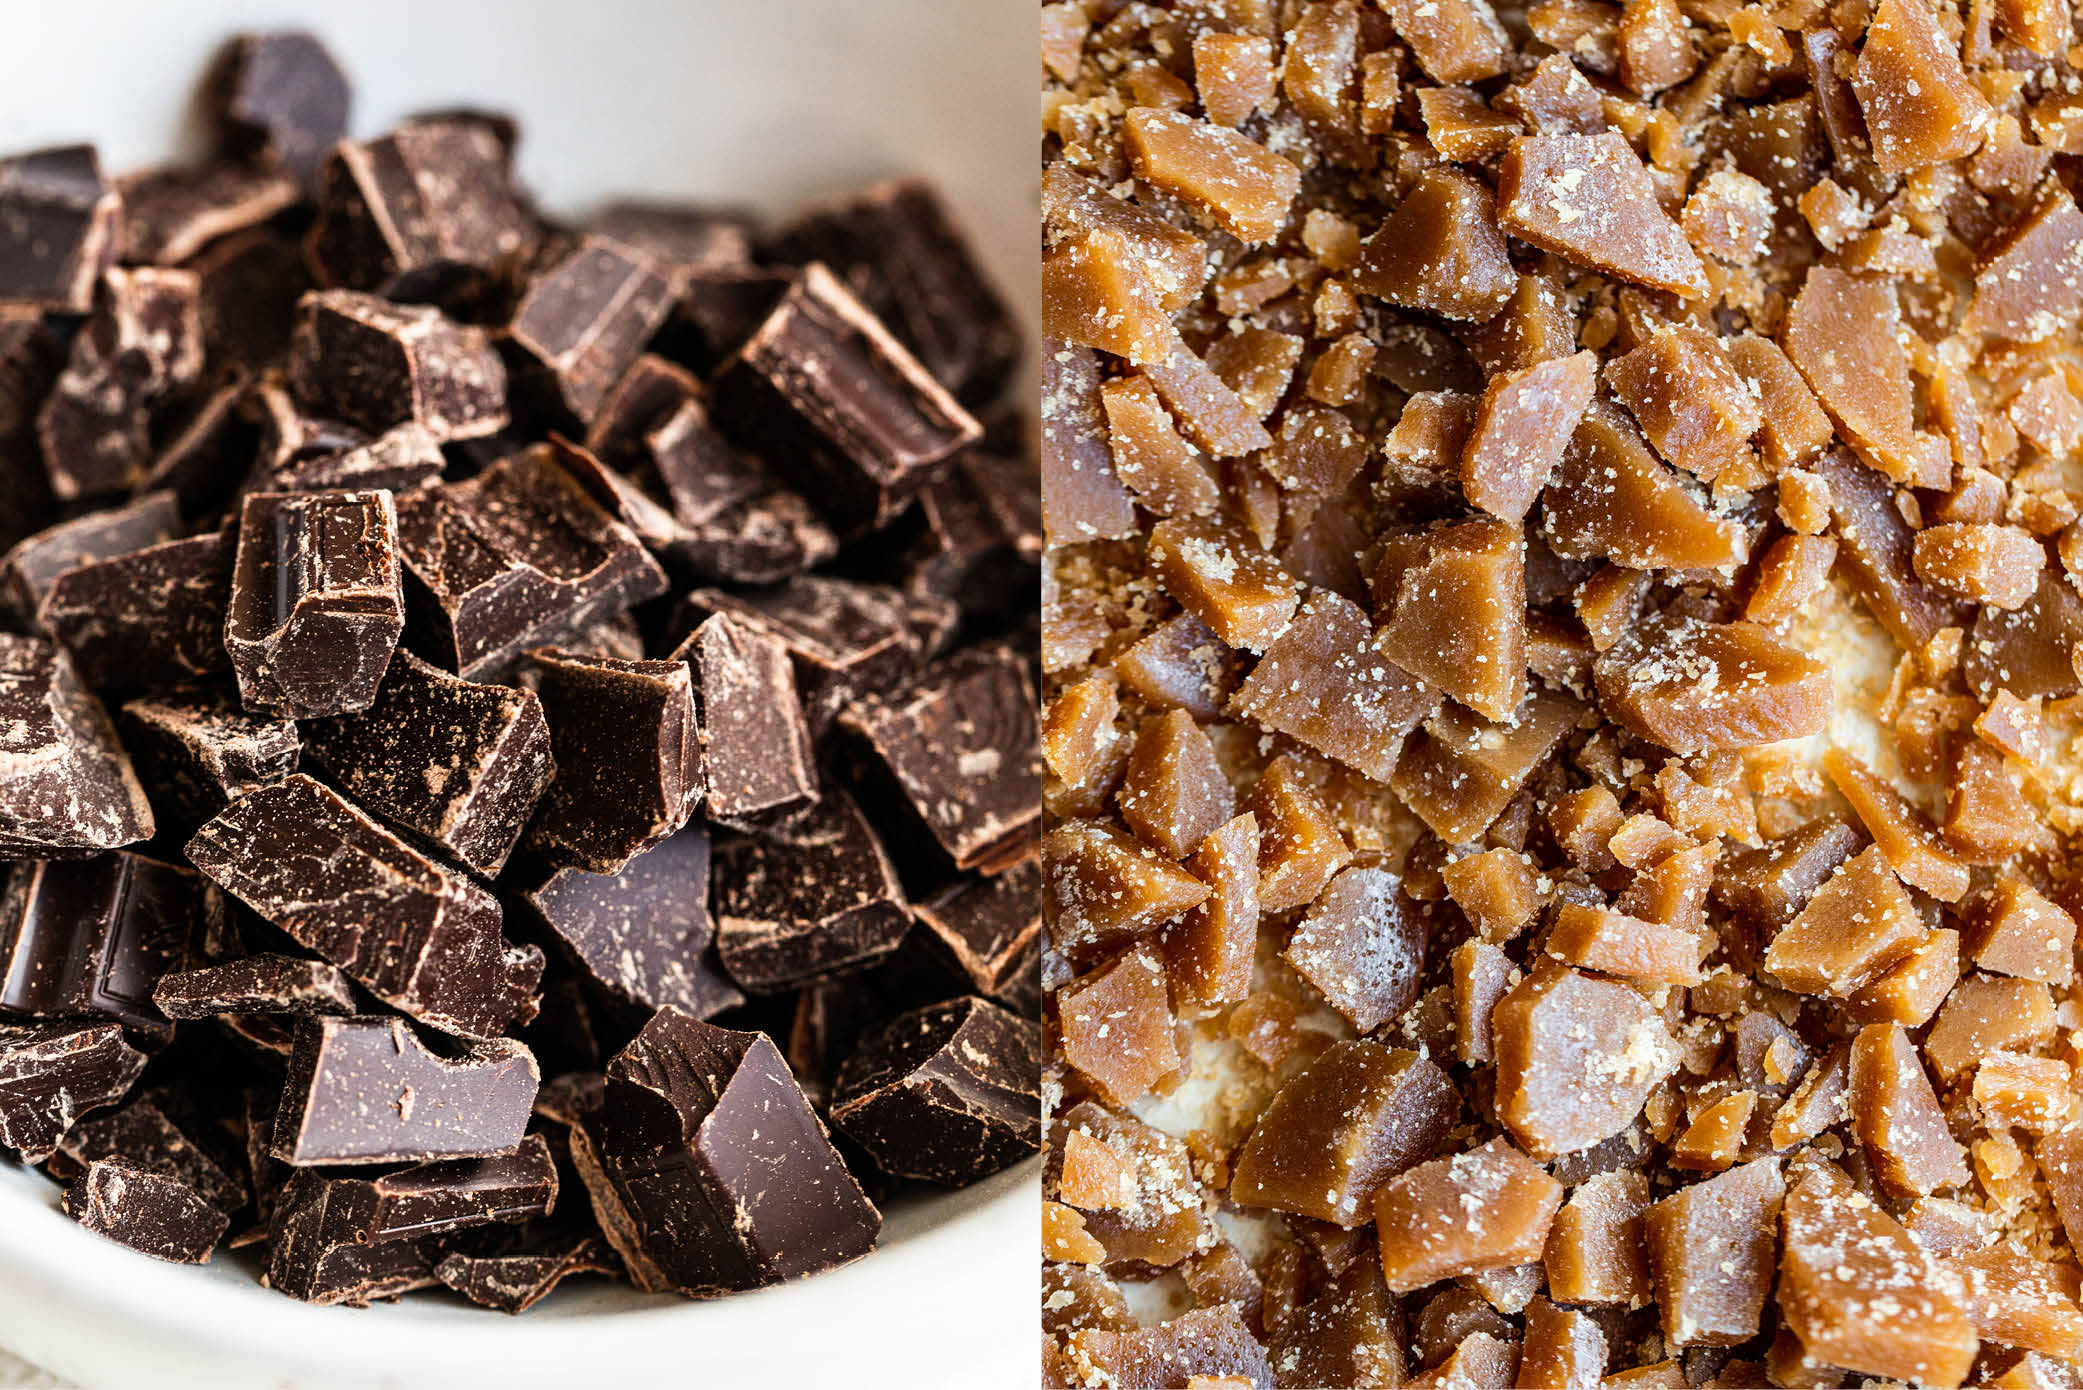
Chocolate
I like to use semi-sweet Ghirardelli baking bars and chop them up coarsely for these Browned Butter Toffee Chocolate Chip Cookies. Feel free to use chocolate chips, but note that you won’t have the same delicious marbled result you get from chopping your own chocolate.
Toffee Bits
You can find Heath brand toffee chips at many grocery stores, typically located with chocolate chips in the baking aisle.
If you can’t find them, I have a super easy recipe to DIY Homemade Toffee Bits which I used for these cookies here. It takes just 15 minutes and they taste SO much better than store-bought!
Do I Really Have to Chill the Cookie Dough?
I know, it’s annoying, but I promise you it’s SO worth it, especially for this recipe which uses melted browned butter. Both the taste and texture of the cookie improve during this time. Think of it as a marinating time where everything just gets better and better!!
Freezing does not work the same as chilling, so there are no shortcuts here. Learn more about chilling cookie dough in this article here.
Portioning the Cookie Dough Before vs. After Chilling
- Refrigerate the dough as a whole if you don’t have space in your fridge for scoops. Let the dough come completely to room temperature before scooping, which may take a couple hours.
- Refrigerate pre-scooped dough if you’ve got the space, and can commit to keeping the scoops well sealed in an airtight container so they won’t dry out.
- Simply bake the pre-portioned scoops straight from the fridge after the 24-72 hour chill time!
Freezing Instructions
Freeze the portioned cookie dough balls after letting the dough marinate in the fridge for at least 24 hours. Place dough balls on a baking sheet and freeze until solid. Remove frozen balls of dough to an airtight container and store for up to 6 weeks.
To bake from frozen, drop the temperature to 325°F and add about 3 minutes to the baking time. Click here for my full guide on how to freeze and bake frozen dough.
FAQs
Yes, though I much prefer the crisp edges, chewy texture, and soft center 3-tablespoon-sized Browned Butter Toffee Chocolate Chip Cookies. If you want to bake smaller cookies, scoop into 1 1/2 tablespoon-sized balls and bake for 10 to 12 minutes.
No! I’ve taken the water loss that naturally occurs from browning butter into account when I designed this recipe.
Yes. The cookie will spread out too much if baked immediately after mixing the dough. I’ve gotten away with chilling for as little as 2 hours when I’ve been impatient. But longer chilling times really will improve the flavor and texture. You can always bake a few off the day you make the dough, and bake off the rest later!
You can, but you’ll be losing some of that magical chewy texture. If using all AP-flour, use 2 cups (254g) total.
Email This Recipe
Enter your email, and we’ll send it to your inbox.
Ingredients
- 2 sticks (227 grams) unsalted butter
- 1/2 (100 grams) cup granulated sugar
- 1 cup (200 grams) lightly packed dark brown sugar
- 1 1/2 cups (190 grams) all-purpose flour
- 1 cup (127 grams) bread flour
- 1 teaspoon baking soda
- 1/2 teaspoon baking powder
- 1 teaspoon fine sea salt
- 1 teaspoon instant espresso powder, optional
- 2 large eggs plus 1 egg yolk, at room temperature
- 2 teaspoons vanilla
- 10 ounces (283 grams) semisweet chocolate, chopped
- 1 cup
homemade toffee bits , or Heath brand - Flaky sea salt, for finishing


Instructions
- In a medium stainless steel sauté pan set over medium heat, melt the butter. Swirling the pan occasionally, continue to cook the butter. It should become foamy with audible cracking and popping noises. Once the crackling becomes quieter, continue to swirl the pan or stir until the butter develops a nutty aroma and brown bits start to form at the bottom. Once the bits are amber in color, remove from heat and pour into a mixing bowl. Be sure to keep the brown bits at the bottom of the pan as well, they hold so much flavor!
- Note: You do NOT need to measure the butter after browning, I've engineered this recipe to account for the average water loss.
- Add the granulated sugar and brown sugar to the hot butter, stirring to combine. Set aside to cool to room temperature.
- In a medium bowl, combine the flours, baking soda, baking powder, salt, and espresso powder.
- To the cooled butter mixture, whisk in the eggs, yolk, and vanilla until combined. Gradually stir in the flour mixture with a rubber spatula. Stir in the chocolate chunks and toffee bits.
- Wrap dough in plastic wrap and refrigerate for at least 4 hours, preferably 24 hours, but no more than 72 hours. You can chill the scooped dough so long as it's well sealed to avoid drying out. If you chill the entire mass of dough, let it come to room temperature so it's soft enough to scoop.
- Preheat the oven to 350ºF. Line baking sheets with parchment paper.
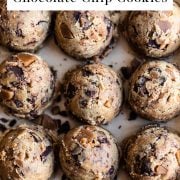
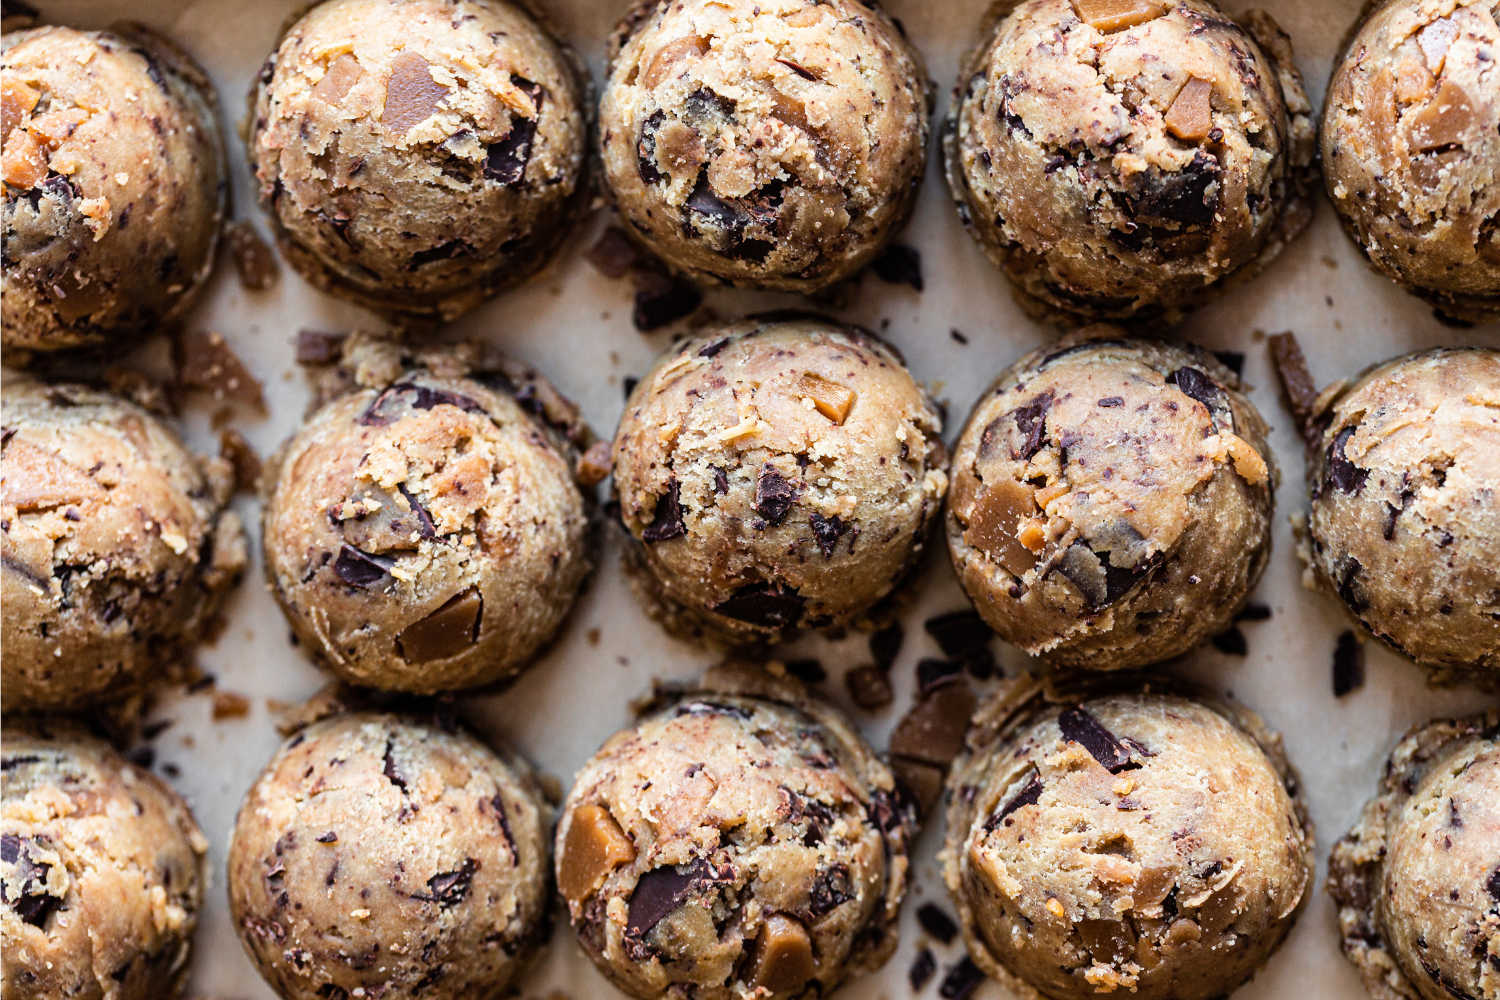
- Divide the dough into 3-tablespoon sized balls using a large cookie scoop and drop onto prepared baking sheets. Dough may be slightly challenging to scoop.
- At this point, you can portion the dough, place it on a baking sheet, and freeze just until solid. Remove frozen balls of dough to an airtight container and store for up to 6 weeks.
- Bake for 12 to 14 minutes, or until golden brown. Remove from the oven and immediately use a round cookie or biscuit cutter slightly larger than each cookie to gently reshape them into perfectly round, thicker cookies.
- Sprinkle flaky sea salt on top of the cookies, if desired. Let cookies cool for 2 minutes before removing to wire racks to cool completely.
- Store in an airtight container at room temperature for up to 3 days.
More Recipes You’ll Love:
- Toffee Brownies
- Hot Cocoa Cookies
- Bakery Style Chocolate Chip Cookies
- Brown Butter Dulce de Leche Cookie Cups
- Peanut Butter Toffee Chocolate Chunk Bars
- Bourbon Rye Oatmeal Chocolate Chunk Cookies
- Brown Butter Chocolate Chip Cookies
- Oatmeal Chocolate Chip Cookies
- Visit my full Cookie Recipes index for more recipes, tips, and insights into the science of cookie baking!
This post was originally published in 2014 and updated with recipe improvements, more tips, and new photos. Photos by Ashley McLaughlin.


Fantastic post! I truly appreciated the insights you provided. It’s always fascinating to explore various viewpoints on this topic. Eager to read more of your work!
I loved this recipe. I made them to hand out to loved ones for Christmas. Everyone loved them. I got lots of praise. Thank you so much for this recipe. I just wanted to try making them again but this time with oatmeal muffin mix instead of bread flour. Would that still make a heavy, soft gooey cookie?
Thank you for sharing your recipe with us.
So happy to hear these cookies were such a hit, thank you for sharing that! 🙂 You’re totally welcome to experiment with oatmeal muffin mix, but just keep in mind that swapping it in for the bread flour will significantly change the taste, texture, and moisture of the dough—especially since muffin mix usually contains leaveners and sugar too. I’d love to hear how they turn out if you give it a go!
The cookies turned out so good. I used the Quaker oatmeal muffin mix instead of bread flour. I did have to leave them in the oven a little longer for about 20 minutes instead of 12 minutes. The main thing I noticed was that the cookies weren’t as sweet and the cinnamon from the muffin mix complimented the rest of the recipe so well. I truly appreciate this recipe and having the ability to come back and tweak it however I want. Everyone thinks I’m a professional baker LOL. Thank you again for everything.
Love hearing that it was a success! There’s honestly nothing more fun than experimenting with recipes in the kitchen 🙂 Way to go!
Hello,
Step 8 is confusing.
“At this point, you can portion the dough, place it on a baking sheet, and freeze just until solid. Remove frozen balls of dough to an airtight container and store for up to 6 weeks.”
Am I supposed to put the cookie portions that i just scooped and want to bake in the freezer to get solid, then bake them after they are frozen
OR
is the freezing part only for the people who want to store the cookies long-term?
Otherwise it sounds like I’m supposed to scoop the portions to the baking sheet, then put the baking sheet in the freezer, which doesn’t make sense given the size of the baking sheet.
First time baking cookies from scratch so not sure.
Thanks,
Nathan
Hi Nathan, great question! The freezing step is only for those who want to store the cookie dough for later. If you’re baking the cookies right away, you can skip that part! You’ll just chill the dough in step #4 (either scooped or in one big mass), then bake as directed. Check out Tessa’s tips above the recipe for more details. I hope that helps! Let us know what you think of this recipe. Happy baking!
I like to weigh the dough so each cookie is the same. Do you know the measurement for that?
I made these to give as gifts for a group at my church. I baked a cookie after 24 hrs just to test and see and wow oh wow so fantastic! I’m wondering why no more than 72 hrs? To bake fresh for them I would be at 96 hrs. Should I freeze to keep in the 72 hr window or is 96 ok? Thanks for this wonderful recipe!
Hi Stephanie! Thanks for your patience as our team is out of office over the weekend, but hopefully, you saw the link we provided above the recipe that goes into more detail about chilling cookie dough! We found that chilling dough longer than 72 hours can result in it starting to dry out, which affects the taste and texture.
If you ever need to make cookies more than 72 hours in advance, we recommend chilling for at least 24 hours (the chilling time is crucial, don’t skip it!), then freezing the dough. You can even bake the dough balls directly from frozen, which makes having fresh, warm cookies super easy! Our team always has cookie dough in the freezer, ready to bake at a moment’s notice 🙂 I hope that helps!
These cookies are amazing. I do have a question.
In the description where it says you don’t have to use bread flour, you say to use 2 1/2 cups all purpose flour to sub.
But in the actual recipe it says to use 1 1/2 cups all-purpose flour.
I’m confused on the actual amount of all purpose flour to use?
Hi, I think she meant you may substitute the bread flour with apf, hence a total of 2/12 cups.
Hi Maria! This recipe calls for both bread flour (1 cup) and all-purpose flour (1 1/2 cups). If you only have all-purpose flour, you’ll need to replace the bread flour with all-purpose flour, which would mean using a total of 2 1/2 cups of all-purpose flour. Does that make more sense?
Mine melted and spread everywhere and I used a scale and followed the recipe. Not sure what happened.
You probably did not include the extra cup of flour
This is my all time favorite cookie recipe and my absolute “go to” every time I have something I need or want to make cookies for! They are definitely worth the extra time required for chilling and freeze so nicely to keep a stash in the freezer at all times. I share this recipe with anyone and everyone that I can! 😊
These are my new favorite! The flavor is amazing! The perfect combination of crisp around the edges and chewy is the middle.
Quick question! If it’s 227 grams before browning what should the weight be after browning???? I feel like my first batch was so liquidy before refrigeration and I measured with a scale any tips
Hi Sarah! Great question. No need to weigh the browned butter-this recipe is formulated to work without adjusting for the small amount of water that evaporates during the browning process. The dough should be fairly thick before chilling, so I totally get why a liquidy texture would be concerning! Since you measured with a scale (yay!), let’s troubleshoot. Did you make any substitutions? Was your butter/sugar mixture fully cooled to room temperature before the other ingredients were added? It can be tricky to pinpoint what went wrong without having baked alongside you, but I’d love to help figure out what might have happened!
These cookies are SO good! I think mine spread just a little too much and got a little too flat. Any suggestions on how to avoid this next time? I used a scale, chilled for 24 hours, and my oven rack was in the middle. These are just SO good I want to make them PERFECT!
These cookies are so good, my family and friends loved them and raved about them constantly!
although i had one issue, the batter seemed to speard more than it should while baking so the cookies would stick to eachother, isvthere anyway to stop that?