Tessa’s Recipe Rundown
Taste: The cocoa cakes and marshmallow filling just remind you of childhood and the feeling of being so thrilled to have dessert.
Texture: The whoopie pies are cakey yet firm while the filling is smooth and thick.
Ease: As long as you have an electric mixer of some sort (stand or hand-held) this recipe is relatively easy. It does dirty a few dishes.
Appearance: Is there anything better than a cake sandwich??
Pros: Fun, reminiscent dessert. You can also freeze them!
Cons: None.
Would I make this again? These would be great for so many occasions and I plan to get creative with the filling flavors!
This post may contain affiliate links. Read our disclosure policy.
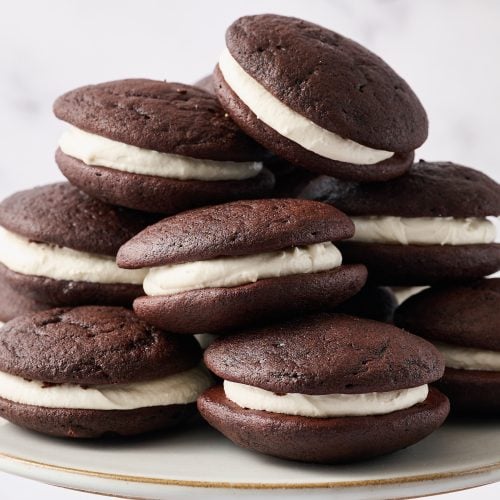
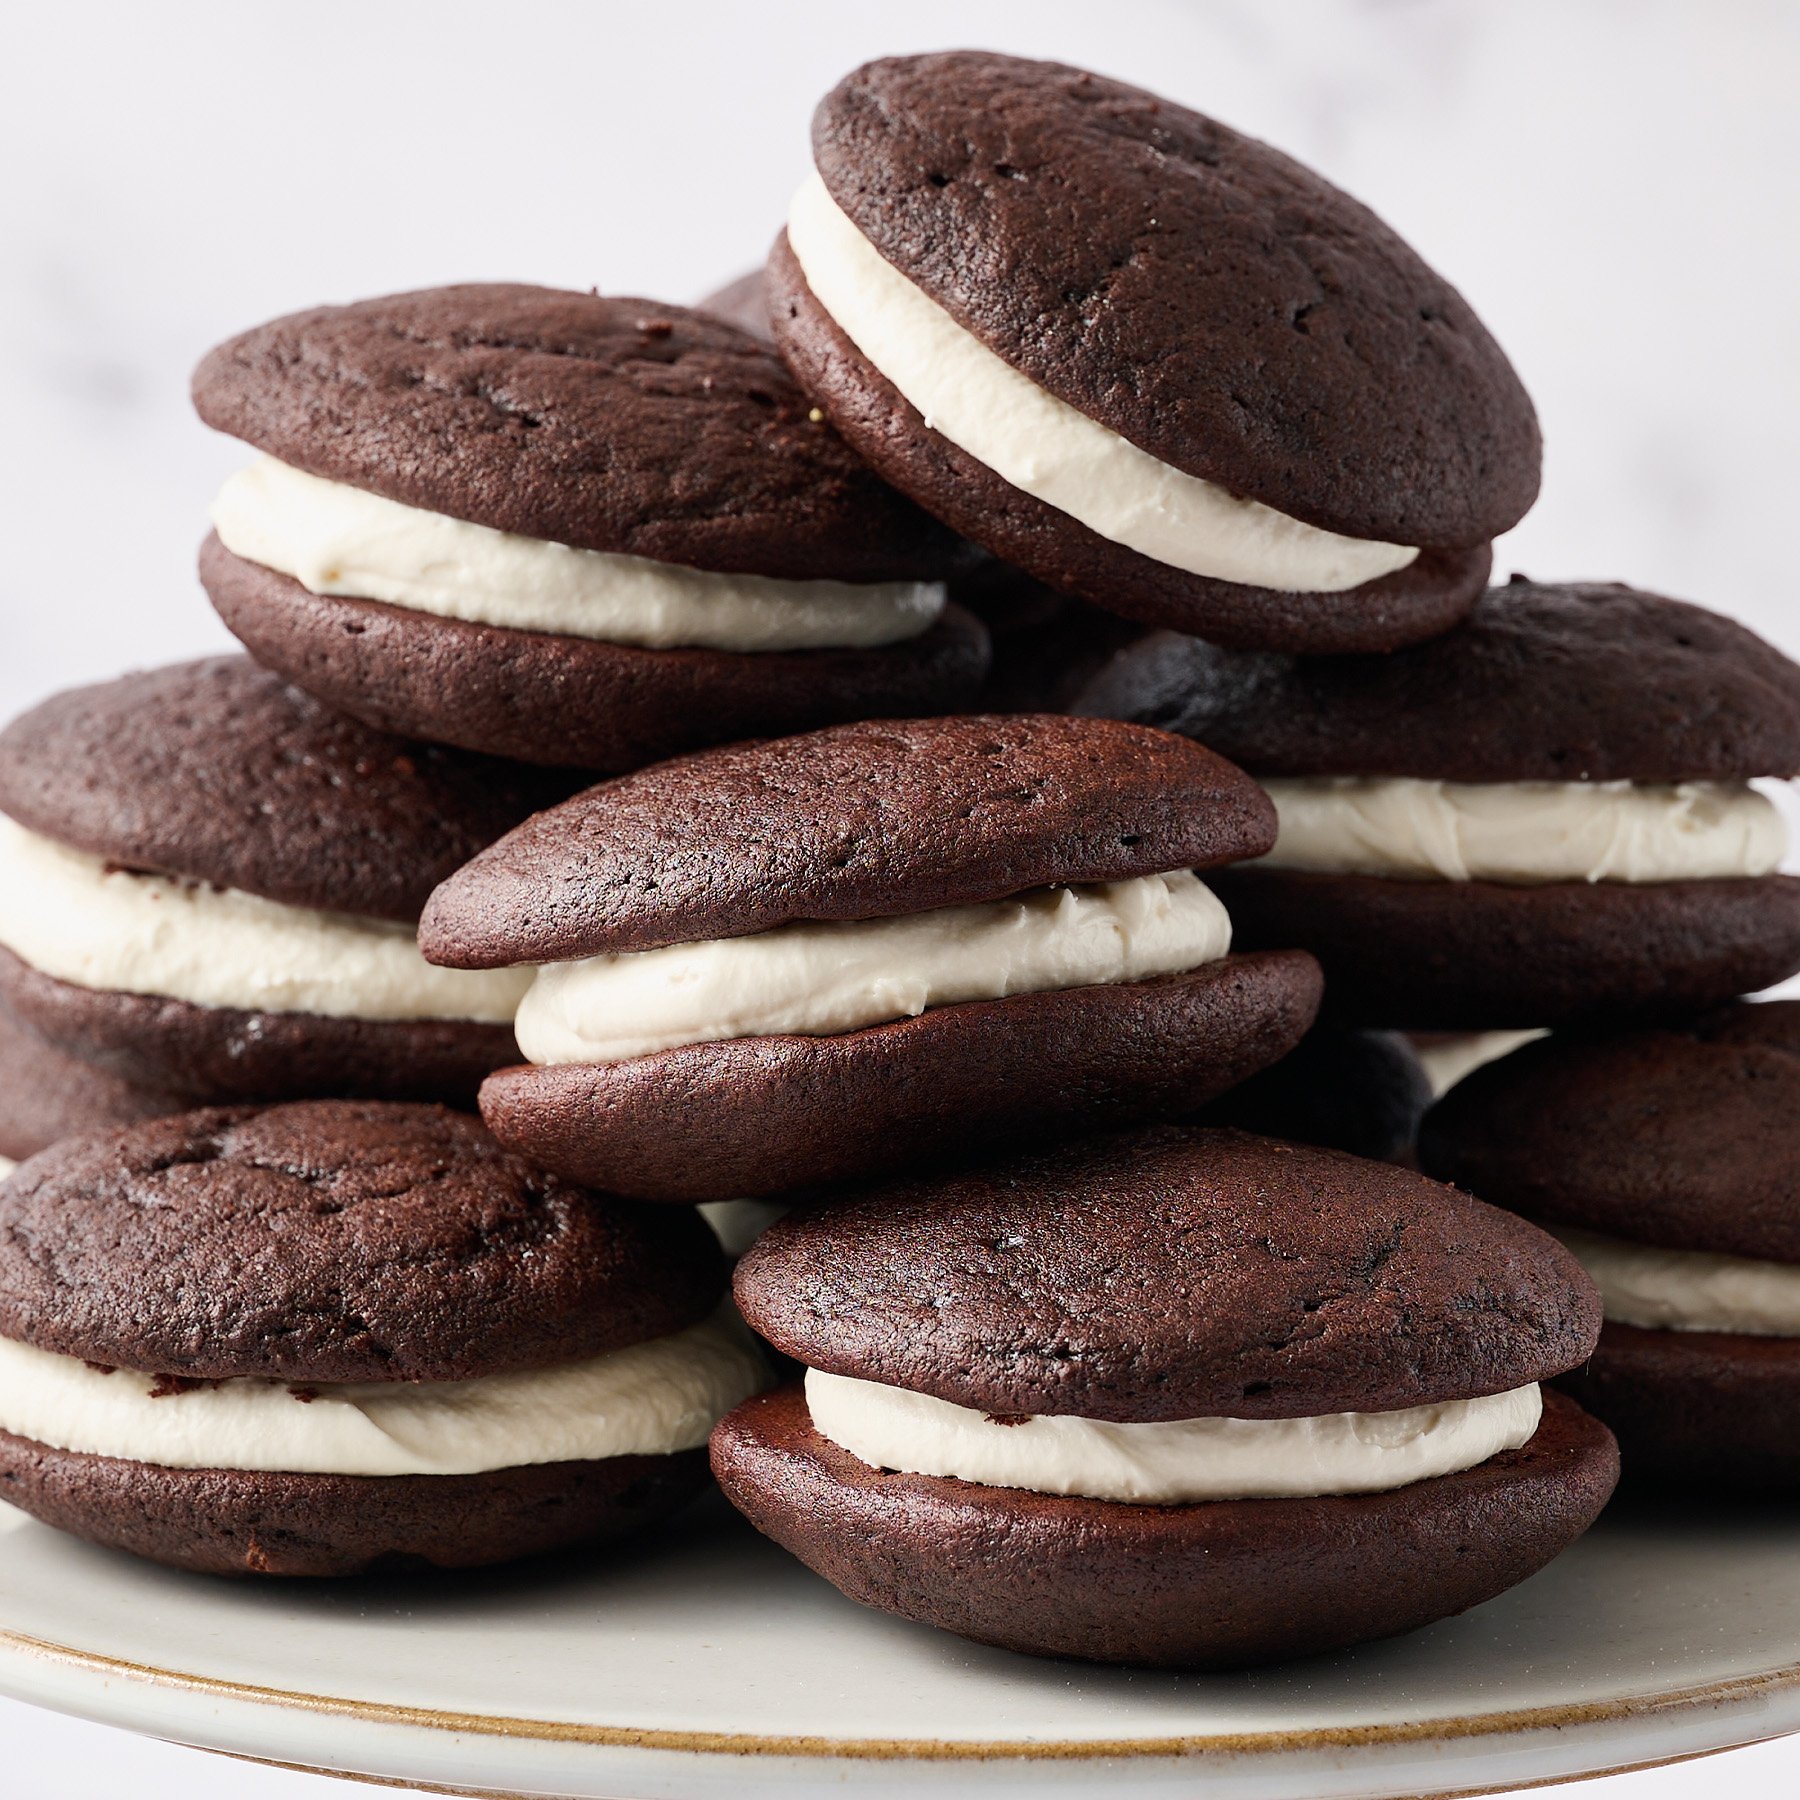
Is there anything better than a cake sandwich? Classic Whoopie Pies feature cocoa cakes with a creamy marshmallow filling.
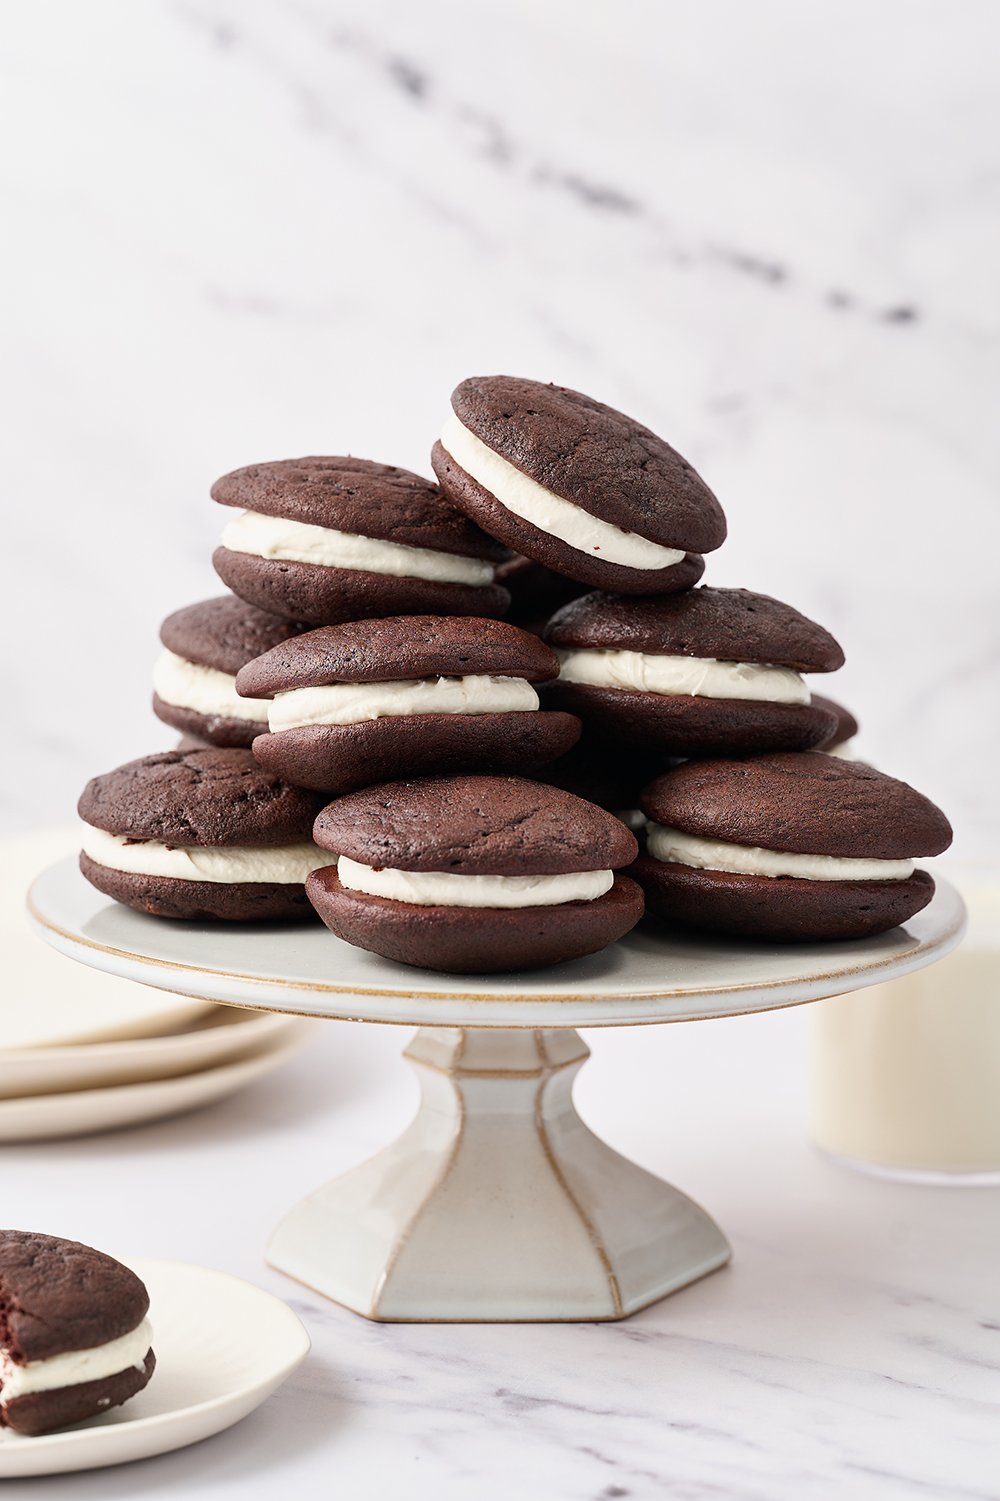
This recipe was originally posted in 2012 and desperately needed some recipe updates and new photos. Basically, a total makeover. So we went to work tweaking the recipe. By the end of the week I had SO many Whoopie Pies at the house… more than we could ever actually eat.
Joe and I took them to our friends house to share. Before we even made it to the back patio where everyone was hanging out, their two kids both had a Whoopie Pie in each hand and were chowing down. If you make this recipe… you might also want to double down on the Whoopie Pies!
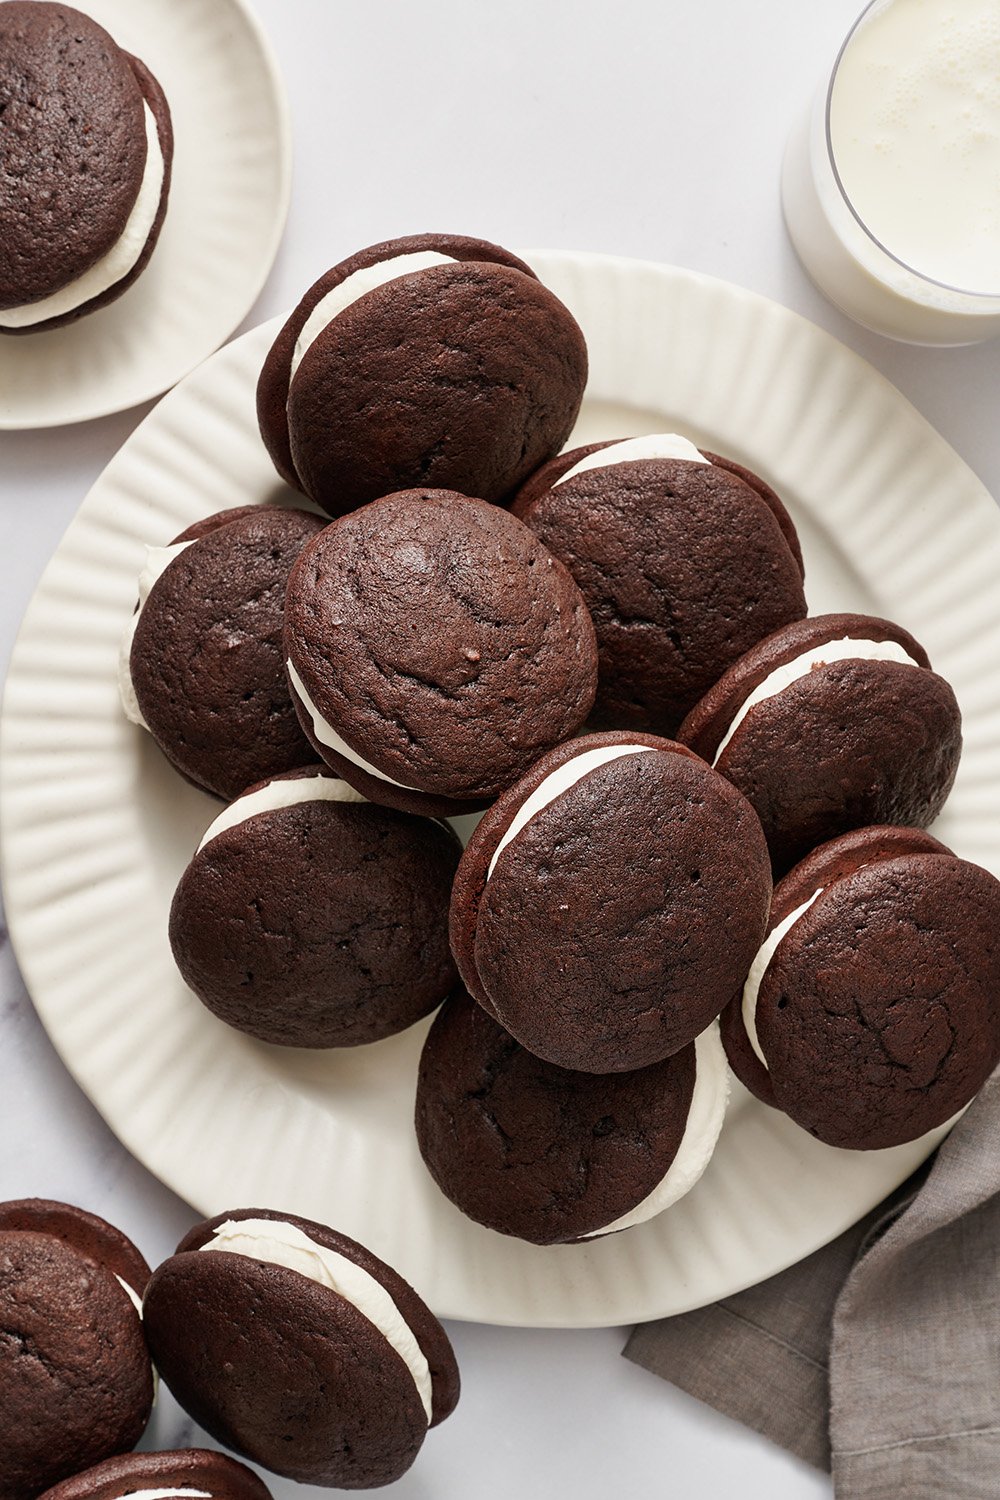
Usually I don’t like things that have a more cakey texture. I prefer my cookies to be chewy and my brownies to be fudgy.
However, for some reason the texture of a whoopie pie just makes me feel like a kid again.
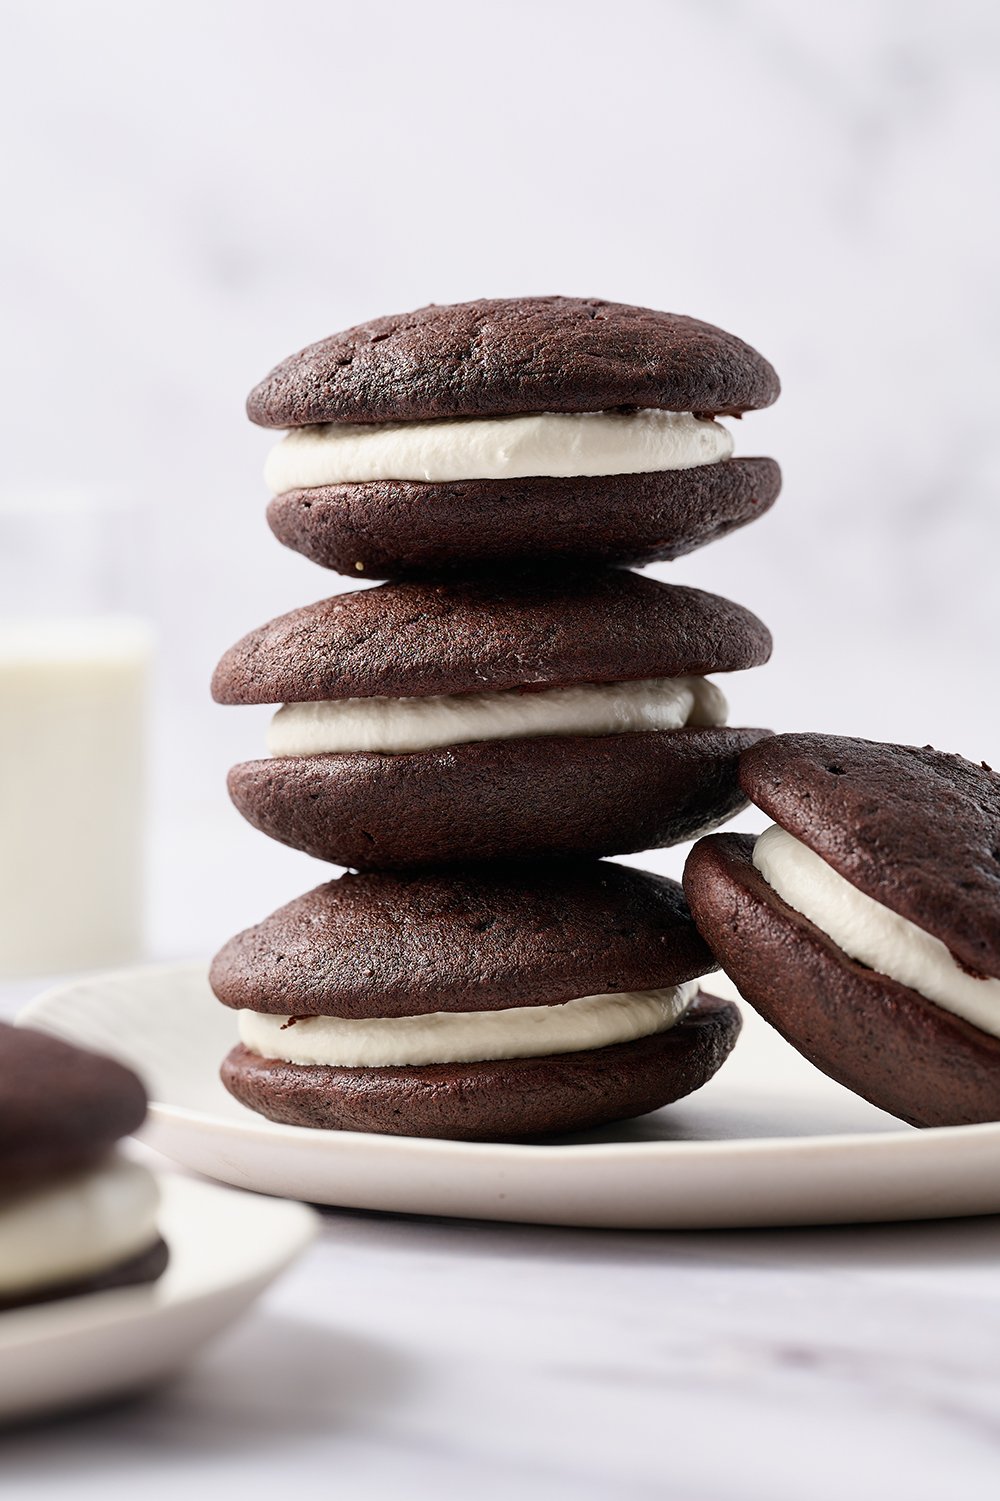
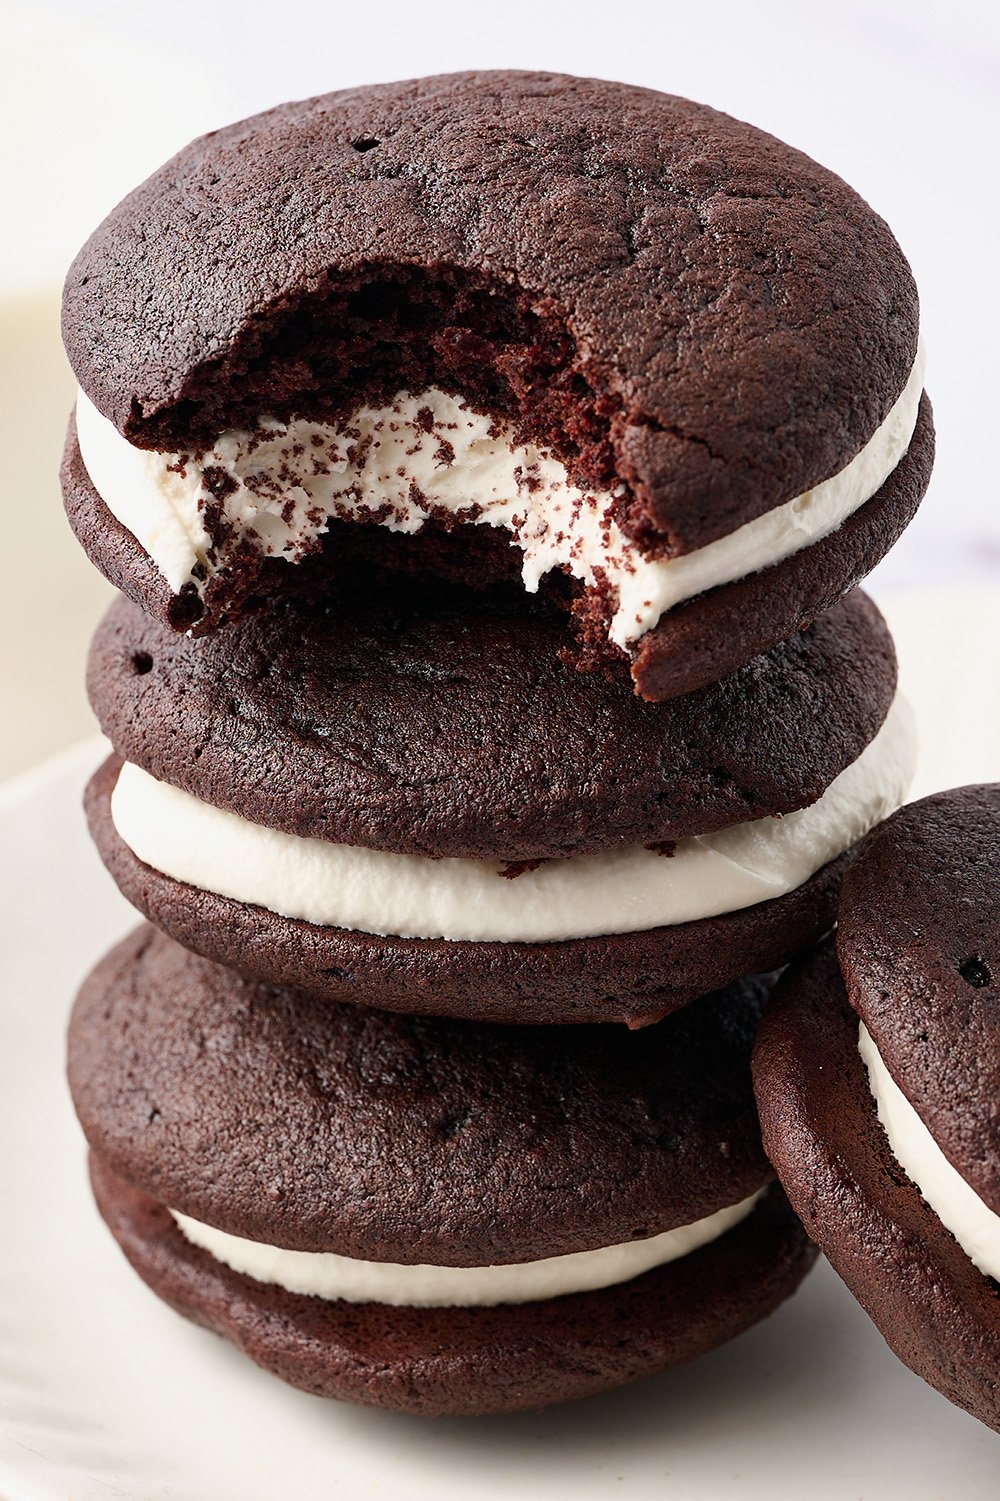
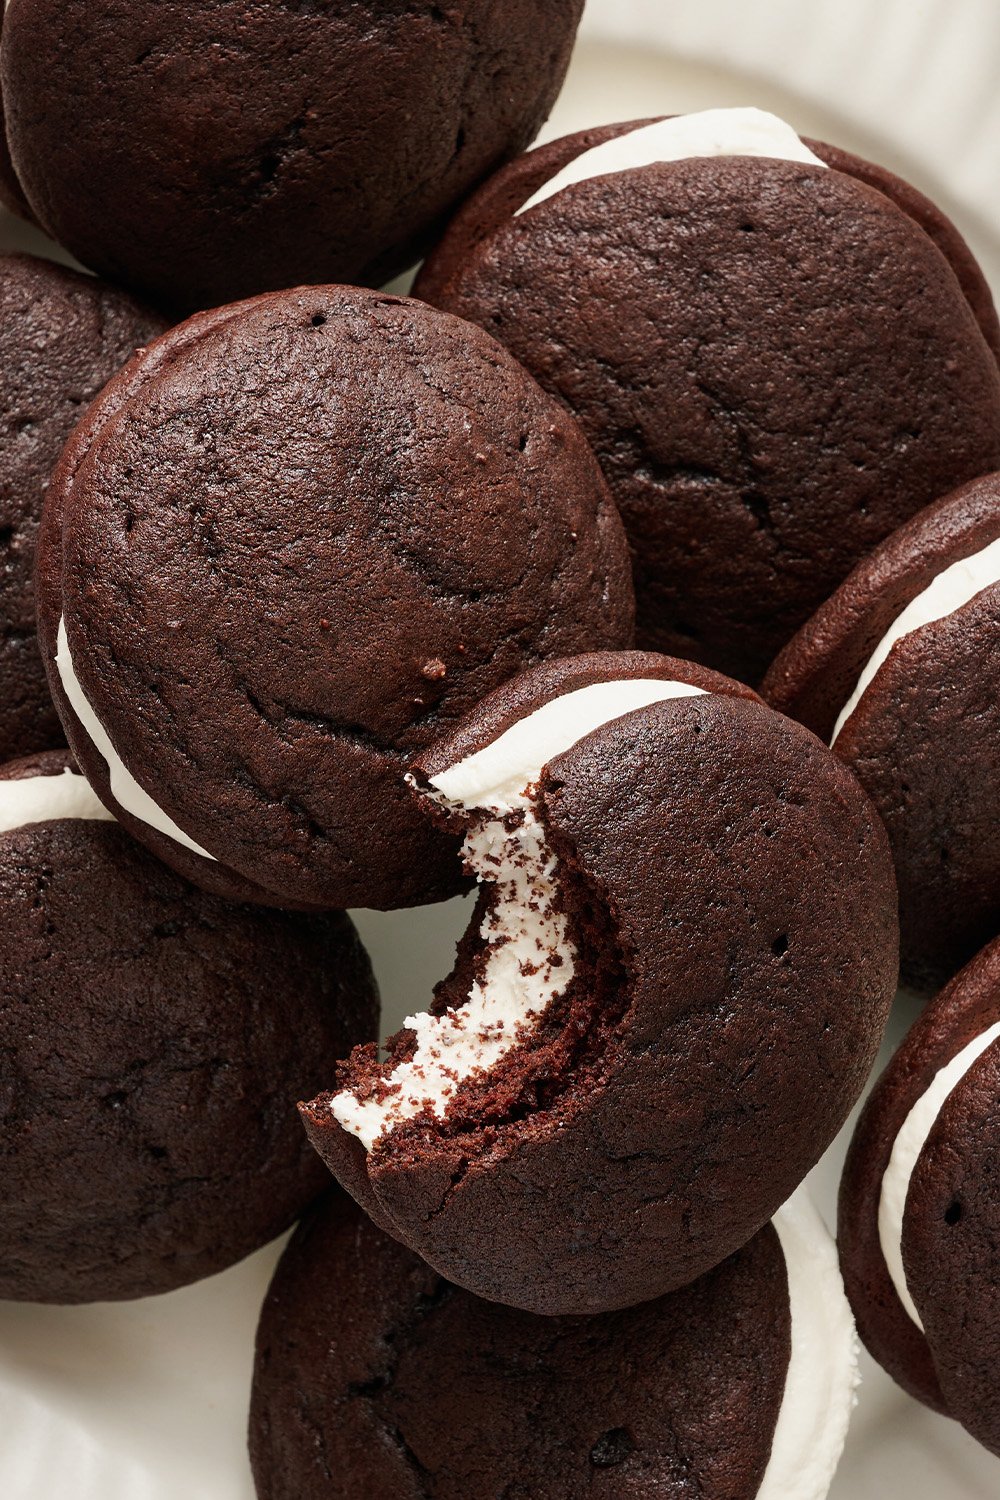
They’re slightly chewy around the edges but soft and cakey throughout. Not to mention each ‘pie’ is filled high with luscious marshmallow fluff frosting.
I think you’re going to love this recipe for Whoopie Pies. They look like they came straight out of a bakery!
How to Make Whoopie Pies
What is a Whoopie Pie?
Despite the name, Whoopie Pies aren’t pies at all! The base is neither cake nor cookie. The texture is somewhere between the two. I fill mine with a marshmallow creme frosting, but you could also use buttercream or a cream cheese frosting.
Originally created in either New England or Pennsylvania (the origins are unclear), they are also known as ‘gobs.’ The store-bought varieties are often dry and overly sweet… much better to make them from scratch!
Pro tip: store these in the fridge and enjoy chilled, for maximum fudgy deliciousness.
Ingredients for Whoopie Pies:
- All-purpose flour – Measured correctly. If you add too much flour, you may end up with dense, hard Whoopie Pies.
- Cocoa powder – We’re using Dutch-processed cocoa powder here. More on that below.
- Baking soda – Check out my Baking Soda vs. Baking Powder article to learn about the surprising differences between these two leaveners, and learn how to test that your leaveners are still fresh.
- Salt – I prefer to use fine sea salt but you can also use table salt.
- Butter – Always use unsalted butter in baking. It’s important that your butter is at a cool room temperature. Your sticks of butter should give slightly when pressed with your finger but still hold its shape. To be precise, your butter should be 67°F.
- Sugar – We are using dark brown sugar for additional moisture though you can easily use light brown instead. Sugar does much more than simply sweeten your baked goods! Read more about the role of sugar in baking here.
- Egg – One large egg, at room temperature. Don’t use extra large eggs or the chemistry of the recipe may be thrown off.
- Vanilla extract – For flavor.
- Buttermilk – This gives the Whoopie Pies a delightful tang to help balance the sweetness, and together with the baking soda, helps create a lovely light, fluffy texture. More on this below.
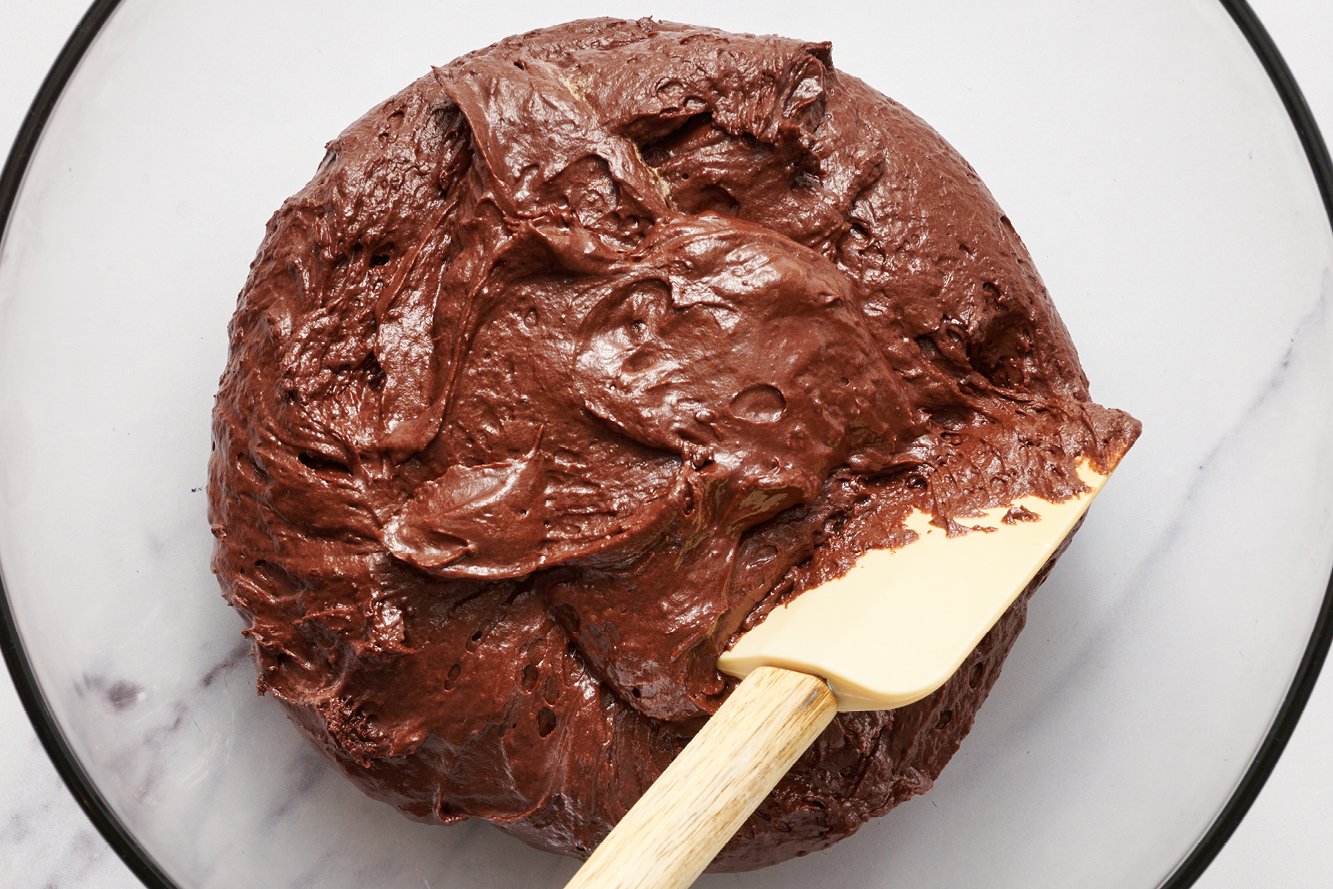
Ingredients for Whoopie Pie Marshmallow Cream Filling:
- Marshmallow creme (aka marshmallow fluff) – An easy, quick way to make this filling full of marshmallow flavor, without having to make your own marshmallow or mess with melting down regular marshmallows. You’ll need either one of the larger 13-ounce containers or two of the smaller 7-ounce ones. Marshmallow Creme or Marshmallow Fluff work here. Marshmallow creme has a slightly thinner consistency than fluff, so you may need to add a bit more powdered sugar to sufficiently stiffen it up.
- Butter – This helps create the creamy filling. Again, I prefer to use unsalted butter in baking so you’re in control of the salt in your baked goods.
- Powdered sugar – Together with the marshmallow fluff and butter, this makes our marshmallow creme into a frosting!
- Vanilla – For flavor.
- Sea salt – To balance out the sweetness.
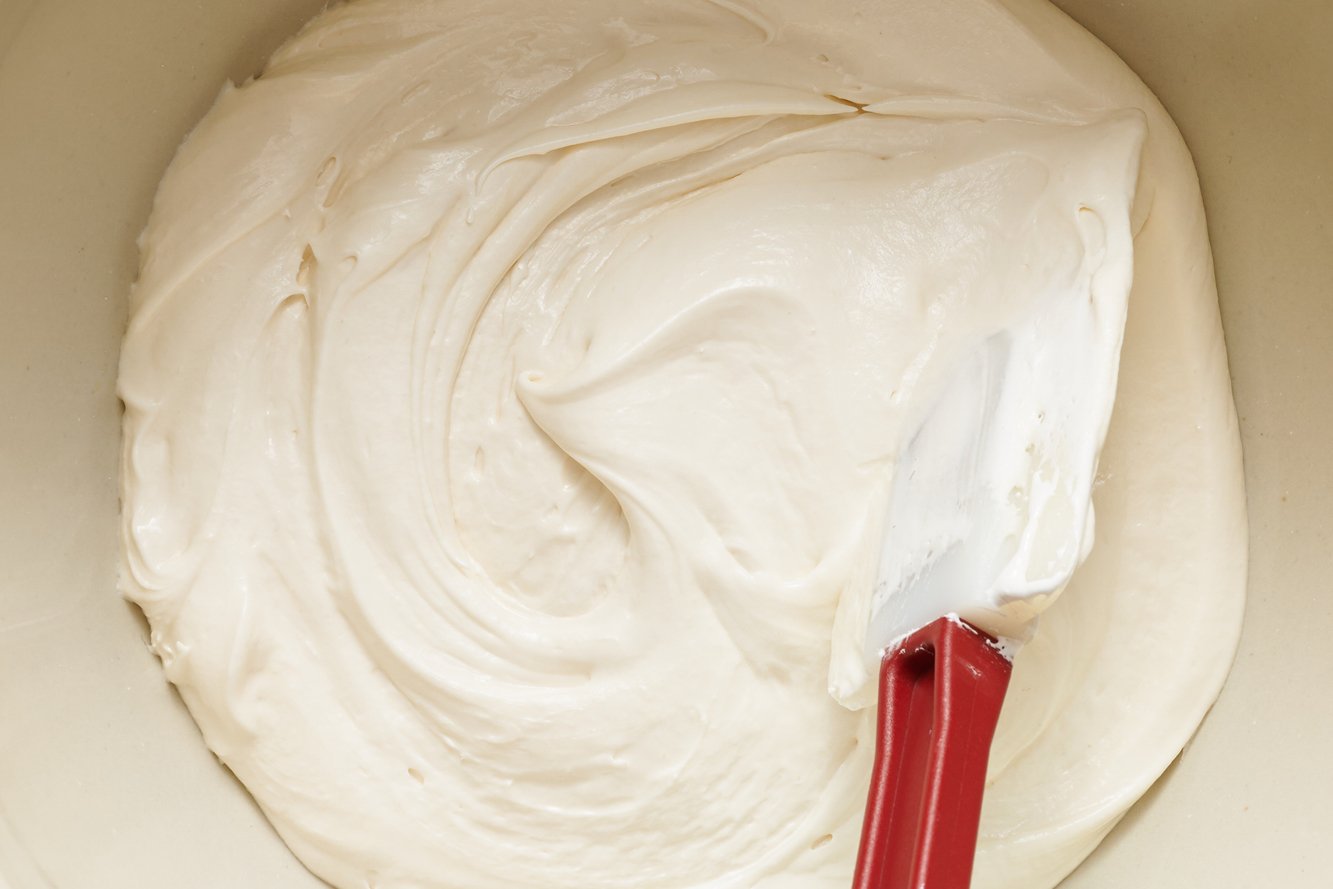
Why Do These Whoopie Pies Use Dutch-Processed Cocoa Powder?
I recommend using Dutch-process cocoa because it provides a deep color, more moisture, and a flavor that I think complements the marshmallow filling perfectly. But why am I using Dutch-process cocoa with baking soda for this recipe? Shouldn’t it be baking powder?
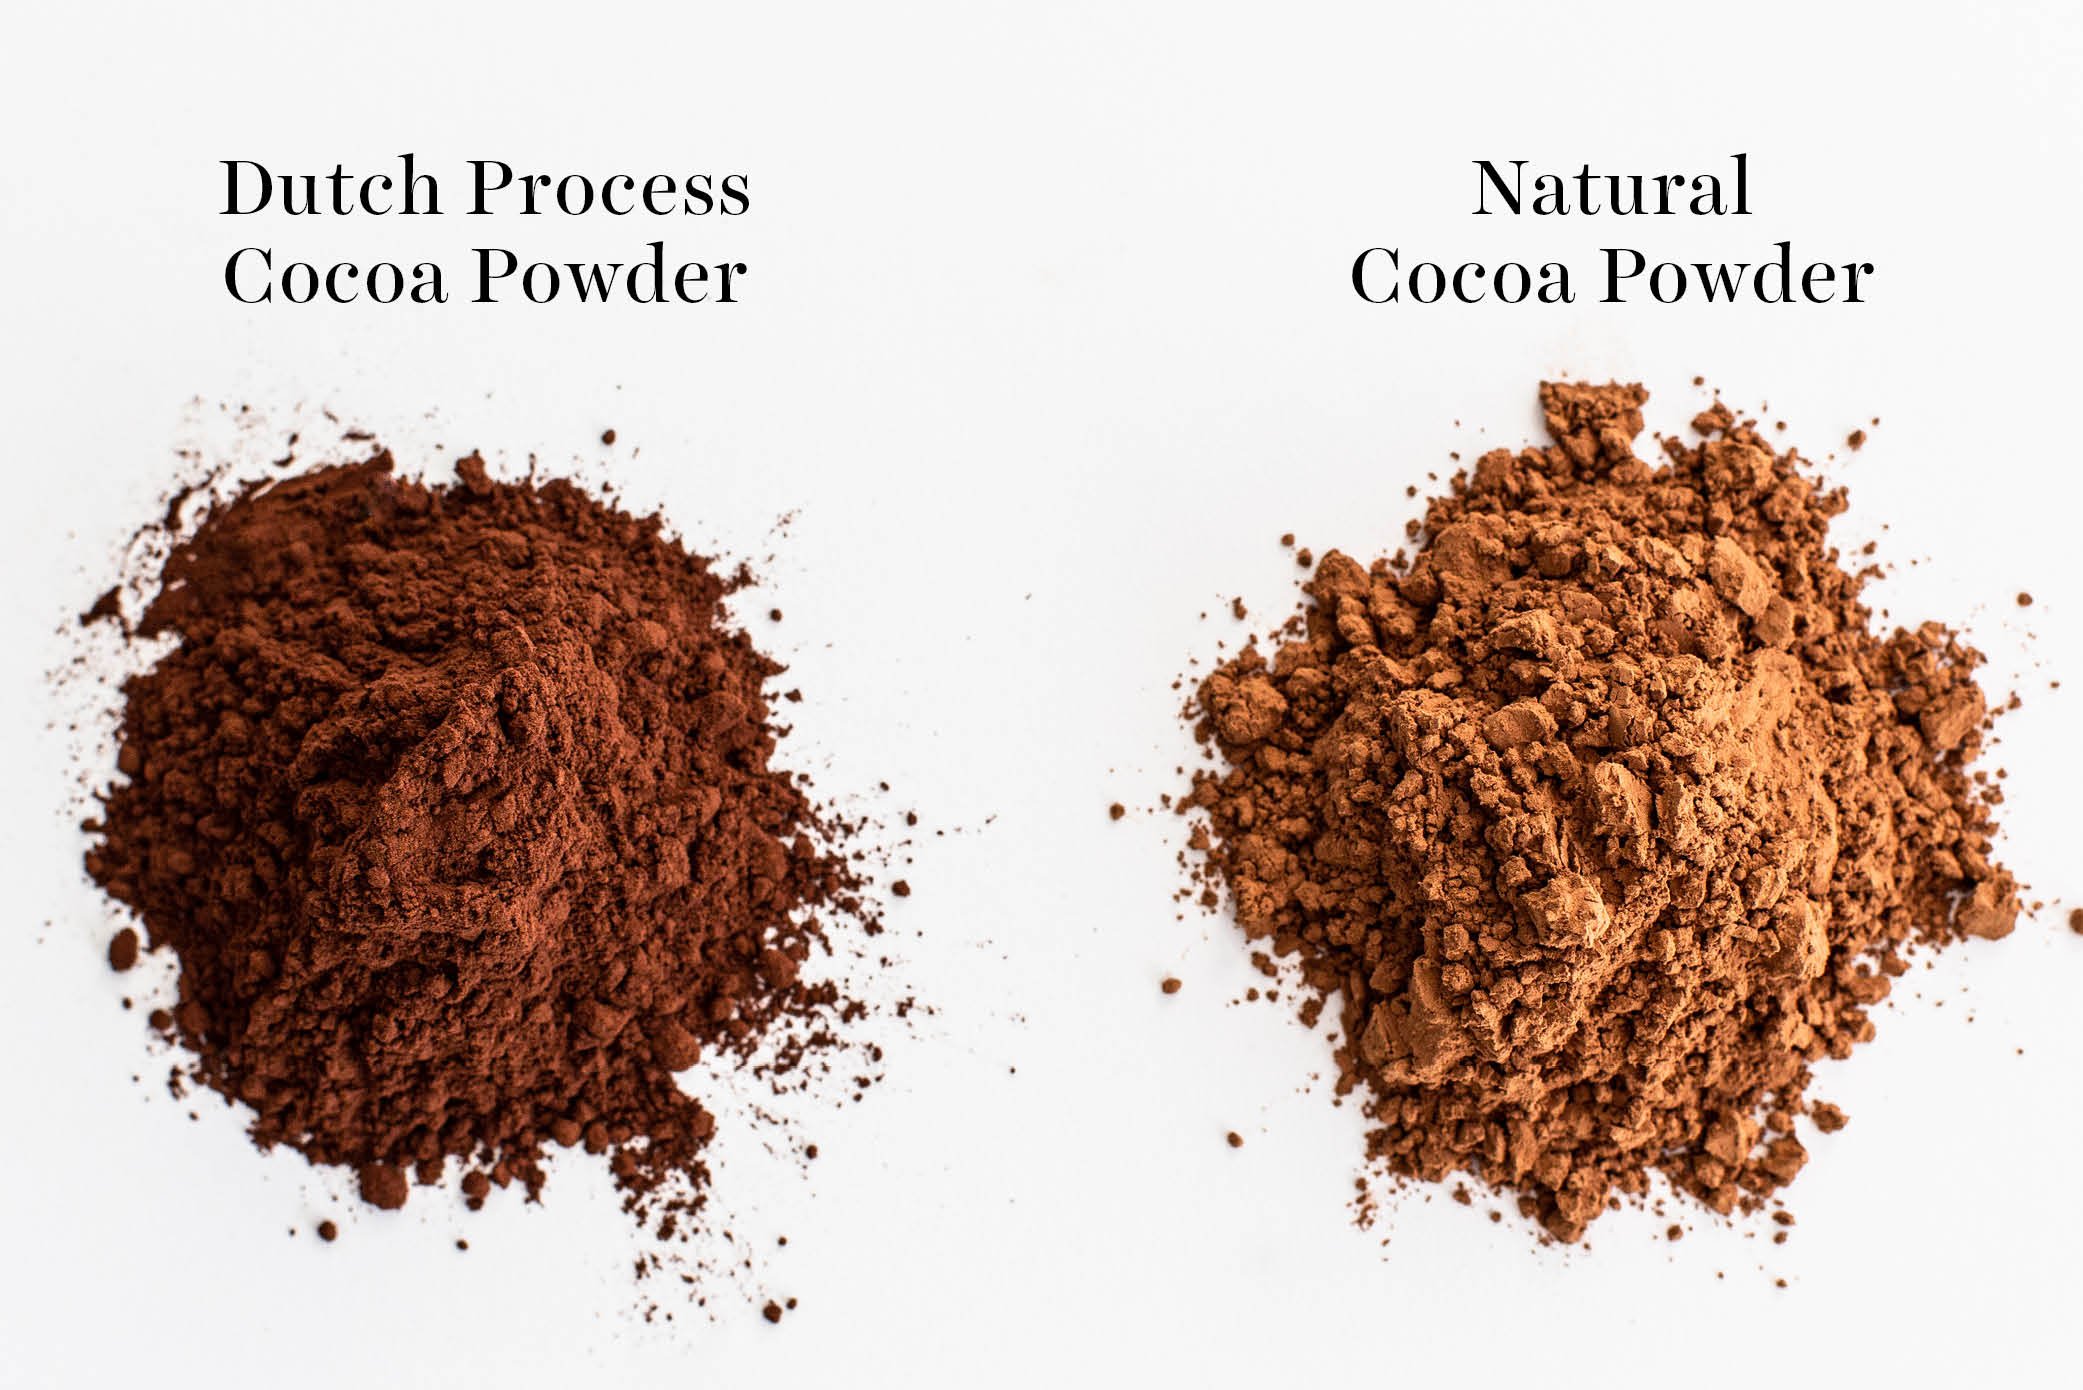
Dutch-process cocoa has more fat than most grocery store natural/unsweetened cocoa powder products, which is what we want for flavor and moisture in this specific recipe. The buttermilk in this recipe activates the baking soda. However, if you must use natural cocoa powder go ahead. Just note your Whoopie Pies may be lighter in color and slightly dryer in texture. You can learn more about the differences between cocoa powders here.
You can typically find Dutch-process cocoa at your local grocery store or many gourmet food stores like Whole Foods, Sur la Table, Williams Sonoma, or Penzeys. I actually order a big container on Amazon because it’s such a great value!
Do I Have to Use Real Buttermilk in These Whoopie Pies?
Buttermilk works best in this recipe to provide rich and tender ‘cakes.’ We need it not only for flavor and moisture, but to help the leavening action by activating the baking soda. I would not recommend using a buttermilk substitute. You can learn more about the science of buttermilk, and see baked goods made with buttermilk substitutes, in my Buttermilk 101 article.
How to Make Whoopie Pies:
- Mix the dry ingredients. Sift the flour, cocoa powder, baking soda, and salt into a medium bowl and whisk to combine. Set aside.
- Cream the butter and sugar. In the bowl of a stand mixer fitted with the paddle attachment (or a large bowl and using an electric hand mixer), beat the butter and brown sugar on low speed until combined. Increase speed to medium high and beat for 3 minutes, or until light and fluffy. Scrape down the sides of the bowl.
- Add the egg and vanilla. Beat on medium-high speed for another 3 minutes, or until very well combined. Scrape down the sides with a rubber spatula.
- Alternating, add the buttermilk and the dry ingredients to the butter mixture. Add half of the flour mixture then half of the buttermilk to the batter and beat on low until combined, scraping down the sides and bottom of the bowl as necessary. Add remaining buttermilk and flour, beating until combined.
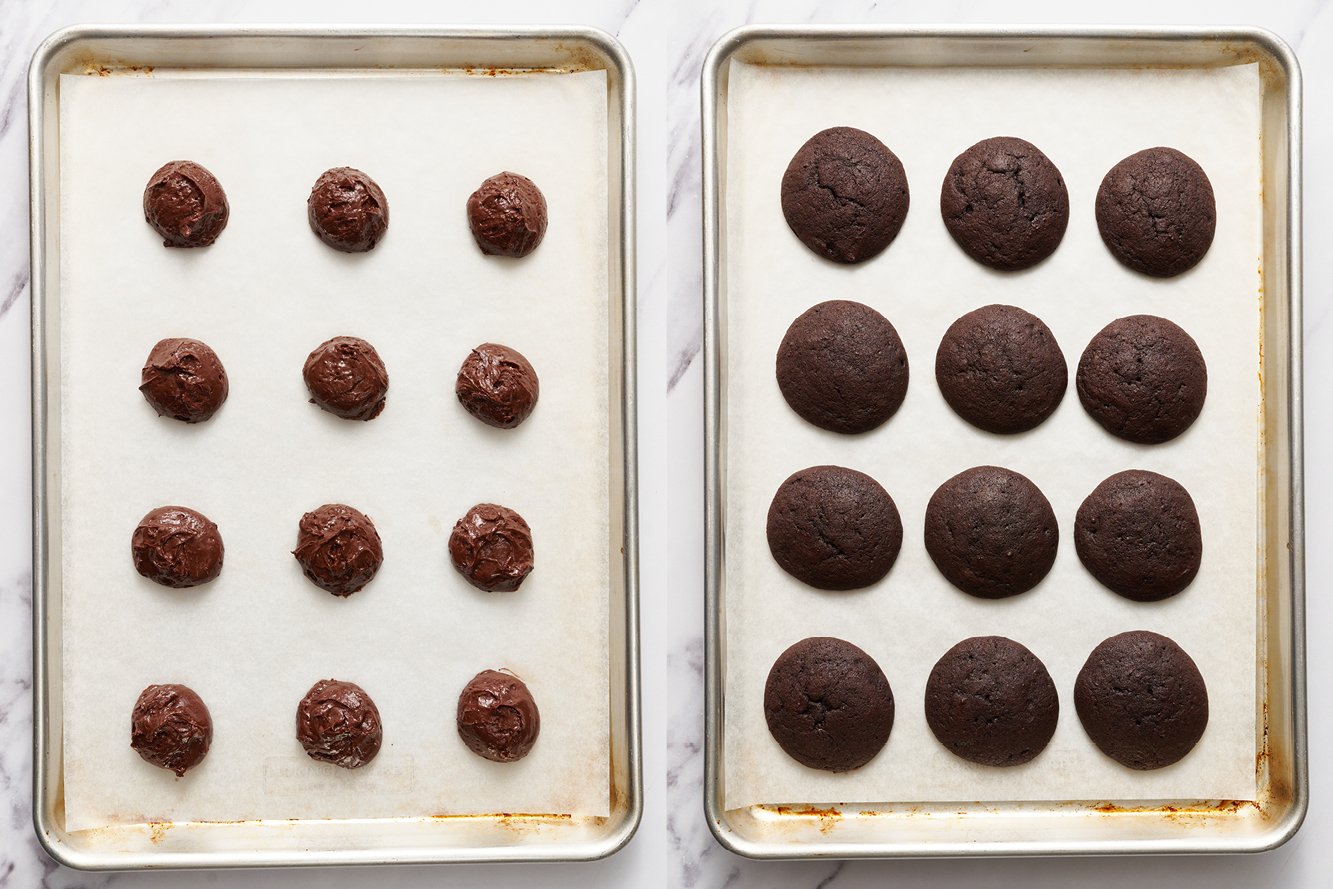
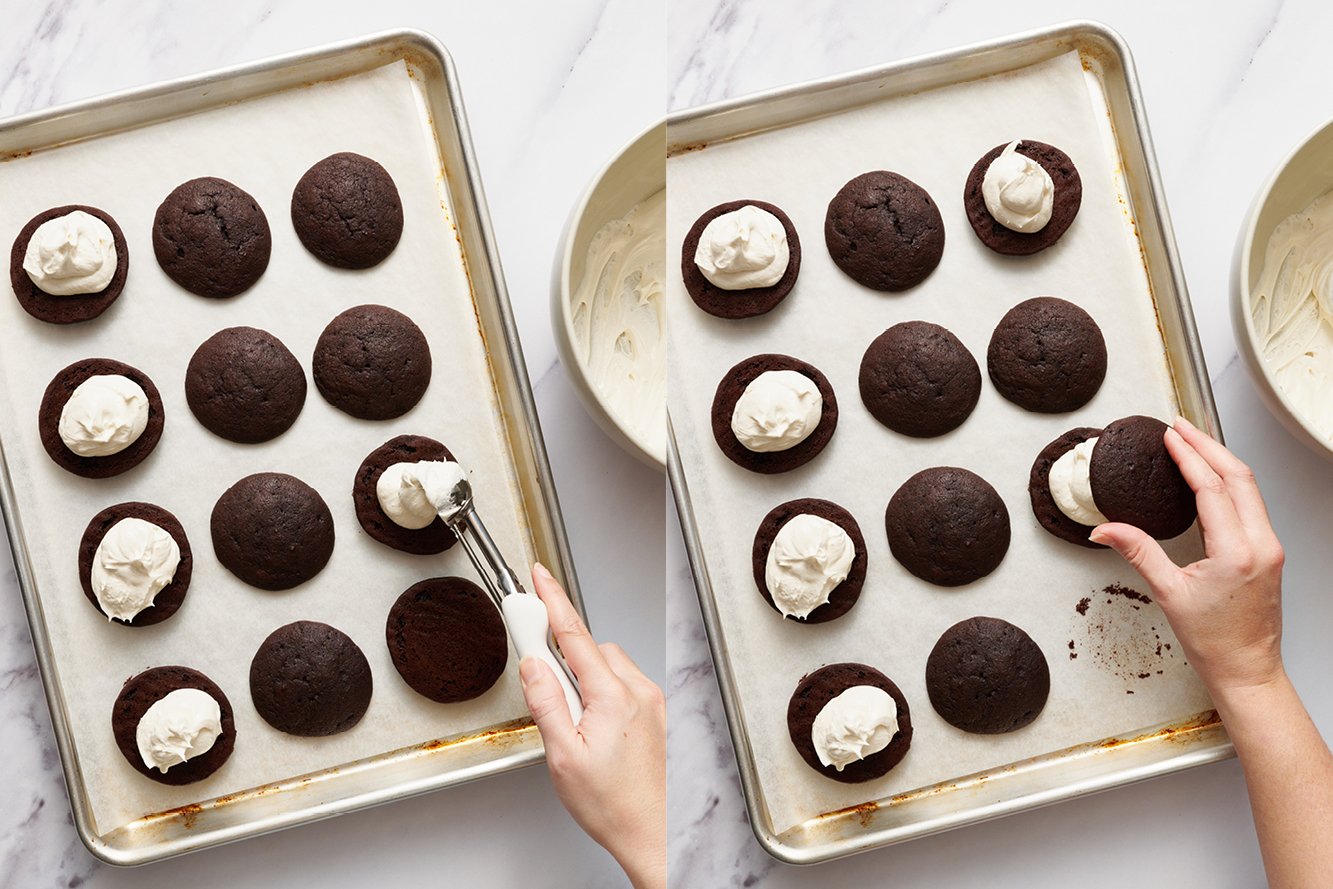
- Portion out. Use a medium 1 ½-tablespoon spring-loaded scoop to drop mounds of batter onto prepared baking sheets (cookie sheets lined with parchment paper), spacing 2 inches apart.
- Bake. Bake Whoopie Pies in a 375°F oven for 11 minutes, or until they spring back slightly when pressed gently and appear dry on top. Allow to cool on pans for 5 minutes before moving to a wire rack to cool completely.
- Make the filling. In the bowl of an electric mixer, beat the marshmallow creme and butter on low speed until combined. Scrape the sides and bottom of the bowl. Mix in the powdered sugar, vanilla, and salt on low speed until combined then increase to medium high and beat until very smooth, about 3 minutes.
- Assemble. Use a medium 1 ½-tablespoon spring-loaded scoop to dollop marshmallow filling on the flat side of half the whoopie pies. Alternatively, use a piping bag to pipe approximately 1 ½-tablespoons of filling on the flat side of half the whoopie pies. Sandwich gently with the remaining whoopie pies.
How to Portion Out the Whoopie Pies & How to Fill Them
This Whoopie Pie batter is similar in consistency to a very thick cake batter. My favorite way to portion these out is to use my medium cookie scoop (1.5 tablespoons), which not only creates perfectly consistent Whoopie Pies that bake evenly, but it also makes quick work of portioning out the batter/dough. The same scoop also makes easy work of adding the marshmallow creme filling, but if you prefer, you can pipe it on to half the Whoopie Pies using a disposable piping bag and a large round tip, before sandwiching with the other half of the Whoopie Pies.
If your mounds of batter are misshapen, your ‘pies’ will not bake up as evenly round. Use a spoon to re-shape the batter into more even circles before baking if you want them to be picture perfect!
How to Store Whoopie Pies:
Store at room temperature in an airtight container for up to a day, or in the fridge for up to 4 days. If transporting, chill the whoopie pies in the fridge for at least an hour before transporting, as refrigeration makes them firmer and less fragile. Serve Whoopie Pies chilled for a deliciously fudgy texture.
Can you Freeze Whoopie Pies?
Yes! I recommend placing the Whoopie Pies on a baking sheet in a single layer and freezing for an hour or so, until just solid enough to prevent them from sticking together. Then, simply place in a ziptop bag or an airtight container in the freezer for up to 1 month. Thaw for a few hours or overnight in the fridge or at room temperature (either is fine) before serving.
More Chocolate Recipes You’ll Love:
- Mint Chocolate Whoopie Pies
- Homemade Oreo Cookies
- Best Ever Chewy Brownies
- Homemade Fudge Rounds
- Best Chocolate Cake
- The Best Chocolate Cupcakes
Recommended Products:
- My Favorite Baking Sheets
- Sieve
- Dutch-Processed Cocoa Powder
- Medium Cookie Scoop (1.5 Tablespoons)
- Parchment Paper (I love these pre-cut sheets)
- Disposable Piping Bags for filling the Whoopie Pies
Whoopie Pies
Ingredients
For the Chocolate Whoopie Pies:
- 1 2/3 cups (212 grams) all-purpose flour
- 2/3 cup (57 grams) Dutch-process cocoa powder
- 1 1/2 teaspoons baking soda
- 1/2 teaspoon fine sea salt
- 1 stick (113 grams) unsalted butter, at cool room temperature
- 1 cup (200 grams) lightly packed dark brown sugar
- 1 large egg, at room temperature
- 1 teaspoon vanilla extract
- 1 1/4 cups (296 grams) buttermilk, at room temperature
For the Marshmallow Filling:
- 297 grams marshmallow creme fluff (a little less than 1 13-ounce container)
- 15 tablespoons (212 grams) unsalted butter, at cool room temperature
- 1 cup + 2 tablespoons (140 grams) powdered sugar, sifted
- 1 ½ tablespoons vanilla extract
- ½ teaspoon fine sea salt
Instructions
For the Whoopie Pies:
- Preheat oven to 375°F. Line large baking sheets with parchment paper.
- Sift the flour, cocoa powder, baking soda, and salt into a medium bowl.
- In the bowl of an electric mixer fitted with the paddle attachment, beat the butter and brown sugar on low speed until combined. Increase speed to medium high and beat for 3 minutes, or until light and fluffy. Scrape down the sides of the bowl. Add the egg and vanilla and beat on medium-high speed for another 3 minutes, or until very well combined.
- Add half of the flour mixture then half of the buttermilk to the batter and beat on low until combined, scraping down the sides and bottom of the bowl as necessary. Add remaining buttermilk and flour, beating until combined. Mixture will be fluffy and slightly sticky like a very thick cake batter.
- Use a medium 1 ½-tablespoon spring-loaded scoop to drop mounds of batter onto prepared baking sheets, spacing 2 inches apart. Bake for 11 minutes, or until pies spring back slightly when pressed gently and appear dry on top. Let cakes cool on pans for 5 minutes before moving to a wire rack to cool completely.
For the filling:
- In the bowl of an electric mixer, beat the marshmallow creme and butter on low speed until combined. Scrape the sides and bottom of the bowl. Mix in the powdered sugar, vanilla, and salt on low speed until combined then increase to medium high and beat until very smooth, about 3 minutes.
To assemble:
- Use a medium 1 ½-tablespoon spring-loaded scoop to dollop marshmallow filling on the flat side of half the whoopie pies. Sandwich gently with the remaining whoopie pies.
- If transporting, chill the whoopie pies in the fridge for at least an hour before transporting to make firmer and less fragile. Serve chilled for a more fudgy texture. Store at room temperature in an airtight container for up to a day or in the fridge for up to 4 days.
This post was originally published in 2012 and updated in 2023 with new photos and recipe improvements. Photos by Joanie Simon.


















perfect ..this recipe is perfect
Could I make my own buttermilk with milk and lemon juice?
Hi Emilie! We don’t recommend that – Tessa talks about this in the tip box, above the recipe, under the header “Do I Have to Use Real Buttermilk in These Whoopie Pies?” I hope that helps! Happy baking 🙂
Just made these and they are perfection! I didn’t have buttermilk on hand. But I read your Buttermilk 101 and subbed the plain yogurt I needed to use up, worked like a charm!
I am a huge whoopie pie fan and have been looking for a good recipe and this one is definitely it! I made them today and they were amazing. I made smaller ones ( 1 TBS batter) and did all my ingredients by weight. I did add 1.5 tsp espresso powder to the dry ingredients because I love what it does to chocolate. The fluff buttercream was some of the best I’ve had. I was going to freeze some but between my husband and I don’t think there will be any left to freeze! Thank you so much for the recipe.
Whoopie pie cakes came out so moist. Most likely due to the butter milk ingredient. I used a 1 1/2 scoop as suggested and was able to make 27 Whoopie pies. My grandson prefers a peanut butter cream filling so I cannot rate this recipe’s filling.
I love this recipe! Authentic filling taste! However, I’ve had to alter the marshmallow crème amount because the tops side right off. I use one 7oz jar of crème for the filling instead of 13 oz. And I use enough powdered sugar to make the frosting stiff enough, it’s probably more than what’s listed here but it’s close.
Okay, I tan into the flat cookie problem myself but after reading other comments (after the fact) I am pretty sure I’ve identified the issue. I 100% warmed my butter to almost melted because I was impatient . They still taste amazing, they just look a little sad lol.
Great recipe! They turned out great, followed recipe exactly no adjustments needed 🙂
Made these used all new quality ingredients. Flat as pancakes never rose. Baking soda was new. Maybe no baking powder is the issue? Idk but so disappointed 🙁
Sorry to hear you experienced issues, Elle! Did you substitute any ingredients, especially the buttermilk? Buttermilk is crucial to this recipe as it helps the rise of the pies, along with the baking soda. My second thought would be to confirm that your butter was at a cool room temperature (67°F). If it was too warm, that could have also contributed to the flatness of your Whoopie Pies. If you think of a cookie made with too warm of butter, the results are similar in that the outcome is a flat, sad puddle, even if a leavener is used. I’d love for you to try these again with great results, please let me know if I can assist further. And let us know how it goes if you make them again! Good luck 🙂
I just made these and they turned out delicious! The cakes have a rich chocolate flavor, and the filling has a beautiful flavor and texture. They came out exactly as I was hoping! A little tip for anyone who lives in a warmer climate, or keeps their house warm: keep the batter in the fridge when not actively spooning onto your baking sheet, and if you use a Silpat don’t grease it. Mine spread a little too much when the batter got warm or I used a greased Silapt.
I don’t have enough AP flour. Can I use cake flour?
Hi Suzanne! We haven’t tried that, but feel free to experiment. Just note that your whoopie pies may be lighter, softer, and more delicate, and could also be a different height and thickness because of the flour change. Let us know how it goes if you give this a try!
My cookies came out puffier rather than flat. Any suggestions? They taste delicious!!!
Hi Meg! Glad to hear that these whoopie pies were delicious, even if they weren’t quite the shape and consistency they should be! How do you measure your ingredients? By volume (using cups), or by weight (using a digital kitchen scale)? When measuring by volume, it’s so easy to mis-measure ingredients (particularly flour) and throw off the entire chemistry of a recipe – resulting in things like puffy cookies. Check out Tessa’s article here, where she talks about how to best measure ingredients to ensure accuracy every time. I hope that helps! 🙂