


Tessa’s Recipe Rundown
Taste: Buttery and garlicky, AKA, heaven!
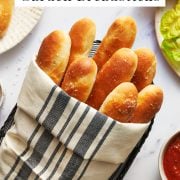
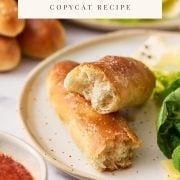
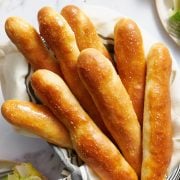
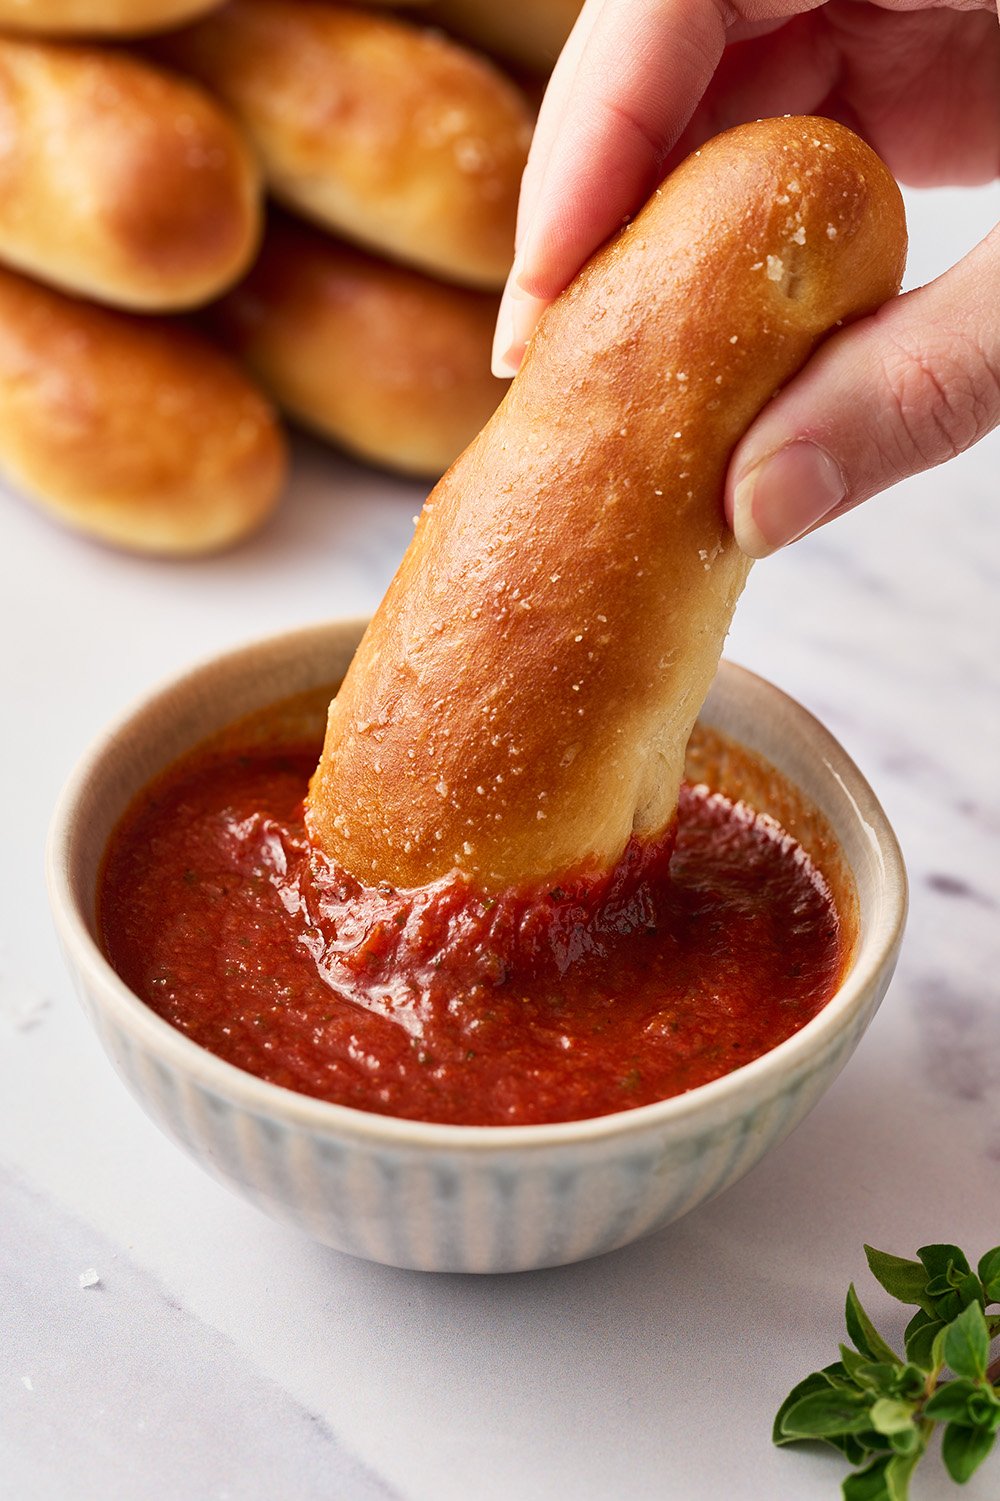
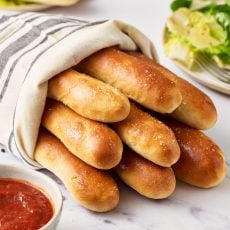
Texture: A lightly golden crust hides the soft and fluffy interior, with the perfect amount of chewy.
Ease: Homemade breadsticks may sound intimidating but there’s only a handful of ingredients. You can do this!
Why You’ll Love This Recipe: Better than the restaurant, and super impressive.
This post may contain affiliate links. Read our disclosure policy.


I cannot tell you how positively tantalizing these breadsticks smell while baking.
As someone who went to culinary school and has studied the science of homemade bread, I’m not afraid to admit there’s nothing very fancy about this recipe.
In fact, it only has 7 ingredients. No complicated resting or rising periods. It’s about as simple as it gets.
And yet, it transports me back to being a kid going to Olive Garden as a special treat, only to fill up entirely on breadsticks.
This homemade breadsticks recipe is about 1,000x better than the restaurant version. I promise, your whole family will go crazy for this copycat recipe at Sunday night dinner. Especially when paired with a rich soup or sauce for dipping!
You don’t need any fancy skills, equipment, or know-how to nail this recipe. You do need to be forewarned…
These breadsticks are positively irresistible!


Sprinkle of Science
3 Tips for Perfect Breadsticks:
- Water: Be sure to use water that is not too hot. Hot water will kill the yeast and prevent the breadsticks from rising. 100-110°F is perfect.
- The Sugar: There’s a little in these breadsticks to help activate the yeast, tenderize the breadsticks, and make them a little softer. Don’t skip the sugar! I promise you won’t find the breadsticks sweet. Learn more about sugar’s role in baking here.
- Measure correctly: Be sure to measure your ingredients correctly. When measuring by volume (using cups), it can be super easy to accidentally over-measure ingredients, especially flour. I highly recommend using a digital kitchen scale, but if you don’t have one, use the spoon-and-level method.

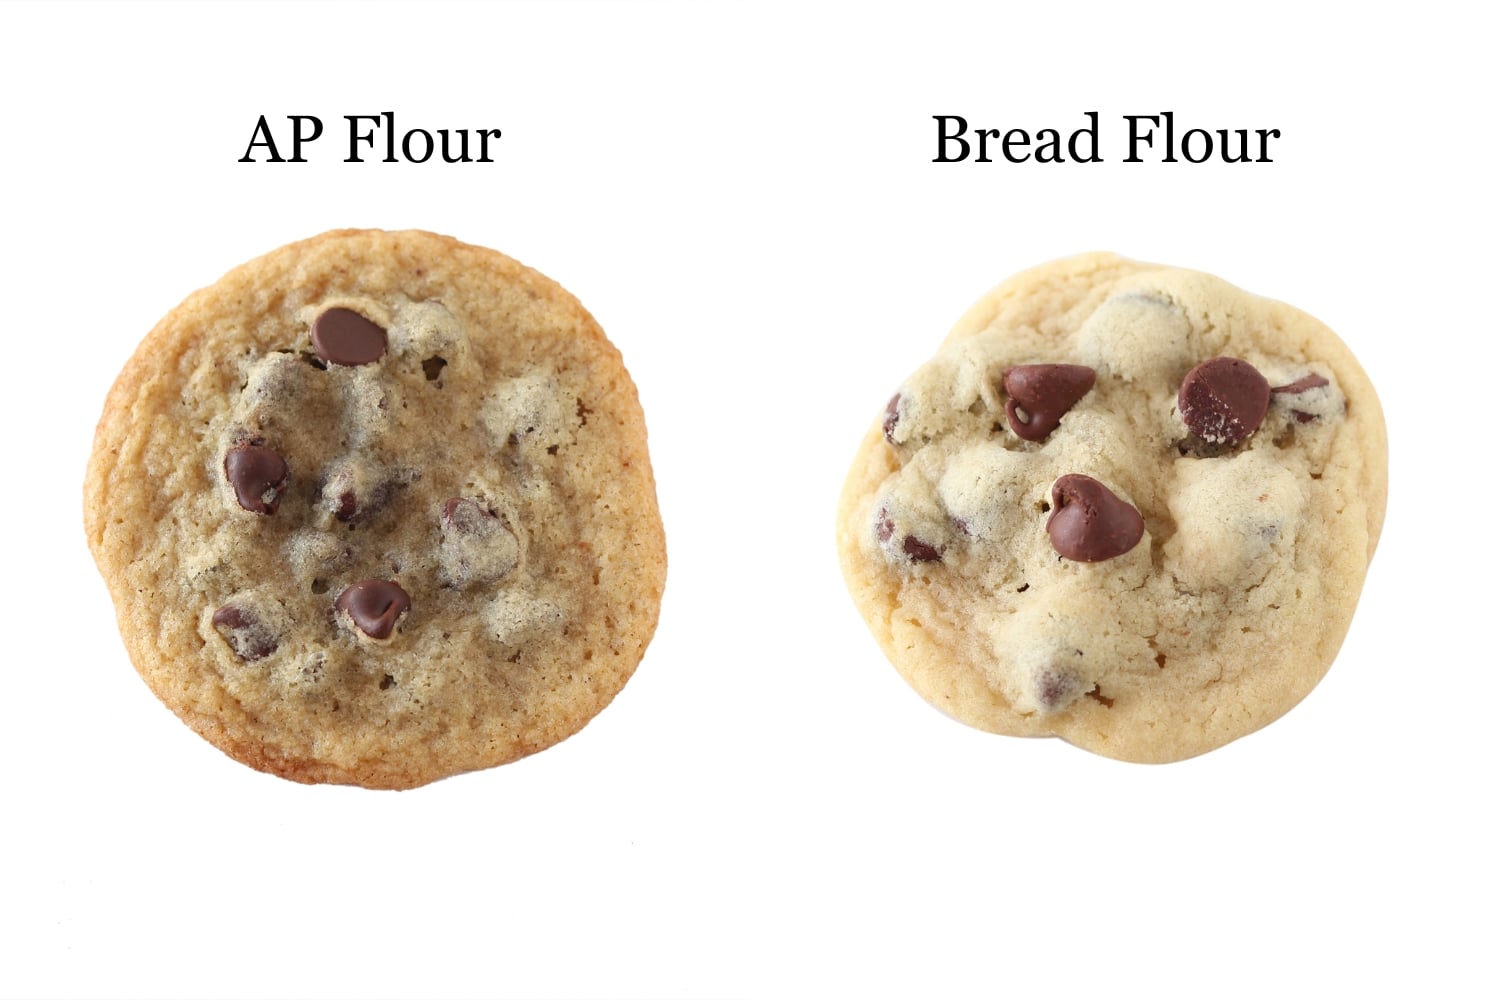
Do I Have to Use Bread Flour? Can I Use All-Purpose Flour Instead?
Bread flour has a higher level of protein content than all-purpose flour, which helps create taller, well-rounded breadsticks with a nice chewy, fluffy texture.
If you don’t have bread flour, use the same amount of all-purpose flour. Keep in mind that your kneading time will increase to properly develop the gluten and your breadsticks may turn out more soft than chewy.
Are Olive Garden Breadsticks Vegan?
These Copycat Olive Garden Breadsticks are not vegan. However, several readers have had success with Country Crock plant-based sticks (avocado oil-based) or using olive oil in the dough and Earth Balance for the topping. If you give anything else a try, let me know how it goes in the comments!
Which Yeast Should I Use for Breadsticks?
- This recipe utilizes a shortcut ingredient: instant yeast, also called rapid rise or quick rise yeast.
- One of the three should be available at most grocery stores, or you can buy my all-time favorite yeast on Amazon here.
- These types of yeast are specifically formulated to allow you to skip proofing. You can add instant yeast directly into the mix with all of the ingredients.
Help! I Only Have Active Dry Yeast!
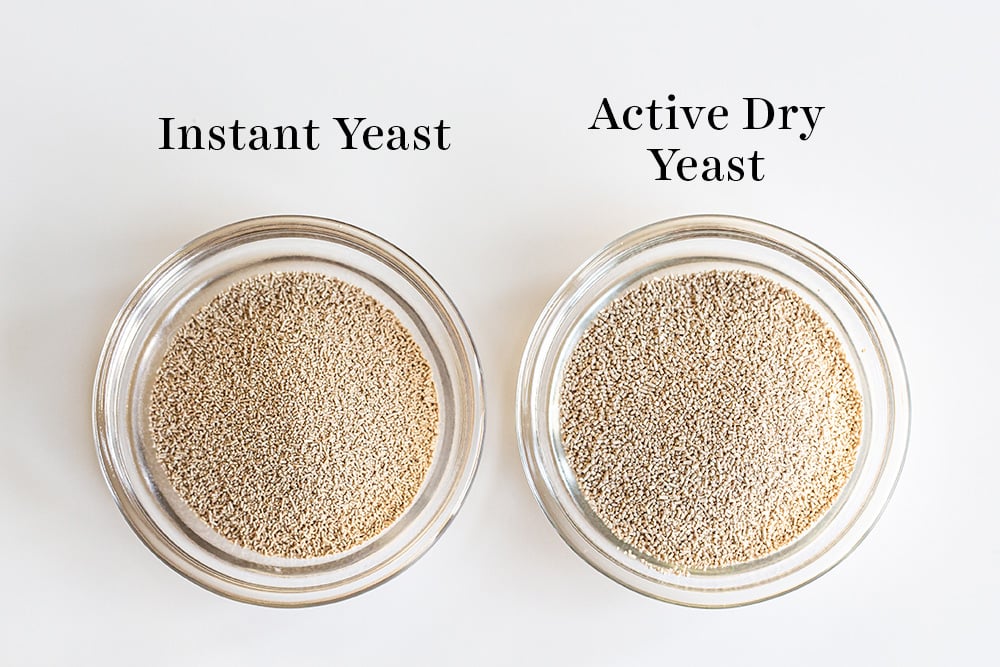
If you don’t have or can’t find instant yeast, you can easily use active dry yeast instead at a 1:1 ratio. Add it right in with the dry ingredients like instant yeast, but just note that the dough will take about 20% longer to rise.
Alternatively, you can speed up that rise time slightly; simply combine it with the warm water and a pinch of the sugar called for in the recipe, and allow it to proof until it becomes bubbly (about 5 minutes) before adding into the bowl with the other ingredients. Learn more about the different types of yeast, and how to substitute yeasts, here.
Can I Knead the Dough By Hand?
Yes! Be sure to knead the dough properly so the breadsticks hold their shape and don’t become sad flat sticks. I call for a stand mixer to make easy work of kneading in this recipe, but you can also knead by hand. Be prepared for a bit of a workout, as you’ll need to knead by hand for about 15 to 20 minutes. You can see my full tutorial on how to knead dough here.
How to Tell When Dough Is Risen
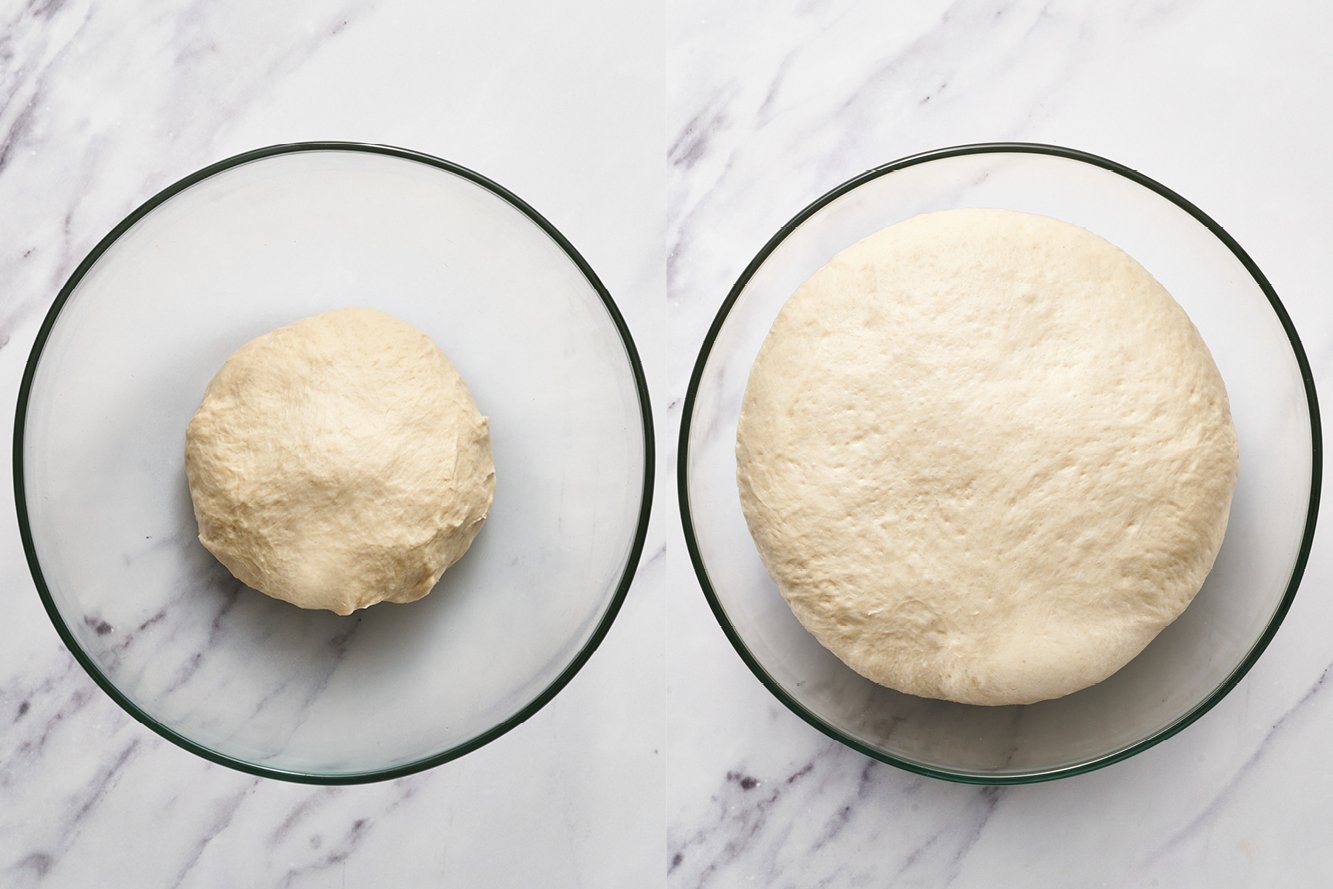
- After kneading, shape the dough into a ball.
- Place in a lightly oiled mixing bowl. I like to use glass and take a picture so I can see how much it’s rising later.
- Cover the bowl with plastic wrap, foil, or a clean kitchen towel. Let the dough rise in a warm, draft-free location. Ideal rise temperatures are between 80°F and 90°F. Lower temperatures will require more rising time.
- The dough is done rising when it’s about doubled in volume and passes the “ripe” test. Gently stick two fingers in the risen dough up to the second knuckle and then take them out. If the finger marks remain, the dough is ready for shaping. If not, cover and let the dough rise longer until it is.
How to Shape Breadsticks
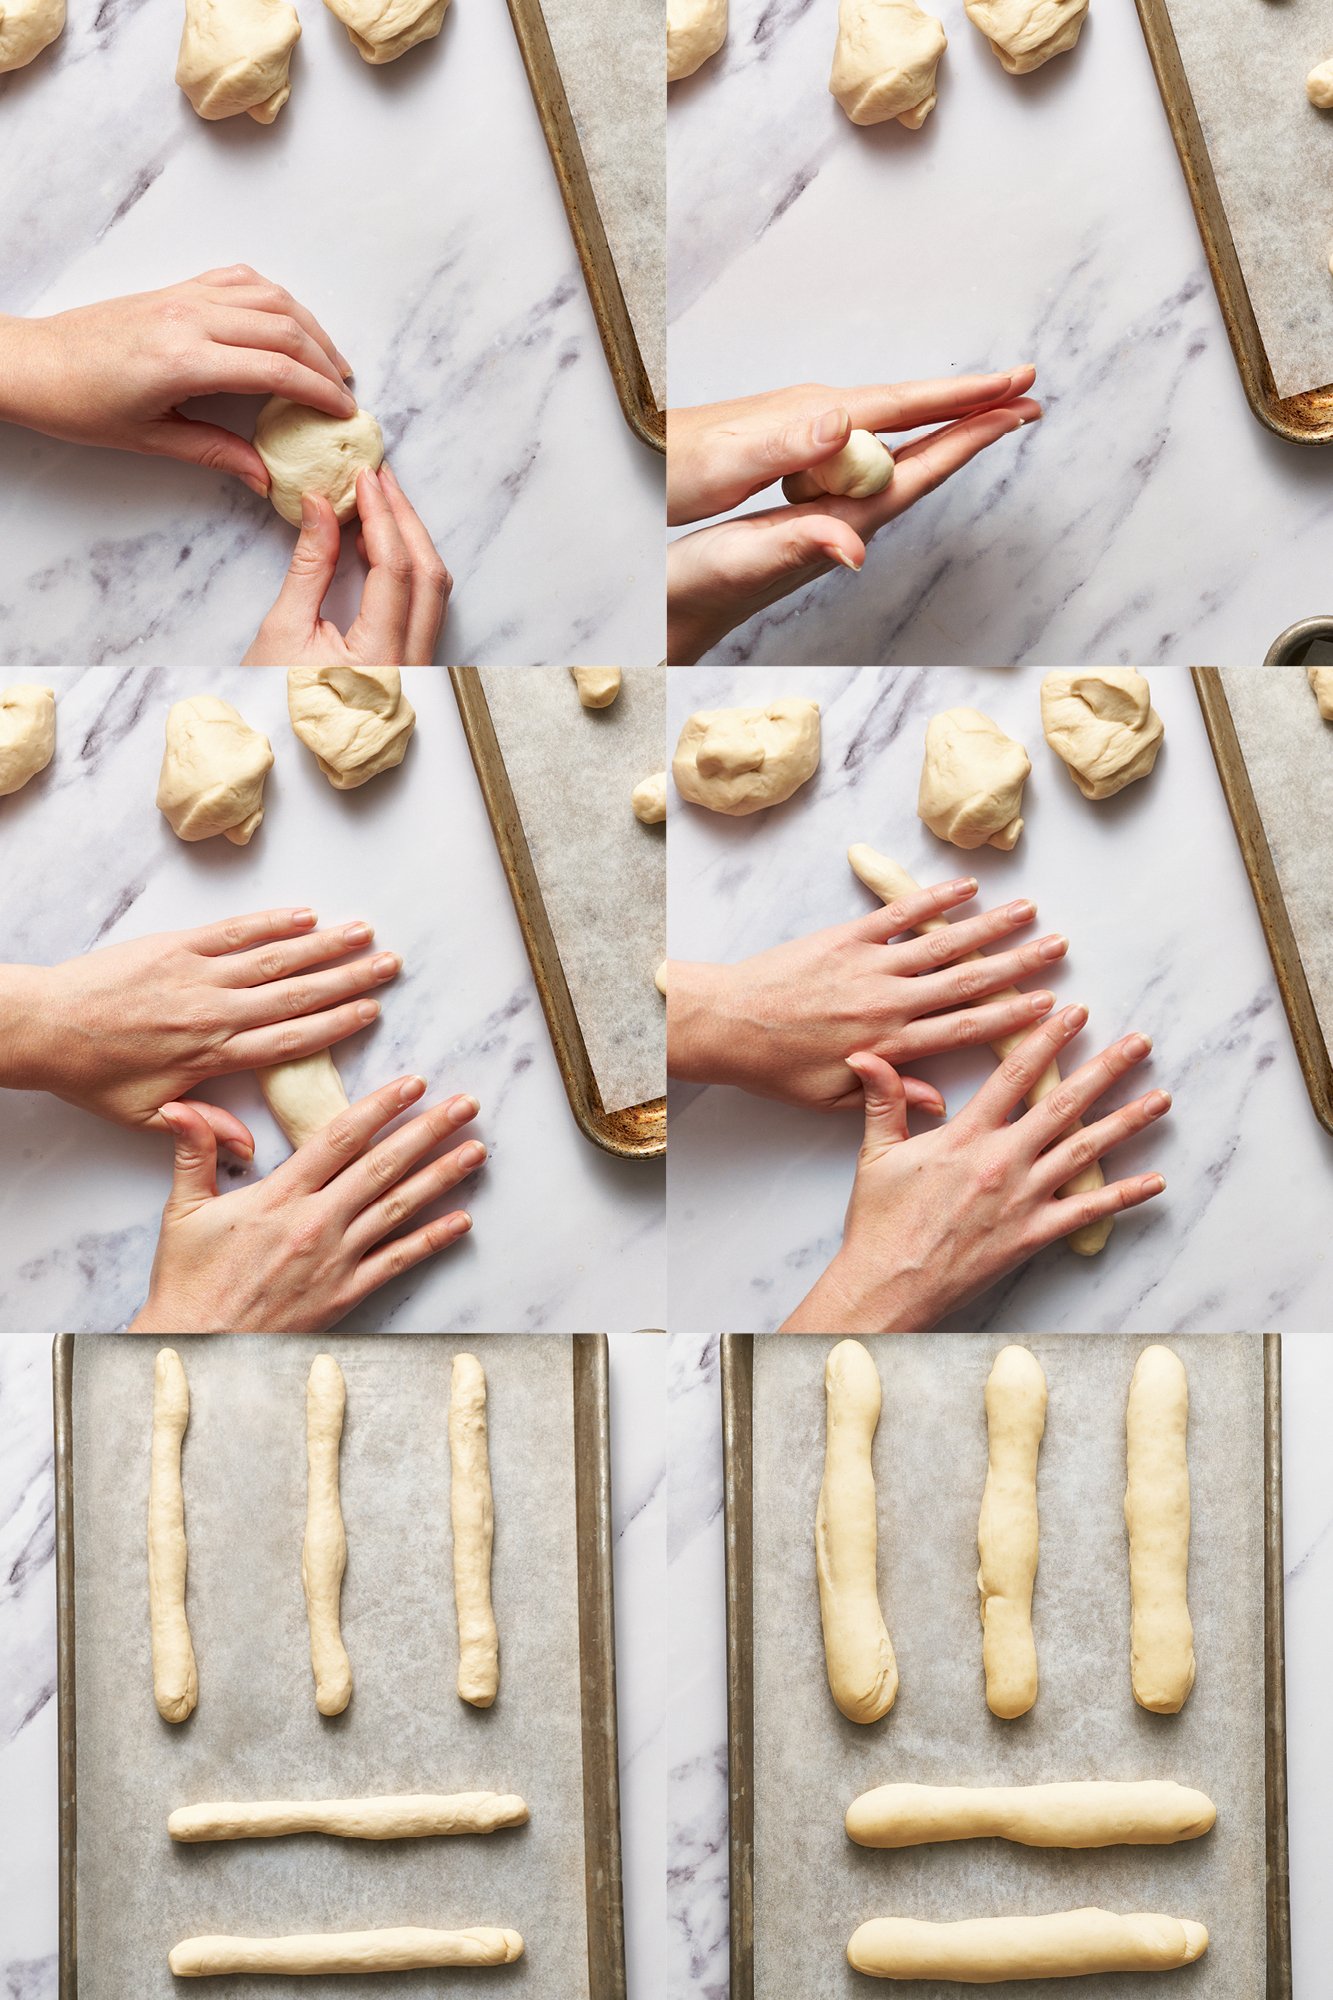
- Once the dough is risen, press it down to deflate it slightly.
- Place the dough onto a clean surface (not a floured surface).
- Use a bench scraper to section the dough into 12 equal pieces. Don’t worry if they’re not perfectly equal in size – but if you prefer, you can weigh the entire mass of dough, divide that number by 12, then portion each piece perfectly by weight.
- Roll each piece of dough into an 8-inch log. Don’t worry if they’re not perfectly shaped.
How to Make Breadsticks Ahead of Time
Basically all yeast doughs can be made ahead of time and baked off later. Refrigerating stunts the rise time and can actually allow more flavor to develop!
Fridge option:
Allow the dough to rise once and shape the breadsticks. Once shaped, cover them well (so they don’t dry out) and place in the refrigerator for up to 24 hours.
Bring to room temperature as the oven preheats before baking as the recipe directs. If the breadsticks haven’t doubled in size yet, allow them to sit at room temperature until doubled.
Freezer option:
To make ahead further in advance, you can freeze the dough after it has risen for the first time and been shaped into logs.
Place the shaped breadsticks on a baking tray lined with parchment, freezing just until solid, and then transfer to a ziptop bag or airtight container to store in the freezer for up to 2 months.
Once ready to bake, place the frozen breadsticks on parchment-lined baking trays and allow to thaw to room temperature. Let rise until an indentation made with your finger into the dough remains. Proceed with the recipe as written.
Can I Double This Recipe?
Yes, if you have a large enough mixer (at least 6 quarts). Most home mixer bowls won’t mix such a big batch of dough well enough.
If you’re using a 5-quart tilt-head mixer, your mixer may become overheated with that amount of dough. So I recommend simply making a single batch of dough twice.
How Long Will These Breadsticks Keep?
Breadsticks are best served right out of the oven, but they will keep for 3 days in an airtight container.
To refresh, place the breadsticks on a baking sheet and reheat in the oven at 425°F for 4-5 minutes, or until warmed through. You can also re-brush with butter and sprinkle with garlic powder and salt at this point, if you wish.
How to Freeze Breadsticks
Place the baked, cooled breadsticks in an airtight container and store in the freezer for up to 2 months. Thaw at room temperature for a couple of hours, then place the breadsticks on a baking sheet and reheat in the oven at 425°F for 4-5 minutes, or until warmed through.
You can also re-brush with butter and sprinkle with garlic powder and salt at this point, if you wish, before serving.
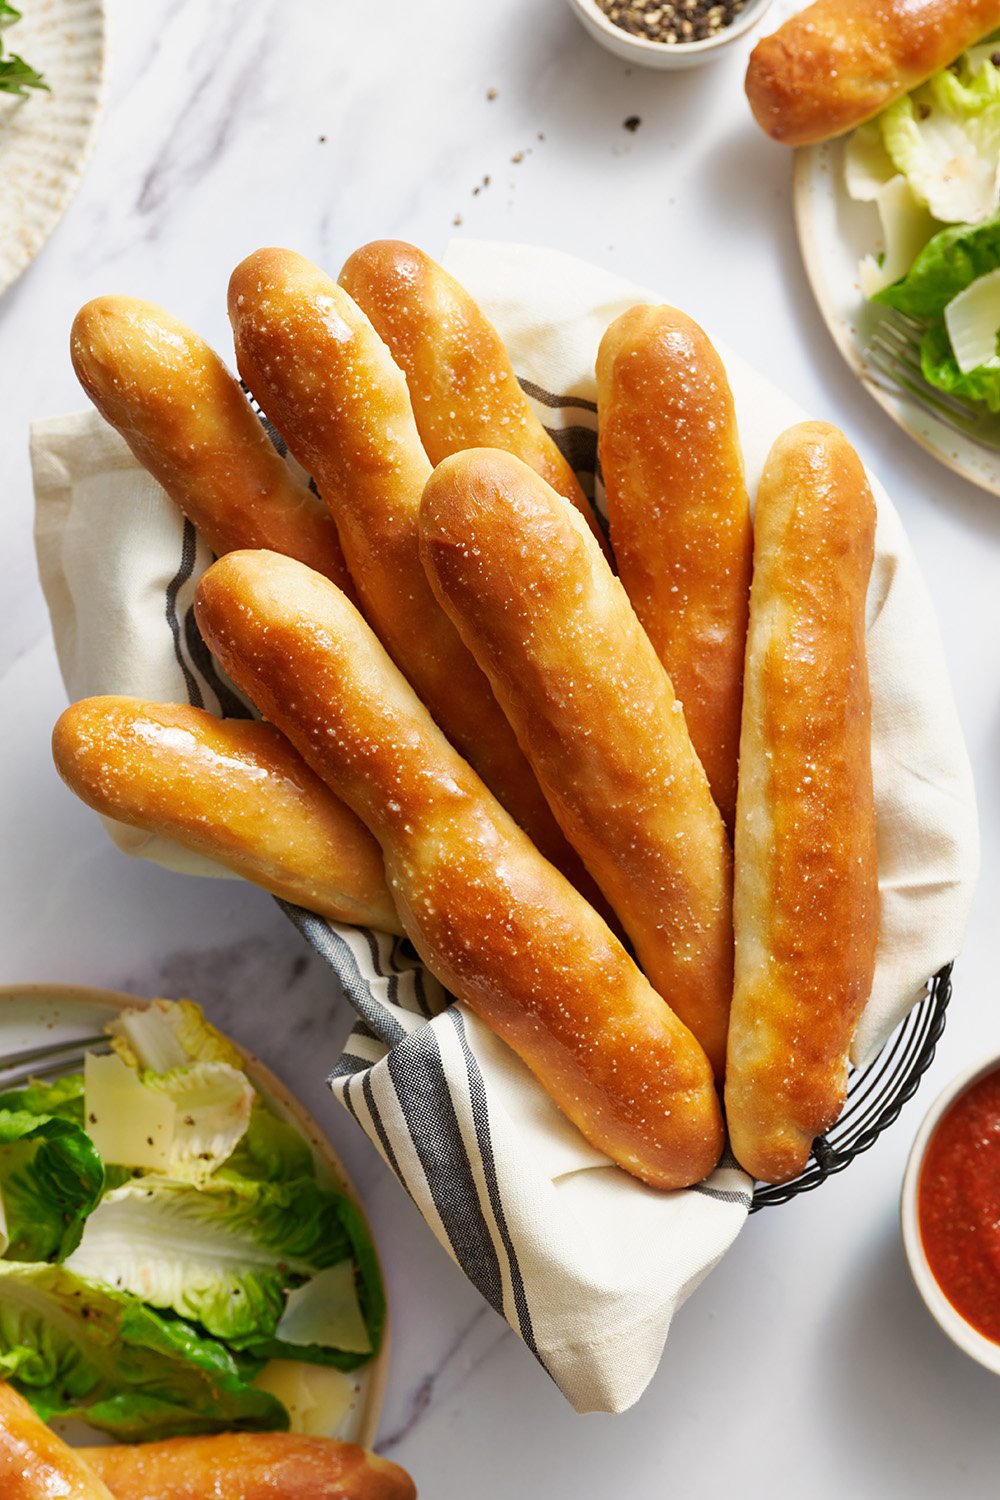
What to Serve with Copycat Olive Garden Breadsticks:
- A side salad
- Marinara sauce
- Creamy soup, like my Pot Pie Soup
- Your favorite pasta dish
More Recipes You’ll Love:
Email This Recipe
Enter your email, and we’ll send it to your inbox.
Ingredients
For the dough:
- 1 cup plus 2 tablespoons (250 grams) warm water, about 100-110°F*
- 1 1/2 teaspoons instant yeast
- 2 tablespoons (25 grams) granulated sugar
- 3 tablespoons (42 grams) unsalted butter, melted
- 1 3/4 teaspoons fine sea salt
- 3 cups (381 grams) bread flour, plus more as needed**

For the topping:
- 2 tablespoons (28 grams) unsalted butter, melted
- 1/2 teaspoon kosher salt
- 1/4 teaspoon garlic powder
Instructions
- Prepare two baking sheets lined with parchment paper and set aside.
- In the bowl of a stand mixer fitted with a dough hook attachment, combine the water, yeast, sugar, melted butter, and salt. Begin to gradually add the flour while the mixer runs on low speed. Increase speed to medium and knead the dough for about 10-15 minutes, or until it is tacky and very elastic. Add more flour, a tablespoon at a time, if the dough is extremely sticky.
- Remove the dough and place in a lightly oiled bowl and cover with plastic wrap. Let rest in a warm place until doubled in size, about 1 hour to 1 1/2 hours (the exact proof time will depend on your kitchen environment; the warmer it is, the faster your dough will proof).
- Once doubled in size, divide the dough into 12 portions (use your kitchen scale for accuracy, but it should be approximately 57 grams per piece). Roll each piece of dough into an 8-inch log. Place the dough logs on your parchment-lined baking sheet, about 2 inches apart. Cover, and let rise until doubled in size, about 1 hour to 1 1/2 hours.
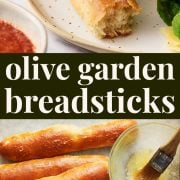
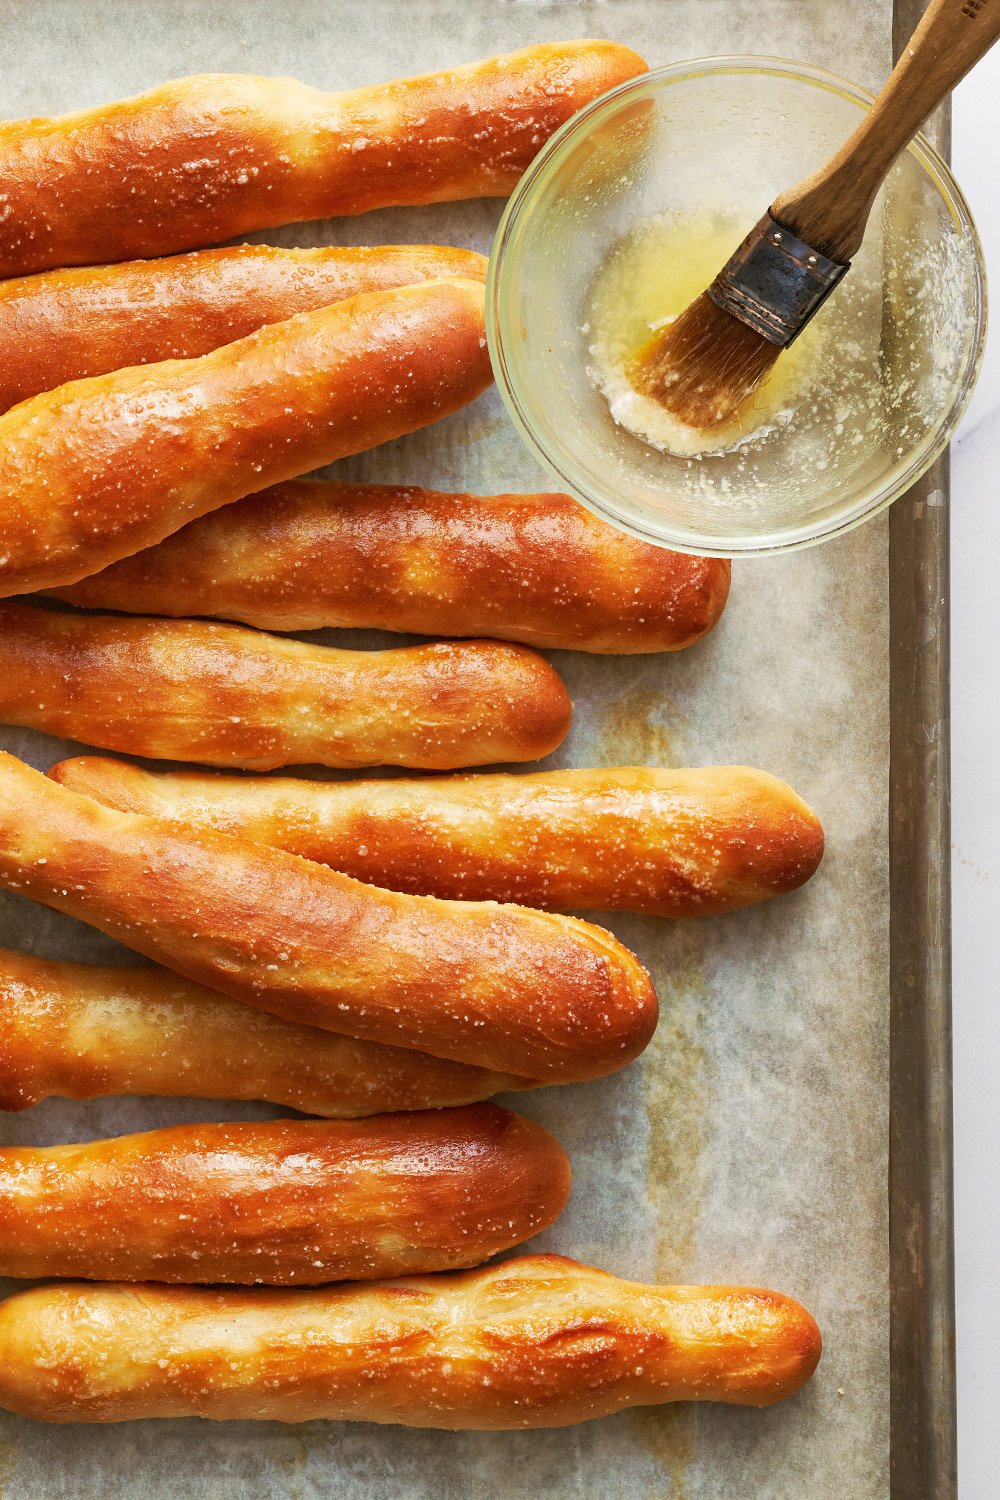
- Preheat your oven to 400°F. Bake for 12 to 14 minutes, or until golden brown. Remove from oven and immediately brush with melted butter. Combine the salt and garlic powder and sprinkle evenly over breadsticks. Serve warm.
- To refresh, place the breadsticks on a baking sheet, and reheat in the oven at 425°F for 4-5 minutes, or until warmed through. You can also re-brush with butter and sprinkle again with garlic powder and salt, if you wish.
Notes
This post was originally published in 2013 and updated in 2023 with new photos and recipe improvements. Photos by Joanie Simon.


Perfect bread 60 my gosh, you’re so bussin bus
Why do you use garlic powder instead of fresh garlic in the butter at the end?
We use garlic powder for ease and because Olive Garden doesn’t use fresh garlic in theirs, but you’re welcome to use fresh if you prefer! It’s all about what works best for your taste and convenience 🙂 If you love fresh garlic, you’ll LOVE our Garlic Knot Rolls!
This is the second time making these, and they are so darn delicious! We love this recipe! Easy to follow, basically fool proof, no problem adjusting times if needed, and can’t stop eating them!
PERFECT!!! I don’t know if anyone knows this but Olive Garden cheapened their breadstick recipe and they aren’t as good as they use to be. This recipe is like the original ones they made and is amazing!!! My whole family loves them. Today is the 3rd time I am making them and for my sones 33rd birthday. I also made Zuppa Toscanoa, my family says mine is better than there’s as well. Just a wonderful mix for sure!! Thank you so much for sharing this recipe!!
Tried this recipe today and as it was my first attempt/try baking with yeast I did mess up a little. I kneaded the dough after I let it rise, but the breadsticks still came out great! Maybe a little more dense, I was intimidated because I had active dry yeast instead of instant so I loved that this recipe gave tips on how to utilize alternatives to the ingredients.
Definitely going to be making these again! My husband said they taste just like, or better, than Olive Gardens. I think he was just excited to have fresh warm breadsticks with dinner.
Way to go, Julie! They look delicious.
I’m trying these today but I changed some things. I added garlic and Parmesan into the bread stick recipe. I do it with sourdough so we’re gonna see how it goes
How did they turn out using sourdough, Tina?
I haven’t read through all the comments so perhaps this was already mentioned. You cannot add traditional yeast to the dry ingredients! It needs to dissolve (proof) in some of the liquid first.
not according to king arthur, there is no need to prove yeast.
That’s instant yeast, dude. Dry active must be proofed.
https://www.kingarthurbaking.com/blog/2015/09/25/active-dry-yeast
Proofing used to be necessary with dry active yeast. That has not been the case since 2015 when ALL manufacturers of yeast changed the formulation. It is no longer a necessity, although it’s good practice to use, to verify the yeast is still viable.
What a fantastic recipe…. I elected to use my bread machine for the mixing and first rising, and it all worked fabulously. I thought about how at Olive Garden the seasoning isn’t even on the breadsticks, so I mixed the salt and garlic powder into the butter. Voila! Very evenly seasoned. This recipe will appear on our table many, many times!
Just made my first batch. I used my bread machine to make the dough. I still need to work on shaping them. So yummy and easy.
Do these freeze well? Visitors coming and it would be great to make ahead.
Thank you
My husband is from the USA but we live in Australia and we don’t have bread sticks here! It’s something we love to eat when we visit family in the US and these NAILED IT. Olive garden copy cat?? I don’t think so. These are way better than Olive Garden. I couldn’t believe how soft they were! I used garlic butter for the brushed butter at the end and the garlic salt was just…. Chefs kiss. They were also really easy to make.
Thank you so much for this fantastic recipe!
Thank you so much! We’re thrilled to hear these brought a touch of home all the way to Australia…and even beat Olive Garden! Love the garlic butter touch, too.
Was a hit on the first attempt and keeps getting better with every try! I also hand mix/knead and use active instead of instant yeast. These taste way better than Olive Garden in my opinion.
I’m so glad you like the recipe, Kaylee! And well done on making it work with what you’ve got available. I hope you try one of my other bread recipes someday (maybe my homemade burger buns this summer?!).
I tried this recipe tonight for my family and it turned out great. Thank u for sharing it. A tip to others when they come out and u put garlic butter on them sprinkle with parmaesan cheese they are so good. We ate ours with spaghetti.