




This post may contain affiliate links. Read our disclosure policy.











Tessa’s Recipe Rundown
Taste: So rich and tasty, with a tiny hint of sweetness.
Texture: Paradoxically light and fluffy AND rich, with a slightly crusty exterior.
Ease: The dough is a little sticky, but once you get the hang of it, you’ll be making these for every cookout.
Why You’ll Love This Recipe: 1,000 times better than any store-bought burger buns.
I have had a longtime obsession with these Burger Buns. Be warned: they will spoil you against store-bought buns for life.
Soft, squishy, light and amazing! Held together and didn’t fall apart even when loaded with our homemade chicken burgers and condiments. Amazing and will be kept on rotation!!
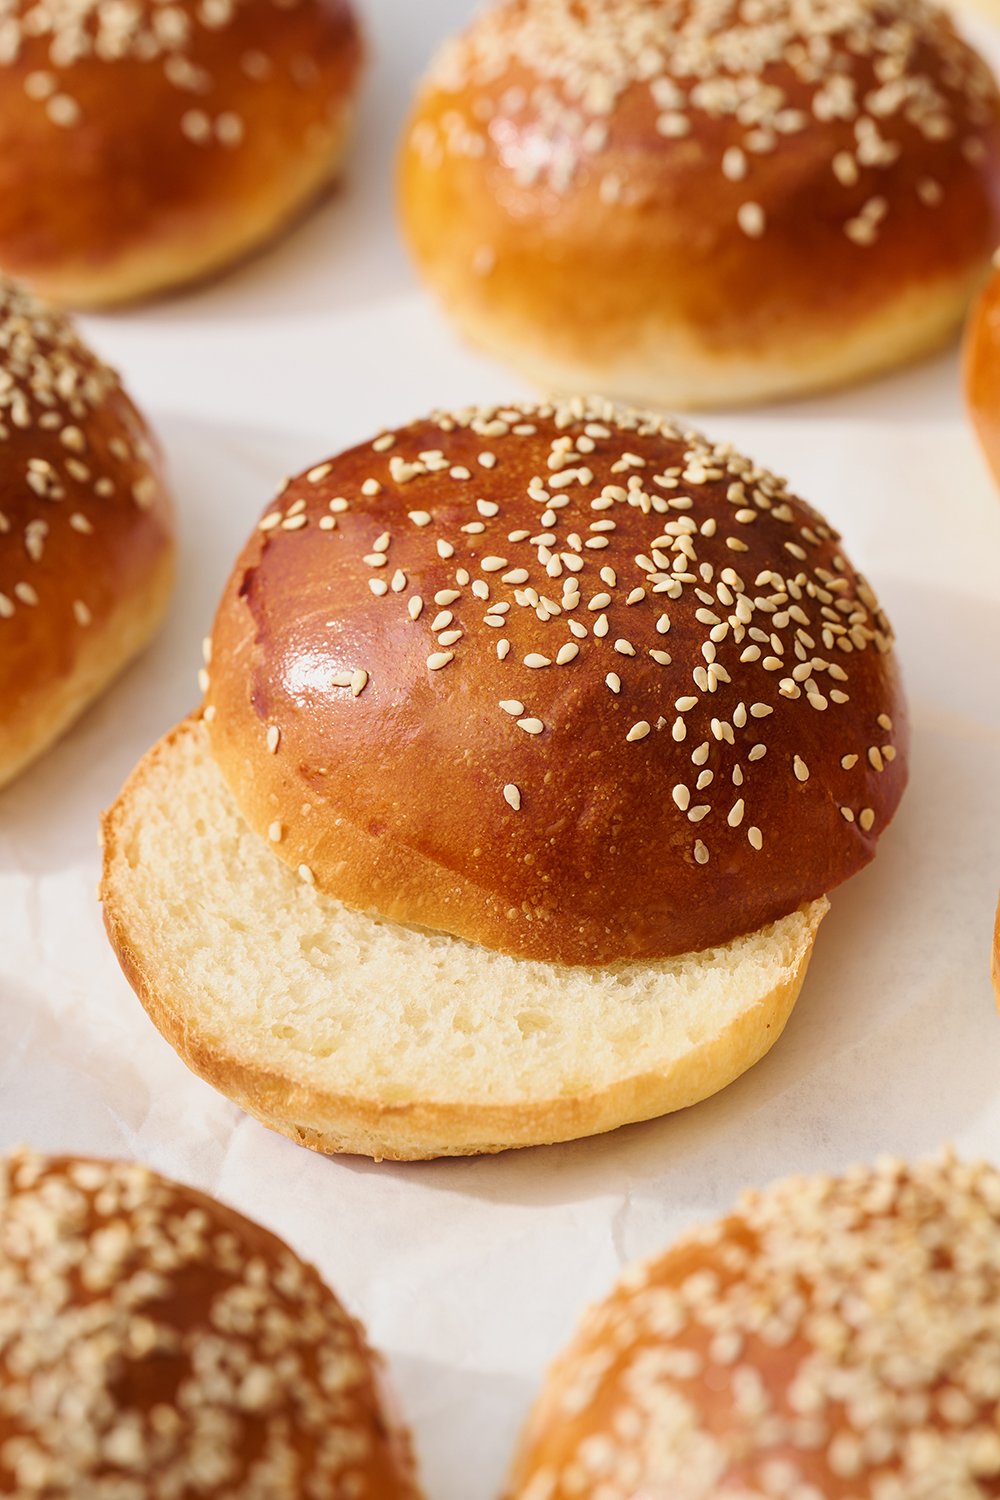
They’re the perfect way to elevate your burger game. Your summer cookouts will never be the same.
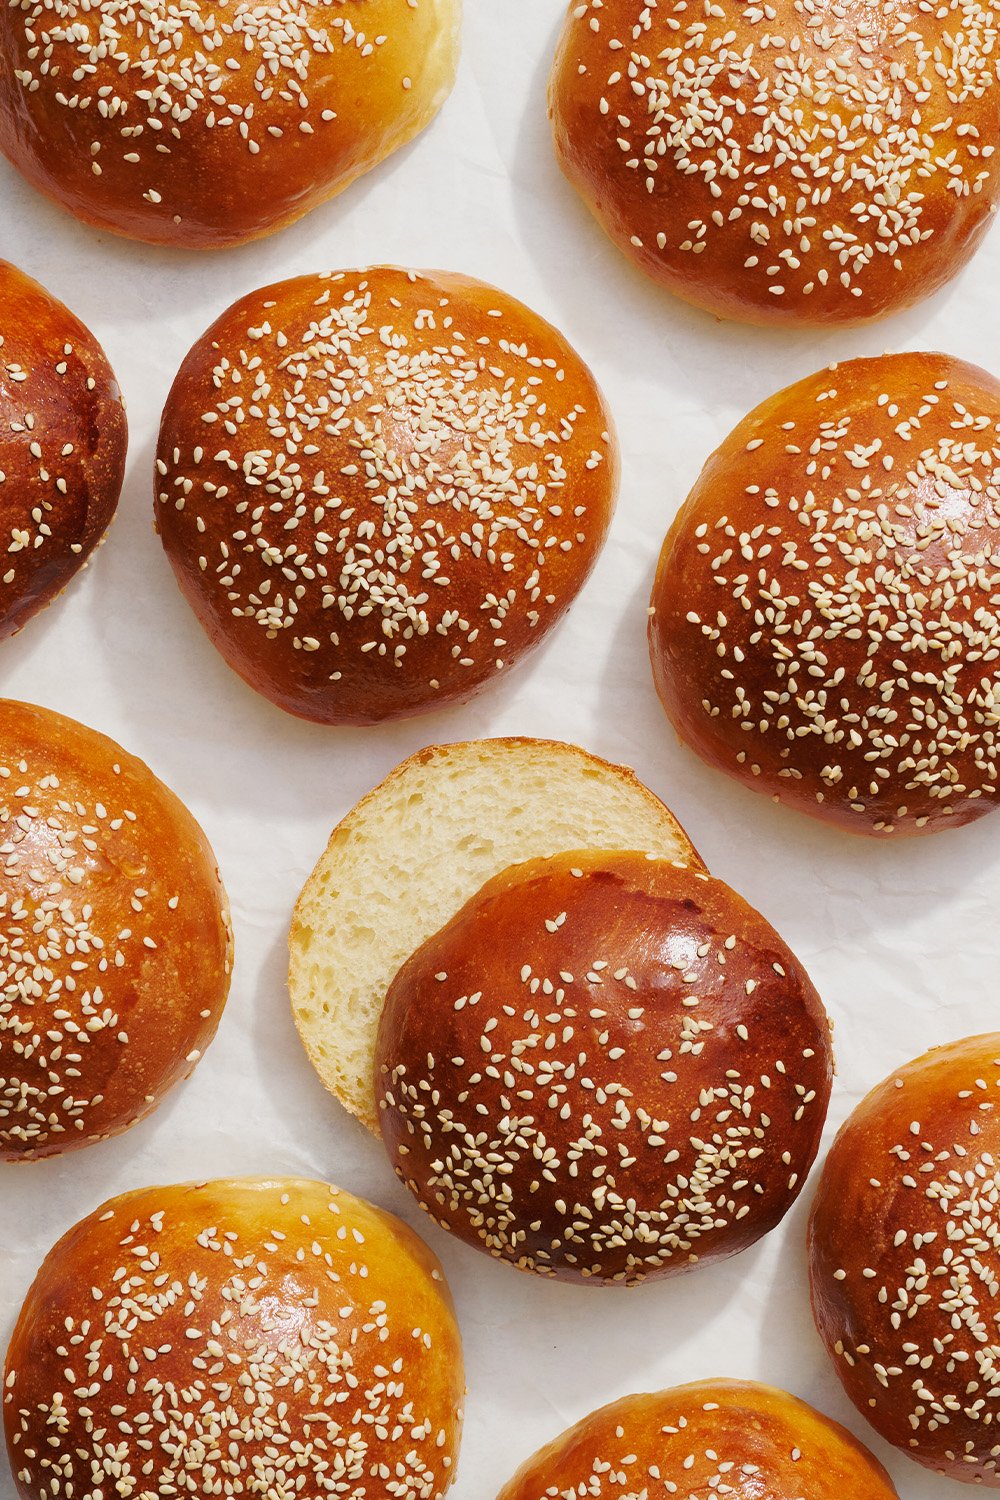
These homemade Hamburger Buns feature a light brioche base, which makes them incredibly fluffy yet rich, and a little crusty on the outside. They’re soft yet sturdy enough to contain even the juiciest burger or any sandwich.
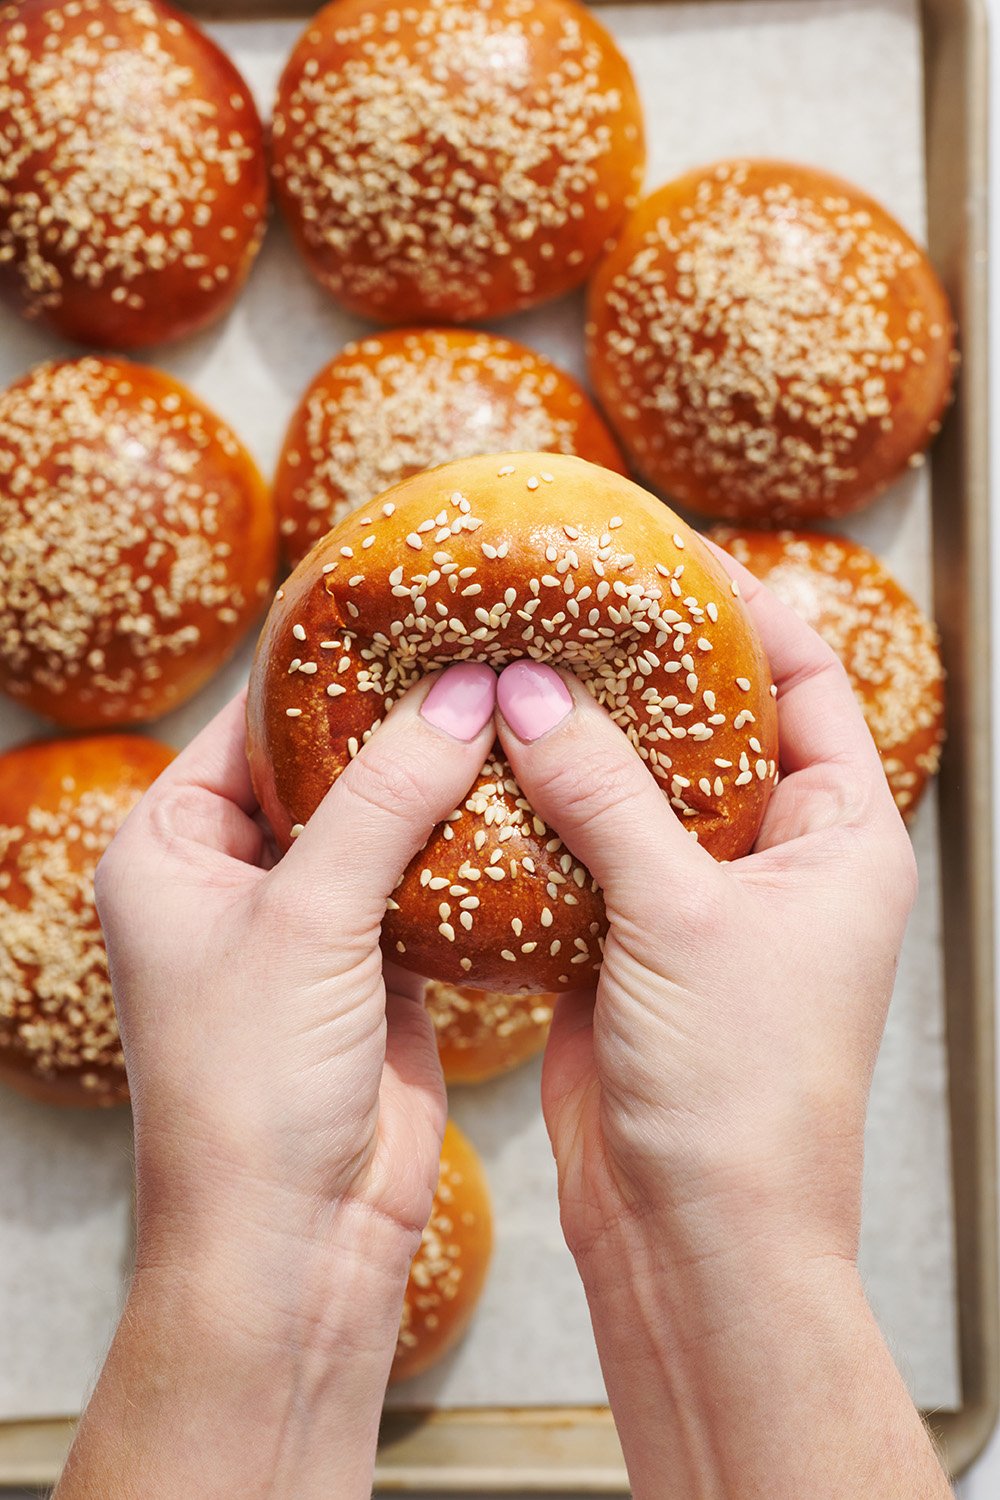
Below, I’m sharing all my tips and tricks for how to make my homemade Hamburger Bun recipe, which will seriously wow anyone who comes to your next summer BBQ.
Get ready to enjoy the best burgers of your life!
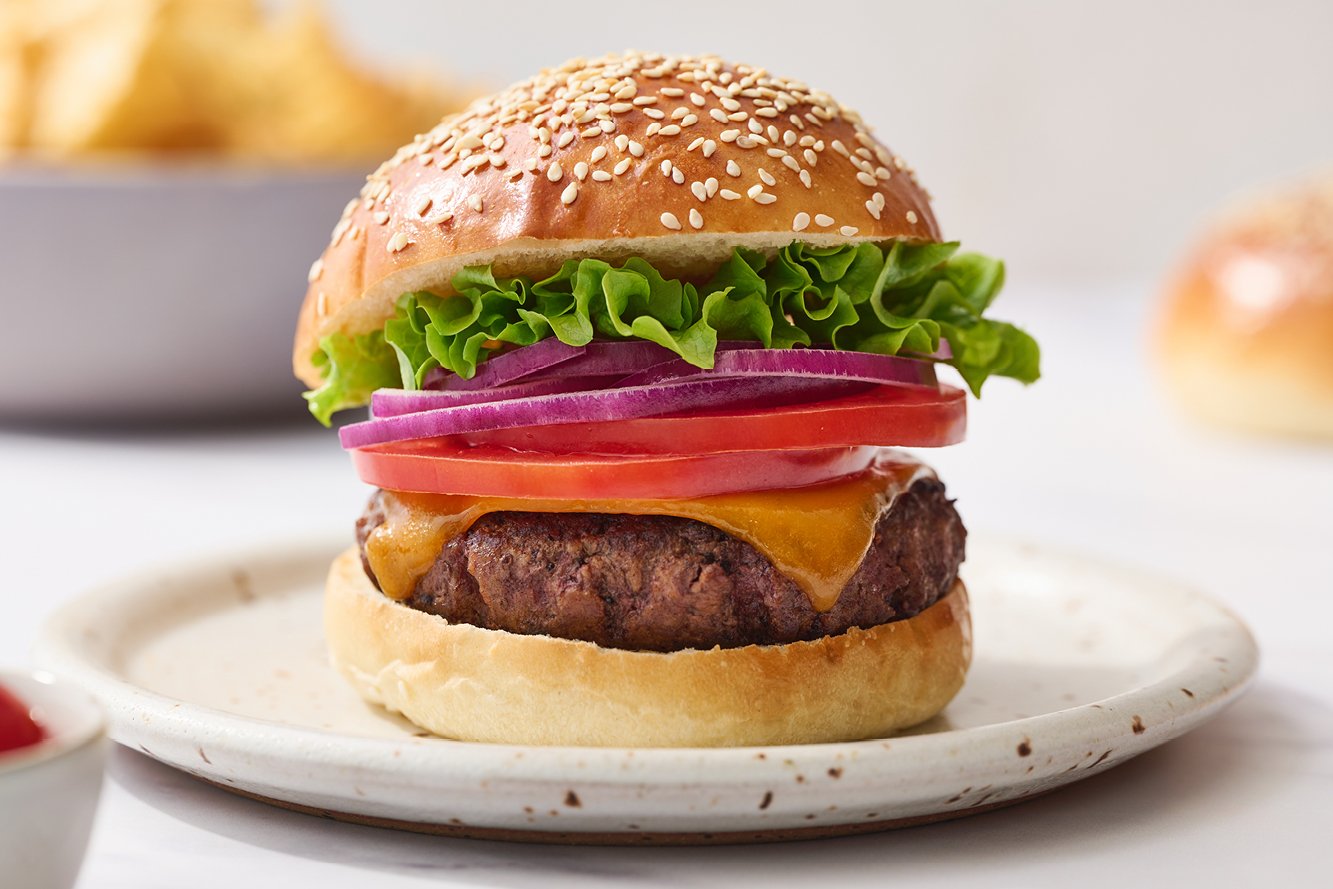
How To Make Soft & Fluffy Buns
- Avoid adding too much extra flour to the dough. Since this dough is enriched and takes quite a while to come together, it’ll look really wet and sticky. Your instinct might be to add extra flour; however, any extra flour will create a denser, tougher bun instead of the light, fluffy, brioche-style bun we want.
- It’s better to be sticky than dense. The sticky factor will continue to lessen as the dough is kneaded and especially as it rises. If the dough doesn’t seem like it’s coming together at all, let it rest for about 10 minutes before continuing to knead, to allow the gluten to relax.
How to Tell When Dough Has Properly Risen
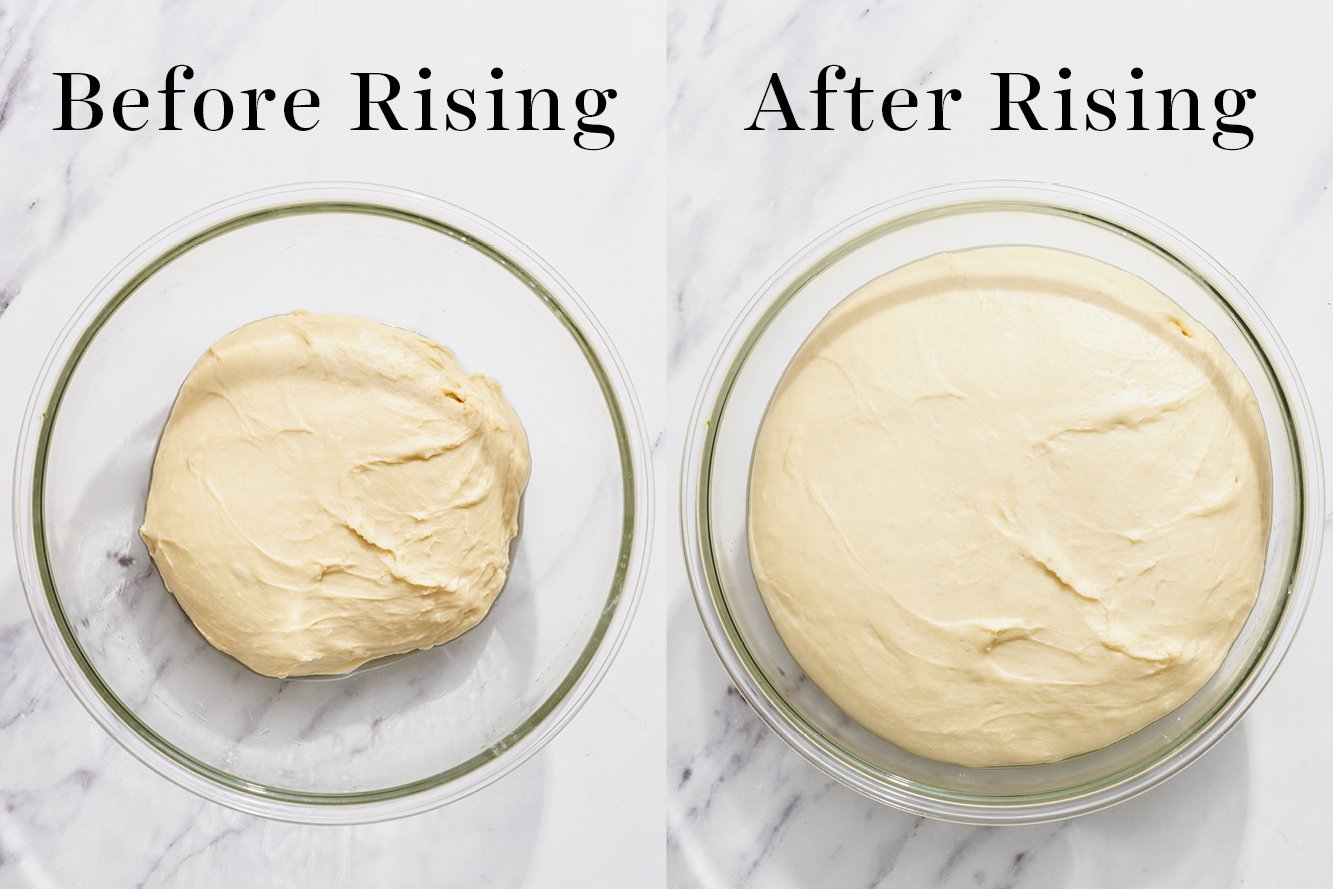
- After kneading, shape the dough into a ball. Place in a lightly oiled mixing bowl. I like to use a glass bowl, so I can see how much it’s rising. I’ll even snap a picture of the dough before rising, so I can compare it later.
- Cover the bowl with plastic wrap or a clean kitchen towel. Let the dough rise in a warm, draft-free location. Near a sunny window, warm oven, or laundry dryer (away from scented dryer sheets) are great options. Ideal rise temperatures are between 80°F and 90°F. Lower temperatures will require more rising time.
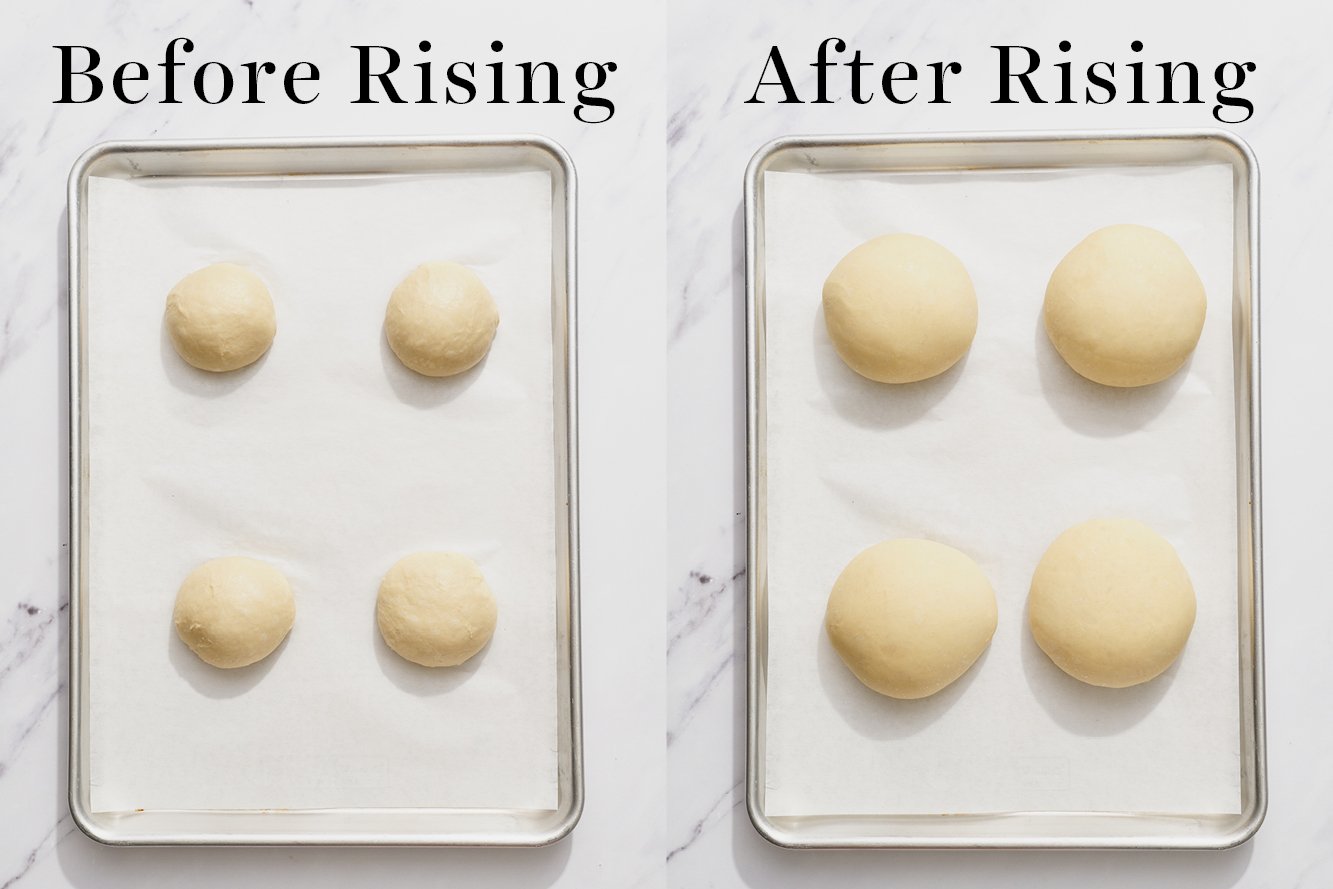
- The dough is done rising when it’s about doubled in size and passes the “ripe” test. Gently stick two fingers in the risen dough up to the second knuckle and then take them out. If the finger marks remain, the dough is ready for shaping into balls. If not, cover and let the dough rise longer until it is.
- The same finger test can be done again after the second rise, when the rolls are shaped and getting ready for baking.
Here’s what my dough looked like before and after the first and second rises:
How To Tell If You Have Over-Proofed Your Hamburger Buns
This can happen easily if your kitchen is very hot, or if you’re busy and forget to check on the buns. If your buns have over-proofed, they will likely deflate while egg washing, or look flattened once baking. Over-proofed buns will look a little sad, but they should still taste fine.
Tips for Shaping Beautiful Buns
Properly shaping Burger Buns means the difference between sad, flat buns and beautifully round, tall ones that look professional.
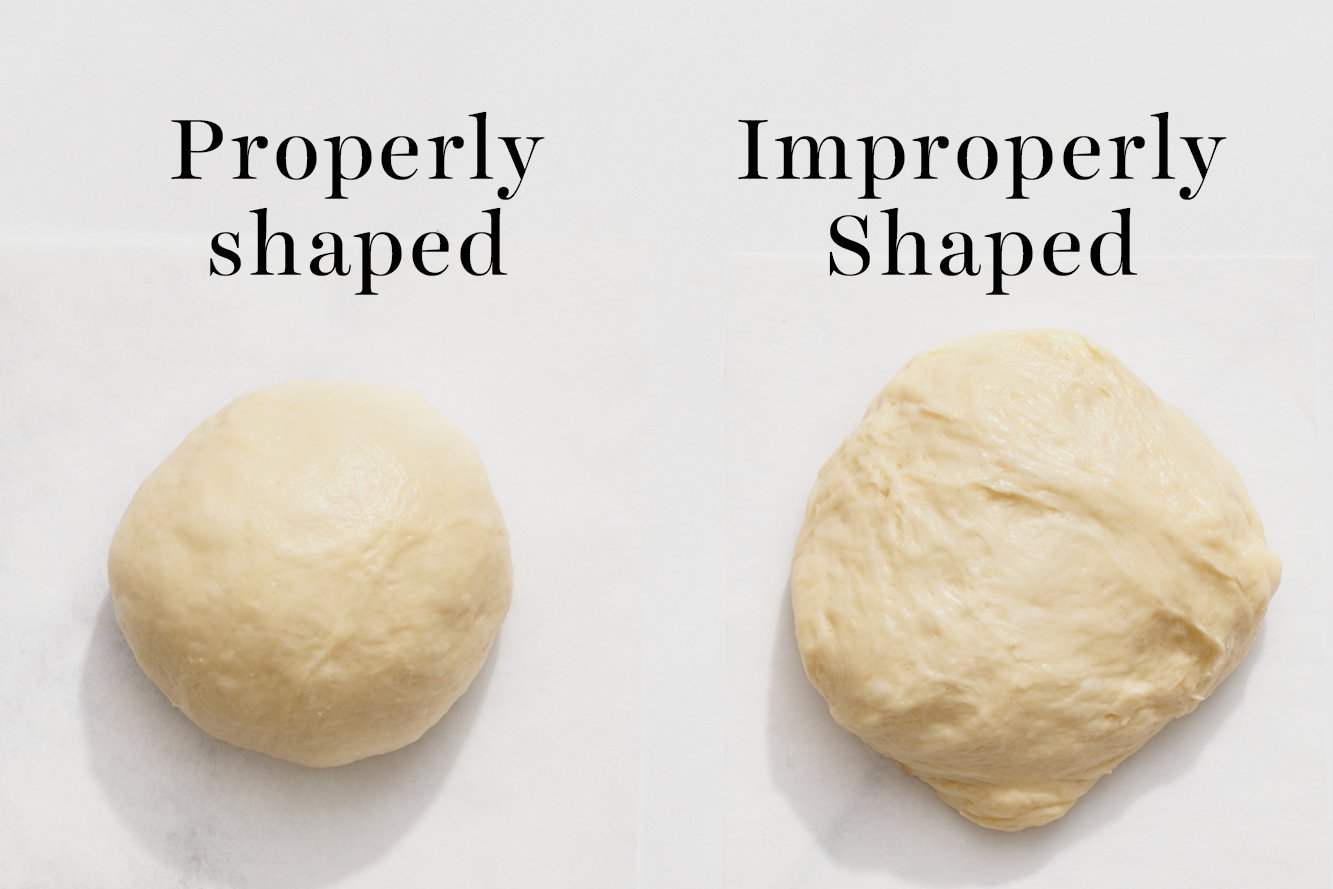
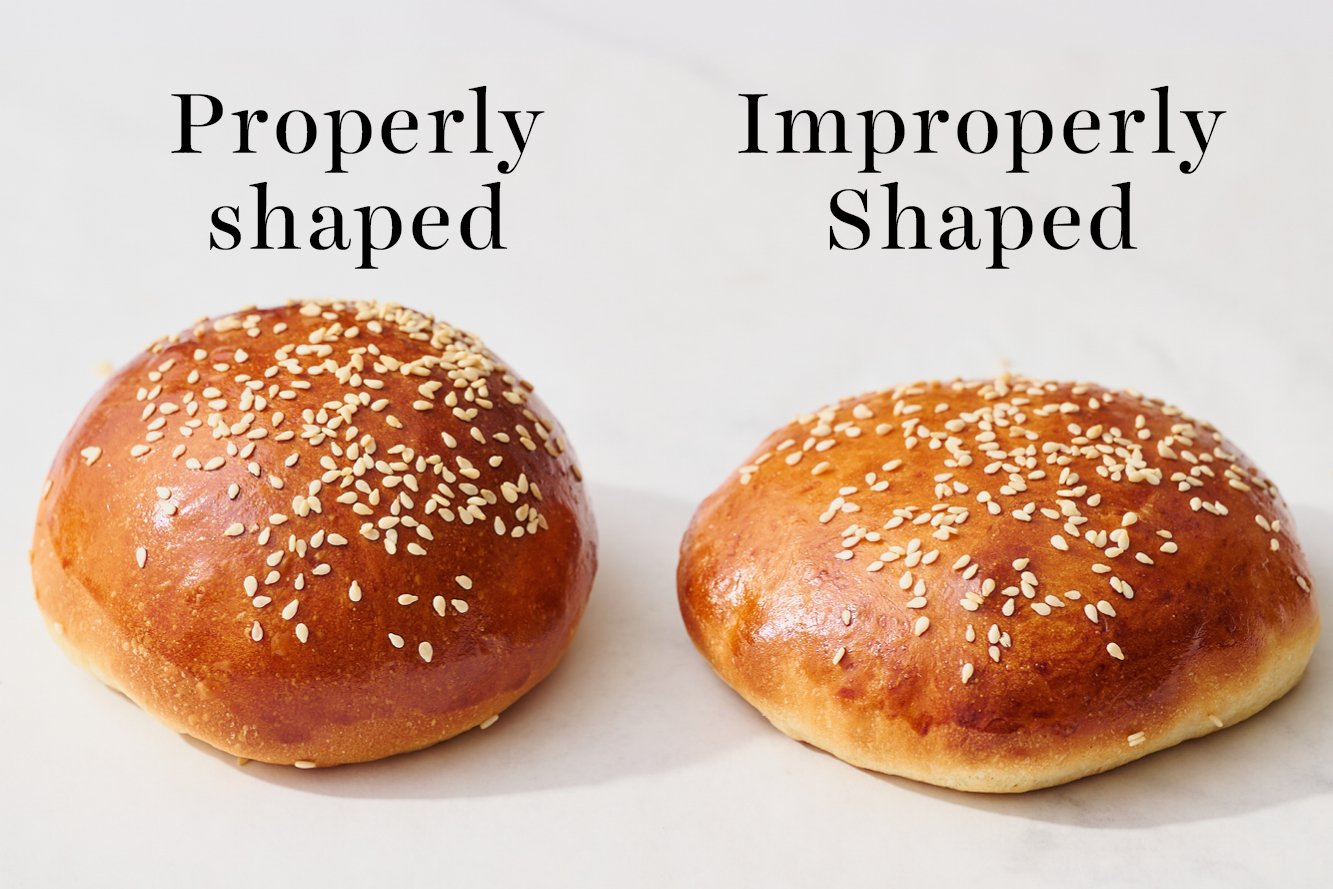
- Deflate the dough. Once the dough is risen, press it down to deflate it slightly.
- Place on work surface. Place the dough onto a clean surface (not a floured surface).
- Divide the dough. Use a bench scraper to section the dough into 8 equal pieces. Feel free to eyeball it, but if you’re a perfectionist like me, weigh the entire mass of dough, divide that number by 8, then portion each piece perfectly by weight.
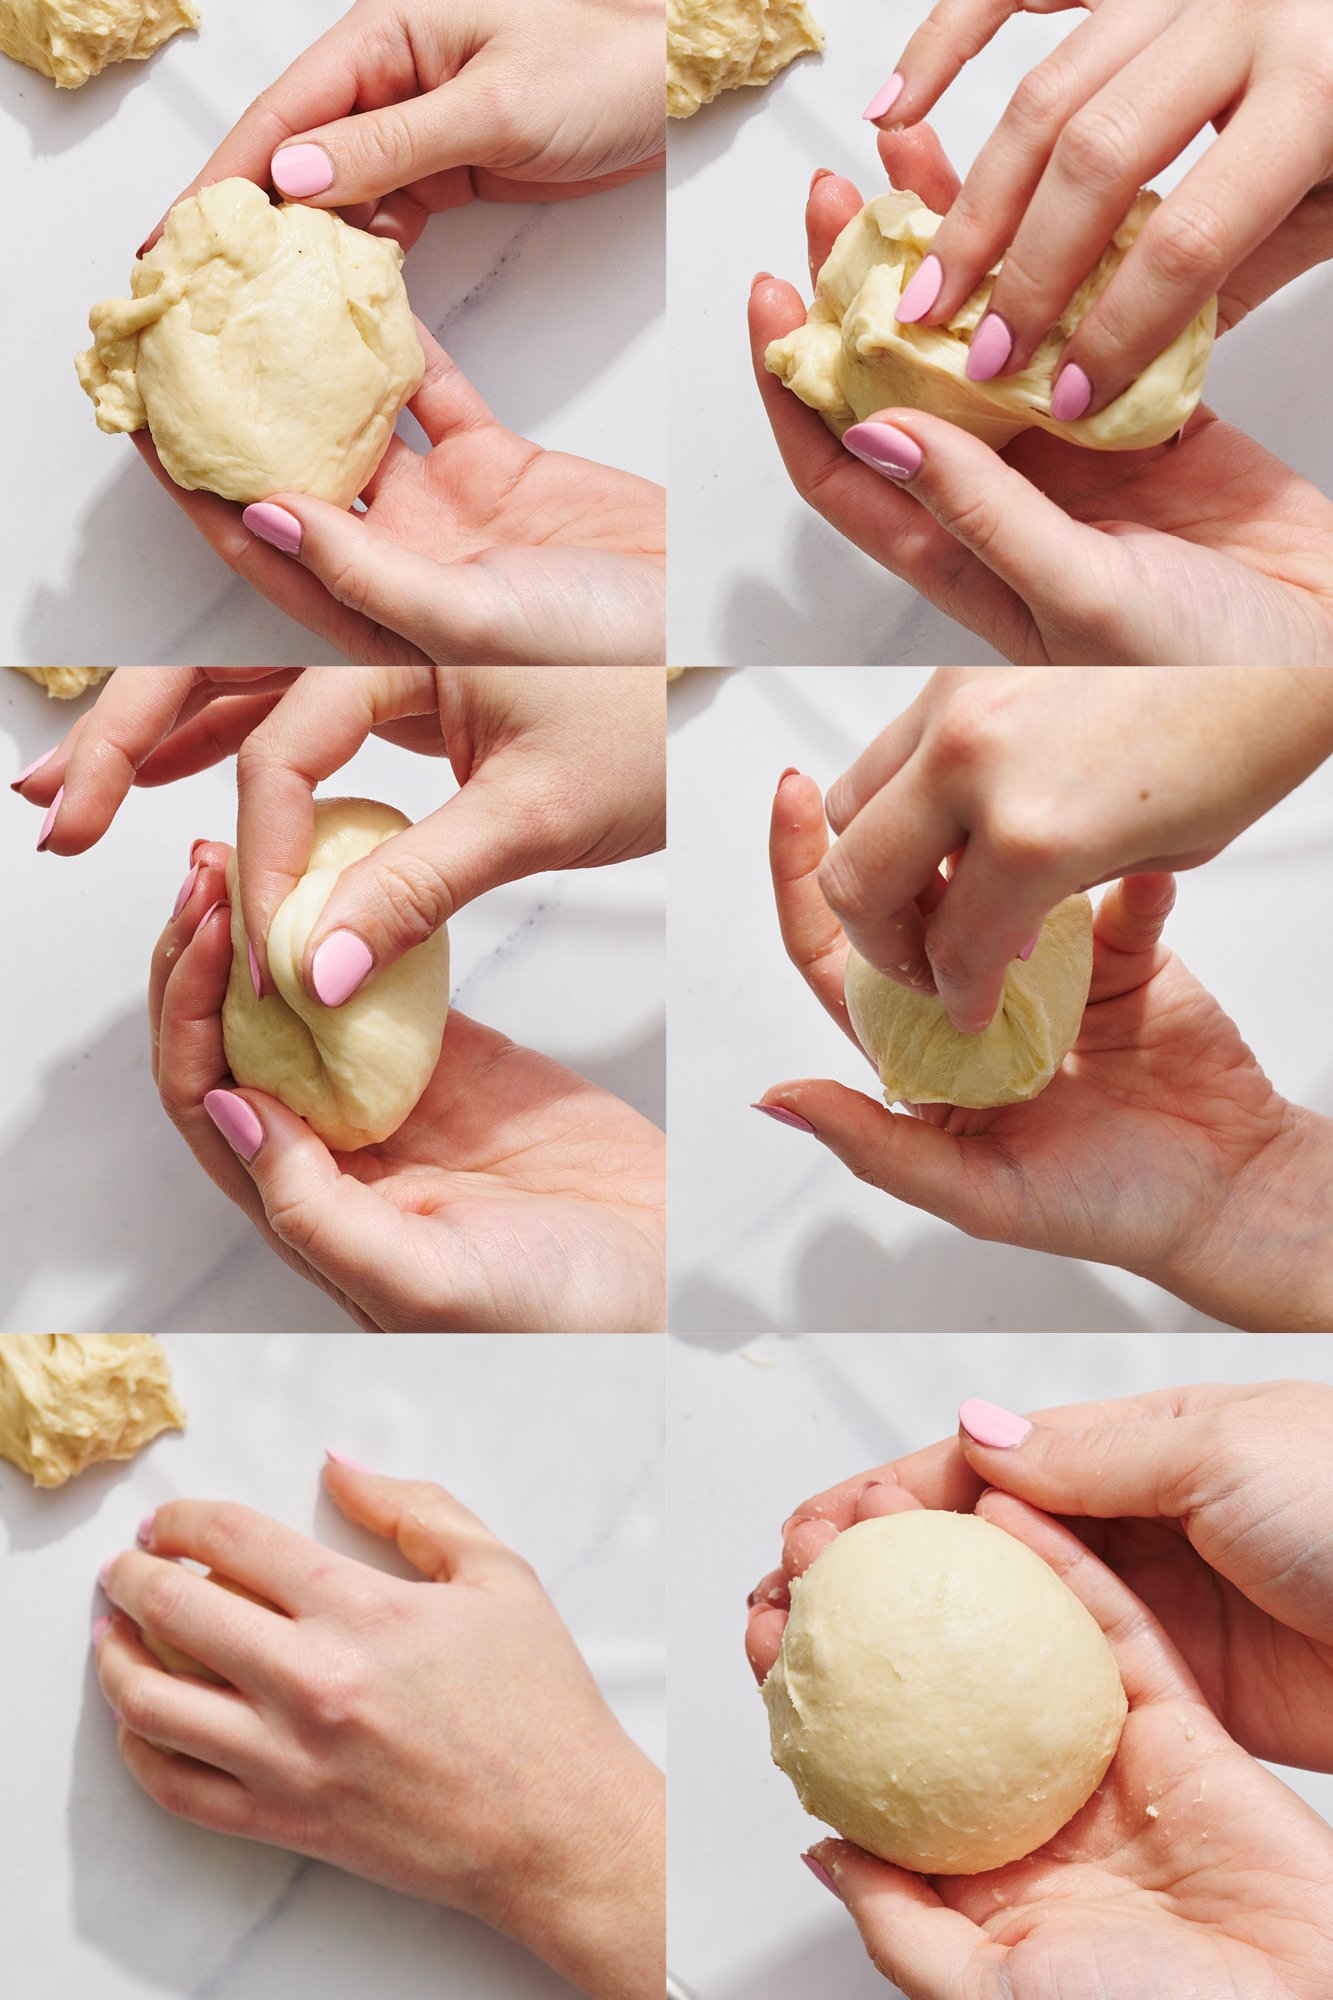
- Shape into rounds. As you’re shaping each piece into a round, make sure to tug on pieces of dough to bring towards a central point. Pinch those pieces together to create a very tight, taught ball of dough. Roll the ball on your work surface to even it out. This will help the buns rise beautifully.
- Don’t flour the work surface. Don’t flour your work surface when shaping the buns because you want some resistance to roll them into taut balls.
- Tip if the dough is too sticky to handle easily: Very lightly oil, dampen, or flour your hands – just enough that you can handle the dough without it sticking to your hands.
Storage & Make ahead
Make Ahead – Fridge: I recommend preparing the buns through the first rise, dividing and shaping the rolls, letting them rise for about 20 minutes, then covering them well with plastic wrap and refrigerating for up to 24 hours. Remove from the fridge and allow to sit at room temperature for at least another hour.
Make Ahead – Freezer: Freeze the unbaked rolls after their first rise and shaping. Place the rolls in a baking pan, cover tightly with plastic wrap, and store in an airtight container in the freezer for up to 2 months. Thaw to room temperature. Let rise until an indentation made with your finger into the dough remains before proceeding with the recipe as written.
Store at Room Temperature: Store baked, cooled buns inside an airtight container for up to two days at room temperature.
Store in Freezer: Store baked, completely-cooled buns inside an airtight container in the freezer for up to two months. Let defrost at room temperature or in the microwave before toasting the buns in your toaster or on your griddle or grill.
FAQs
Yes! Simply divide the dough into 15 and place in a 9 by 13-inch metal pan. Bake at 400°F for 15-20 minutes, rotating halfway through baking, until the tops are golden brown.
Yes, but it’ll require some elbow grease and patience. Many readers have successfully kneaded by hand, but this dough is on the sticky side and requires a lot of kneading to develop that gluten. If you’ve got a mixer, it’s worth lugging out of the cabinet. If you don’t have a stand mixer, check out my How to Knead Dough article here.
Check out my Whole Wheat Burger Buns recipe, where I’ve made the adjustments so you don’t have to!
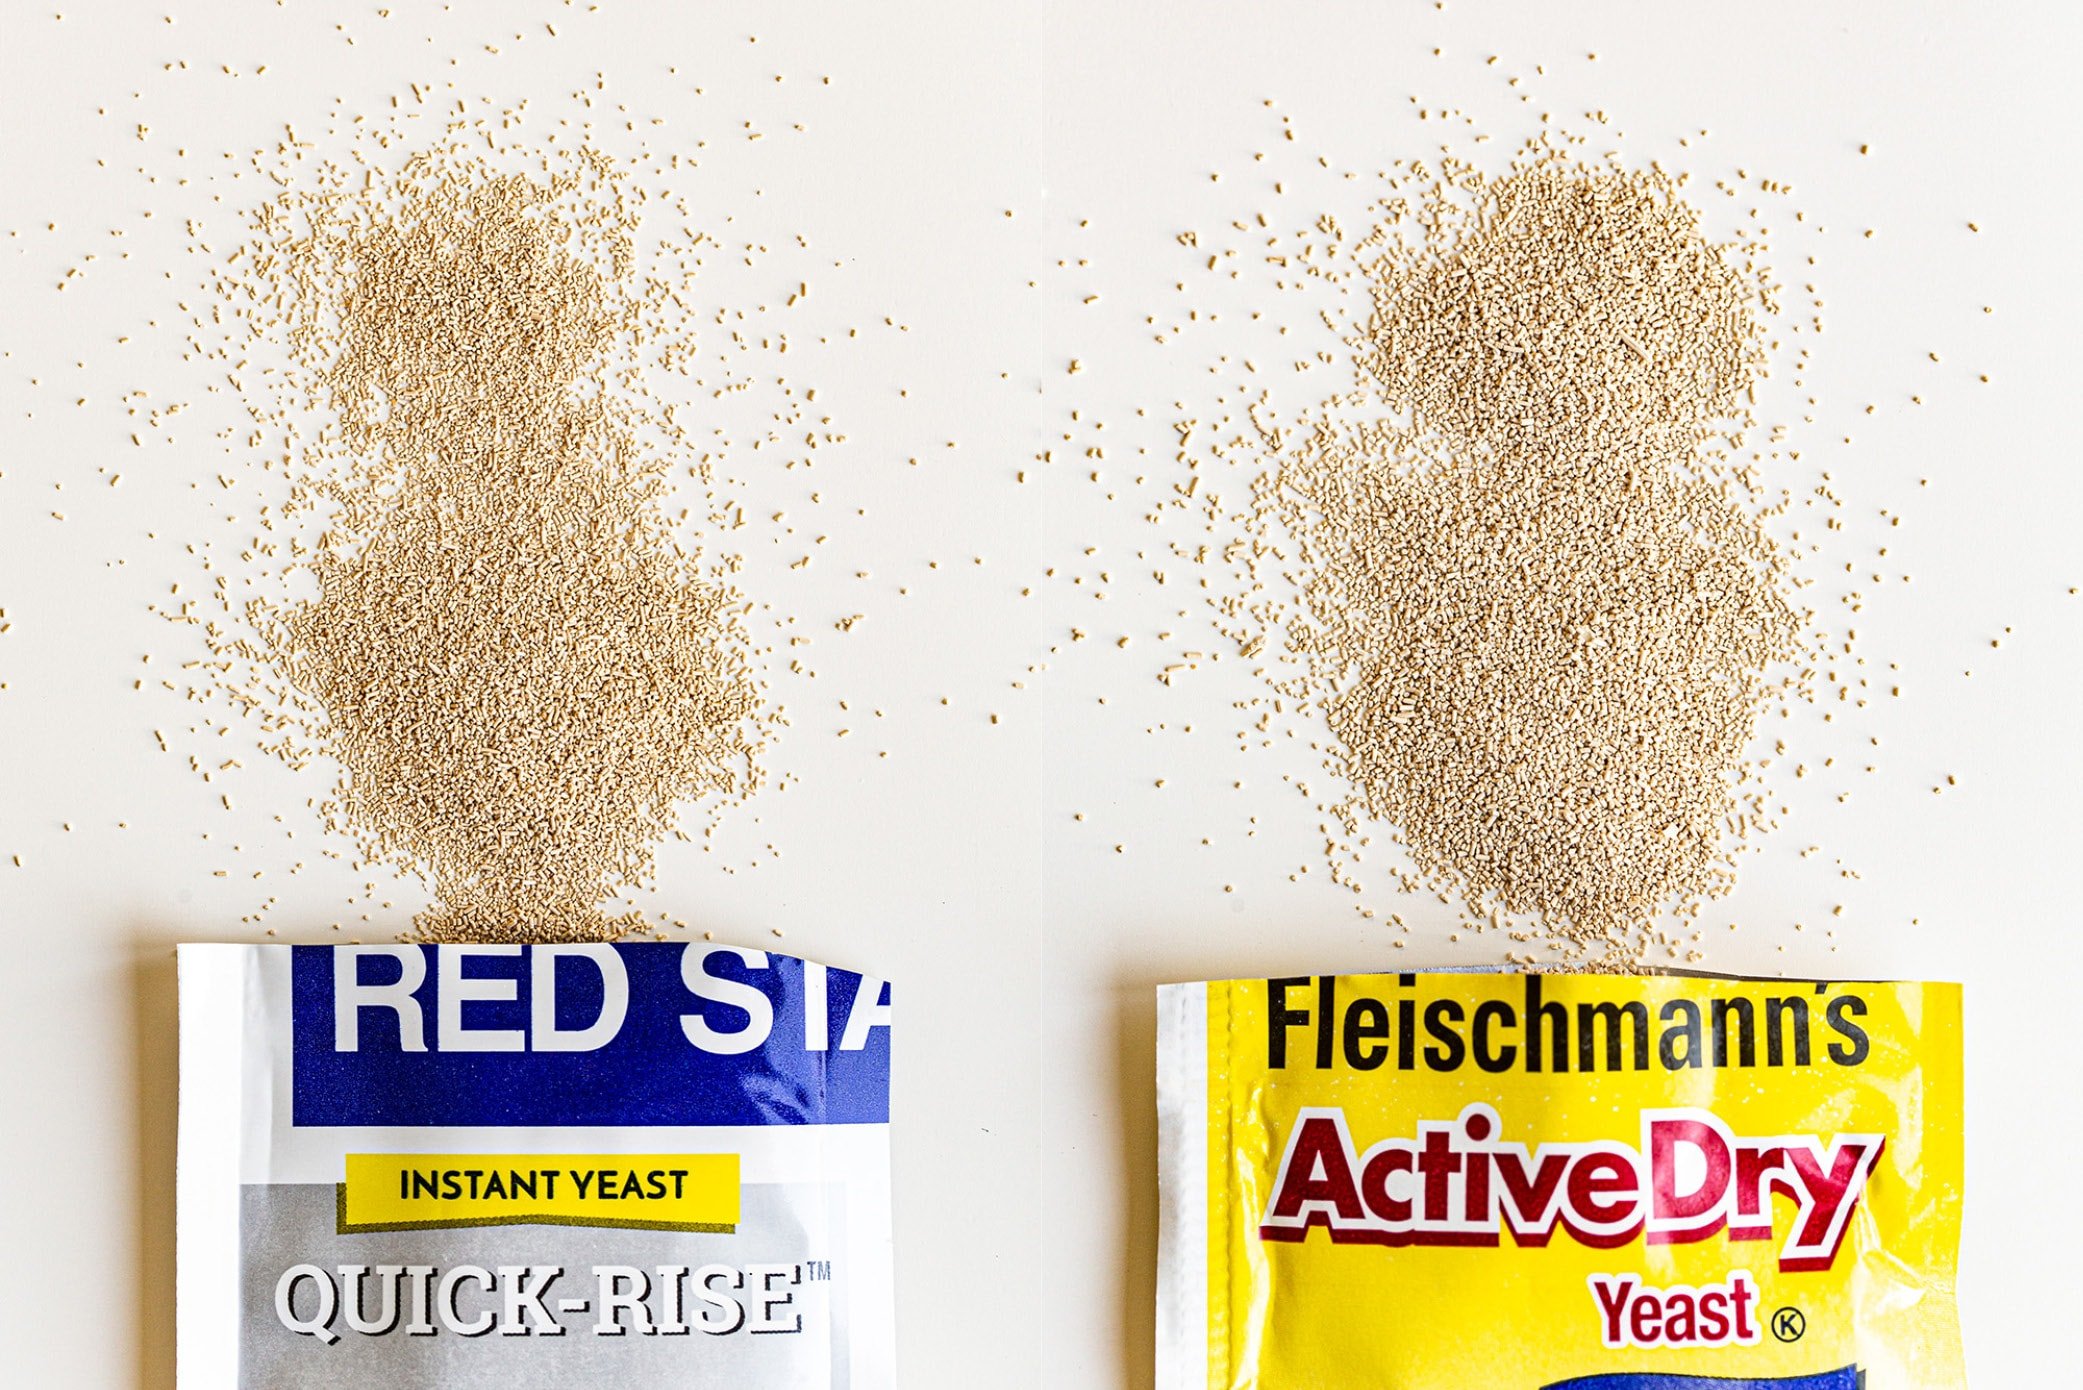
Yes, you can swap instant yeast for active dry yeast at a 1:1 ratio. Active dry yeast will take about 20% longer to rise. Here’s how to slightly speed up that process:
– Combine the active dry yeast with the warm water and warm milk called for in the recipe and allow it to proof for 5 minutes, until frothy.
– Then add to the bowl with the other ingredients and proceed with the recipe as written
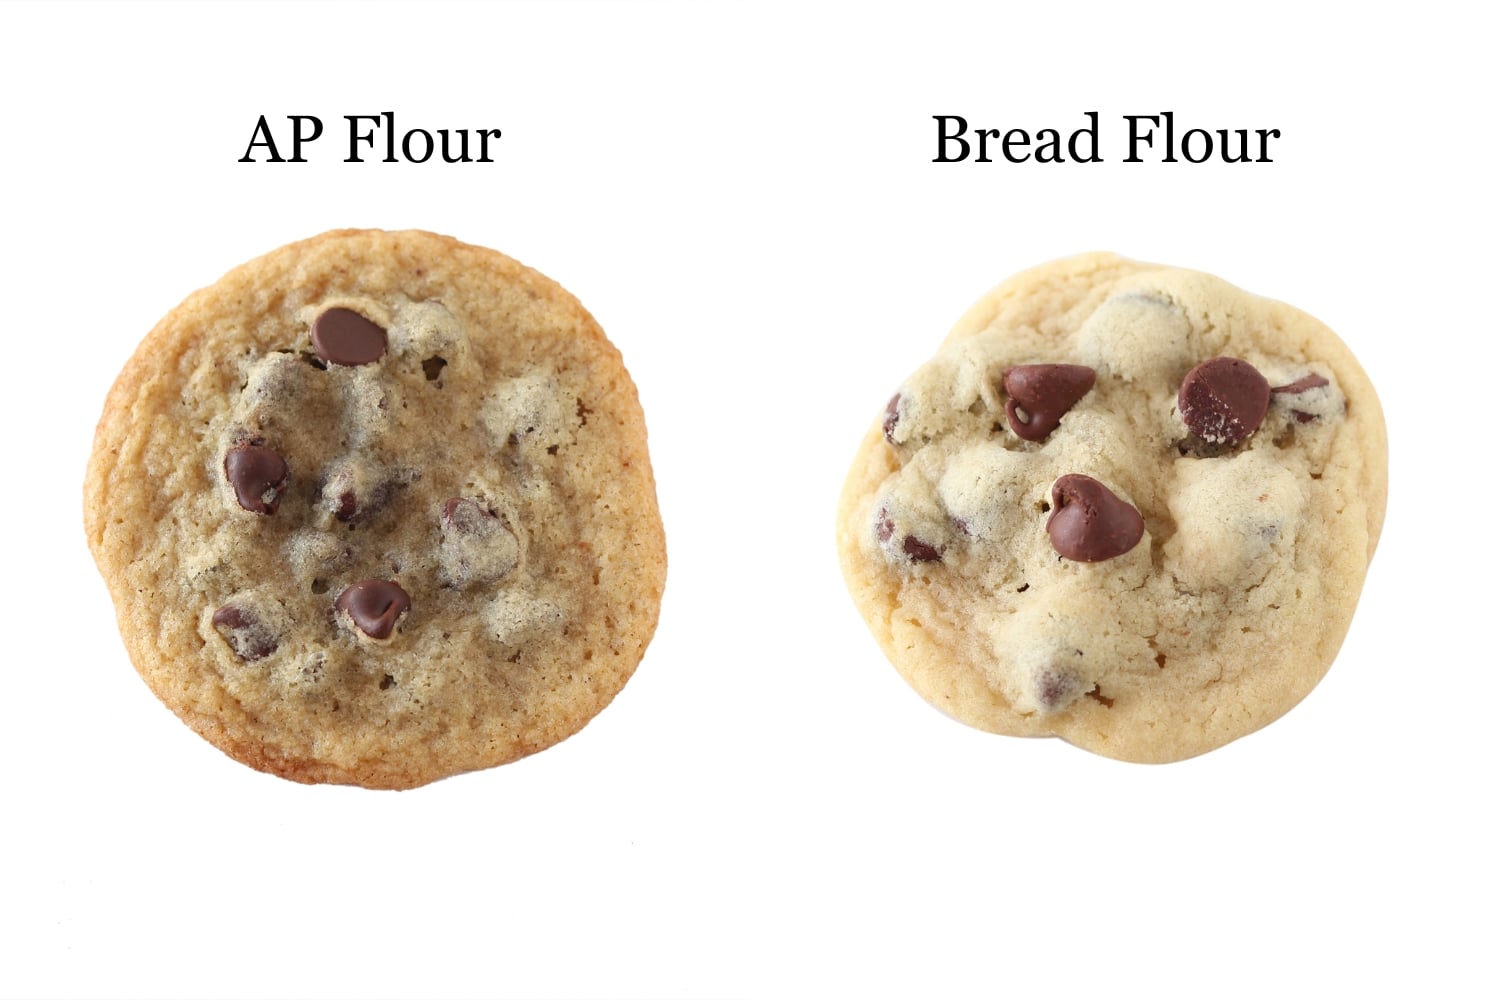
For best results, I really recommend sticking with both bread and all-purpose flour as written.
Bread flour contains more protein than all-purpose flour, which helps develop the gluten in the dough. Gluten is the backbone of any bread’s structure and since we are adding ingredients that prohibit gluten development (butter, egg, sugar), this dough needs that additional protein to develop its structure and prevent them from falling flat.
When testing this recipe, I found that making the buns with all bread flour resulted in buns that were too tall and stiff. A little all-purpose flour balances this out.

Email This Recipe
Enter your email, and we’ll send it to your inbox.
Ingredients
- 3 tablespoons (44 grams) warm whole milk, between 105° and 120°F
- 1 cup (237 grams) warm water, between 105° and 120°F
- 2 ¼ teaspoons (1 packet, 8 grams)
instant yeast 1 - 2 ½ tablespoons (31 grams) granulated sugar
- 1 large egg, at room temperature, slighten beaten
- 3 cups (382 grams) – 3 cups + 3 tablespoons (406 grams) bread flour, approximately2 (do not substitute this)
- ⅓ cup (43 grams) all-purpose flour
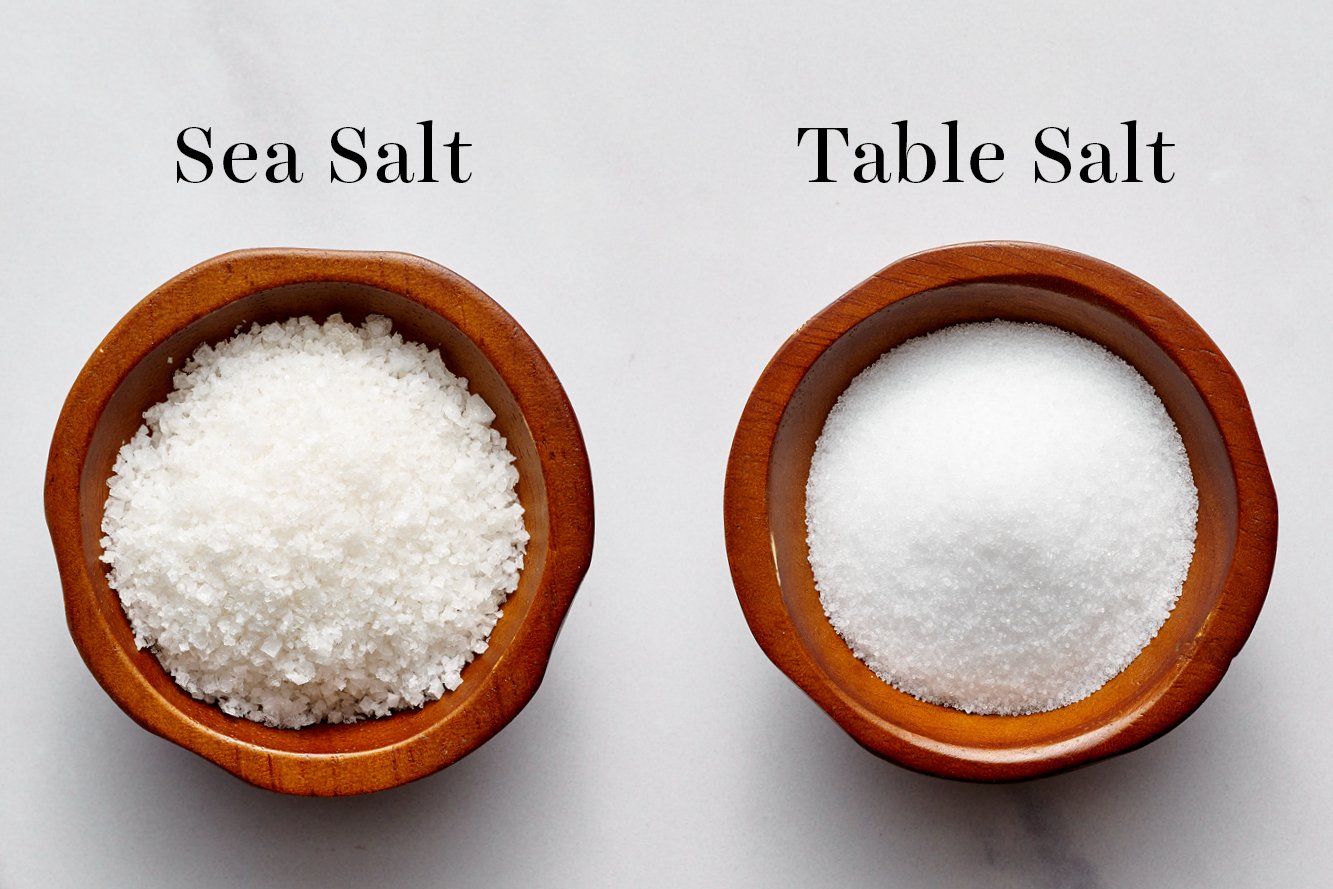
- 1 ½ teaspoons fine sea salt
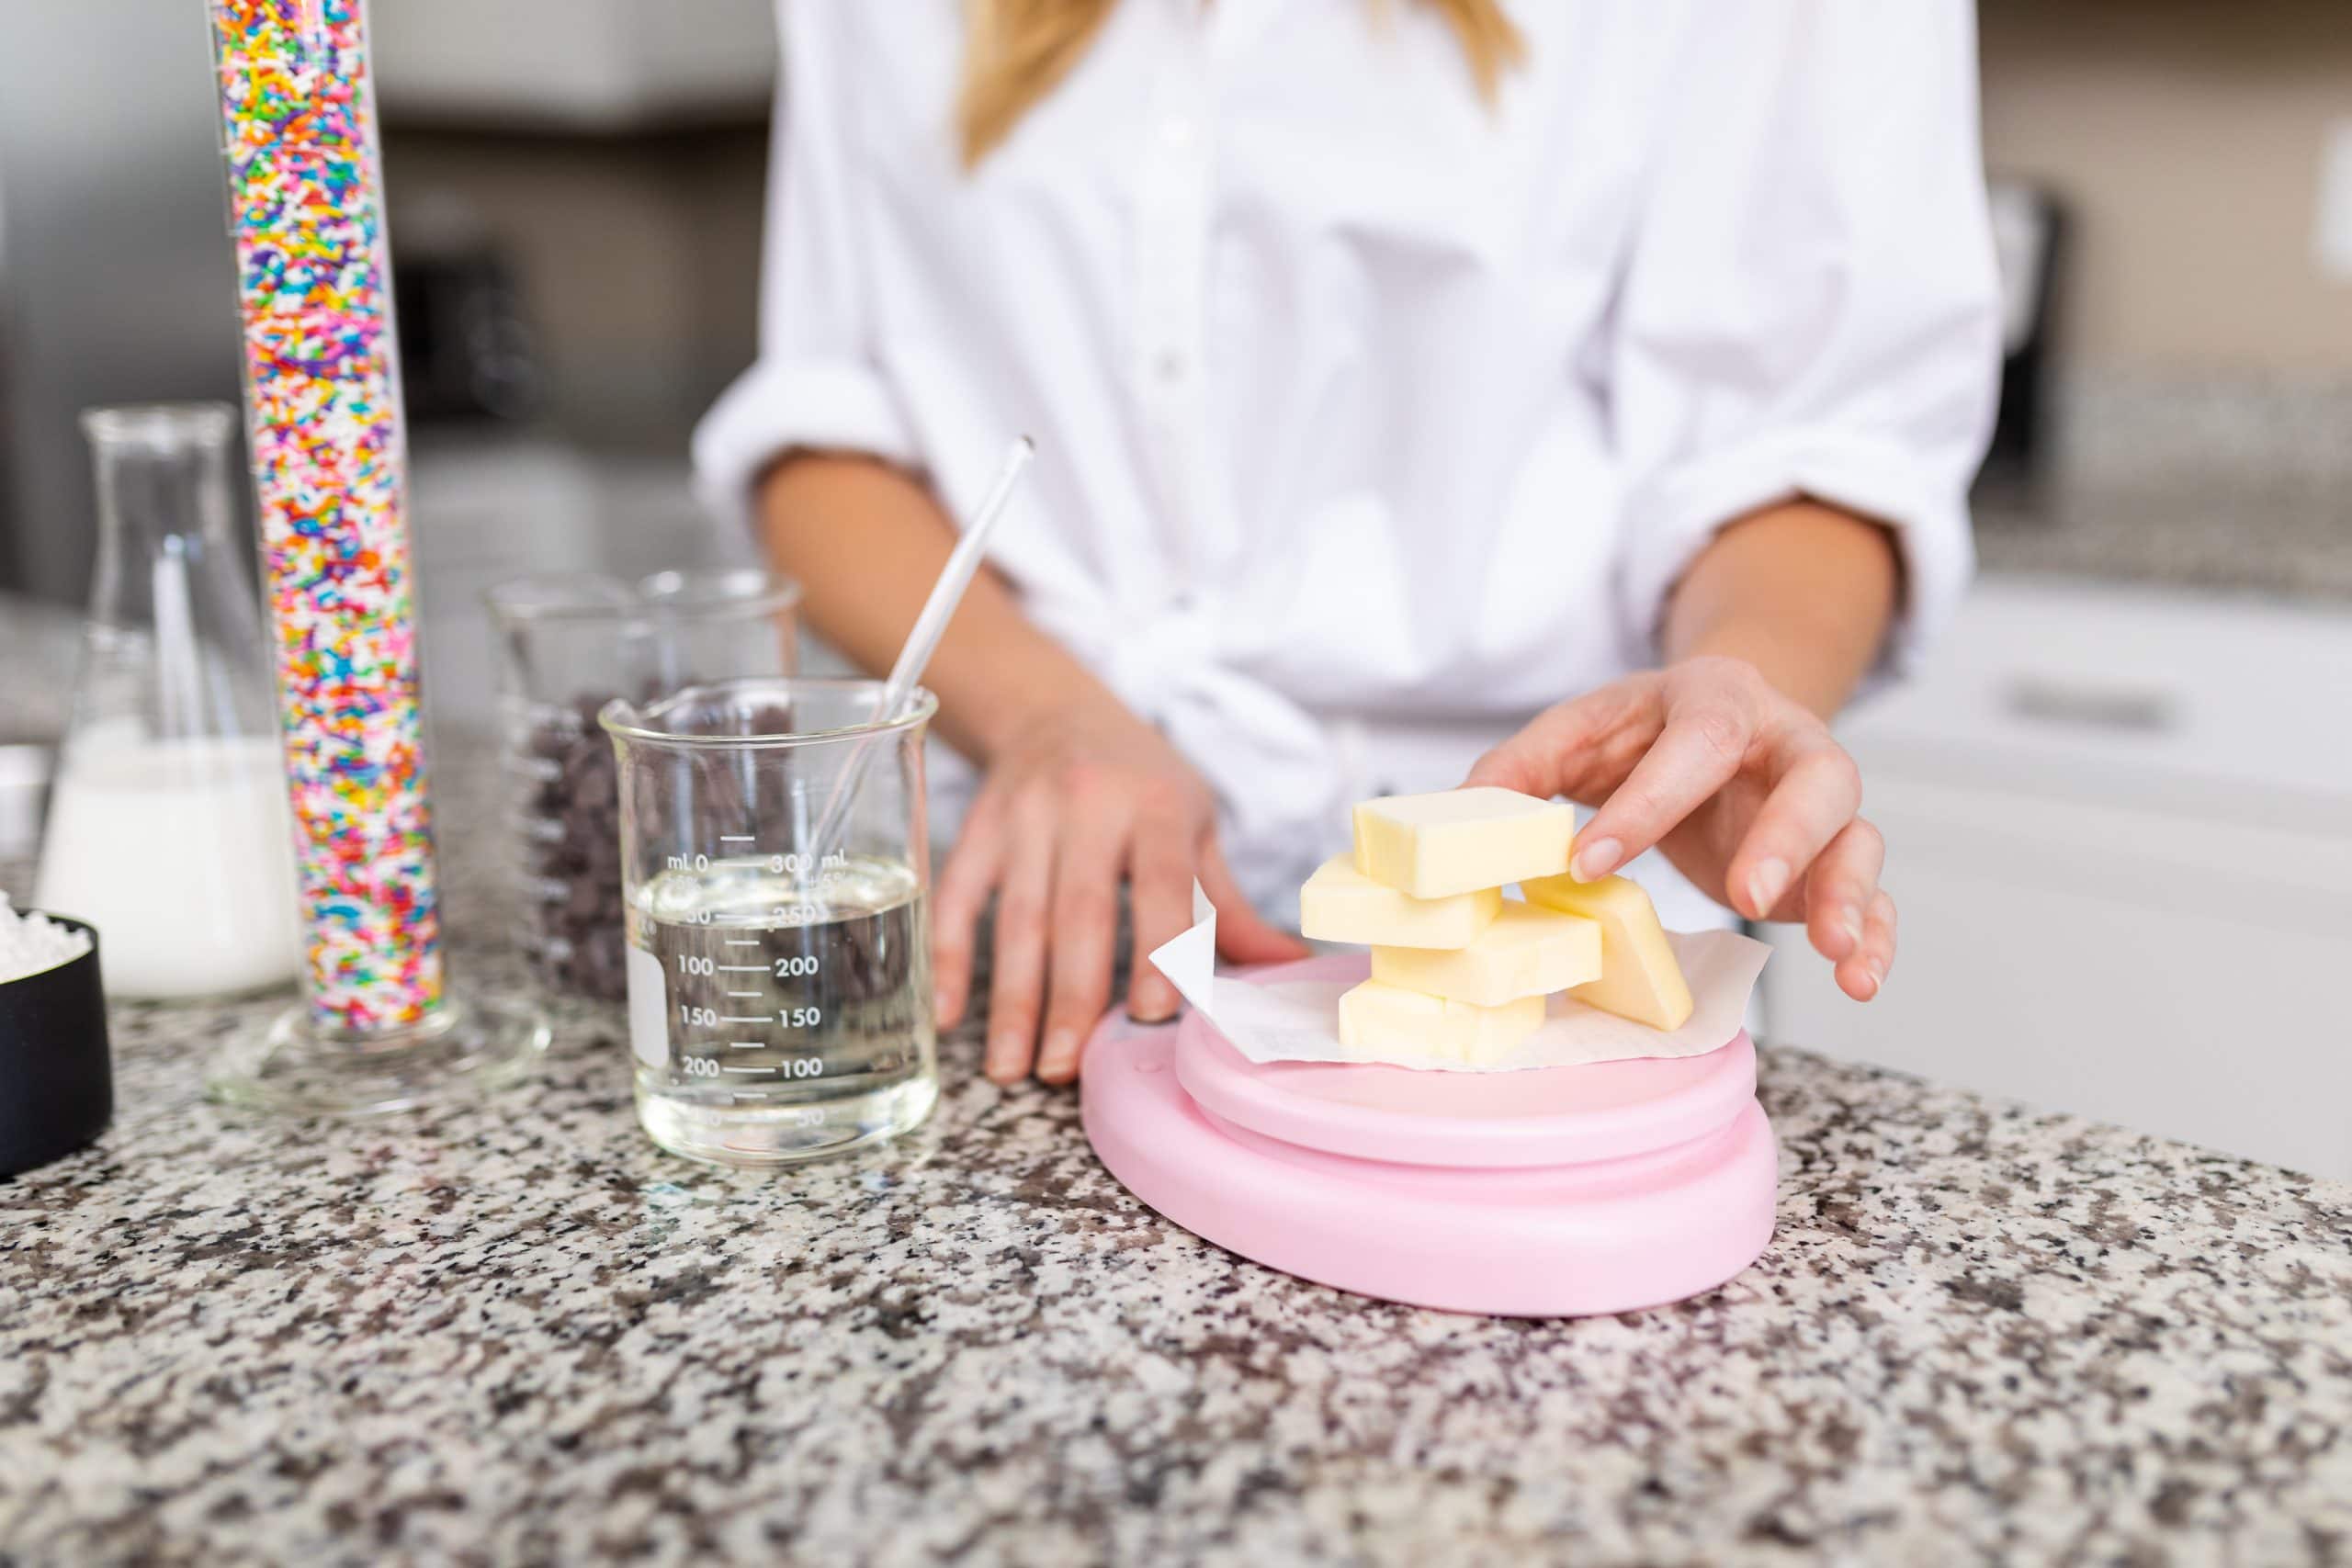
- 3 tablespoons (43 grams) unsalted butter, at room temperature
For topping:
- 1 large egg beaten with 1 tablespoon water
- Sesame seeds, optional
Instructions
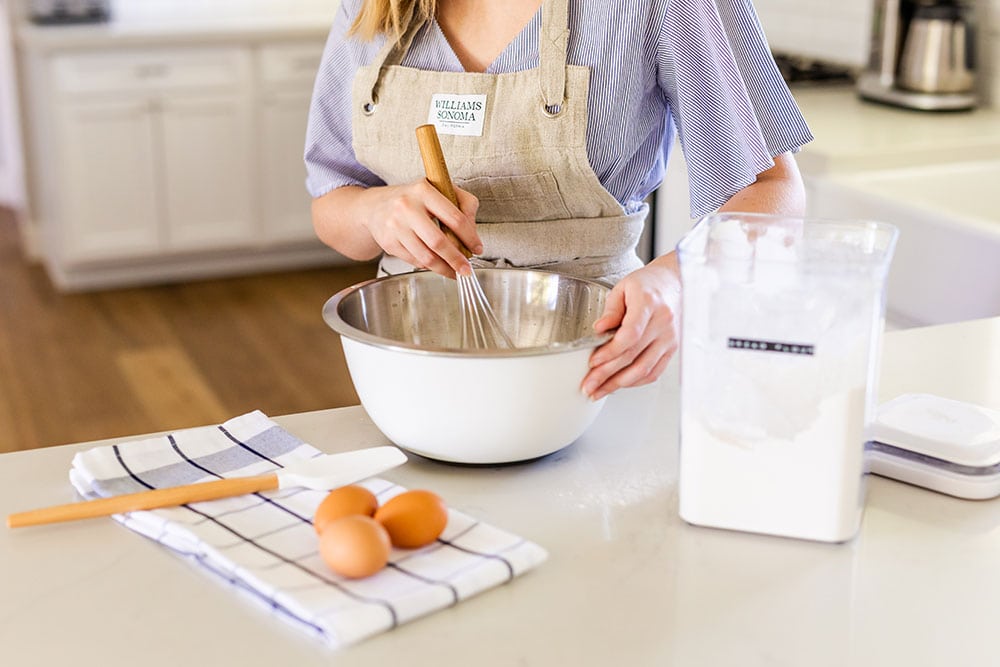
- In the bowl of a stand mixer fitted with the dough hook, combine the milk, water, yeast1, sugar, and egg.
- Add the flour to the bowl, and mix until incorporated. Mix in the salt and butter. Knead on medium-low speed for about 10 minutes, or until the dough comes together into a soft yet tacky dough (should not be unbearably sticky). Avoid adding too much extra flour because it will create tough buns; however, depending on climate and humidity, you may need to add up to an additional 3 tablespoons (24 grams) of flour. It’s better to be sticky than dense, I promise!
- Transfer the dough to a lightly oiled bowl. Cover with plastic wrap and let rise in a warm place until doubled in size, about 1 to 2 hours3.
- Line two baking sheets with parchment paper4. Divide the dough into 8 equal parts. Gently roll each portion of dough into a ball and place four to a baking sheet, 2 to 3 inches apart. If your dough is unbearably sticky, lightly grease your hands with cooking spray or lightly dust the tops of each dough ball with flour before rolling. Cover with a clean towel and let rise again until puffy and almost doubled, 1 to 1 1/2 hours.
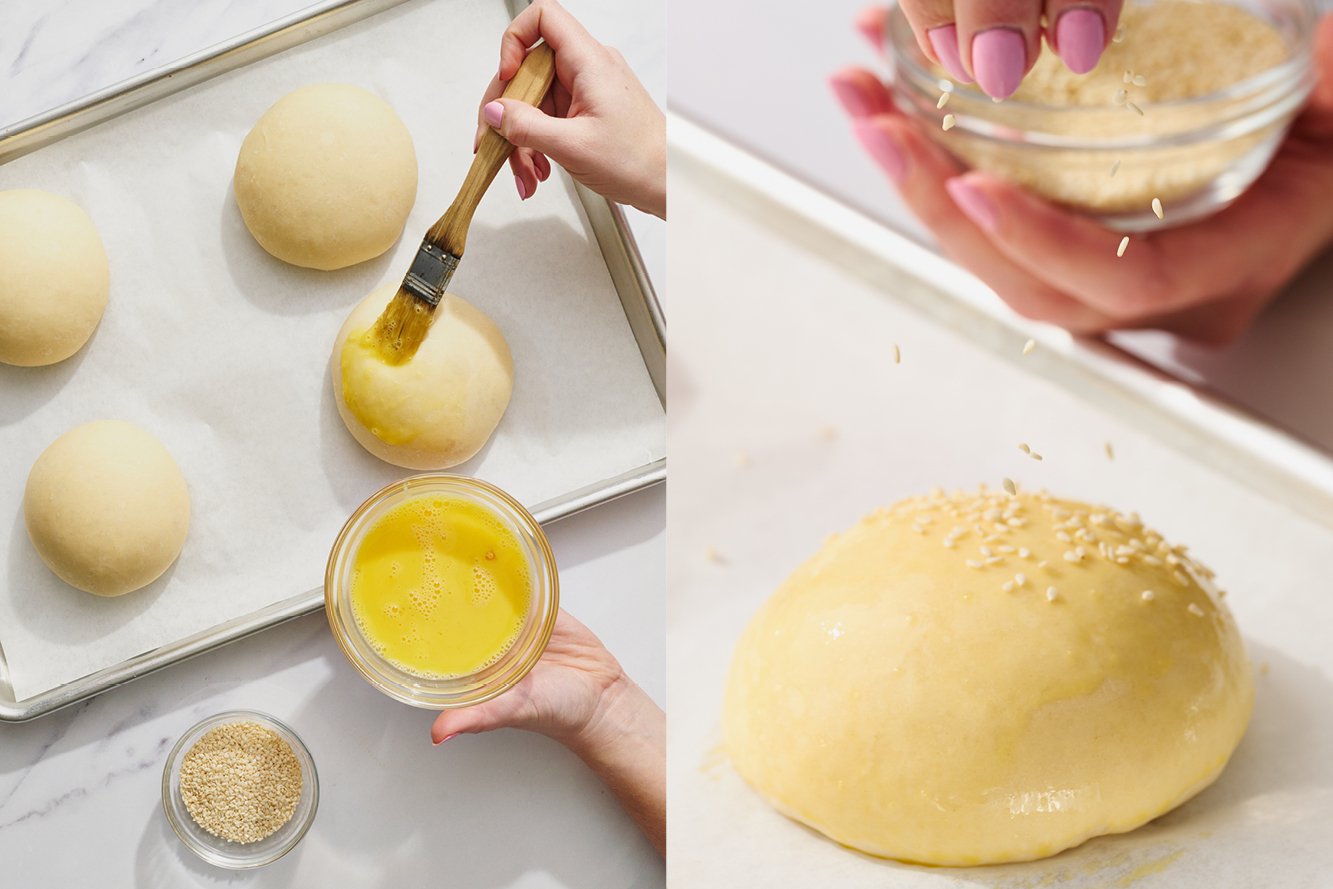
- Preheat the oven to 400°F. Brush the tops of the buns lightly with the egg wash. Sprinkle with sesame seeds. Bake the buns about 15 minutes, rotating halfway through baking, until the tops are golden brown. Transfer to a rack to cool completely.
- Serve or store in an airtight container in the freezer for up to one month. Let defrost at room temperature before reheating in a 350°F oven until warmed or toasting.
Notes
More Recipes You’ll Love:
This recipe was originally published in 2015 and updated in 2023 with new photos and recipe improvements. Photos by Joanie Simon.


I just made these and they turned out fantastic, soft and fluffy but stand up to a juicy burger, thanks for a perfect recipe!
Can you use this recipe in a bread machine
Hi Russ! We haven’t’ tried that, but feel free to experiment with using your bread machine’s Knead/Dough setting for the kneading and first rising step. Let us know how it goes 🙂
I don’t recommend making these during a wind storm. I lost power while my oven was pre-heating, but I put them in anyway hoping the residual heat would at least start the baking process. I left them overnight and I turned my oven back on at 9 am when we regained electricity. The shape is a little funny due to them partially collapsing, and the texture isn’t quite right, but that’s hardly the recipe’s fault.
Essentially they rested for 18 hours instead of the recommended 1-1.5. They taste good though and I’ll make them again when the weather permits
Hands down the best bun recipe I’ve tried. This will for sure be my go to recipe!
Woohoo! So glad to hear that, Sarah!
So impressed! Follow the recipe to a T and didn’t have a single problem, also don’t have a stand mixer did it all by hand and took about 15 minutes from start to finish. Everything turned out so great and the best part is really how good they hold up to meat juice. I’ve baked these three times this week already, my new go to!
Perfect buns! Not only soft, look good and taste great but won’t turn into soggy goo with a juicy burger inside. Definitely a must for the BBQ, lunch box or whenever. Guys get your aprons on and try this, it will up your game come summer!
Love this recipe! Turned out great! Enjoyed with my homemade spicy no bean veggie burgers.
Thank you for this great recipe, better than KA! I kneaded by hand on a silpat, reduced sugar as I always do, 2 tbsp sugar, and made 6 large buns (approx 130 grams per) at my husband’s request.
These were so much better than any store bought buns! Very easy to make and totally worth the time.
Woohoo! Glad to hear it, Kim!
I am a bread making beginner & have tried a few recipes for buns that did not work out. These were PERFECT! I did exactly as stated except did honey instead of sugar. Only because that’s a personal preference & I do it in most recipes. They were great! I really enjoyed the extra commentary and tips. I no love being able to feed my Family buns with ingredients I can pronounce.
Thank you!
Hi Tessa – I’ve made these buns several times and they are GREAT! Can you advise me on the dividing of the dough if I want to make hot dog buns? How many should I get? How long (inches) should they be when I shape them? Many thanks.
Your instructions are superb!
Dawn
Hi Dawn! So glad to hear that you enjoy this recipe! We haven’t tried making these buns into hot dog buns, so we can’t supply measurements. I’d recommend using a digital scale to ensure the buns are all the same size, and shape them all to your preferred length. Let us know how it goes!
Made these today. Turned out lovely…..only change I made was olive oil instead of butter (2 1/4 tsp of olive oil per TBSP of butter) and I did not apply egg wash. I don’t care if they are shiny or not. Perfectly browned, puffed up nicely…..made 8 plus a mini one for my grand daughter. My new go to for burger buns.