Tessa’s Recipe Rundown
Taste: Mint + chocolate = heaven.
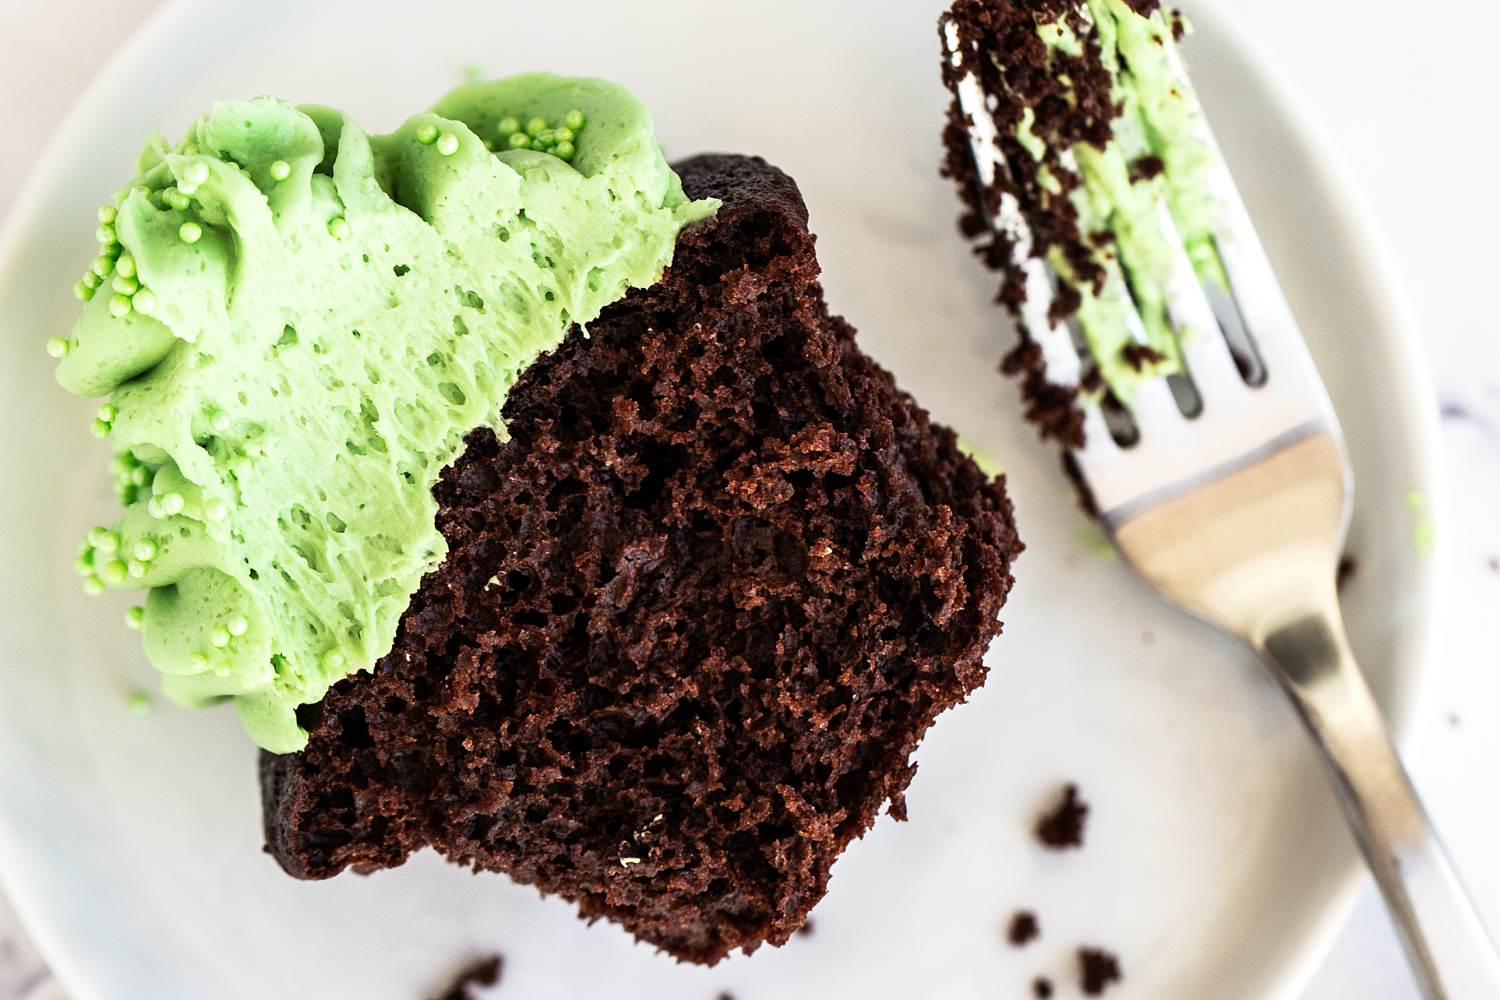
Texture: The cupcake is crazy moist while the frosting is lusciously smooth.
Ease: Super easy! The cupcake batter is very simple to whip up, as is the frosting.
Why You’ll Love This Recipe: Fabulous dessert for any occasion – especially for St. Patrick’s Day.
This post may contain affiliate links. Read our disclosure policy.
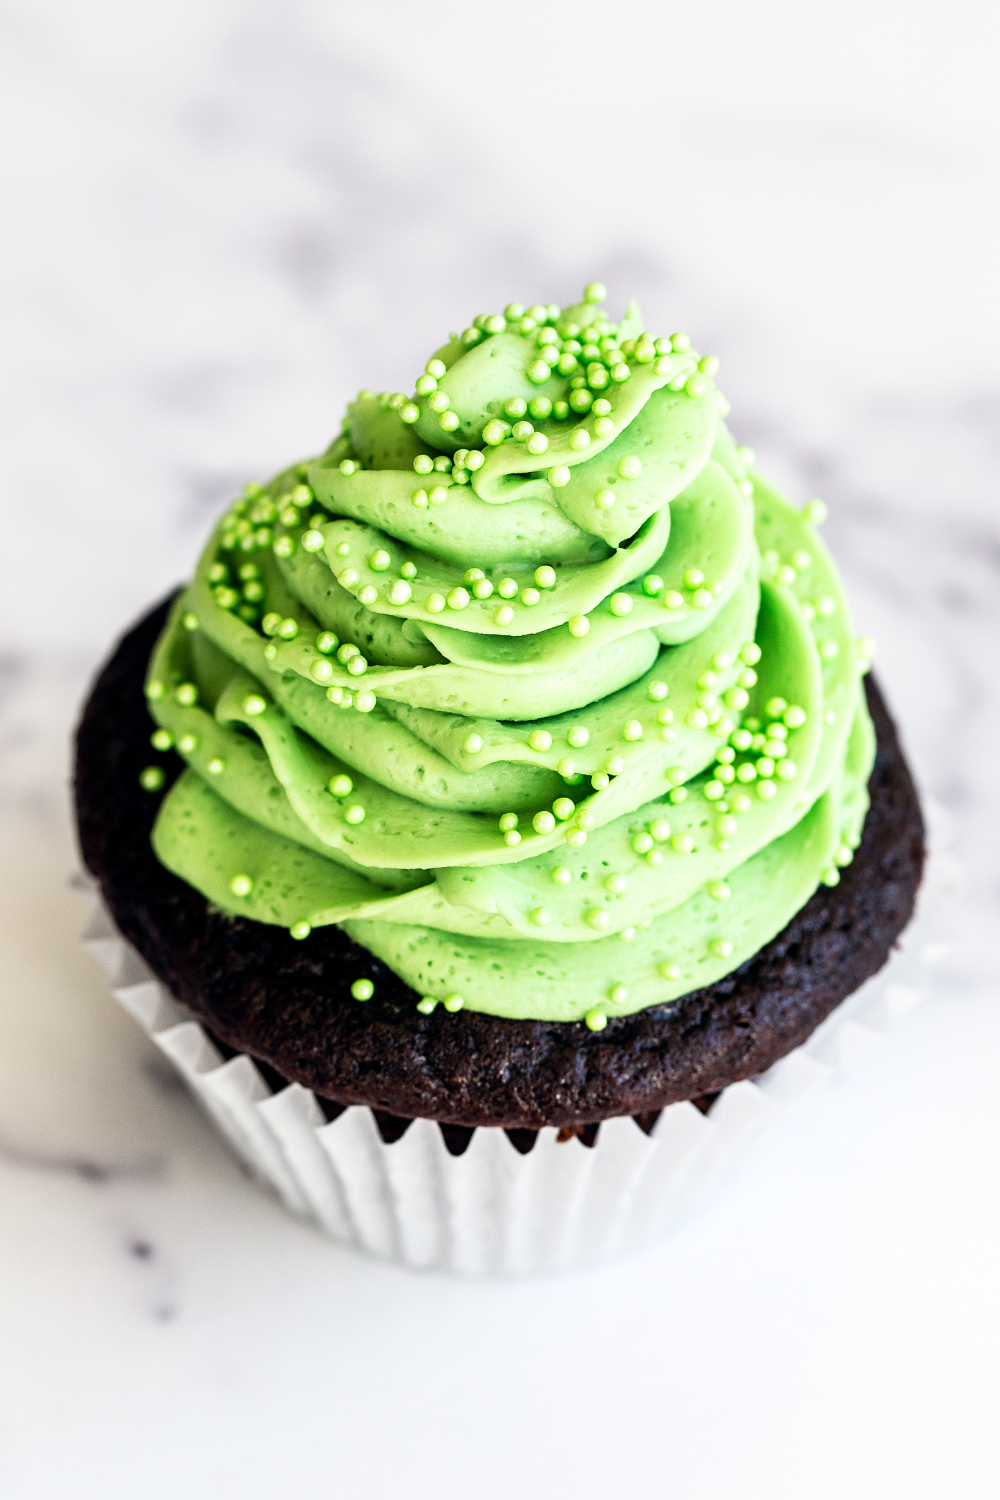
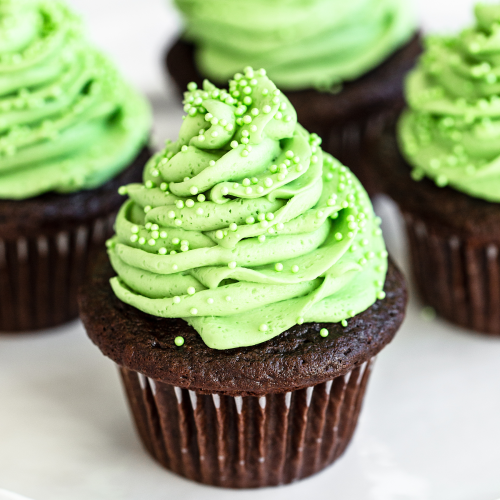
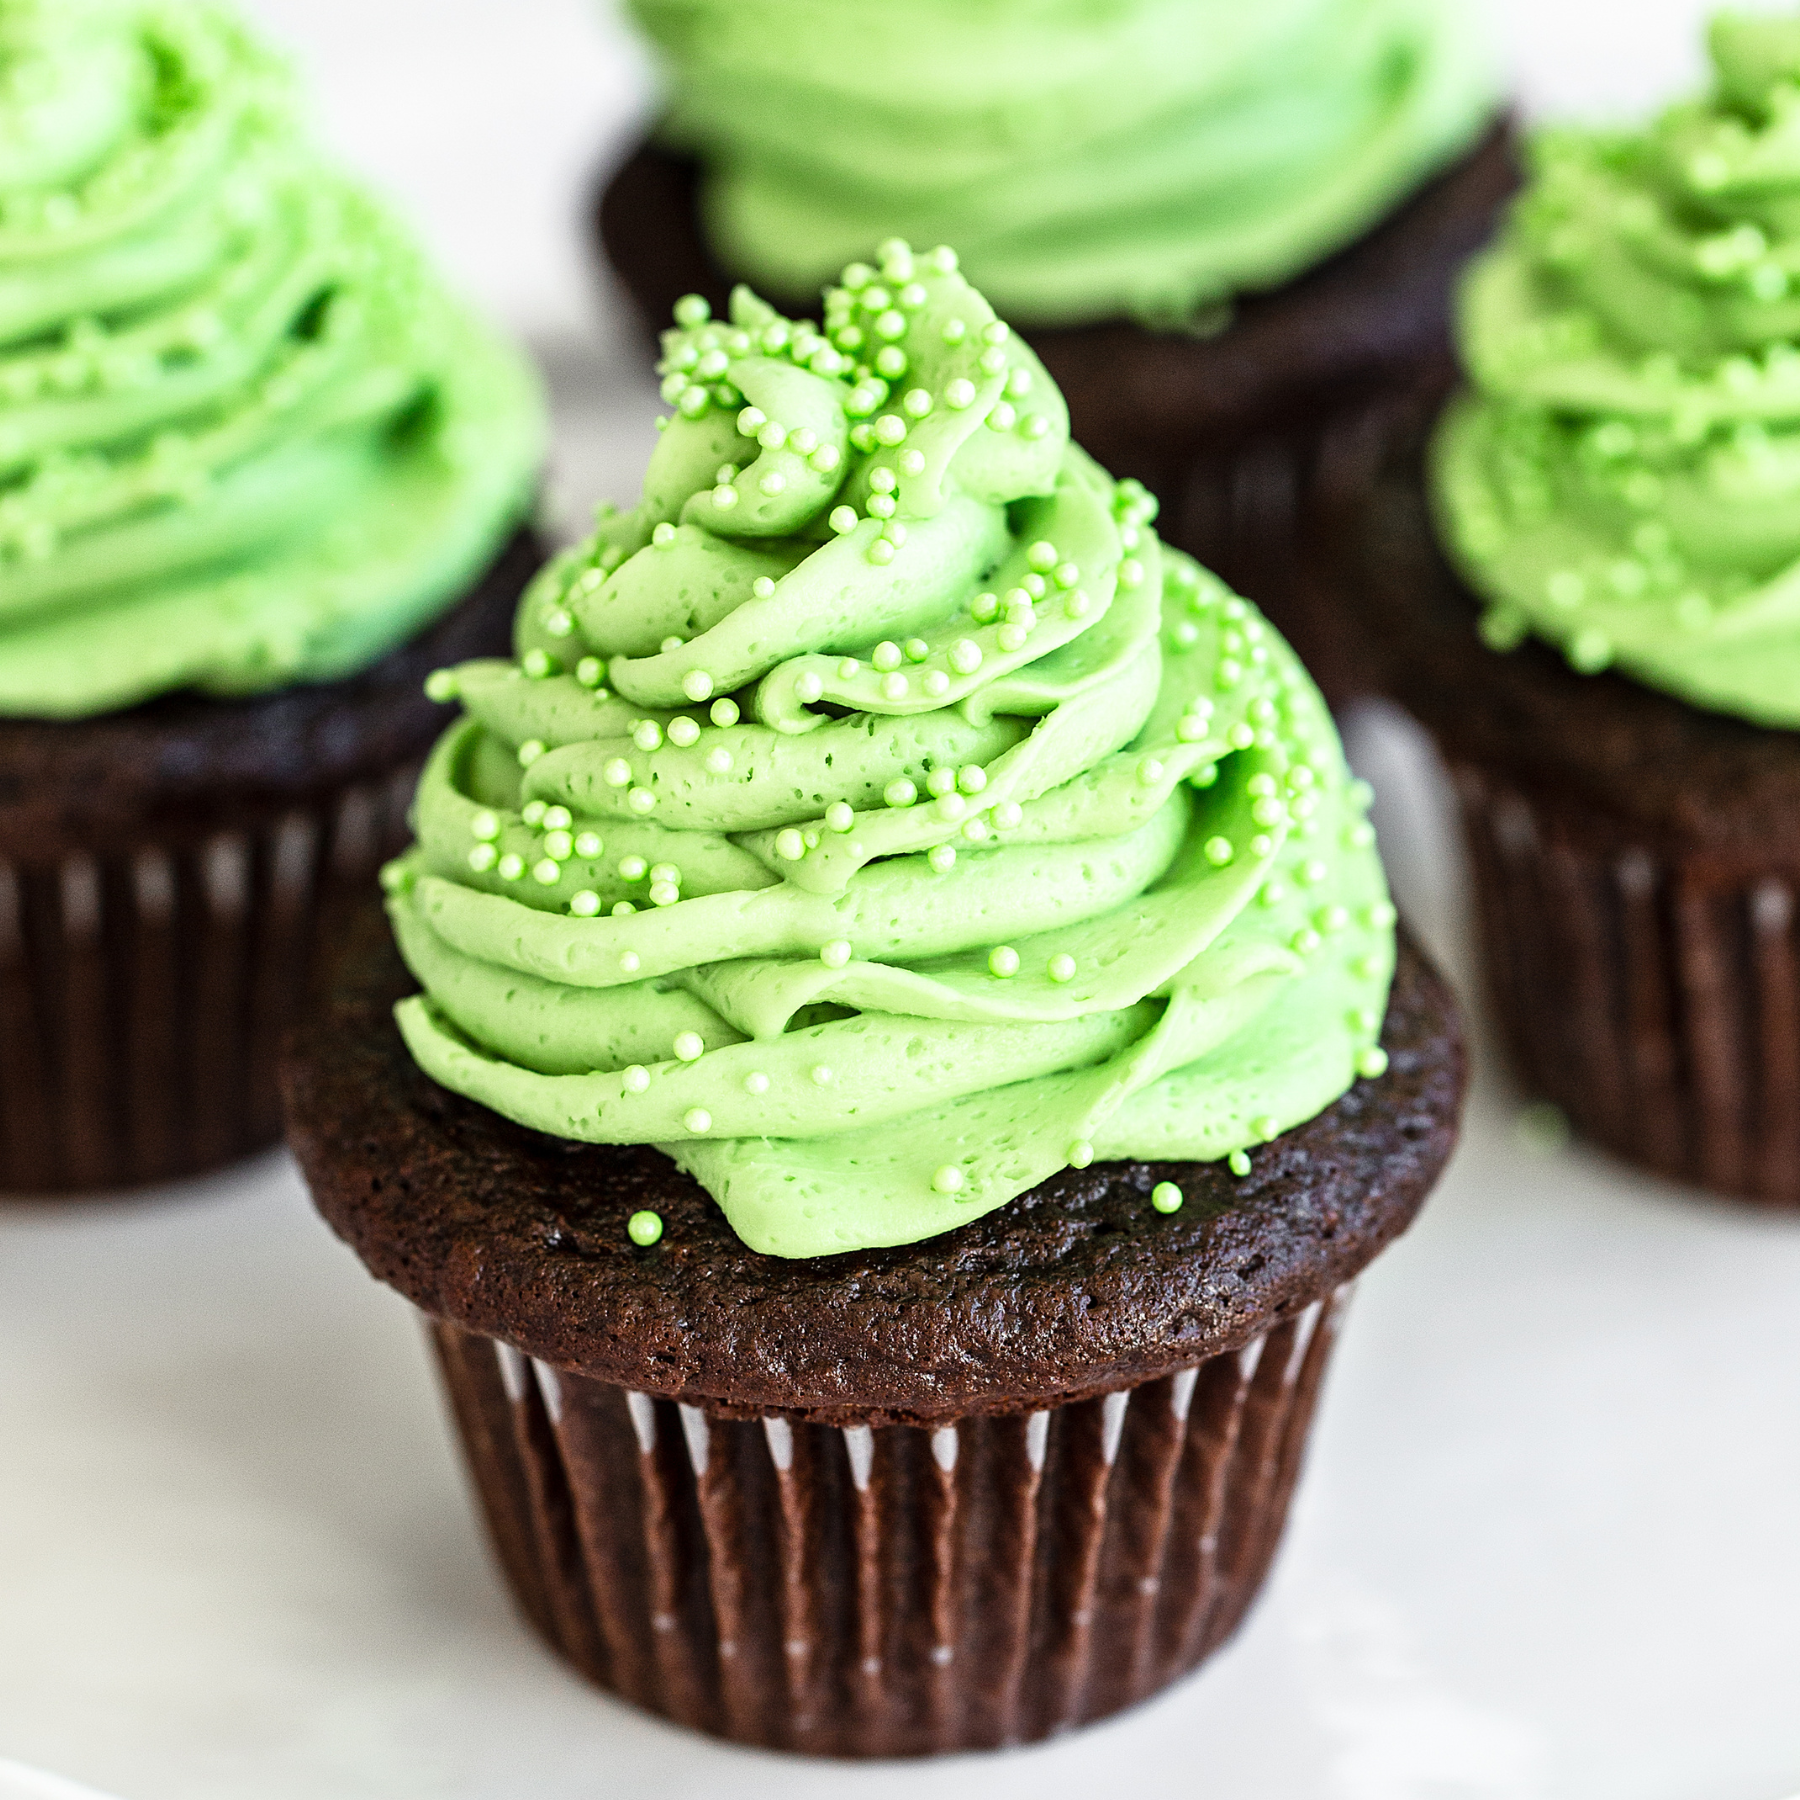
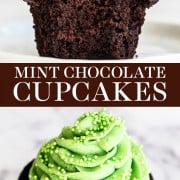
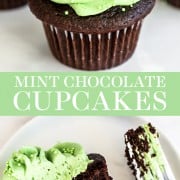
These Mint Chocolate Cupcakes prove that chocolate and mint simply belong together.
My mint-chocolate obsession started at a young age, selling Thin Mint Girl Scout Cookies around my neighborhood with my dad.
I wonder how much being a Girl Scout taught me about entrepreneurship now that Handle the Heat has been my full-time business for years?! Kind of crazy to think about.
Free Baking Science Mini-Course!
From cookies that spread to undercooked brownies, this FREE 5-day Baking Science course helps you conquer common baking challenges and make bakery-worthy treats every time.
All roads lead back to chocolate… and cookies 😉
If you love mint chocolate as much as I do, you’ll also love my decadent Chocolate Peppermint Cheesecake and easy Chocolate Peppermint Cookies. As perfect for Christmas as they are for St. Patrick’s Day!

Sprinkle of Science
How to Make Mint Chocolate Cupcakes
The Chocolate
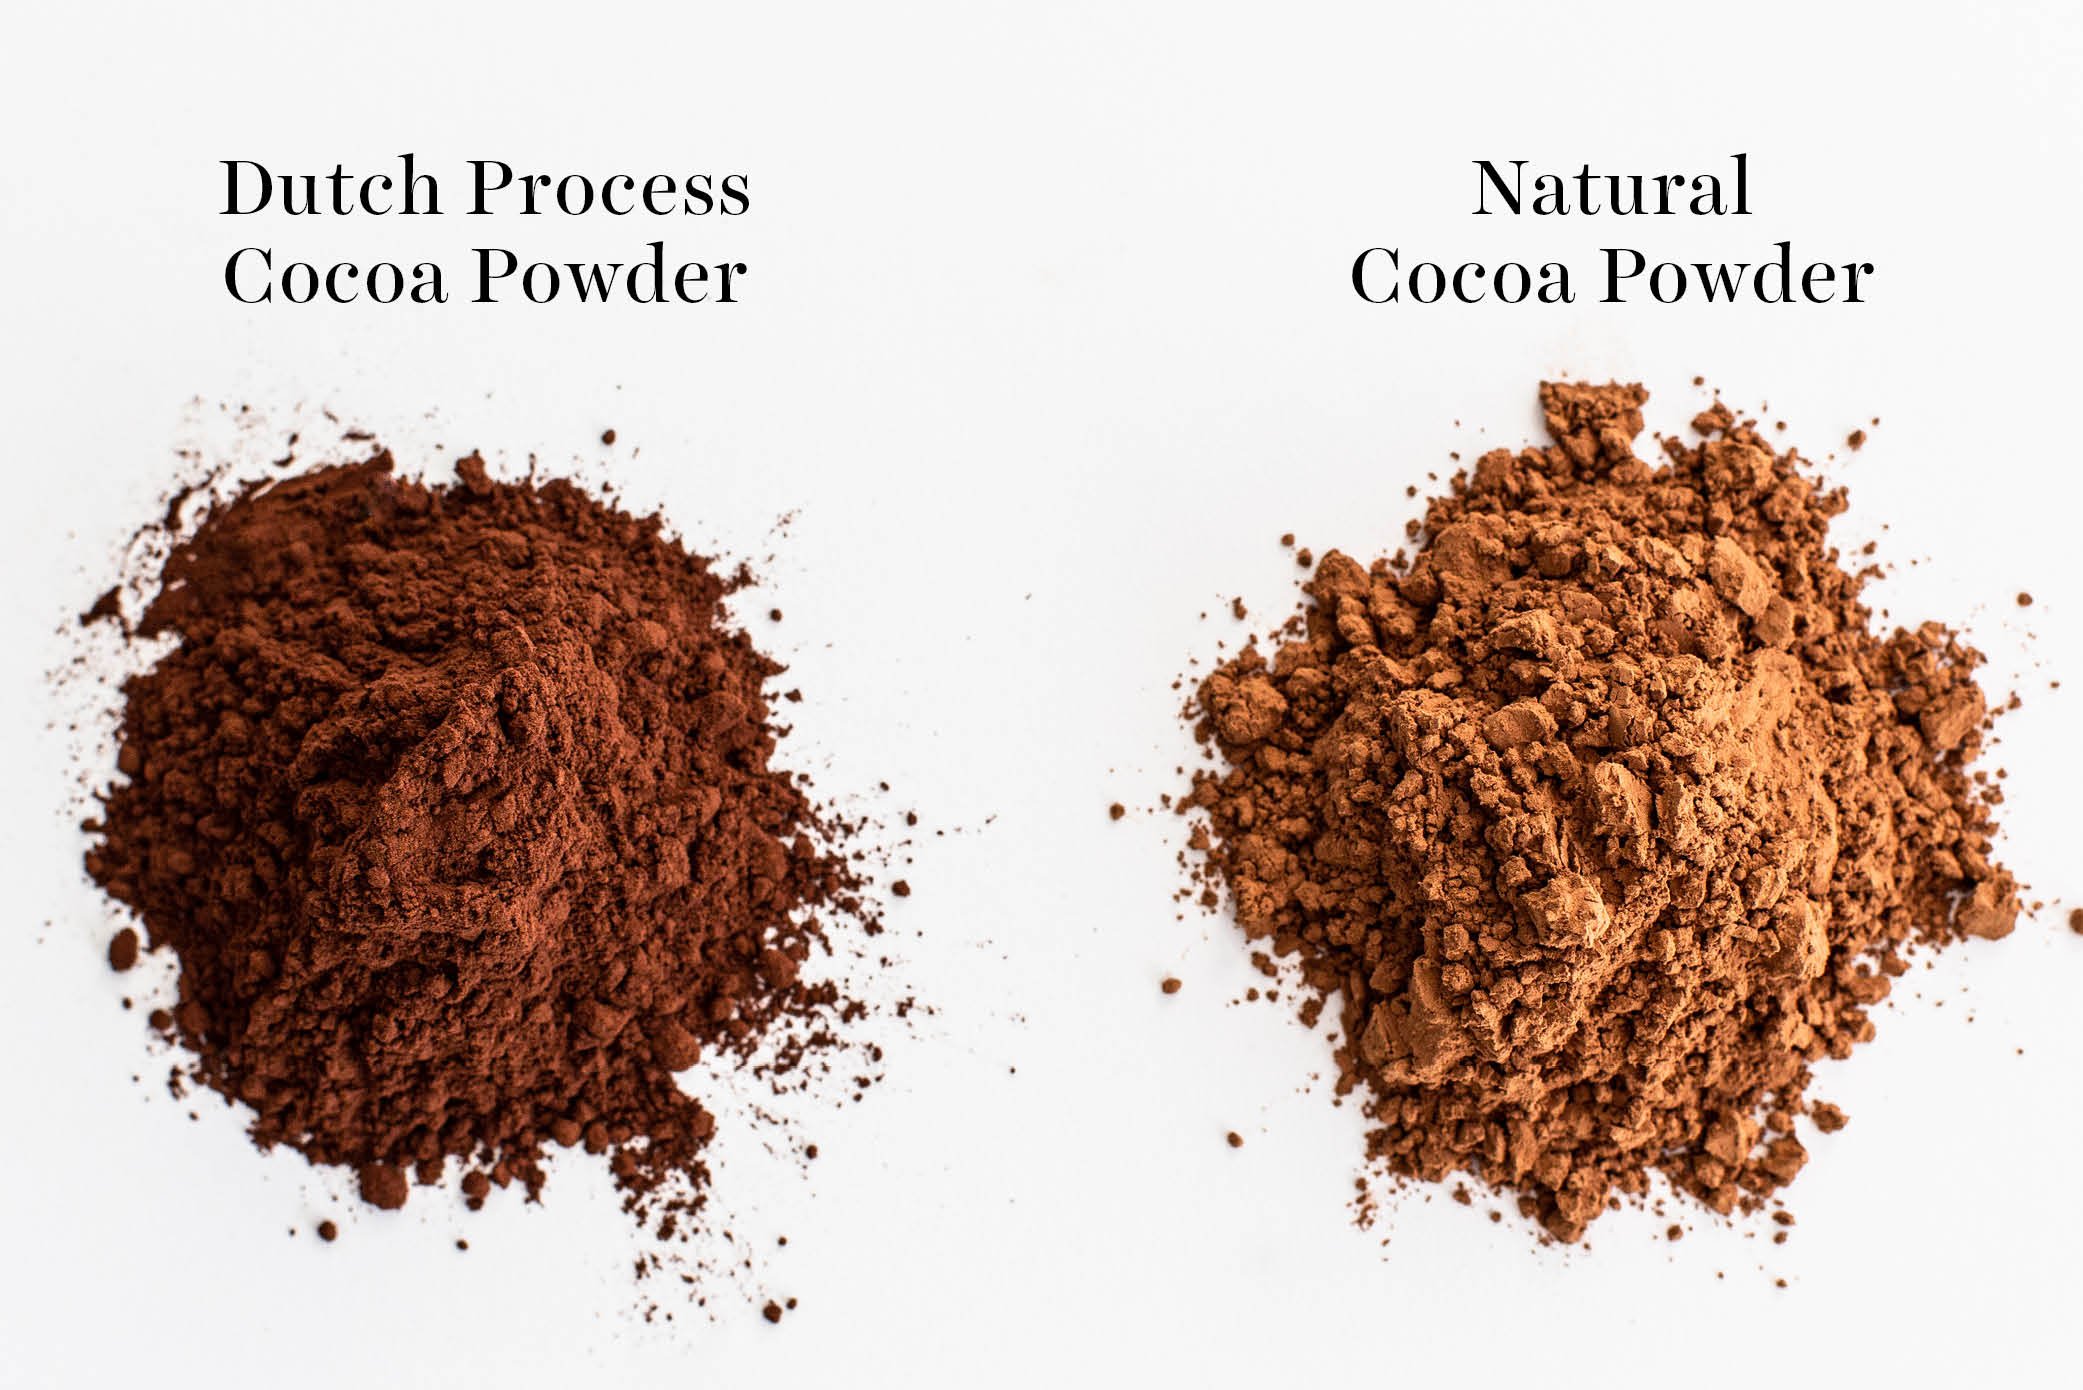
The cupcakes contain chopped bittersweet chocolate and Dutch-process cocoa powder for as much chocolate flavor as possible. I haven’t tried a different baking chocolate in these cupcakes. More on the cocoa powder just below.
Do I Have to Use Dutch-Process Cocoa Powder?
Yes – Dutch-process cocoa works differently on a chemical level than regular natural cocoa. The vinegar in this recipe plays a crucial part in this recipe.
You can find Dutch-processed cocoa in some grocery stores, as well as kitchen stores like Sur la Table, and Williams-Sonoma. You can also order on Amazon.
Learn more about the differences between cocoa powders here.
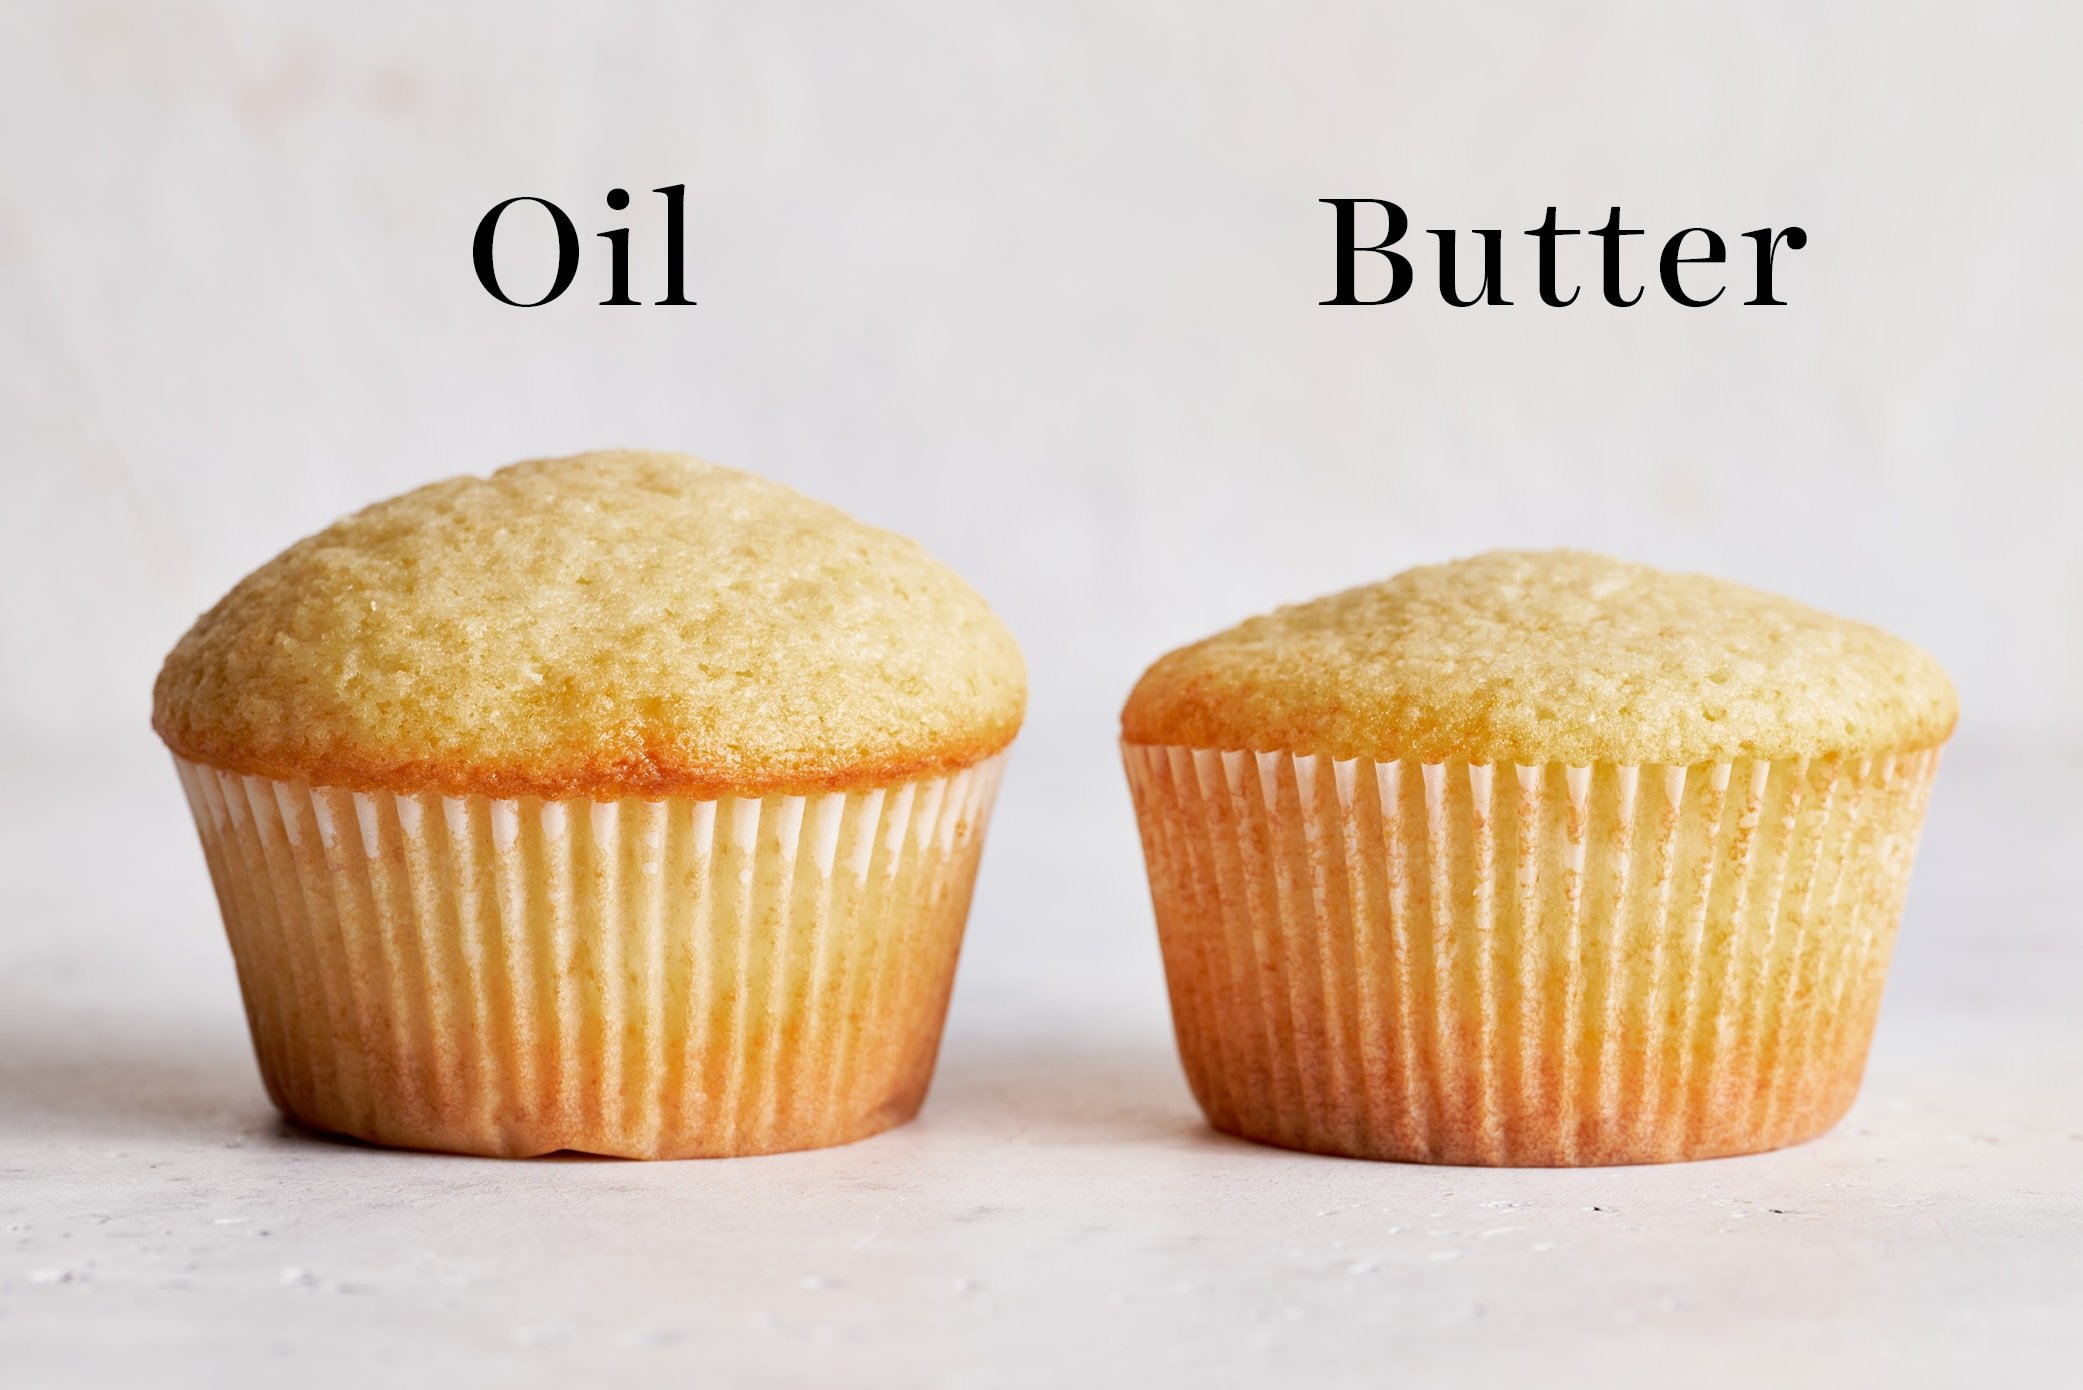
Oil vs. Butter in Cupcakes: Which Is Better?
This recipe calls for vegetable oil instead of melted butter. Here’s why:
- Oil gives the palate the sensation of moistness because it’s liquid at room temperature (even though it has no water content!).
- Be sure to use fresh vegetable oil. Give it a sniff before using it to make sure it doesn’t have any ‘off’ aroma.
- Feel free to use melted coconut oil instead of vegetable oil if you’d prefer.
- Learn more about Butter vs. Oil in Baking here.
The Peppermint Flavor
Be sure to use peppermint extract in both the batter and buttercream frosting. Do not use mint or spearmint extract unless you want your cupcakes to taste like toothpaste!
Peppermint Buttercream Frosting Tips
- Feel free to adjust the powdered sugar or cream slightly until your preferred consistency is reached.
- If using food coloring, I recommend using gel coloring. It allows you to use just a small amount for an intense color.
- I like the Americolor brand the best, but Wilton gel food coloring works too.
- Start with a TINY amount and add more as you blend, if needed. You can always add more, but you can’t take it out!
How to Decorate Mint Chocolate Cupcakes
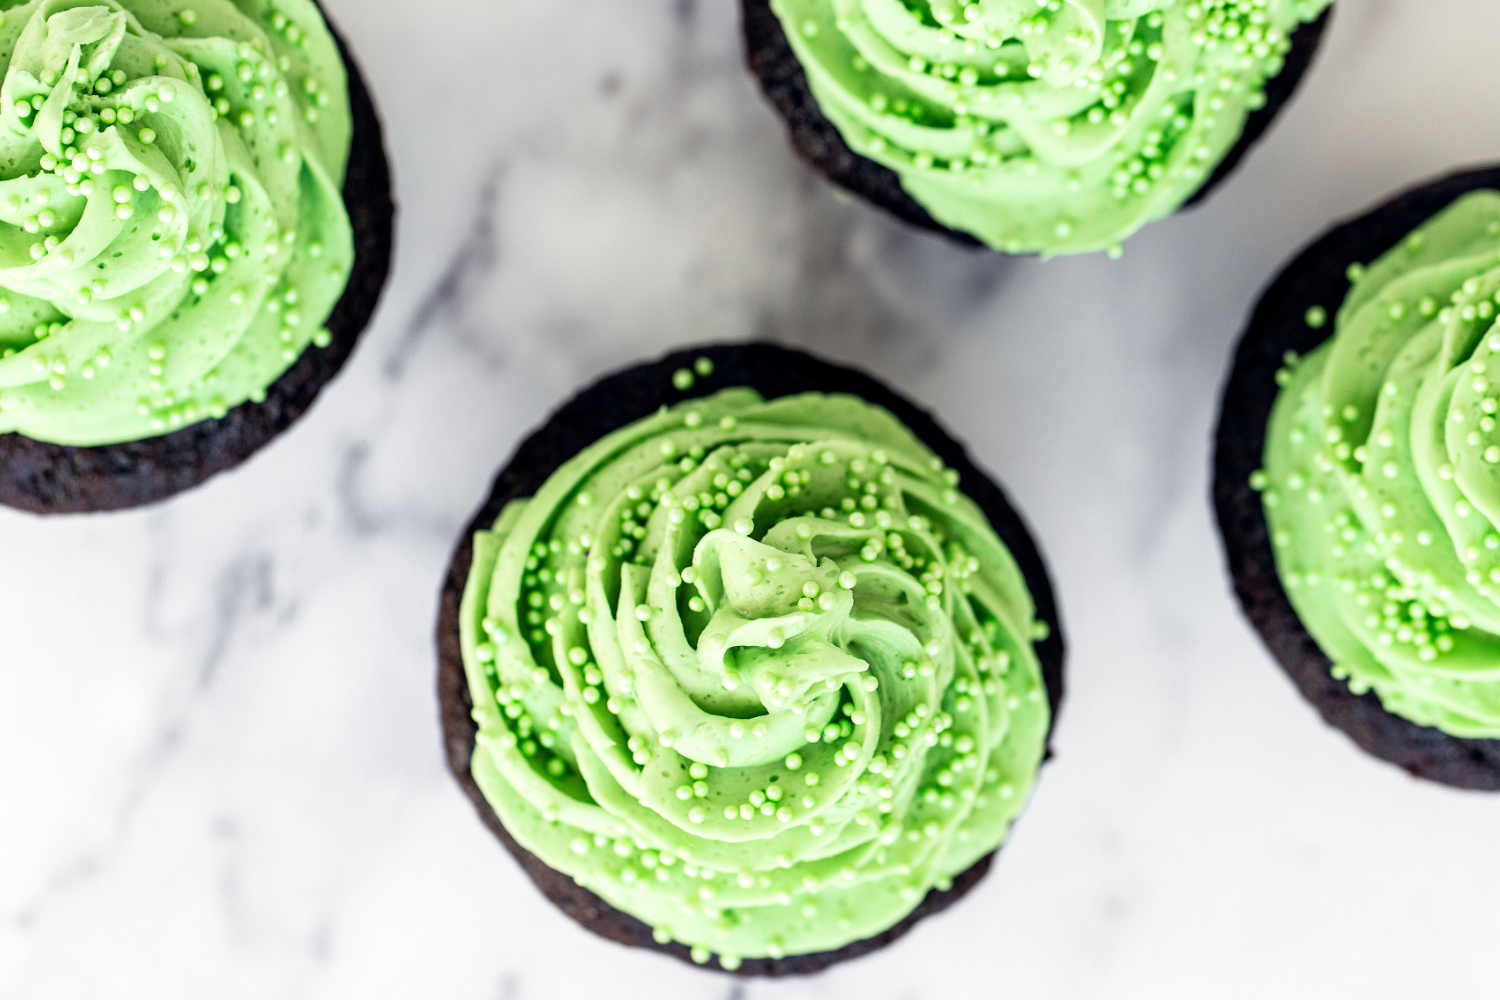
Here’s the fun part! Feel free to get creative with piping tips and garnishes. Green sprinkles are what we chose. If you’re making these cupcakes for St. Patrick’s Day, gold sprinkles, gold chocolate coins, or shamrock sprinkles would be perfect.
If you’re making these Mint Chocolate Cupcakes for Christmas, sprinkle with some crushed candy canes or these adorable tiny candy cane sprinkles. You could even use one of my super simple techniques for swirling frosting to make red + white candy stripes with the buttercream.
For more flavor feel free to garnish with chocolate shavings, Andes mints, or even Thin Mint Cookies.
How to Store Mint Chocolate Cupcakes
Store Mint Chocolate Cupcakes in an airtight container at room temperature for 1 day, or in the fridge for 3 days.
More Chocolate Recipes:
- Chocolate Blackout Cupcakes (for serious chocolate lovers only)
- The Best Chocolate Cupcakes
- Ultimate Nutella Cupcakes
- Chocolate Bundt Cake
- Flourless Chocolate Cake
Mint Chocolate Cupcakes
Email This Recipe
Enter your email, and we’ll send it to your inbox.
Ingredients
For the chocolate cupcakes
- 5 ounces (142 grams) bittersweet chocolate, finely chopped
- 1/3 cup (28 grams)
Dutch-processed cocoa powder (do not substitute) - 1/2 cup boiling water
- 3/4 cup (95 grams) all-purpose flour
- 1/2 cup (100 grams) granulated sugar
- 1/2 cup (100 grams) packed light brown sugar
- 1/2 teaspoon salt
- 1/2 teaspoon baking soda
- 1/2 cup (113 grams) sour cream or full fat plain yogurt, at room temperature
- 1/4 cup vegetable oil
- 2 large eggs plus one egg yolk, at room temperature
- 2 teaspoons white vinegar
- 1/2 teaspoon peppermint extract*
For the mint frosting
- 3 cups (375 grams) powdered sugar, sifted
- 8 ounces (227 grams) unsalted butter, at room temperature
- 1/4 teaspoon fine salt
- 1/4 to 1/2 teaspoon
peppermint extract * depending on desired intensity - 1 to 2 tablespoons heavy cream
Green gel food coloring , if desired- 6 Sprinkles, chocolate shavings, or Andes mints, for garnish
Instructions
Make the cupcakes:
- Preheat the oven to 350°F. Line a standard 12-cup muffin tin with foil or paper liners.
- In a medium heatproof bowl, add the chocolate and cocoa powder. Pour the boiling water over mixture. Cover and let stand for 5 minutes. Whisk gently until smooth then set aside to cool.
- In a small bowl, whisk together the flour, sugars, salt, and baking soda.
- Whisk sour cream, oil, eggs, egg yolk, vinegar, and peppermint extract into the cooled chocolate mixture until smooth. Stir in the flour mixture until smooth, being careful not to overmix.
- Using a spring-loaded scoop, divide the batter evenly among prepared muffin cups. Bake until cupcakes are set and firm to the touch, about 20 minutes. Let cupcakes cool in pan on a wire rack for 10 minutes before removing from pan to cool completely, about 1 hour.
- Cupcakes can be stored in an airtight container at room temperature for up to 1 day.
Make the frosting:
- In the bowl of a stand mixer fitted with the paddle attachment, mix together the sugar and butter. Mix on low speed until well blended and then increase the speed to medium and beat for another 3 minutes, or until the mixture is completely smooth. Scrape down the sides and bottom of the bowl as needed. Add the salt, peppermint extract, and cream and beat on medium for 1 minute, or until light and creamy, adding more cream if needed. Add in green gel food coloring, if desired, and beat until evenly colored.
- Transfer frosting to a piping bag fitted with a decorative tip and pipe onto each cupcake. Decorate with desired garnish. Serve or store in an airtight container at room temperature for 1 day, or in the fridge for 3 days.
Recipe Notes
The Ultimate Cookie Handbook
Learn the sweet SCIENCE of cookie baking in a fun, visual way to customize your own recipes frustration-free. Plus, my best 50+ homemade cookies!
This post was originally published in 2012 and has been updated with new photos, weight measurements, and recipe tips. Photos by Ashley McLaughlin.






I see that this recipe calls for 8 OUNCES of butter. Did they mean 8 Tblsps or actually 8 ounces (which would be 1 cup)
oops…….I see that they included grams now. It is 1 cup!
Amazing, moist, delicious! This is a really tasty, easy to make recipe and I highly recommend . Am going to play with it a little and try different essences but it is perfect as is.
Did a swirl of Halloween colours for the frosting which looked awesome.
These were so good. My whole family gobbled them right up. They were also surprisingly easy to make.