





This post may contain affiliate links. Read our disclosure policy.




Tessa’s Recipe Rundown
TASTE: Plenty of chocolate goodness without being too rich, balanced beautifully by the perfect amount of peppermint.
TEXTURE: Soft and slightly chewy, with a slight crunch throughout, thanks to the chocolate chips and crushed candy canes.
EASE: Super easy and ready to enjoy in just 35 minutes.
WHY YOU’LL LOVE THIS RECIPE: The perfect festive Christmas treat!
Can a cookie taste like Christmas music? Because if that’s possible, that’s exactly what these Chocolate Peppermint Cookies deliver!

There’s something about the combination of peppermint and chocolate that instantly captures all the festive fun and coziness of Christmas.
I made these cookies and submitted them into a cookie contest at a church party and won first place! They are a crowd pleaser and a Christmas family favorite!

If you need a fast, easy recipe this Christmas, these simple Chocolate Peppermint Cookies will be the perfect treat for any holiday party. No one has to know how quick and easy they really are to make!

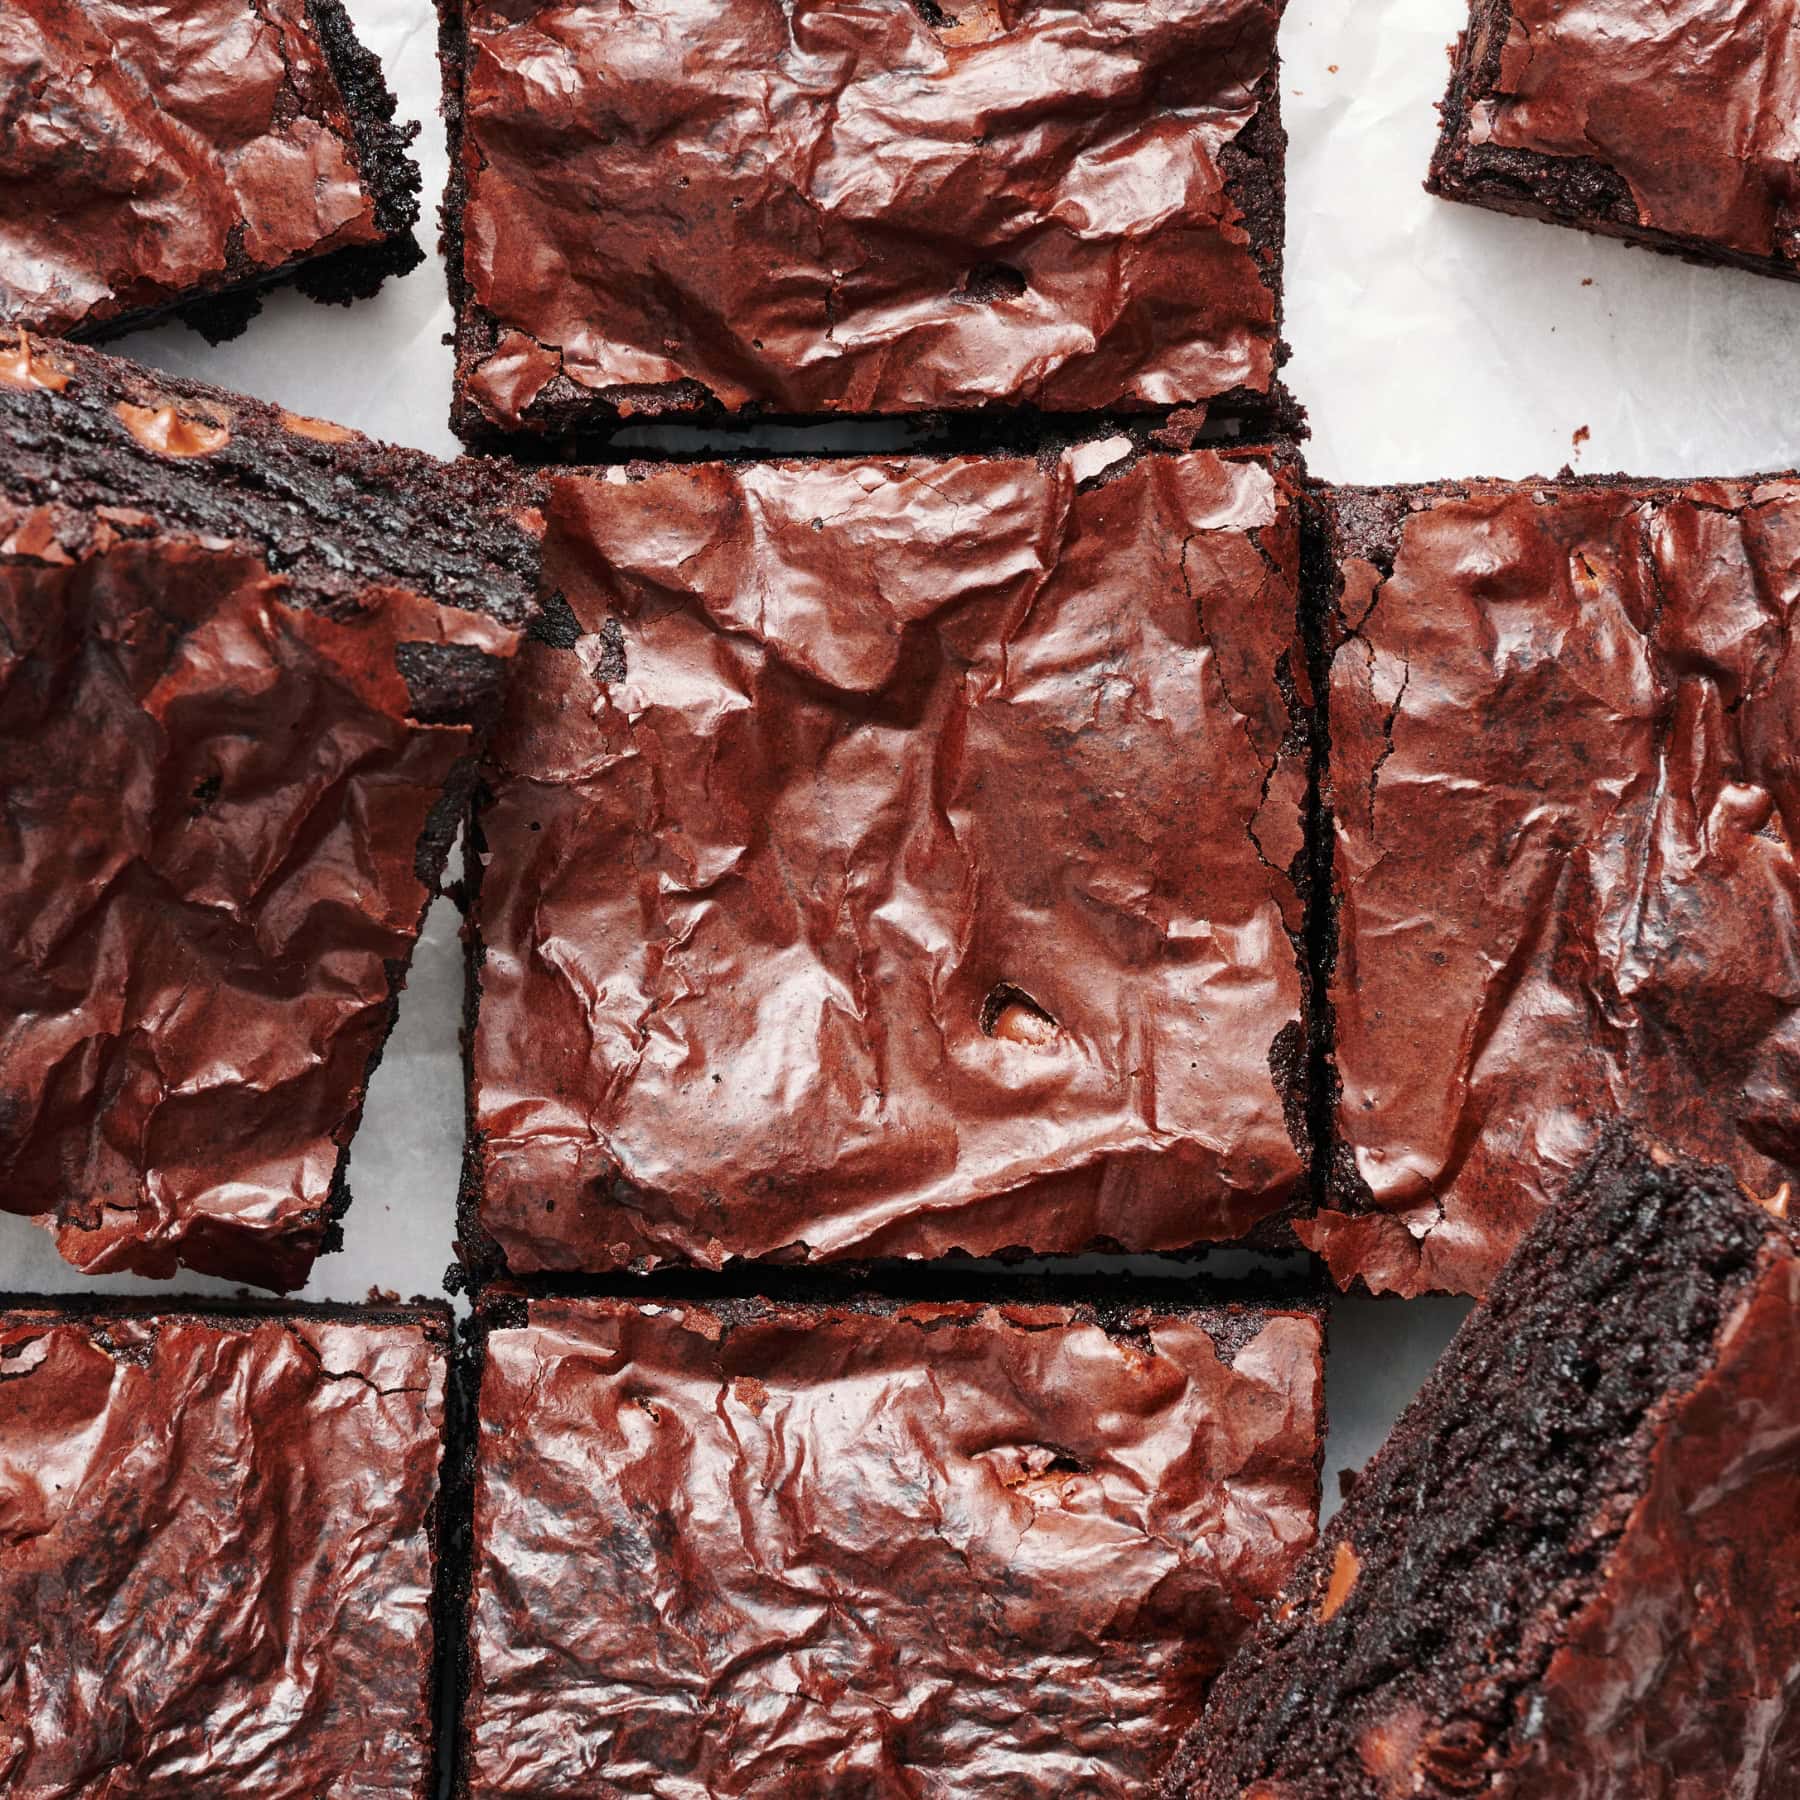
Looking for more effortless Christmas baking recipes? Try pairing these with my simple Soft and Chewy Sugar Cookies, super easy Gingersnap Cookies, or cute Christmas Brownies to really wow your friends and family this holiday season!
Key Ingredient Notes

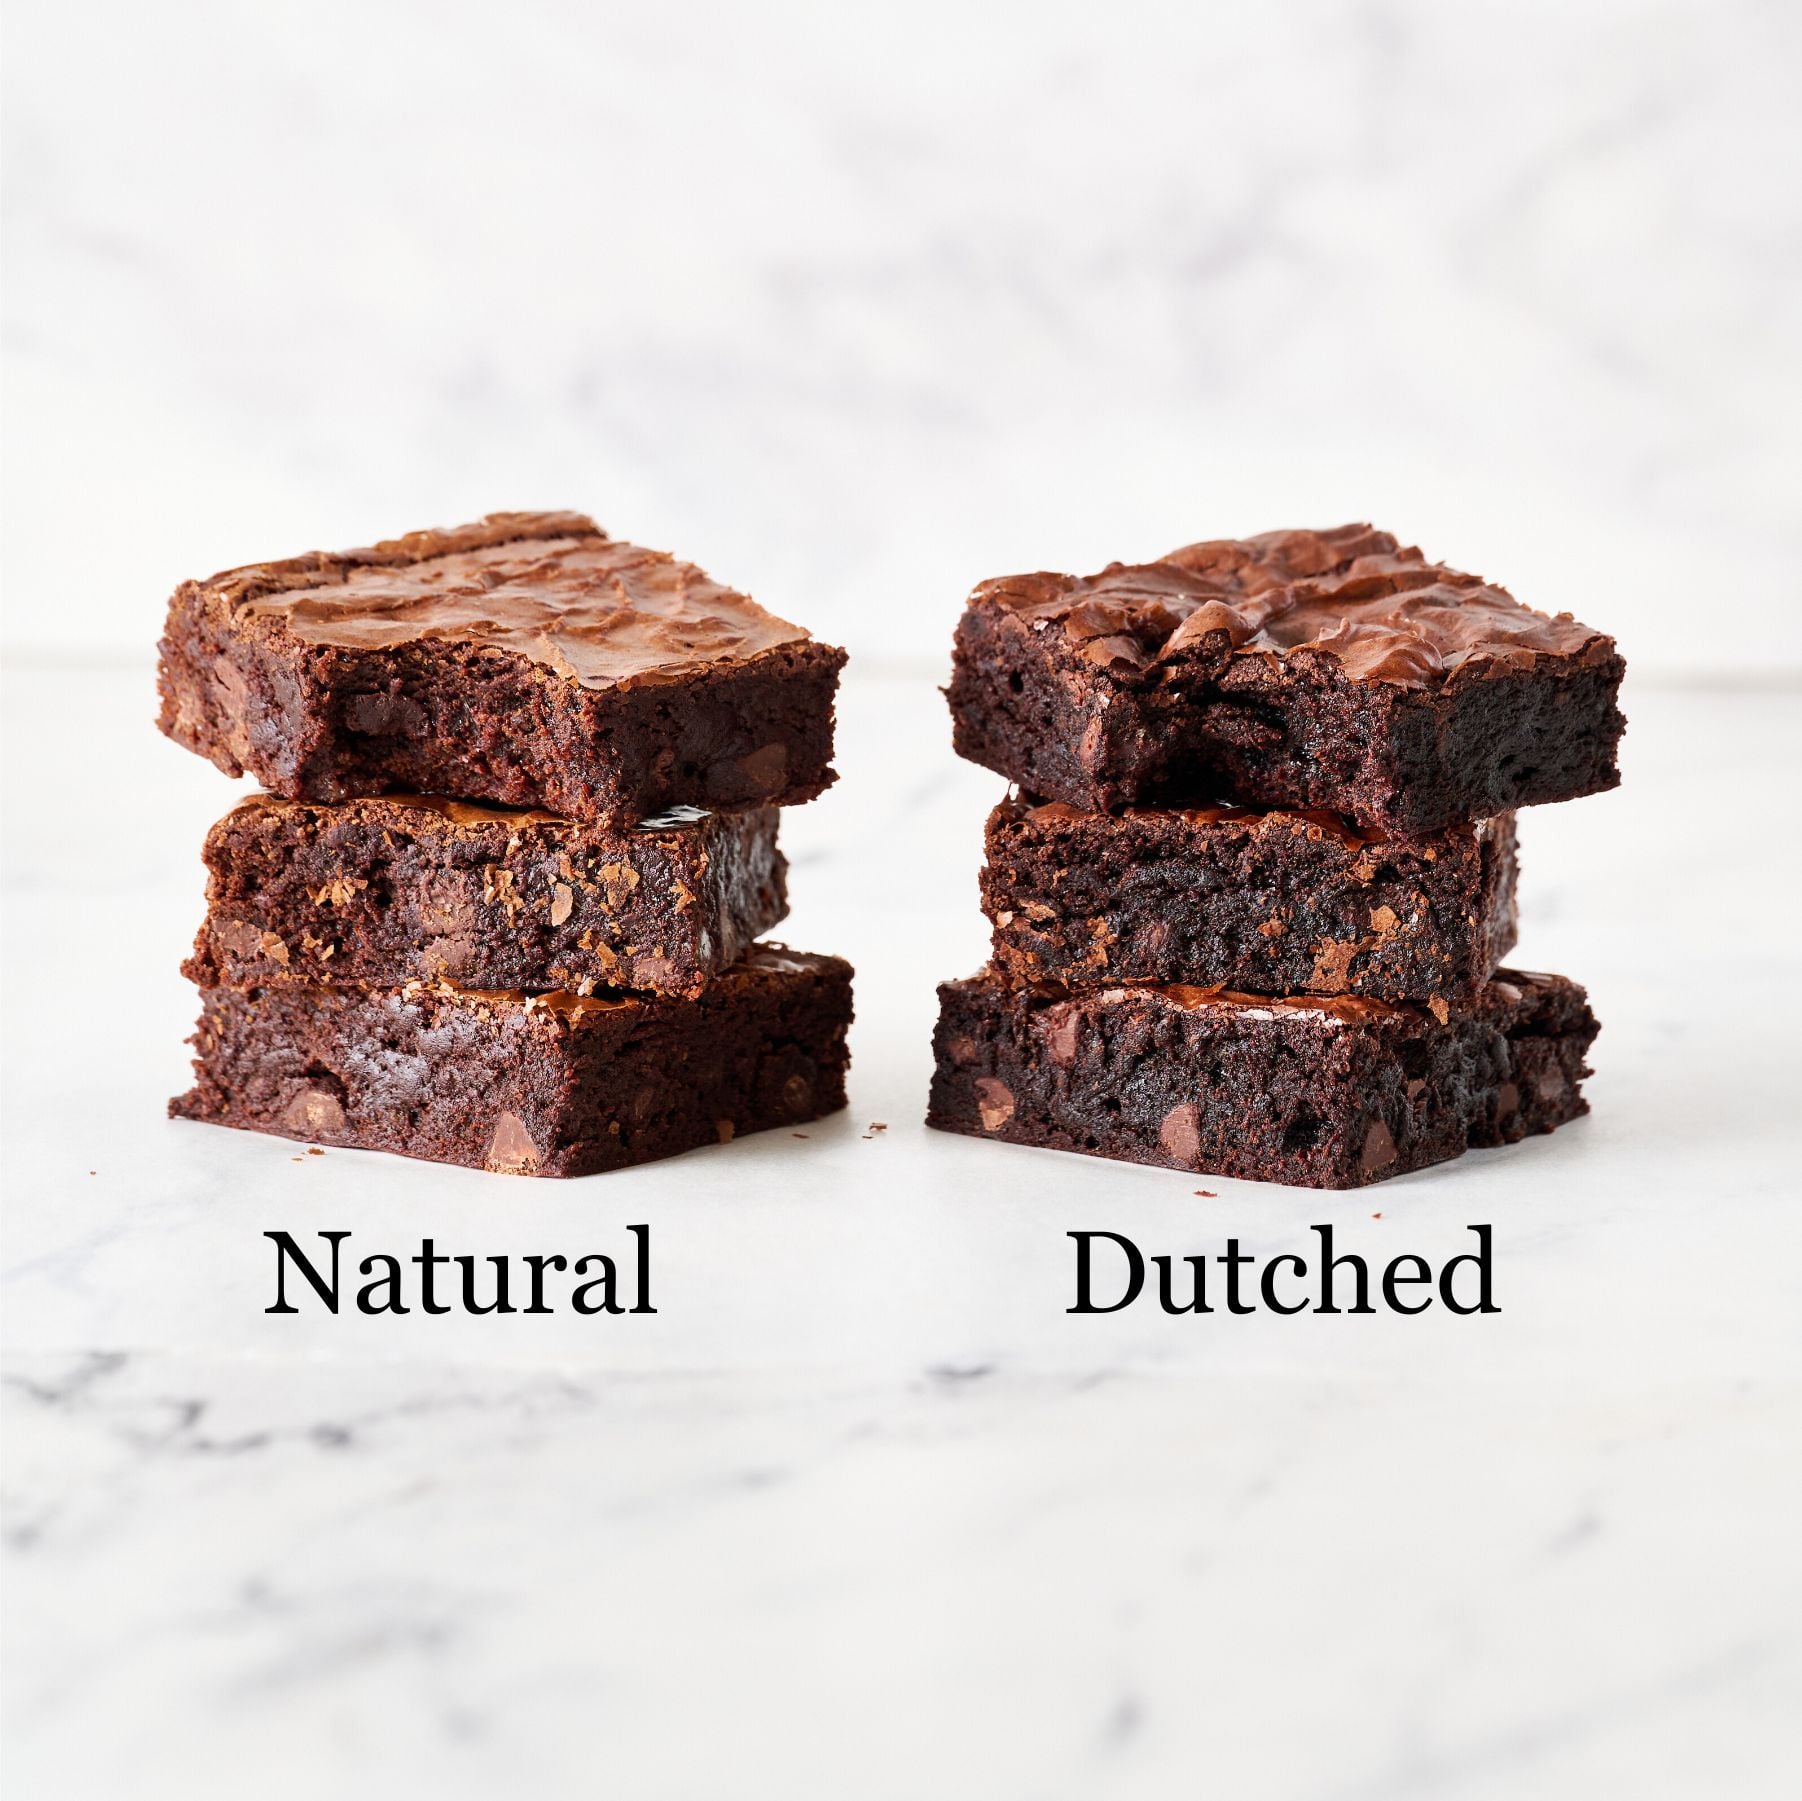
Cocoa Powder: I prefer natural cocoa powder (also known as unsweetened cocoa powder) in this recipe. Feel free to use Dutch-process cocoa powder instead – just note that your cookies will be slightly darker and a little less chewy.
Chocolate: There’s multiple forms here: melted bittersweet chocolate in the dough (along with cocoa powder) and semisweet chocolate chips as mix-ins. I found this to balance the overall sweetness perfectly.
Peppermint Extract: Use real peppermint extract here, in addition to vanilla extract, for the perfect balance of flavors. Don’t use mint or spearmint extract, which can make your cookies taste like toothpaste.
Peppermint Candies: For more flavor and a contrast of texture, top these cookies with candy canes crushed up into small pieces. Alternatively, use Starlight Candies crushed into pieces. To crush, place unwrapped candies inside a ziptop bag and hit with a rolling pin or mallet. Don’t like candy cane pieces? Feel free to skip the crushed candy topping entirely or sprinkle with cute holiday sprinkles instead.

Tips for Soft, Chewy Cookies (and How to Avoid Dry Cookies)
- Chill your dough – This step creates thicker, chewier cookies with a deeper, more complex flavor. Get all the details on why chilling cookie dough matters here.
- Measure your flour correctly – Prevent dry, cakey, or bland cookies by using a digital kitchen scale to measure your flour and cocoa powder. If you don’t have one, use the spoon and level method.
- Don’t overbake – For soft, chewy cookies, pull these from the oven when the edges are just set. A good-quality baking pan also helps – find my top baking pan picks (and ones to skip) here.
- Don’t reduce the sugar – Sugar does more than sweeten–it impacts the texture, height, and shelf life of your cookies. Learn more about sugar’s role in baking here.
Do I Have to Chill This Cookie Dough?
No! If you have time, I highly recommend covering the shaped dough balls well in plastic wrap and allowing them to sit in the fridge for 24-48 hours before baking for a thicker cookie with a richer, deeper mint chocolate flavor.
Learn more about the magic of chilling cookie dough here.
Can I Halve This Recipe? Can I Double This Recipe?
Sure! Divide all the ingredients in half to yield approximately 12-13 medium cookies or 7-8 large cookies. For a double batch, just double all ingredients to yield approximately 50 medium cookies or 30 large cookies. No other modifications needed.
Storage & Make ahead
Room Temperature: Store in an airtight container at room temperature for up to 4 days. Cocoa powder can be a drying ingredient, so store with a tortilla to keep cookies softer for longer.
Freeze Cookie Dough: Follow the recipe through shaping the dough into balls and topping with chocolate chips. Wrap tightly with plastic wrap and chill for 24-72 hours. Then, transfer the dough balls to an airtight container and freeze for up to two months. To bake, thaw overnight in the fridge before baking as directed below. You can also bake directly from the freezer – learn how to bake cookies from frozen here.



Email This Recipe
Enter your email, and we’ll send it to your inbox.
Ingredients
- 3 ounces (85 grams) bittersweet chocolate, chopped
- 1 1/4 cups (156 grams) all-purpose flour
- 1/3 cup (28 grams) natural unsweetened cocoa powder1
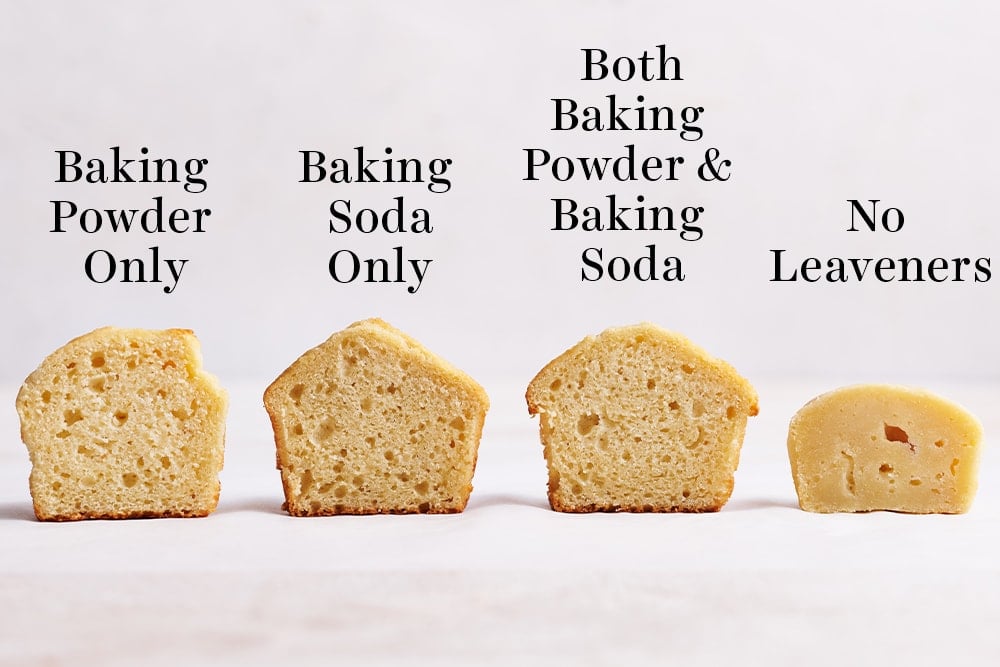
- 1 teaspoon baking powder
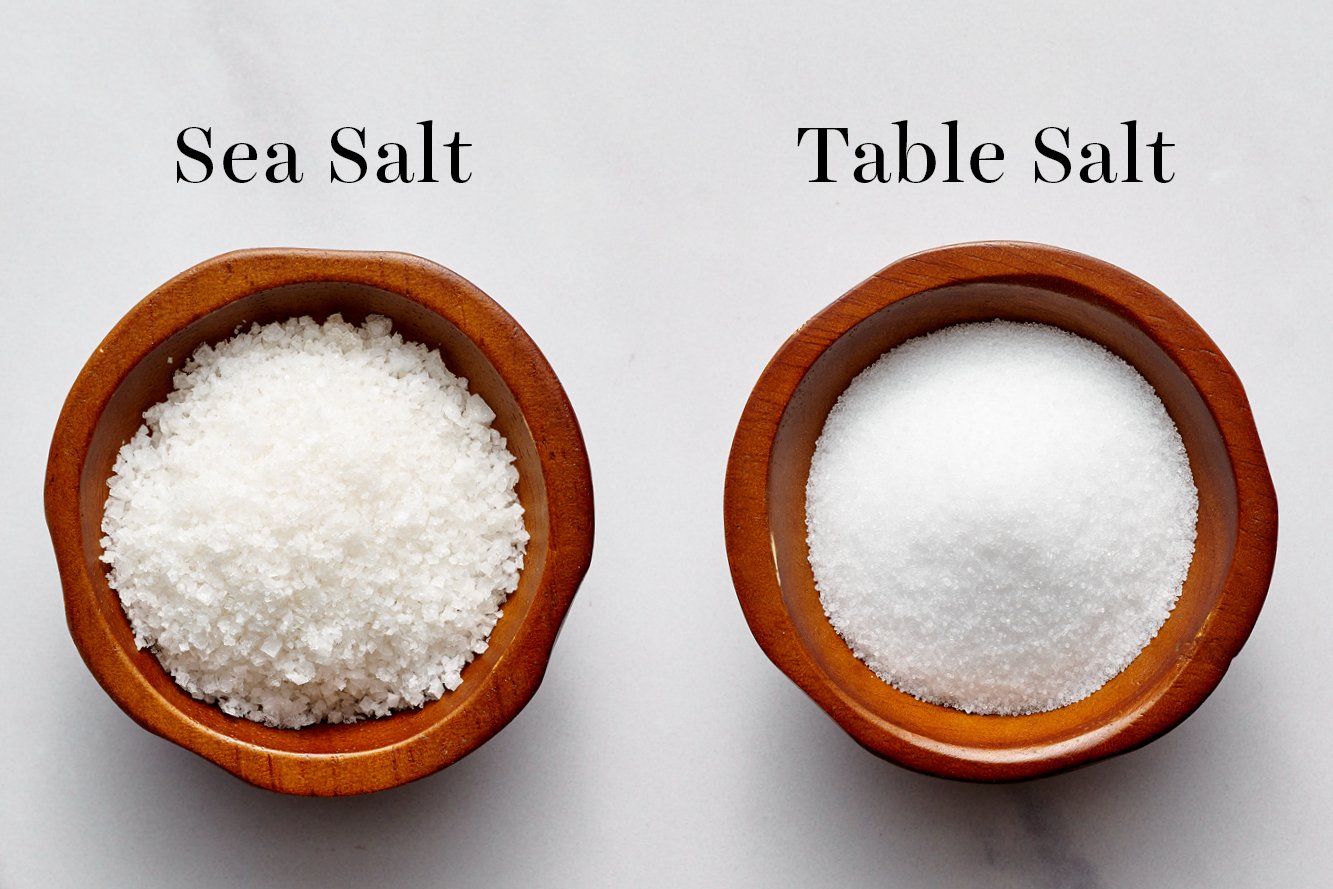
- 1/4 teaspoon fine sea salt
- 1 stick (113 grams) unsalted butter, at cool room temperature
- 1 cup (200 grams) granulated sugar
- 1 large egg, at room temperature
- 1 large egg yolk, at room temperature
- 1 teaspoon peppermint extract
- 1/2 teaspoon vanilla extract
- 1 cup (170 grams) semisweet chocolate chips, plus more for garnish
- 1-2 candy canes, finely crushed2
Instructions
- Preheat the oven to 350ºF. Line baking sheets with parchment paper.
- In a microwave-safe bowl, microwave chocolate in 20-second bursts until melted, stirring between each burst. Set aside to cool until just warm (about 80°F).
- In a medium bowl, whisk together the flour, cocoa powder, baking powder, and salt. Set aside.
- In a large bowl, use an electric mixer on medium-high speed to beat the butter and sugar until light and fluffy, about 2 to 3 minutes. Scrape down the sides and bottom of the bowl using a rubber spatula.
- Add in the cooled, melted chocolate and beat until combined. Add the egg, egg yolk, peppermint extract, and vanilla extract and beat until completely smooth and combined, scraping down the bowl as needed. Slowly beat in the flour mixture. Fold in the chocolate chips with a rubber spatula. Dough will be sticky.
- IF TIME PERMITS: Wrap the dough well in plastic and refrigerate overnight or up to 48 hours to intensify the flavor and thicken the texture.
- Using a medium spring-loaded scoop, drop 1 1/2-tablespoon3 balls of dough onto prepared baking sheets spacing 2 inches apart. Dampen your hands slightly, then roll each dough ball between your palms to smooth. Flatten slightly with your palm. Dot generously (more than you think!) with additional chocolate chips.
- Bake for about 10 minutes or until set. Immediately sprinkle each cookie with the finely crushed candy canes. Cool for 5 minutes before removing to wire racks to cool completely.
- Cookies can be stored in an airtight container at room temperature for up to 4 days.
Notes
More Christmas Cookie Recipes You’ll Love:
Photos by Joanie Simon.


I made these cookies and submitted them into a cookie contest at a church party and won first place! They are a crowd pleaser and a Christmas family favorite!
That’s so wonderful, Katie! Congratulations 🙂
Delicious!! Just peppermint-y enough and very chocolatey!! Only problem was that even though I (atypically) followed the recipe to a T, including proper flour measurement, they didn’t spread much at all–but they made very pretty “cookie balls!” I took them to a friends gathering and even though I made 2 oz. cookies, so pretty big, all of the guys had 2 or even 3!
I’ve been searching for a cookie like this for years! I was so glad to see them pop up on Instagram the other day. They were easy to make and so chewy and delicious. I did the crushed candy cane on top and they were perfectly peppermint-y. Will definitely make every year at Christmastime!
These were the perfect Christmas cookie! They were chocolatey with just the right amount of peppermint!
So glad you enjoyed these cookies, Rebecca! Thanks so much for the comment.
After seeing this recipe in Tessa’s 12 Days of Cookies, I knew I had to try them! I absolutely love chocolate and mint and while I was a little skeptical of a full tsp of peppermint extract knowing how most people don’t love the combo as much as I do, it’s actually perfect. The cookies are like a perfect holiday brownie bite – great texture and very chocolatey flavor. I chilled the dough for a couple hours before portioning/baking and next time, I’ll plan for a longer cure. CANDY NOTE – I’m not a big fan of the traditional “hard candy” candy canes, preferring instead the softer “old fashioned” peppermint sticks. I used these instead and they worked great. I sprinkled half on as in the original recipe and waited to do the other half until the cookies had partially cooled (per Tessa’s response to my comment). On the hot cookies, the smallest bits of peppermint (very powdery since they don’t shatter like a hard candy) seemed to just dissolve, but the bigger pieces did fine pressed in slightly to the tops. On the cookies that were partially cooled, both types of candy stayed fine. An excellent addition to a holiday cookie platter either way! Oh, and I was ready to do the “rounding off” tip when they came out, but they didn’t spread much and stayed very round already so no need to have a cookie cutter at the ready. I did 40g portions and it made exactly 20 cookies baked perfectly at 11 min.
Yay! I’m so glad the softer peppermint worked perfectly, thanks for experimenting and sharing the results. Your cookies look picture perfect!
Could you use the “old-fashioned” soft peppermint candies instead? I love chocolate & mint, but I’m not a fan of hard candy canes. I’m only asking because it’s sprinkled on while the cookies are warm, so I didn’t know if the soft candy canes would just melt. Thanks!
Hi Sarah! We haven’t tried that, but I don’t see why it wouldn’t work! I’d recommend letting the baked cookies sit for a minute or two to cool down just a tad before adding the softer candy pieces. Let us know how it goes!
Can you freeze these?