


Tessa's Recipe Rundown
Taste: The little bit of nutmeg combined with the sour cream and sweet glaze makes these doughnuts taste just like the ones at your favorite bakery, if not better!
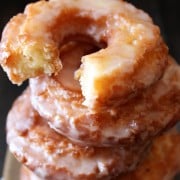
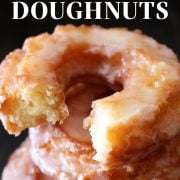
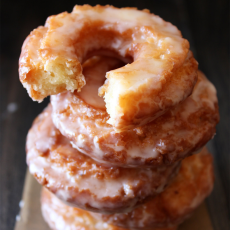
Texture: Slightly crunchy on the outside, cakey and soft on the inside. All the little cracks in these doughnuts just soak up the shiny, crackled glaze.
Ease: There’s no yeast in this recipe so you can have these doughnuts IN YOUR MOUTH in a little more than an hour from start to finish.
Pros: I think the pros are inherently implied, they’re doughnuts!
Cons: Deep fried sugary goodness ain’t too good for your diet.
Would I make this again? Yes, whenever I’m craving these old-fashioned cake doughnuts I’ll whip this recipe out.
This post may contain affiliate links. Read our disclosure policy.

I have huge sweet tooth cravings on the regular. Can you relate?
When I get a doughnut craving, it’s intense.
In my experience, a lot of doughnut shops make pretty bland and greasy doughnuts that leave a weird residue on your tongue.
There are a few local shops that I LOVE, but I rarely have an excuse to make a trip to one of them.
This recipe honestly takes about the same amount of time that it takes to drive across town to my favorite bakery, so it’s kind of perfect. Plus, if you only eat doughnuts when you make them from scratch, you can’t really go overboard, right? That’s my logic at least.
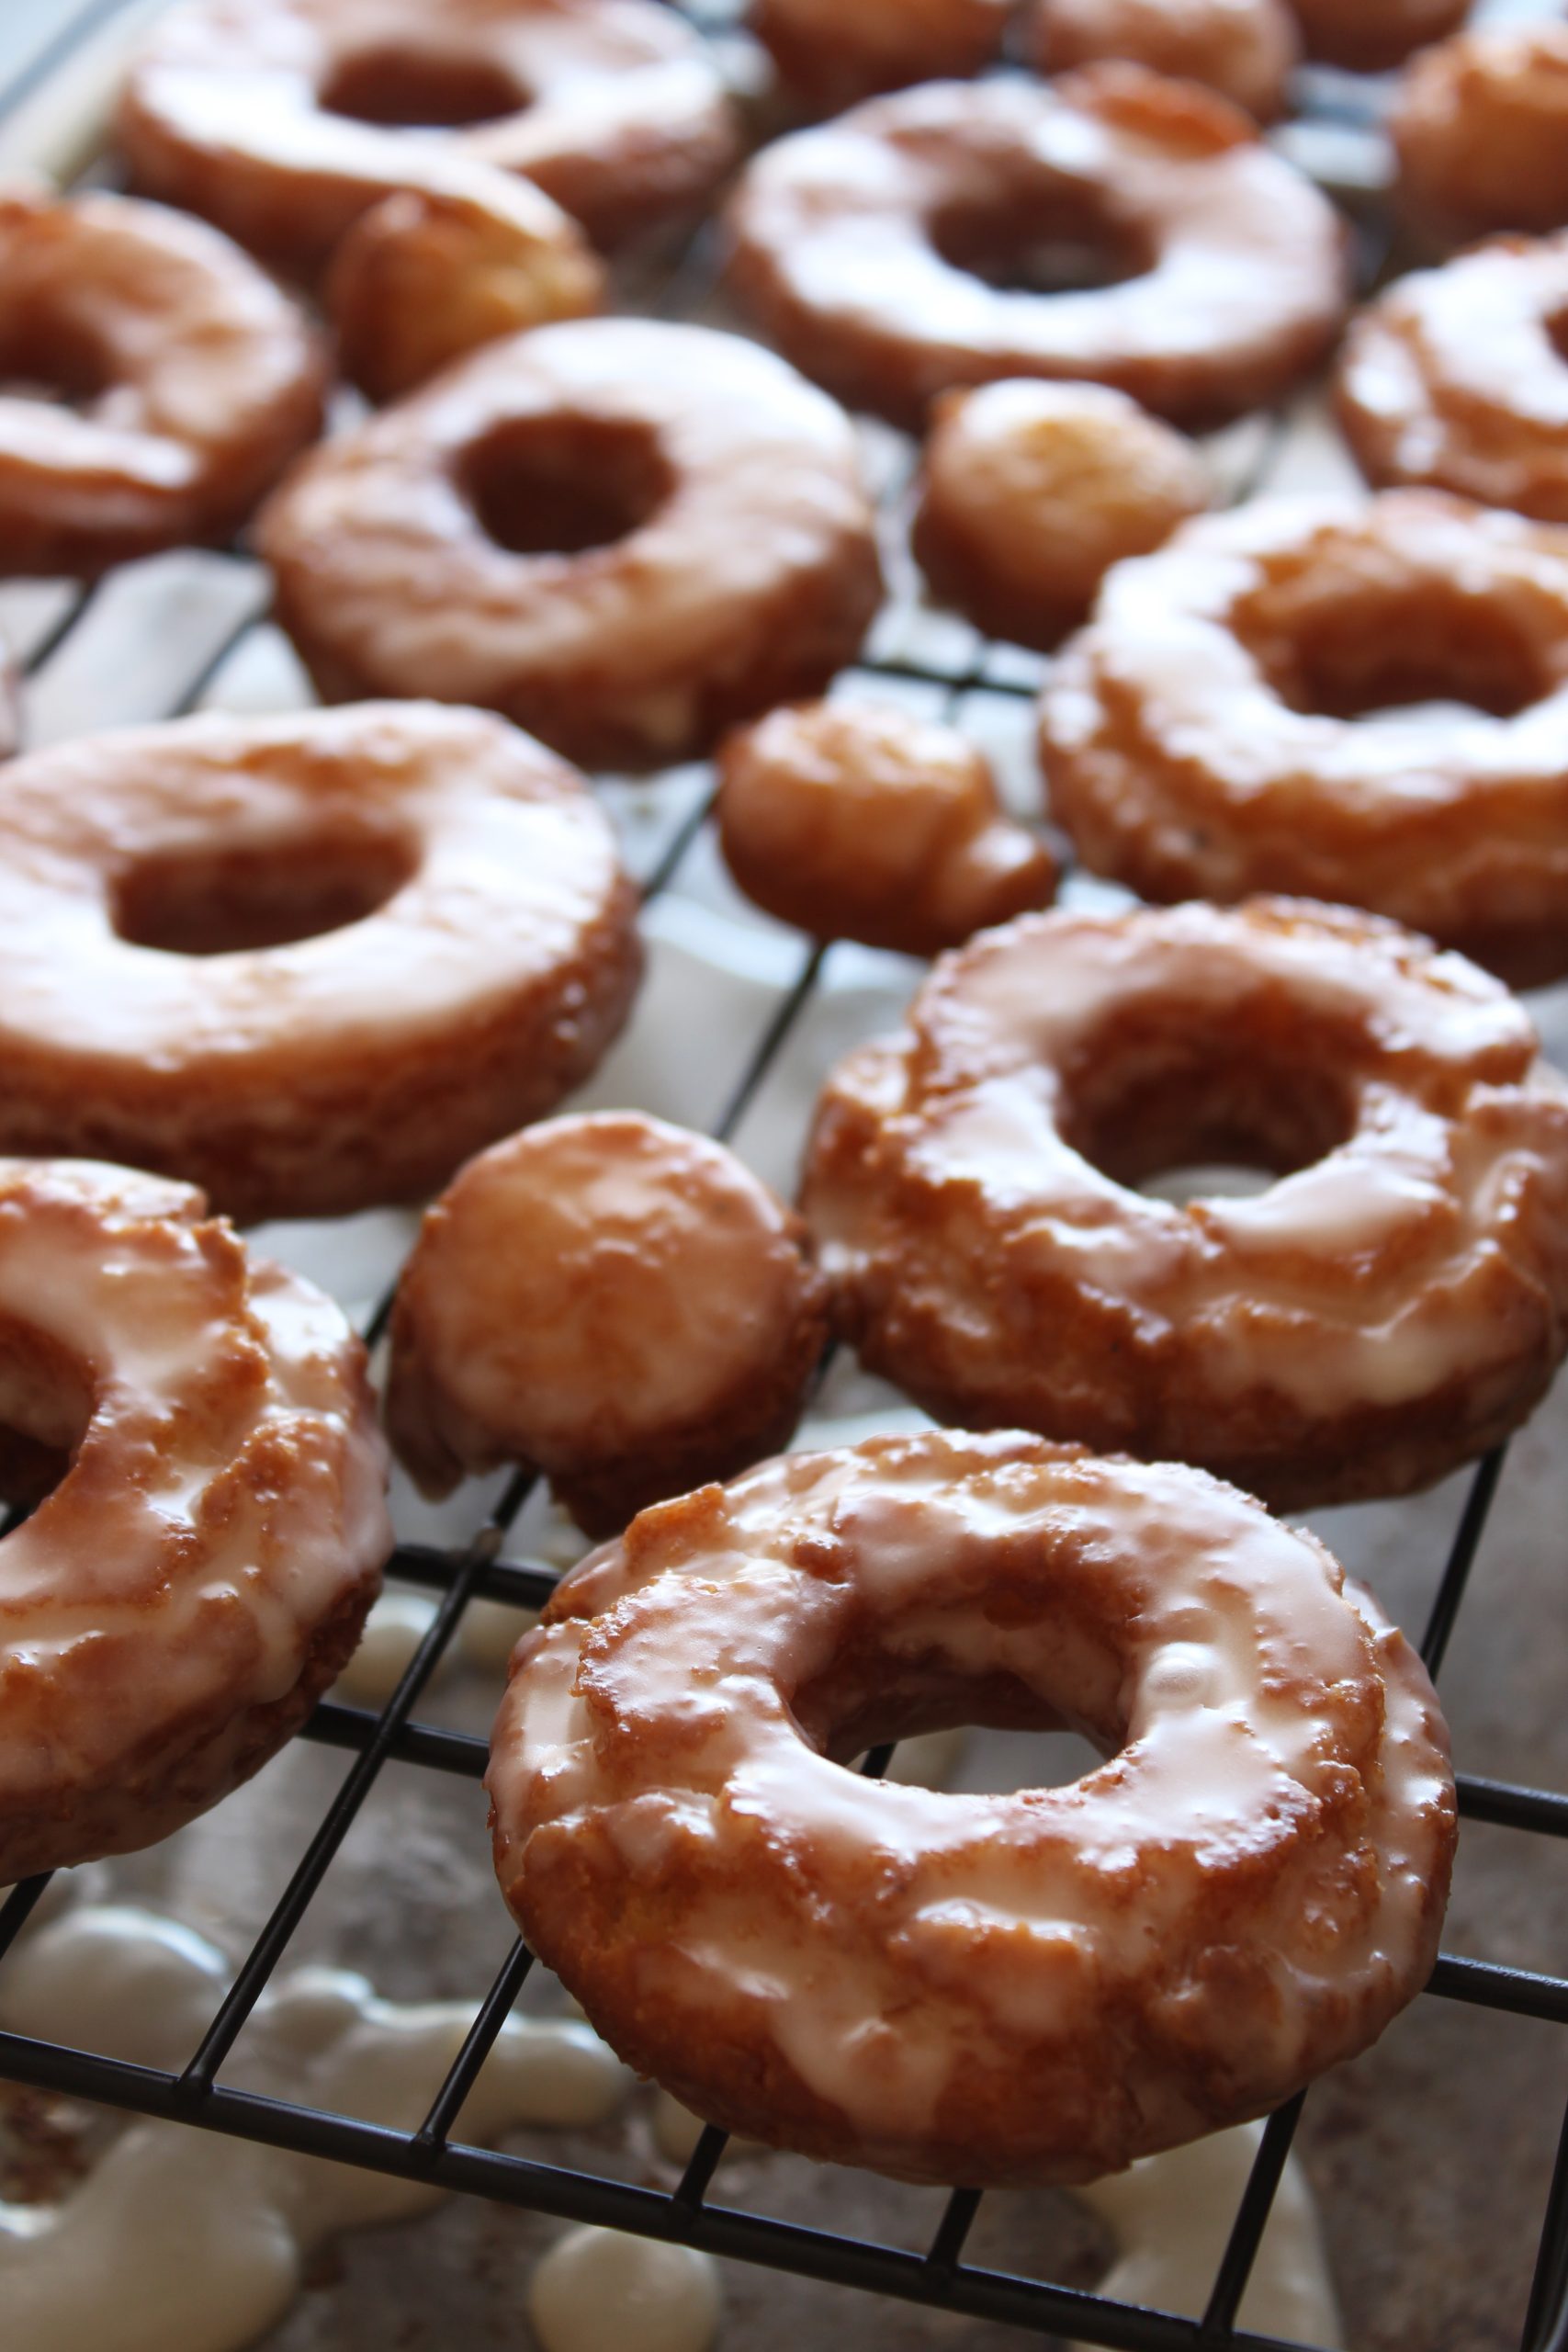
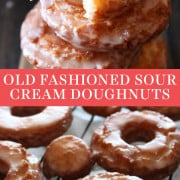
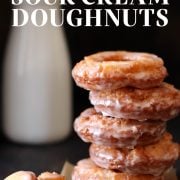
These Old-Fashioned Sour Cream Doughnuts are just like the old-fashioned cake doughnuts from the bakery. They’re kind of crunchy and cracked on the outside, making those nooks just perfect for soaking up the thick, shiny, crackled glaze.
We completely dunk the doughnuts in that glaze in the recipe, and it’s amazing. The inside is soft and cakey with a more firm bite than yeast doughnuts. Plus you can’t beat sour cream – it’s good with just about everything.
I don’t always prefer old-fashioned cake doughnuts to yeast doughnuts, but when I do this is absolutely the recipe I use. You can’t beat how much less time these take than yeast doughnuts, too.

Sprinkle of Science
Old-Fashioned Sour Cream Doughnuts Recipe Tips
1. Use a Scale to Weigh Your Ingredients
Using a scale is a smart idea for these sour cream doughnuts. Any issues I hear about the dough being too dry or sticky are likely due to inaccurate measuring! If your doughnuts aren’t as fluffy and light as you’d like, it’s due to compacting too much flour into your measuring cup. You can learn more about how to measure flour the RIGHT way here.
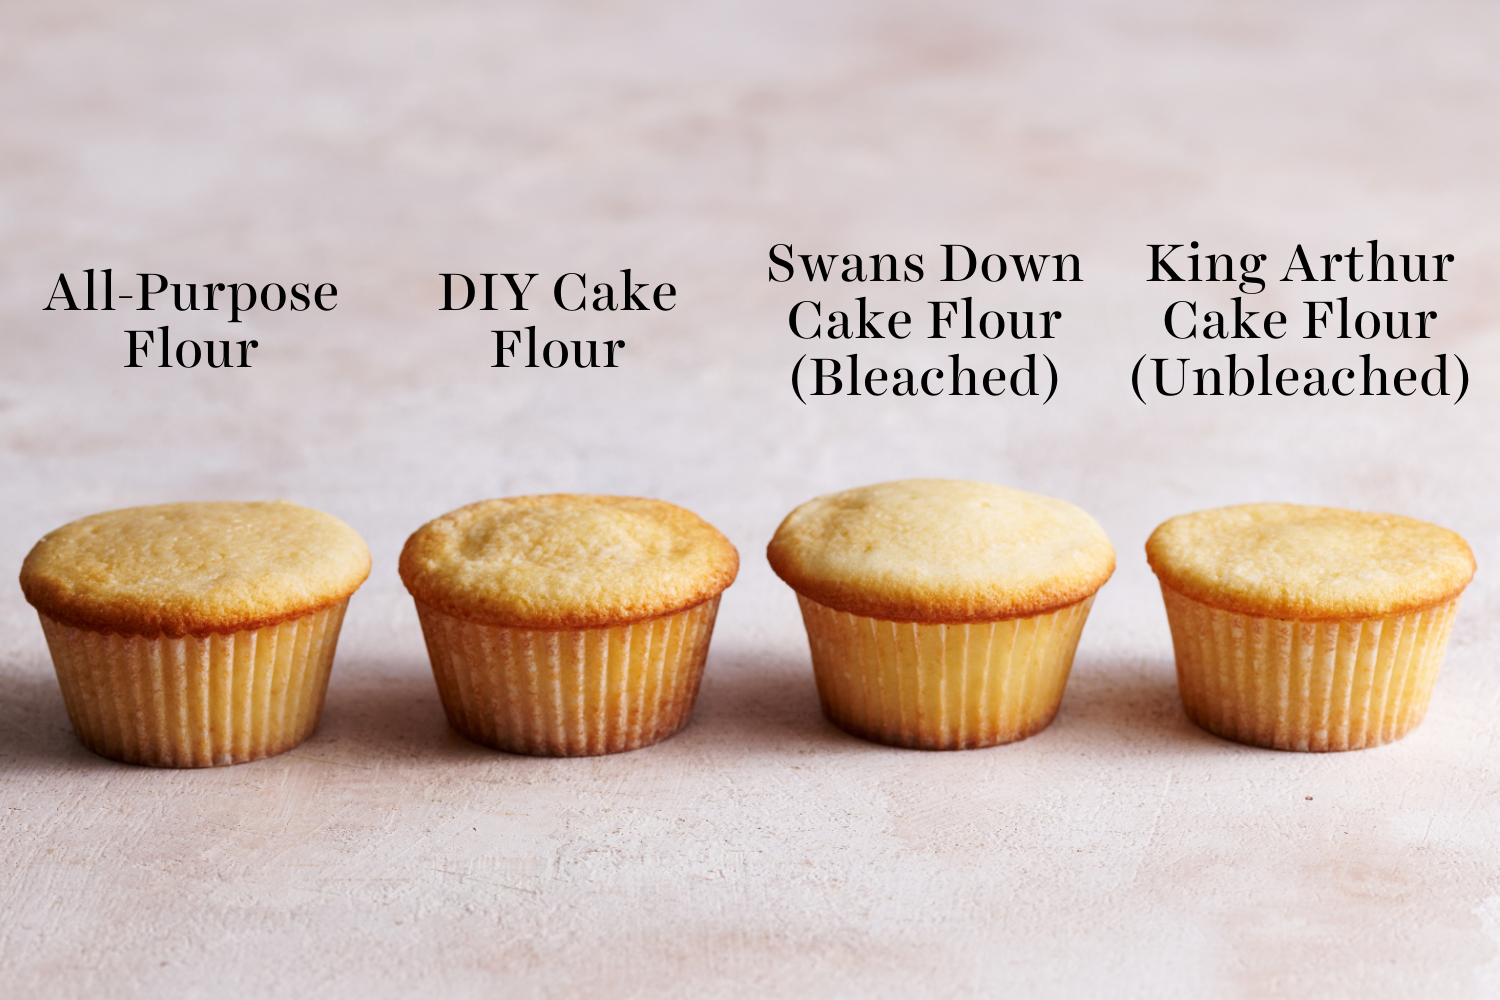
2. Use REAL Bleached Cake Flour
- This is a must for these sour cream doughnuts.
- Purchased cake flour will yield light and delicate doughnuts, just like the ones from a good bakery.
- DIY substitutions don’t really cut it.
- AP flour will not create doughnuts with that same soft texture.
- Bleached cake flour will work best. Unbleached (like King Arthur Flour) won’t absorb as much moisture and you may end up with doughnuts that crumble while frying.
- You can learn more about cake flour here.
3. This Recipe is FRIED
- Yes, you must fry these sour cream doughnuts
- This recipe was specifically designed to be fried and not baked.
- USE FRESH OIL. Oil goes rancid quickly, often before the date on the bottle.
- If it has *any* unpleasant smell, don’t use it, as that flavor will transfer to your doughnuts.
Can I Air Fry These Doughnuts?
I don’t personally own an air fryer, but a reader recently messaged me, letting me know that she had success air frying this recipe. Let us know in the comments below if you have success air frying these doughnuts, too!
My Favorite Doughnut Tools:
- Digital Scale – to ensure your ingredients are measured correctly
- Doughnut Cutter – for perfectly uniform doughnuts
- Deep Fry Thermometer – to ensure your oil maintains the correct temperature
- Dutch Oven – perfect for frying!
More Recipes You’ll Love:
- Krispy Kreme Copycat Glazed Doughnuts
- Baked Strawberry Lemon Doughnuts
- Chocolate Old-Fashioned Doughnuts
- Pumpkin Old Fashioned Doughnuts
- Classic Cake Doughnuts
Email This Recipe
Enter your email, and we’ll send it to your inbox.
Ingredients
For the donuts:
- 2 1/4 cup (255 grams) cake flour
- 1 1/2 teaspoons baking powder
- 1 teaspoon fine sea salt
- 1/2 teaspoon ground nutmeg
- 1/2 cup (100 grams) sugar
- 2 tablespoons (29 grams) butter, at COOL room temperature
- 2 large egg yolks
- 1/2 cup (113 grams) sour cream
- Canola oil, for frying


For the glaze:
- 3 1/2 cup (350 grams) powdered sugar, sifted
- 1 1/2 teaspoons corn syrup
- 1/4 teaspoon fine sea salt
- 1/2 teaspoon vanilla extract
- 1/3 cup hot water
Instructions
For the donuts:
- In a bowl, sift together the cake flour, baking powder, salt, and nutmeg.
- In the bowl of a stand mixer fitted with a paddle attachment, beat the butter and sugar together until sandy. Add the egg yolks and mix until light and thick. Add the dry ingredients to the mixing bowl in 3 additions, alternating with the sour cream, ending with the flour.
- Mix for 30 seconds on low speed or until the dough is smooth but slightly sticky. You want to mix enough that the dough doesn't fall apart in the oil, but not so much that it becomes tough. If the dough is unbearably sticky, add extra flour one tablespoon at a time (especially if you live in a warm & humid climate).
- Cover with plastic wrap and chill for 1 hour, or until firm.
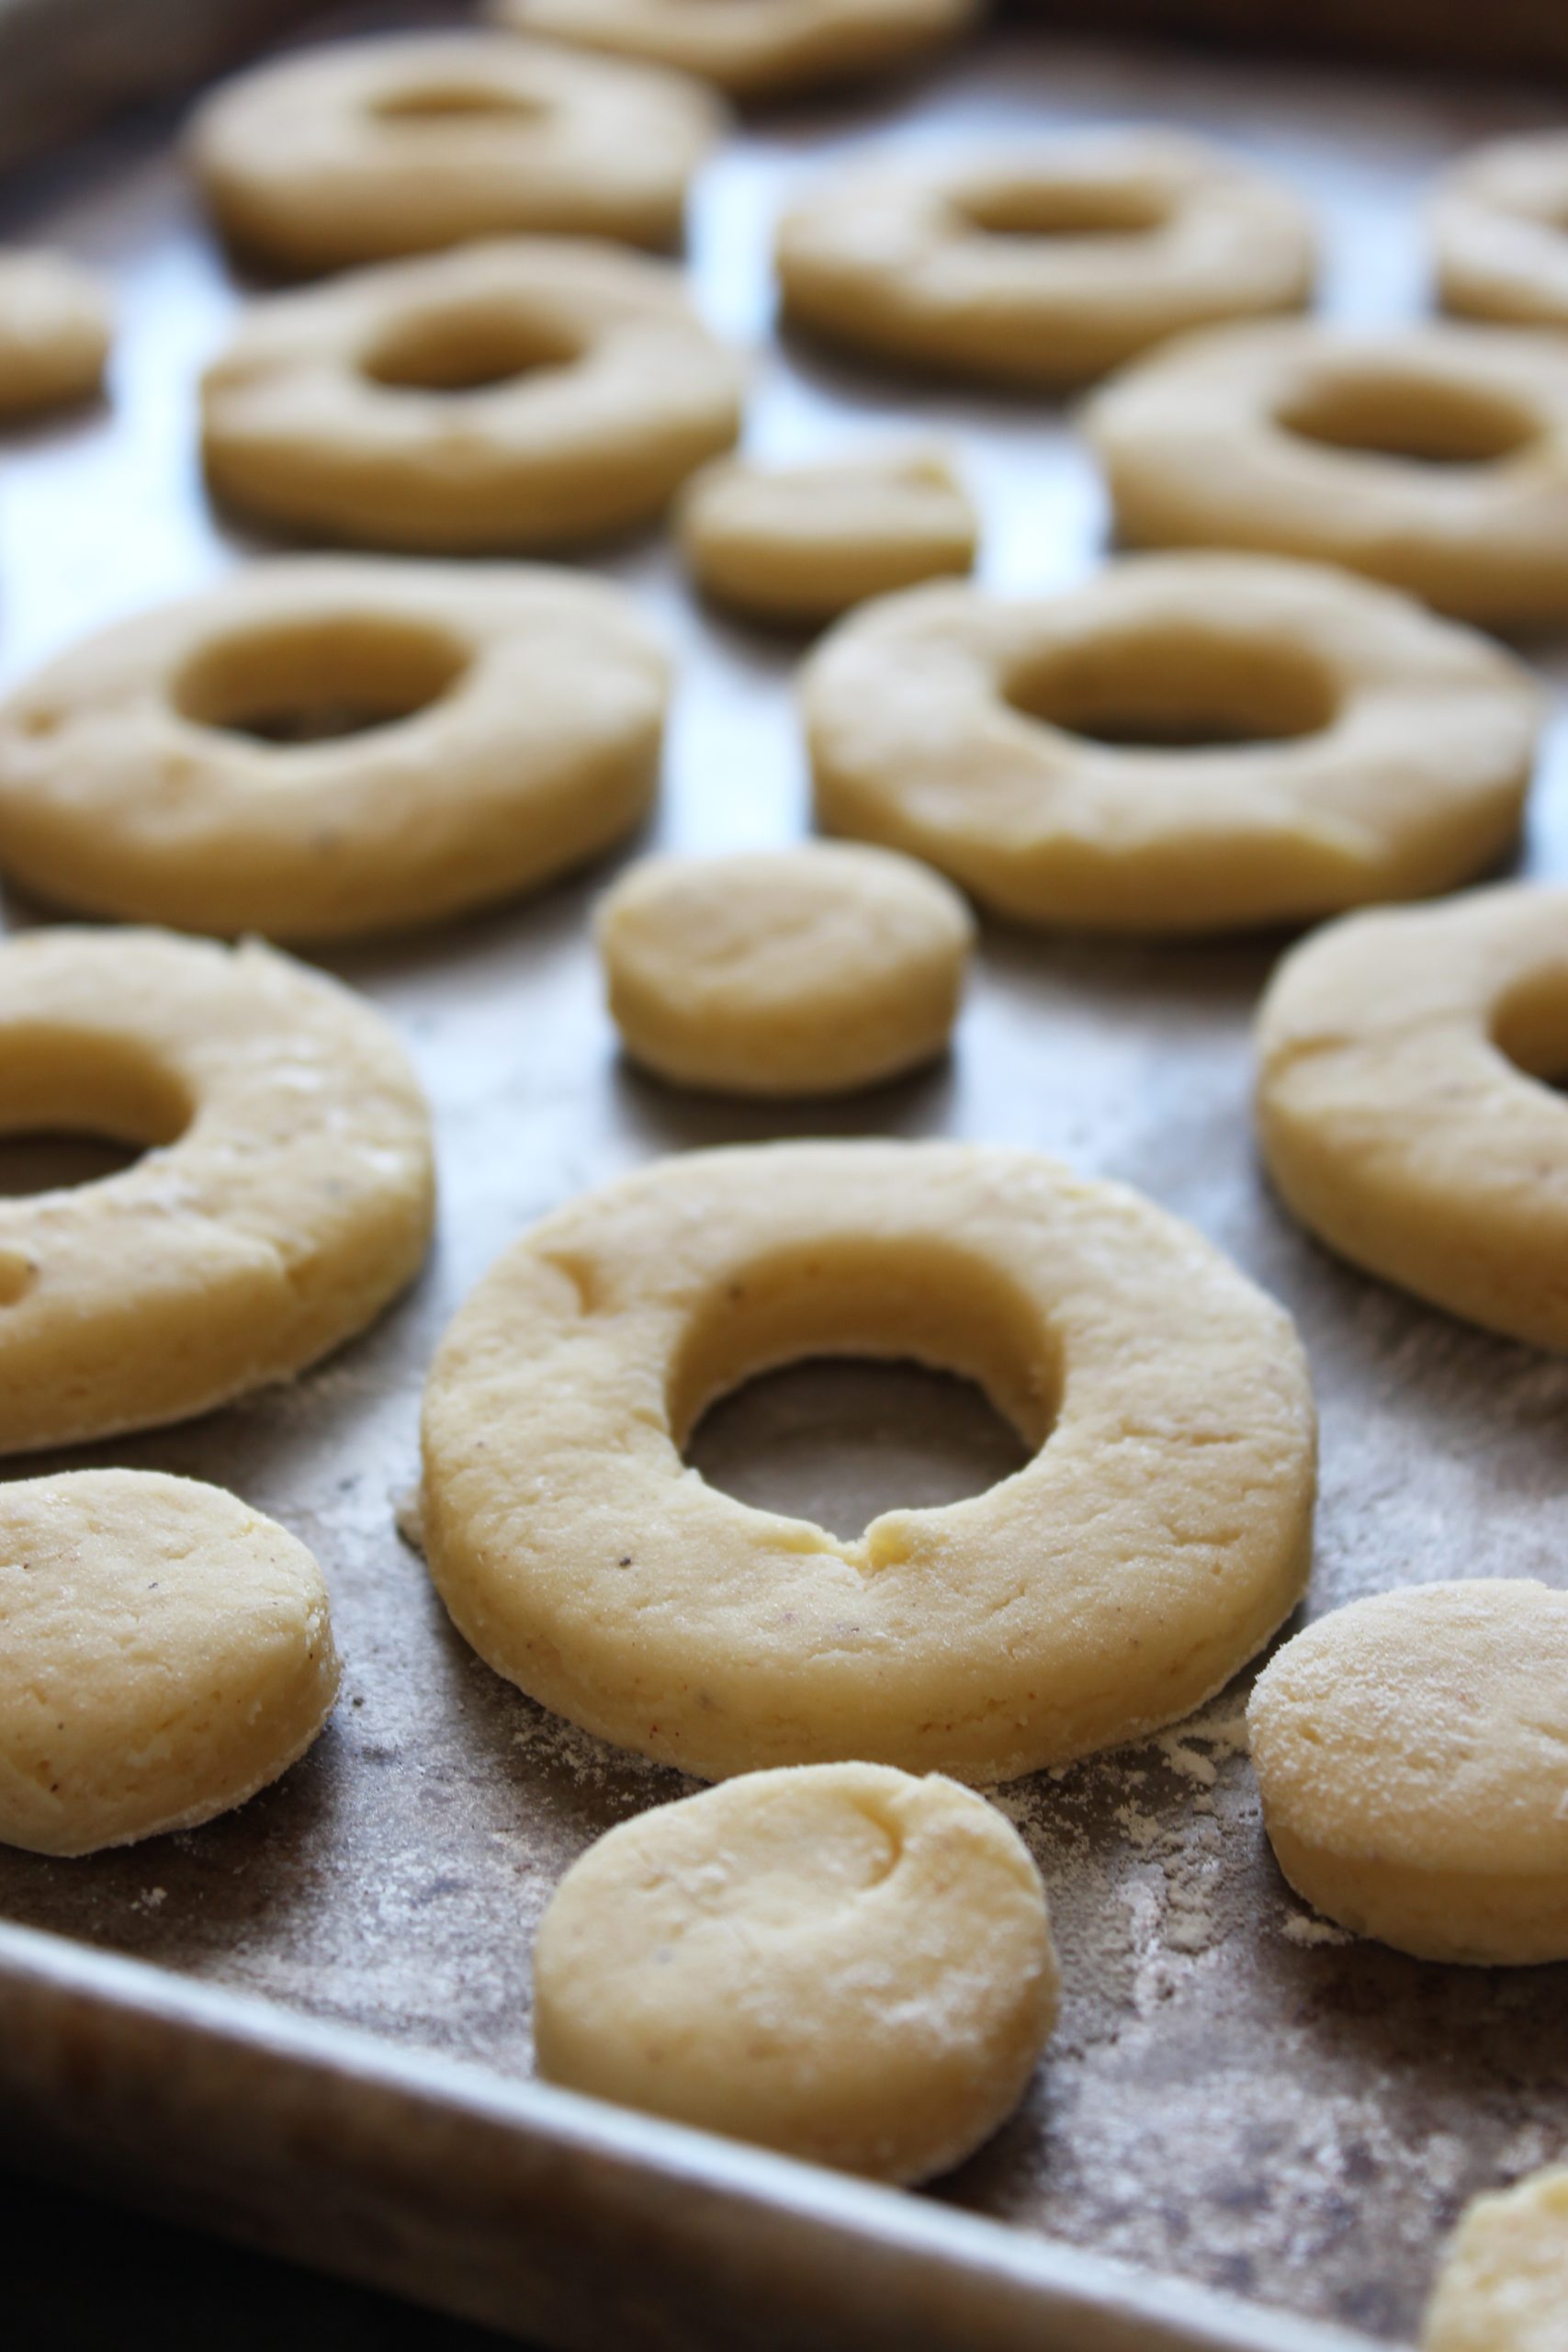
- On a floured surface, roll out the dough to about 1/2 inch thickness. Use a doughnut cutter or two differently sized biscuit cutters to cut out as many donuts as possible, dipping the cutters into flour as necessary to prevent sticking. You should get about 12 doughnuts and holes. If the dough gets too loose, sticky, or greasy at any point, return to the fridge to firm it back up before continuing. Refrigerate while you heat the oil so the dough is slightly cold when it fries.
- Pour 2 inches of canola oil into a heavy-bottomed pot with a deep-fry thermometer attached. Heat to 325°F. Fry the doughnuts a few at a time, being careful not to overcrowd the pot. Fry on each side about 2 minutes, being careful not to let them burn. Keep an eye on the thermometer and adjust your stove heat to maintain the correct oil temperature. Let drain on a paper bag to soak up the excess grease.
For the glaze:
- Mix all ingredients in a bowl with a whisk until smooth. Immerse each doughnut into the glaze. Place on a wire rack above a sheet pan to catch any excess glaze. Let sit for 20 minutes until glaze is set. Doughnuts are best served the day they are made but may be store in an air tight container at room temperature for a few days.


They looked great and recipe worked well but I think this recipe has a little too much salt. (I usually like salt) but I think it should be closer to 1/2 or 3/4 tsp. The full teaspoon made them too salty. I used unsalted butter but maybe I went wrong elsewhere because I thought I followed directions exactly (except for adding some vanilla bean powder into the dough) and they looked good but did not taste like a donut. Maybe it needed a little more sugar to balance the salt out.
Fried at 375 degrees; probably added 2 to 3 extra tablespoons of sour cream; added vanilla extract at the egg/butter/sugar step. Otherwise followed the recipe. Turned out good. First time making old fashioned doughnuts.
Yeah, not a first time doughnut maker. I don’t have cake flour where I live but used regular flour with some cornstarch. I measured to the gram and was surprised when the sticky dough actually came together and I was able to roll it out without it turning into a stick mess like a lot of cake doughnut recipes. But when I went to fry it at 325 F as the recipe calls for, the dough just disintegrated in the oil. So I turned up the heat to 350 and tried again. The dough held shape a little longer but burned and then fell apart. Either way I was left with a burnt, wet, soggy mess. Another failed recipe (for me) in my quest for a cake doughnut recipe that works.
I’m hosting a brunch and think having some flavoured doughnuts and doughnut holes would be a nice treat. If I wanted to add chopped/minced apple to this recipe would it work? Any tips?
Sounds delicious, Mary! We haven’t tried adding fruit to this recipe, so I can’t say for sure what other adjustments would need to be made. If you don’t have time to experiment, I’d recommend searching for an apple doughnut recipe online just to make sure they turn out for your brunch.
Doughnuts were great, glaze came out less than great. Any idea what went wrong.
Hi Alexis! I’d love to help troubleshoot. Can you please share more about what happened? What didn’t you like about how your glaze turned out?
This recipe is DELICIOUS! They were a huge hit, taste-wise. Unfortunately, every donut except one fell apart as I was flipping them or taking them out of the oil. The dough consistency was great, so I wonder if maybe I added too much flour when rolling them out. Curious to see what Tessa says! Should it just be a very light dusting? Also, I could not get my oil the right temp! I have an electric stove so it was very difficult to keep consistent. I only give this four stars because of these issues—which aren’t the fault of the recipe. The only other thing was that I don’t know how you could get 12 donuts from this batch. I barely, barely got five using a standard donut cutter. I’m going to try again soon.
This recipe is DELICIOUS! They were a huge hit, taste-wise. Unfortunately, every donut except one fell apart as I was flipping them or taking them out of the oil. The dough consistency was great, so I wonder if maybe I added too much flour when rolling them out. Curious to see what Tessa says! Should it just be a very light dusting? Also, I could not get my oil the right temp! I have an electric stove so it was very difficult to keep consistent. I only give this four stars because of these issues—which aren’t the fault of the recipe. I’m going to try again soon.
Can I bake the dough in the oven?
No, this recipe was designed to be fried. I do have quite a few baked doughnut recipes published, though!
Hi! Can I prepare the dough the night before and refrigerate over night to use the next morning?
I’d been seriously craving old-fashioned donuts, but they’re almost impossible to find in Jakarta. So this morning I finally tried this recipe, and wow! it turned out really good! Crispy edges, tender inside, exactly what I was missing. First time making donuts, recipe was easy to follow and it’s worth making at home when the craving hits!
They look fantastic, Marsya. So happy you loved our recipe, thanks for the rave review!
This donut recipe posting credits Completely Delicious for the original recipe (although the link is broken). I found the original recipe. The original recipe states an oil temperature of 375°F. The recipe posted here on HTH lists oil temp as 325°F. Which is correct?
Have you actually tried using unbleached cake flour in this such as the aforementioned King Arthur brand? I would think that would be highly unlikely that it would not absorb as much moisture and cause more crumbly dough. Also if someone from the UK stumbles across this recipe your note suggests they won’t be able to make it since it’s not legal to bleach flower in the UK. And what happens in the unlikely event that the United States makes similar decision?
Hi Rob! Great questions—thanks so much for sharing your thoughts. Yes, we did test unbleached King Arthur cake flour and found the texture noticeably more crumbly and less tender than with the bleached cake flour. That’s why we recommend options like Swans Down or Softasilk for the best results.
All of our recipes are meticulously tested, and we only recommend what we’ve found to work best through hands-on experience. That said, if bleached flour isn’t available where you live, unbleached cake flour can still be used. Several readers have reported success—it may just result in a slightly different texture.
If you’re curious, we recently shared two cookie recipes— Snickerdoodles and Peanut Butter & Jelly Cookies— where we experimented with both bleached and unbleached all-purpose flour. We included photos of the differences above each recipe, and in both cases, the unbleached flour produced drier, more crumbly dough.
I live in Sweden and can’t get unbleached flour, I have had really good success with cake flour that we call ”pâtissière” which is meant to be very similar. Hope this helps!