


Tessa’s Recipe Rundown
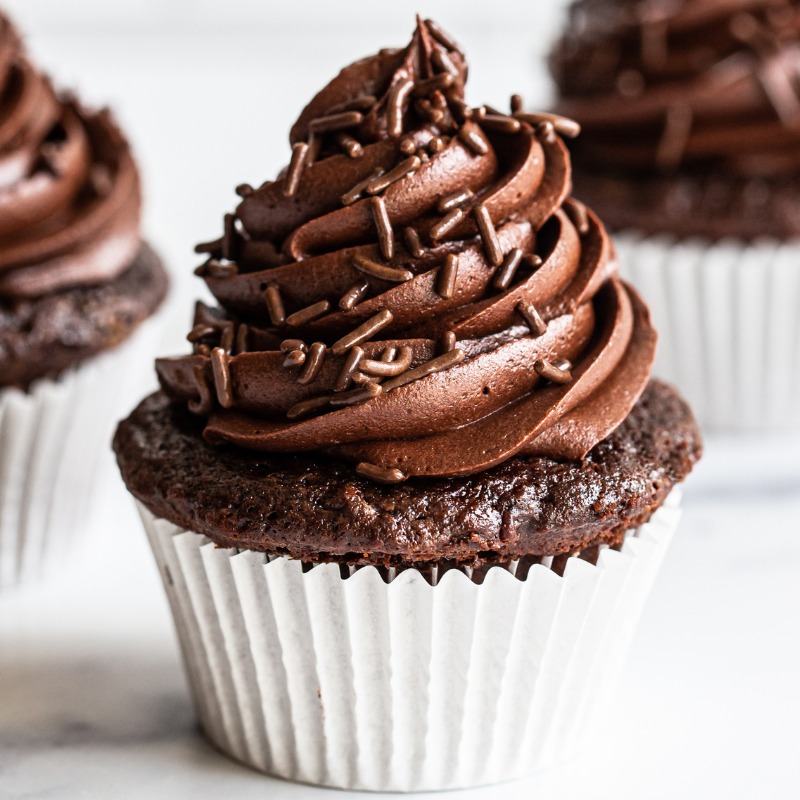
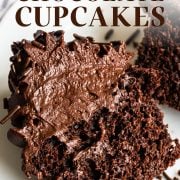
Taste: Chocolate overload in the best possible way!
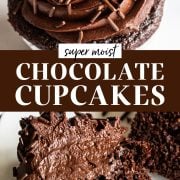
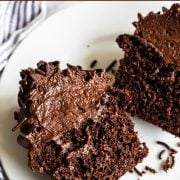
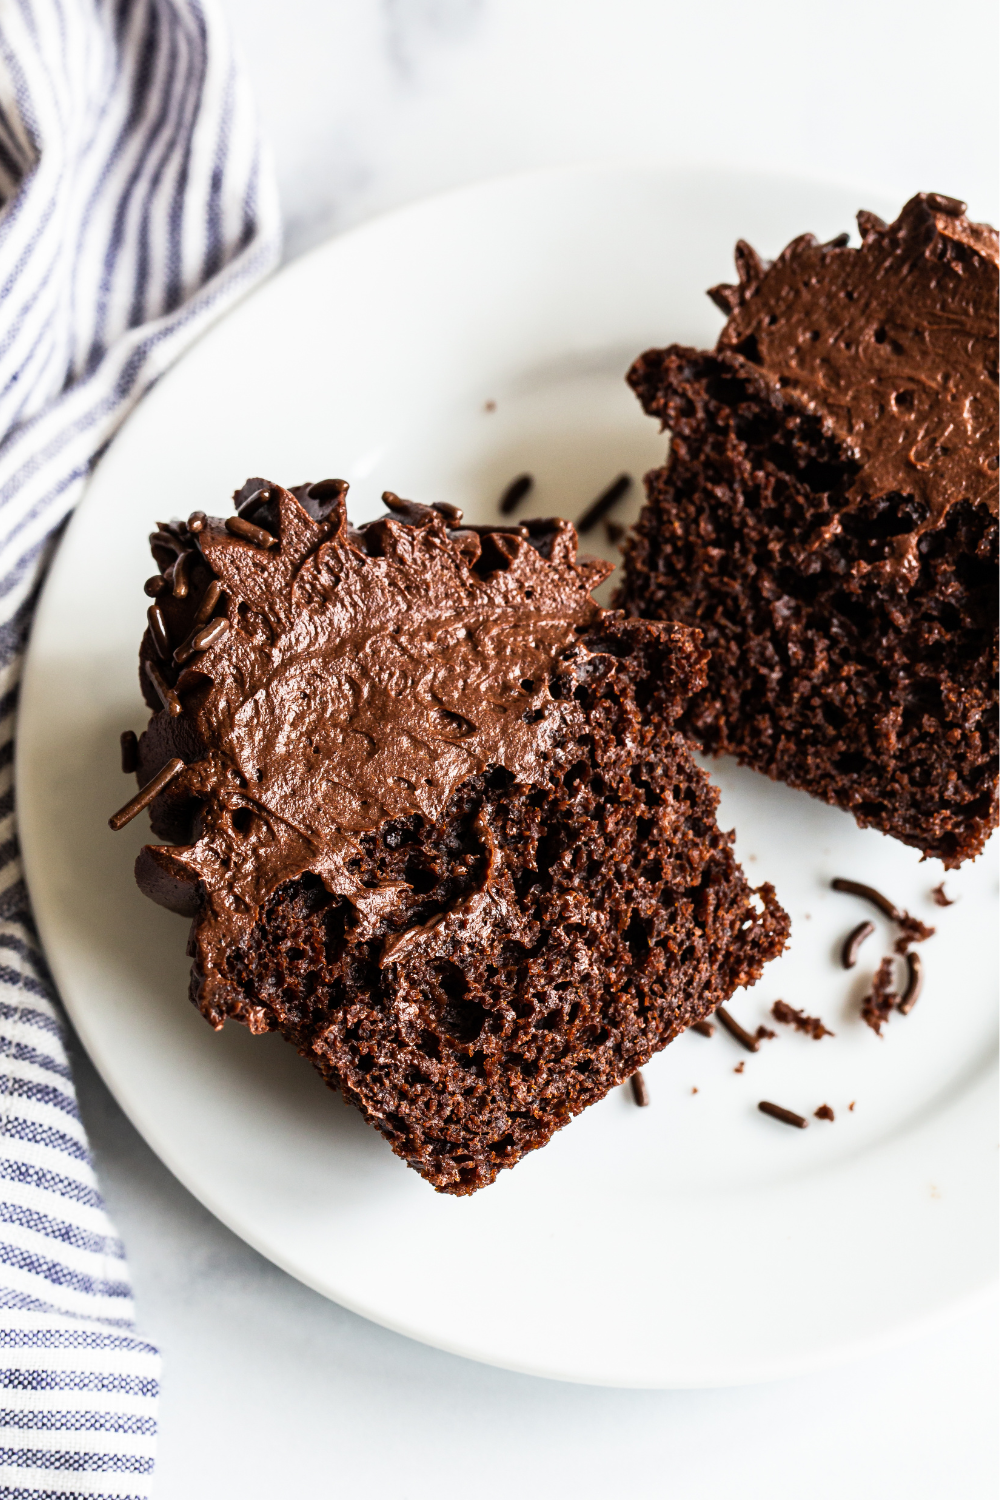
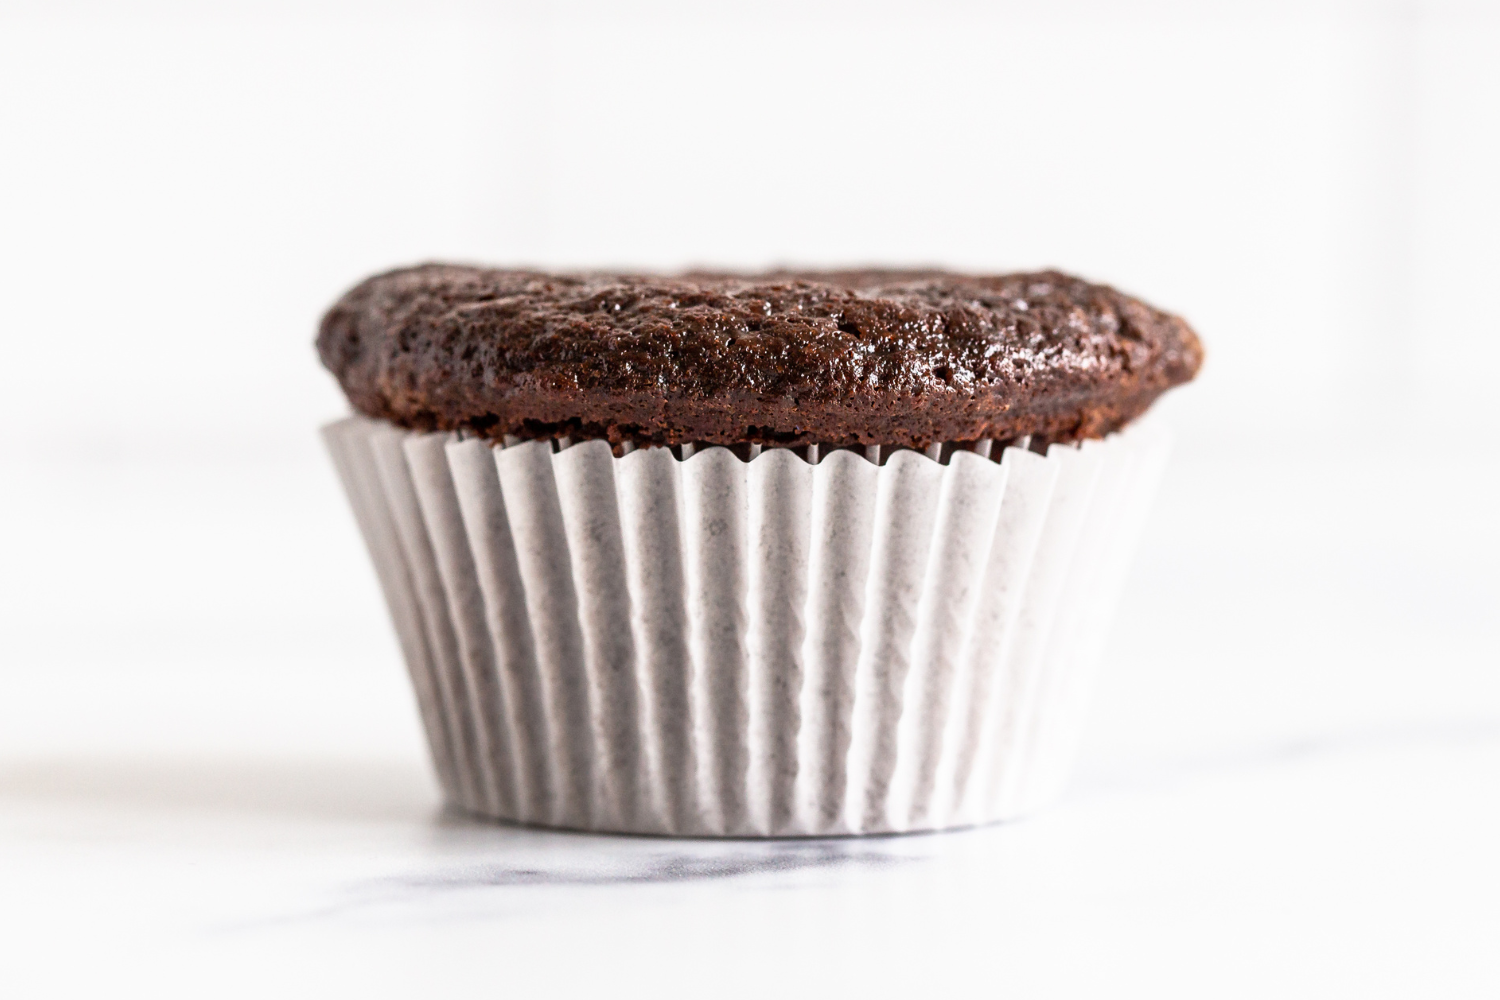
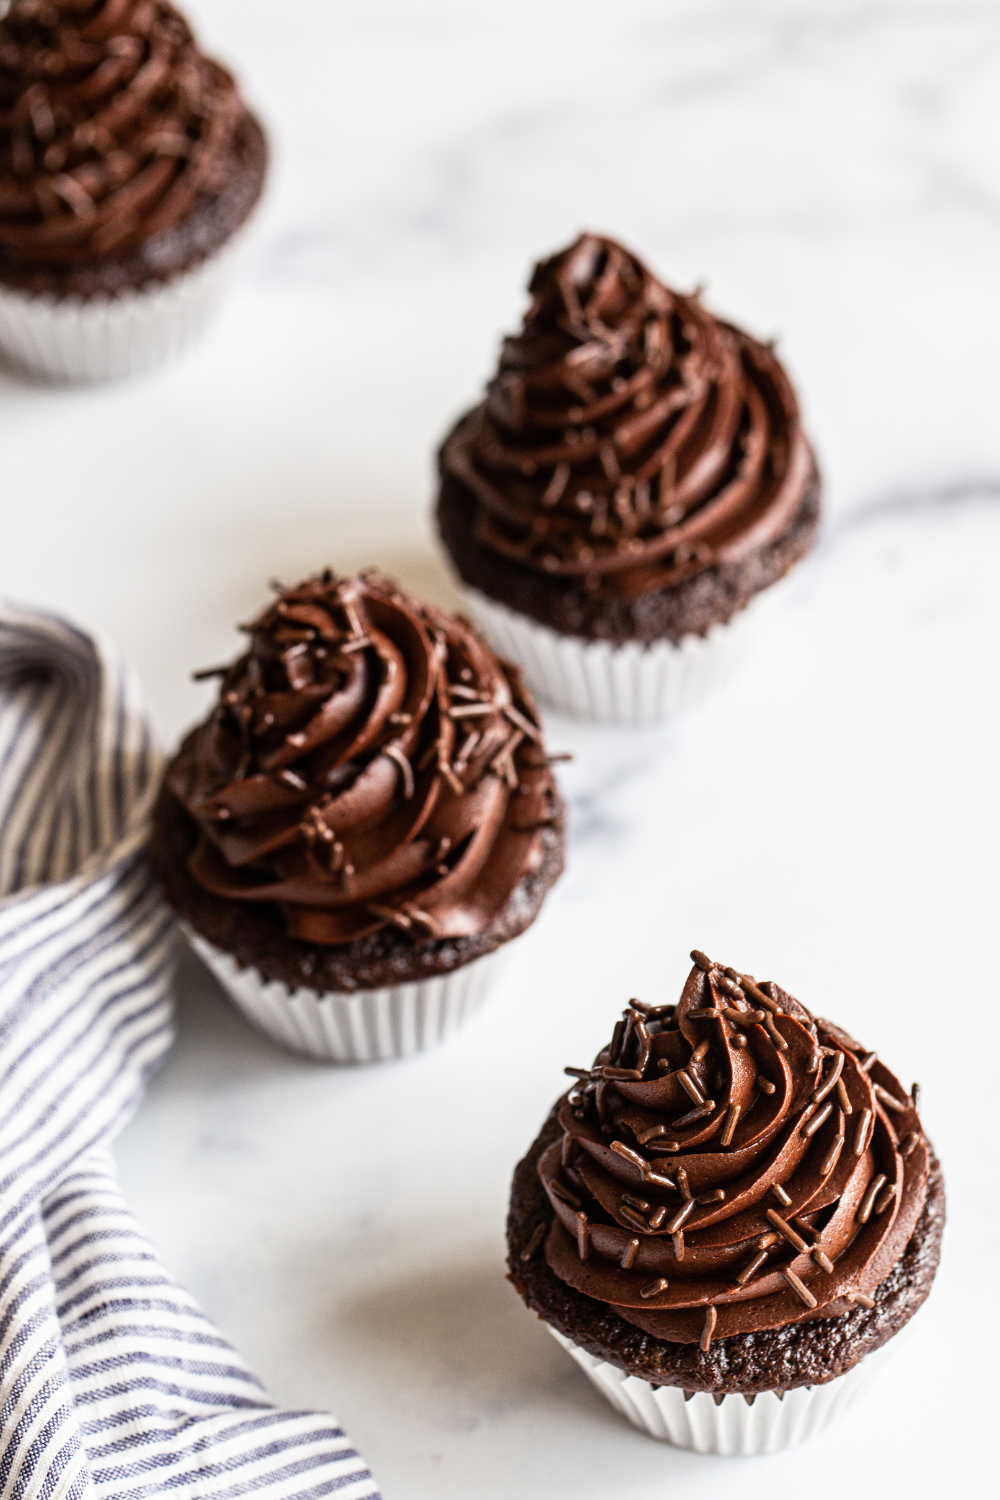
Texture: Moist and tender without being too delicate or crumbly, topped with a beautifully light and creamy frosting.
Ease: The cupcakes are super simple, and although the frosting may seem complicated, I promise it’s super straightforward.
Why You’ll Love This Recipe: These are truly my favorite cupcakes EVER!
This post may contain affiliate links. Read our disclosure policy.
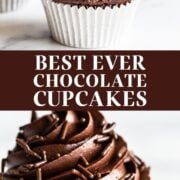
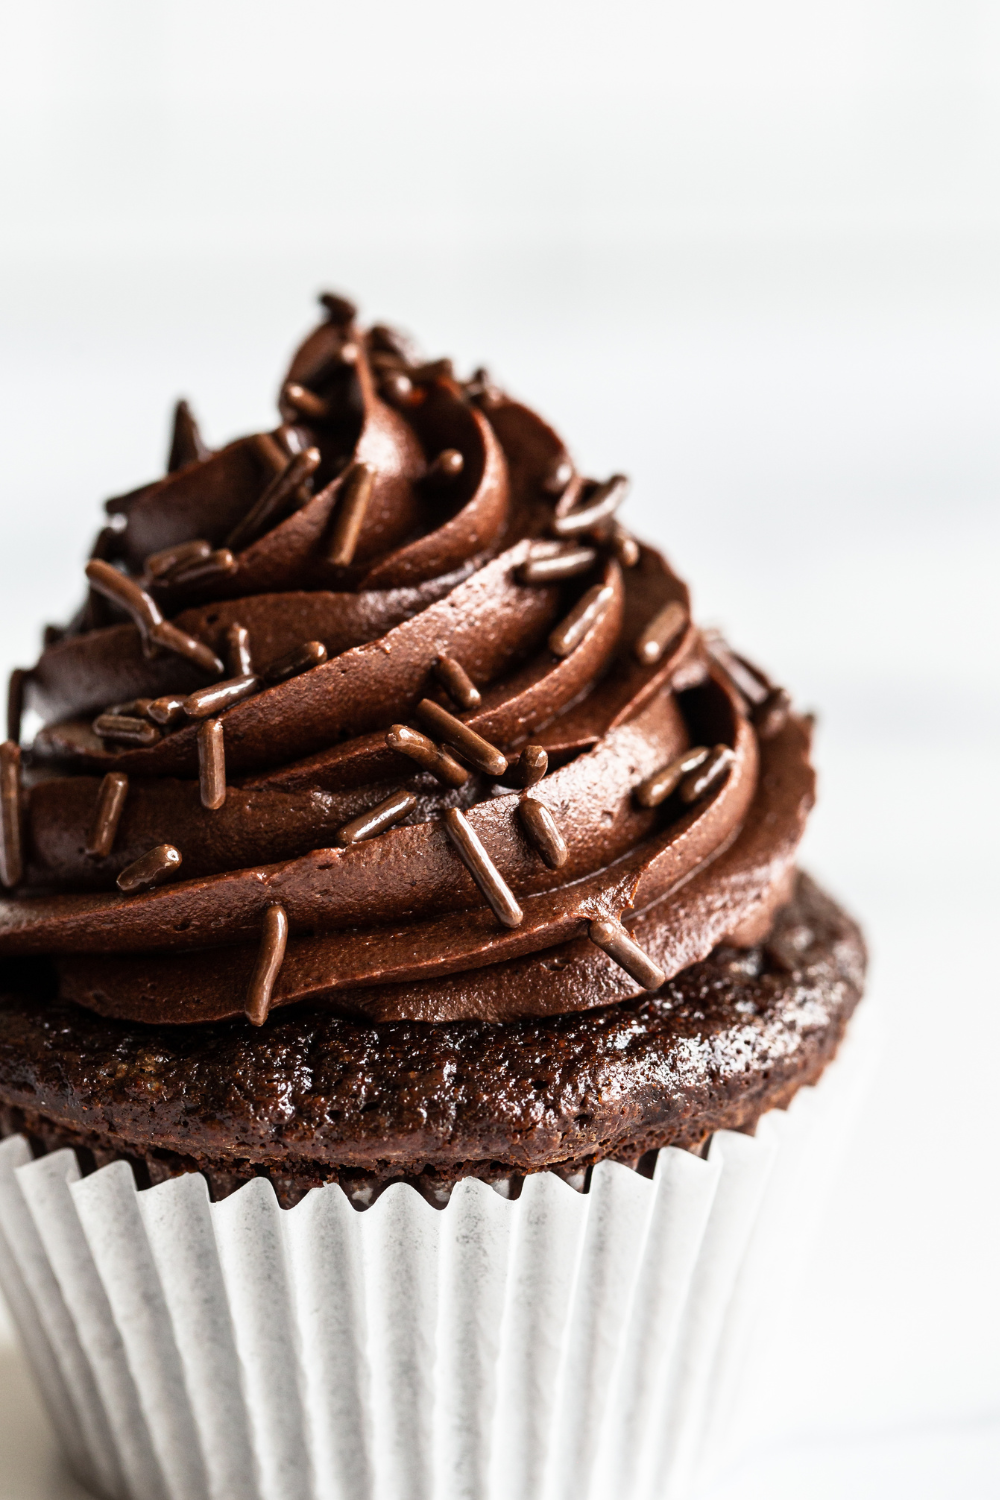
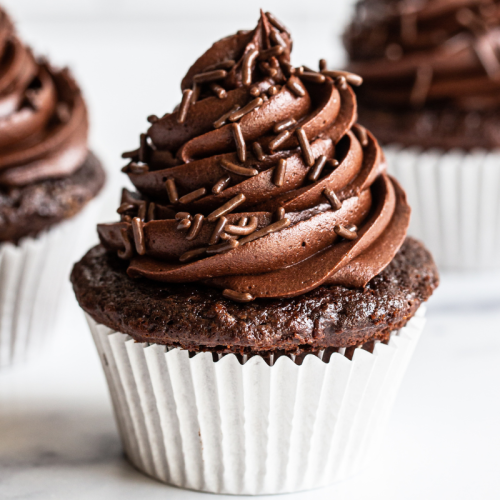
These cupcakes are seriously the BEST Chocolate Cupcakes you’ll ever try!
I love to utilize Baking Science to tweak and test recipes until I think they’re the ULTIMATE version of that recipe.
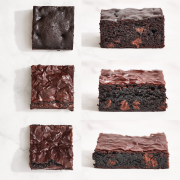
I’ve done it with my ultra-fudgy Ultimate Brownies, my perfectly chewy Ultimate Chocolate Chip Cookies, and my heavenly Ultimate Classic Cheesecake. What better recipe to perfect next than Chocolate Cupcakes?!
Free Baking Science Mini-Course!
From cookies that spread to undercooked brownies, this FREE 5-day Baking Science course helps you conquer common baking challenges and make bakery-worthy treats every time.
It took about 5 straight batches over a couple days, after previous casual tests over several months, to finally nail the recipe.
These cupcakes are perfectly moist and tender. They’re sturdy enough to hold up to plenty of frosting, with TONS of chocolate flavor. There are three kinds of chocolate in here in total!

Sprinkle of Science
How to Make the BEST Chocolate Cupcakes
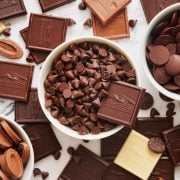
The Chocolate
We can’t make stellar homemade Chocolate Cupcakes without first considering the chocolate! The cupcakes themselves use a whole 5 ounces of bittersweet chocolate AND Dutch-process cocoa powder, for as much chocolate flavor as possible.
Make sure to use freshly chopped baking chocolate and not chocolate chips, which don’t melt down as smoothly. Learn more about Chocolate in Baking here.
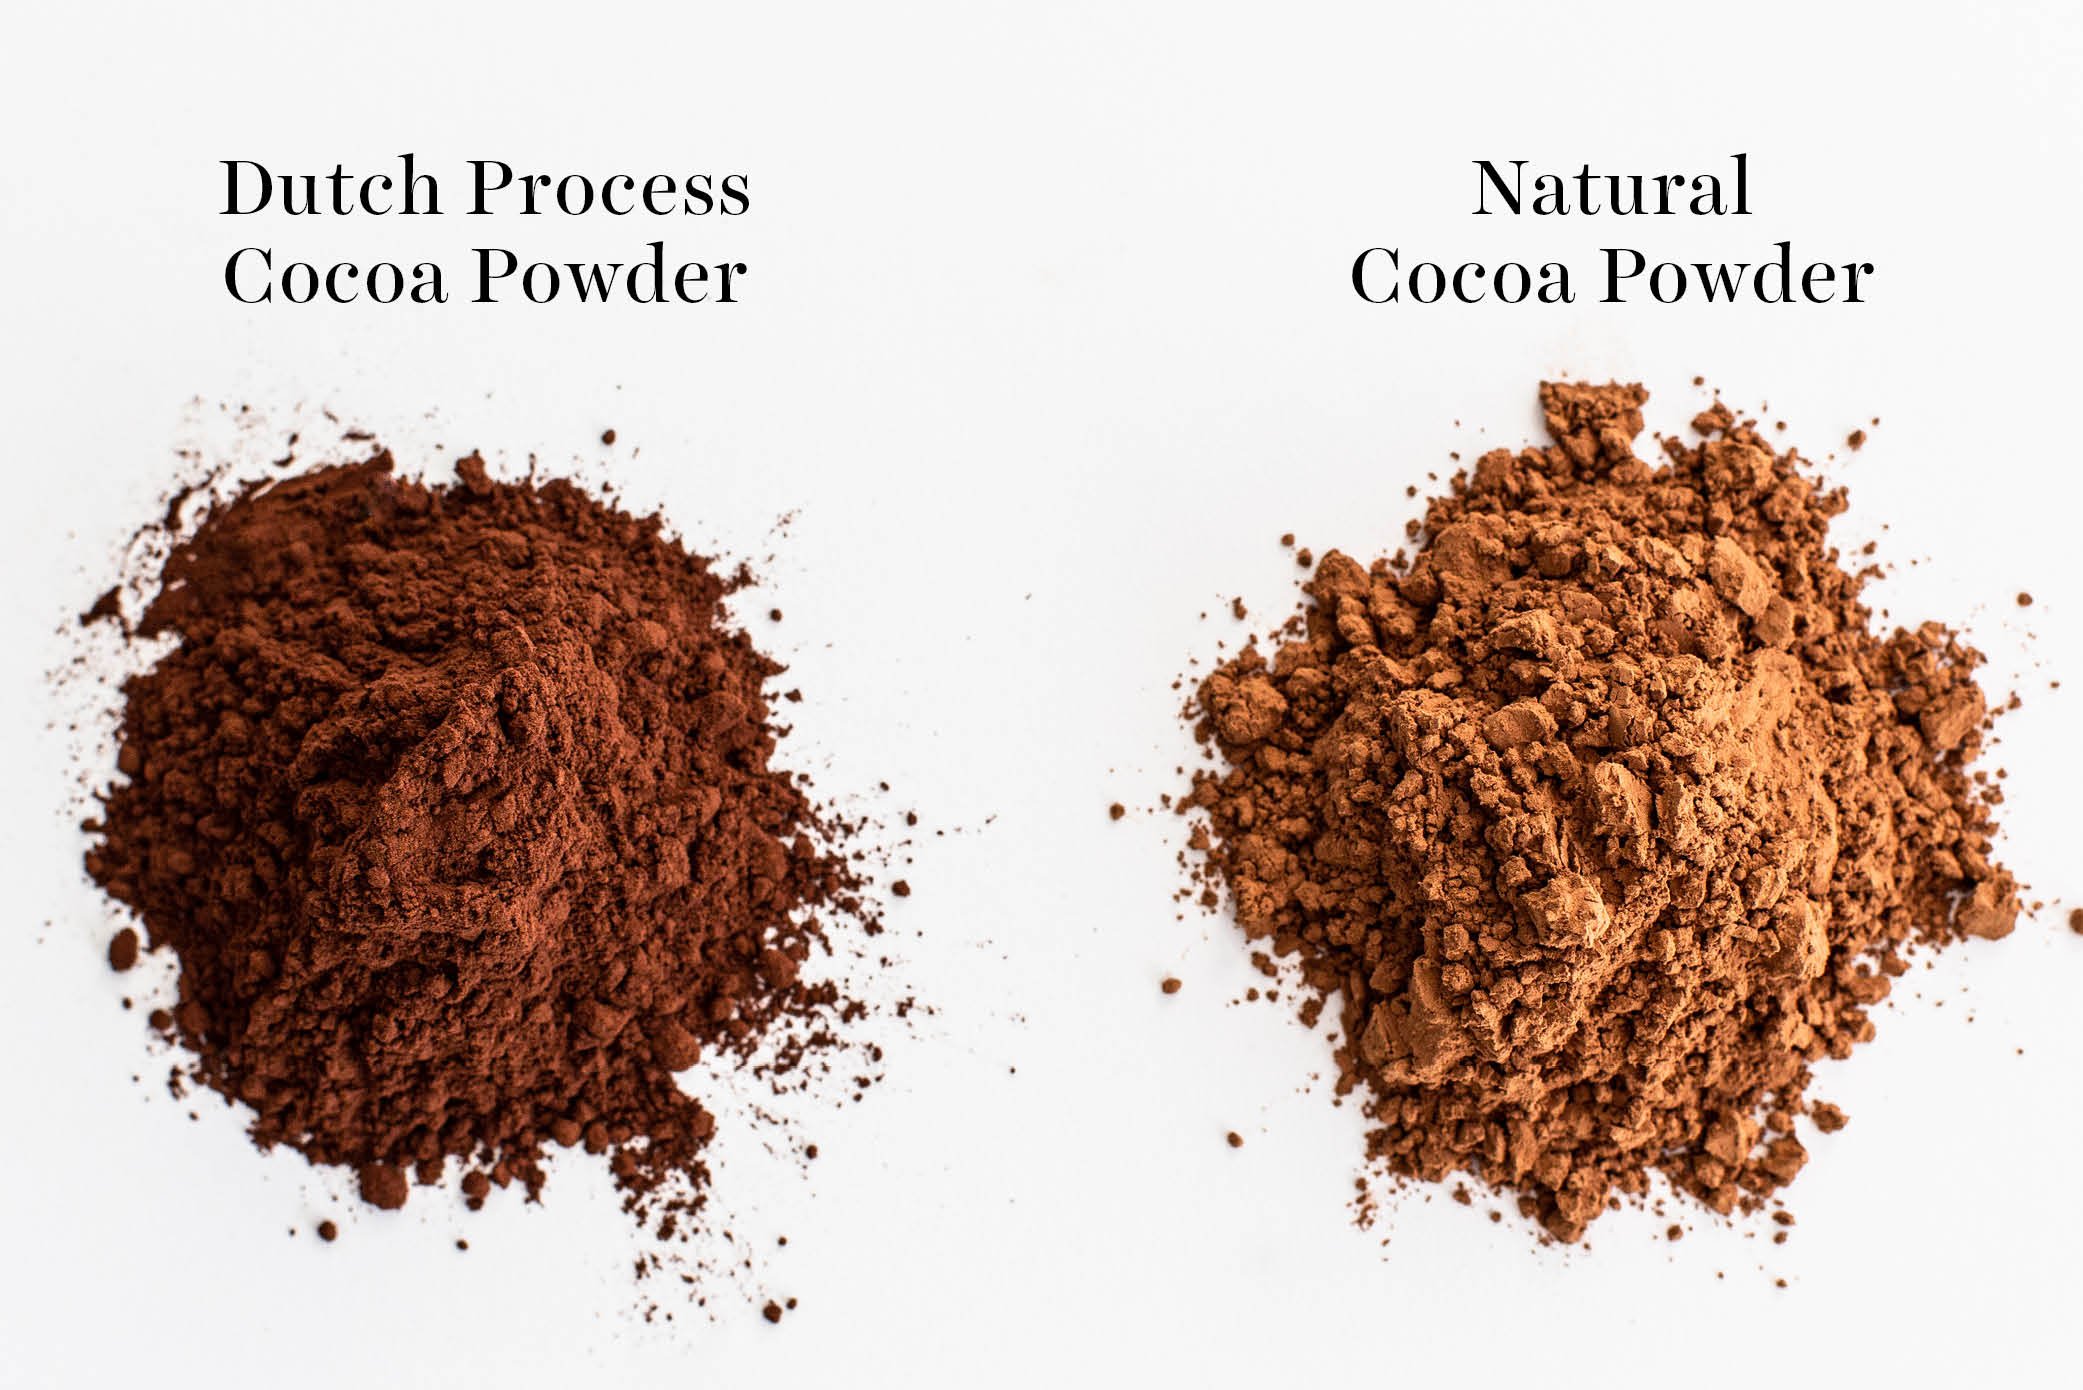
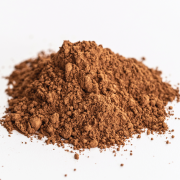
Do I Have to Use Dutch Process Cocoa Powder?
I recommend sticking with Dutch-process cocoa as it works differently on a chemical level compared to natural cocoa. You can find it at many gourmet food stores or online via Amazon.
Dutch Process Cocoa typically contains more cocoa butter (fat!) than your typical grocery store cocoa powder. This means more moisture, richness, and rich chocolate flavor! Learn more about cocoa powder’s fat content here.
Help! I Only Have Natural Cocoa Powder!
If you must use regular unsweetened cocoa powder in this recipe, then omit the vinegar – just note that your cupcakes may be a little more dry. Learn more about the differences between cocoa powders here.
The Secret to Super MOIST Chocolate Cupcakes
- This recipe calls for vegetable oil instead of butter. This creates an ultra-moist texture and an open, slightly spongy crumb. For more details on how these two fats work in baking, check out my Butter vs. Oil in Baking article.
- Since oil is liquid at room temperature, it leaves a sensation of moistness on the palate.
- Be sure to also use full-fat ingredients and don’t reduce the sugar in this recipe. Sugar actually helps contribute to moistness! Learn more about the role sugar plays in baking here.
- Be sure to measure your flour and cocoa powder correctly. Use a digital kitchen scale, or the spoon and level method if you don’t have a scale.
Hot Water and Espresso Powder in Chocolate Cupcakes
- If you bake chocolate cakes or cupcakes a lot, you’ve probably seen quite a few recipes that utilize hot water, or even hot coffee.
- This helps to dissolve and ‘bloom’ the cocoa powder to bring out as much flavor with as few cocoa lumps as possible.
- The espresso simply enhances the chocolate flavor without actually being perceptible.
Do I Have to Use Espresso Powder?
Feel free to use hot coffee in place of the hot water and espresso powder. Instant coffee and water will also work. If preferred, simply omit the espresso powder – no modifications needed.
The Eggs
The more whole eggs a cake recipe has, the richer it’ll be. I used one of my favorite baking tricks and added an extra egg yolk. This works beautifully for brownies and cookies, so why not chocolate cupcakes? It adds more richness, chewiness, and structure so the cupcake can stand up to a generous or heavy frosting.
Be sure to use large eggs – about 56 grams in shell. Don’t use eggs larger or smaller than this, as this will impact your cupcakes.
Egg Substitute For Chocolate Cupcakes?
I have yet to find an amazing egg substitute for this recipe. I recently experimented with egg substitutes in cookies, but I haven’t found any great substitutes in cupcakes yet. Let me know in the comments below if you experiment with that!
The Leavener
After much experimentation, I chose to use baking soda, so I had to add vinegar to the recipe. Why? Because without it, there wasn’t enough acid for the baking soda to react with. Dutch-process cocoa powder has been neutralized of its acid, so it was only the sour cream and the small amount of brown sugar.
For tall, tender, light cupcakes, we need the right amount of leavening, so baking soda + vinegar does the trick. This is why you omit the vinegar if you’re using natural cocoa powder.
The Flour
After testing all-purpose vs. bread flour, I found that all-purpose worked just as well. Since AP flour is more readily available, I stuck with that to make this recipe as simple as possible.
Sour Cream in Chocolate Cupcakes?
I find that sour cream adds such a lovely richness and balance of flavor to Chocolate Cupcakes. Full-fat plain yogurt makes a good alternative if needed.
The Chocolate Buttercream Frosting
When I originally published this recipe, it used a more complicated Chocolate Swiss Meringue Buttercream as the frosting. Although delicious, it’s more advanced and requires more time and special equipment.
In the interest of making this recipe simpler but still delicious, I swapped in a special version of American-style chocolate buttercream.
The frosting contains cooled chocolate ganache for pure chocolate flavor and fudgy richness. I like to use semisweet chocolate, but feel free to use milk or bittersweet chocolate instead.
For an extra smooth, flavorful, rich frosting, opt for organic powdered sugar and high-fat cocoa powder.
My Favorite Cupcake Tools:
- Cupcake liners: These cupcake liners are my favorite for cupcakes that don’t stick to the liner.
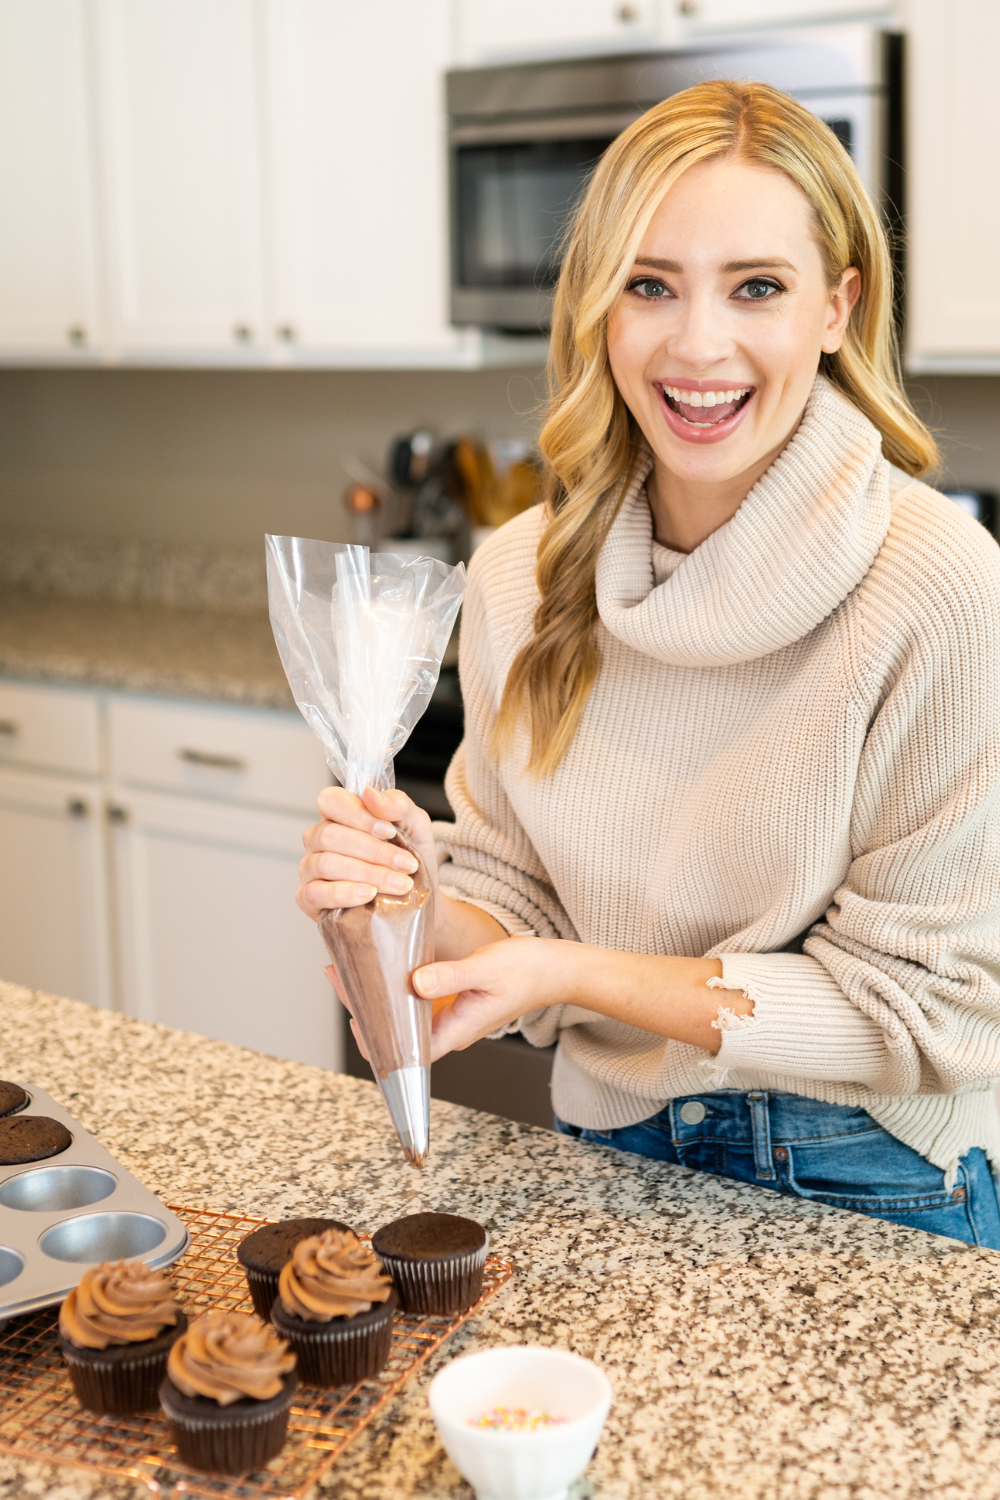
- Piping tip: I used the Ateco #828 piping tip for swirling the chocolate frosting on these cupcakes – but any large open star tip will work.
- Piping bags: I love these disposable piping bags.
Can I Make a Layer Cake with This Recipe?
Check out my Best Chocolate Cake recipe for that! It’s very similar to this recipe. You can also check out my guide for How to Convert Cupcakes Into Cake (and vice versa!).
How to Store Chocolate Cupcakes
Complately cooled Chocolate Cupcakes can be stored inside an airtight container at room temperature for up to 1 day.
Can You Freeze Chocolate Cupcakes?
- If storing for longer than a week, wrap unfrosted cupcakes individually in plastic wrap, to prevent freezer burn and taste transference.
- Place cupcakes inside a freezer bag on a shelf in your freezer where they won’t get smashed.
- Freeze for up to 3 months.
- Unwrap the cupcakes and allow them to defrost at room temperature for about 1 to 2 hours.
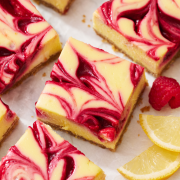
More Cupcakes Recipes You’ll Love:
More Frosting Recipes:
Best Chocolate Cupcakes

Email This Recipe
Enter your email, and we’ll send it to your inbox.
Ingredients
For the cupcakes:
- 5 ounces (142 grams) bittersweet baking chocolate, finely chopped
- 1/3 cup (28 grams) Dutch-process cocoa
- 1 teaspoon instant espresso powder
- 1/2 cup (118 grams) boiling water
- 3/4 cup (95 grams) all-purpose flour
- 1/2 cup (100 grams) granulated sugar
- 1/2 cup (100 grams) packed light brown sugar
- 1/2 teaspoon fine salt
- 1/2 teaspoon baking soda
- 1/2 cup (113 grams) sour cream (or plain full-fat yogurt), at room temperature
- 1/4 cup (56 grams) vegetable oil
- 2 large eggs plus one egg yolk, at room temperature
- 2 teaspoons white vinegar
- 1 teaspoon vanilla extract
For the frosting:
- 1/2 cup (119 grams) cold heavy whipping cream
- 4 ounces (113 grams) finely chopped semisweet chocolate (don't use chocolate chips)
- 3 sticks (340 grams) unsalted butter, at a cool room temperature
- 2 cups (250 grams) powdered sugar, sifted (preferably organic*)
- 1 cup (85 grams) Dutch-process cocoa powder, sifted
- 2 teaspoons vanilla extract
- 1/4 teaspoon fine sea salt
Instructions
Make the cupcakes:
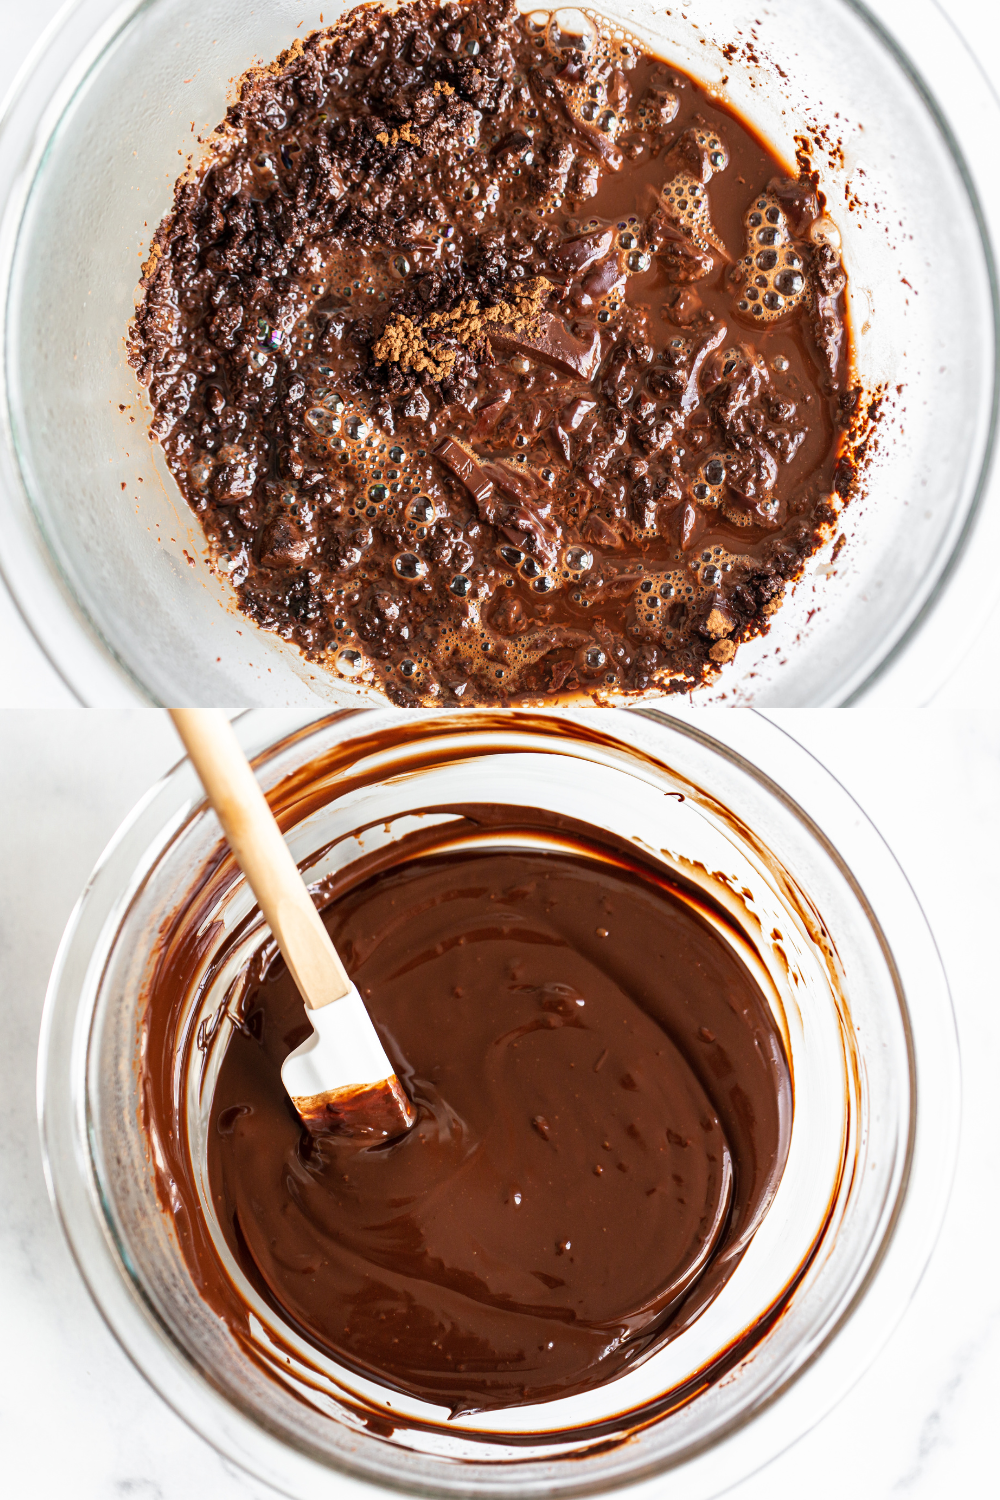
- In a medium heatproof bowl, combine the chocolate, cocoa powder, and espresso powder. Pour hot water over mixture. Cover and let stand for 5 minutes. Whisk mixture gently until smooth, then set aside to cool.
- Meanwhile, preheat oven to 350°F. Line a standard 12-cup muffin tin with paper liners.
- In a small bowl, whisk together the flour, sugars, salt, and baking soda.
- Whisk sour cream, oil, eggs, egg yolk, vinegar, and vanilla into the cooled chocolate mixture until smooth, scraping down the sides and bottom of the bowl as you mix. Stir in the flour mixture until smooth, being careful not to overmix.
- Using a spring-loaded scoop, divide the batter evenly among prepared muffin cups until 3/4 full. Bake until cupcakes are set and firm to the touch, about 17 to 18 minutes.
- Let cupcakes cool in pan on a wire rack for 10 minutes before removing from pan to cool completely, about 1 hour. Cupcakes can be stored in an airtight container at room temperature for up to 1 day.
Make the frosting:
- In a small saucepan, bring the cream to a simmer. Remove from heat and add the chopped chocolate. Let stand for a few minutes before stirring until smooth. Set aside and cool to approximately 75°F or until thickened but still pourable.
- In the bowl of a stand mixer fitted with the paddle attachment, add the butter, powdered sugar, cocoa, vanilla, and salt. Mix on low speed until well blended and then increase the speed to medium and beat for another 3 minutes, or until very well blended, scraping down the bowl as needed.
- Reduce speed to medium-low and add the cooled chocolate cream mixture. Continue beating until the frosting has lightened in color and texture, about 2 minutes more, scraping down the bowl as needed.
- Frosting can be made 1 day ahead of time and stored in an airtight container in the refrigerator. Warm frosting in the microwave for 5 to 10 seconds and stir until creamy again before frosting cupcakes.
- Frosting can also be transferred to a ziptop bag and frozen for up to 1 month. Defrost in the fridge overnight then rewhip in the stand mixer until light and smooth.
Recipe Notes

The Ultimate Cookie Handbook
Learn the sweet SCIENCE of cookie baking in a fun, visual way to customize your own recipes frustration-free. Plus, my best 50+ homemade cookies!
This recipe was originally published in 2016 and updated to make the cupcakes more moist and tender, with an easier frosting. New photos by Ashley McLaughlin.


Hi Tessa,
Are the metric measurements for the liquids correct? They are listed in grams, but these are normally measured in milliliters. Just confirming😊
Thank you for the recipe!
Thank you for this fantastic recipe! I have never made chocolate cupcakes before and after looking at dozens of recipes, this one jumped out at me. It seems I picked well because these cupcakes are the best I’ve ever had. The recipe was clear and easy to follow. The only amendment I made was using black cocoa and it turned out great and looked really cool! I will definitely make this again!
Your cupcakes look like they should be in a bakery window, Illene! We’re so thrilled to hear how much you enjoyed them 🙂 Thanks for commenting!
Hello Tessa!
I’m so excited to try this recipe for my friends birthday next month. She wanted to have mini cupcakes, is this recipe good for mini cupcake size? If so, what temperature should I bake these at? I hope to hear from you soon!
Best,
Drea
Hi Drea! Yes, these cupcakes would work beautifully in mini form! You can find how to convert them in this article here 🙂 Let us know how they turn out, and happy early birthday to your friend!