





This post may contain affiliate links. Read our disclosure policy.






Tessa’s Recipe Rundown
Taste: These cookies taste like Oreo cookies thanks to the black cocoa powder.
Texture: Surprisingly soft considering how well they keep their shape!
Ease: Beginner-friendly, just plan for the 30-minute to 1-hour dough chilling time (after rolling out).
Why you’ll love this recipe: Not only are they perfectly festive, but they’re sugar cookies with a taste and texture you’ll actually enjoy (unlike the grocery store kind!).
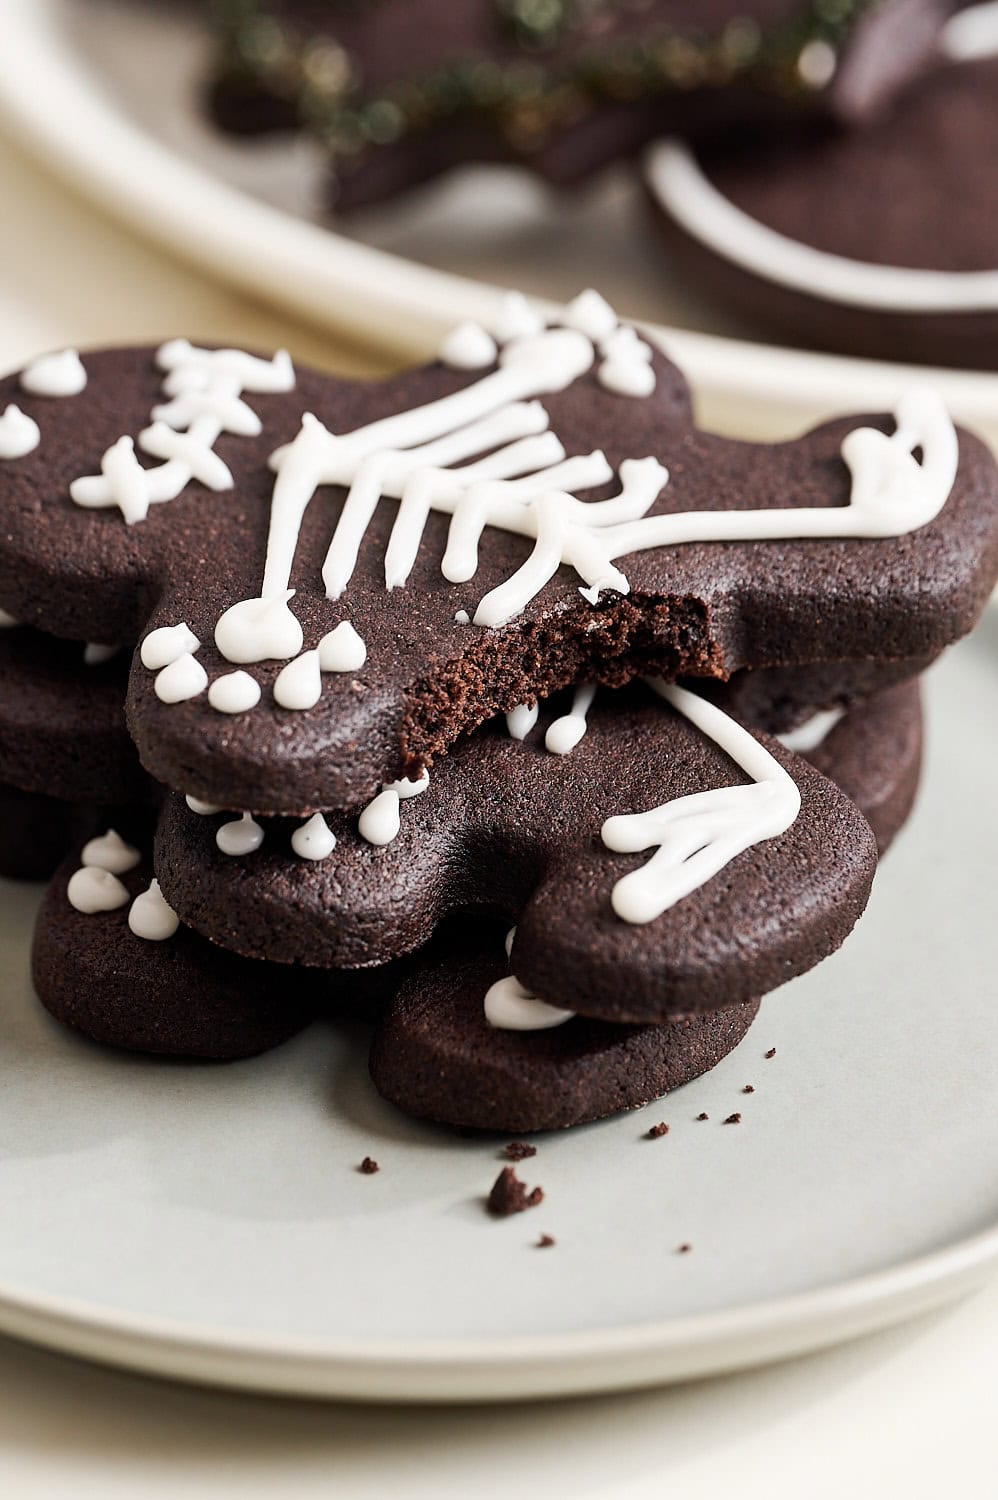
These Black Cocoa Halloween Sugar Cookies are deep, dramatic, and genuinely chocolatey without any food dye!

Black cocoa powder gives the cut-out cookie dough its deep color and intense, Oreo-like flavor. Rolling the dough before chilling makes it much easier to work with, almost like molding Play-Doh!
Using any cookie cutter shapes you desire. You don’t even need Halloween shapes, a gingerbread man can easily be turned into a spooky skeleton! Similar shapes, or shapes that have more delicate sections, will bake faster.
Recipe Ingredients
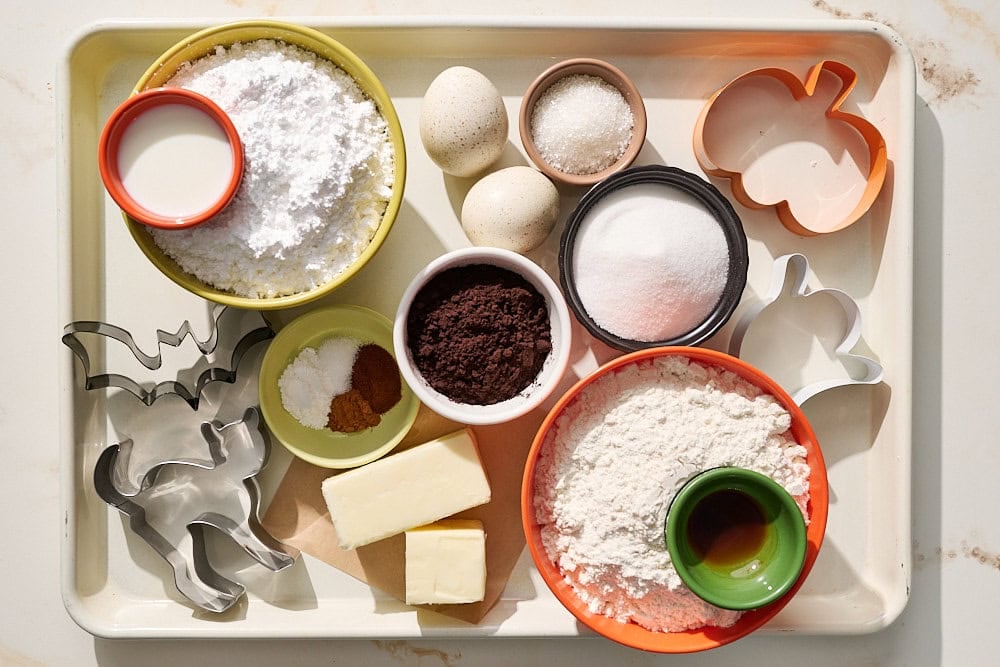
Black Cocoa: This is most accessible online. In a pinch, you can use Dutch-process cocoa powder instead, just note the cookies won’t be as dark or have that distinct Oreo-like flavor.
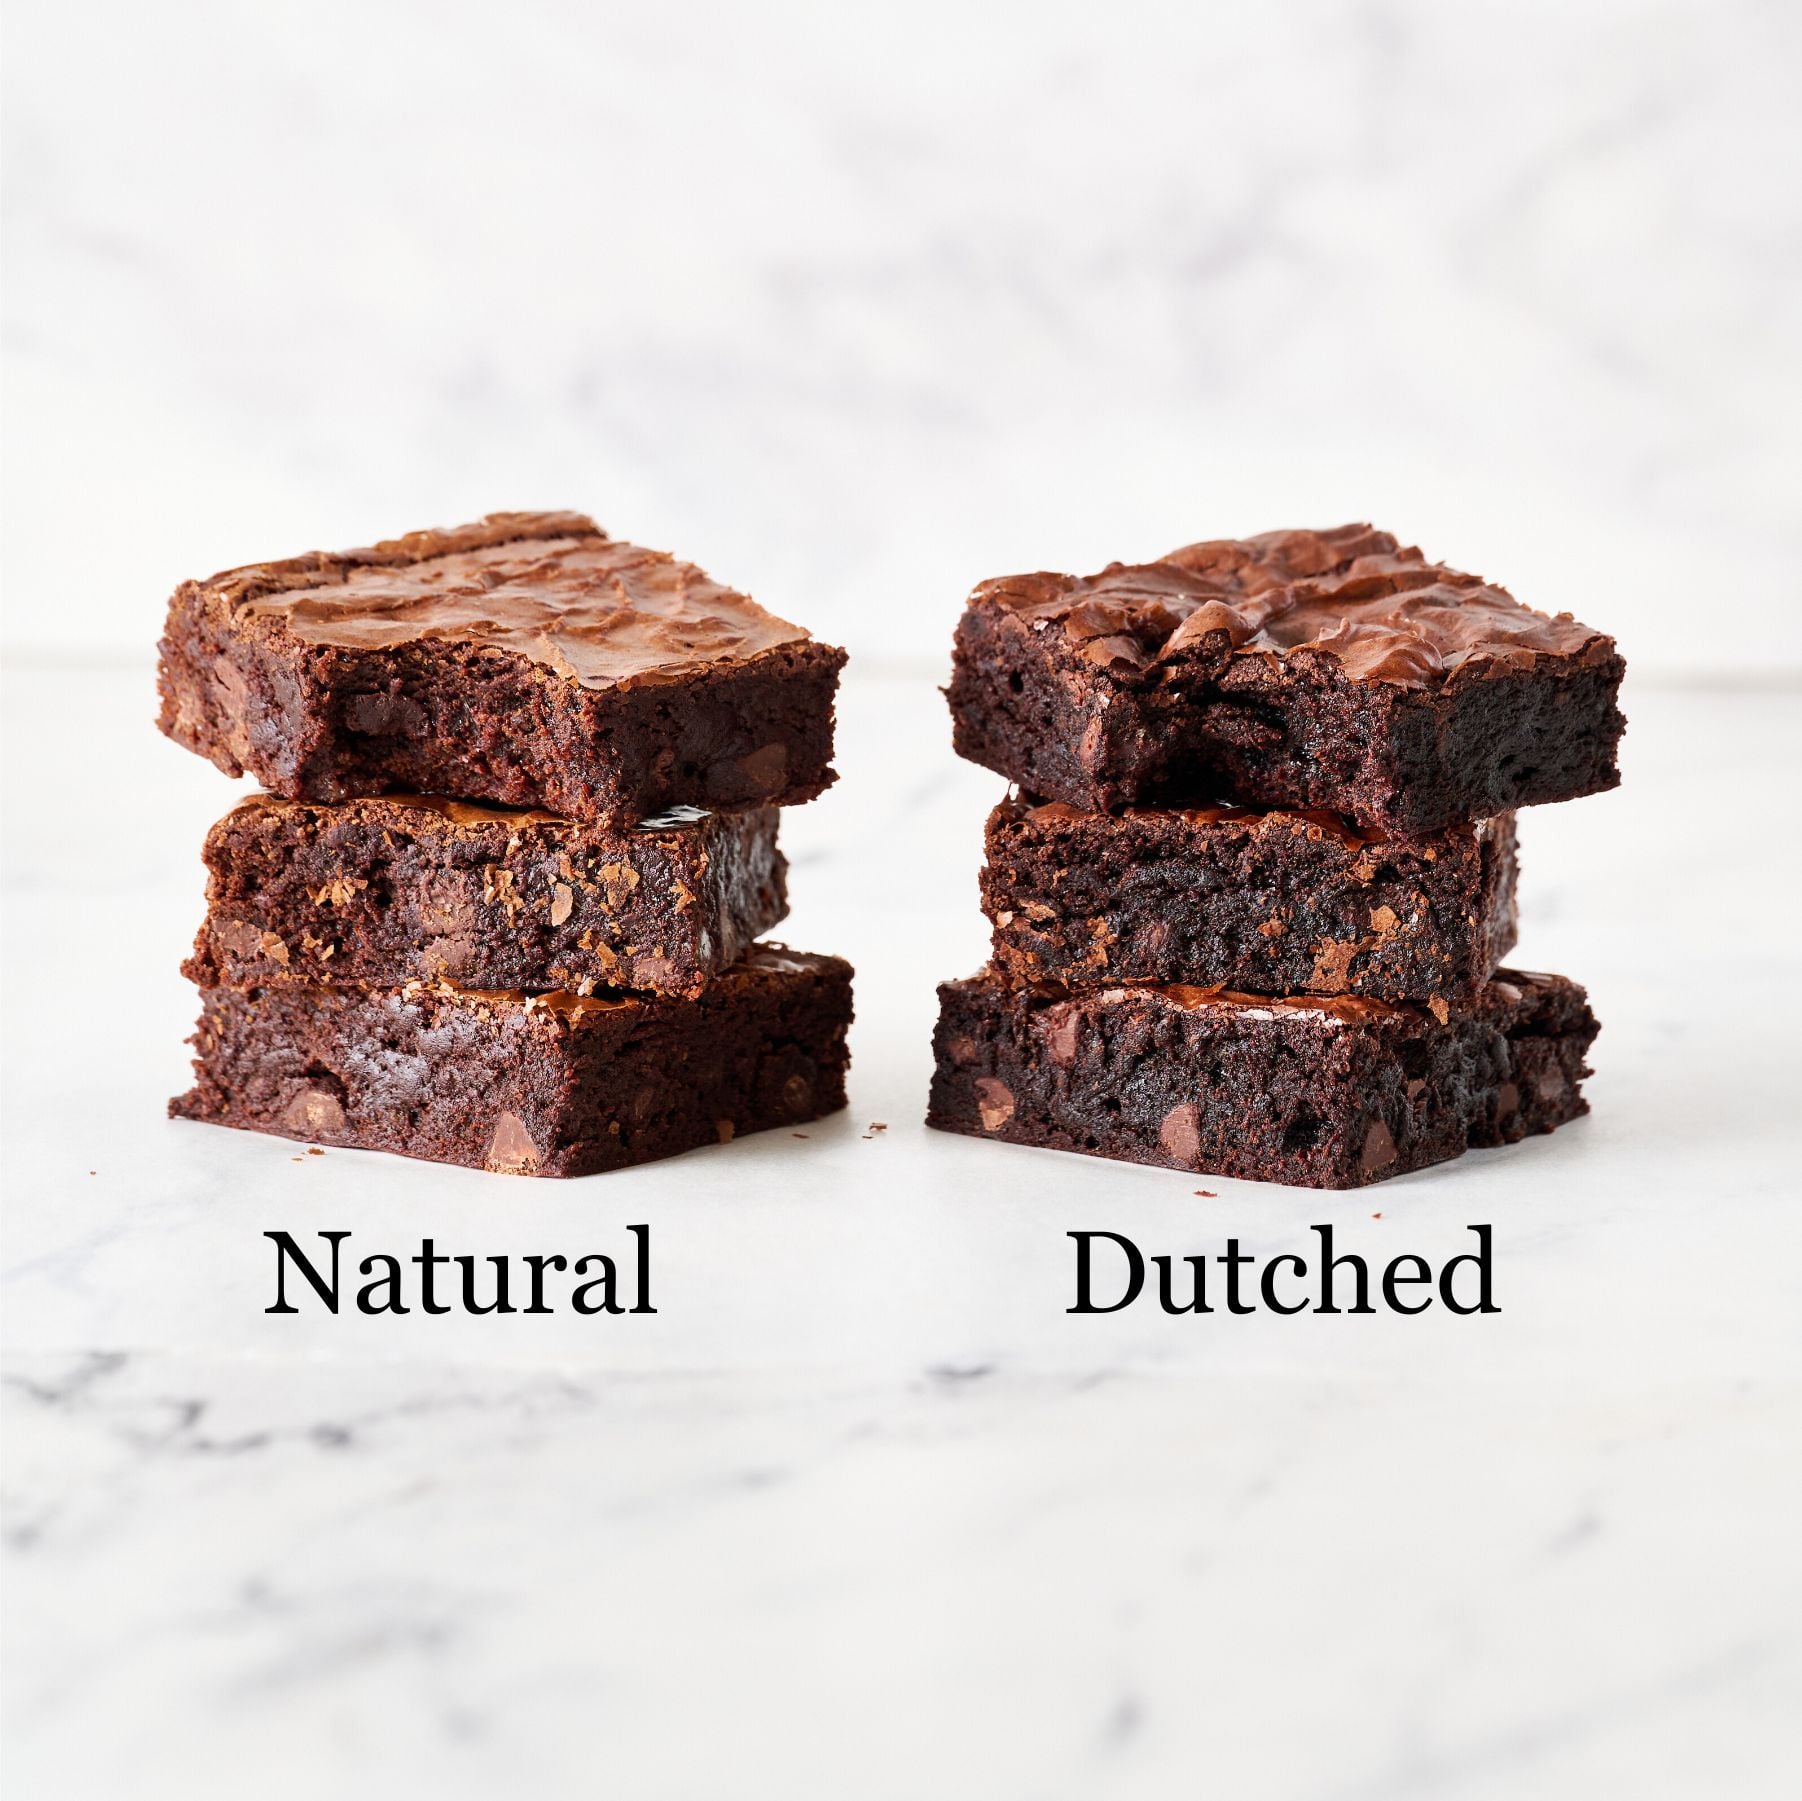
Espresso Powder & Cinnamon: I find a lot of cut-out sugar cookies to be bland, so these help boost the flavor but are totally optional.
Butter: The key is for the butter to be at a COOL room temperature, around 67°F. If it gets warm, greasy, or too soft, your cookies won’t hold their shape as well, even after chilling the dough. If using salted butter, omit the salt from the recipe.
Sanding Sugar: This is totally optional. If you don’t plan to ice the cookies, sprinkle with sanding sugar before baking for an easy sparkly effect. You can also sprinkle onto the freshly iced cookies.
Powdered Sugar (Icing): Be sure to sift the sugar before mixing up the simple icing for this recipe. Different brands of powdered sugar are ground to varying levels of fineness. That, plus the humidity of your kitchen, will affect the exact amount you’ll need to get a thick but pipeable icing. Adjust this until your desired consistency.
How to Make Black Cocoa Halloween Sugar Cookies (Step by Step)
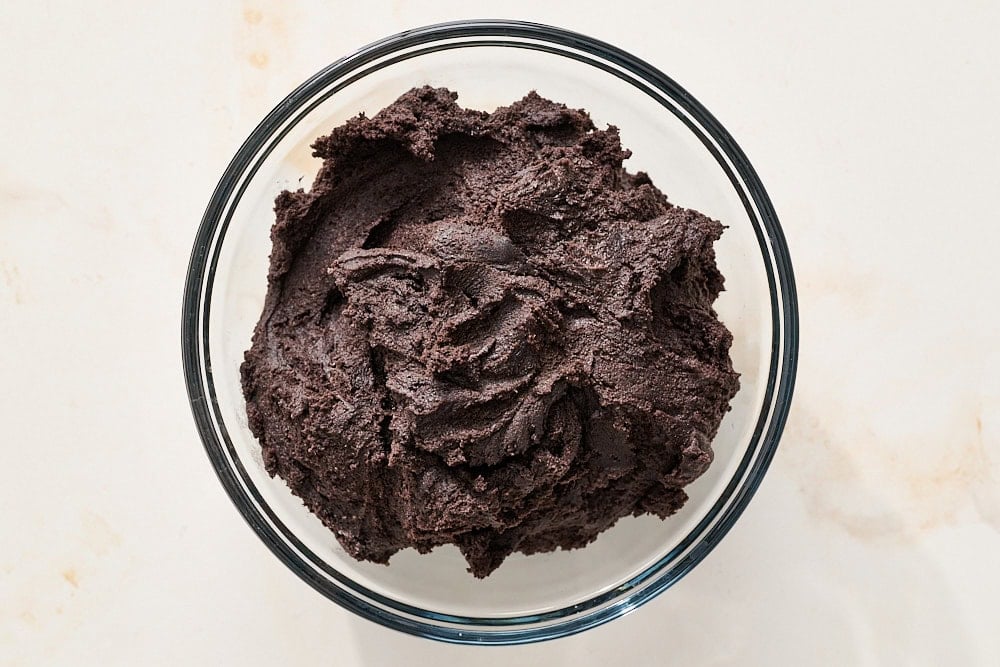
Prepare cookie dough. It should be soft, smooth, and malleable, like Play-Doh.
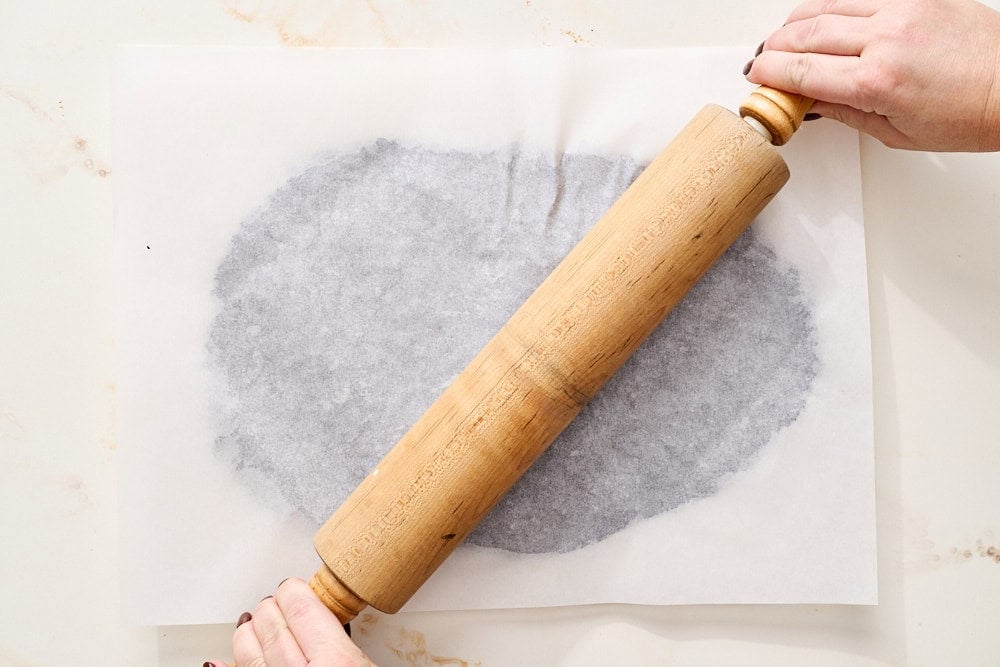
Roll out dough. Between two sheets of parchment, with a rolling pin, to 1/4″ thickness. Do not flour the dough.
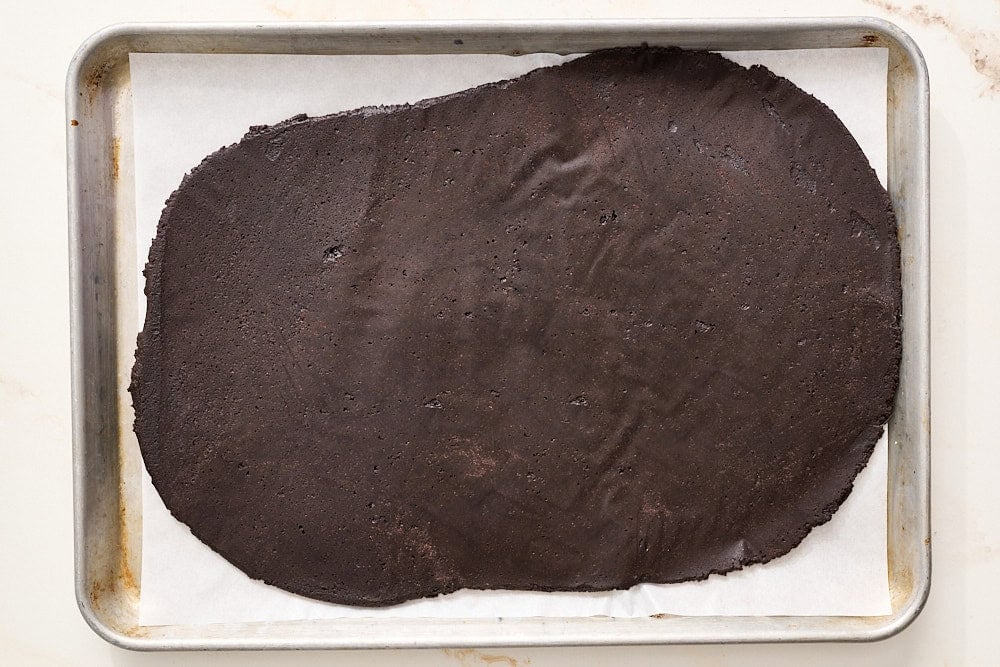
Chill dough. After rolling, refrigerate for at least 1 hour, or freeze for about 30 minutes, until firm.
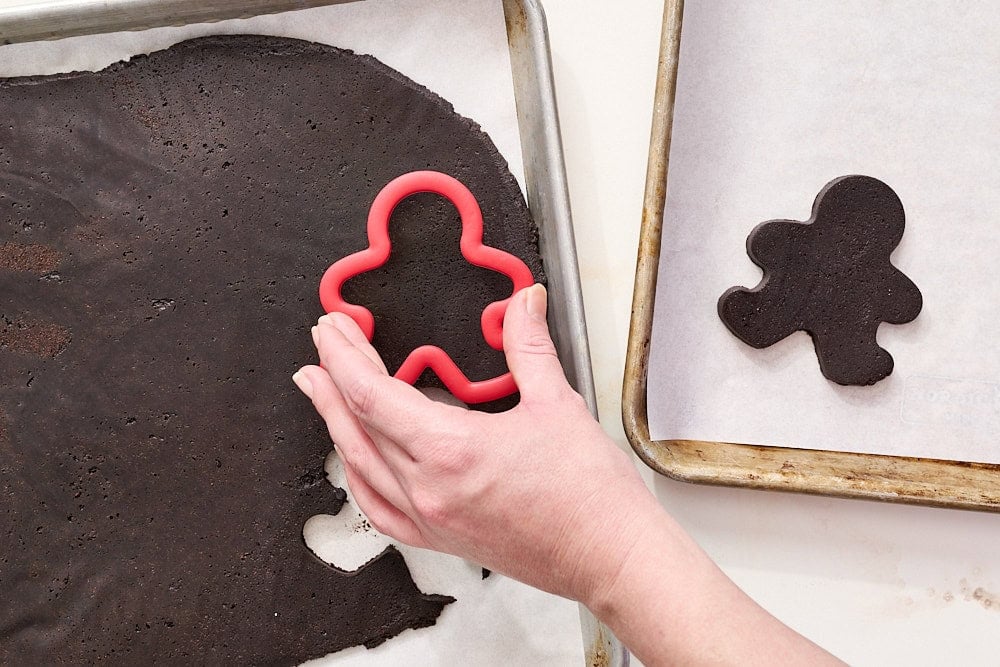
Cut shapes. Use cookie cutters of your choosing to cut shapes from the dough.
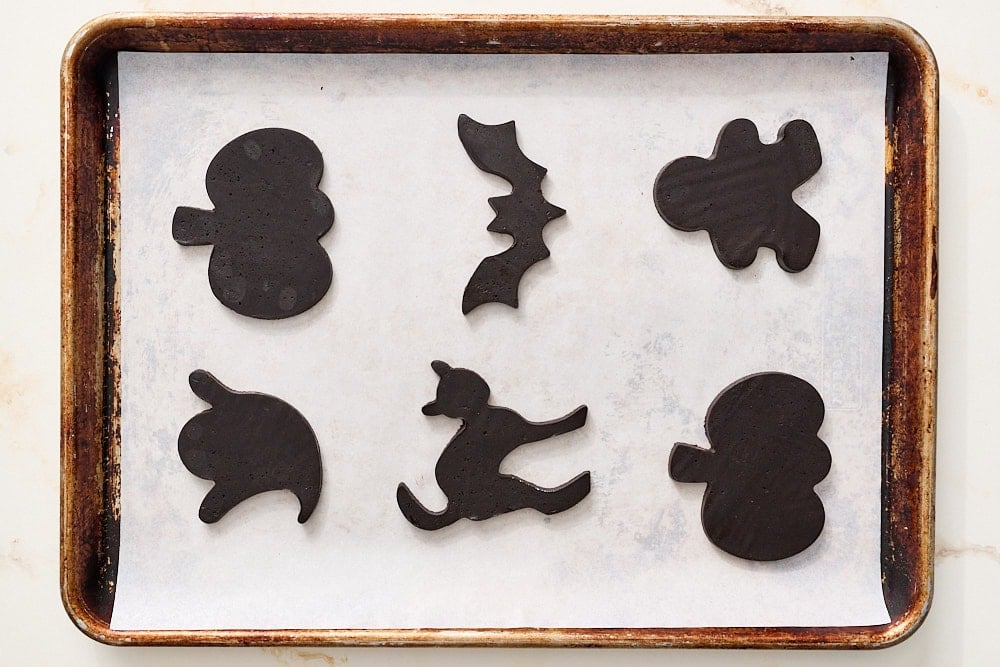
Chill then bake. Chill or freeze cut-out shapes while you preheat the oven to 350°F. Bake for 8 to 9 minutes.
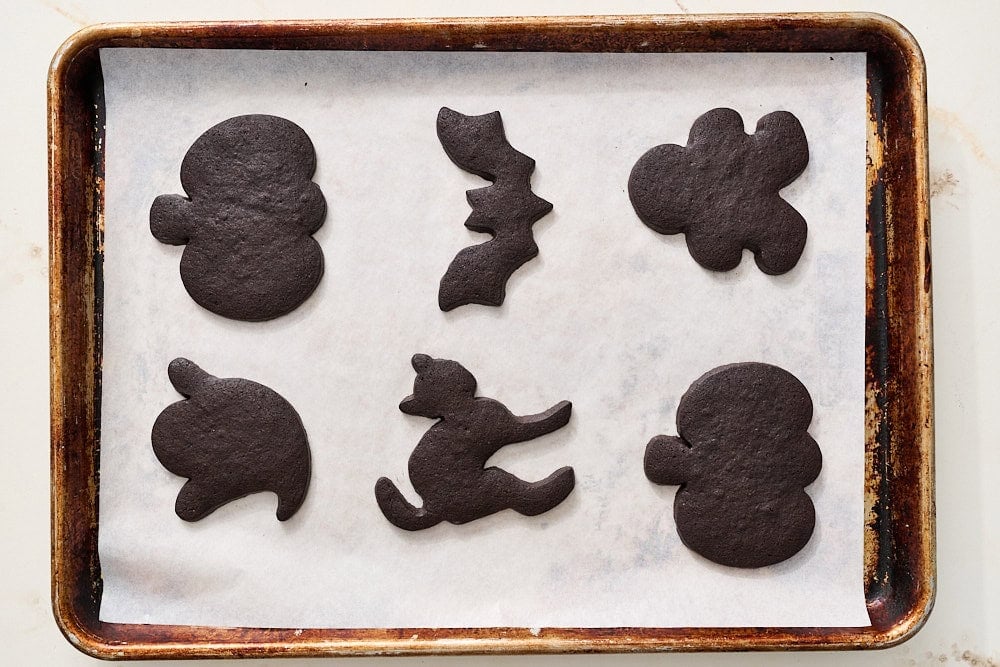
Let cool. Cookies must be fully cooled to room temperature before decorating.

Decorate. Combine icing ingredients until thick and smooth. Transfer to a small piping bag, ziptop bag, or squeeze bottle to decorate.

Let set. Before storing or transporting, allow the iced cookies to sit at room temperature for at least 1 hour, preferably longer, to set fully.
Tessa’s Tips
- Skip flouring your work surface and instead roll between two sheets of parchment or silicone baking mats. The flour will muddy the dark color and dry out the dough.
- Don’t skip the second chill of the cut-out cookie dough! It’s what keeps the shapes precise and reduces too much spreading or puffing.
- You can use a variety of cookie cutter shapes and styles. Bake similar-sized cookies together to adjust baking time so nothing over- or underbakes.
- Allow the icing to set for several hours before stacking or storing to avoid smearing.
Storage & Make ahead
Room Temperature: Plain or iced cookies can be stored in an airtight container at cool room temperature for up to 3 days.
Freeze: Freeze uniced cookies in an airtight container for up to 2 months. Protect them from anything heavy that could break or crush them. Thaw at room temperature before icing. Iced cookies can also be frozen, but the icing flavor will fade over time.


Email This Recipe
Enter your email, and we’ll send it to your inbox.
Ingredients
For the cookies:
- 2 1/2 cups (318 grams) all-purpose flour
- 1/2 cup (50 grams) black cocoa powder
- 1/2 teaspoon espresso powder, optional
- 1/4 teaspoon ground cinnamon, optional
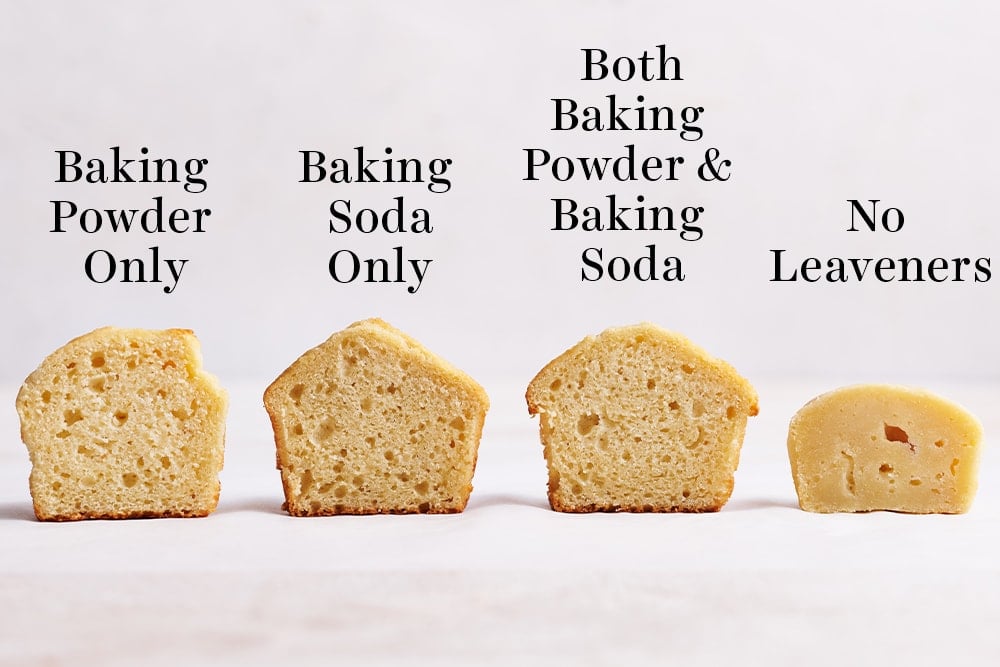
- 1 teaspoon baking powder
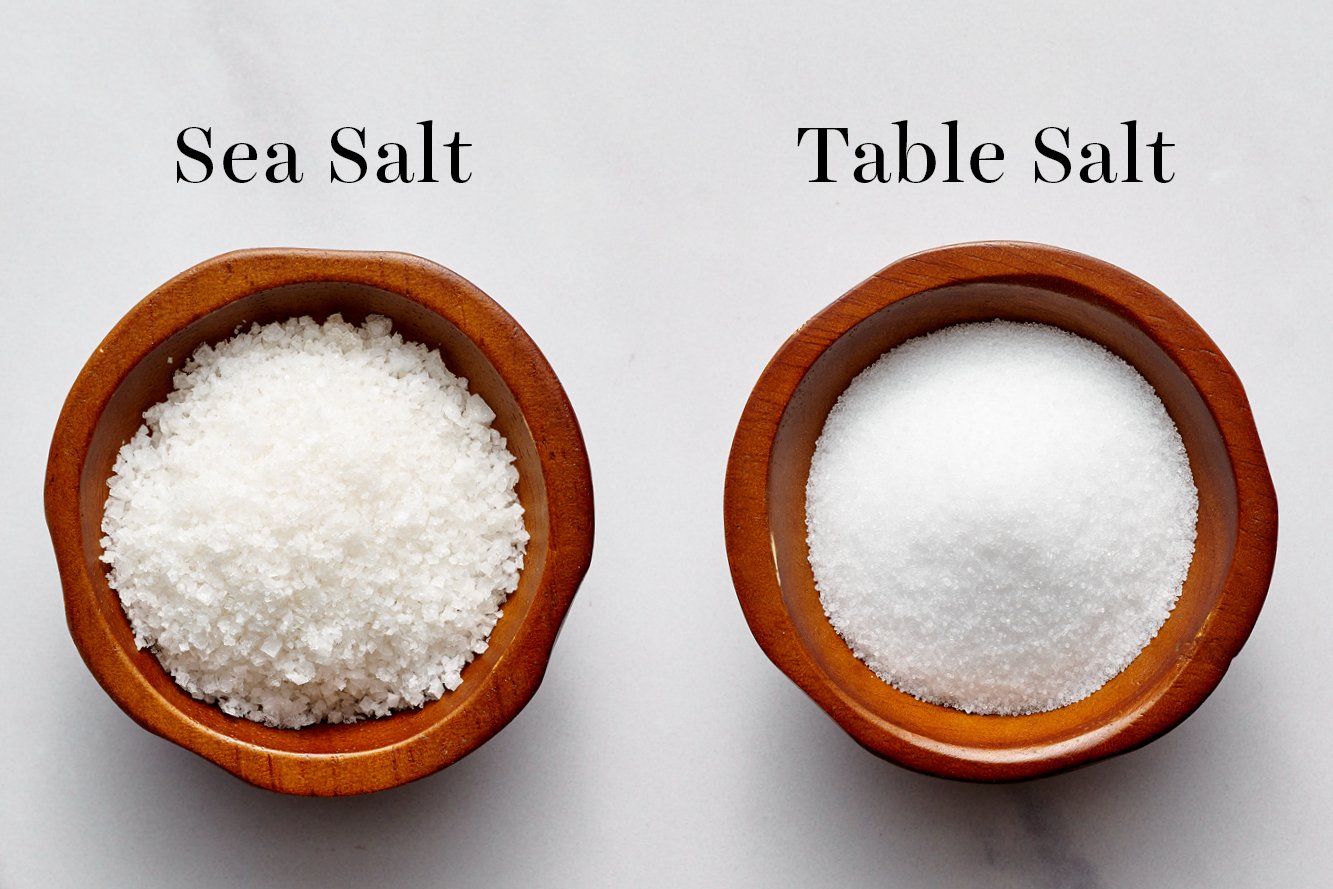
- 1/4 teaspoon fine sea salt
- 1 1/2 sticks (170 grams) unsalted butter, at cool room temperature
- 1 cup (200 grams) granulated sugar
- 2 large eggs, at cool room temperature
- 1 teaspoon pure vanilla extract
- White or black sanding sugar, optional
For the icing:
- 2 cups (250 grams) powdered sugar, sifted
- 2 to 3 tablespoons milk, any kind
- 1/4 teaspoon vanilla extract
Instructions
Make the cookies:
- In a medium bowl, sift together the flour, cocoa powder, espresso powder (if using), cinnamon (if using), baking powder, and salt.
- In a large bowl, beat the butter and sugar with an electric mixer on medium-high speed until smooth and well combined, about 2 to 3 minutes. Scrape down the sides and bottom of the bowl. Add the eggs, one at a time, beating well after each addition. Add the vanilla. On low speed, gradually add the flour mixture and mix until thoroughly combined. The dough should be smooth, soft, and malleable.
- Place the dough between two large pieces of parchment paper or silicone baking mats on a work surface. Roll to 1/4-inch thickness.
- Refrigerate until firm, at least 1 hour, or freeze for about 30 minutes.
- Line baking sheets with parchment paper. Cut the chilled dough into shapes and place on prepared baking sheets. Optional: sprinkle with sanding sugar.
- Gently reroll the scraps to 1/4-inch thickness and continue cutting. If the dough becomes too soft, return it to the refrigerator or freezer until firm. Do not sprinkle with flour, as this can alter the color and texture of the cookies.
- Chill the cut cookie dough on the baking sheets for 30 minutes in the refrigerator or 15 minutes in the freezer, or until firm. Meanwhile, preheat the oven to 350° F.
- Bake for 8 to 9 minutes, or until the cookies are set but not overbaked. Bat shapes are skinnier and may need 1 to 2 minutes less. Let cool on baking sheets for 5 minutes, then transfer to a wire rack to cool completely.
Make the icing:
- In a medium bowl, whisk all ingredients until thick and smooth. Add more milk if the icing is too thick or more sifted powdered sugar if it’s too thin.
- Transfer the icing to a small squeeze bottle, piping bag, or ziptop bag with a small hole cut in the corner. Decorate the cooled cookies and let the icing set before serving or storing.
- Storage: Plain or iced cookies can be stored in an airtight container at cool room temperature for up to 3 days. For longer storage or to make ahead, freeze plain baked cookies in an airtight container for up to 2 months. Thaw at room temperature before icing.
More Recipes You’ll Love:
- Jack o’ Lantern Chocolate Sugar Cookies
- Double Chocolate Halloween Cookies
- Monster Cookies
- Halloween Brownies
Photos by Joanie Simon.



These were good. I ordered black cocoa powder just to make them! A little time consuming but I also think all cut-out sugar cookies are, especially when you decorate them too. I used buttercream icing on mine. Can’t wait to try more recipes, thank you! It’s nice knowing your recipes are tried & true before deciding to bake them.
Buttercream would be delicious! We’re so happy you loved the recipe, thank you for your kind words!
These are definitely yummy! Soft chocolate cookie that reminds me of the cake in an ice cream sandwich.
With my cookie cutters I would use 3/8 vs 1/4” dough; the narrow necks, arms or ears broke off when little hands were icing them ( our 6 year old granddaughter).
Keeping dough cool is essential to sharp cuts.
Would definitely make these again!
That’s a perfect description. I love how spookily she decorated them, how cute!
My tip adds to the tip about rolling first. I roll first, between 2 sheets of parchment, put the parchment/cookies on a cookie sheet and pop into the freezer for 20 minutes. Remove top sheet of parchment, flip over onto the top sheet of parchment and remove the bottom sheet, so the dough is free from the parchment. They are hard enough to cut with no problem, and the edges are nice and clean looking, no saggy cookies when you lift them up and put them on the room temp cookie sheet you will bake them on. These look awesome all black for Halloween!