


Tessa’s Recipe Rundown
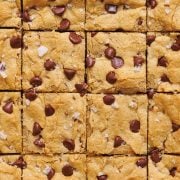
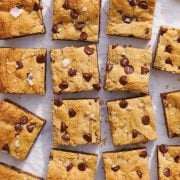
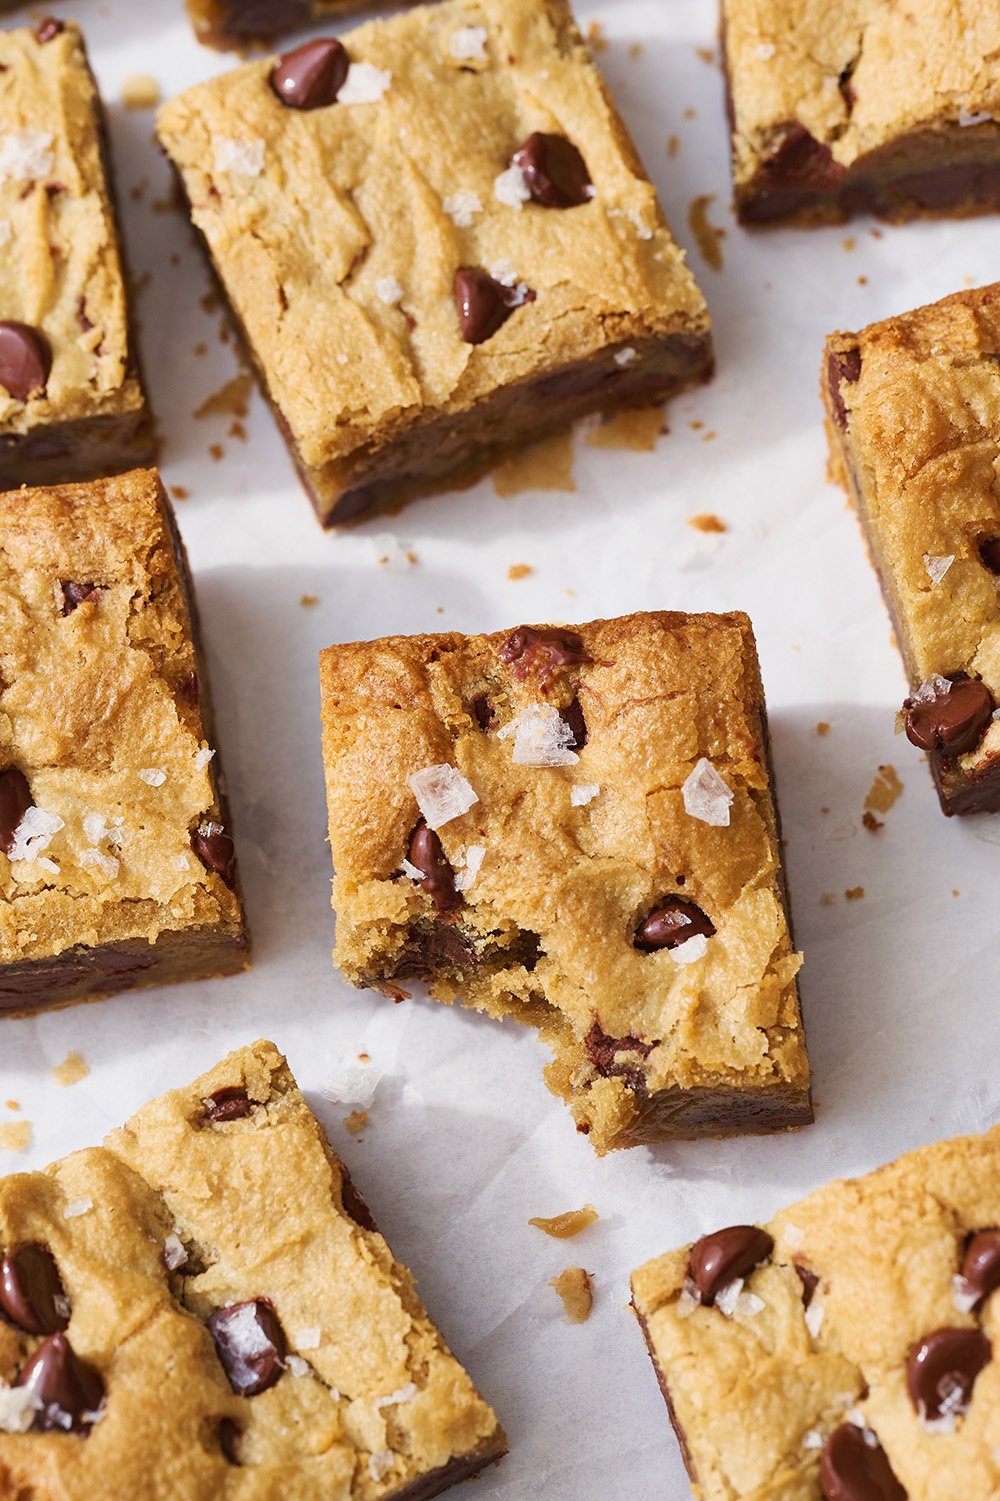
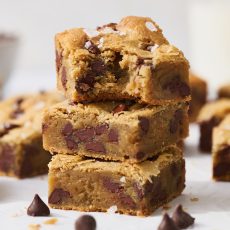
Taste: Sweet with butterscotch notes and lots of chocolate deliciousness mixed in.
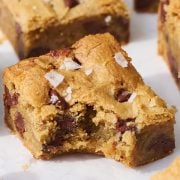
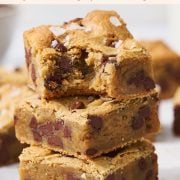
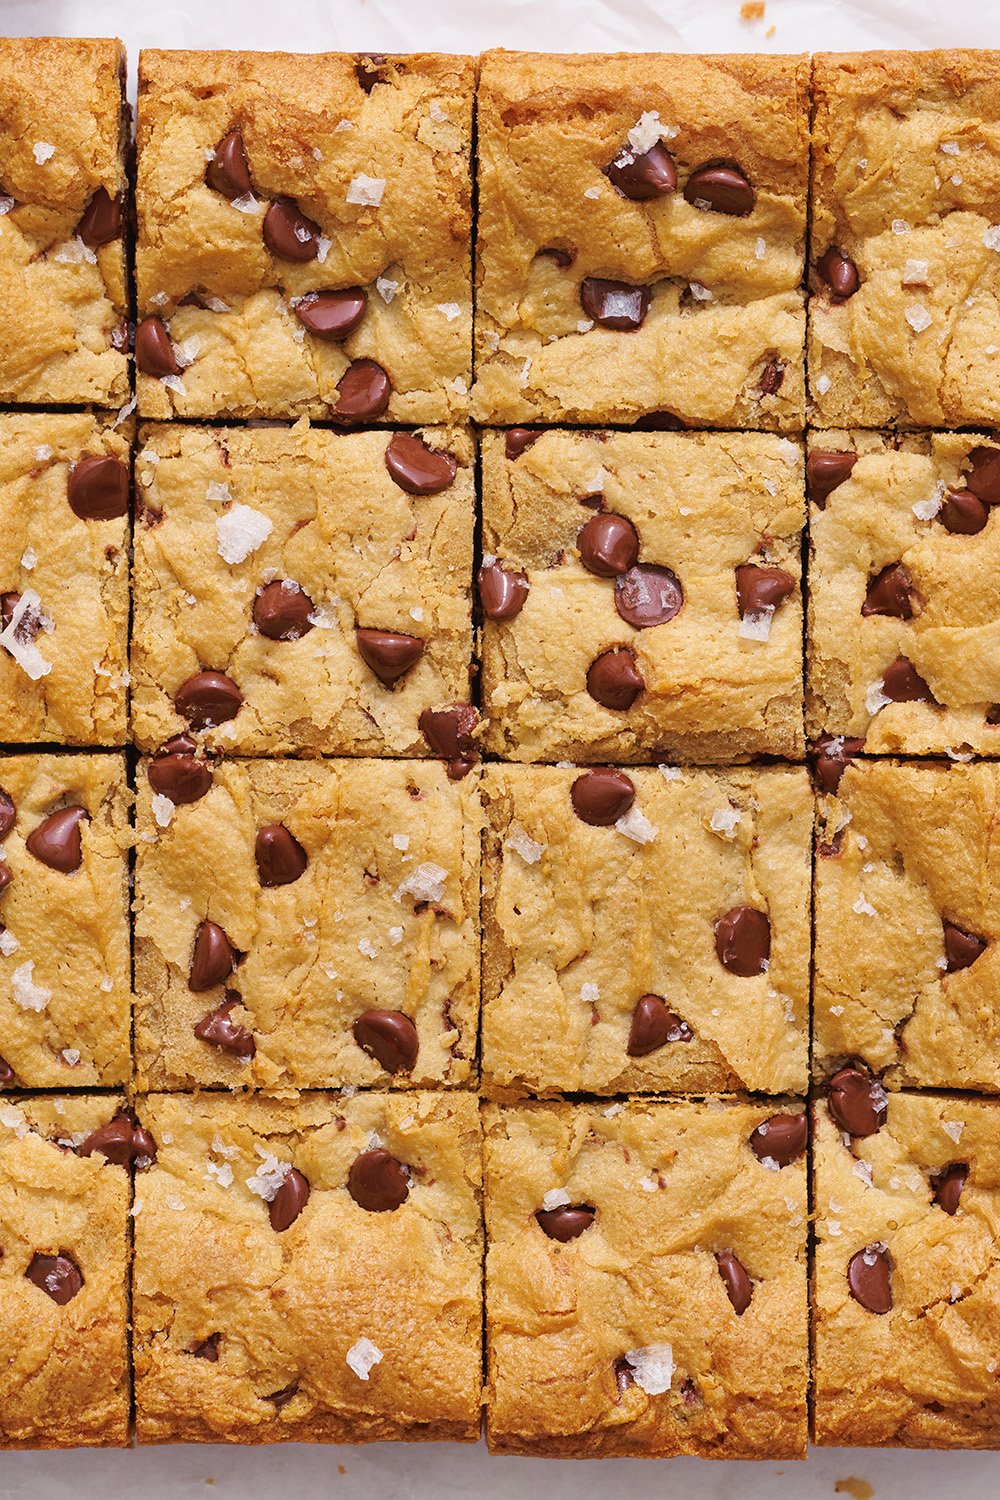
Texture: Thick, chewy, gooey, and rich.
Ease: Super easy! One bowl recipe with no mixer required and ready to enjoy in just 45 minutes.
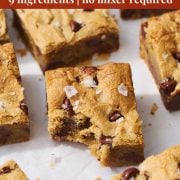
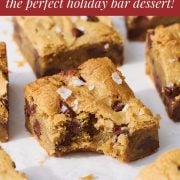
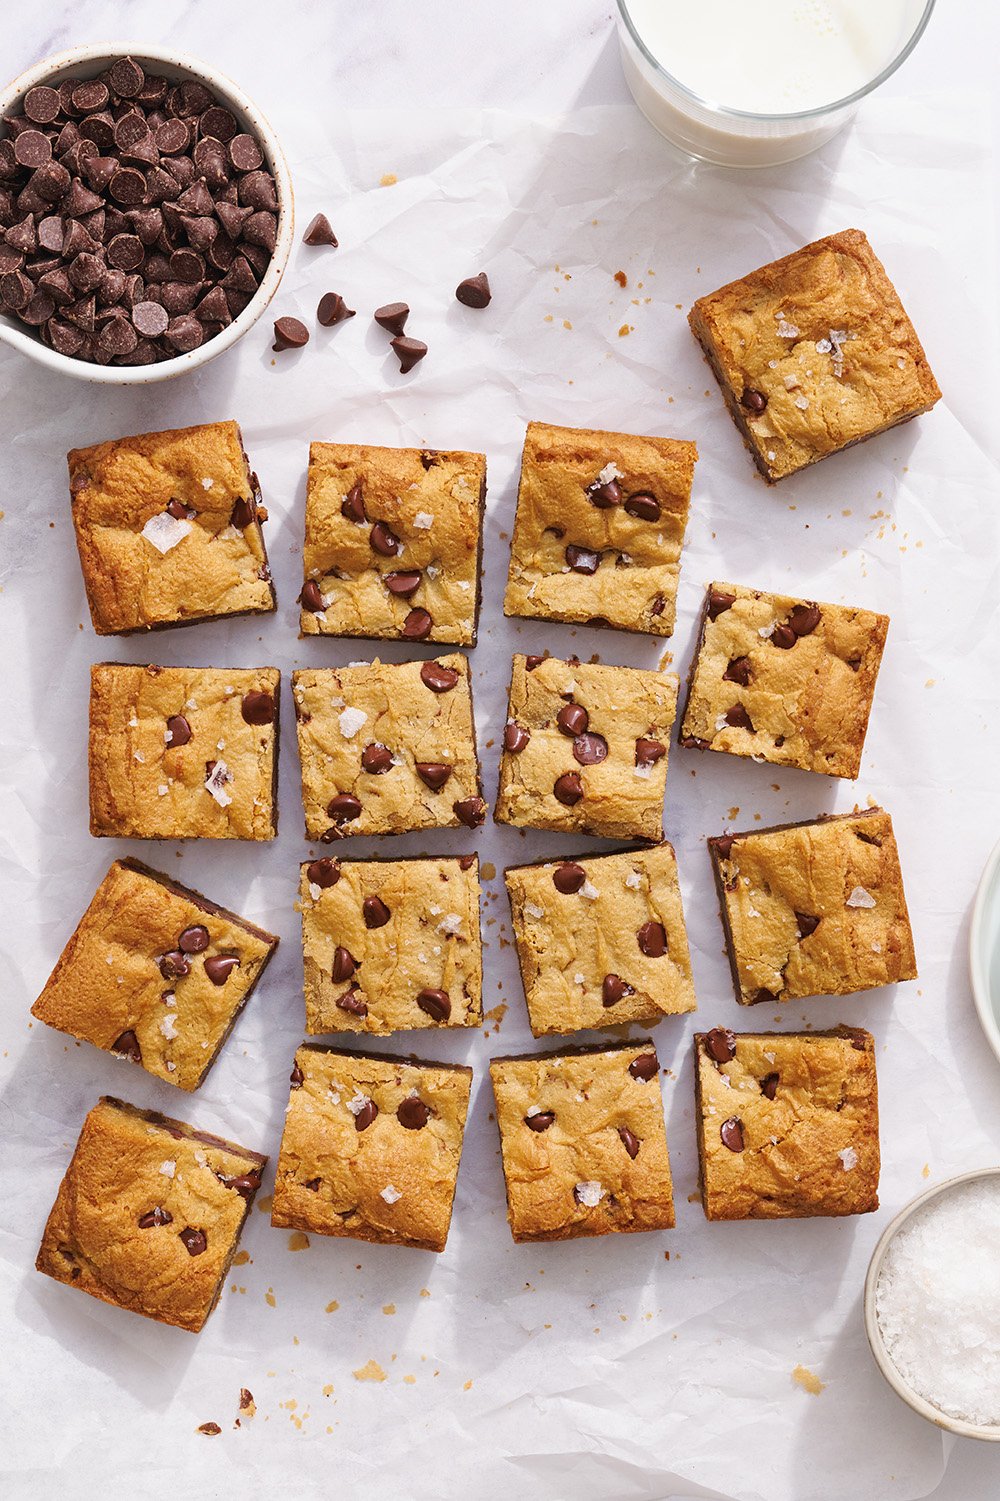
Why You’ll Love This Recipe: That crinkly crust studded with chocolate chips and a sprinkling of flaky salt is simply irresistible.
This post may contain affiliate links. Read our disclosure policy.


This is one of my husband’s FAVORITE recipes. He requests it constantly.
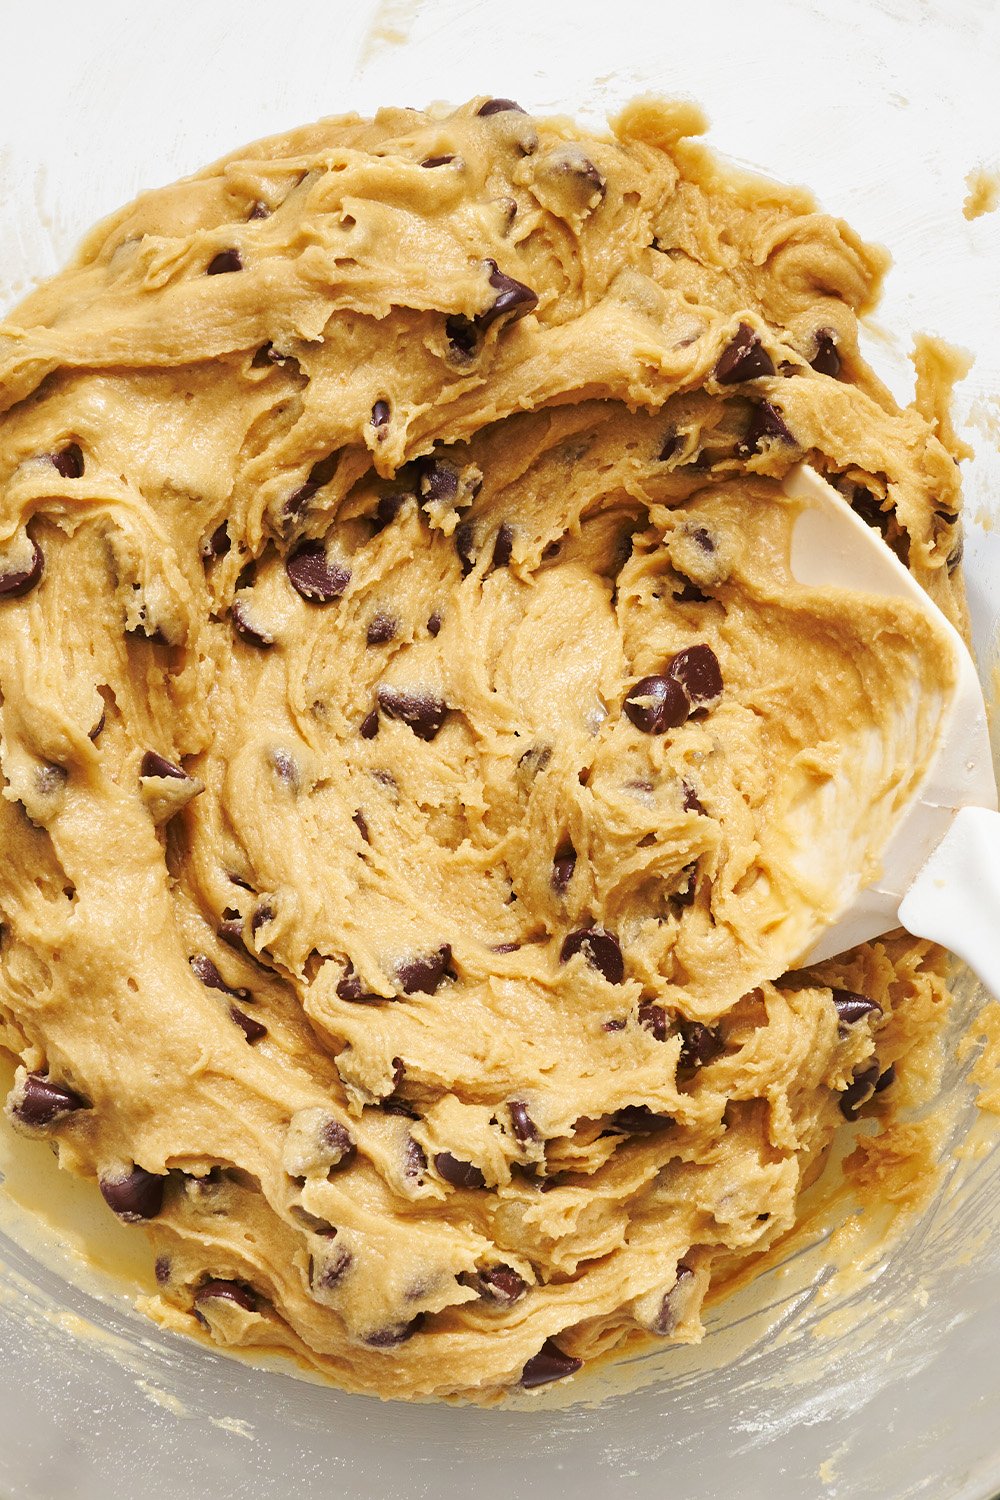
I designed this recipe to be a little more thick and chewy than your average blondie, with just a touch of gooey-ness right at the center.
You’re an hour away from enjoying the butterscotch flavor of brown sugar + butter with the chewy texture of a brownie. You may already have all the ingredients on hand.
Feeling creative? You can easily omit the chocolate chips or replace them with candy, nuts, butterscotch chips, peanut butter chips, or anything else your heart desires.
I have several other scrumptious Blondie Recipes on my site – like my Easter Blondies made with Cadbury mini eggs, my Caramel Pecan Blondies loaded with gooeyness, or my Peanut Butter S’mores Blondies that are pure PB heaven.
But you’ll want to come back to this classic blondie recipe again and again. To the point where you may even have it memorized one day!
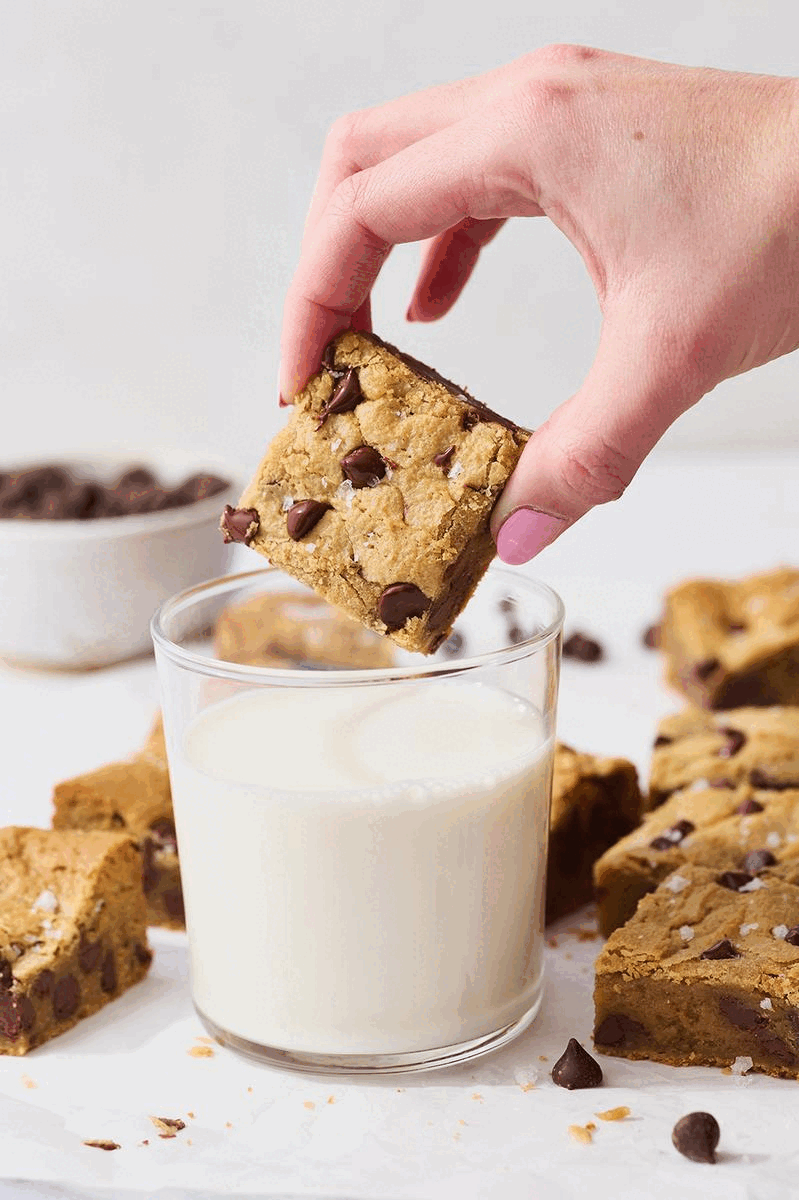
My tip? they’re even better with a glass of milk or a scoop of ice cream on top.

Sprinkle of Science
How to Make Blondies
What Is A Blondie? What is the Difference Between Blondies and Brownies?
Blondies are basically “blonde brownies.” There is no cocoa or melted chocolate in the batter of a Blondie. Instead, Blondies are made with brown sugar for a rich butterscotch flavor and plenty of vanilla extract for a wonderful vanilla flavor.
In my book, a good Blondie is gooey, chewy, and a little fudgy.
Do I Have to Use Brown Sugar?
Brown sugar is essential to a traditional blondie. You can also use dark brown sugar if you want a bolder butterscotch flavor and a bit of extra chewiness.
If you want to experiment with reducing the sugar, start with only a fifteen percent reduction to avoid making the blondies dry and cakey. Read more about the role of sugar in baking here.
The Key to Perfectly Baked Blondies: A Metal Baking Pan!
This recipe yields thick, rich blondies, so it’s important to use a pan that conducts heat effectively, like my favorite from USA Pan.
Avoid glass or ceramic pans because they will take far longer to bake. This often leads to the center being undercooked, gummy, and slightly sunken by the time the edges start to dry out.
Check out comparison below, where I baked this recipe at the same temperature for the same time in the same oven.
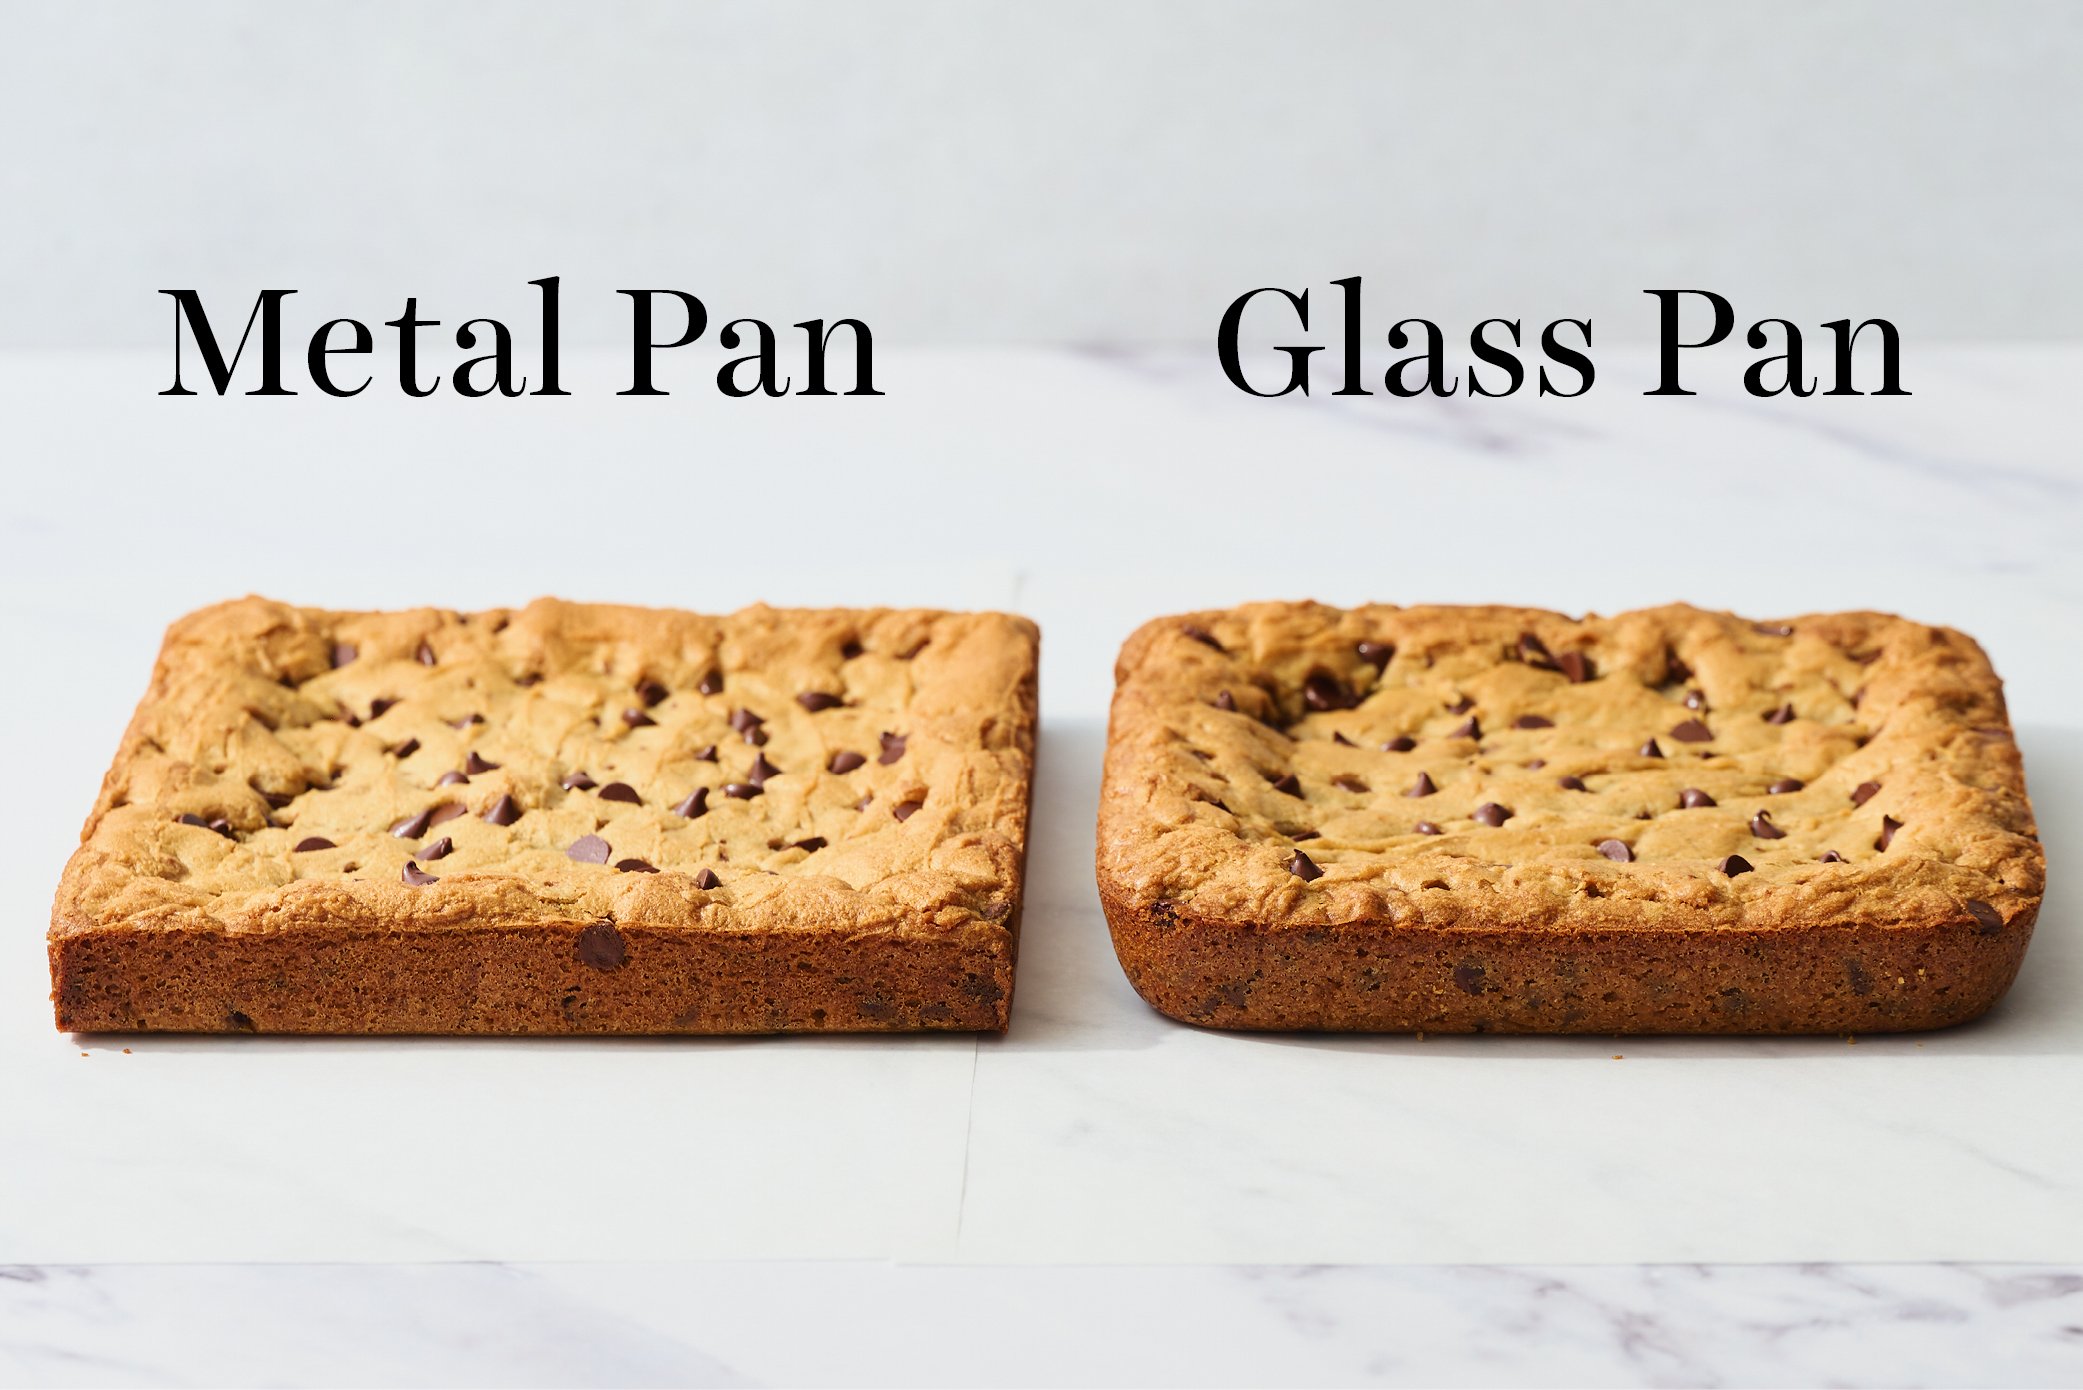
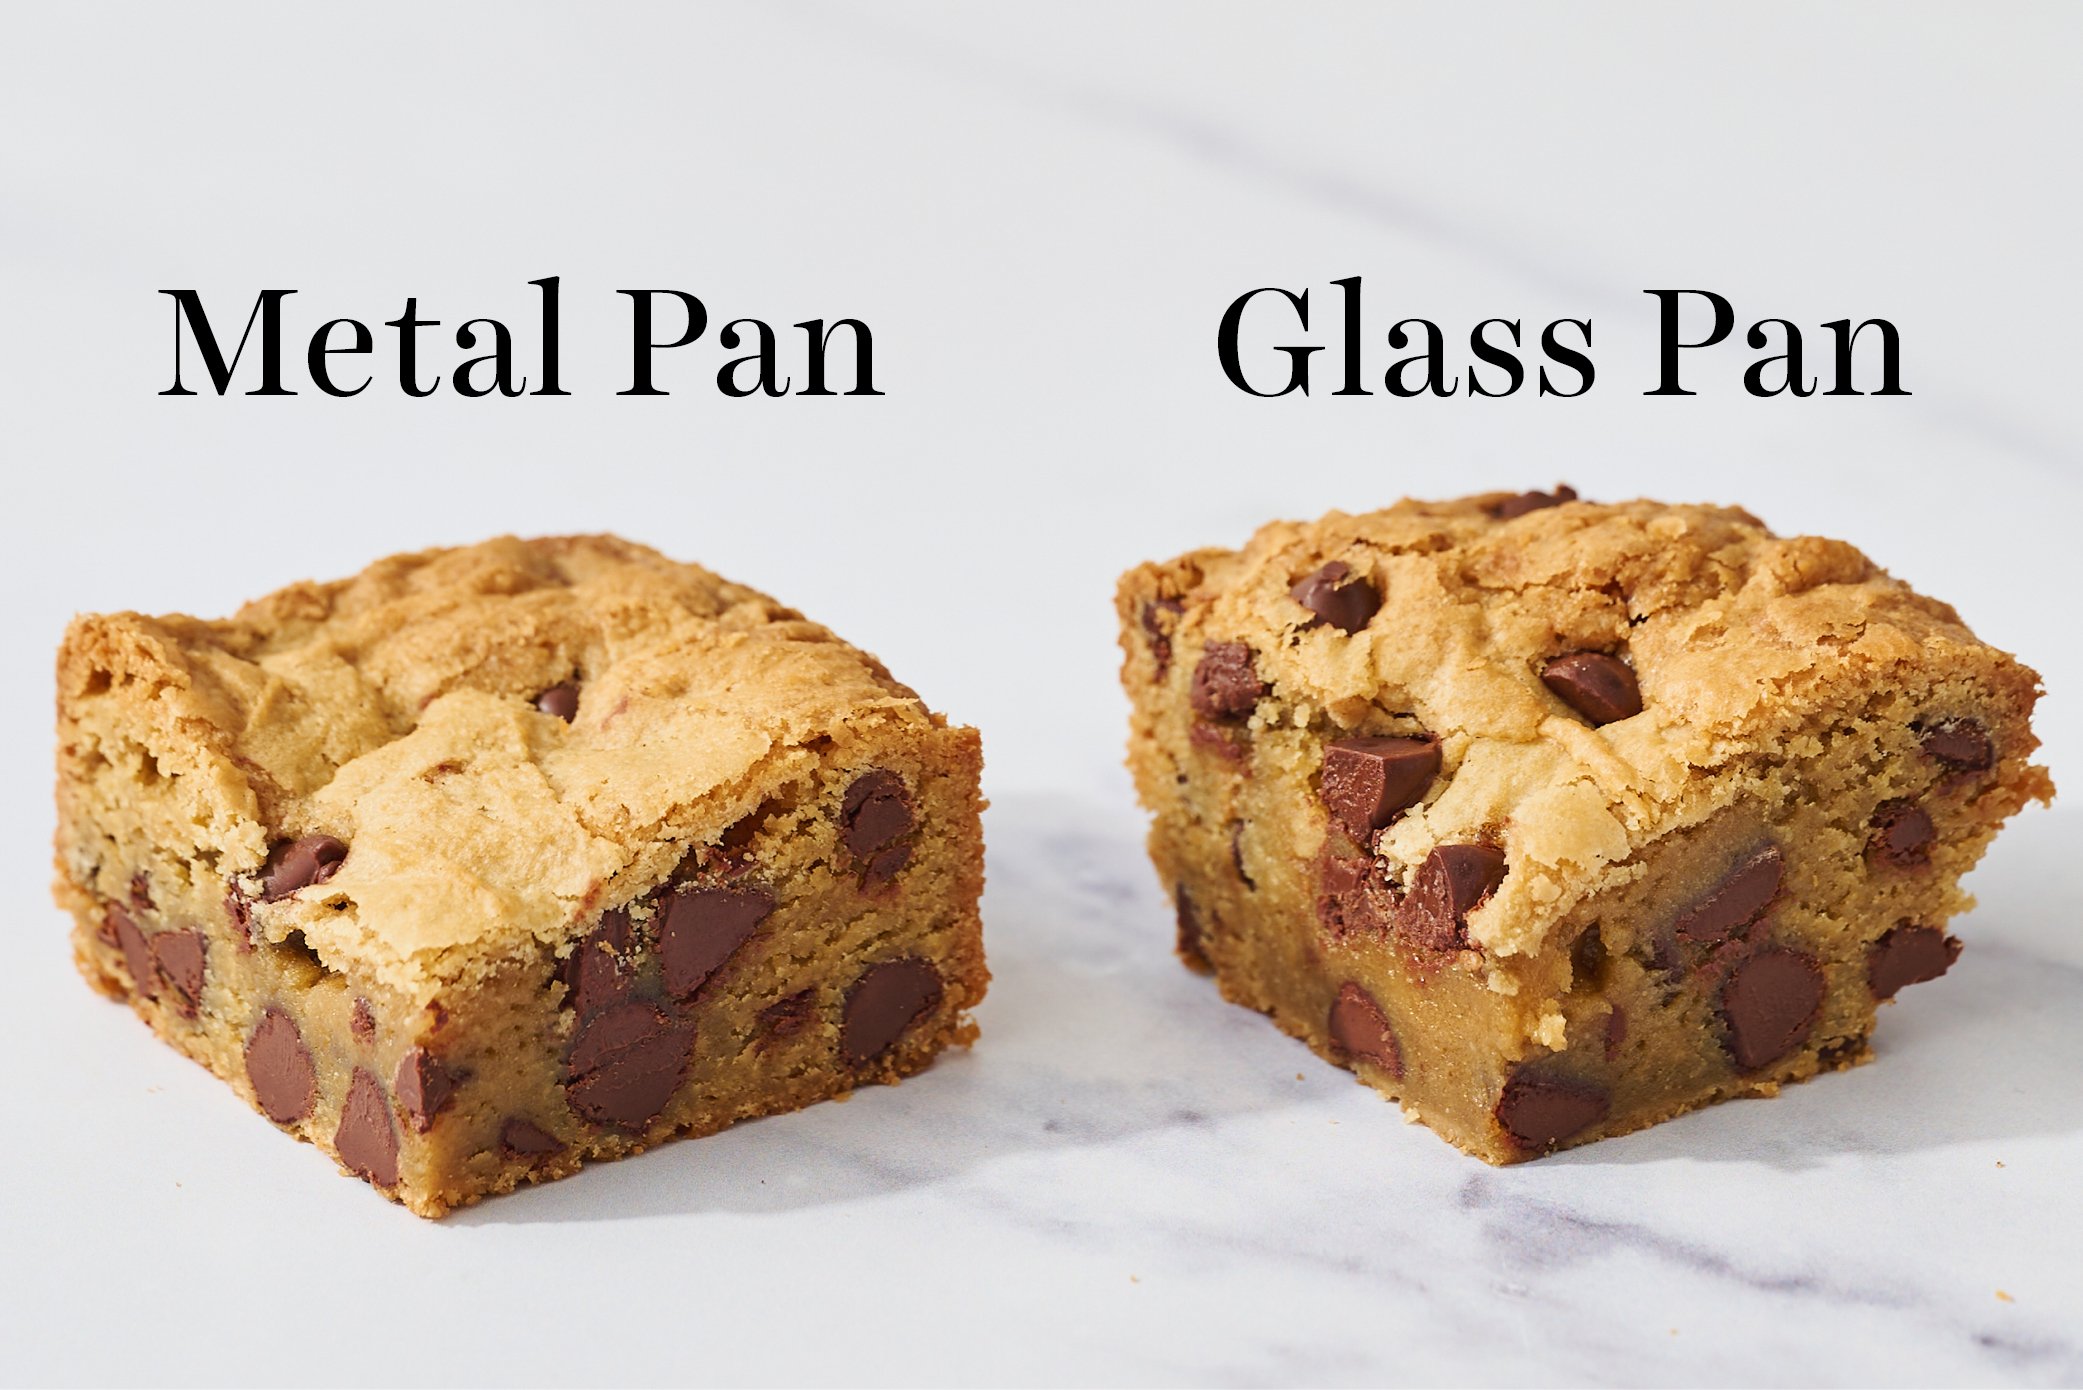
Though the differences weren’t quite as dramatic as with our brownie testing, you can see the glass pan blondies are more gooey and underdone in the center.
What if I Don’t Have a Metal Pan?
If you must use glass or ceramic, drop the baking temperature by about 15°F and increase the baking time by 5-10 minutes.
How to Customize Blondies
You can use any type of chocolate chip or any other mix-in that’s similar in size and shape to customize this Blondie Recipe.
Just keep the volume or weight about the same as written in the recipe. I don’t recommend adding anything wet, like fresh fruits – but here are some other ideas to customize this recipe to your personal taste:
- Milk, dark or white chocolate chips (or a mix of all three!)
- Homemade toffee bits
- Butterscotch chips
- Peanut butter chips
- Chopped, lightly toasted nuts (pecans or walnuts are my favorite!)
- Any baking chocolate or candy bar, chopped into small chunks
- M&Ms
- Dried fruit, like chopped cherries or raisins, or even dehydrated berries
How Do You Know When Blondies Are Done Baking?
I worked with recipe testers to test this recipe in four different ovens across the country. What I learned? Baking time will depend entirely on your oven AND your preferred level of doneness.
Here are a few tips for achieving your version of perfect Blondies:
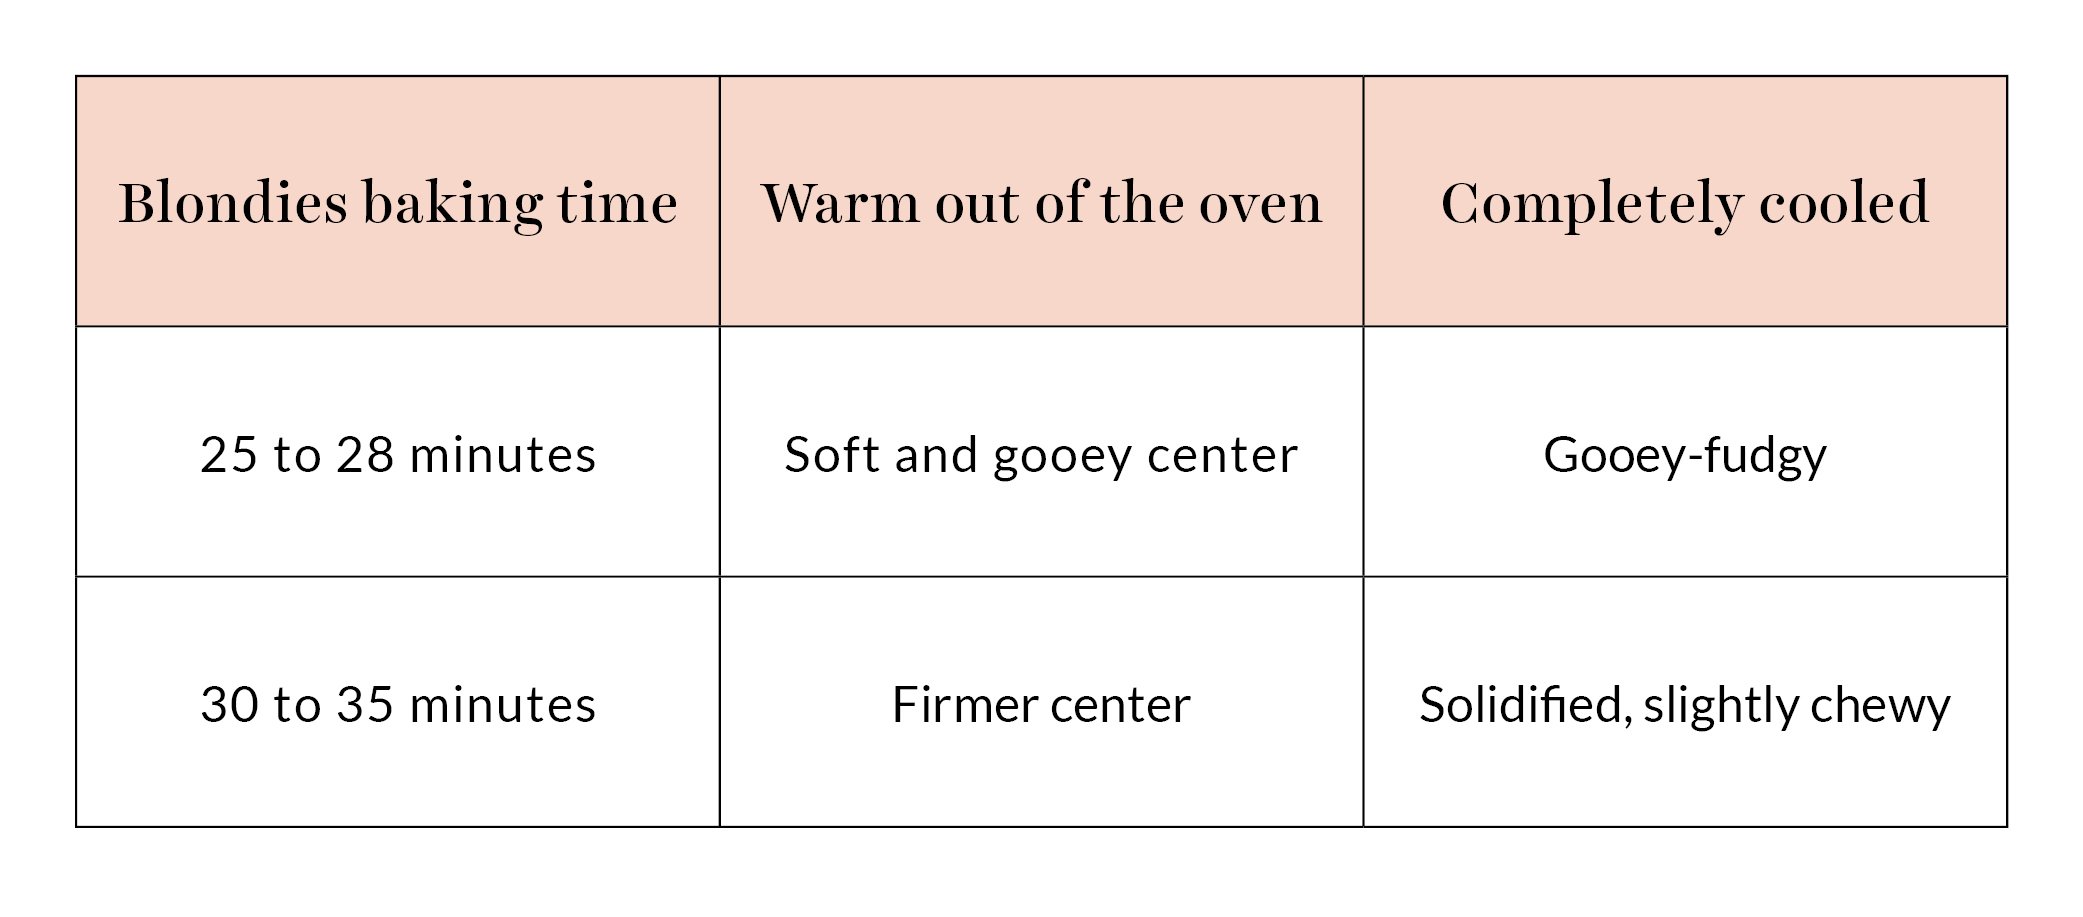
- Baking time: 25 – 28 minutes was perfect for a more soft and gooey center, while 30 to 35 minutes resulted in a more firm center and more golden edges.
- Visual cues: Blondies are done baking when the middle is just slightly jiggly and shiny on top, but the edges look solidified. Be careful not to overbake or they will become dry and crumbly.
- Remember: residual heat will continue to cook the Blondies. Even if they seem just slightly underdone in the center, remove the Blondies from the oven. They’ll solidify more as they cool. Please note that it is normal if the center dips slightly after cooling, which is more likely to happen with a glass pan.
- Too gooey? Rest overnight. If your Blondies are still a little gooey for your liking after they’ve cooled, let them sit on a cooling rack overnight, lightly covered with plastic wrap. This period of time will help them solidify even more.
- Oven temperature: Also, be sure your oven is actually at the temperature it says it is. Learn more about that in my Oven 101 article, and if you don’t have an oven thermometer, now’s the time!
Blondie Baking FAQs
The extra yolk provides richness for a chewier texture – so don’t skip it! Be sure your eggs are at room temperature, and use large eggs (not medium or extra-large – your large eggs should be about 56 grams in shell).
The answer to all of these questions is likely the same simple mistake: incorrect measuring of ingredients.
If you are not measuring your ingredients with a digital kitchen scale, you could accidentally be adding too much flour, causing hard, dry, or cake-like Blondies. Learn more about how to measure ingredients correctly here!
The other reason your blondies could be turning out too dry or hard is likely that they’re overbaked. Learn how to tell when your blondies are done baking below.
A little bit, yes! Overbaked Blondies are basically a dry, hard cookie bar.
Yes! Just double all ingredients and bake it in a 9×13-inch metal baking pan and add a few minutes to the baking time.
You can store the Blondies for up to 3 days at room temperature or up to a week in the fridge. If storing for more than a day, wait to slice into bars until you’re ready to serve to prevent stale edges.
You can also freeze Blondies (as a whole slab or sliced) for up to 3 months. Store wrapped in plastic wrap and inside an airtight container. Thaw overnight at room temperature. You can then refresh in a 325°F oven for about 5 to 10 minutes, if desired.
Email This Recipe
Enter your email, and we’ll send it to your inbox.
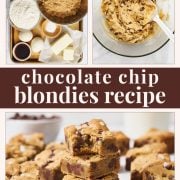
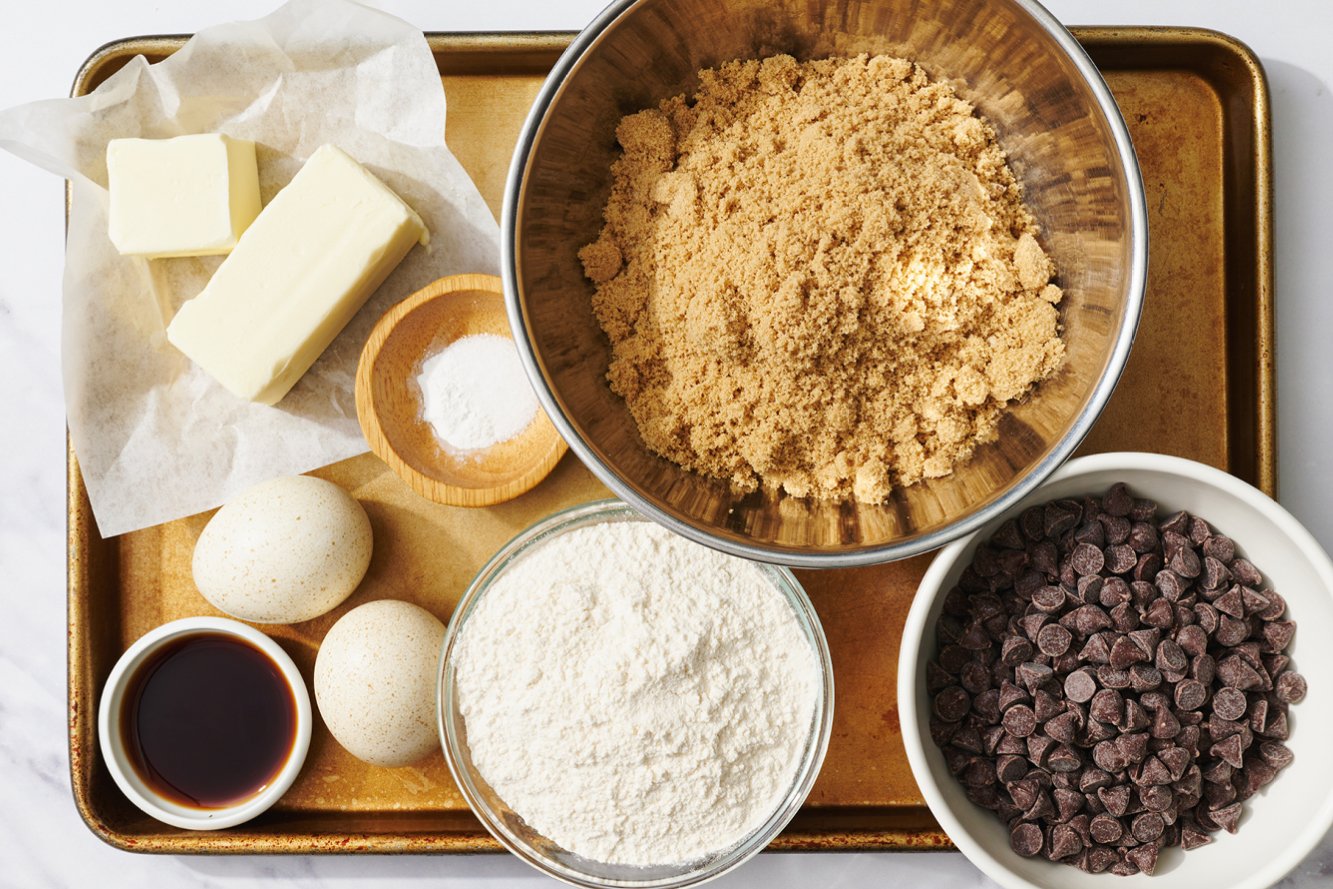
Ingredients
- 1 1/2 sticks (170 grams) unsalted butter
- 1 1/2 cups (300 grams) light brown sugar
- 1 large egg plus 1 egg yolk, at room temperature
- 2 teaspoons vanilla extract
- 1/2 teaspoon fine sea salt
- 1/4 teaspoon baking powder
- 1 1/2 cups (191 grams) all-purpose flour,
measured correctly - 1 3/4 cups (281 grams) mix-ins of your choice, such as chocolate chips or nuts, divided
- Flaky sea salt, for sprinkling


Instructions
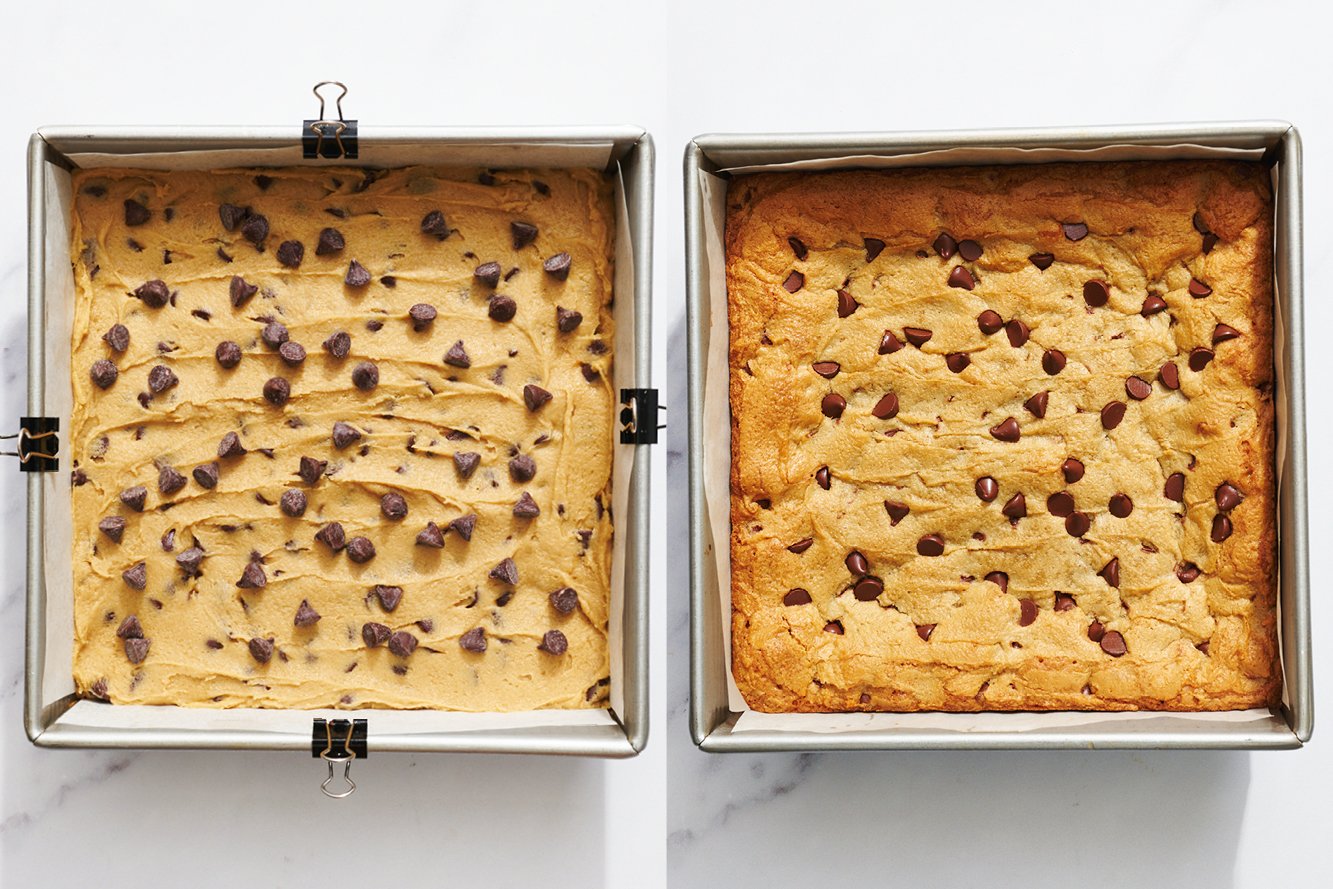
- Preheat the oven to 350°F. Line an 8 by 8-inch metal pan* with foil or parchment paper. Spray with nonstick cooking spray.
- In a large microwave-safe bowl, heat the butter in 30-second increments until melted. Add the sugar to the hot butter and whisk to combine. Let cool until just warm.
- Add the egg, egg yolk, and vanilla and whisk vigorously until smooth. Stir in the salt, baking powder, and flour with a rubber spatula. Gently stir in 1 1/2 cups (255 grams) of the mix-ins.
- Evenly spread the batter into the prepared pan. Top with remaining mix-ins.
- For an ooey-gooey center, bake until the edges are lightly golden but the center still jiggles slightly, about 25 minutes. For a firmer center, bake until the edges are golden brown and the center is lightly golden and set, 30-35 minutes. Set pan on wire rack and allow to cool before cutting. Sprinkle with flaky sea salt before serving.
- Store for up to 3 days at room temperature or up to a week in the fridge. If storing for more than a day, wait to slice into bars until you’re ready to serve to prevent stale edges.
Notes
This recipe was originally published in 2010 and updated in 2023 with new photos and recipe improvements. Photos by Joanie Simon.


The best blondie recipe I’ve tried!
I made these and followed the instructions for a more solid blondie. The edges were golden brown and the top was set but when I cut them they were uncooked in the middle. I used a metal pan and weighed the ingredients. My question is can I put these back in the oven to finish cooking them once they’ve already cooled?
I’m sorry to hear that they were still uncooked in the middle! How long did you bake yours for? Timing can always be a little different as everyone’s ovens work differently. If you put them back in the oven after they’ve cooled, you do run the risk of them drying out. You’re welcome to try that, but I’d also recommend slicing the blondies and then letting them set up overnight at room temperature. This sitting period should help firm them up. I hope that helps!
Hi Tessa,
Can I bake this recipe without adding mix-ins like the nuts or chocolate chips?
Thank you.
Hi Siva! We haven’t tried that! Let us know how it goes if you experiment with this 🙂
I was just wondering when you say “Spray with nonstick cooking spray.” do you mean under or on top of the parchment. Sorry new to baking!
Hi Kelly! Welcome to the wonderful world of baking!! Many bakers choose to spray underneath the parchment paper with baking spray, to adhere it a little more easily to the sides of the pan, but the directions we’re instructing here are to spray the top of the parchment, just so the blondies don’t stick anywhere and release easily. I hope that helps! Please check out everything Tessa packed into the pink tip box, above the recipe, for so many baking tips! Happy baking 🙂
I did this couple of times but sometimes it has a pale color on top what does that mean?
Really delicious recipe but too greasy. Could the butter be reduced?
Hi Judy! We don’t recommend this, as that will change the texture of the blondies. Please see the recipe notes at the bottom of the recipe card for tips on dealing with greasiness 🙂
Our experience was similar. Way too much better made these gooey and greasy. I know there are “Notes” about reducing the amount of grease but these things were sloppy with butter at the end. There’s no amount of sitting overnight that could have saved these.
I’m sorry to hear that you had issues with the recipe, Aaryn! Our team tested it thoroughly before publishing. Did you happen to use a glass pan? Personally, I prefer completely set but slightly chewy texture for my blondies or brownies, rather than ultra gooey and fudgy texture. During my testing, I noticed that the blondies turned out greasy and underbaked when using a glass pan. However, using a metal pan and increasing the bake time resulted in blondies that held together well when cut and had the perfect amount of chewiness. Did you notice that your edge pieces were fully baked but the center was not set?
Was there a recipe here?? Couldn’t find it with all the scrolling I had to do!
Hi there! Yes, there is a full recipe below the terrific tips, information, and FAQs in the pink tip box 🙂 There is also a ‘Jump to Recipe’ right at the top, just below the title of the recipe, which will bring you directly to the recipe. Let us know what you think of these delicious blondies 🙂
i made this yesterday and it turned out super good. My brownies have the same texture and it’s less sweet. I want to know if I can reduce the quantity of sugar in this recipe and if I do so will it affect the end product??…
Hi Tina! We don’t recommend lowering the sugar, as that will impact not just the sweetness, but the overall texture of the blondies. Read more about that here. If these are too sweet for you, we recommend using dark, bittersweet or even unsweetened chocolate chips in your blondies, and add a little extra flaky sea salt to the tops, to help balance out the sweetness. I hope that helps! Happy baking 🙂
I made these today using milk chocolate and semi sweet chocolate chips. I was afraid it would be too sweet with the milk chocolate chips but they turned out great! I received lots of compliments on them.
Made these and got TONS of compliments on how amazing they were!!
I didn’t have a metal pan and didn’t want to buy one, so I used a stoneware pampered chef pan and they were amazing. They didn’t fall in the middle like the glass pan. I did change temp to 325, preheated the stoneware while preheating the oven. And I think I ended up around 40 minutes too bake it. I used semi sweet chocolate chips and chopped pecans that I roasted on the stovetop. They were crisp on the edges and soft and chewy in the middle. This will replace my previous favorite blonde recipe.
So happy to hear this was such a hit for you, Julie! 🙂
Delicious!! I used white chocolate chips, butterscotch chips and toffee chips in my batch. Definitely will be making these again.
I have cinnamon chips that I might use in the next pan I make.
I made these today and they came out perfect! I’m very careful to weigh my ingredients and follow Tessa’s directions exactly and these did not disappoint. I doubled the recipe and baked it for 45 minutes in a 9 x 13 metal pan which made them slightly gooey and chewy. They are very sweet so I used semi-sweet chocolate chips that were slightly darker than normal, which helped to cut the sweetness, dark chocolate chips would be really good, too. I have a huge sweet tooth but I don’t think I could have eaten these with a sweet mix-in like white chocolate or toffee chips. I would have added nuts but my kids don’t like them. I will definitely make these again.