


Tessa's Recipe Rundown
Taste: These cookies are bursting with nutty, toasty brown butter flavor without going too sweet.
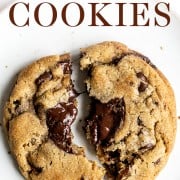
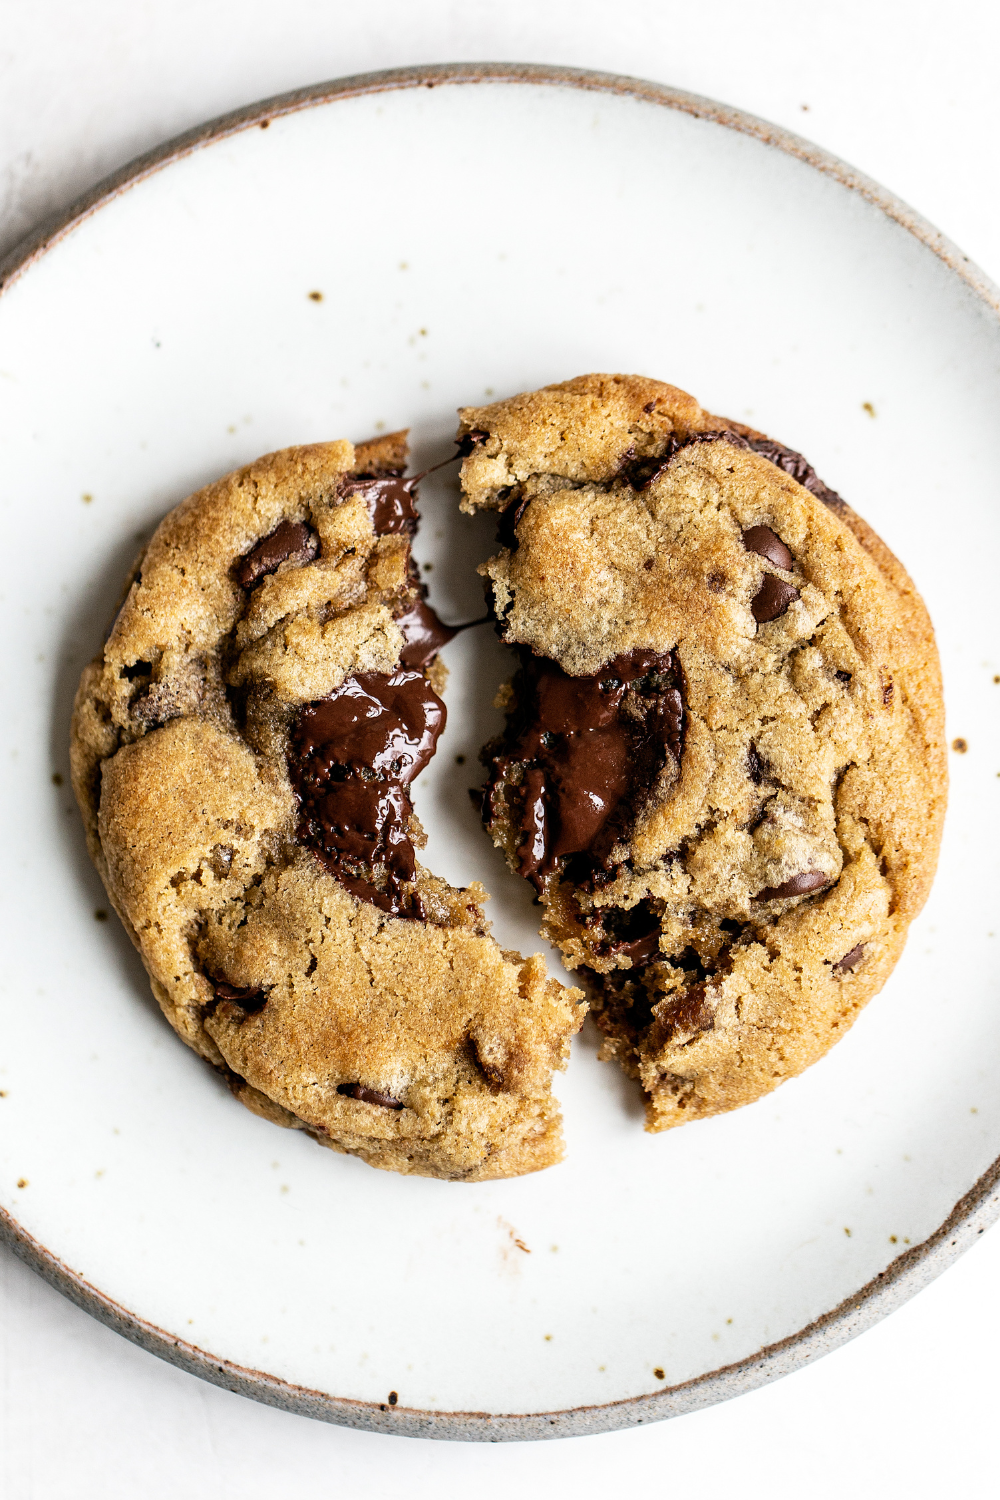
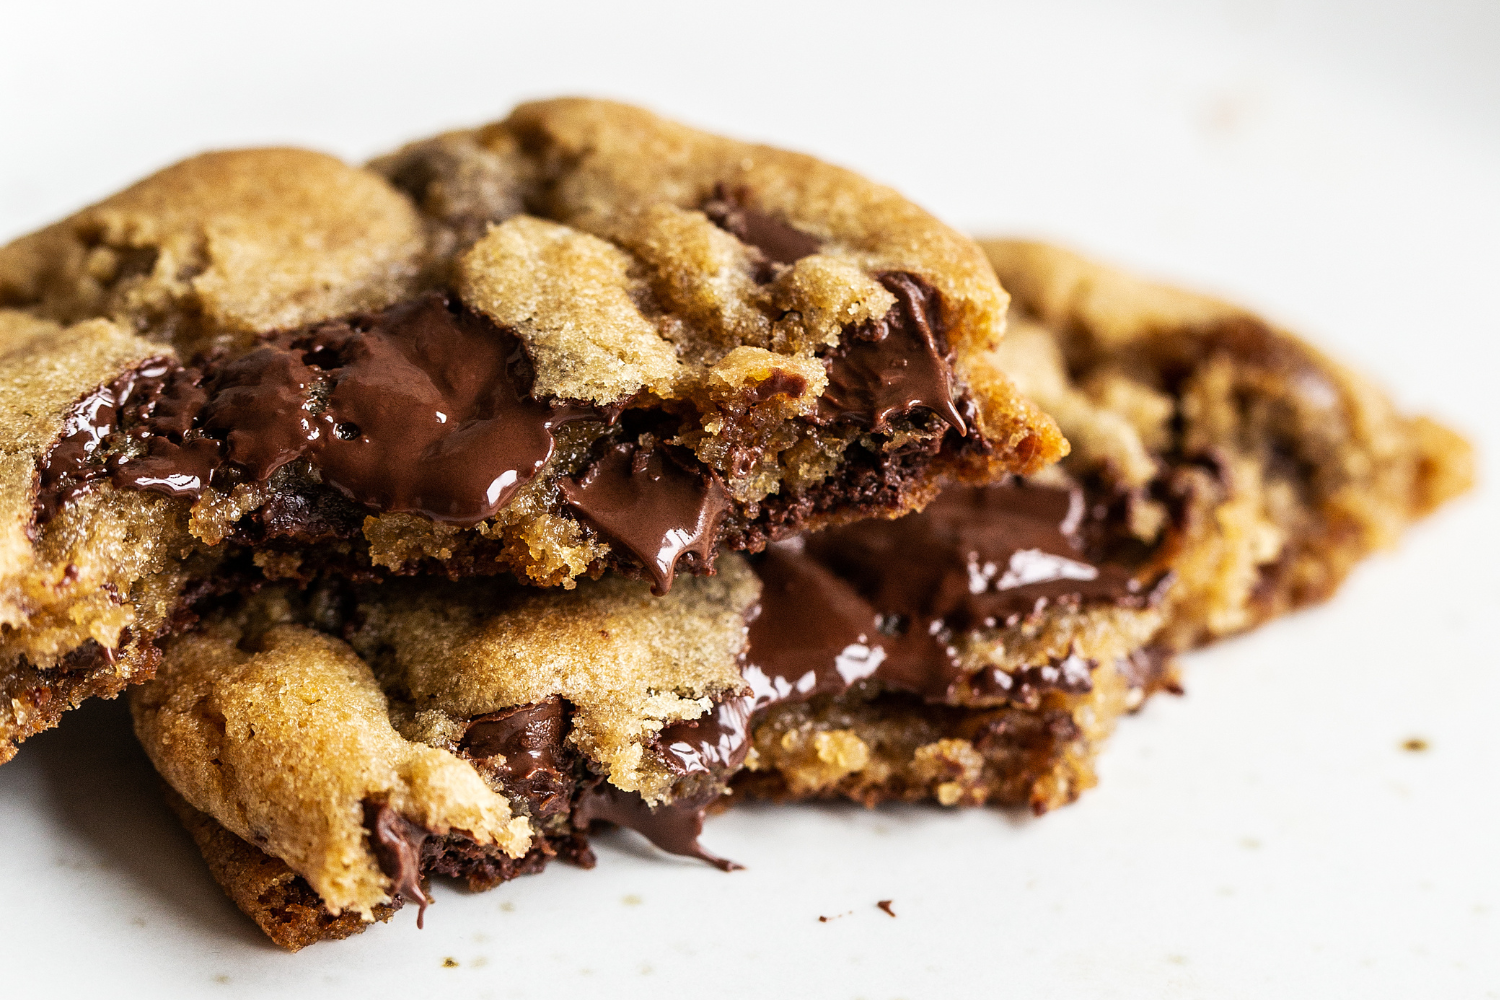
Texture: This recipe nails that bakery-style contrast — a perfectly chewy center with crispy edges.
Ease: Browning the butter is an extra step, but otherwise, they’re super simple. You won’t even need a mixer!
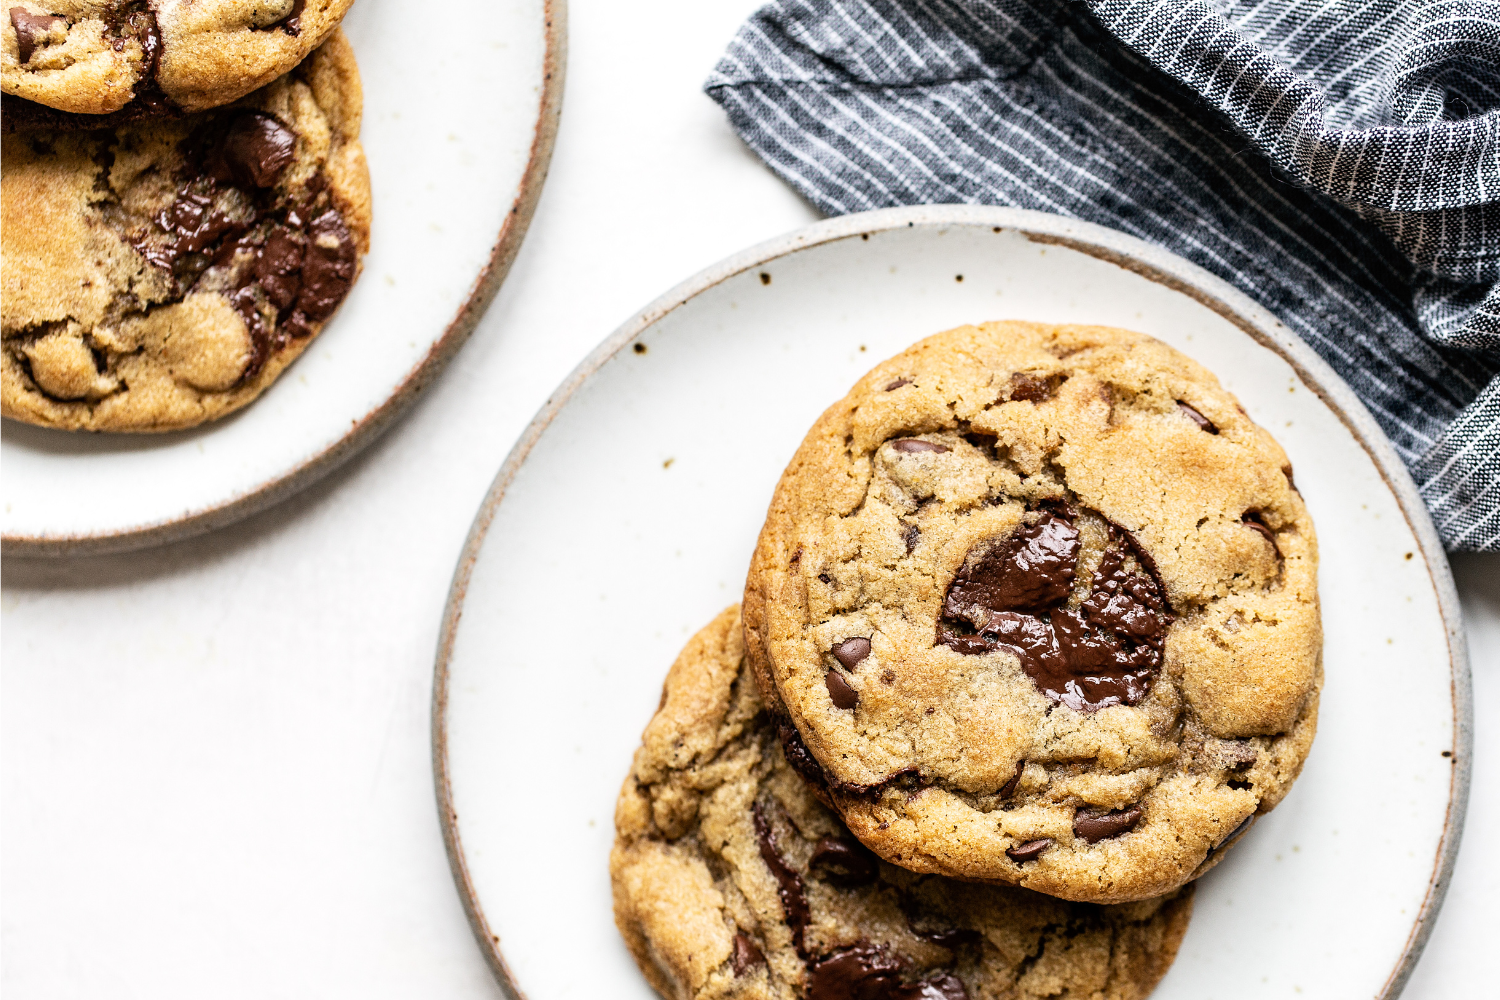
Why You’ll Love This Recipe: These cookies are the perfect combo of gooey centers, crisp, golden edges, and a rich, brown butter flavor.
This post may contain affiliate links. Read our disclosure policy.


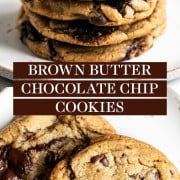


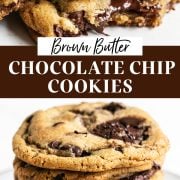

My Brown Butter Chocolate Chip Cookies are chewy in the middle, crisp at the edges, and full of rich, nutty flavor. Browning the butter is a surprisingly simple step that makes a big difference in taste and texture.
I’ll guide you through these step-by-step, but they’re pretty easy to master. You don’t even need a mixer to make these incredible cookies!
Reader Love
These are sooooo good, I’ve been baking for many years and this is the best chocolate chip cookie recipe I have tried. I chilled them for two days and the flavor was outstanding, I would recommend not skipping that part. Can’t wait to make them over the holidays!
–
Ingredient Notes
Every ingredient in the perfect chocolate chip cookie plays a role in that chewy, gooey, bakery-style texture. Here’s why they matter so that you can bake with confidence:
- Brown Butter: This is the star of the show! Browning the butter transforms its flavor, creating nutty, caramelized notes that give these cookies depth and complexity.
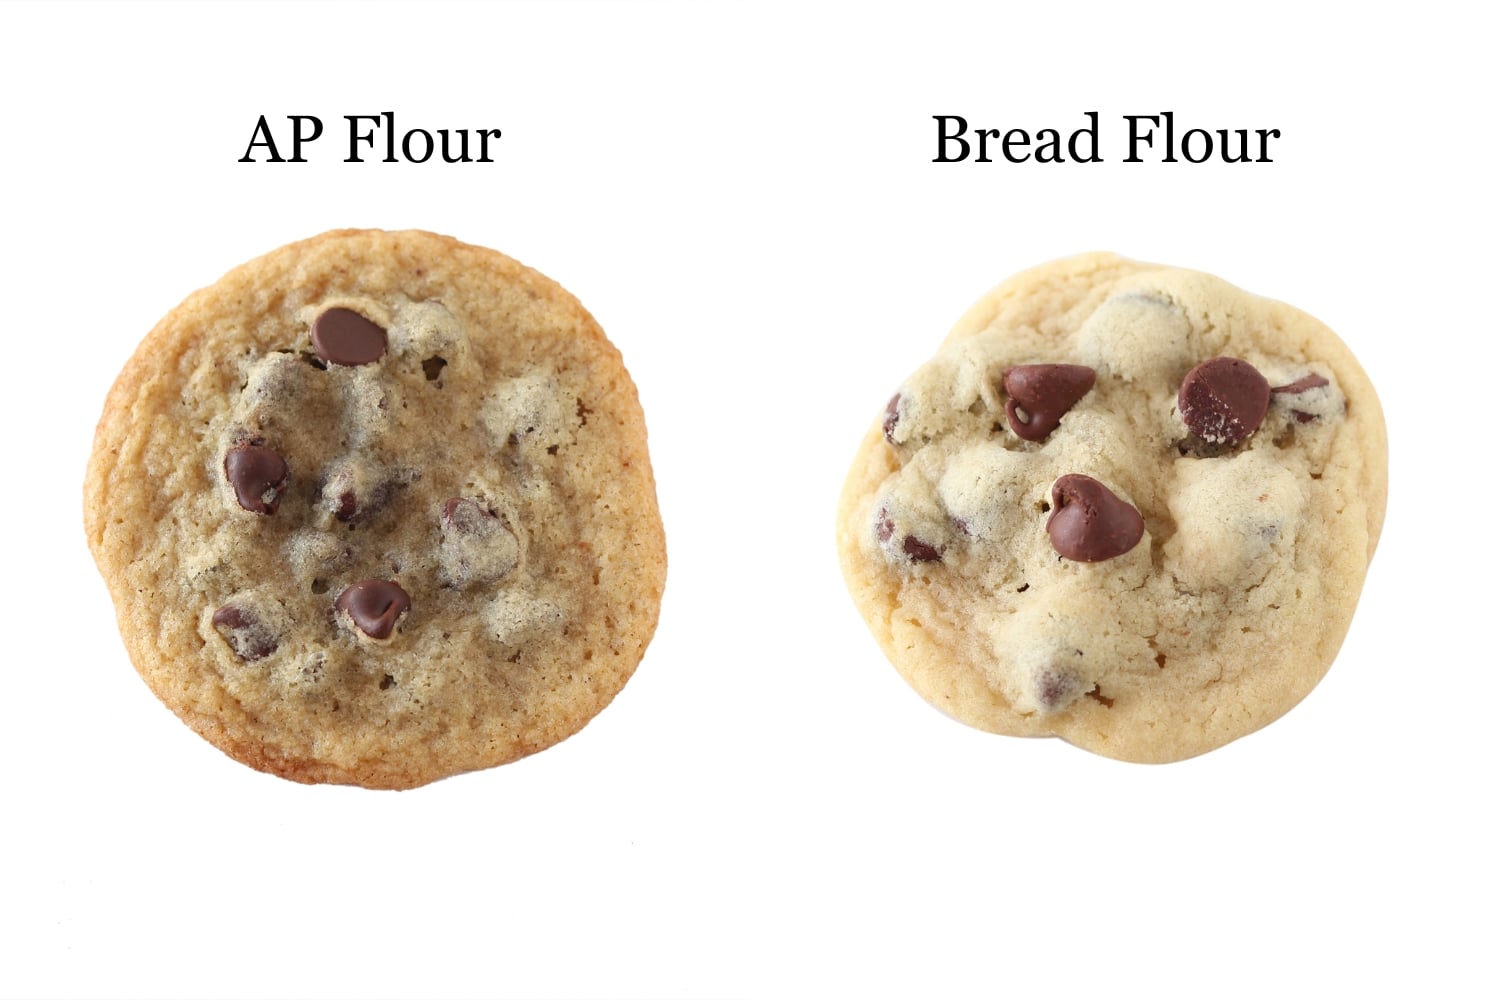
- Bread Flour + All-Purpose Flour: Bread flour has more protein, which results in a chewier, thicker cookie. If you only have all-purpose flour, you can use it for the full amount, but you’ll lose some chewiness.
- Dark Brown Sugar: This sugar adds rich flavor and moisture to keep your cookies soft and chewy. You can use light brown sugar (1:1 ratio), but your cookies will lose a little richness.
- Granulated Sugar: White sugar gives your cookies structure and just enough crispness for that perfect texture contrast. I strongly recommend that you don’t reduce the sugar in these cookies. Sugar doesn’t just sweeten, and cutting it out will change the texture of your cookies!
- Chocolate: This recipe combines chocolate chips and chocolate baking wafers (or fèves). The chips hold their shape, while the wafers melt into irresistible chocolate puddles.
- Sea Salt: This is optional, but you can add a sprinkling of flaky sea salt after pulling your cookies out of the oven.


Sprinkle of Science
Step-By-Step: Brown Butter Chocolate Chip Cookies
I tested and tweaked this recipe until every batch had the perfect balance. These have gooey centers, chewy middles, and just-crisp edges. Here are my tips for cookies that are picture-perfect, taste great, but are totally doable at home.
1. Brown the Butter
I have hundreds of cookie recipes on my site, but there’s just something magical about brown butter cookies.
Start by melting butter, and then cook until the milk solids in the butter become toasted. The result is a deeply nutty, caramelized, butterscotch flavor that perfectly enhances chocolate chip cookies.
Brown butter is super simple to make. Just be sure not to walk away from it, as it can burn quickly. Scrape all the brown bits into the mixing bowl, too, as they’re the most flavorful.
Check out my full guide to browning butter here.
2. Mix & Cool the Butter Base
After browning the butter, mix in the sugars and let the mixture cool completely before adding the eggs. This keeps the eggs from scrambling in the hot butter and prevents a greasy texture.
3. Build the Dough
Whisk the flours, baking soda, baking powder, and salt together first ensures even distribution of ingredients, so every cookie spreads and rises the same way. Add to the wet ingredients, mixing until combined. Stir in the chocolate.


4. Chill for Flavor & Structure
I know it’s annoying to have to wait to enjoy cookies, but I promise you it’s SO worth it. The dough improves in taste and texture as it chills. If you don’t want to wait for your cookies, feel free to bake a few after chilling for at least two hours, just to satisfy the craving. Bake the rest after 24 hours!
Freezing doesn’t work the same as chilling, so there are no shortcuts here. To fully develop the flavor and texture, it requires a minimum of 24 hours (and up to 72 hours) in the fridge. You can freeze after chilling.
5. Scoop, Size, and Bake
If my fridge space is more limited, I’ll refrigerate the entire mass of dough. If you do the same, you need to allow plenty of time for the dough to come to room temp before portioning. Don’t scoop cold dough. You’ll break your scoop!
I’ve found that this brown butter cookie dough is best as big cookies using a large 3-tablespoon cookie scoop. To make smaller cookies, use a medium 1.5-tablespoon cookie scoop and reduce the baking time to about 10 minutes. Note that the texture will be affected with a smaller scoop of dough.
The easiest option is to scoop and then chill. However, there’s a bit more risk that your dough will dry out in the fridge this way, so store the cookie dough balls in an airtight container or good-quality zip-top bag to prevent them from drying out.
Baking Tips for Best Results
A few minor tweaks can transform your results from “good” to “I can’t stop eating these.”
- Measure correctly. I use a digital kitchen scale to weigh my ingredients, especially flour. Incorrectly measured flour can lead to cookies that are tough, crumbly, dry, too thick, or just blah. If you don’t have one, use the spoon and level method.
- Check your oven temperature. Most ovens run a little hot or cold, which can throw off baking times. I use an oven thermometer to ensure baking accuracy.
- Choose the right pan. For best results, use a quality light-colored baking pan or cookie sheet and line it with parchment paper. The pan you bake on has a huge impact on your cookies. I have a guide to baking pans with side-by-side testing!
- Don’t overbake. Bake these cookies just until the edges set and turn a golden brown. The middles may still look a little “wet,” and that’s OK! The pan’s residual heat will continue to cook them through to perfection.
- Chill the dough. I know I’ve already mentioned this, but don’t skip the chill period. Chilling gives the flavors time to deepen, resulting in thicker, chewier cookies.
Storage & Freezing Notes
When stored in an airtight container, these cookies stay soft and chewy for 2-3 days at room temperature. For longer storage, chill the dough for 24-72 hours first.
I like to portion out the dough and place it on a baking sheet, then freeze just until solid. Transfer the frozen dough balls to a freezer bag and freeze for up to 6 weeks. This way, you can bake off small batches of fresh cookies whenever you like!
FAQs
YES! However, make sure to chill it for at least 24 hours before freezing pre-portioned scoops in an airtight container. To bake directly from frozen, drop the oven temperature to 325°F and add a few minutes to the recipe’s bake time.
Browning the butter transforms the flavor of your cookies in the best way. It develops rich, nutty, almost caramel-like notes that deepen the overall flavor, giving your cookies a more complex taste.
On the texture side, the dough has slightly less moisture, which helps create thicker, chewier cookies with crisp, golden edges. It’s a small extra step with a huge payoff in both taste and texture.
Yes, browning butter evaporates its water content, which makes up about 20% of the butter’s total volume (if using American-style butter). Luckily for you, I’ve already calculated this into the recipe so there’s no need to measure the butter before and after browning. You’ll simply start with 2 sticks (1 cup, or 227 grams) of butter total.
Email This Recipe
Enter your email, and we’ll send it to your inbox.
Ingredients
- 2 sticks (227 grams) unsalted butter
- ½ cup (100 grams) granulated sugar
- 1 ¼ cups (250 grams) lightly packed dark brown sugar
- 1 ½ cups (190 grams) all-purpose flour
- 1 cup (127 grams) bread flour
- 1 teaspoon baking soda
- ¼ teaspoon baking powder
- 1 teaspoon fine sea salt
- 2 large eggs plus 1 egg yolk, at room temperature
- 2 teaspoons vanilla extract
- 1 ½ cups (255 grams) semisweet chocolate chips
- 1 cup (140 grams) semisweet chocolate baking wafers (from Guittard or Valrhona)*
- flaky sea salt (optional)

Instructions
- In a small saucepan set over medium heat, melt the butter. Swirling the pan occasionally, continue to cook the butter. It should become foamy with audible cracking and popping noises.
- Once the crackling stops, continue to swirl the pan until the butter develops a nutty aroma and brown bits start to form at the bottom. When the bits are amber in color, about 2 to 3 minutes after the popping stops, remove from heat and pour into a mixing bowl.
- Note: You do NOT need to measure the butter after browning, I've engineered this recipe to account for the average water loss.
- Add in the sugars, stir, then set aside to cool completely.
- In a medium or large bowl, combine the flours, baking soda, baking powder, and salt.
- Add the eggs, egg yolk, and vanilla to the browned butter mixture, and stir with a rubber spatula until combined. Slowly stir in the flour mixture until just combined. Stir in the chocolate chips and wafers.
- Wrap the dough in plastic wrap and refrigerate for at least 2 hours, preferably overnight, but no more than 72 hours. Let the dough sit at room temperature until just soft enough to scoop.
- Meanwhile, preheat oven to 350ºF. Line baking sheets with parchment paper.
- Divide the dough into 3-tablespoon sized balls using a cookie scoop and drop onto prepared baking sheets, leaving about 3 inches between each piece of dough to spread.
- Bake for 11 to 13 minutes, or until golden brown. Sprinkle with flaky sea salt, if desired. Let cool for 5 minutes before removing to wire racks to cool completely.
Notes
More Cookie Recipes to Try
- Bakery Style Chocolate Chip Cookies (This is one of my most popular recipes!)
- Brown Butter Triple Chocolate Blondies
- Marbled Chocolate Chip Cookies
- Peanut Butter Chocolate Chip Cookies
This post was originally published in 2015 and recently updated with recipe improvements and new photos. Photos by Ashley McLaughlin.


Hi, I tried making these cookies today. I love the flavour but my cookies turned out too cakey. Could you please advise on what I could have possibly done wrong? Thank you
Too cakey of cookies normally means that too much flour was added. Do you measure your ingredients with a digital scale? If not, I’d highly recommend getting one to ensure accuracy in measuring your ingredients. If you are unable to get a digital scale, I’d recommend checking out my article linked here about How to Measure Flour. Hope this helps! I’d love for you to try this recipe again and let me know how they turn out!
SO amazing. I’ve been looking for a new go-to cookie recipe and I think this is it!
Amazing!!
Amazing cookies! Can you explain whether you cover the dough in the bowl with plastic wrap or do you turn the dough out onto plastic wrap? I’m making it a 2nd time and that step is a bit unclear.
Keep the dough in the bowl and wrap the top of the bowl with plastic wrap 🙂
I did that the first time assuming it was the intent, then second guessed you/me and wrapped the dough out of the bowl and refrigerated. I doubt it will change the flavor. By the way, just absolutely appreciate the level of detail you go into each recipe and the tips. A well-written recipe is a work of art. Thank you!
I don’t think it will either, just a littler easier to manage 🙂 Thank you so much for your sweet feedback, I so appreciate it!
These cookies are WONDERFUL! I was trying to get something similar to the brown butter cookies they sell at Whole Foods and I think these are even better. I didn’t have the wafers so I chopped up a Trader Joes bar of dark chocolate instead.
I have other recipes where it calls for refrigerating a dough first and then scooping it. I always scoop it and then refrigerate it because it’s so much easier to scoop when soft. Have you ever tried that Tessa and what did you think?
I got your cookbook recently! I love it and love your scientific approach. 🙂 Thank you for sharing all your research!
I’m so pleased you love these cookies and my cookbook, Debra! I have tried scooping the dough first, and I actually talk about it in this blog post about chilling dough. It is definitely annoying waiting for the huge ball of dough to soften up a bit after it’s been in the fridge so long, especially when you just WANT a cookie lol, but it’s so worth it! Thank you so much for your kind feedback!
More science! I love it. 🙂 Thanks for the quick reply! I double wrap my balls but I totally agree they dry out faster than if I left it in one mass (plus it uses a lot of plastic wrap). Thanks for the explanation. My 48 chilled cookies are in the oven right now & I’m excited to try them!
You’re welcome 🙂 I’m excited for you to enjoy your cookies, woohoo! Have a wonderful weekend!
I made these and they are delicious! But, everything I’m made of yours, Tessa, so far has been outstanding!
I love to hear that! Thank you so much, Joyce, for your kind feedback 🙂
Hey, so I do not have chocolate baking wafers on hand, would I be able to use chopped baking chocolate instead? Thanks!
If you don’t have the wafers, feel free to use 2 cups of semisweet chocolate chips instead. Chopped baking chocolate would be delicious too!
I’m so glad I found your recipe. I’ve tried countless recipes, experimented on my own, but they ere either too soft, too chewy, too crunchy. This is exactly the way I like my cookies, not too soft, with some bite, but with crunchy edges. I did halve your recipe (just to remove temptation!), omitted the egg whites, and they came out so very delicious. This is a keeper and I just to be sure, I made another batch right after the first one, to make sure it wasn’t a fluke!
Oh yay! I’m absolutely thrilled you love this recipe 🙂 Tip next time: make an entire batch but FREEZE half of it for any week-night cravings! Enjoy 🙂
I chilled for 24 hours and let come to a scoop-able temperature before baking, and they did not spread more than an inch! I measured the flour by weight, too, so I have no clue what went wrong. I will try reducing the amount of flour by a quarter cup next time, but first try wasted a lot of ingredients 🙁
These have got to be the best chocolate chip cookies I’ve ever tasted! They are so flavorful, soft, chewy and full of chocolate! After a long search, this is my go-to recipe!!
So glad you loved these cookies!
The Best Ever. Love thees.
Happy to hear that!
So good!!
what can i replace for chocolate baking wafers i want to make this cookies a try for our consumption. I wish i can hear from you, thank you
You can use 2 cups of semisweet chocolate chips instead of wafers! If you look in the pink box, I actually answer this under the “chocolate” section.