




This post may contain affiliate links. Read our disclosure policy.










Tessa’s Recipe Rundown
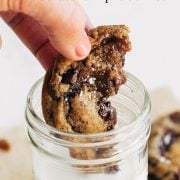
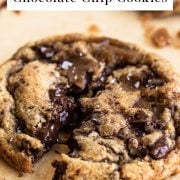
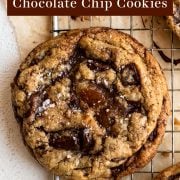
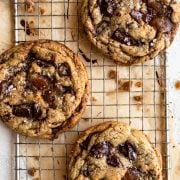
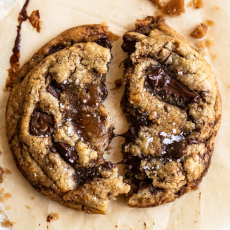
Taste: Possibly the most flavorful chocolate chip cookies I’ve ever tasted.
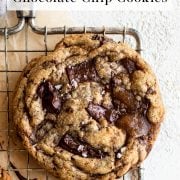
Texture: Big, thick, chewy, slightly gooey, with perfectly sticky bits of toffee.
Ease: This is a higher effort recipe. Perfect for a weekend bake or special occasion, or when you truly need to impress.
Why you’ll love this recipe: I’ve been told by hundreds of people this recipe has ruined all other chocolate chip cookies for them…
These Browned Butter Toffee Chocolate Chip Cookies are about to be the BEST cookies you’ve ever tried.
This recipe has gone completely viral. It’s been featured on Good Morning America, and TikTok videos of people making this recipe have gotten millions of views.
I originally published this recipe in 2014 but just had to update it with recipe improvements and new photos. These cookies deserved it!
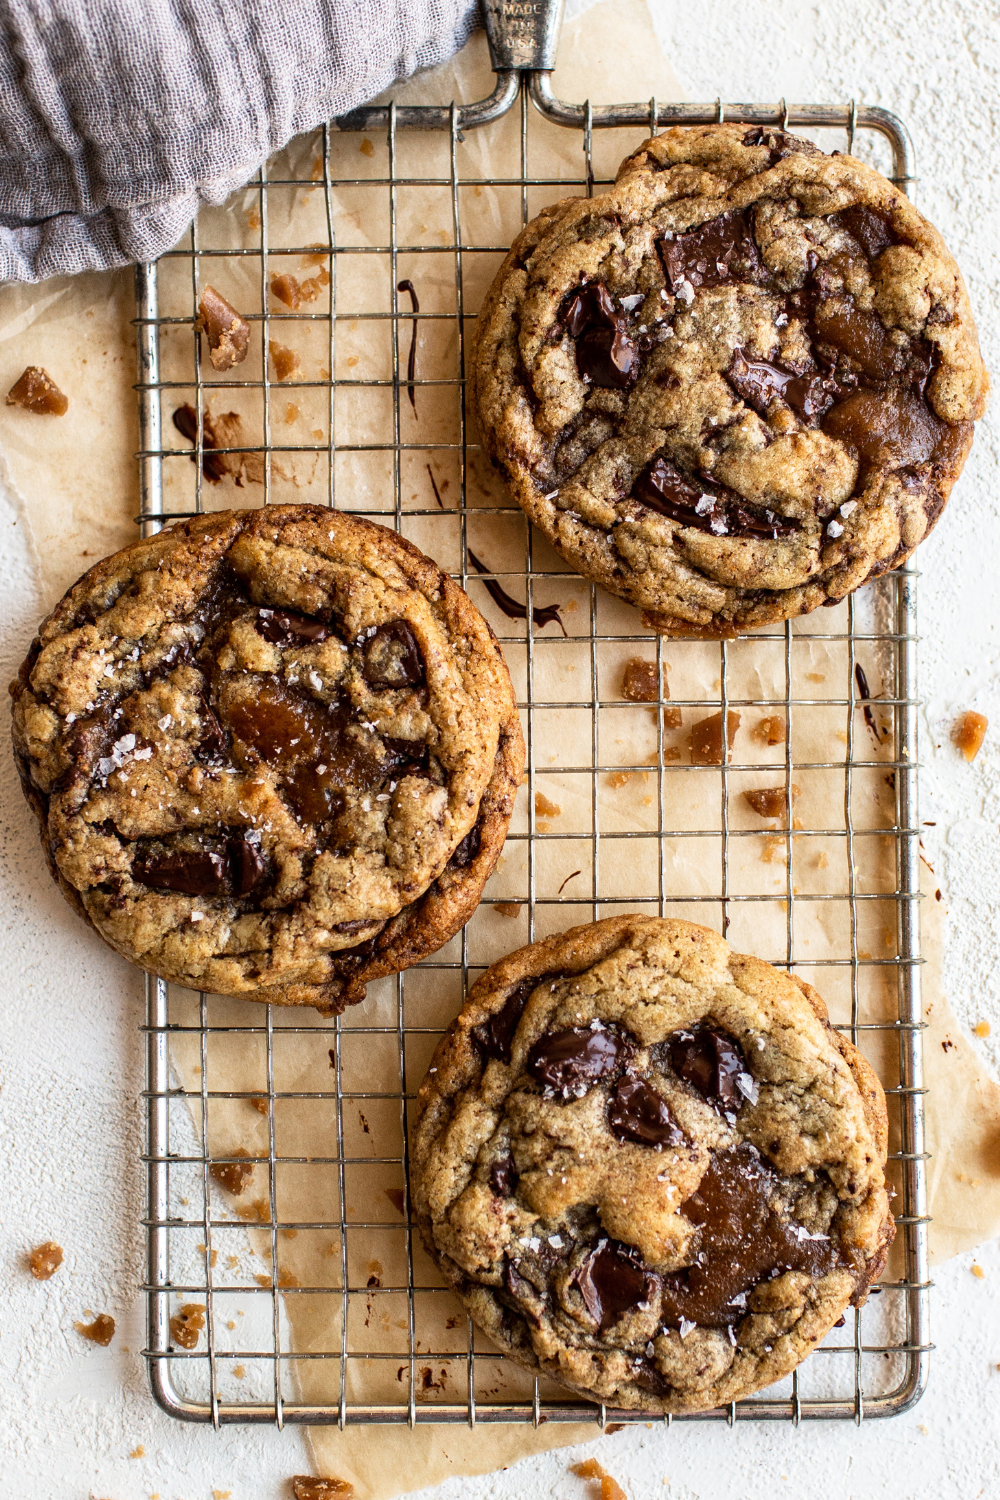
In fact, my recipe photographer Ashley, who shot all 50 recipes in my cookie cookbook, said this may just be my BEST COOKIE RECIPE yet. People have been known to fight over these cookies. Yes, they’re that good.
These are one of the most flavorful chocolate chip cookies I’ve ever tasted, and the texture is absolutely perfect. You NEED to try this recipe. If your friends and family are anything like mine, they plead and beg you to make it again and again.
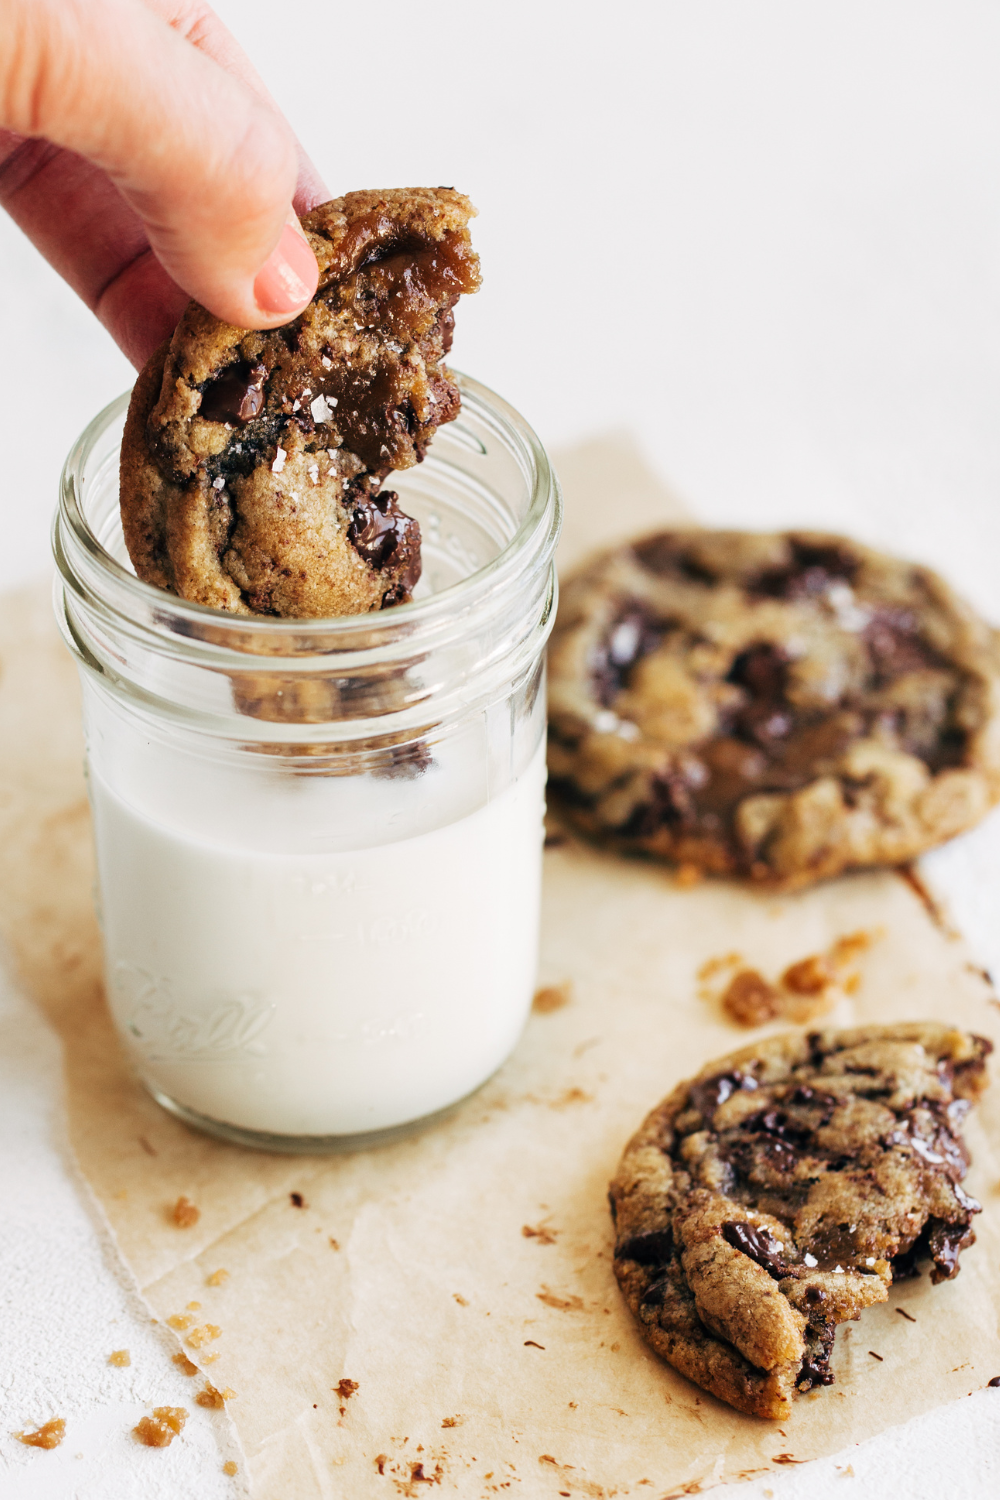
Yes, this recipe is a little extra work. But the best things in life usually are.
You may even want to make a double batch so you have plenty of dough to freeze when the craving hits. Trust me… it WILL hit!
Seriously THE BEST cookie I’ve ever made!! The homemade toffee chips are a game changer!
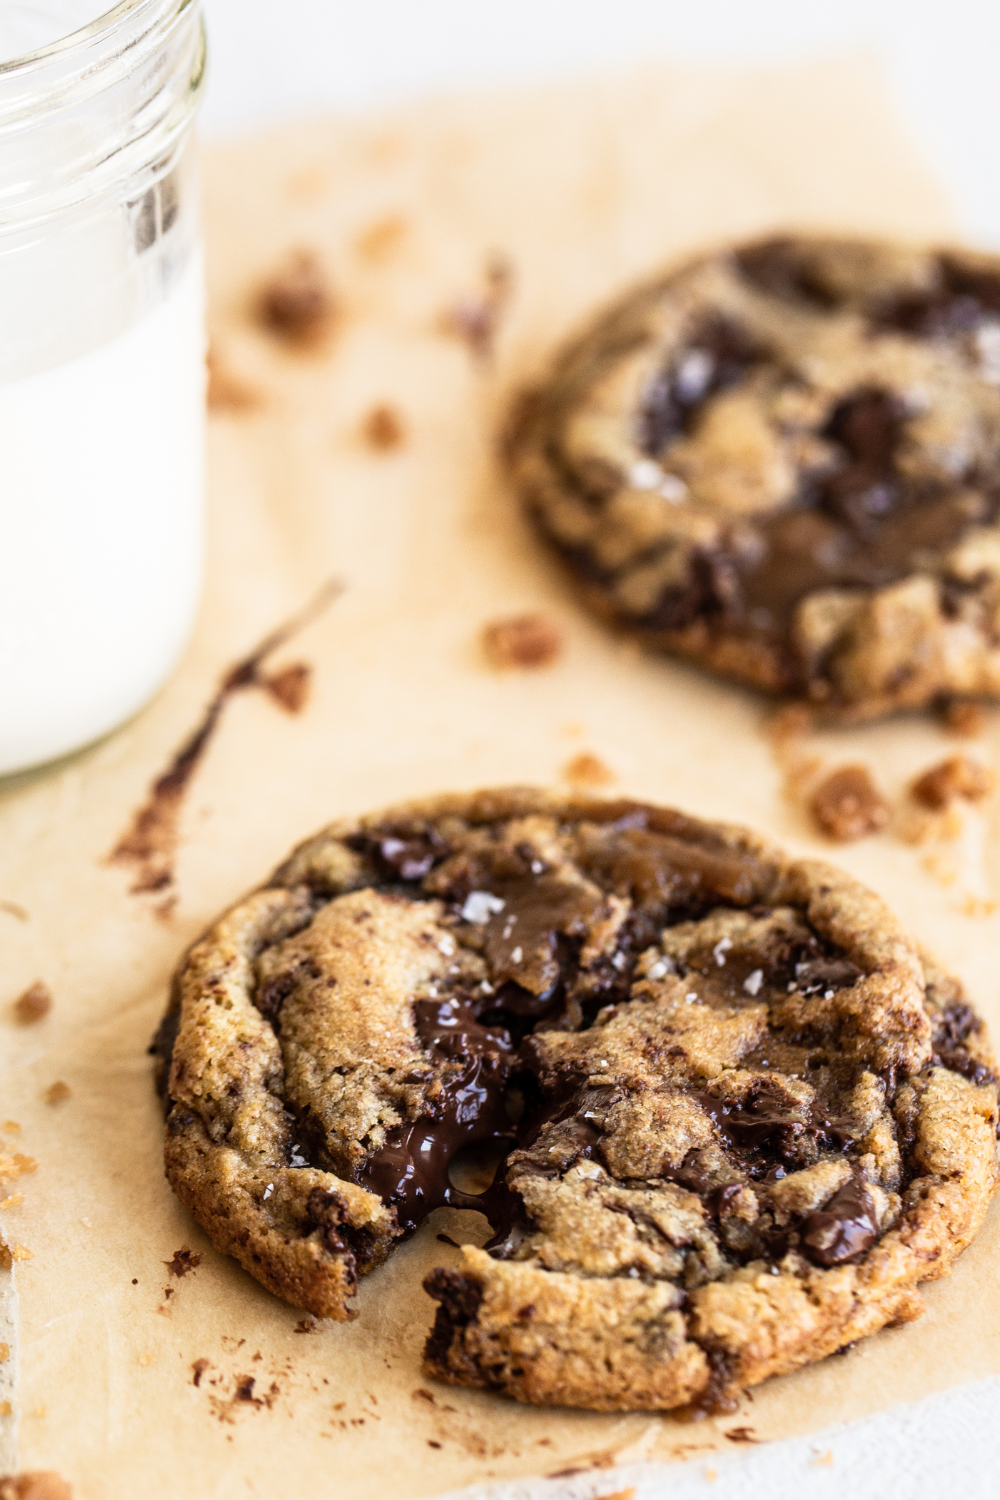
How to Brown Butter:
- Use a stainless steel sauté pan for best results.
- Nonstick prevents the butter from browning completely and prevents you from being able to visually see how browned it’s getting. Same with the dark color of cast iron.
- Something with a wider surface area, like a sauté pan over a saucepan, encourages browning more quickly.
- Don’t step away from butter that’s browning after it’s melted. It can go from browned to burnt quickly.
- At the same time, don’t be afraid of letting that color develop. It should become a rich and fragrant amber.
- Scrape all the brown bits into the mixing bowl – that’s where the flavor lives!
- I highly recommend using unsalted butter – learn why here.
- Learn all my tips and tricks for browning butter in my How to Brown Butter article here.
Ingredients Notes
Do I Really Need to Use Bread Flour?
You don’t absolutely have to use bread flour, but it adds a ton of chewy texture that’s worth the extra trip to the store.
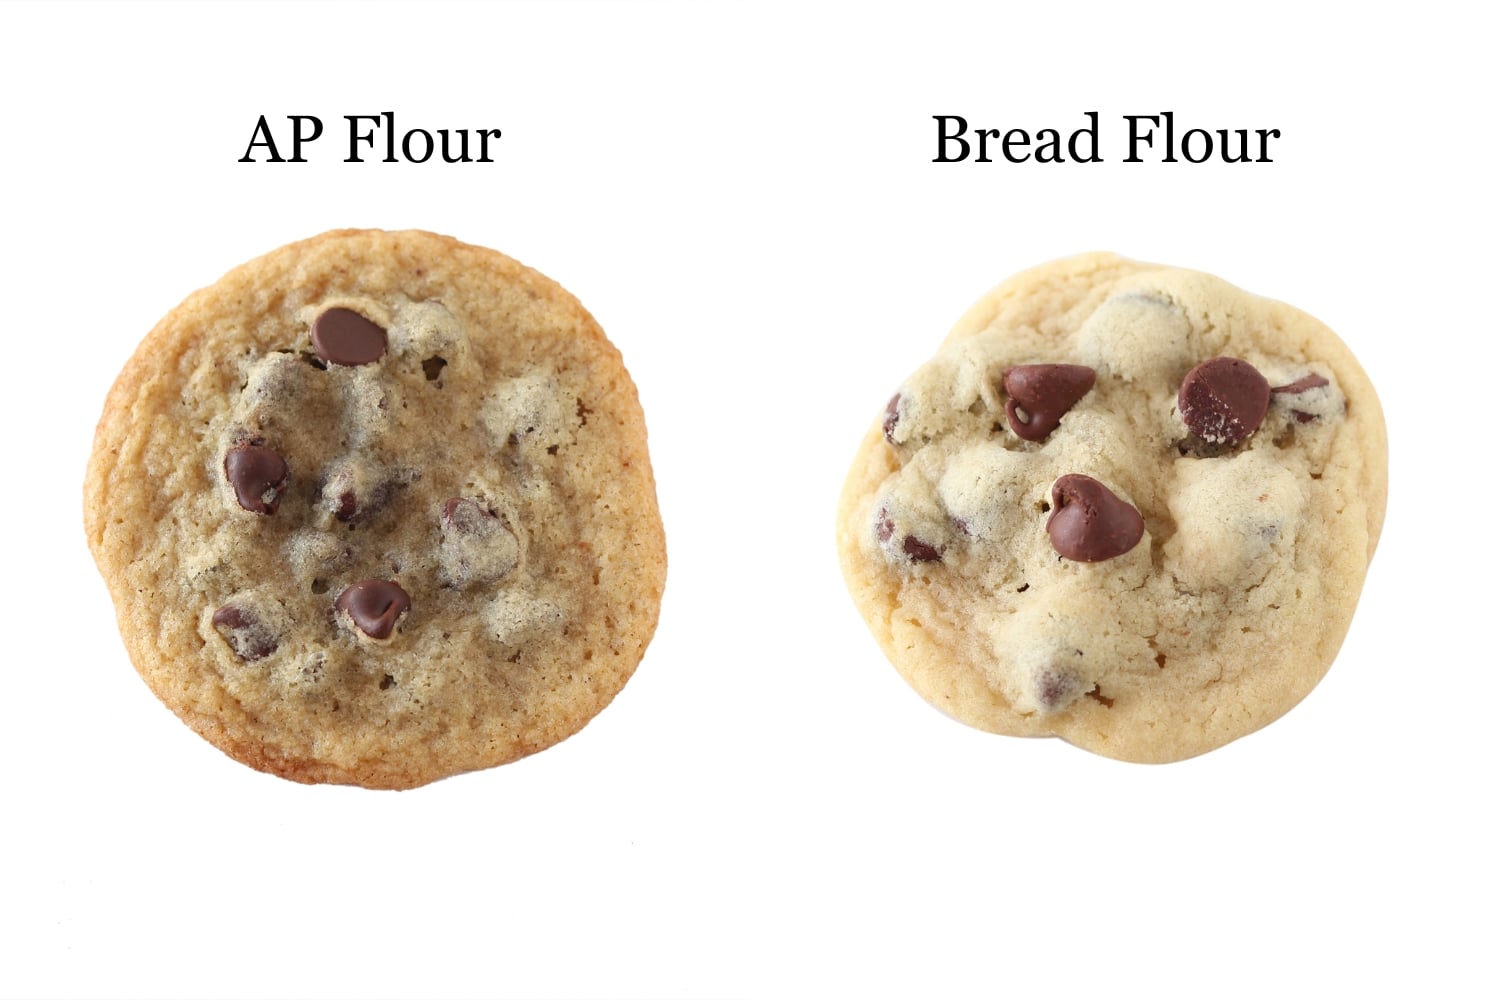
If you don’t have bread flour, then use a total of 2 1/2 cups (317 grams) all-purpose flour in the recipe. Make sure to weigh your flour accurately. If you add too much flour, your cookies may end up dry, dense, or crumbly cookies that barely spread.
Granulated Sugar + Dark Brown Sugar
This combination brings sweetness, a fantastic texture, and a butterscotch flavor that’s so rich and delicious. The extra molasses in the dark brown sugar draws in more moisture, making the cookies thicker, softer, and chewier. You can use light brown sugar instead, but you may lose some of the additional flavor.
Eggs + an Extra Yolk
Eggs are essential to forming a beautifully pliable dough and cookies that stay soft for days – and we’re adding an extra yolk for extra richness and added chewiness. Eggs should be at room temperature when beginning your dough, but separate the one yolk from its white while cold for best results (yolks are more fragile and tend to break more easily when warmer).
Espresso Powder
I really like the way the bitter espresso plays off the sweetness of the toffee and the nuttiness of the browned butter. It’s totally optional, so if you don’t have it or don’t want to use it, feel free to simply omit it.
Chocolate
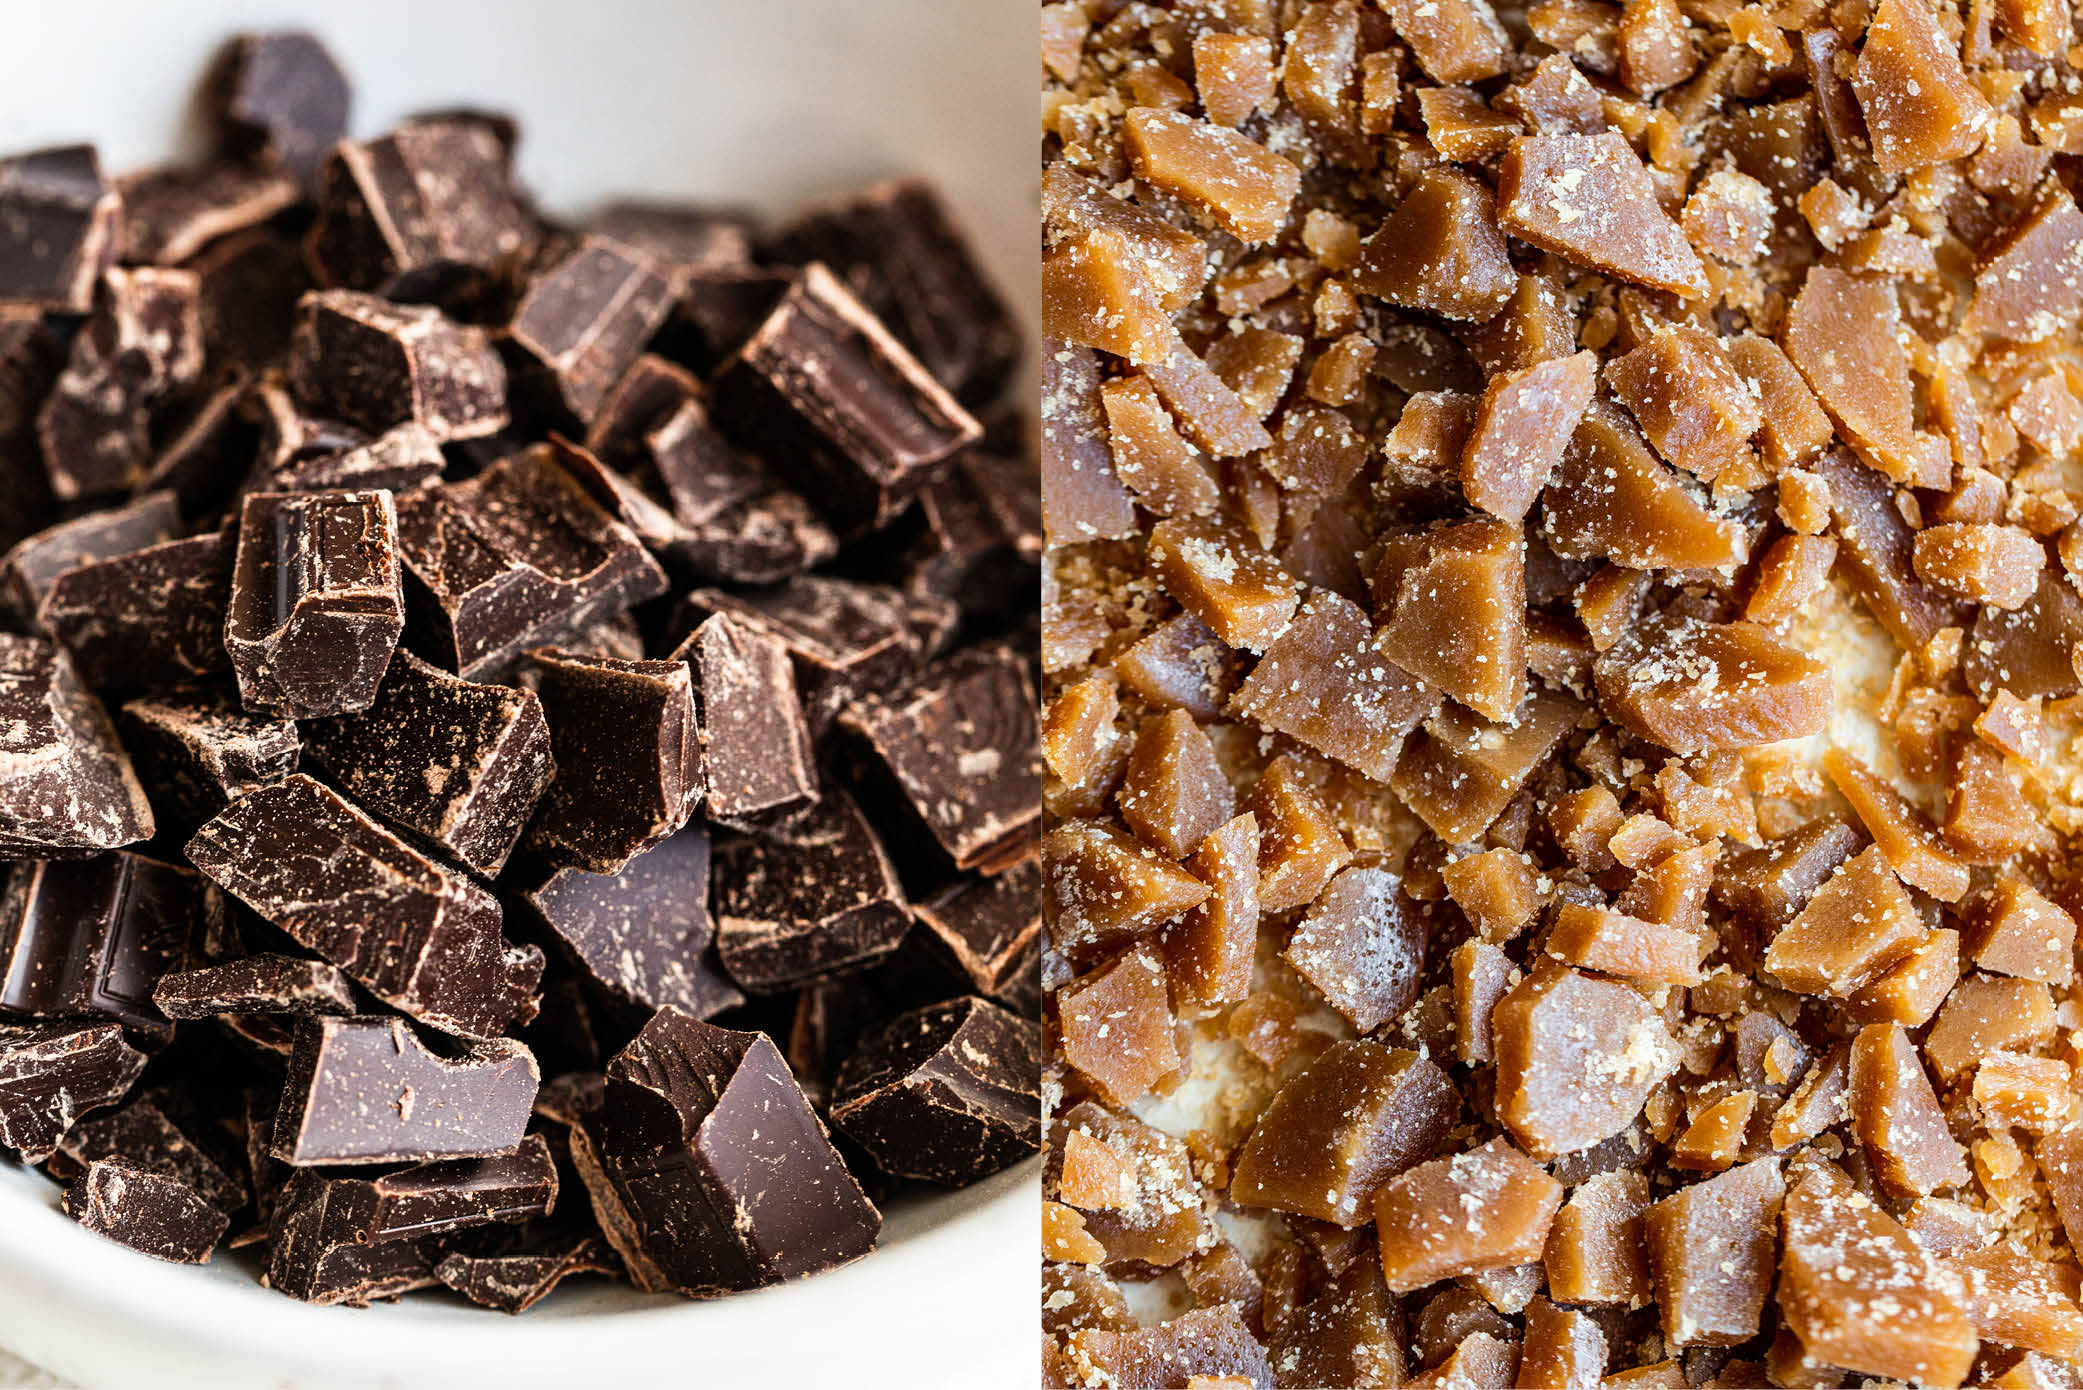
I like to use semi-sweet Ghirardelli baking bars and chop them up coarsely for these Browned Butter Toffee Chocolate Chip Cookies. Feel free to use chocolate chips, but note that you won’t have the same delicious marbled result you get from chopping your own chocolate.
Toffee Bits
You can find Heath brand toffee chips at many grocery stores, typically located with chocolate chips in the baking aisle.
If you can’t find them, I have a super easy recipe to DIY Homemade Toffee Bits which I used for these cookies here. It takes just 15 minutes and they taste SO much better than store-bought!
Do I Really Have to Chill the Cookie Dough?
I know, it’s annoying, but I promise you it’s SO worth it, especially for this recipe which uses melted browned butter. Both the taste and texture of the cookie improve during this time. Think of it as a marinating time where everything just gets better and better!!
Freezing does not work the same as chilling, so there are no shortcuts here. Learn more about chilling cookie dough in this article here.
Portioning the Cookie Dough Before vs. After Chilling
- Refrigerate the dough as a whole if you don’t have space in your fridge for scoops. Let the dough come completely to room temperature before scooping, which may take a couple hours.
- Refrigerate pre-scooped dough if you’ve got the space, and can commit to keeping the scoops well sealed in an airtight container so they won’t dry out.
- Simply bake the pre-portioned scoops straight from the fridge after the 24-72 hour chill time!
Freezing Instructions
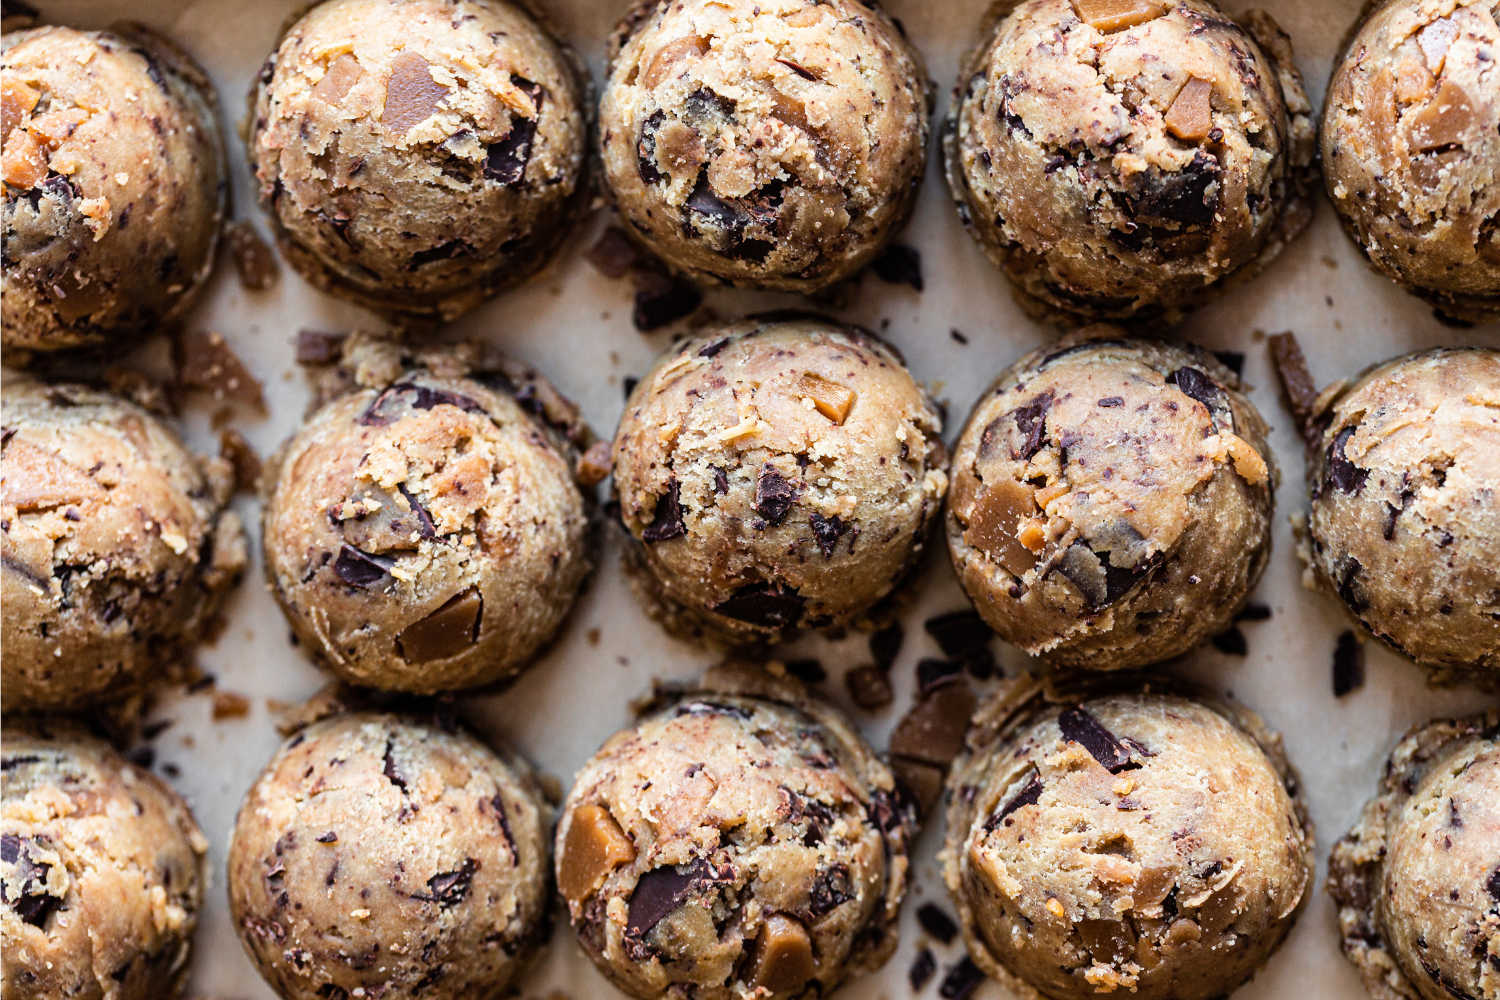
Freeze the portioned cookie dough balls after letting the dough marinate in the fridge for at least 24 hours. Place dough balls on a baking sheet and freeze until solid. Remove frozen balls of dough to an airtight container and store for up to 6 weeks.
To bake from frozen, drop the temperature to 325°F and add about 3 minutes to the baking time. Click here for my full guide on how to freeze and bake frozen dough.
FAQs
Yes, though I much prefer the crisp edges, chewy texture, and soft center 3-tablespoon-sized Browned Butter Toffee Chocolate Chip Cookies. If you want to bake smaller cookies, scoop into 1 1/2 tablespoon-sized balls and bake for 10 to 12 minutes.
No! I’ve taken the water loss that naturally occurs from browning butter into account when I designed this recipe.
Yes. The cookie will spread out too much if baked immediately after mixing the dough. I’ve gotten away with chilling for as little as 2 hours when I’ve been impatient. But longer chilling times really will improve the flavor and texture. You can always bake a few off the day you make the dough, and bake off the rest later!
You can, but you’ll be losing some of that magical chewy texture. If using all AP-flour, use 2 1/2 cups (317 grams) total.

Email This Recipe
Enter your email, and we’ll send it to your inbox.
Ingredients
- 2 sticks (227 grams) unsalted butter
- 1/2 (100 grams) cup granulated sugar
- 1 cup (200 grams) lightly packed dark brown sugar
- 1 1/2 cups (190 grams) all-purpose flour
- 1 cup (127 grams) bread flour
- 1 teaspoon baking soda
- 1/2 teaspoon baking powder
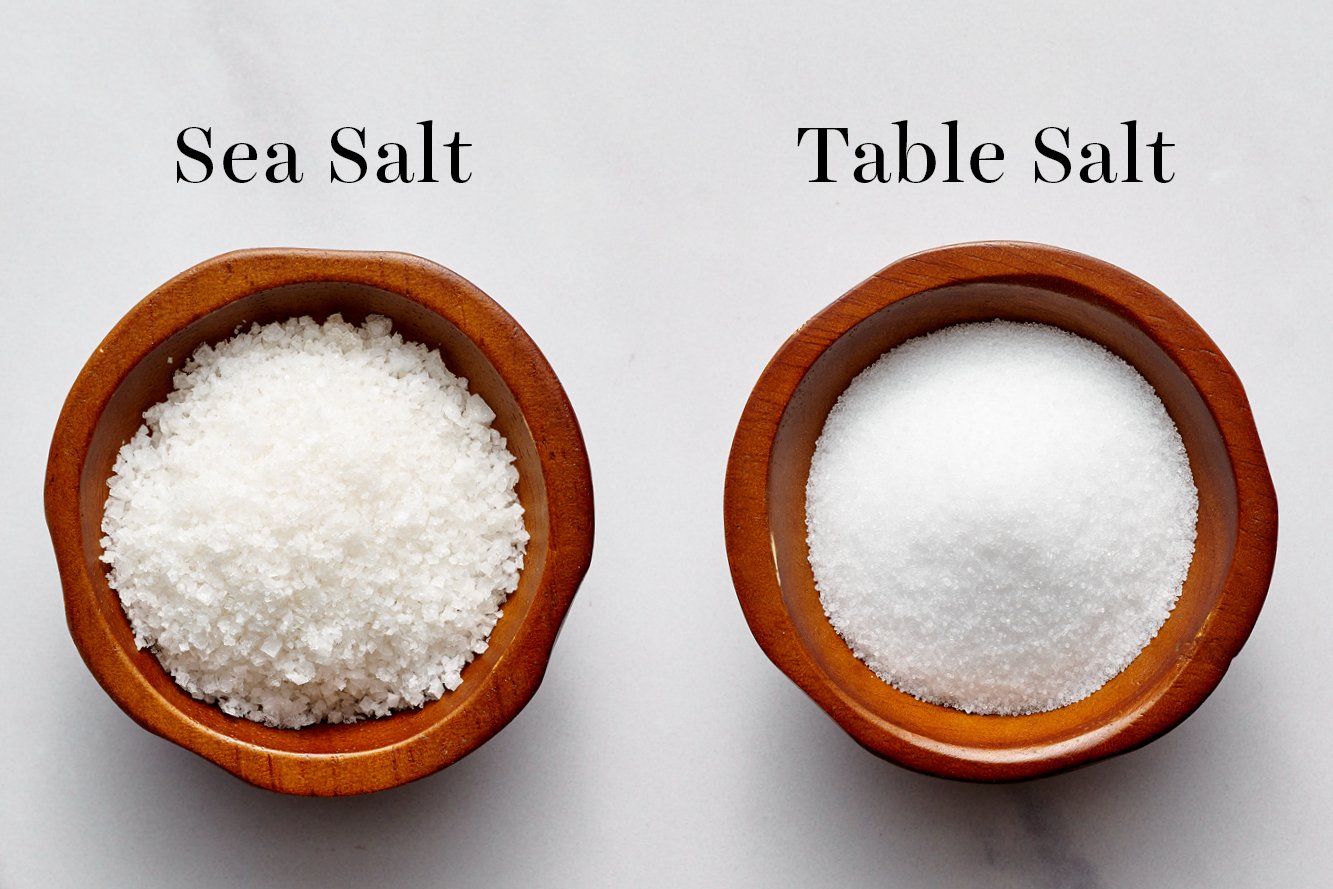
- 1 teaspoon fine sea salt
- 1 teaspoon instant espresso powder, optional
- 2 large eggs plus 1 egg yolk, at room temperature
- 2 teaspoons vanilla
- 10 ounces (283 grams) semisweet chocolate, chopped
- 1 cup
homemade toffee bits , or Heath brand - Flaky sea salt, for finishing
Instructions
- In a medium stainless steel sauté pan set over medium heat, melt the butter. Swirling the pan occasionally, continue to cook the butter. It should become foamy with audible cracking and popping noises. Once the crackling becomes quieter, continue to swirl the pan or stir until the butter develops a nutty aroma and brown bits start to form at the bottom. Once the bits are amber in color, remove from heat and pour into a mixing bowl. Be sure to keep the brown bits at the bottom of the pan as well, they hold so much flavor!
- Note: You do NOT need to measure the butter after browning, I've engineered this recipe to account for the average water loss.
- Add the granulated sugar and brown sugar to the hot butter, stirring to combine. Set aside to cool to room temperature.
- In a medium bowl, combine the flours, baking soda, baking powder, salt, and espresso powder.
- To the cooled butter mixture, whisk in the eggs, yolk, and vanilla until combined. Gradually stir in the flour mixture with a rubber spatula. Stir in the chocolate chunks and toffee bits.
- Wrap dough in plastic wrap and refrigerate for at least 4 hours, preferably 24 hours, but no more than 72 hours. You can chill the scooped dough so long as it's well sealed to avoid drying out. If you chill the entire mass of dough, let it come to room temperature so it's soft enough to scoop.
- Preheat the oven to 350ºF. Line baking sheets with parchment paper.
- Divide the dough into 3-tablespoon sized balls using a large cookie scoop and drop onto prepared baking sheets. Dough may be slightly challenging to scoop.
- At this point, you can portion the dough, place it on a baking sheet, and freeze just until solid. Remove frozen balls of dough to an airtight container and store for up to 6 weeks.
- Bake for 12 to 14 minutes, or until golden brown. Remove from the oven and immediately use a round cookie or biscuit cutter slightly larger than each cookie to gently reshape them into perfectly round, thicker cookies.
- Sprinkle flaky sea salt on top of the cookies, if desired. Let cookies cool for 2 minutes before removing to wire racks to cool completely.
- Store in an airtight container at room temperature for up to 3 days.
More Recipes You’ll Love:
- Toffee Brownies
- Hot Cocoa Cookies
- Bakery Style Chocolate Chip Cookies
- Brown Butter Dulce de Leche Cookie Cups
- Peanut Butter Toffee Chocolate Chunk Bars
- Bourbon Rye Oatmeal Chocolate Chunk Cookies
- Brown Butter Chocolate Chip Cookies
- Oatmeal Chocolate Chip Cookies
- Visit my full Cookie Recipes index for more recipes, tips, and insights into the science of cookie baking!
This post was originally published in 2014 and updated with recipe improvements, more tips, and new photos. Photos by Ashley McLaughlin.


If I’m baking these cookies from frozen, how long should I bake them for?
Hi Thao! Tessa actually linked an article in the blog post above the recipe that explains how to freeze cookie dough and how to bake from frozen 🙂 If you’re baking from frozen, you’ll preheat the oven to 20° lower than the original recipe and bake the cookies for 2-5 minutes longer than the original recipe instructions. Make sure you still chill/”marinate” the dough before freezing it (more details in the linked article). Enjoy! 🙂
I love this recipe, but I think the fact that I keep my flour in the freezer is affecting it, can someone tell me how this would affect the cookies?
Hi Andrew! Frozen flour should have little to no effect on cookies if you bring it to room temperature before baking. Cold flour inhibits rise and can yield denser, chewier baked goods, almost like whole-grain flour. You can quickly bring your flour to room temp by spreading it in a thin layer on a baking sheet and letting it sit for about 30 minutes. Also, be sure to store it in an airtight container in the freezer, not only for freshness, but also so it doesn’t pick up other flavors from the freezer. I hope that helps!
Made these with my son. Detailed directions made it fairly easy. Used milk chocolate chips at his request. Didn’t wait for butter mixture to cool enough. Chips mostly melted into dough. Loved the way they came out though.
Wow, these cookies are the best I’ve ever made or eaten! They’re phenomenal. I didn’t plan ahead, so I only chilled the dough for 4 hours, but they turned out absolutely amazing. I used the homemade toffee recipe and added roasted cacao nibs for an extra touch, which I highly recommend.
My cookie scoop must be XL because I ended up with 14 huge cookies, so I had to extend the bake time to 20 minutes. They were still phenomenal. Next time, I’ll plan ahead and let the dough rest in the fridge for the full 24 hours, although I can’t imagine them being any better.
My group chat is buzzing with compliments about these cookies. My friends even think I should start a cookie business!
Hey!
I’ve heard really great things about your recipe. Although, I’m allergic to eggs.
Do you have a simple substitute for eggs in cookies?
Hi Priyanka! We don’t test our recipes with egg substitutes, so I can’t say what may work here, sorry! Feel free to experiment and see what works for you. Good luck!
Unfortunately these came out flat as a board. Kind of a waste of 28hrs in the fridge. They seemed a bit puffed until I took them out and they fell. Also had to bake them for almost twice as long as they were still soft. Oven is calibrated, so I’m not sure what happened.
Hi PL! I’m sorry to hear that these cookies didn’t turn out as they should! Without having baked alongside you, it’s difficult to say exactly what went wrong here – but here are a few of the possible culprits:
– Were the cookies well chilled when they hit the oven? Room temperature dough tends to spread more than cold dough, so even if you chilled your dough 24+ hours, if it became too warm while your oven preheated, this could have caused over-spreading.
– What type of pan are you baking on? Different materials of pans conduct heat differently and at different speeds. Perhaps the pan you’re using isn’t conducting heat efficiently enough? Tessa discusses and shows the differences between a variety of baking pans in this article here! Also, always be sure to bake on pans that are completely cool; baking on warm pans will cause your butter to melt faster and your cookies to spread more. Never grease your pans, either; a piece of parchment paper is best – and it also requires less cleanup, so it’s a win-win!
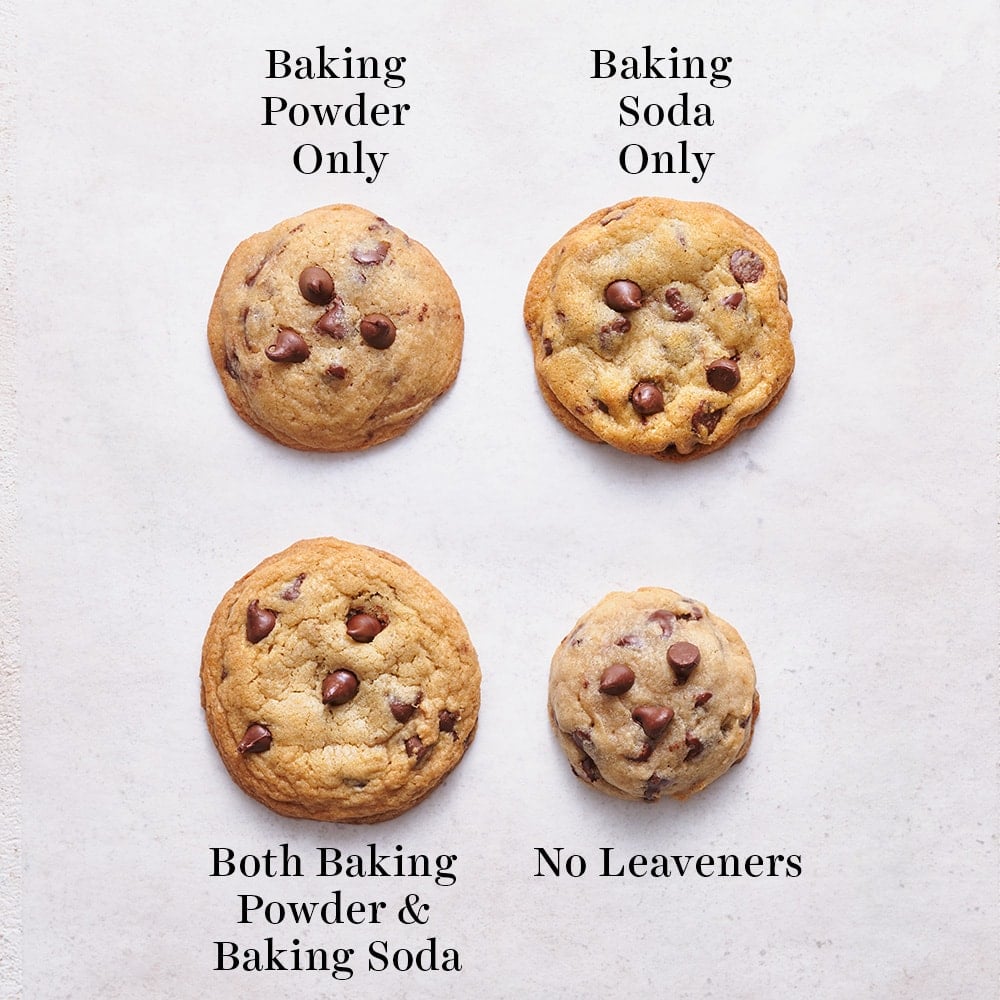
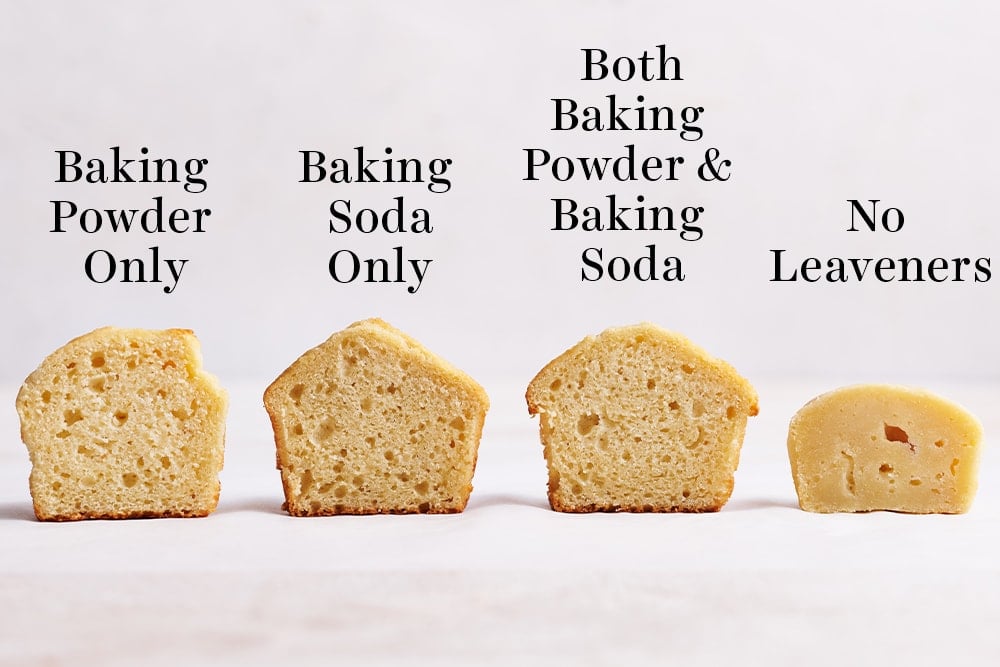
– How old are your leavening agents? If your baking soda/powder are not fresh, they won’t do their jobs your cookies can have all sorts of issues – including falling after baking. Baking powder and baking soda can also lose their effectiveness long before the expiration date on the packaging. Tessa talks about the science behind leavening agents, and how to test for leavener freshness, in this article here.
– Are you baking at high altitude? this King Arthur Baking resource has some great tips – perhaps your cookies would benefit from some of their suggested adjustments, such as adjusting the leaveners or adding a touch more flour.
Hopefully something here helped! Feel free to reach back out to us with any further questions – we are always happy to help!! 🙂
Cooking them twice as long would obviously ruin the cookies, but im sure its the recipes fault.
Is there anything detrimental about using Bakers Joy or another baking spray instead of parchment paper? I love parchment paper but last time I baked, I ran out, so I used baking spray on my Nordic Ware pans and the cookies came out really good, with a nice texture. Just wondered how you feel about baking spray.
Hi Denise! If that’s how you prefer to make cookies, then you can absolutely do that! We prefer parchment paper for a few reasons: firstly, it’s easier and quicker cleanup, so that’s always a win! Secondly, greasing a pan (even if using a specific baking spray like Baker’s Joy) can cause the bottoms of cookies to burn, and also encourages more spread as the cookies bake, so your cookies may turn out thinner than if you were to bake on parchment. Parchment or silicone mats also give cookies something to sort of ‘grip’ to as they bake, to encourage a thicker cookie. Again, if that’s what works for you and this yields a cookie you love, then by all means keep doing it – this is just why we always recommend using parchment paper. I hope that helps! Happy baking 🙂
Hi! It’s my first time making these cookies, I have them in the fridge, but do they have to chill for 24 hours? Or can I do it for an hour or so?
Hi Jacqueline! I know it’s hard, but unfortunately, 24-72 hours is necessary for this recipe! I promise, it’ll be worth the wait! More details on why this is so important can be found in the Tip Box, above the recipe 🙂 Let us know what you think of these cookies once you have given them a try!
I can see why the hype over these cookies, they are really so tasty.
I love how well explained the recipe is, and appreciate the tips – they really help.
I’ve made these exactly as described, using the recommended toffee recipe (the only hard part was getting the correct temperature because my thermometer isn’t the proper candy one, so I had to hold it at the same time I whisked, and the liquid wasn’t quite deep enough to make it easy haha but I did it), and the result was worth it.
So far I haven’t baked the entire batch, only two cookies (at different times) because I wanted to see how my oven would fare and experiment with baking times to achieve my preferred texture (crisp around the edges but chewy middle, not gooey).
I will say that, right out of the oven, the cookie is still very very soft, so I found I really needed to let it cool completely to be able to handle it without it coming apart.
At around 54-58g per cookie (I don’t really have a big 3T scoop so I just used a scale, but still had some variance because I didn’t feel like going through the trouble to be completely exact) I have to bake them for 14-15 min to not get a completely gooey middle.
Can these be made into cookie
bars?
Hi Sherry! We haven’t tried that, but feel free to experiment and let us know how it goes! 🙂
Am I able to make these with gluten-free flour?
While Tessa and our team don’t bake gluten-free, other readers have shared their success in the comments using Bob’s Red Mill Gluten-Free 1-1 Baking Flour. Let us know how it goes if you give it a try 🙂
Hi! I love this recipe, but every time I make it the chocolate chips never fully melt and look nothing like the pictures. What chocolate did you use for this recipe? Thanks!
Hi Veronica! So glad to hear that you enjoy these cookies! Chocolate chips contain ingredients to prevent them from melting fully, so they stay intact in cookies and other baking. We recommend chopping up a bar of baking chocolate in this recipe, for more marbled, gooey chocolate bits throughout the cookie! We typically use Ghirardelli chocolate, or Trader Joe’s baking chocolate is another great option. I hope that helps! Happy baking 🙂