


Tessa’s Recipe Rundown
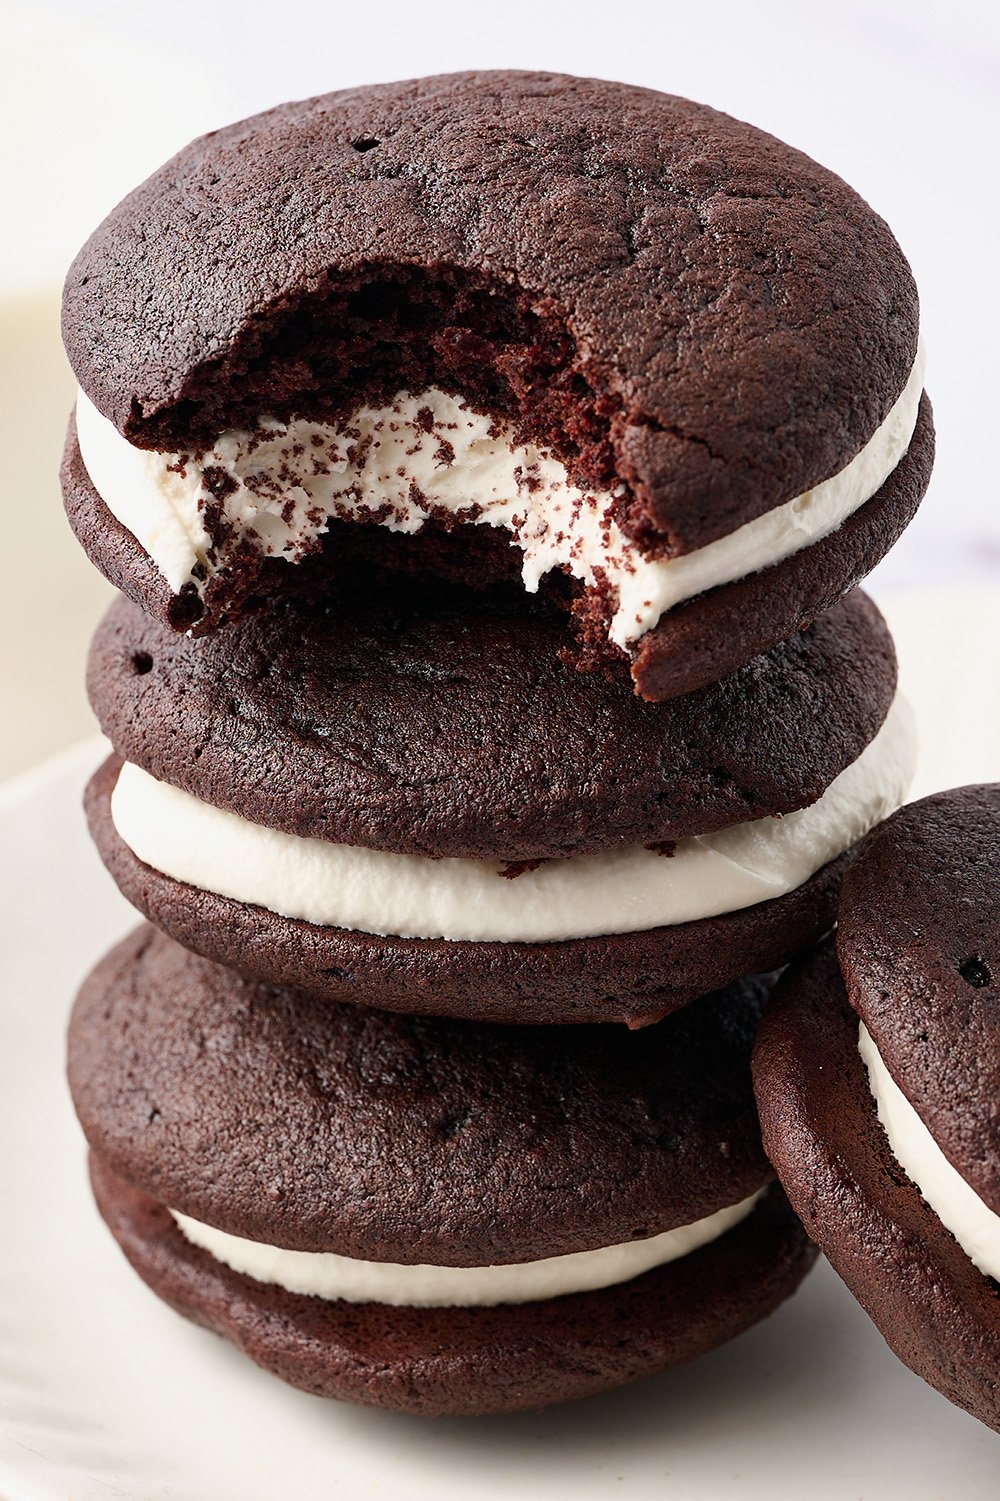
Taste: The cocoa cakes and marshmallow filling are SO nostalgic.
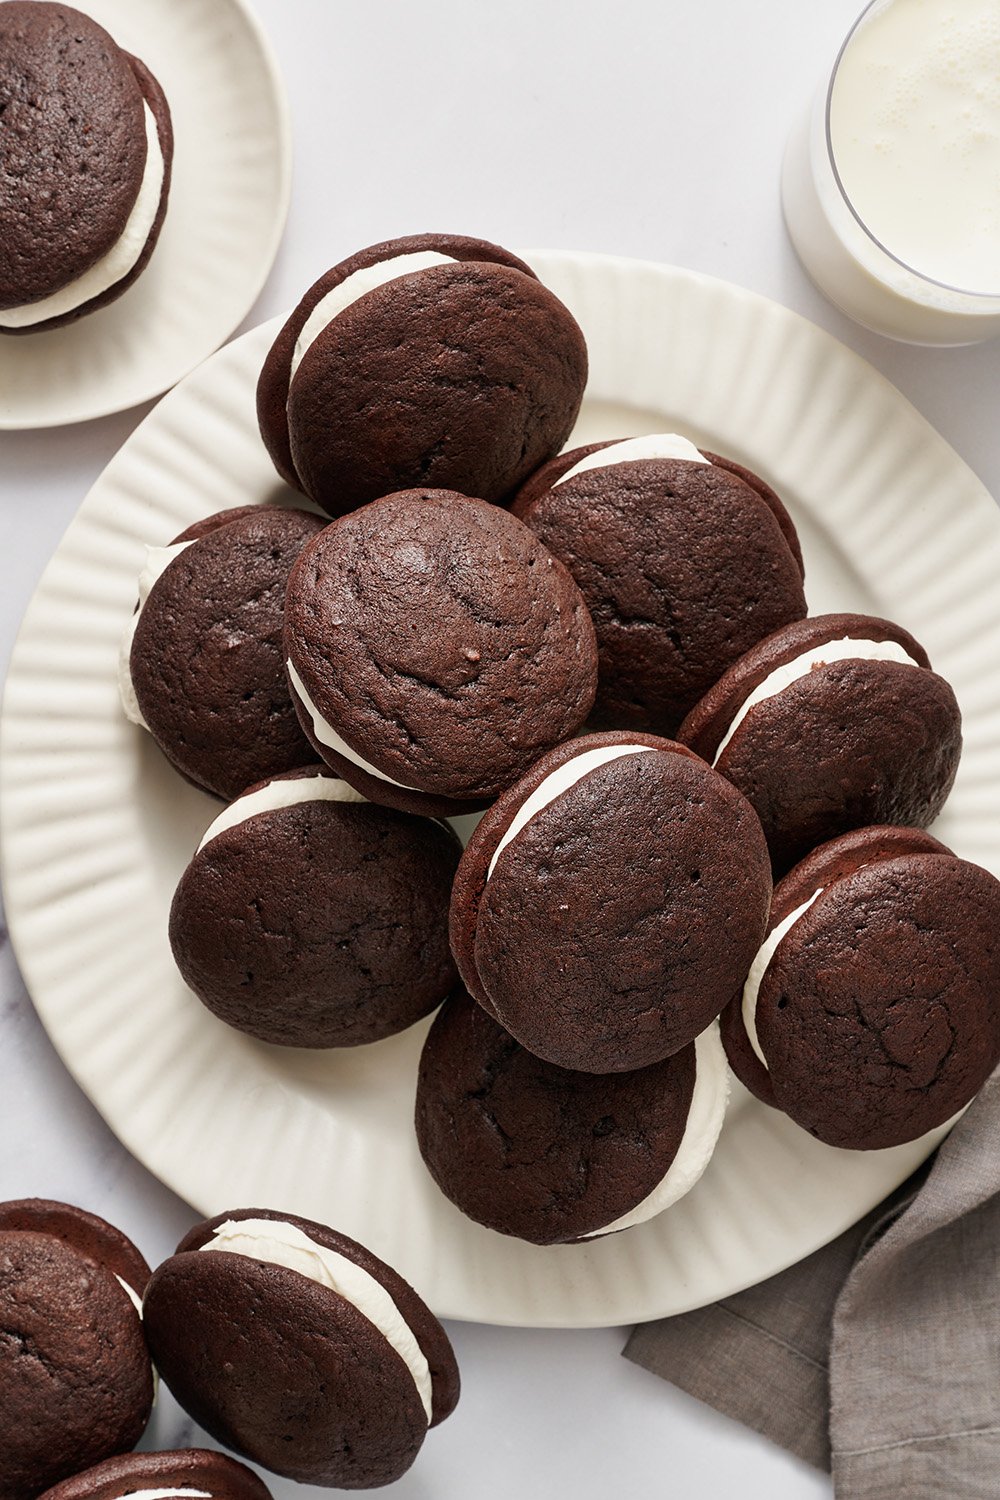
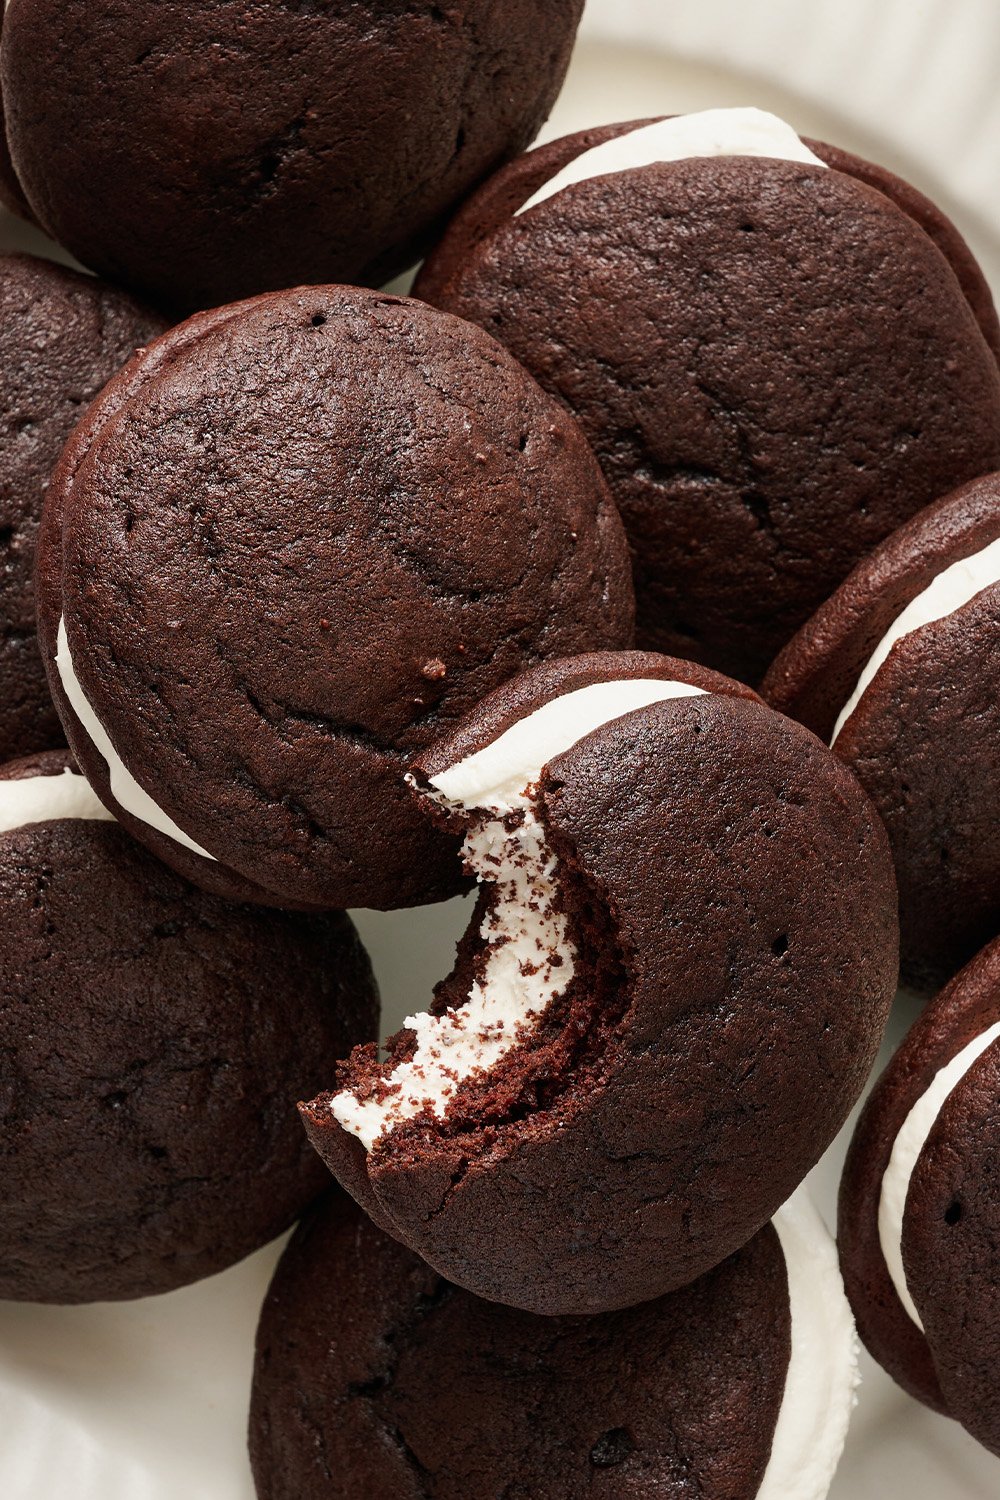
Texture: The whoopie pies are cakey while the filling is smooth and thick.
Ease: As long as you have a stand or hand-held mixer, this recipe is super easy. It does dirty a few dishes, but it’s totally worth it!
Why You’ll Love This Recipe: Simple, delicious, crowd-pleasing flavors in an easily-transportable package.
This post may contain affiliate links. Read our disclosure policy.


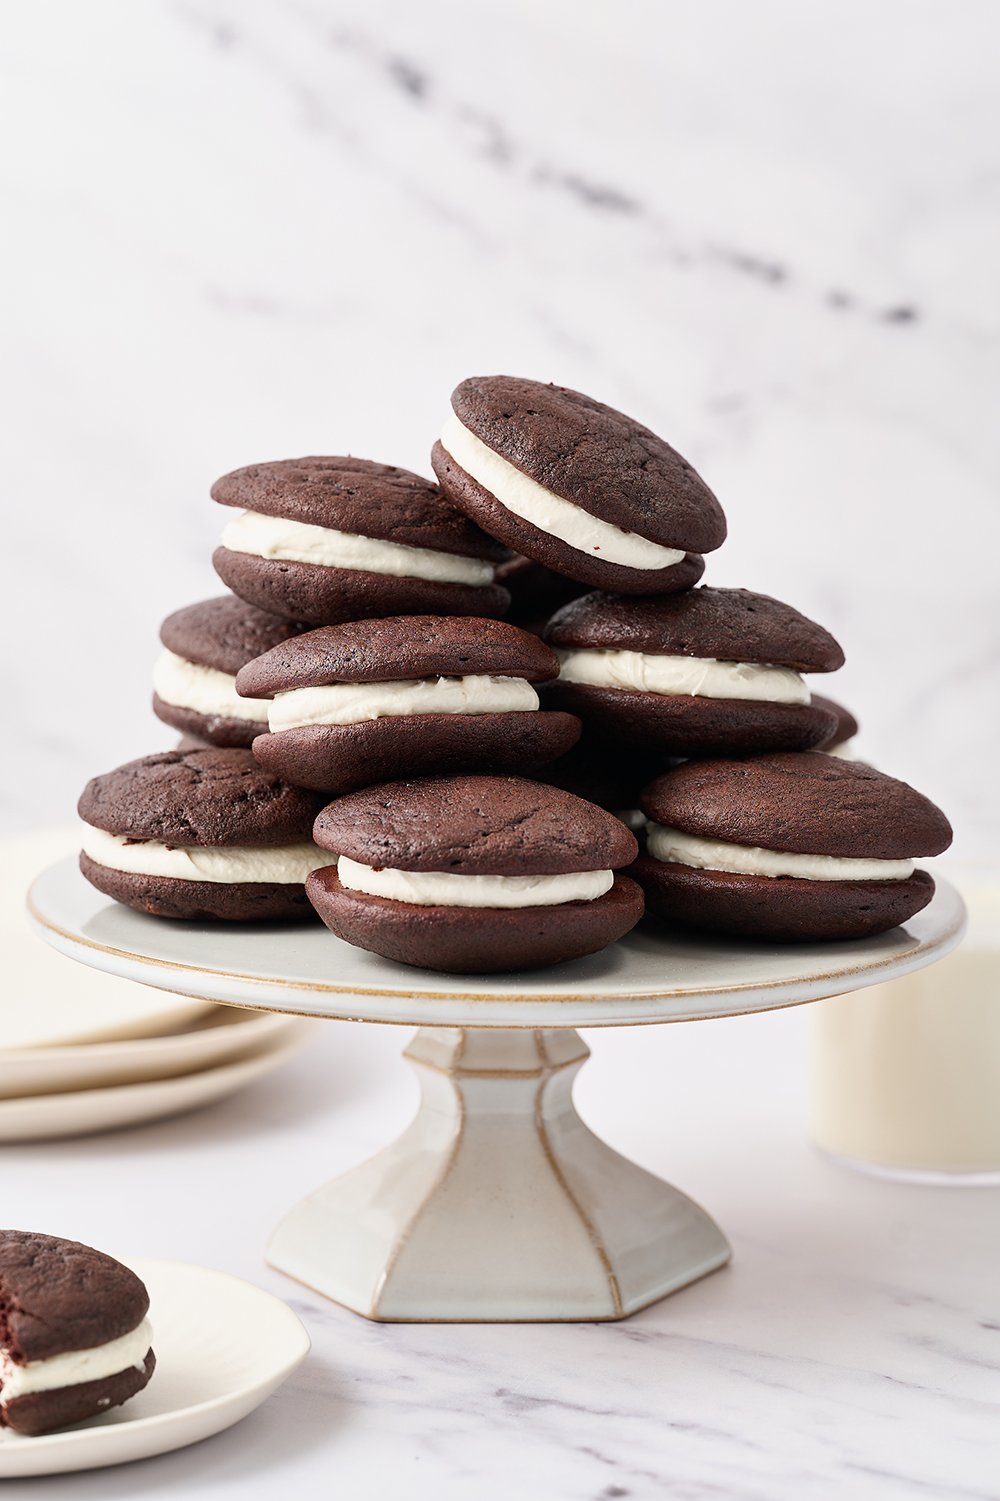
Classic Whoopie Pies are like little cake sandwiches. What could possibly be better than that!?
While testing this recipe, I took some to our friends’ house to share. Mere moments after arriving, their two kids both had a Whoopie Pie in each hand and were chowing down. I guess we had a hit on our hands!
Typically, I do not prefer a cakey texture in my desserts. I prefer my cookies to be chewy (like my Bakery Style Chocolate Chip Cookies) and my brownies to be fudgy (like my go-to Brownie Recipe) … but there’s something about a Whoopie Pie that just makes me feel like a kid again.
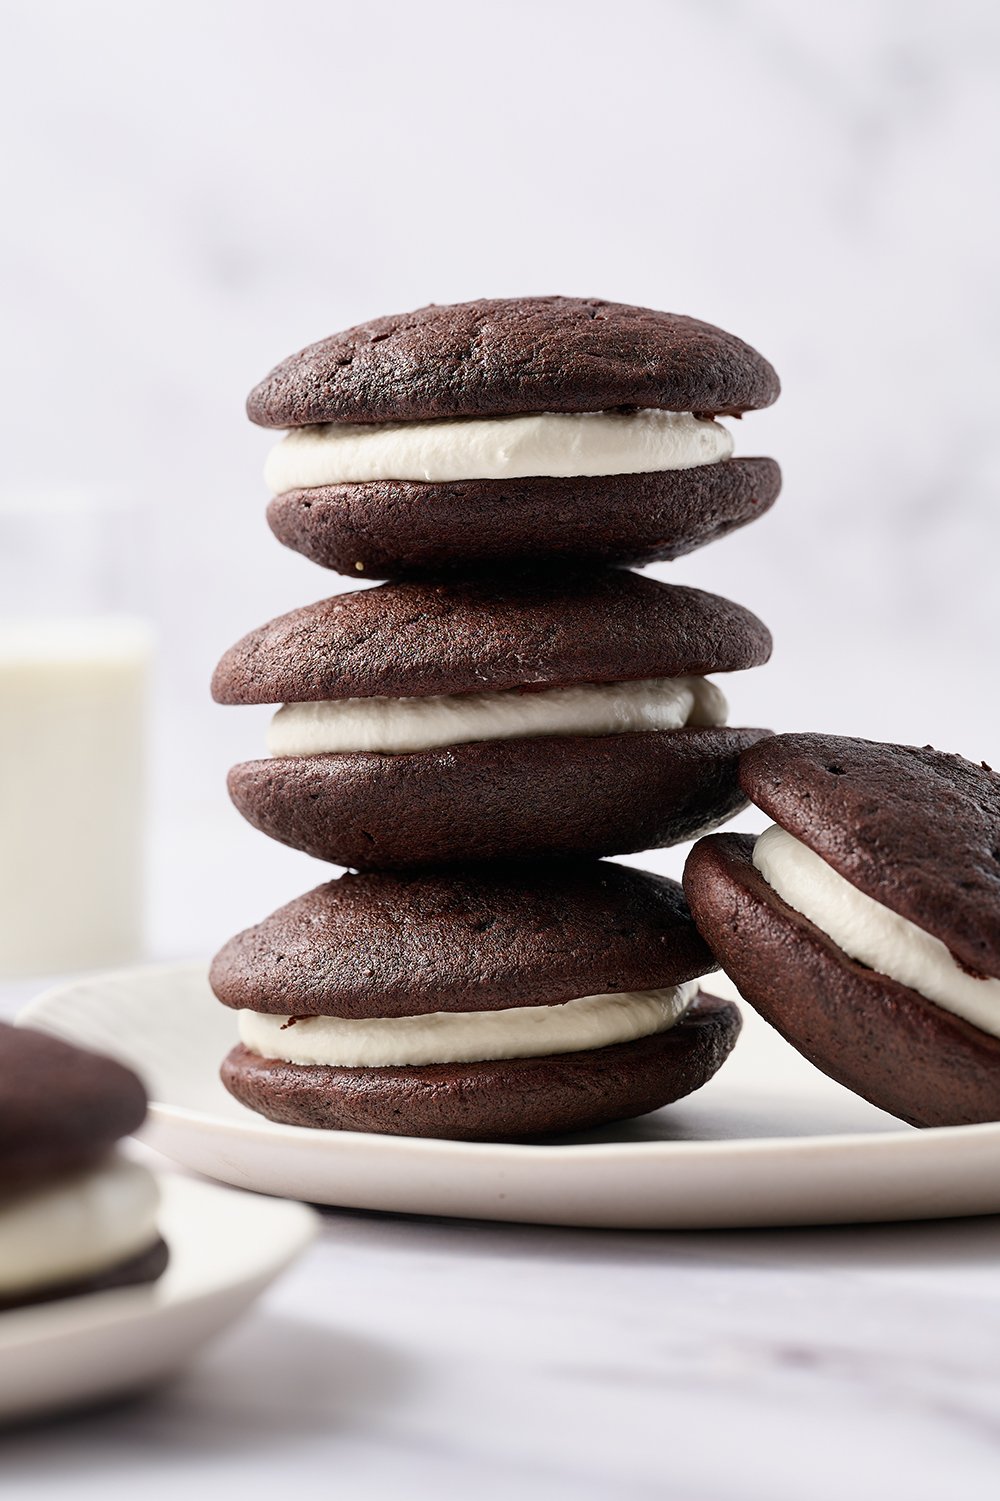
They’re slightly chewy around the edges but soft and cakey throughout. Not to mention each ‘pie’ is filled with thick, luscious marshmallow fluff frosting.
What’s not to love about that?

Sprinkle of Science
How to Make Whoopie Pies
The Cocoa Powder
I recommend using Dutch-process cocoa because it provides a deep color, more moisture, and a flavor that I think complements the marshmallow filling perfectly. But why am I using Dutch-process cocoa with baking soda for this recipe? Shouldn’t it be baking powder?


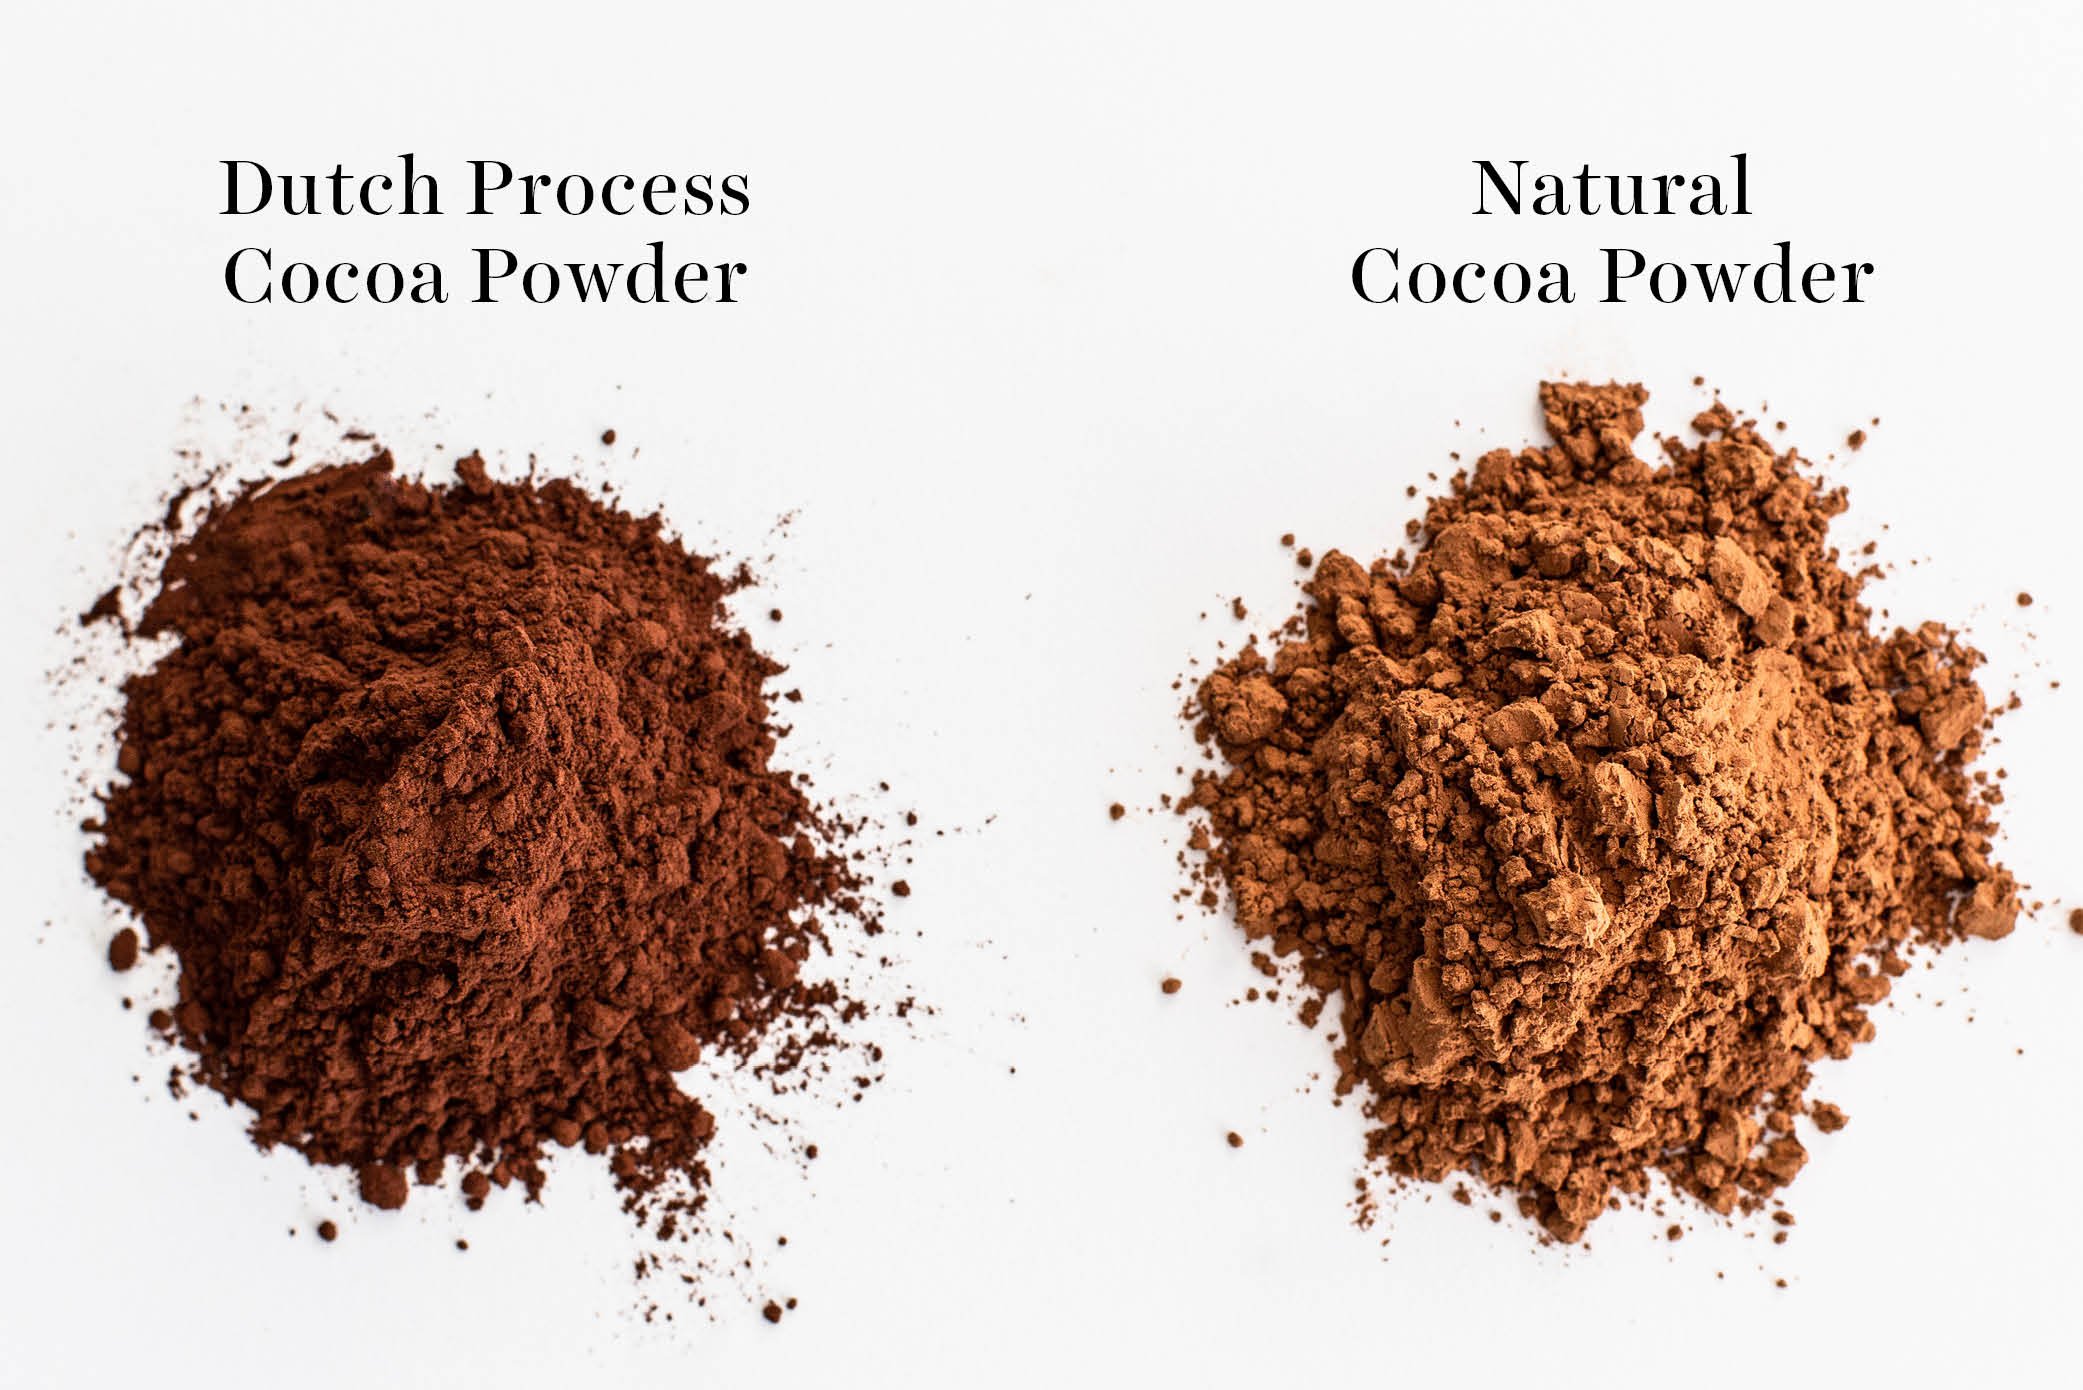
Dutch-process cocoa has more fat than most grocery store natural/unsweetened cocoa powder products, which is what we want for flavor and moisture in this specific recipe. The buttermilk in this recipe activates the baking soda.
If you must use natural cocoa powder, go ahead – just note that your Whoopie Pies may be lighter in color and slightly dryer in texture. You can learn more about the differences between cocoa powders here.
You can typically find Dutch-process cocoa at grocery stores or many gourmet food stores like Sur la Table, Williams Sonoma, or Penzeys. I actually order a big container on Amazon because it’s such a great value!
Tip: Measure Your Ingredients Correctly!
If you add too much flour or cocoa powder, you may end up with dense, hard Whoopie Pies. This happens super easily when measuring with cups. I highly recommend using a digital kitchen scale, but if you don’t have one, use the spoon and level method instead.
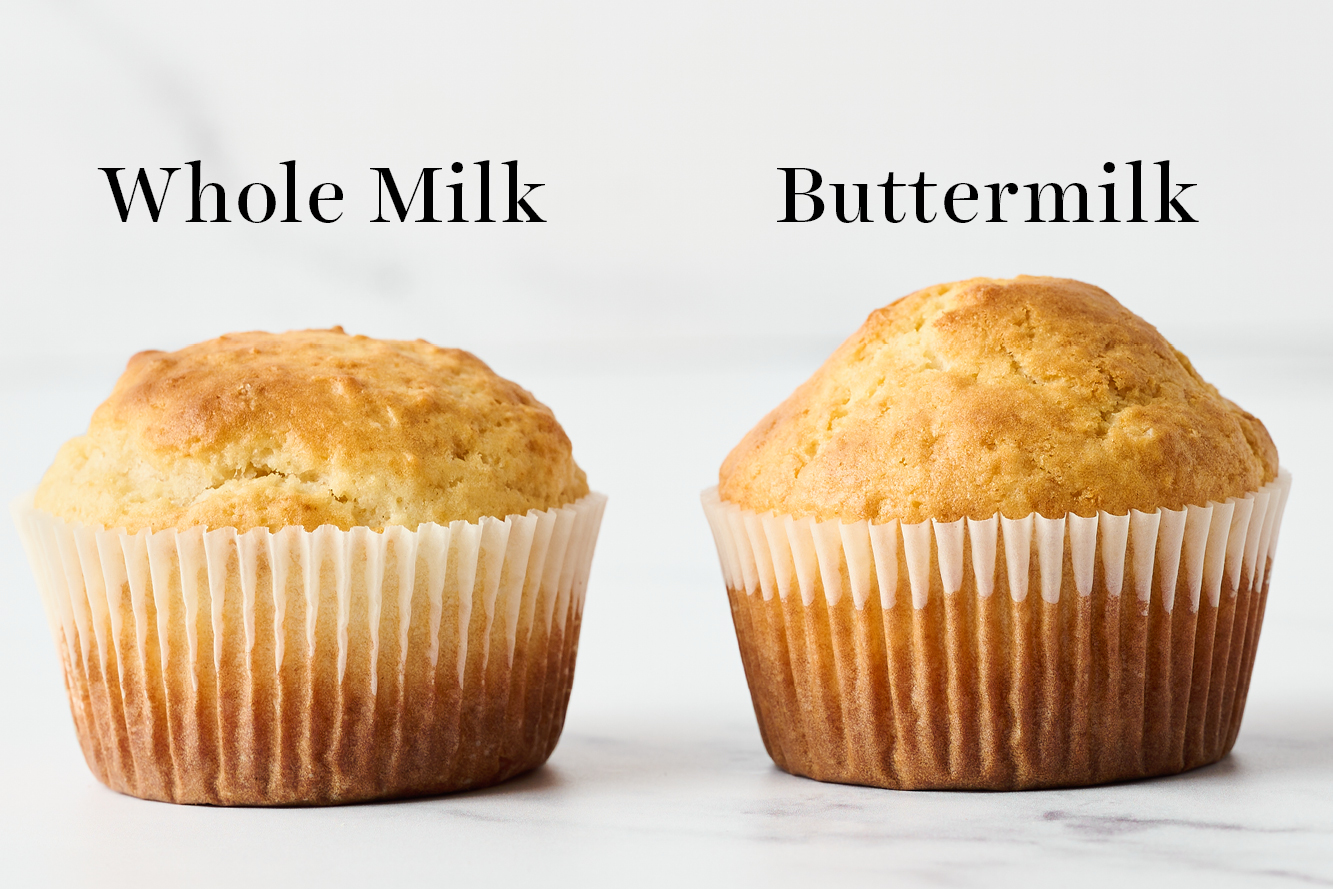
The Buttermilk
Buttermilk works best in this recipe to provide rich and tender ‘cakes.’ We need it not only for flavor and moisture, but to help the leavening action by activating the baking soda. I don’t recommend using a buttermilk substitute. You can learn more about the science of buttermilk, and see baked goods made with buttermilk substitutes, in my Buttermilk 101 article.
The Butter
Always use unsalted butter in baking. It’s important that your butter is at a cool room temperature. Your sticks of butter should give slightly when pressed with your finger but still hold its shape. To be precise, your butter should be 67°F, or even a couple degrees cooler if your kitchen is very warm.
The Sugar
We are using dark brown sugar for additional moisture, but you can use light brown instead if needed. Whatever you do, don’t reduce the sugar. Learn about everything sugar does in baking here.
The Egg
We just need one large egg for this recipe, at room temperature. Don’t use extra large eggs or medium eggs, as this will alter the chemistry of the recipe.
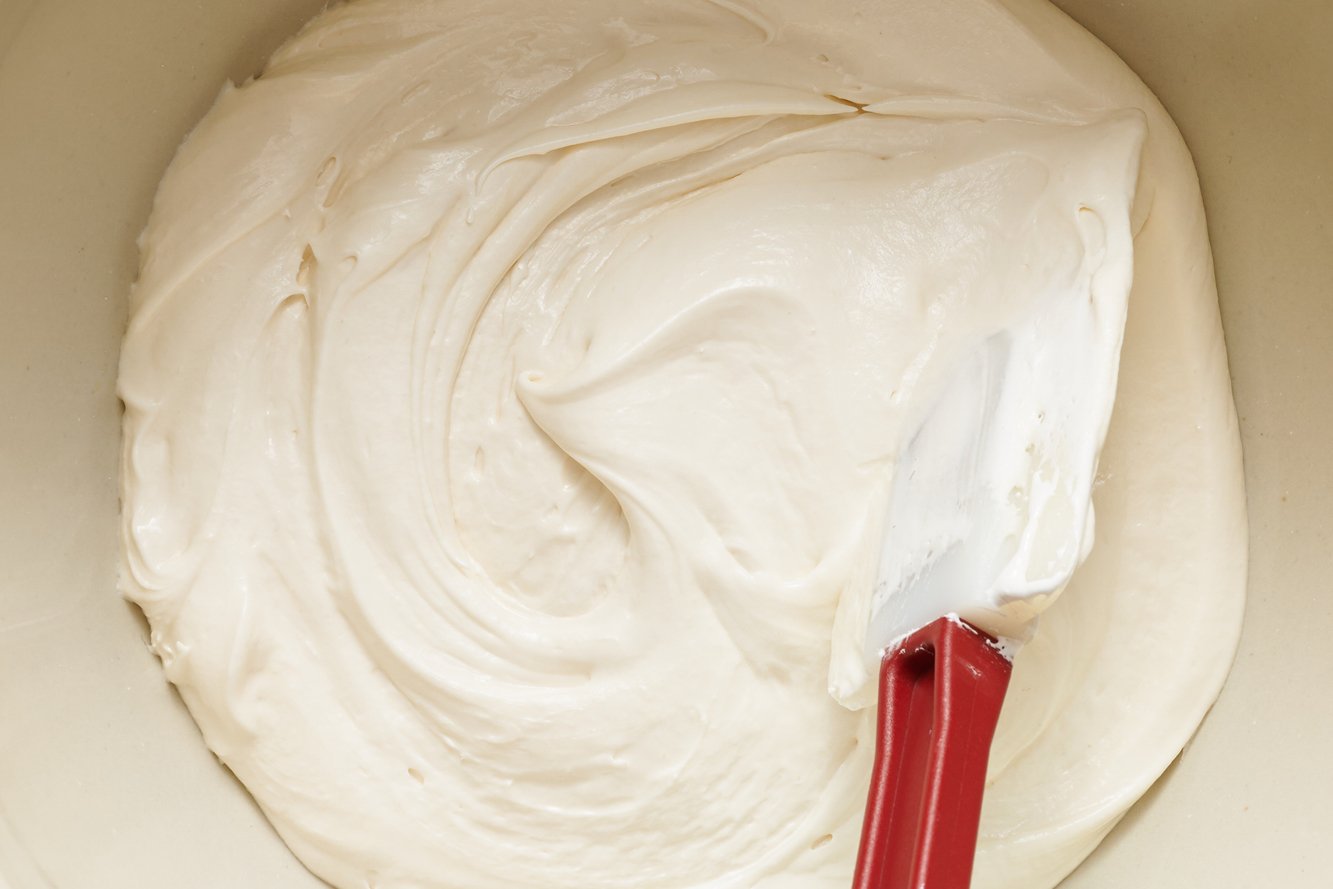
The Marshmallow Creme
This is an easy, quick way to make this filling full of marshmallow flavor, without having to make your own marshmallow or mess with melting down regular marshmallows. You’ll need either one of the larger 13-ounce containers or two of the smaller 7-ounce ones. Marshmallow Creme or Marshmallow Fluff work here. Marshmallow creme has a slightly thinner consistency than fluff, so you may need to add a bit more powdered sugar to sufficiently thicken it up.
How to Portion Out the Whoopie Pies & How to Fill Them
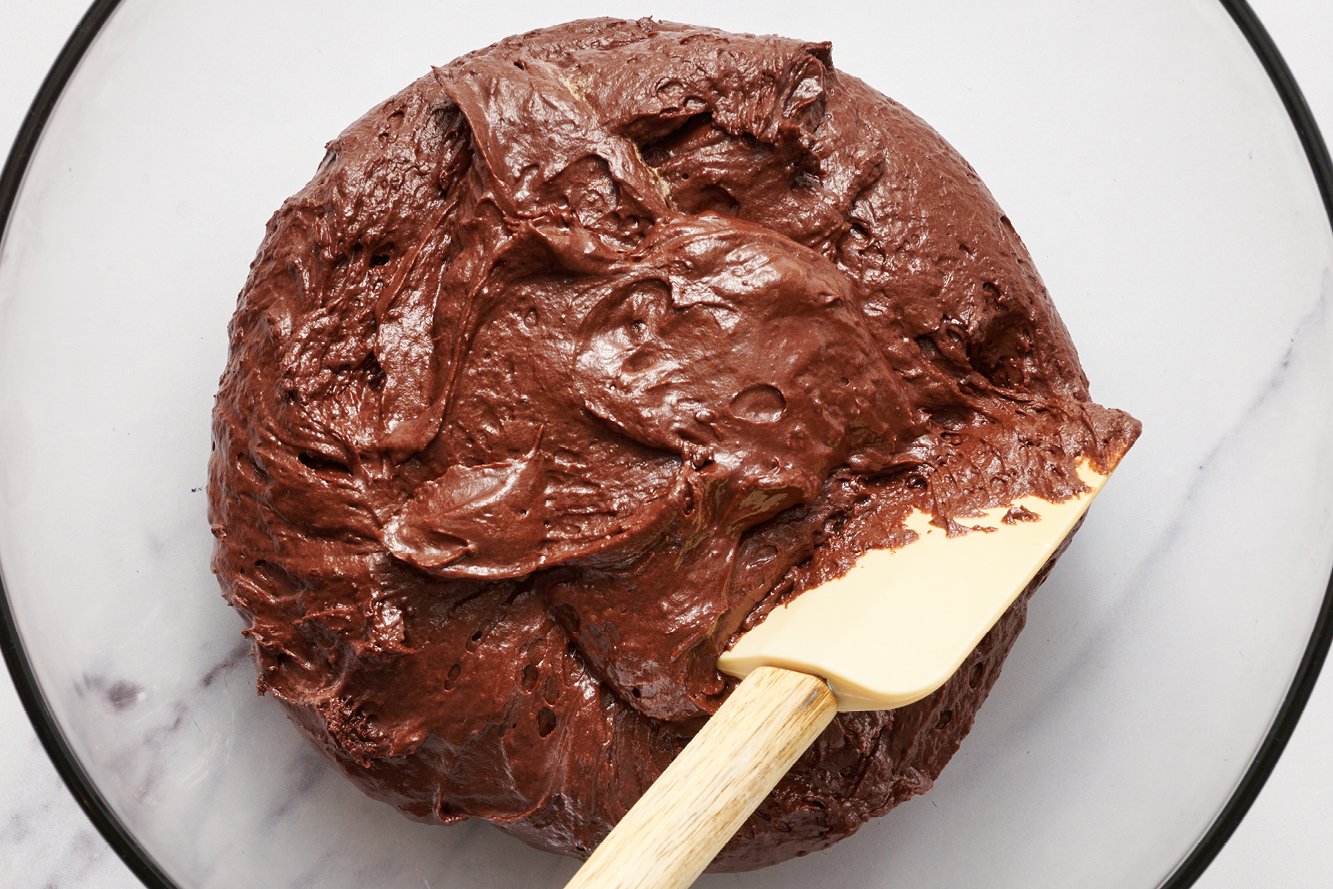
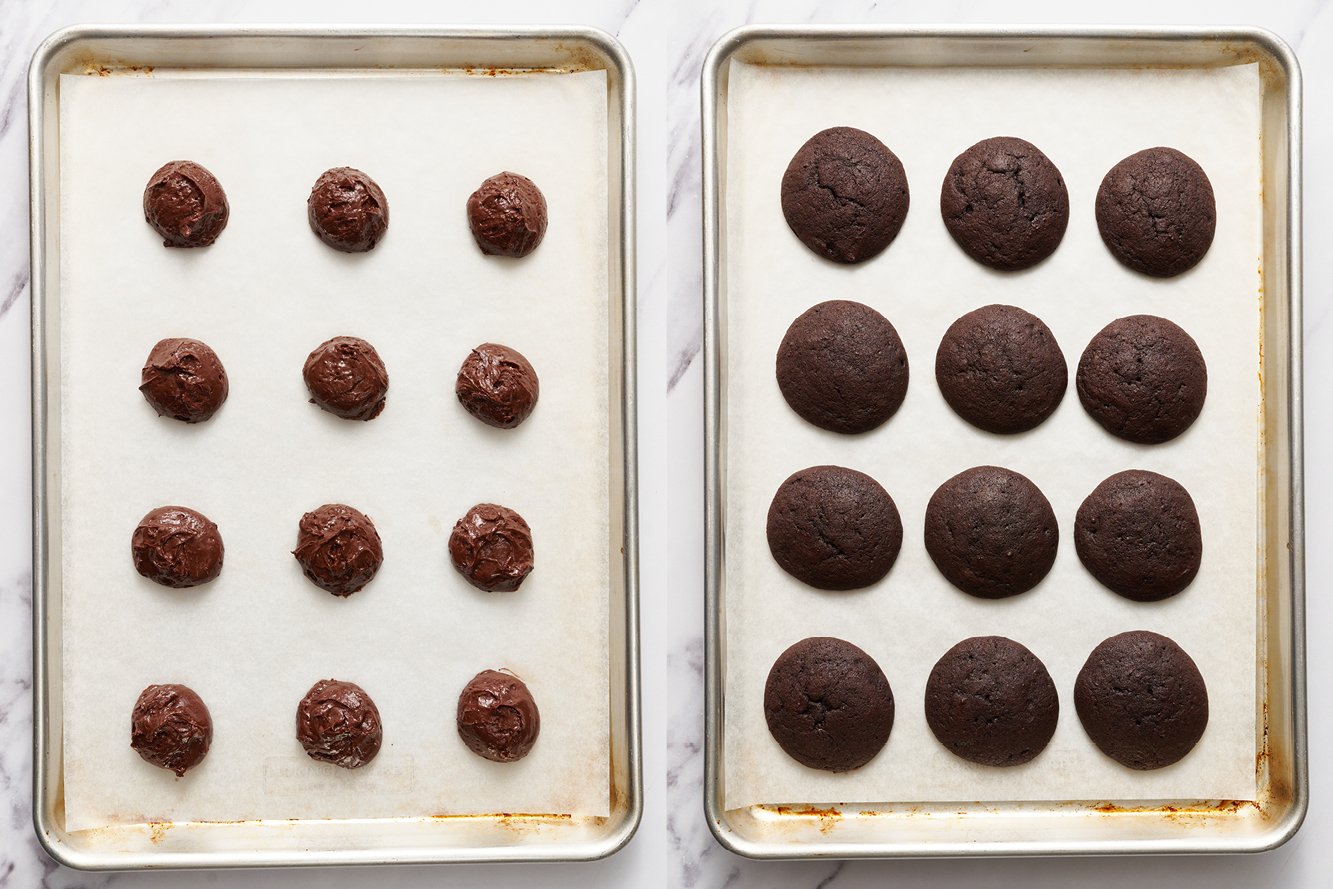
This Whoopie Pie batter is similar in consistency to a very thick cake batter. My favorite way to portion these out is to use my medium cookie scoop (1.5 tablespoons), which not only creates perfectly consistent Whoopie Pies that bake evenly, but it also makes quick work of portioning out the batter/dough.
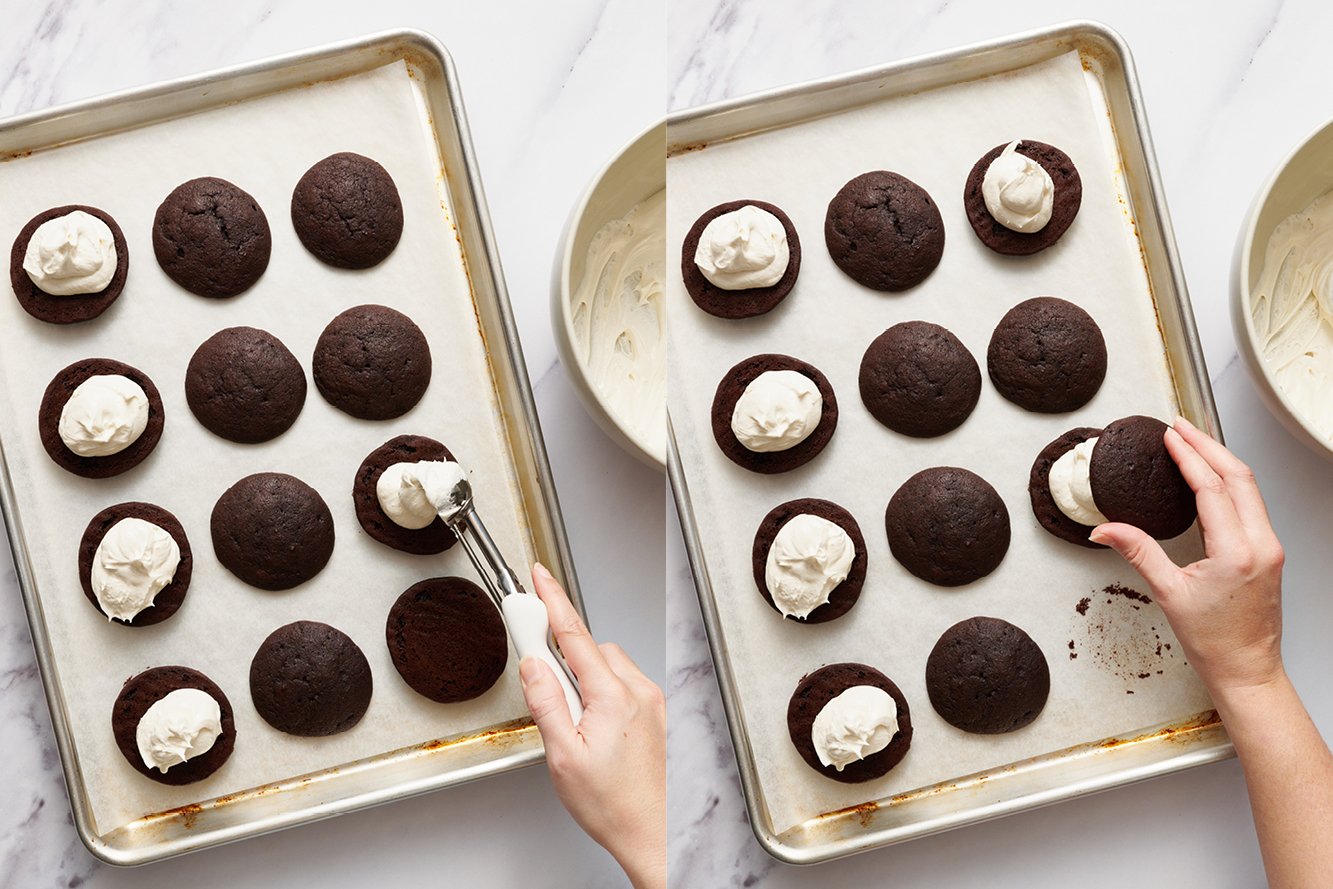
The same scoop also makes easy work of adding the marshmallow creme filling, but if you prefer, you can pipe it on to half the Whoopie Pies using a disposable piping bag and a large round tip, before sandwiching with the other half of the Whoopie Pies.
If your mounds of batter are misshapen, your ‘pies’ will not bake up as evenly round. Use a spoon to re-shape the batter into more even circles before baking if you want them to be picture perfect!
Whoopie Pie FAQs
Despite the name, Whoopie Pies aren’t pies at all! The base is neither cake nor cookie. The texture is somewhere between the two. I fill mine with marshmallow creme frosting, but you could also use Buttercream or Cream Cheese Frosting.
Originally created in either New England or Pennsylvania (the origins are unclear), they are also known as ‘gobs.’ The store-bought varieties are often dry and overly sweet… much better to make them from scratch!
Pro tip: store these in the fridge and enjoy chilled, for maximum fudgy deliciousness.
Store at room temperature in an airtight container for up to a day, or in the fridge for up to 4 days. If transporting, chill the whoopie pies in the fridge for at least an hour before transporting, as refrigeration makes them firmer and less fragile. Serve Whoopie Pies chilled for a deliciously fudgy texture.
Yes! I recommend placing the Whoopie Pies on a baking sheet in a single layer and freezing for an hour or so, until just solid enough to prevent them from sticking together. Then, simply place in a ziptop bag or an airtight container in the freezer for up to 1 month. Thaw for a few hours or overnight in the fridge or at room temperature (either is fine) before serving.
More Recipes You’ll Love:
- Mint Chocolate Whoopie Pies (perfect for St. Patrick’s Day or Christmas!)
- Homemade Oreo Cookies
- Dutch Apple Pie With Caramel Streusel Topping
- Best Ever Chewy Brownies
- The Best Chocolate Cupcakes
- Hostess Cupcake Cookies

Email This Recipe
Enter your email, and we’ll send it to your inbox.
Ingredients
For the Chocolate Whoopie Pies:
- 1 2/3 cups (212 grams) all-purpose flour
- 2/3 cup (57 grams) Dutch-process cocoa powder
- 1 1/2 teaspoons baking soda
- 1/2 teaspoon fine sea salt
- 1 stick (113 grams) unsalted butter, at cool room temperature
- 1 cup (200 grams) lightly packed dark brown sugar
- 1 large egg, at room temperature
- 1 teaspoon vanilla extract
- 1 1/4 cups (296 grams) buttermilk, at room temperature

For the Marshmallow Filling:
- 297 grams marshmallow creme fluff (a little less than 1 13-ounce container)
- 15 tablespoons (212 grams) unsalted butter, at cool room temperature
- 1 cup + 2 tablespoons (140 grams) powdered sugar, sifted
- 1 ½ tablespoons vanilla extract
- ½ teaspoon fine sea salt
Instructions
For the Whoopie Pies:
- Preheat oven to 375°F. Line large baking sheets with parchment paper.
- Sift the flour, cocoa powder, baking soda, and salt into a medium bowl.
- In the bowl of an electric mixer fitted with the paddle attachment, beat the butter and brown sugar on low speed until combined. Increase speed to medium high and beat for 3 minutes, or until light and fluffy. Scrape down the sides of the bowl. Add the egg and vanilla and beat on medium-high speed for another 3 minutes, or until very well combined.
- Add half of the flour mixture then half of the buttermilk to the batter and beat on low until combined, scraping down the sides and bottom of the bowl as necessary. Add remaining buttermilk and flour, beating until combined. Mixture will be fluffy and slightly sticky like a very thick cake batter.
- Use a medium 1 ½-tablespoon spring-loaded scoop to drop mounds of batter onto prepared baking sheets, spacing 2 inches apart. Bake for 11 minutes, or until pies spring back slightly when pressed gently and appear dry on top. Let cakes cool on pans for 5 minutes before moving to a wire rack to cool completely.
For the filling:
- In the bowl of an electric mixer, beat the marshmallow creme and butter on low speed until combined. Scrape the sides and bottom of the bowl. Mix in the powdered sugar, vanilla, and salt on low speed until combined then increase to medium high and beat until very smooth, about 3 minutes.
To assemble:
- Use a medium 1 ½-tablespoon spring-loaded scoop to dollop marshmallow filling on the flat side of half the whoopie pies. Sandwich gently with the remaining whoopie pies.
- If transporting, chill the whoopie pies in the fridge for at least an hour before transporting to make firmer and less fragile. Serve chilled for a more fudgy texture. Store at room temperature in an airtight container for up to a day or in the fridge for up to 4 days.
This post was originally published in 2012 and updated in 2023 with new photos and recipe improvements. Photos by Joanie Simon.


i cannot wait to make them
Can you freeze the whoopie pies? I’m doing an event and would like to make them ahead of time.
Yep! See Tessa’s instructions in the FAQs just above the recipe 🙂 Hope they’re a huge hit!
New favorite recipe! Came out great and every one loved them. Definitely recommend keeping them in the fridge, mine melted a bit in the July heat, but still tasted great even when it went from finger food to needing a plate and fork haha
I would like to try and make this recipe for a bake sale at our local moose Lodge but I need to know about how many it would make per batch thank you
When I made this recipe it made 17 sandwiches.
How many whoopie pies does this recipe make
I made 17
Awesome and baked up so fast!!
Changes i made:
Used 1:1 KA measure for measure GF flour instead of AP flour. Received rave reviews but next time i will try 10 grams less flour
Used salted butter AND added the salt
Used a cold egg
Made buttermilk from instant buttermilk powder and water
Used non Dutch processed cocoa
Added small amount extra vanilla extract
Didn’t alternate adding buttermilk and dry ingredients to the butter and egg mixture
Baked at 350 with convection
All of this was perfect
To the filling i used salted butter again but only added half the salt called for. Perfect
I also added extra vanilla extra and regret that. Stick to the recipe for the vanilla extract in the filling
I looked for the recipe that had the most reviews and so glad i chose this one. I very much prefer recipes that give mass of ingredients instead of volume and this one delivered AND was not over complicated. Very very tender and soft and very tasty!!!!! Not too sweet
Would I be able to easily swap the dutch processed cocoa powder with black cocoa powder? Do you think it would result in a more Oreo tasting pie?
I had a lot of hope in these, but they came out crumbly and misshapen.
Sorry got cut off. Wilbur Chocolate in Lititz Pa now has mailorder. Best chocolate i have ever used. Moved from Lancaster County to Bradenton, Florida but still go back for chocolate!!