




Tessa’s Recipe Rundown
TASTE: Perfectly balanced sweetness with a hint of vanilla and almond, for that quintessential Christmas cookie flavor.
TEXTURE: These hold their shape perfectly while baking without getting too hard or crispy.
EASE: Super easy. This dough is a dream to work with.
WHY YOU’LL LOVE THIS RECIPE: It’s so foolproof it’ll become a holiday tradition!
This post may contain affiliate links. Read our disclosure policy.











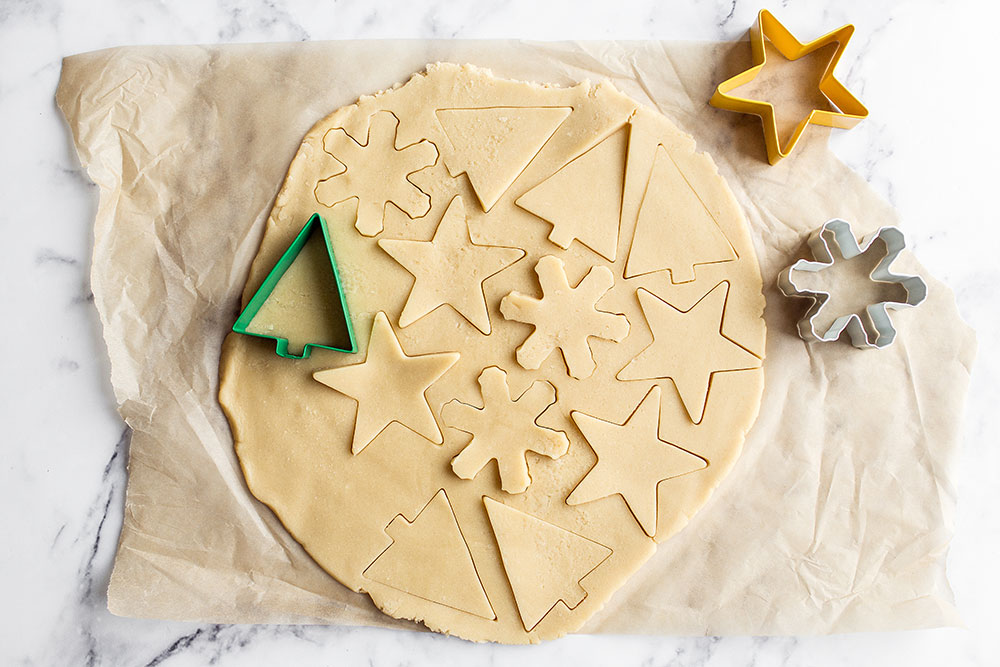
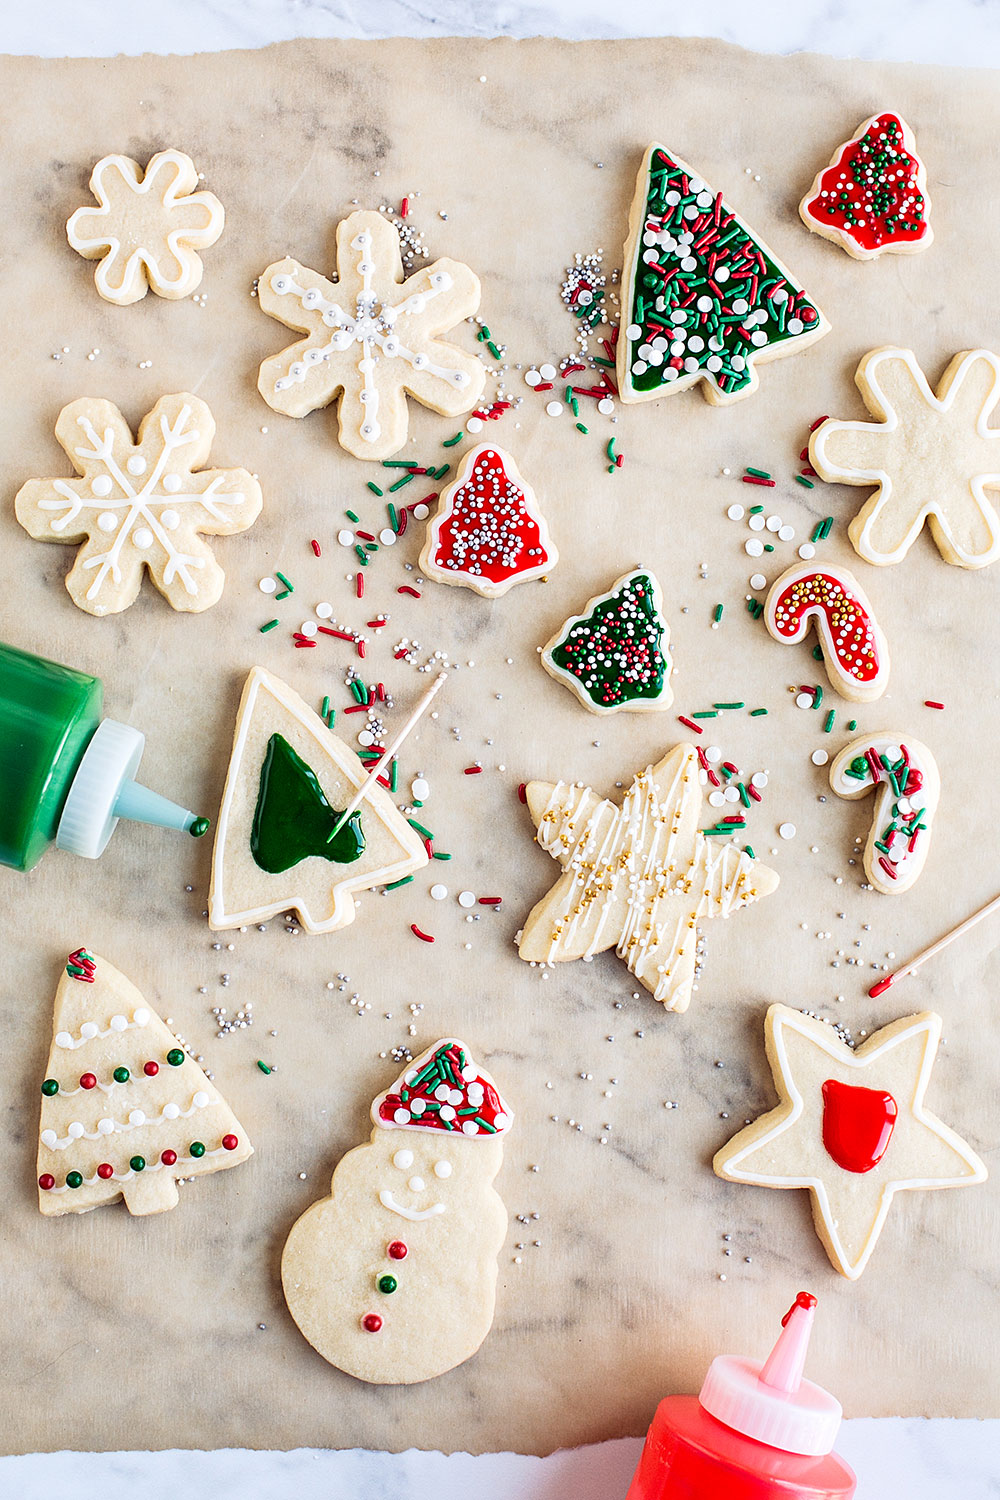
This simple cut-out sugar cookie recipe is a joy to work with. The dough is almost like rolling out Play-Doh. That’s because you roll the dough out first before chilling it. I find it’s SO much easier this way and makes it so you can have little ones join in on this festive baking project.
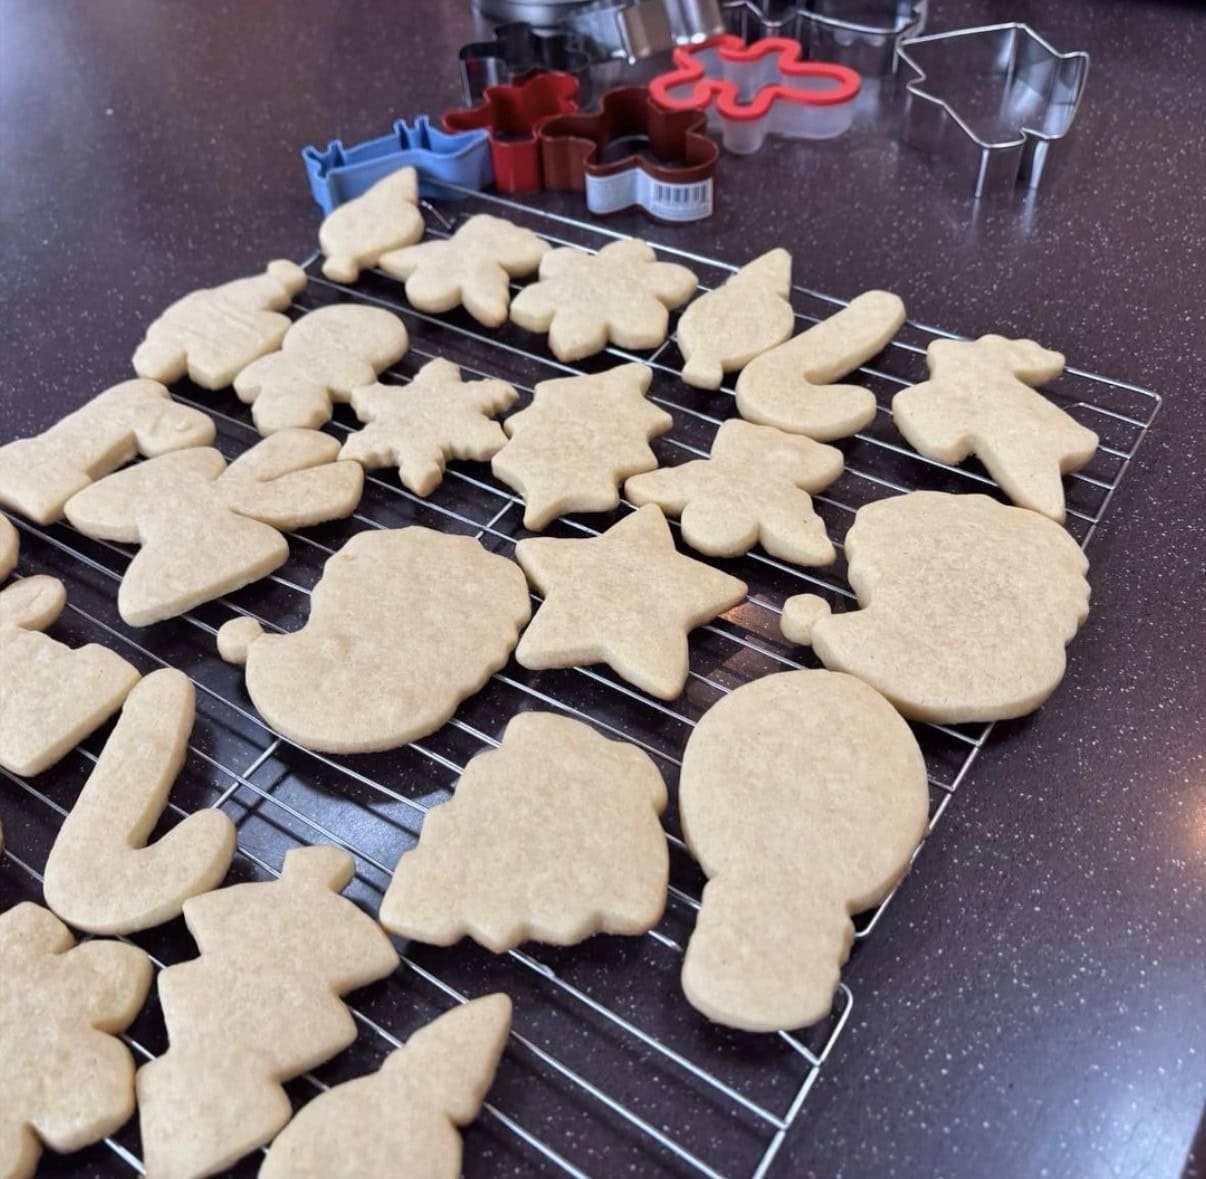
They also hold their shape perfectly and don’t spread while baking.
Another great recipe! The cookie dough comes together so easily. Simple and delicious! My new go to! Thank you!

These are my go to cut out cookies. I have a friend and her family says these are the best they have ever had. I let the dough rest in the fridge for 24 hours. I won’t use another recipe for this type of cookie. Thank you.

I’ve also included my super-simple icing recipe to go along with it. It’s my easy alternative to royal icing for people who don’t like royal icing, or don’t want to deal with finding meringue powder or using raw egg whites.
This truly is the perfect Christmas Sugar Cookie recipe! I hope you love making these for many holiday seasons to come.
Tips for Perfect Sugar Cookies that Keep Their Shape
- Measure your flour correctly – Make sure to weigh your flour for precision. If you add too much flour, your cookies may be hard and dry. If you don’t have a digital kitchen scale, use the spoon and level method instead.
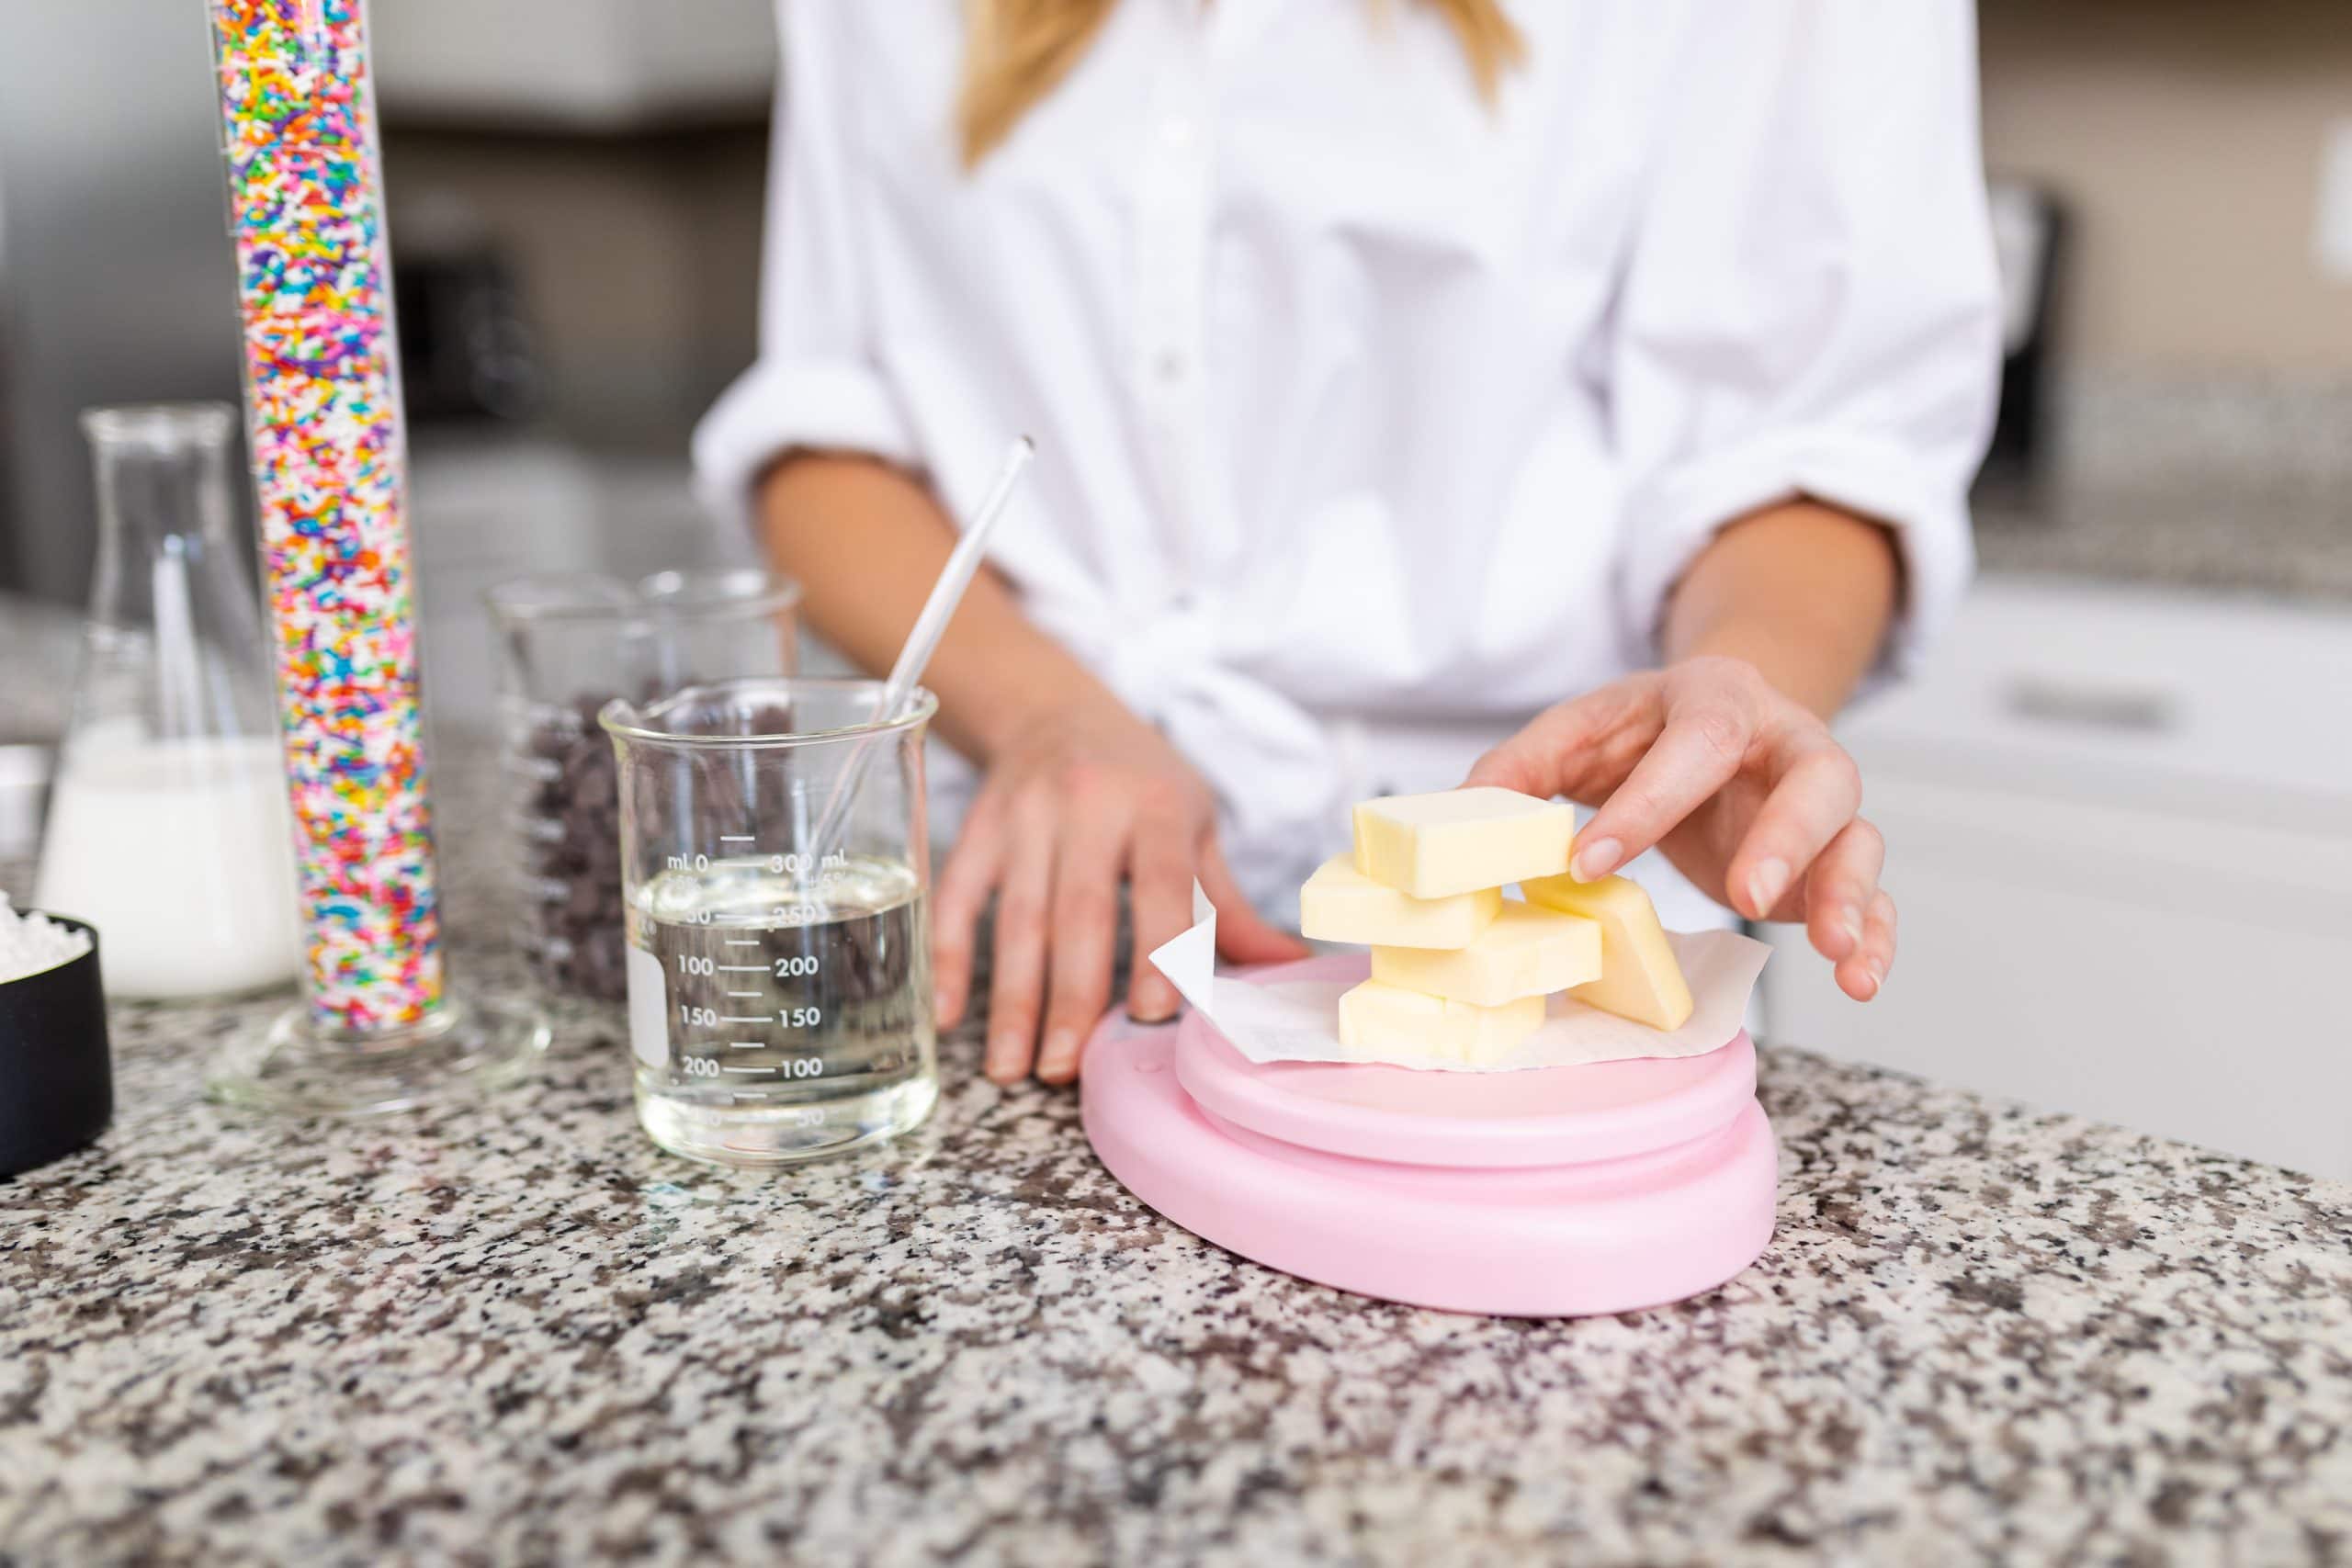
- Make sure your butter isn’t too warm – If your butter is too warm, your cookies may spread, and we don’t want that here! About 67°F is perfect. Learn more about butter in baking here.
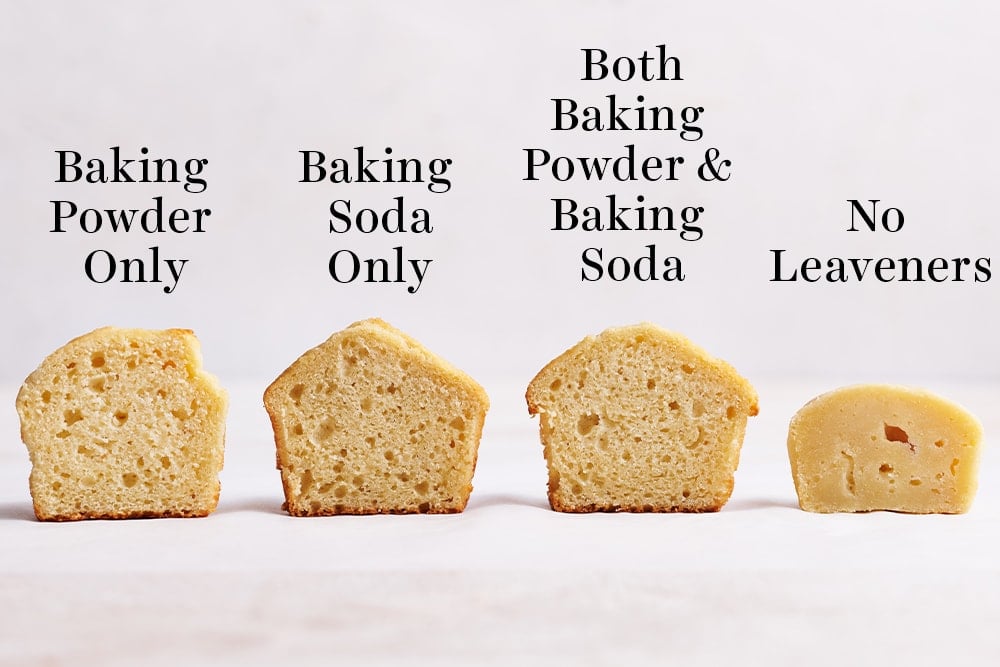
- Use fresh baking powder – Did you know that leavening agents can lose their effectiveness before the expiration date printed on the packaging? Learn more about Baking Powder vs. Baking Soda, and how to test for freshness, here.
- Chill your dough before baking – After rolling out the dough, we’ll chill it for about an hour to firm it up, and then cut out our shapes. You can then re-chill the dough, to prevent spreading and ensure your cookies maintain their shapes perfectly. If you encounter any issues with the cookies not keeping their shape, it’s likely because the dough wasn’t cold enough when it hit the oven – try freezing the shaped dough for about 15 minutes before baking.
Can I Make Drop Cookies with This Recipe?
This recipe was designed for cutting out shapes, but if you want drop-style cookies, give my super sugar-popular Soft and Chewy Sugar Cookies a try instead.
Alternative Sugar Cookie Flavors
Although my favorite sugar cookies are flavored with vanilla and almond extracts, feel free to use any other extracts you like, spices such as ground cinnamon, or orange zest or lemon zest instead.
Just note that other extracts can vary in potency, so you may need to experiment slightly with the amounts.
Easy Sugar Cookie Icing
I’ve included detailed instructions in the recipe below for both flood icing and border icing. All you need for the easy icing is powdered sugar, vanilla extract, milk, and food coloring (if using). Use a fork to beat all the ingredients in a bowl together.
Add a little more powdered sugar to thicken, and a tiny bit more water/milk to thin it out, as needed.
Check out my full Sugar Cookie Icing post for more tips on icing!
Help! I Don’t Like Decorating Cookies
If you don’t like decorating or find it too time-consuming, I have a couple easy ideas for super simple decorating:
- Simply drizzle the icing across each baked, cooled cookie and top with holiday sprinkles.
- Thin your icing with a little additional milk and simply dip the entire top of the cookie in the icing. Garnish with cute sprinkles.
- Using the border icing recipe below, spread the icing across the top of each cookie using a small offset spatula.
- Use a cookie cutter that’s also a stamp, like these. That way, your cookies are already decorated, and you can serve them without icing! Be sure your cookies are very cold when they hit the oven, to maintain their shape and detail. Add a dusting of powdered sugar once baked and cooled, if preferred.
Storage & Make Ahead
Room Temperature: Keep in an airtight container at room temperature for 10 days.
Freezer: These cookies freeze particularly well after baking. Freeze the baked, cooled cookies in an airtight container for up to 1 month. I prefer a sturdy airtight container for freezing baked cookies to protect from damage. Defrost to room temperature before decorating or serving.

More Christmas Cookie Recipes:
- Iced Oatmeal Cookies
- Soft & Chewy Sugar Cookies
- Hot Cocoa Cookies
- Bakery Style Chocolate Chip Cookies
- S’mores Cookies
- Gingerbread Cookies
Be sure to check out my Christmas Headquarters for ALL my holiday baking recipes!


Email This Recipe
Enter your email, and we’ll send it to your inbox.
Ingredients
For the cookies:
- 3 sticks (339 grams) unsalted butter, at cool room temperature
- 1 1/2 cups (300 grams) granulated sugar
- 2 large eggs
- 2 teaspoons vanilla extract
- 1/4 to 1/2 teaspoon almond extract (optional)
- 4 1/2 cups (572 grams) all-purpose flour,*
measured correctly - 1 teaspoon baking powder
For the border icing:
- 1 cup (125 grams) powdered sugar, sifted (plus more as needed)
- 1/2 teaspoon vanilla extract
- 1 to 2 tablespoons milk
- Food coloring, if desired
For the flood icing:
- 1 cup (125 grams) powdered sugar, sifted (plus more as needed)
- 1/2 teaspoon vanilla extract
- 2 to 3 tablespoons milk
- Food coloring, if desired
Instructions
Make the cookies:
- In a large bowl, use an electric mixer to beat the butter and sugar on medium-high speed until well-combined and smooth, about 3 minutes. Scrape down the bottom and sides of the bowl with a rubber spatula. Add the eggs, vanilla, and almond extract and beat until combined. Scrape the bowl down again. On low speed, slowly add in the flour and baking powder and beat until incorporated.
- Divide the dough into 2 equal portions. Place one dough portion between two sheets of parchment paper and roll out to 1/4-inch thickness. Repeat with the remaining portion of dough. Place the two sheets of dough on a baking sheet and chill for at least 1 hour or up to 1 day. You can also freeze for 30 minutes.
- Preheat the oven to 350°F. Line large baking sheets with parchment paper or silicone baking mats.
- Remove the dough from the fridge and cut into shapes with a cookie cutter, rerolling any scraps and cutting more shapes. Transfer the shapes to the prepared baking sheets.
- If the dough is at all warm, freeze for 15 minutes or until firm again before baking, to prevent spreading.
- Bake for 10 minutes, or until the cookies are set and beginning to brown. Be careful not to over-bake. Let the cookies cool for 5 minutes before removing to a wire rack to cool completely. Baked un-iced sugar cookies can be frozen in an airtight container for up to 1 month.
For the border icing:
- In a small bowl, use a fork to beat together all the ingredients except the food coloring. Mix in the food coloring, a few drops at a time, until colored to your liking. The mixture should be very thick but still pourable. Add more powdered sugar as needed.
- Transfer the border icing to a squeeze bottle using a funnel. You can also scoop into a pastry bag fitted with a small plain tip. Before you begin icing any cookies, take a few moments to practice on a piece of parchment paper to get the feel for the icing.
- Holding the bottle or bag tip directly over one corner of a cookie, begin tracing an outline of the cookie, squeezing gently and using both hands if needed to maintain consistent pressure. I prefer to allow a little slack in my icing line as I go. If you mess up, simply wipe the icing off and start again. Allow the icing to dry slightly before continuing with the flood icing.
For the flood icing:
- In a small bowl, use a fork to beat together all the ingredients except the food coloring. Mix in the food coloring, a few drops at a time, until colored to your liking. The mixture should still be pretty thick, but will drizzle more freely than the border icing. If needed, add an additional teaspoon of milk to loosen until the consistency is pourable. Pour the flood icing into a squeeze bottle or into a pastry bag fitted with a small plain tip.
- Prepare as many batches and colors of flood icing as you need to decorate your cookies.
- Begin filling the interior of the border drawn on each cookie with the flood icing, being careful not to add too much that it overflows the border icing. Use either the nose of the bottle or a small toothpick to push the icing evenly over the cookie and up against the corners.
- Leave the iced cookies to dry for 24 hours. The cookies are dry when the surface is completely smooth and resists smudging when touched. Store the dried cookies between sheets of parchment paper in an airtight container at room temperature for up to 10 days.
Notes
– Border: 1 Tablespoon + 1 teaspoon water
– Flood: 1 ½ Tablespoons water
This post was published in 2018 and has been updated with additional recipe tips and information. Photos by Ashley McLaughlin.


Have made these twice now and perfect texture and flavour. This now replaces our traditional family Christmas cookies
These came out great! Made them this morning. Easy and tasty. I subbed maple extract rather than almond. It was lovely😋
My sugar cookies have gone soft. It’s been a week since I baked them. Is there a way I can get them crisp again?
Hi Emerald! Unfortunately, once cookies are frosted, they will begin to soften over time and there really isn’t much you can do to counteract that. However, if your cookies are still unfrosted, you can recrisp them in a 350°F oven on a parchment-lined baking sheet for about 5 minutes.
If I freeze them and then cut them into their shapes, will it become hard to do that with the stiff, frozen cookies? Or should I just cut first, freeze, and then cook?
These cookies actually freeze beautifully after they’re baked! I’d recommend going that route if you’re looking to make them ahead of time.
How would I freeze them and how far ahead can I make them? Also, what are the steps to take to thaw and decorate them once frozen?
Hi Lyndsy! You’ll find our tips above the recipe very helpful 🙂
I am excited to try these cookies but have a question. In your recipe for the cookies it states to using 1 teaspoon of baking powder but in your video you used 1/2 teaspoon of baking powder! Can you please let me know which is the correct quantity.
Thank you
Hi Pam! Thanks so much for pointing that out – we updated the recipe a couple years ago, but we haven’t been able to update the video quite yet. We’ll be sure to add this one to our list – but in the meantime, the written recipe is correct. I hope that helps! Happy baking 🙂
This is a such an easy dough to whip up with minimal ingredients, and is fun to roll out and cut with friends or a significant other. These aren’t thick (there’s a different recipe for that) on purpose, so that they actually hold their shape for decorating and you don’t end up with crispy blobs. Perfect for decorating and fun!
Glad you enjoyed these cookies, Kate!
Hello. I wanted to ask if I can store the cut out cookie in the freezer and bake as needed?
Hi Emerald! These actually freeze beautifully after baking! Check out our tips here.
The flavor of this dough is amazing but it was a bit too floury and dry for me.
Hi Shawnna! I’m glad to hear that you enjoyed the flavor of these cookies, but the texture you describe sounds like you may have accidentally added too much flour. How do you measure your ingredients? By volume (using cups), or by weight (using a digital kitchen scale)? When measuring by volume, it’s so easy to mis-measure ingredients (particularly flour) and throw off the entire chemistry of a recipe – resulting in hard, dry cookies. Check out Tessa’s article here, where she talks about how to best measure ingredients to ensure accuracy every time. I hope that helps! Happy baking 🙂
the icing tastes strange. all my kids said it tastes like medicine. it is so hard to find a good sugar cookie recipe 🙁
Oh no! The icing should certainly not taste like medicine. Is your extract expired?
Great technique that I will use from now on; however, these need salt! Taste is lacking in my opinion. Thank you for the great tips!
One of the best recipes I’ve tried for sugar cookies!
Can I add Cream of Tartar to make them keep their chewiness or would that make them lose their shape? If so, how much would you recommend?
Hi Rachel! We haven’t tried that, but I recommend trying Tessa’s Soft and Chewy Sugar Cookies – super soft and beautifully chewy, especially if you chill the dough for 24-72 hours before baking it 🙂 Happy baking!