


Tessa's Recipe Rundown
TASTE: This is peanut butter heaven! It features peanut butter in 3 ways for tons of PB flavor.
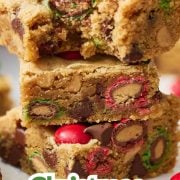
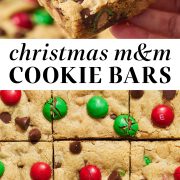
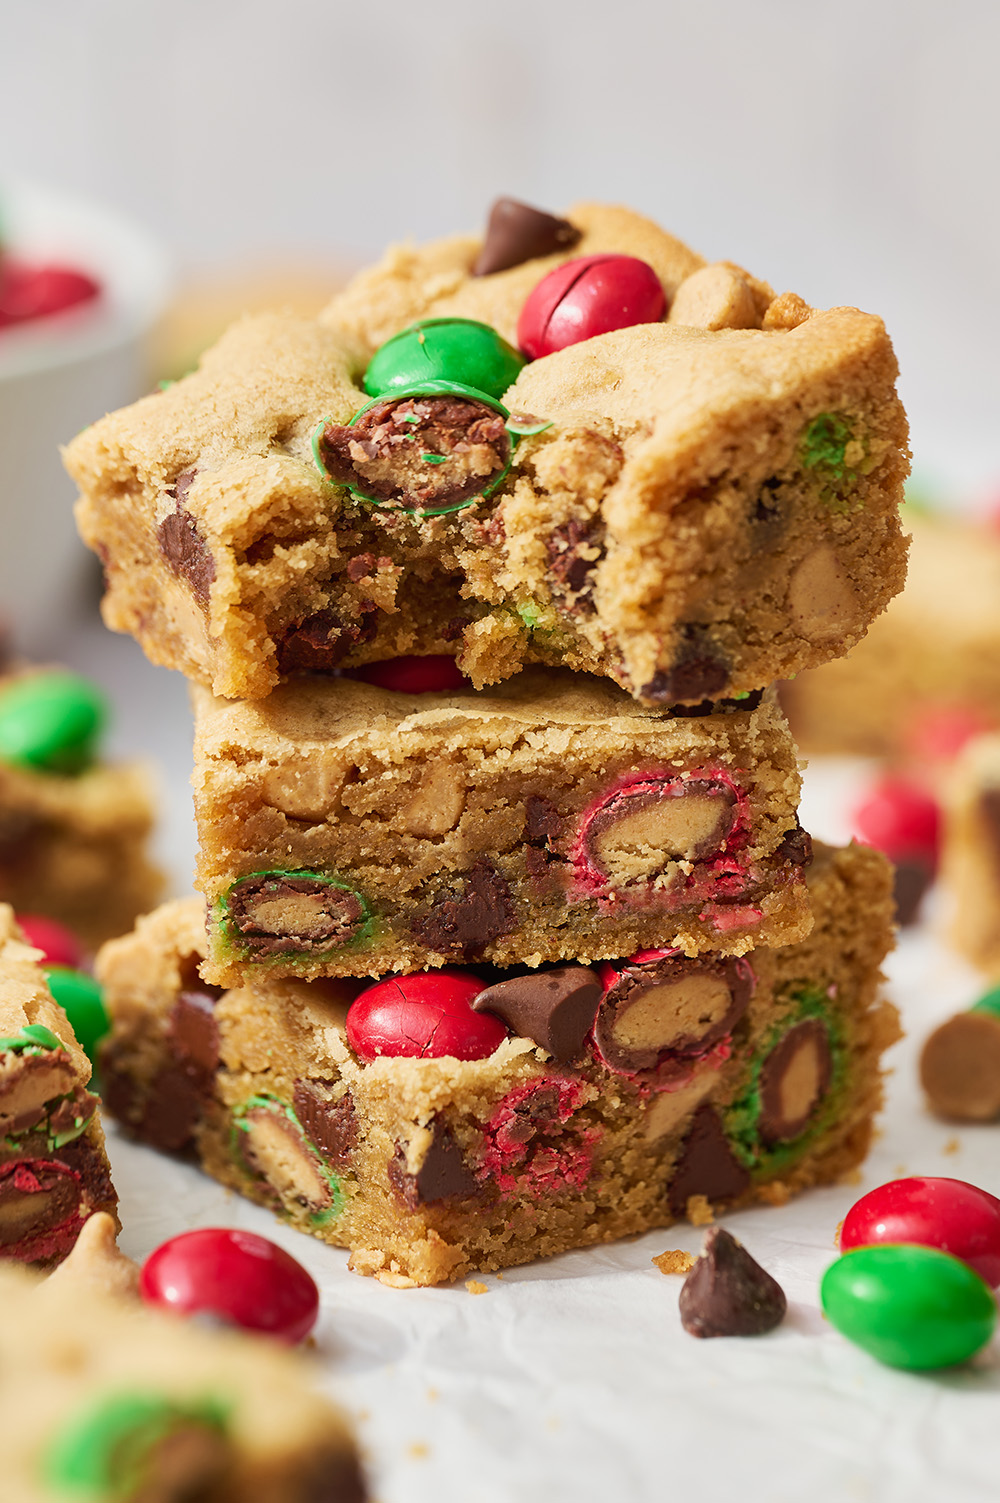
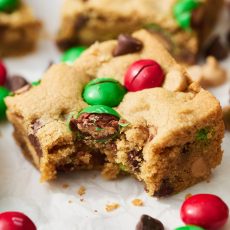
TEXTURE: These cookie bars are thick and chewy, with a delightful crunch thanks to all the mix-ins.
EASE: Simple steps and zero chilling mean stress-free holiday baking.
Why You’ll Love This Recipe: These Christmas bars are easy, festive, big on flavor, and perfect for a cookie exchange or holiday party.
This post may contain affiliate links. Read our disclosure policy.
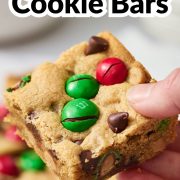
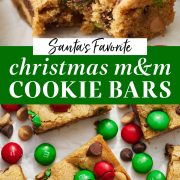

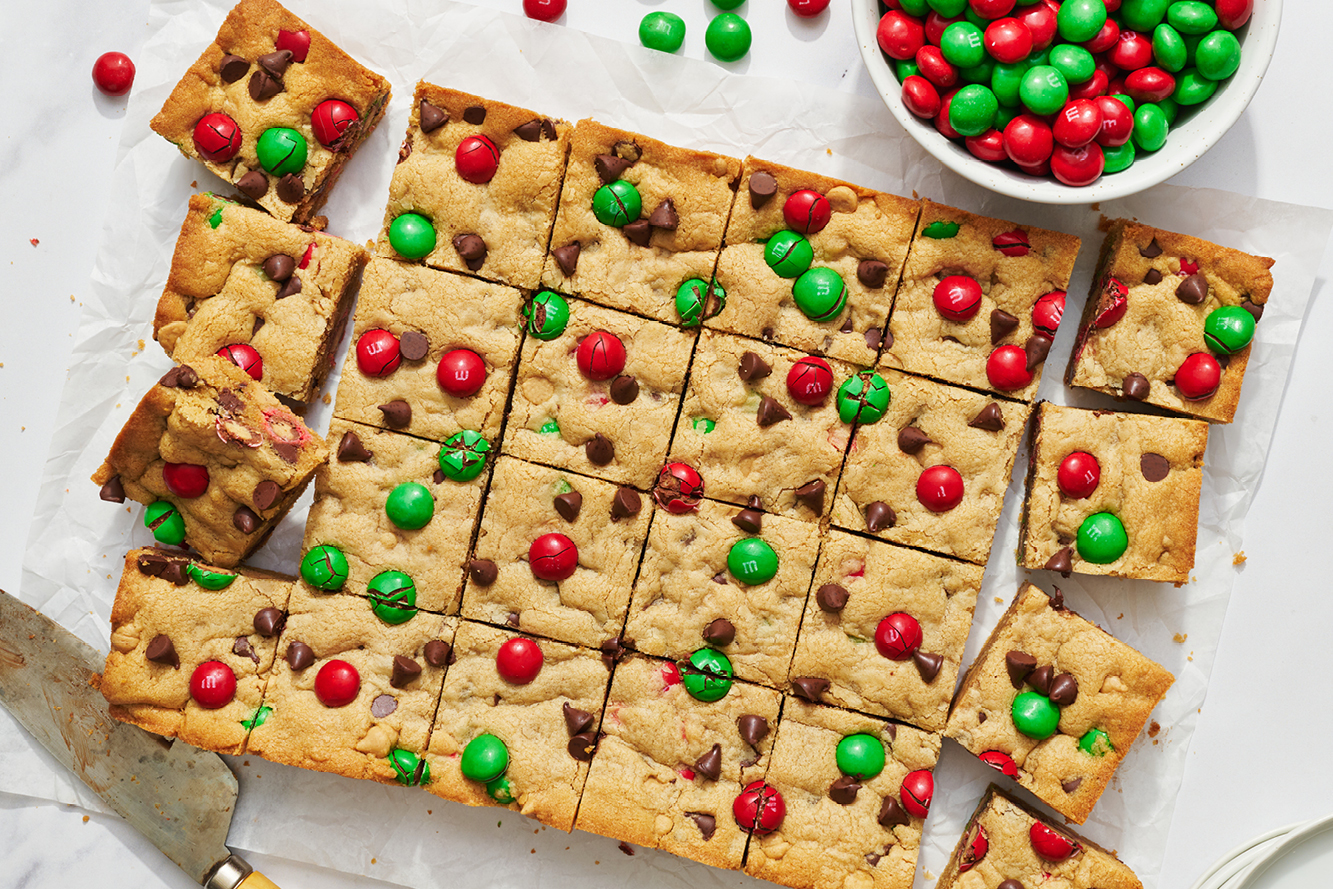
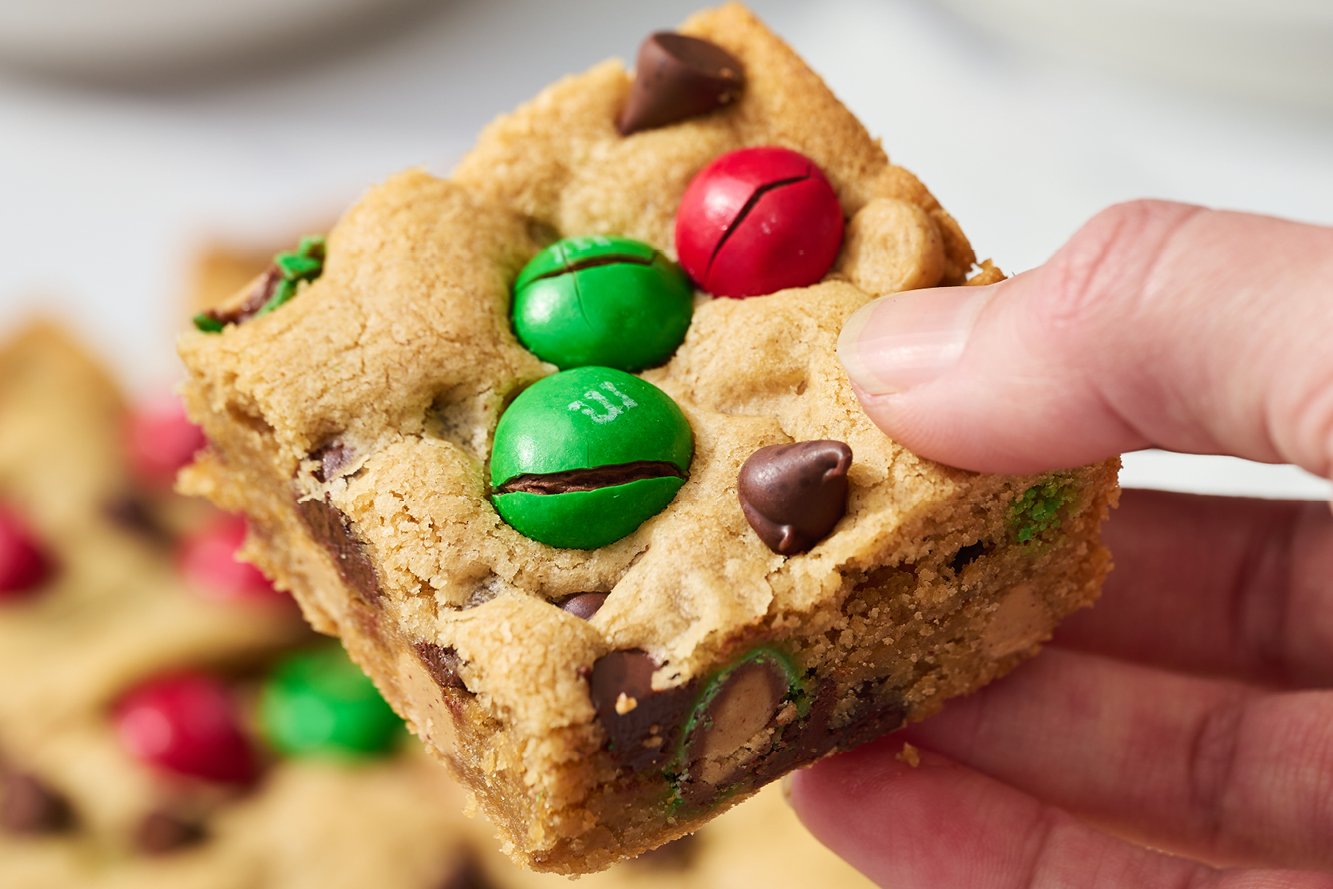
My peanut-butter obsession is no secret, so it’s no surprise that it shows up in my favorite festive cookie bar. These Loaded Christmas Cookie Bars go all in on PB. Peanut butter M&M’s, peanut butter chips, and a full cup of creamy peanut butter are added right in the dough.
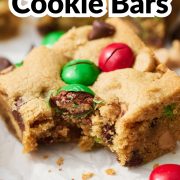
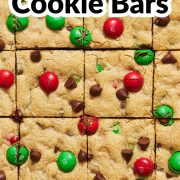
The result is a pan of thick, colorful, chewy cookie bars that look and taste like pure holiday joy. They’re quick to make, fun to share, and always the first thing to vanish at parties, potlucks, or any moment that calls for something sweet to leave out for Santa.
Reader Love
These bars are delicious and easy to make. Very peanut butter-forward, obviously, but everyone I’ve shared them with has greatly enjoyed them.
–
Ingredient Notes
Every ingredient in one of my favorite Christmas recipes plays a part in creating its thick, chewy texture and holiday flavor. Key ingredients include:
- Peanut butter: I recommend using conventional peanut butter because it blends smoothly for a consistent texture. If using natural peanut butter, make sure it’s VERY well stirred to prevent any oily or dry bits.
- Butter: Using butter at a cool room temperature helps the dough come together easily and gives the bars a rich, soft crumb.
- Sugars: Light brown sugar adds moisture and chewiness, while granulated sugar provides structure and just enough lift. Don’t reduce the sugar. It plays a key role in texture and sweetness.
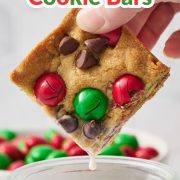
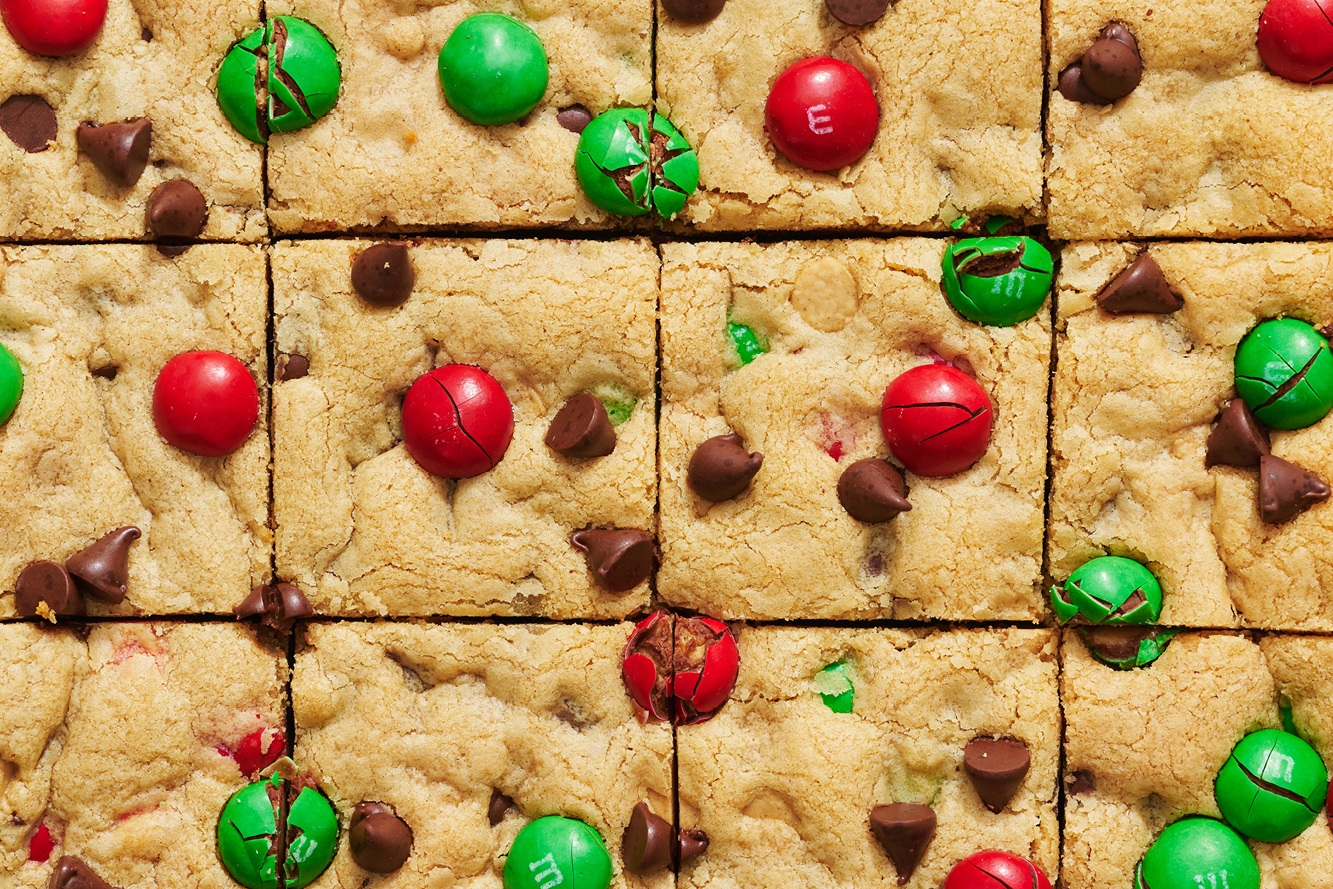
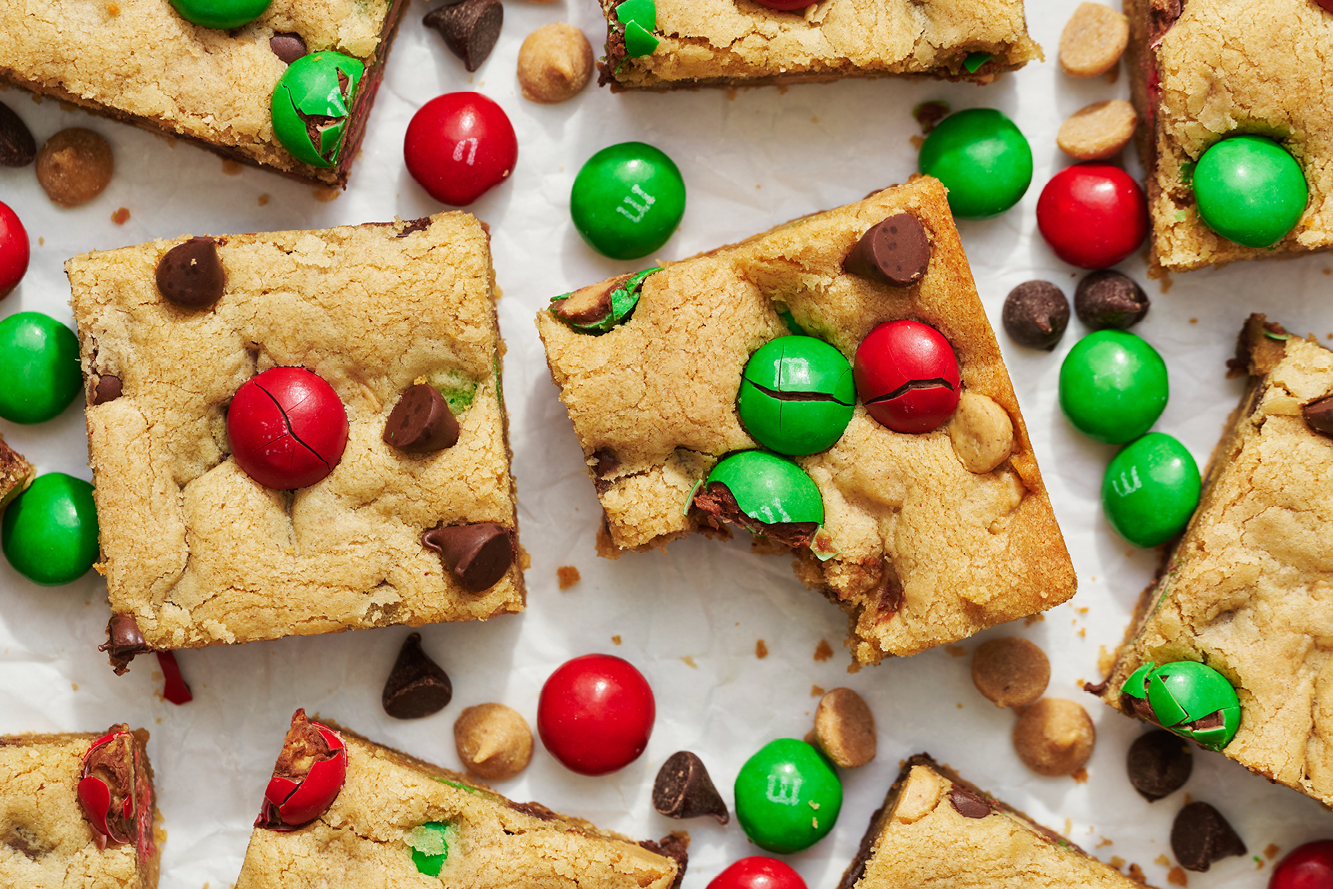
- Peanut butter M&Ms: These bring color, crunch, and even more peanut butter flavor. Holiday M&Ms make the bars extra festive. Find seasonal bags at major supermarkets or online.
- Peanut butter chips: I’m not done with the peanut butter yet. White chocolate chips, toffee bits, or butterscotch chips can work, but you’ll lose some of the peanut butter flavor.
- Chocolate chips: A handful of semisweet chocolate chips balances all the peanut butter with just the right amount of chocolate. Milk or dark chocolate chips or chunks work, too.
Love the peanut butter/chocolate combo? Try my Peanut Butter Chocolate Chunk Bars next!
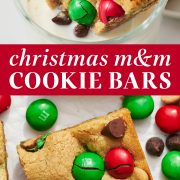
These bars are loaded with peanut butter M&Ms, peanut butter chips, and an entire CUP of peanut butter. Plus, some chocolate chips.
I mean, you can’t go wrong with peanut butter and chocolate, right?

Sprinkle of Science
How to Make Christmas Cookie Bars
These bars come together in just a few easy steps, but a couple of small details will guarantee perfectly thick and chewy results every time. Here’s what to keep in mind:
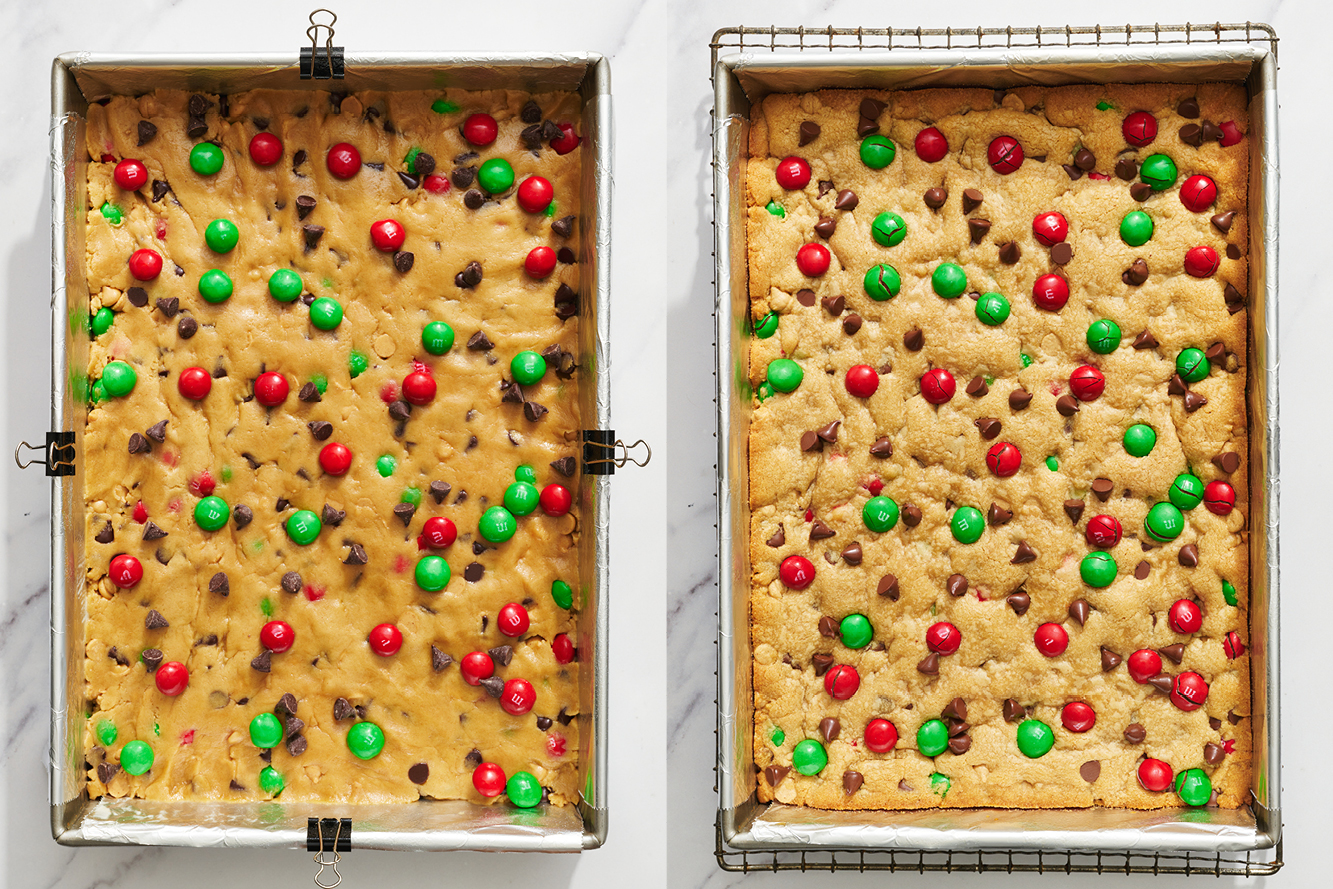
- Prep the pan the right way. Grab a 9×13 light-colored metal pan and line it with foil, leaving a little overhang to lift the bars out later. Clip the foil in place if necessary, then give the bottom and sides a quick spray with cooking spray to prevent sticking.
- Mix the dough until just combined. Creaming the butter, peanut butter, and sugars creates a soft, rich base for the bars. After adding the dry ingredients, mix only until the flour disappears. Overmixing can make the bars tough instead of chewy.
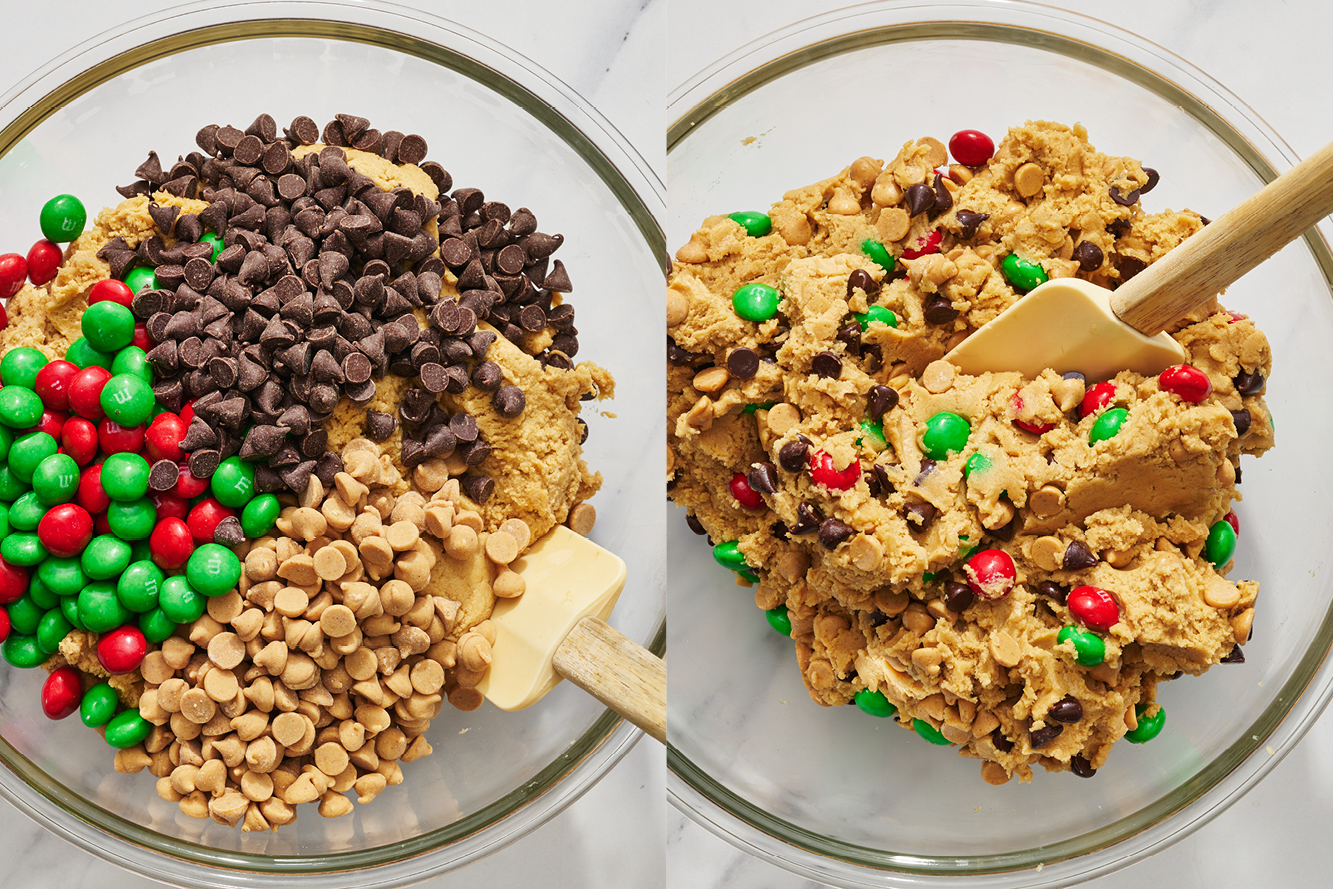
- Fold in those mix-ins. The dough will be thick. A spatula works even better than a mixer to keep everything evenly distributed without overmixing.
- Press the dough evenly into the pan. Smooth the top so the bars bake uniformly in an even layer. You can use your hands or a silicone spatula.
- Watch for the right visual cues. The tops of the bars will look lightly golden when ready, and the center should still have the tiniest jiggle. They continue to set as they cool, so resist the urge to bake until fully firm.
- Cool completely before slicing. Letting the bars cool in the pan helps them firm up, making it much easier to cut clean, neat squares without crumbling.
Tips for Perfectly Chewy Bars
This is one of the easiest peanut butter Christmas desserts, but a few simple tweaks go a long way to getting the perfect bars:
- Measure the flour accurately. Use a digital scale for the most accurate measurements. If not, stick to the spoon-and-level method. Too much flour can make the bars dry and cakey instead of soft and chewy.
- Don’t reduce the sugar. Sugar does more than sweeten. It keeps the bars moist, chewy, and tender. Cutting it changes the texture and can result in dense or crumbly bars.
- Watch the bake time. Every oven is different. Bake until the top is just golden and the center has a slight jiggle. Overbaking dries the bars and makes them less chewy.
- Use the right pan. A light-colored metal pan ensures even baking. Glass pans have their place, but they tend to overcook the edges before the center finishes. This can result in uneven bars.
Fun Twists and Variations
These bars are the perfect blank canvas for adding holiday season flavors. Try swapping the peanut butter M&Ms for white chocolate and dried cranberries for a sweet-tart twist. For a more traditional look, stick with classic chocolate chips and Christmas sprinkles.
For a milder peanut butter flavor, just use chocolate chips alone. Plain Christmas M&Ms also work beautifully as add-ins, and make the bars extra colorful. Get creative! The bars are forgiving, so feel free to mix and match to suit your taste or holiday party theme.
Serving Suggestions
These Christmas bars are perfect for any holiday moment. They’re great for cookie exchanges, a dessert tray at a work party or potluck, or stashing in gift tins. They’re also wonderful baked fresh on Christmas Eve with the family.
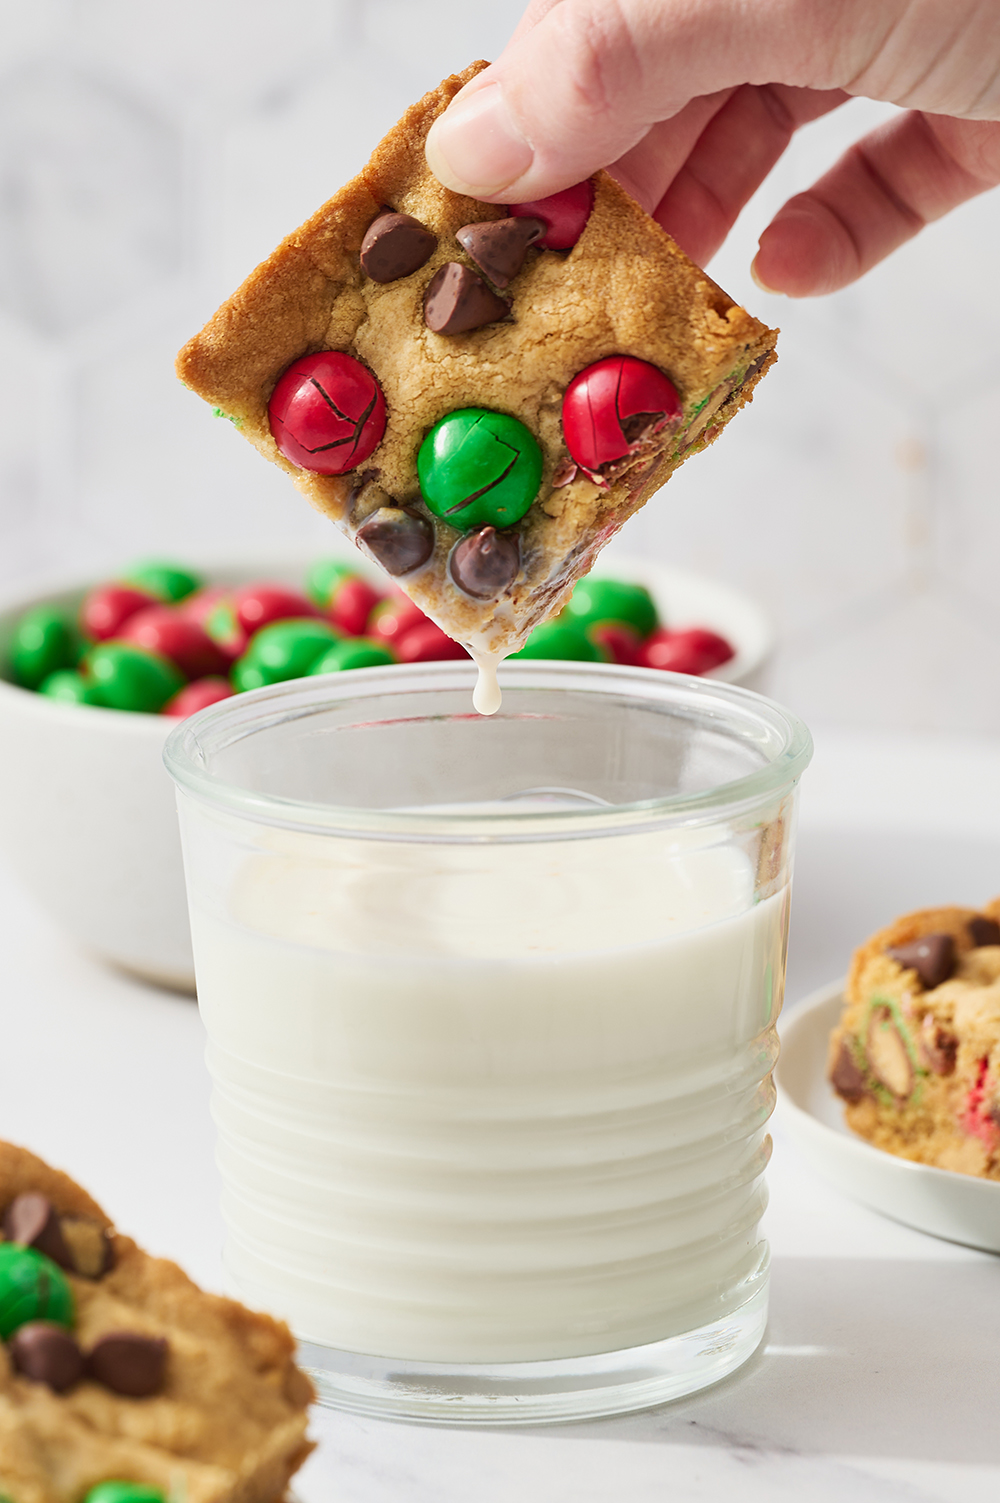
For an extra cozy touch, serve them alongside hot cocoa, a mug of milk, or a cup of coffee as an indulgent snack. They’re also a fun treat to leave out for Santa, or to nibble on while wrapping gifts. If your sweet tooth’s feeling inspired, check out more of my Christmas cookie recipes!
Storing and Freezing
Keep the cookie bars fresh by storing them in an airtight container at room temperature for up to 5 days. For extra softness, tuck a tortilla in the container. It helps keep them chewy and prevents them from drying out.
These bars are also perfect for freezing after baking. Wrap the whole slab or individual bars tightly in plastic wrap and store in an airtight container or freezer bag for up to a month. Let them thaw at room temperature for a few hours before serving.
To prep ahead, freeze the cookie dough before baking. Press the dough into the prepared pan. Then wrap the whole pan tightly with plastic wrap and a layer of foil, or cover it with a lid if the pan has one. Freeze for up to a month. Let the pan sit at room temperature so the dough isn’t rock solid before baking as directed.
More Christmas Recipes You’ll Love:
FAQs
You can fold nonpareils or jimmies (the long, thin sprinkles) into the cookie dough before baking, just like other mix-ins. They can bleed color while baking, though, so the bars might have a subtle tint around them. I like them best as a topper on frosted cookies.
You can line the pan with parchment paper instead of foil. Just make sure it hangs over the edges to help lift the bars out easily after baking.
Absolutely! Keep the holiday spirit going with my Gingerbread Cookie Bars or swap the peanut butter for caramel with my Salted Caramel Cookie Bars. My Chocolate Frosted Sugar Cookie Bars are a fun, colorful treat.
Email This Recipe
Enter your email, and we’ll send it to your inbox.
Ingredients
- 2 ½ cups (286 grams) all-purpose flour,
measured correctly - 1 teaspoon baking powder
- ¼ teaspoon baking soda
- ¾ teaspoon fine sea salt
- 1 stick (113 grams) unsalted butter, at cool room temperature
- 1 cup (270 grams) creamy peanut butter
- 1 cup (200 grams) packed light brown sugar
- 3/4 cup (150 grams) granulated sugar
- 2 large eggs, at room temperature
- 1 ½ tablespoons vanilla extract
- 1 tablespoon milk
- 1 cup (170 grams) peanut butter chips
- 1 cup (185 grams)
holiday Peanut Butter M&Ms + heavy ⅓ cup (70 grams), to decorate - 1 cup (170 grams) semisweet chocolate chips + ⅛ cup (21 grams), to decorate
- Flaky sea salt, for topping, optional


Instructions
- Preheat oven to 350°F.
- Line a 9×13 metal baking pan with aluminum foil, using metal binder clips to keep foil in place. Spray sides and bottom of pan generously with cooking spray. Set aside.
- In a medium bowl, combine the flour, baking powder, baking soda, and salt. Set aside.
- In the large bowl of an electric mixer fitted with the paddle attachment, beat the butter, peanut butter, brown sugar, and granulated sugar on medium-high speed until very well combined, about 2 minutes.
- Scrape down the sides and bottom of the bowl. Add the eggs, vanilla, and milk, and beat until combined.
- On low speed, gradually add the flour mixture and beat until just combined. The dough will be thick.
- Add the peanut butter chips, M&Ms, and chocolate chips and mix until just combined. You may need to do this by hand with a spatula if your mixer isn’t strong enough.
- Remove the dough to the prepared pan, pressing into the pan evenly.
- Sprinkle with the reserved M&Ms and chocolate chips.
- Bake for about 30 minutes, or until the center is golden brown and just slightly jiggly.
- Sprinkle with flaky sea salt.
- Place pan on a wire rack and let cool completely before cutting into squares and serving. Store bars in an airtight container at room temperature for up to 5 days.
Notes
Photos by Joanie Simon.


These bars are delicious and easy to make. Very peanut butter-forward, obviously, but everyone I’ve shared them with has greatly enjoyed them.
I converted these to Gf using Katarina Cermelj’s rules. They turned out great!
So happy you loved them, Bonnie! For other readers who may need to bake gluten-free, can you share what tweaks you made? Thanks in advance!
I reduced the butter by 30%, added 1/2 plus 1/8 tsp xanthan gum, and used her blend of 50% tapioca flour, 25% millet flour and 25% buckwheat flour. Because I am at high altitude I also increased the milk by 2 tsp.
I don’t have an electric mixer. Should I skip making this recipe?
Hi Tara! Unfortunately, this recipe requires the creaming method, which is very difficult to replicate without the use of an electric mixer. We have quite a few recipes that don’t need an electric mixer – maybe give Tessa’s Best Ever Chewy Brownies or Peanut Butter Chocolate Chip Cookies a try instead! Happy baking 🙂
Cook time the same for glass baking dish?
Hi Jess! We actually do not recommend using a glass pan for these bars. Tessa talks about why this is important in the pink tip box (above the recipe), along with loads of other great tips. Let us know what you think of these cookie bars once you give it a try! 🙂