




This post may contain affiliate links. Read our disclosure policy.


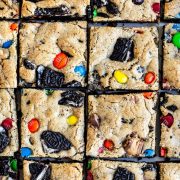
Tessa’s Recipe Rundown
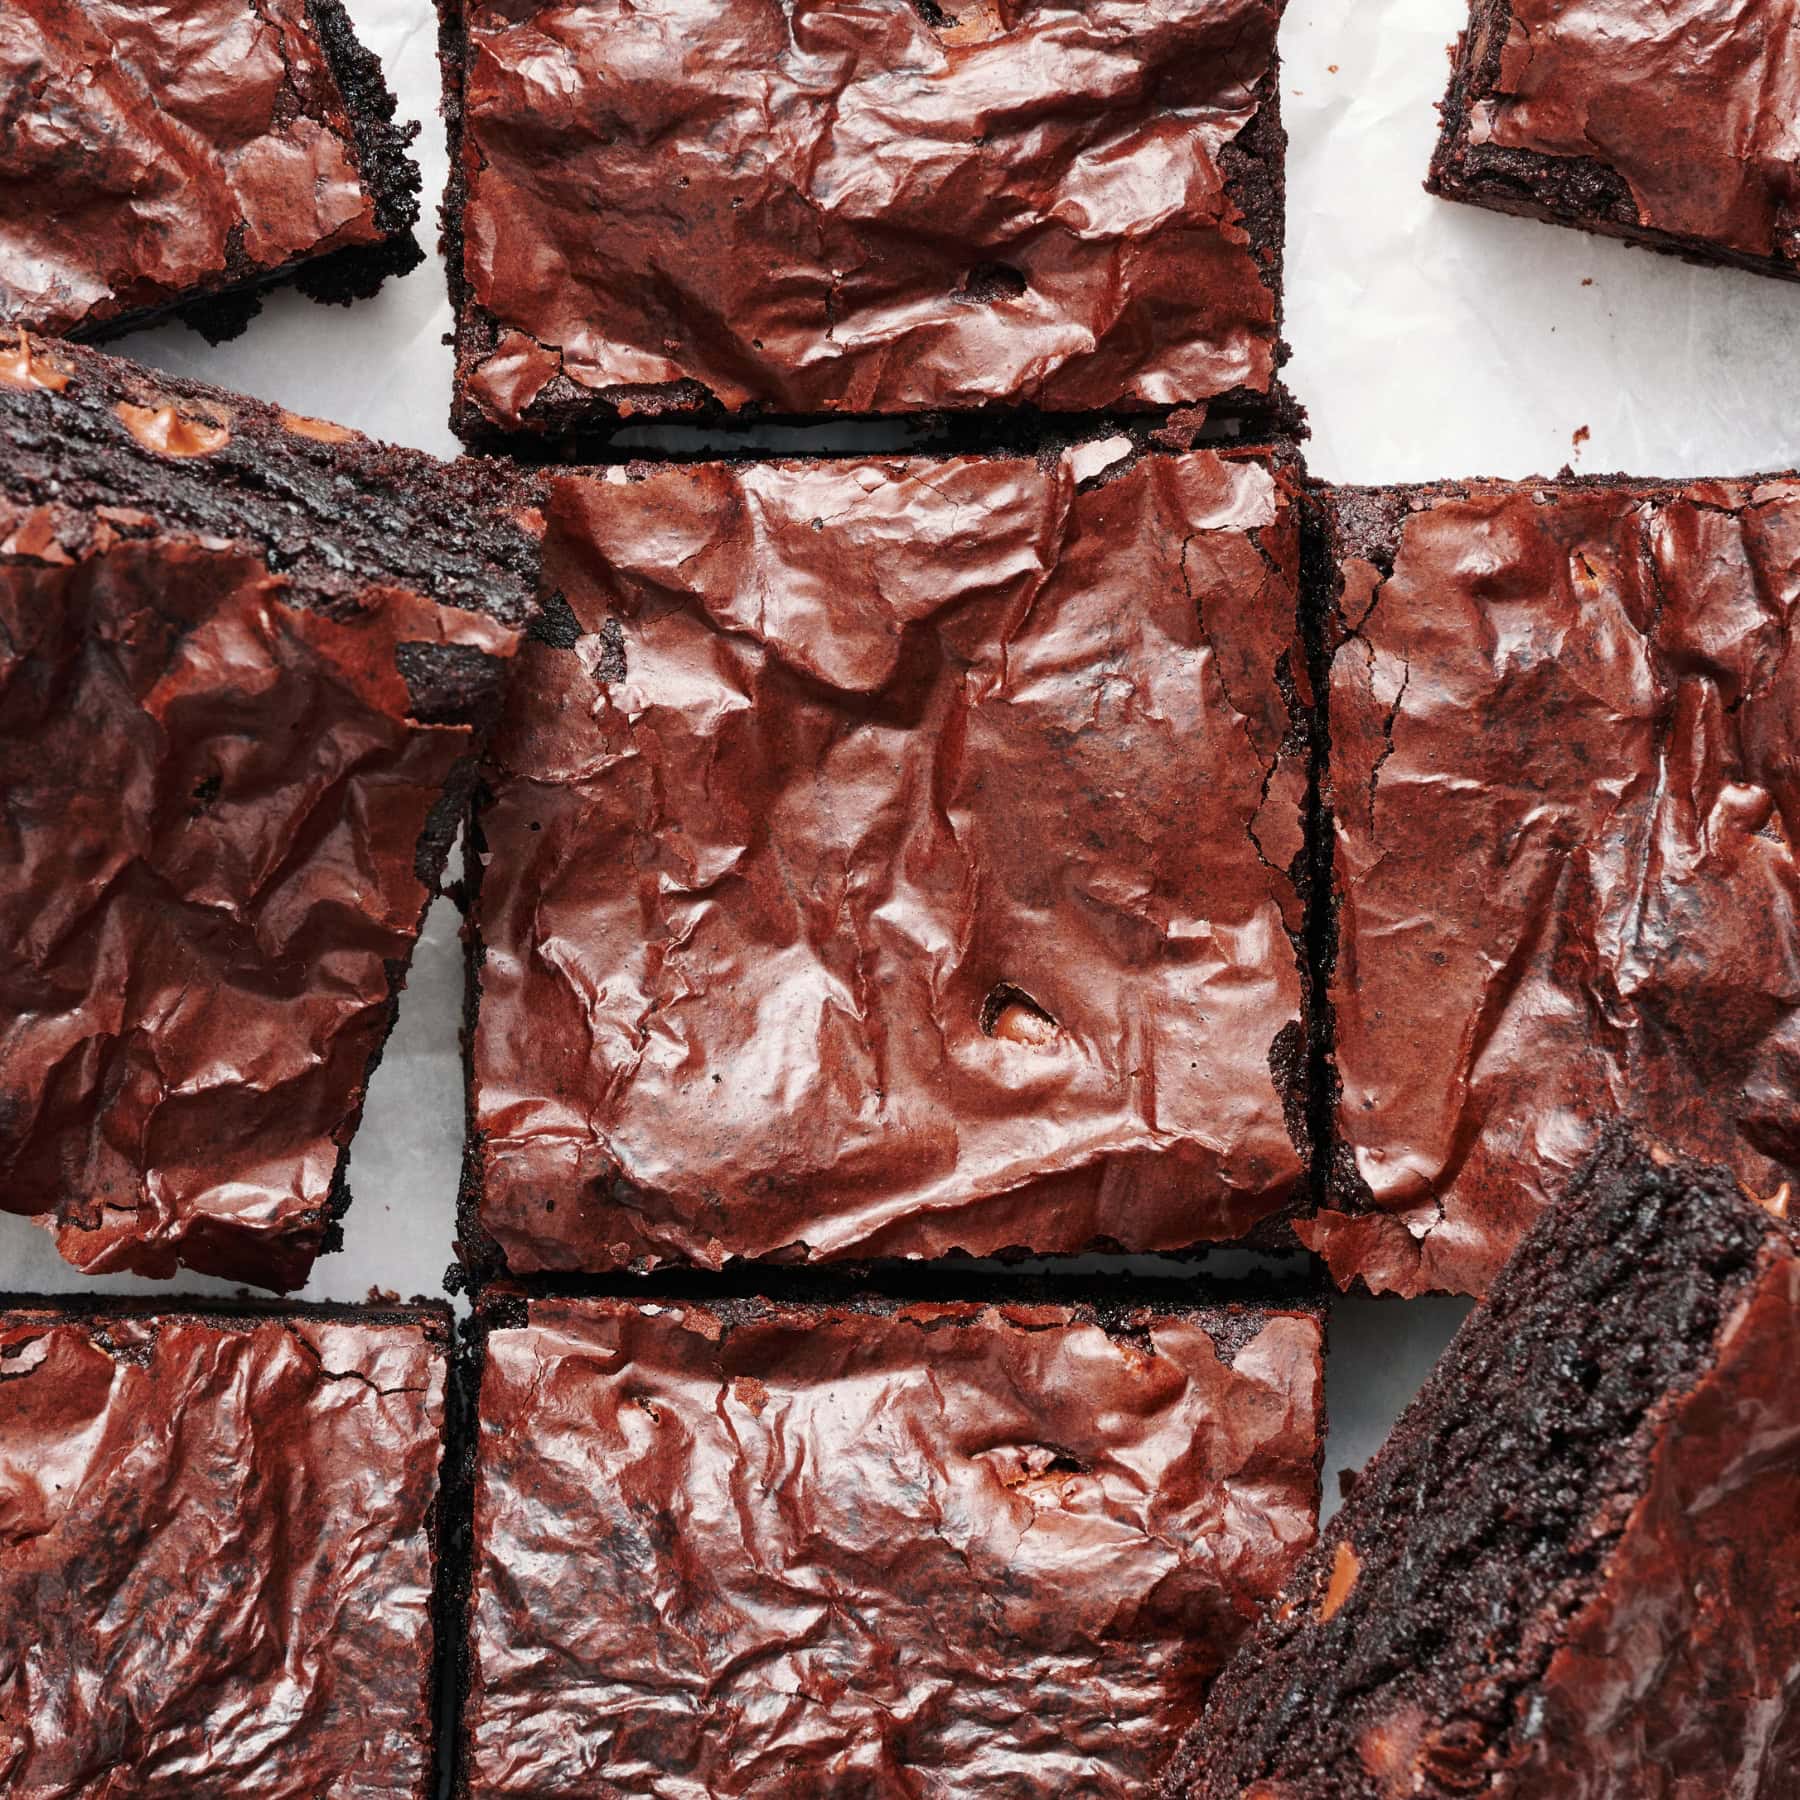
Taste: Like all your favorite chocolate treats combined into one heavenly bar of goodness. Perfect with a glass of milk!
Texture: Thick, chewy, soft, and slightly crunchy from the chocolate candies or cookies.
Ease: Easier than cookies! No mixer, no waiting for butter to come to room temperature, and no chilling or scooping dough.
Why you’ll love this recipe: This is a super quick dessert that’s perfect for using up Halloween candy or whatever mix-ins you’ve got in your pantry!
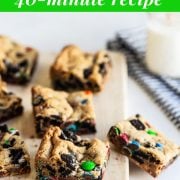
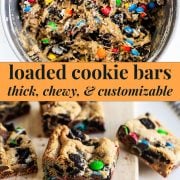
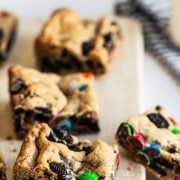
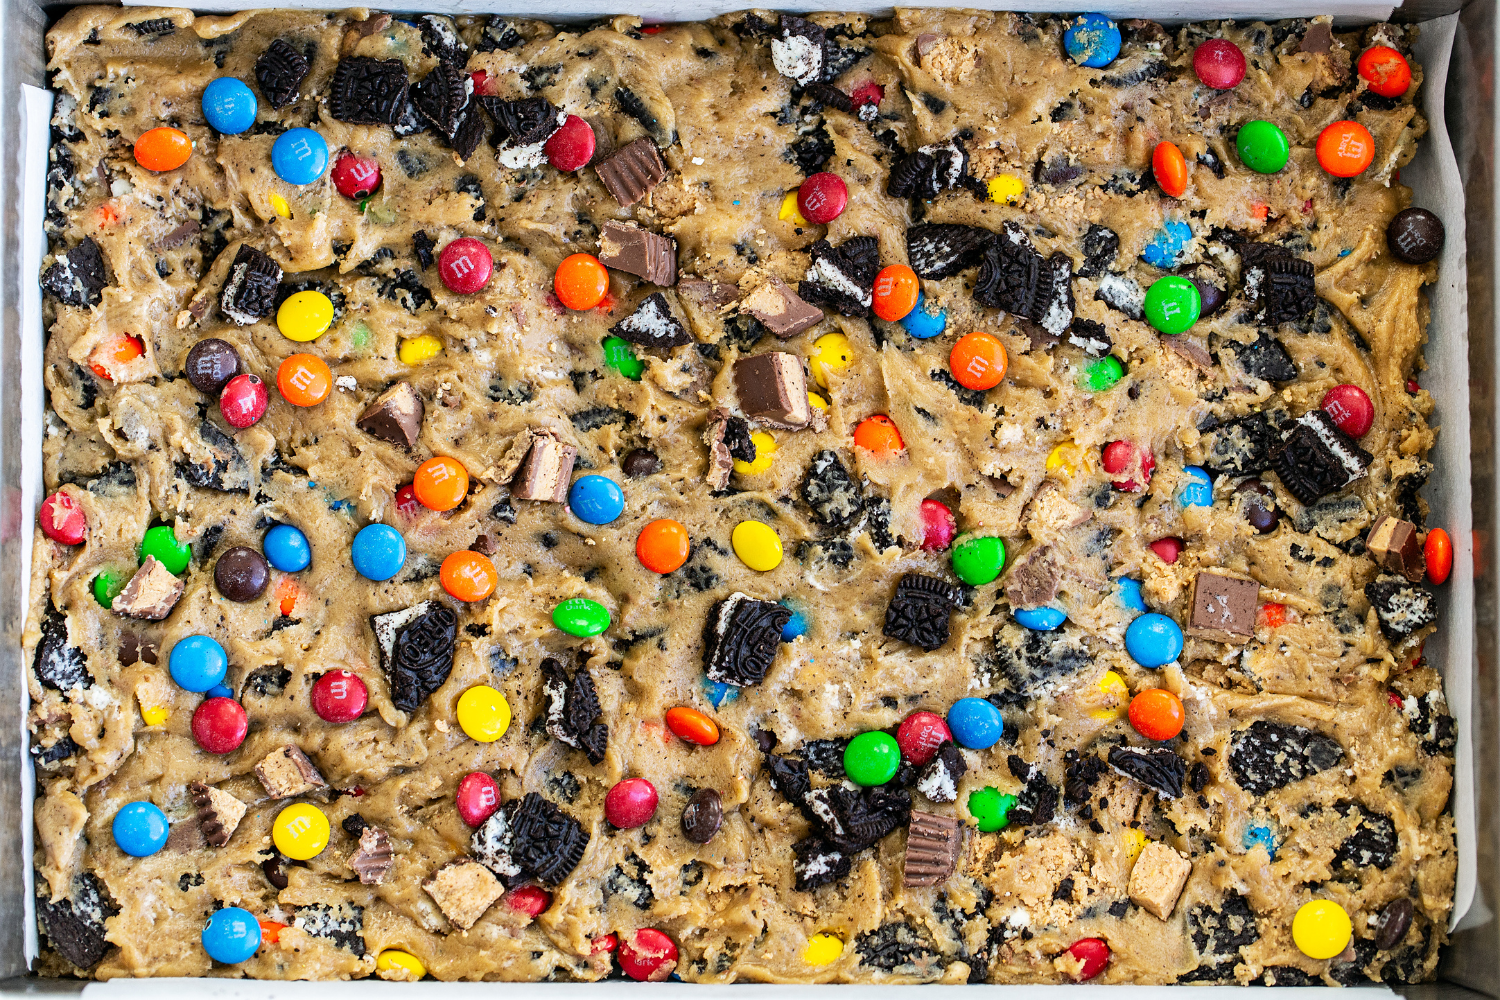
Leftover Halloween candy has never tasted so good as it does in these Loaded Cookie Bars.

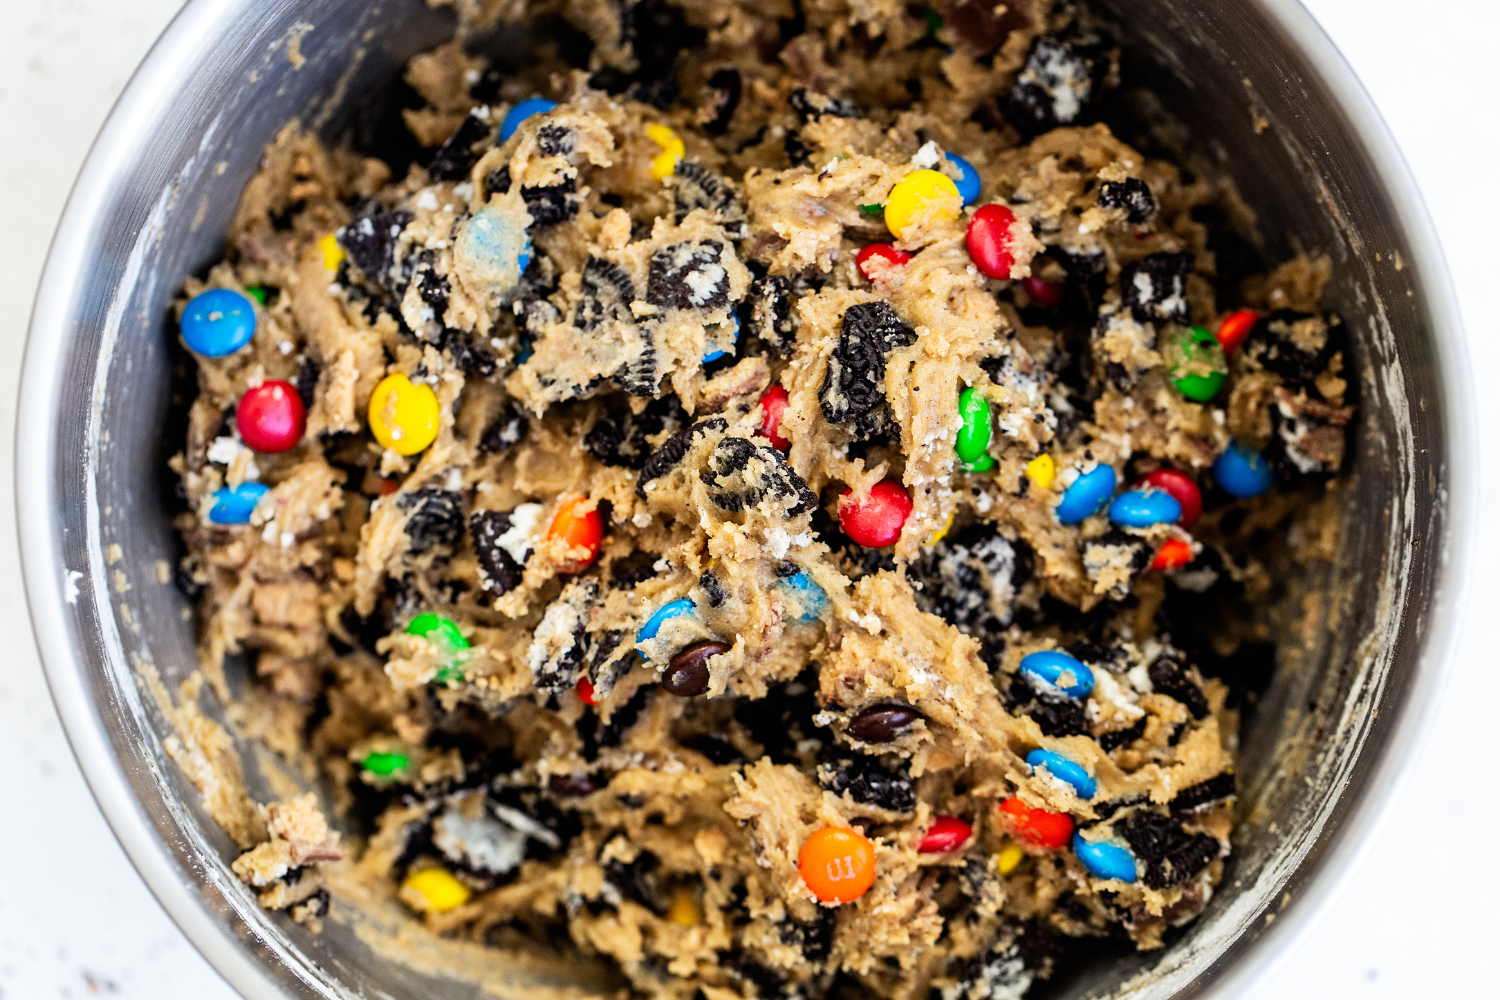
They’re super chewy, slightly gooey, and loaded with Oreos, M&M’s, Reese’s, and whatever other candy you have on hand.
The best part? No electric mixer, no waiting on butter to come to room temperature, no chilling, and no scooping. Just mix the dough, press it into a pan, and bake! Who needs artificial refrigerated cookie dough when it’s this simple?!
These cookie bars are completely customizable, so feel free to swap in your favorite candy or whatever mix-ins you’ve got in the pantry. Keep reading for some customization ideas, plus all my tips for getting that perfectly chewy texture.
Reader Love
OH MY GOSH, these were so delicious! I used M&Ms, peanut butter cups, dark chocolate chips, semi-sweet chocolate chips, and Reeses pieces… and YUM! They were perfectly soft on the inside. This is officially my go-to recipe for cookie bars.
I’ve made these several times. I substituted the cookies and candies with one cup each of chocolate chips, craisins and chopped pecans. I just use all-purpose flour. I follow all cooking directions accordingly. They’re scrumptious.

Ingredient Notes For Success
A few key ingredients are what give these cookie bars their signature chewy, dense texture:
Dark Brown Sugar: Brown sugar holds onto more moisture than granulated sugar, which helps create chewy cookie bars with a richer flavor.
- Swap: You can use light brown sugar 1:1, but the color, taste, and texture will be slightly different.
Egg + Egg Yolk: The extra egg yolk adds fat for a richer, chewier texture without adding more moisture from an egg white. I haven’t tried any egg substitutes.
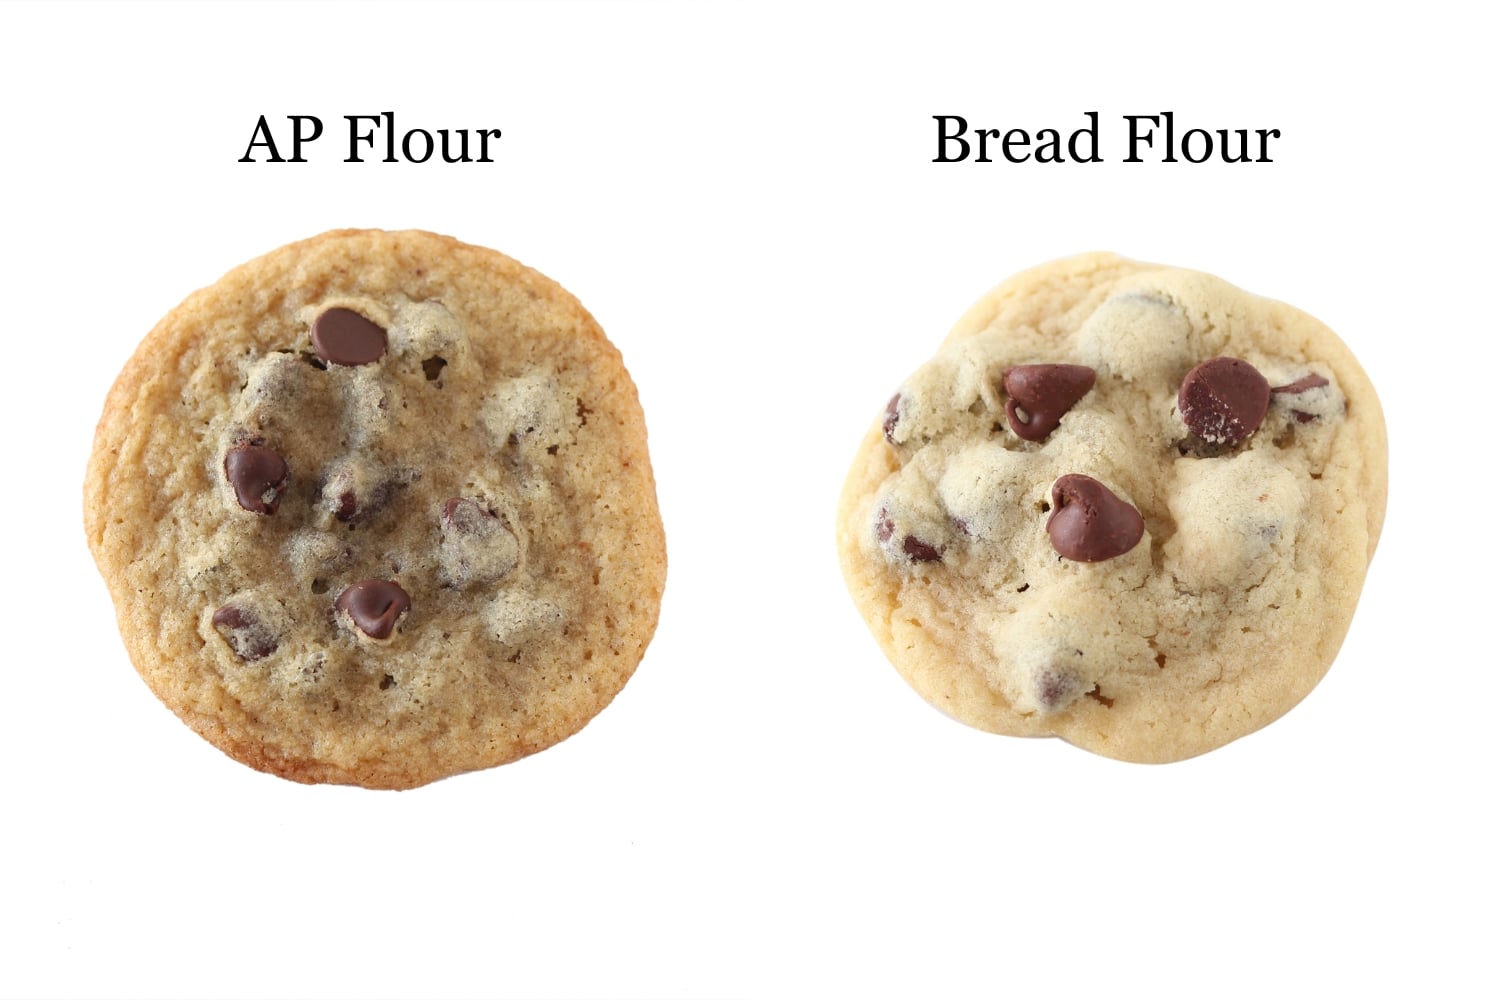
Bread Flour: The higher protein content helps develop stronger gluten, giving these cookie bars their especially chewy, sturdy texture. Measure your flour with a digital kitchen scale for the best results. If you don’t have a scale, use the spoon-and-level method to avoid adding too much flour, which can make the bars dry and crumbly.
- Swap: If needed, use all-purpose flour 1:1, but the bars won’t be quite as chewy.
Melted Butter: Using melted butter means there’s no need to cream the butter and sugar together. Creaming incorporates air, which would make these bars lighter and less dense. Melted butter helps create the dense, chewy texture we want.
How to Tell When Cookie Bars Are Done Baking
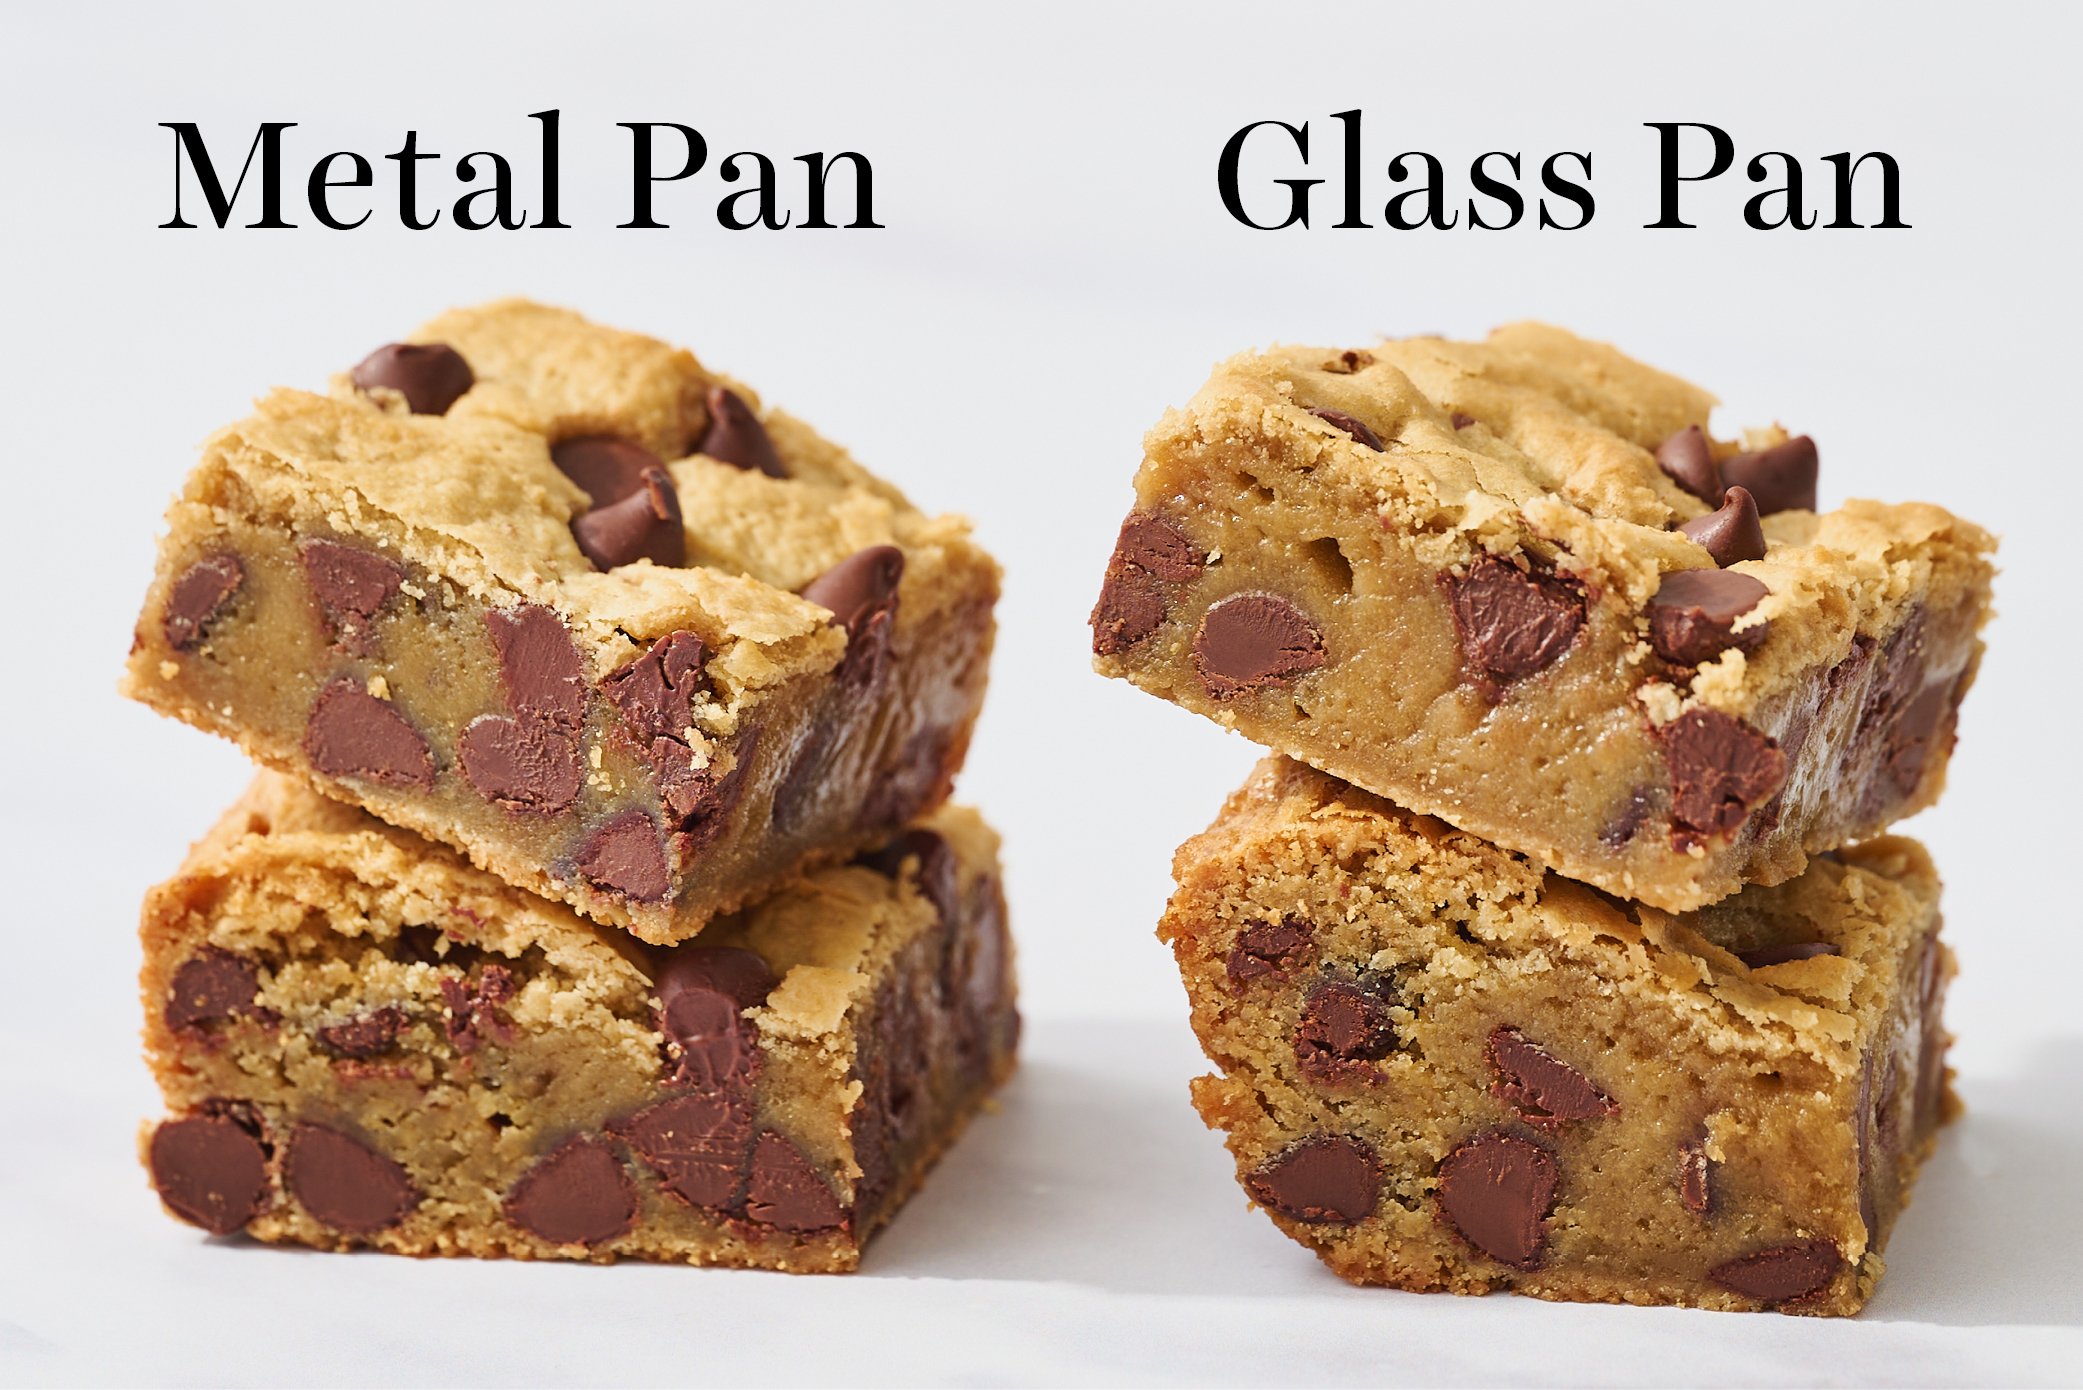
The cookie bars are done when the edges and top are golden brown and the center looks soft but still set. You want a little gooey softness to remain. They’ll continue to firm up as they cool, so be careful not to overbake.
For the best results, bake these cookie bars in a light-colored metal baking pan. Metal conducts heat more efficiently than glass or ceramic, helping the bars bake evenly from edge to center.
If you only have a glass or ceramic pan, reduce the oven temperature by 25°F and increase the baking time by 5 to 15 minutes. Otherwise, the edges can bake before the center is fully set, leaving you with an underbaked or even raw center. Learn more about Glass vs. Metal Pans here.
How to Customize Loaded Cookie Bars
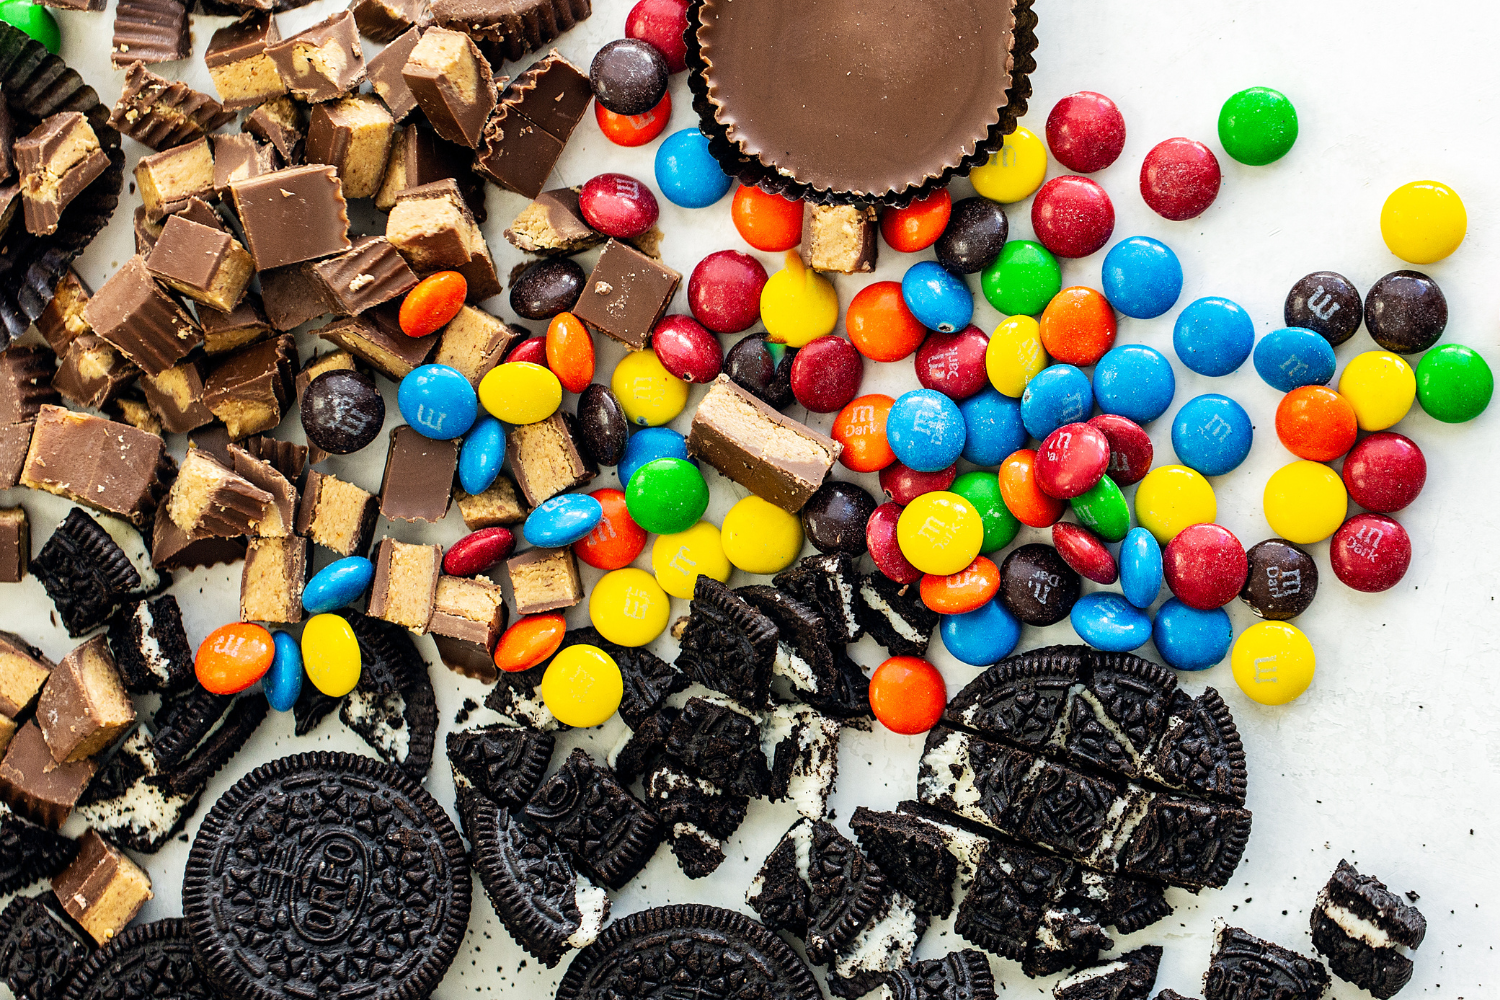
These cookie bars are made for using up whatever you have on hand. Swap in your favorite candy, cookies, or other treats like:
- Chocolate bars: Snickers, Hershey’s, Milky Way, Twix, Kit Kat
- Peanut butter candy: Reese’s Cups, Reese’s Pieces, peanut butter chips
- Caramel candy: Rolos, caramels, Milk Duds
- Chocolate chips: Semisweet, milk, dark, or white chocolate chips
- Cookies: Oreos, graham crackers, shortbread
- Pretzels: Chocolate-covered pretzels or chopped plain pretzels
- Other crunchy candy: Heath bars, Butterfingers, Crunch bars
- Nuts: Chopped cashews, pecans, walnuts, hazelnuts, almonds
Tip: Check your pantry and the bottom of the Halloween candy bucket before buying anything new! If you’d happily eat it with chocolate, you can probably chop it up and throw it in these bars.
Storage & Freezing
Storage: Cover and store at room temperature for up to 3 days. Add a tortilla to the container to help keep the bars softer for longer.
Freeze: Freeze the bars in an airtight container for up to 2 months. Defrost at room temperature and, if desired, refresh in a 300°F oven until warmed through.
Frequently Asked Questions
Yes, just know the bars will be less chewy. Use a total of 2 1/4 cups (286 grams) all-purpose flour.
Yes! That’s the whole point of these loaded cookie bars. Swap in your favorite chocolate, candy, cookies, pretzels, or whatever treats you have on hand. If you’d eat it with chocolate, it’ll probably work in this recipe!
Make sure you’re using a light-colored metal baking pan and baking until the center looks set but still soft. If using glass or ceramic, reduce the oven temperature by 25°F and increase the baking time by 5 to 15 minutes. See the How to Tell When Cookie Bars Are Done Baking section above for more guidance.
I haven’t tried that, but other readers have had success with a 1:1 gluten-free flour blend. You may need to increase the baking time and tent the top partway through baking to prevent over-browning.
Yes! Halve all the ingredients and bake in an 8×8-inch metal baking pan. Start checking for doneness around 18-20 minutes. For the egg yolk, beat one yolk and use half, about 9 grams.

Email This Recipe
Enter your email, and we’ll send it to your inbox.
Ingredients
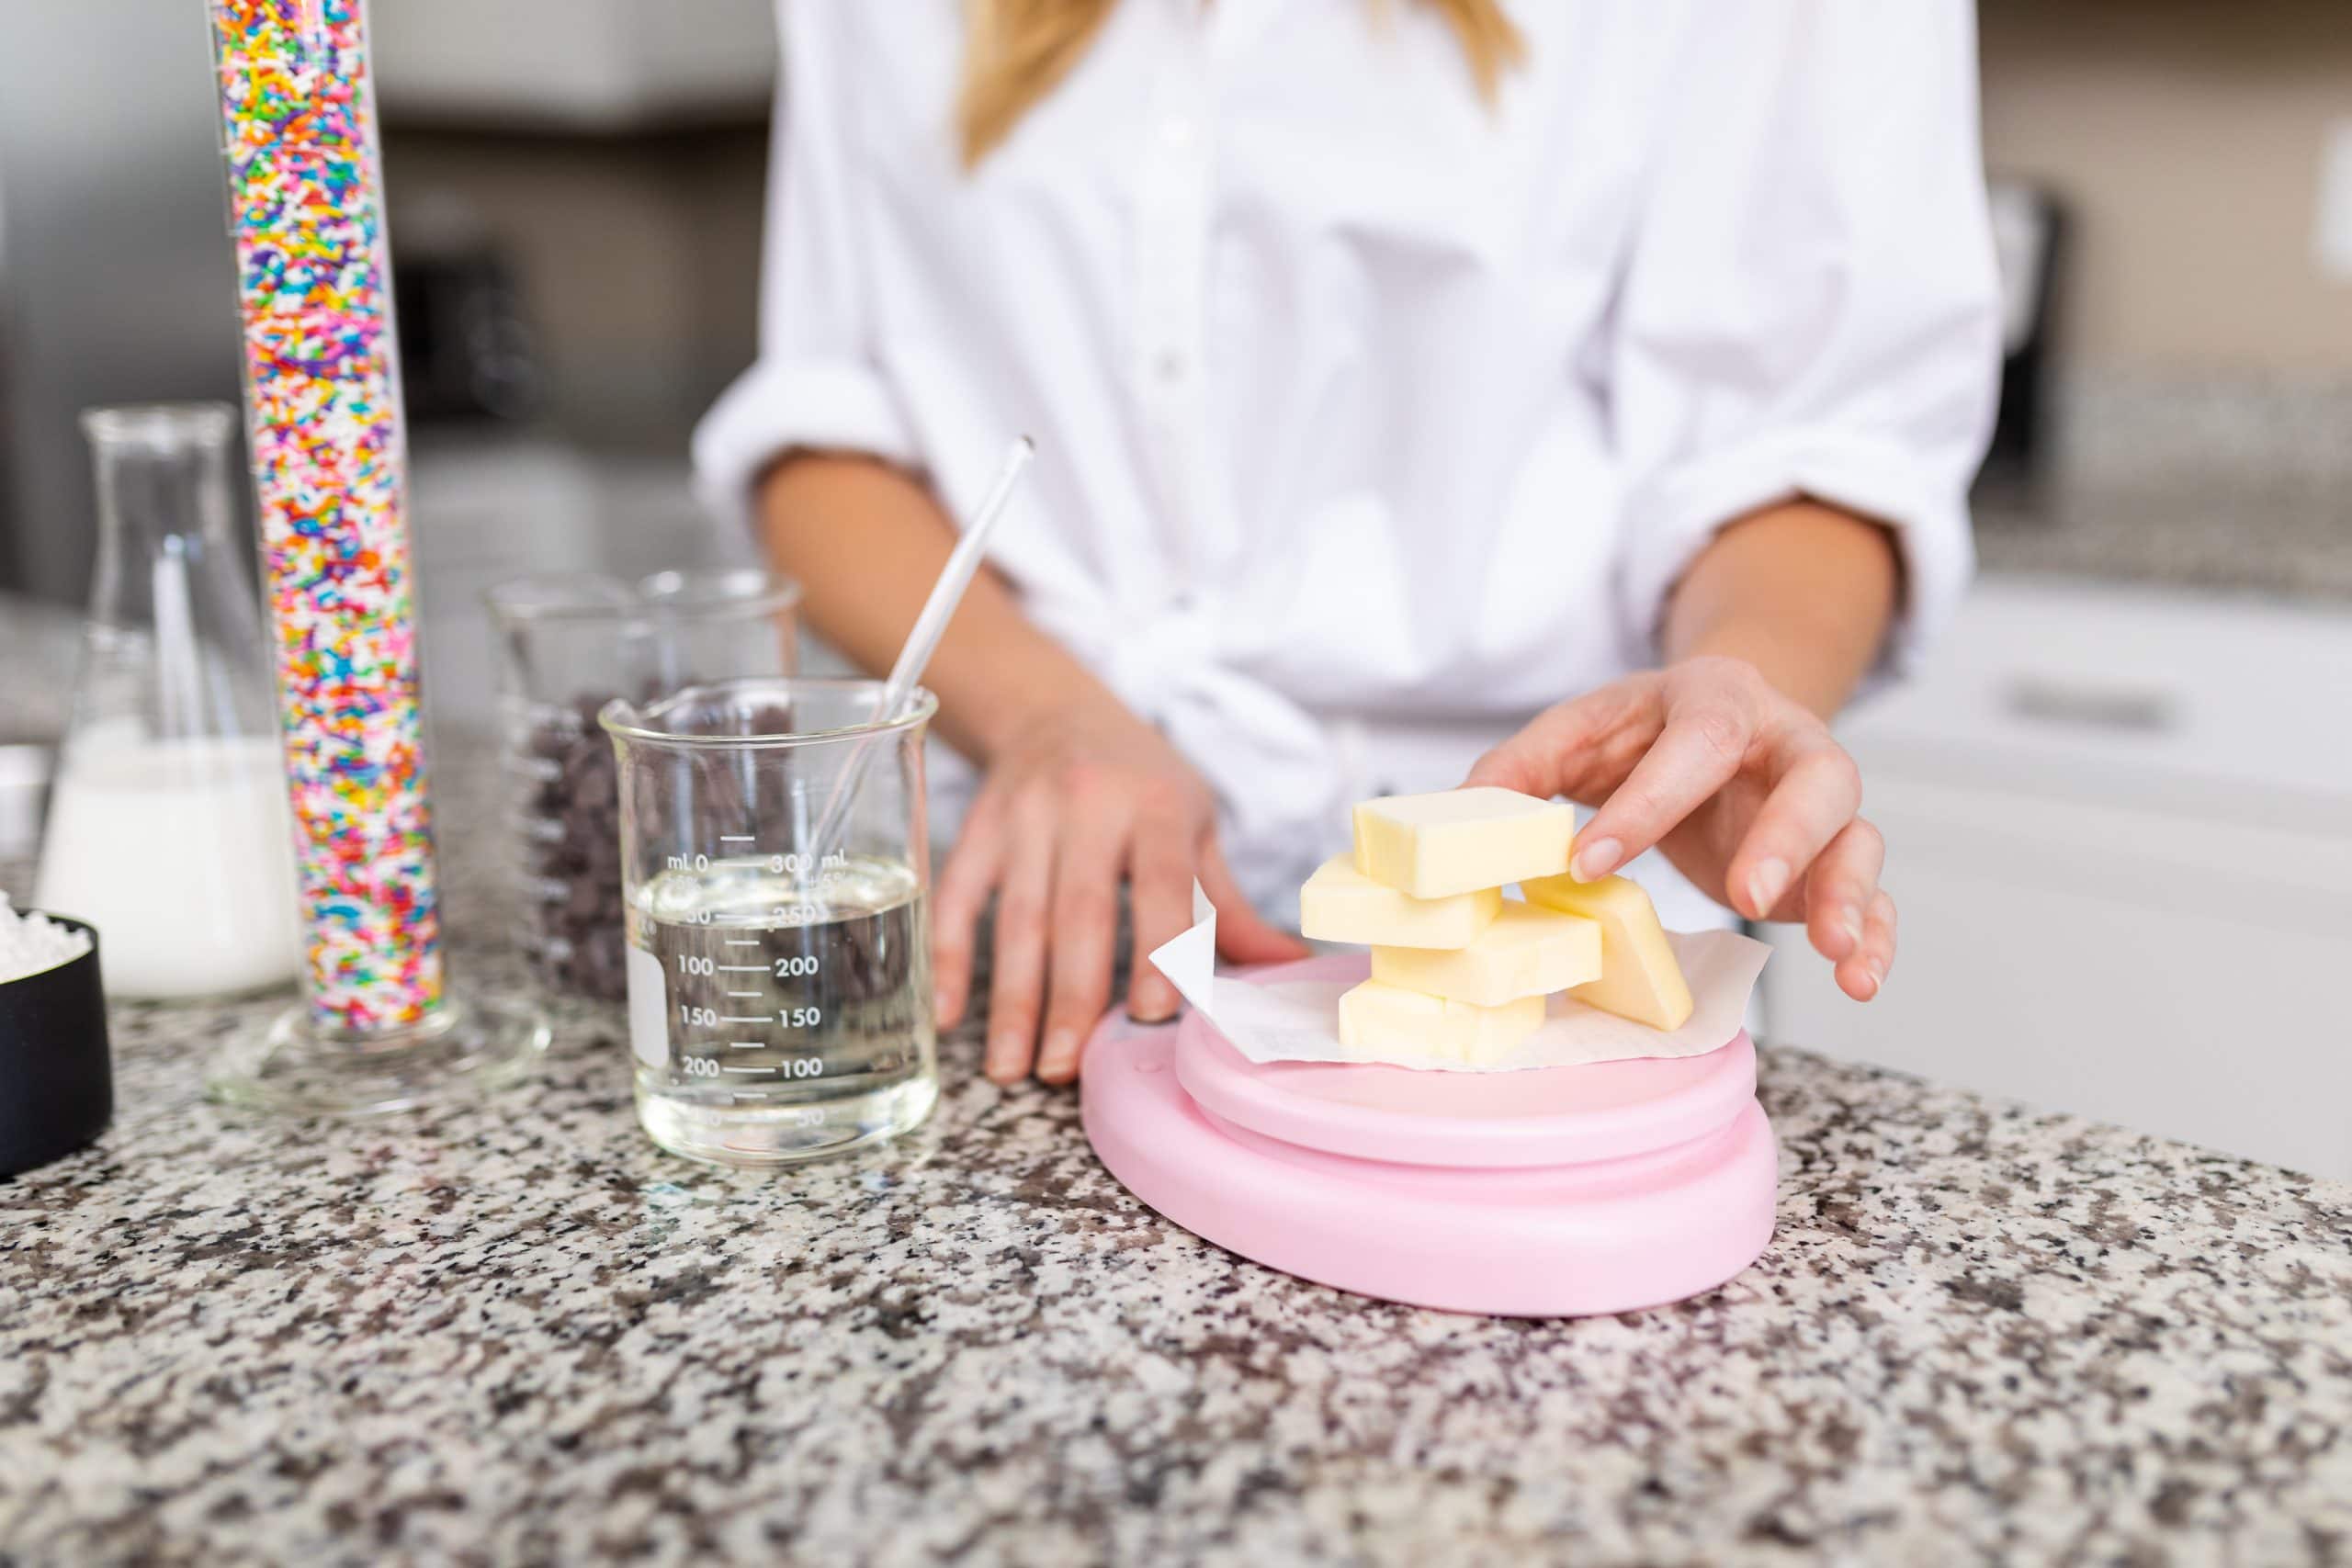
- 2 sticks (227 grams) unsalted butter, melted
- 1/2 cup (100 grams) granulated sugar
- 1 1/4 cups (250 grams) packed dark brown sugar
- 2 teaspoons vanilla extract
- 2 large eggs plus 1 egg yolk, at room temperature
- 1 1/4 cups (159 grams) all-purpose flour
- 1 cup (127 grams) bread flour*
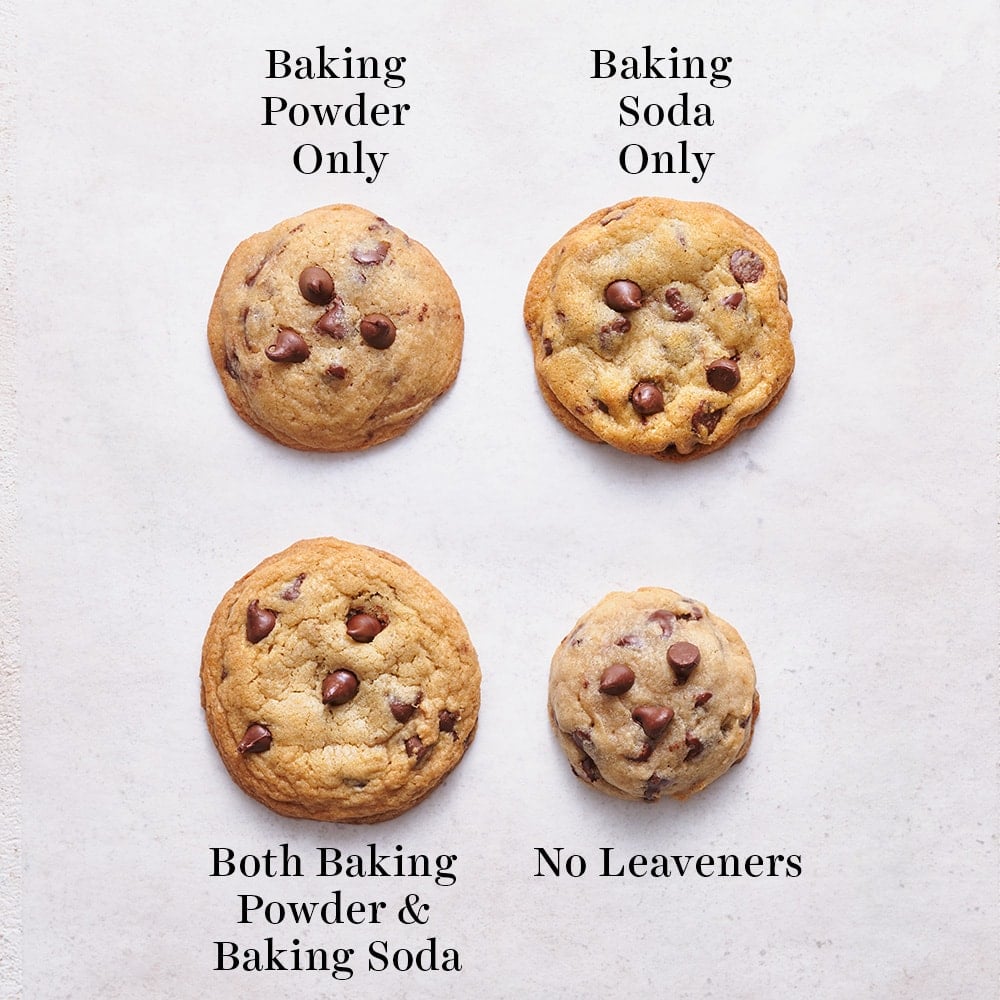
- 1 teaspoon baking soda
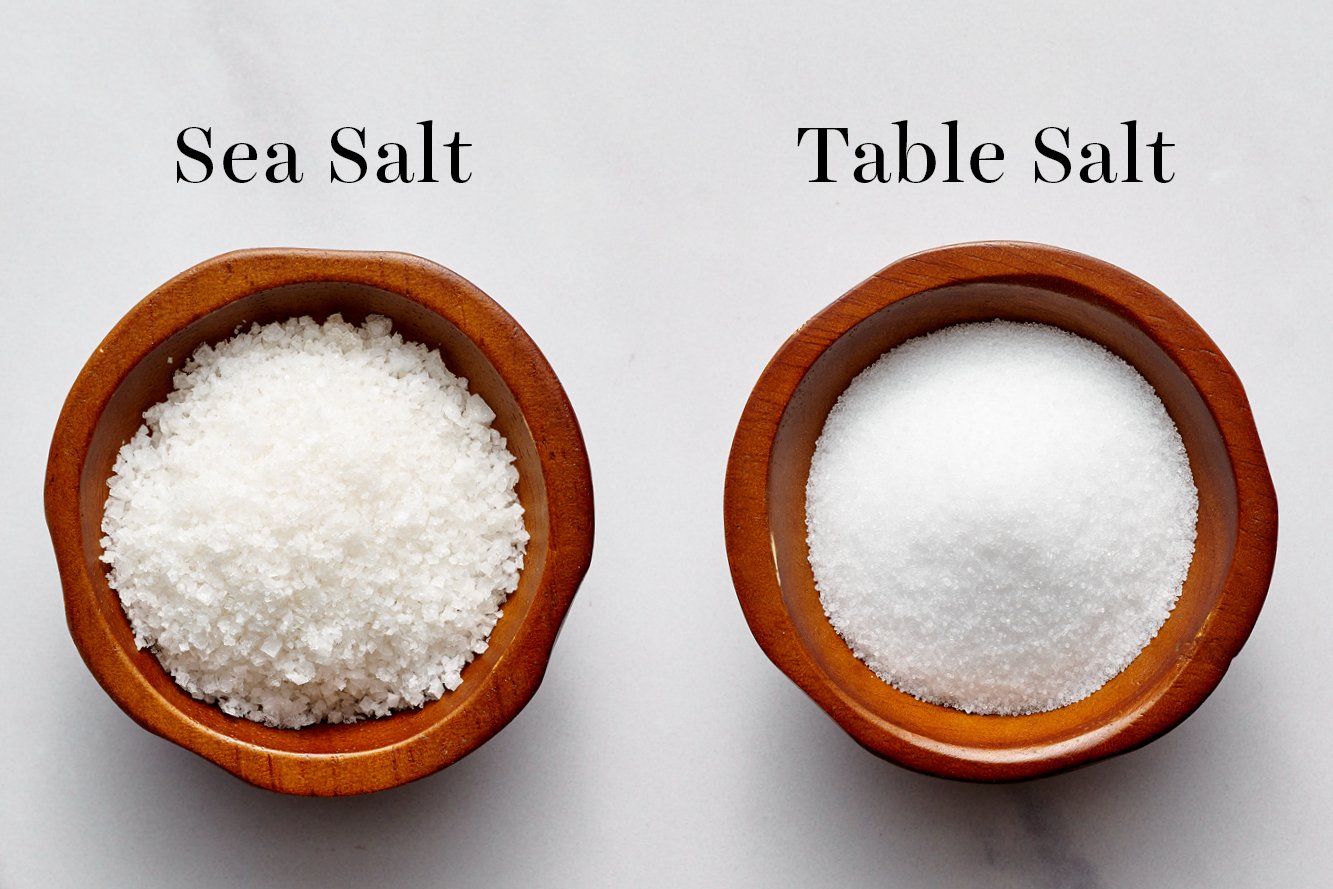
- 1 teaspoon fine sea salt
- 20 Oreo cookies, chopped
- 1 cup M&M candies
- 1 cup chopped Reese’s (or other chocolate candy)
Instructions
- Preheat the oven to 350°F. Line a 9 by 13-inch metal baking pan** with parchment paper and spray with nonstick cooking spray.
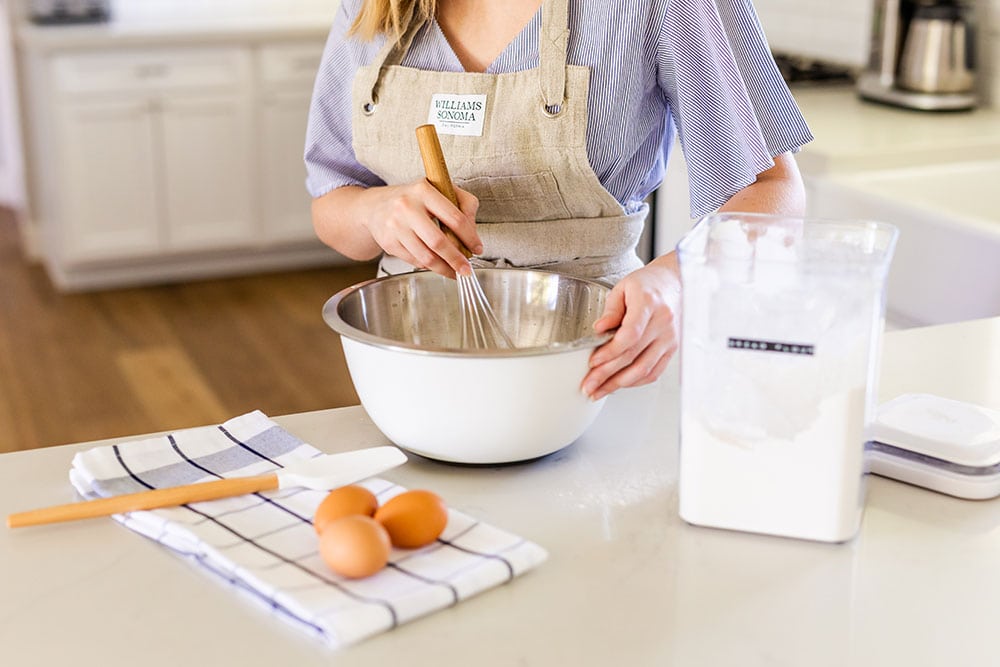
- In a large bowl, vigorously stir the melted butter, granulated sugar, and brown sugar until very well combined. Add in the vanilla, eggs, and egg yolk and stir until well combined. Gradually add in the flours, baking soda, and salt and stir until just combined. Fold in the Oreos, M&M’s, and Reese’s, reserving some to sprinkle on top.
- Use a spatula to press the dough evenly into the prepared pan. Sprinkle with the reserved candy, pressing each down lightly. Bake for about 25 minutes, or until golden brown but not overcooked. Cool completely before cutting into squares and serving.
Notes
This recipe was originally published in 2014 and recently updated with recipe improvements and additional recipe tips. Photos by Ashley McLaughlin.


I had the same problem as a few other reviewers. After 25 minutes, the bars were brown on the outside and completely raw everywhere else. I used a scale to measure everything and am a seasoned baker. Something is not quite right with this recipe.
Thanks for your feedback! May I ask what kind of pan you used? Glass or ceramic take longer to heat up, which can cause the edges to brown more while the center is still underbaked. If you used either of those, try reducing the baking temp by 25°F next time and increasing the bake time by 5 to 15 minutes. Tessa mentioned this in her notes above the recipe, but I just included it directly in the recipe as well to make it easier to find. I hope this helps!
A friend gave me a pack of her favorite Oreo’s brown sugar pancake and asked me to bake something. Can I use all Oreos in place of M&M’s & other candy? Thank you.
I MAKE THESE WAYYYYY TOO MUCH 🫣😍😍😍😍
I’ve made this recipe for years and it’s always a big hit! Very easy and customizable. I’ve made them at the Ronald McDonald House and the families seemed to love them!
Thanks!
I made this recipe the day after Halloween and it came out delicious! I love that it gave me a different way to bring leftover candy into work and every person loved it!
I did make one substitution, I have celiac so I used GF flour instead of regular flour. Usually GF flour absorbs more moisture in recipes so bakes can be dry. In this case, the recipe needed to bake for longer (not sure why). So my first try, the loaded bars came out completely raw in the middle. For my second try, I put 9 extra minutes on the timer and they came out perfect! I made sure to tent with foil about 30 minutes into the baking process so it would not brown too much on top.
I’ve made these several times. I substituted the cookies and candies with one cup each of chocolate chips, craisins and chopped pecans. I just use all-purpose flour. I follow all cooking directions accordingly. They’re scrumptious.
Hi Tessa.
Can I use light brown sugar instead of dark?
Hi there! We prefer the dark brown sugar as it contributes extra chewy texture and additional flavor to these bars, but you’re welcome to try light brown sugar 🙂 Let us know how it goes!
Hi! Love all of your recipes and can’t wait to make this with all of the leftover Halloween candy! I was just wondering, if I half the recipe, do I need to half the egg yolk too? Or is it okay to just add 1 whole egg and 1 whole yolk. Thanks!
1 large egg and 1 egg yolk should work! Your bars will be chewy and delicious 🙂
All I can say is they are the best blondie bar! The best! Perfect! Thank you so much! Now I can use up all the leftover chocolate candy!