


Tessa’s Recipe Rundown
Taste: Rich and sweet!
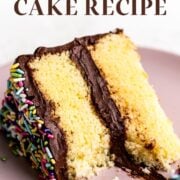
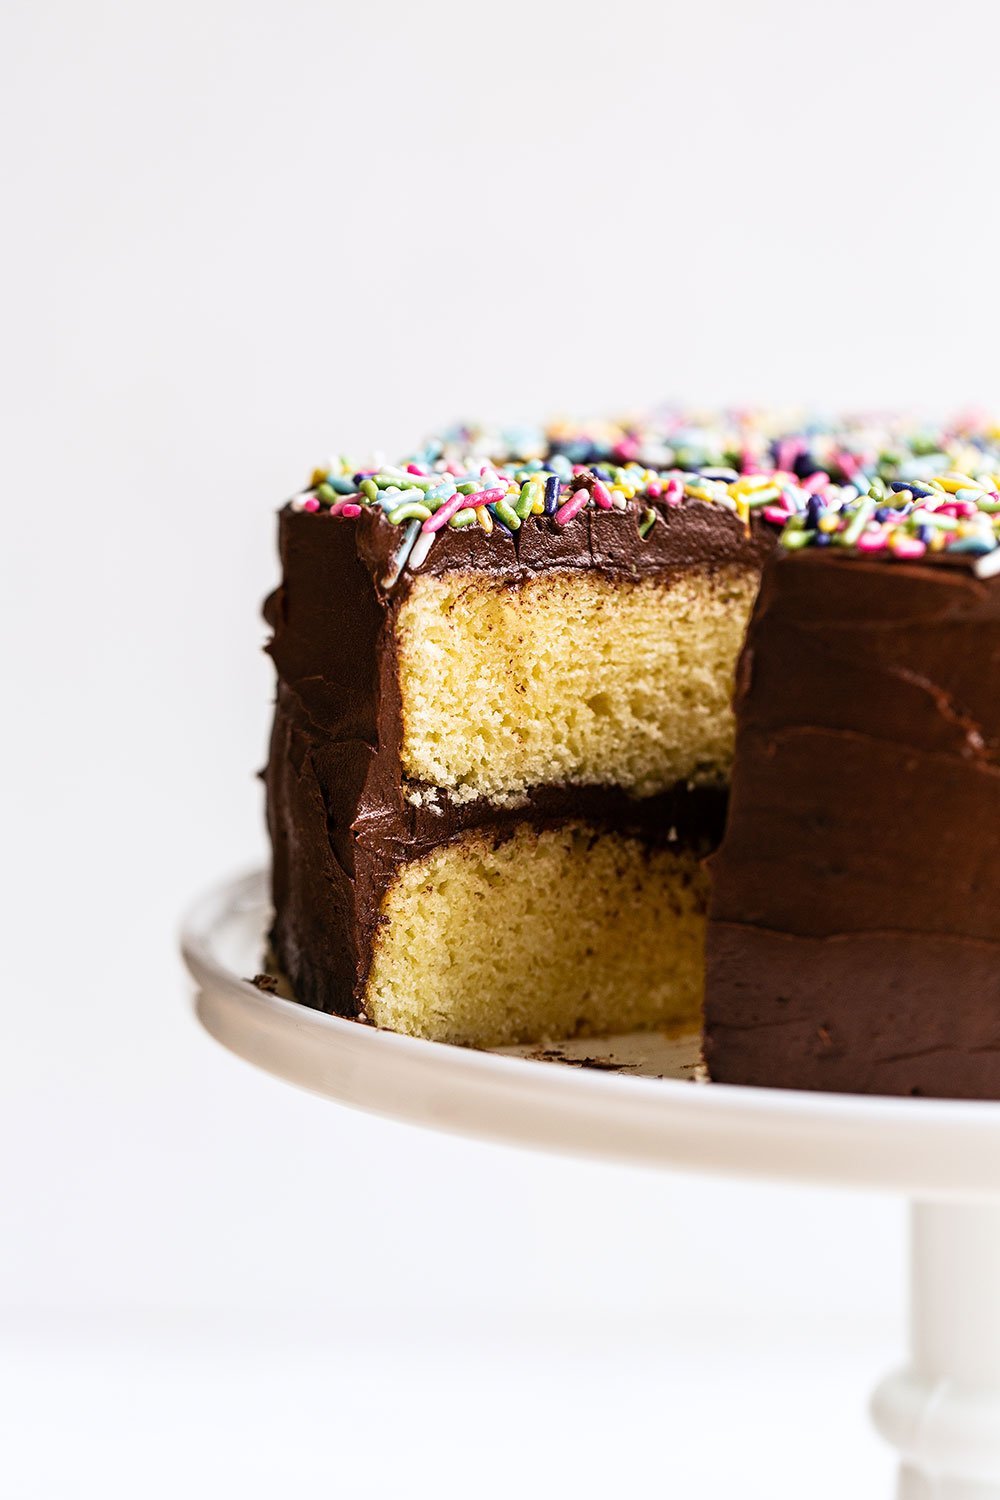
Texture: Perfectly moist, fluffy, and tender with luscious chocolate frosting.
Ease: Pretty quick & easy for a homemade cake. I won’t use box mix again with this recipe!
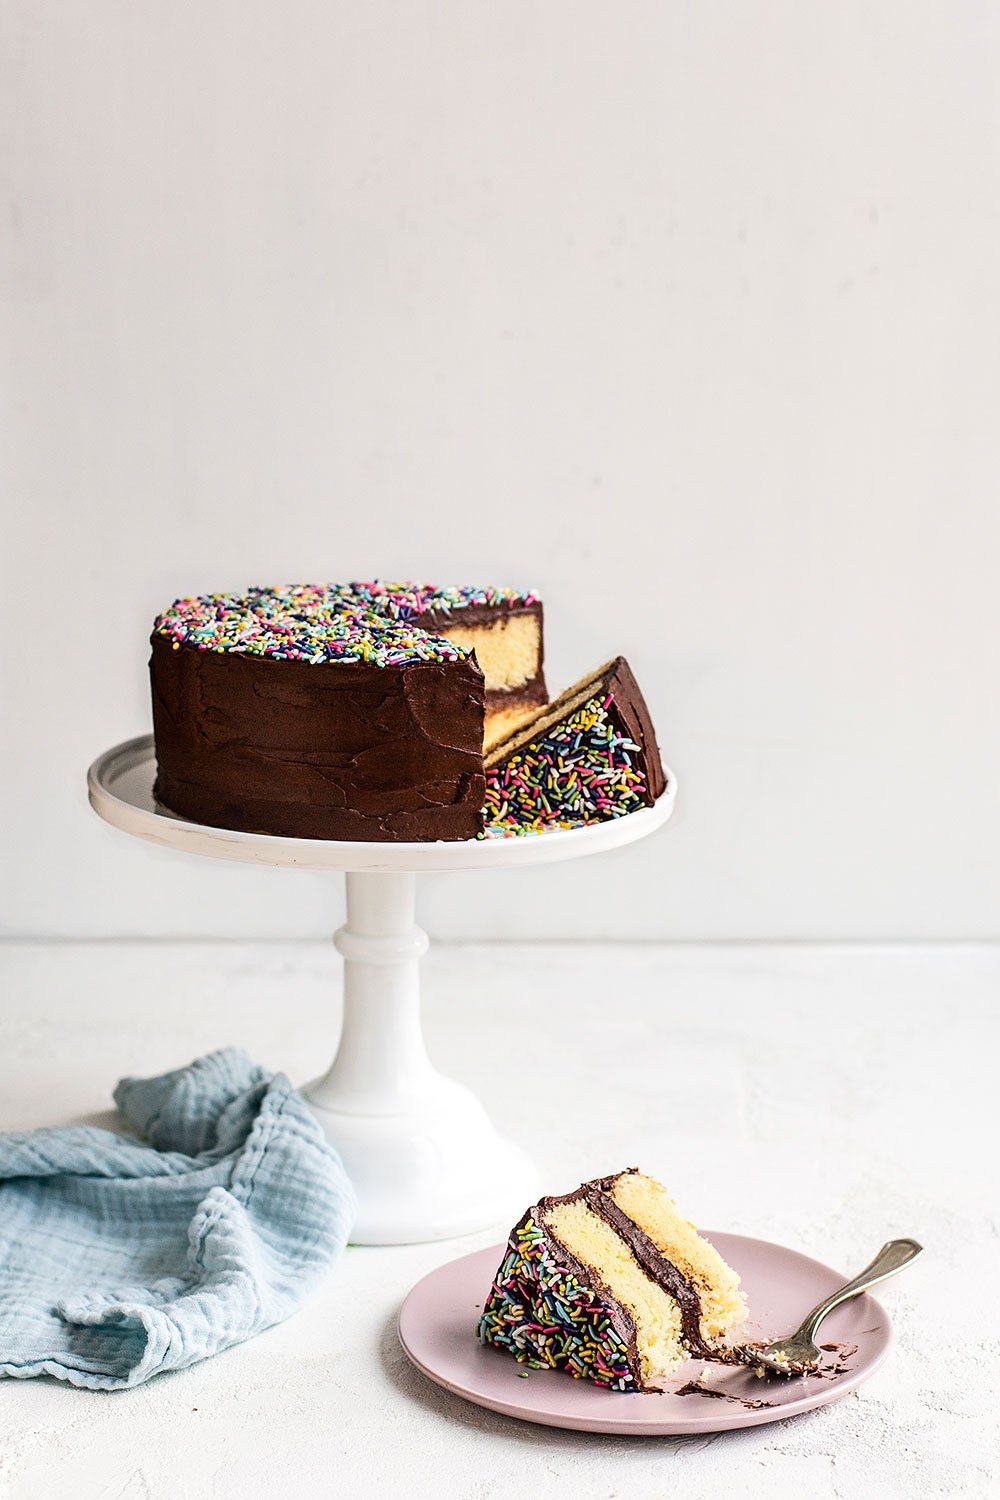
Pros: My new go-to cake recipe. Perfect cake for any birthday!
Cons: None, really.
Would I make this again? Absolutely.
This post may contain affiliate links. Read our disclosure policy.


I have fond memories of my dad making yellow cake recipes with chocolate fudge frosting for special occasions.
That’s definitely where I get my sweet tooth from, but my dad isn’t much of a scratch baker. Those cakes were always box mixes paired with the little tub of premade frosting with who-knows-what added in to keep it shelf stable.
Still, as a kid, I loved those yellow cakes.
Now as an adult… I find them shockingly sweet and artificial tasting.
But I will say, I still like the fluffy, moist texture of those box yellow cake mixes. I wanted to create a classic yellow cake recipe that felt like those cakes I grew up with but with much better flavor. I think I’ve finally discovered it!
Honestly, it took about 7 tries to get this yellow cake recipe right over the course of 6 months. Layer cake is a hard recipe to want to test repeatedly in a short period of time. What are you supposed to do with all those mediocre leftover cake slices?!
So I went back to the drawing board and decided to start with my Best Birthday Cake as the base since that recipe is so well received. Where that cake texture is tighter and more delicate, I wanted this yellow cake to be a little looser and more moist like box mix.
I got rid of the egg separation method from that recipe, which involves whipping the egg whites, to get a richer texture and an easier process. More eggs + yolks, more butter, and a touch of sour cream help round everything out in this recipe. And of course, there is lots of chocolate frosting on top.
I hope you love it!
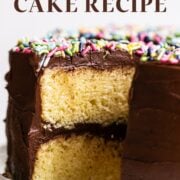
How to Make the BEST Homemade Yellow Cake Recipe
Classic Yellow Cake Recipe Ingredients:
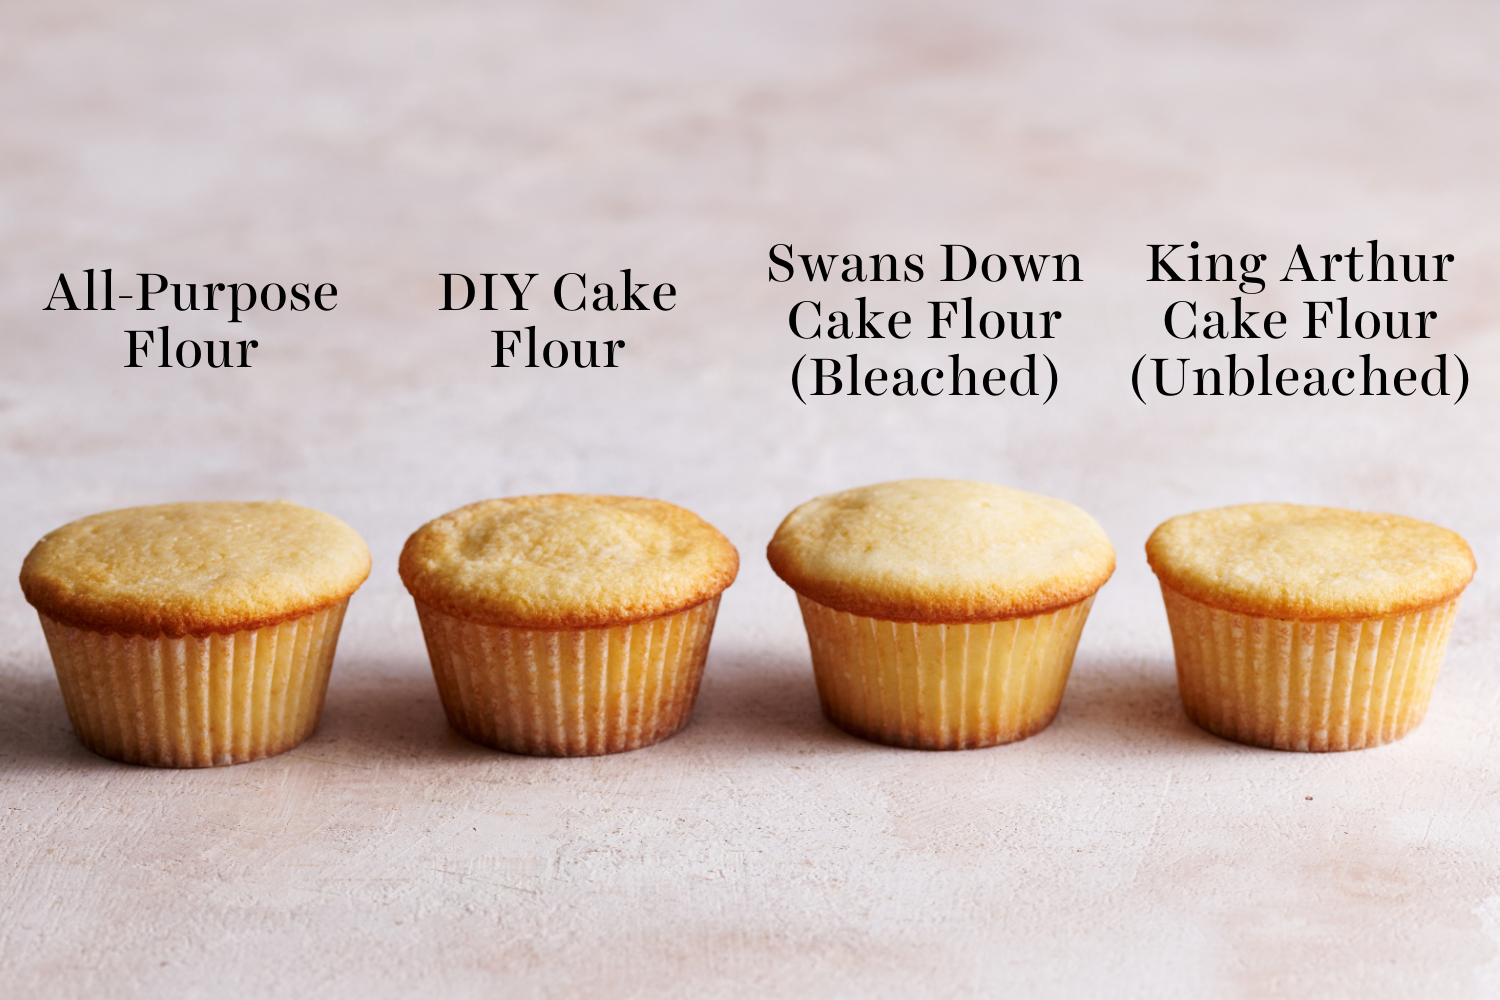
- Bleached cake flour – avoid using all-purpose flour or DIY cake flour substitutions. They simply don’t work as well. Check out my Cake Flour 101 article here to understand why. The best thing to use in this recipe is bleached cake flour (like the Swans Down brand).
- Baking powder & baking soda – these leavening agents help the cake rise properly. Learn more about the differences between baking soda and powder here.
- Fine salt – just enough to balance out the sweetness of this yellow cake.
- Butter – use unsalted butter to control the amount of salt used in the batter.
- Granulated sugar – sweetens and moistens the cake.
- Eggs – 2 large eggs and 2 large egg yolks add richness and moisture.
- Pure vanilla extract – it’s not yellow cake without the aroma and flavor that vanilla provides!
- Sour cream or plain full fat yogurt – tenderizes and adds flavor.
- Whole milk – using whole milk will help to create a tender and moist cake as well. Whatever you do, don’t use skim milk.

How do I make MOIST & TENDER cake?
I highly advise weighing your flour when making cake. I always use my digital kitchen scale to weigh flour, but if you don’t have one use the “spoon and level” method to measure with measuring cups.
Avoid any baking substitutions! The cake flour and whole milk help create a moist and tender cake. All the whole eggs + egg yolks add richness and moisture. The sour cream also tenderizes as well as adding more flavor.
How to Properly Mix Cake Batter
- A stand mixer fitted with a regular paddle attachment is definitely the easiest way to mix up this batter, though you could use a hand mixer if you prefer. Start by creaming the butter + sugar together. There are two keys here: use butter at COOL room temperature and scrape down the bowl and paddle often (even if you’re using an attachment that “scrapes” as it blends).
- This batter is very rich. It uses a lot of eggs and yolks, as well as whole cream and a touch of sour cream. That means you may need to beat slightly longer after each group of ingredients to really make sure it’s all incorporated. It’s very important your refrigerated ingredients are all at room temperature.
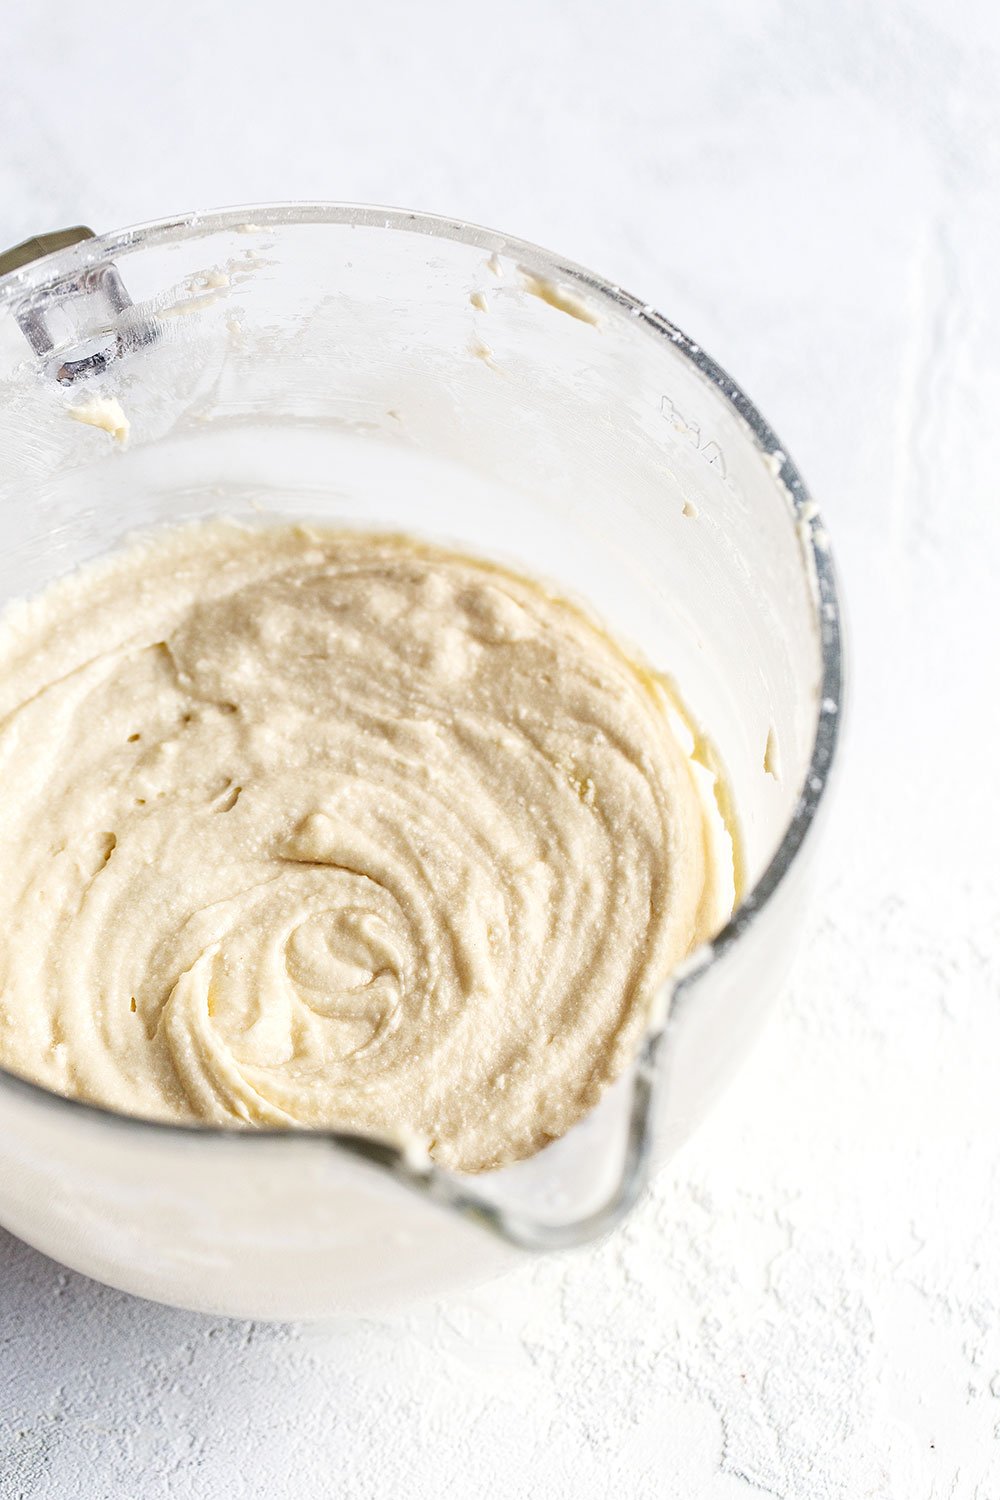
- When you beat in the last ingredient which is the sour cream, it may look a little curdled. Just scrape down the bowl and continue beating on low speed until it comes together like the batter photo above.
How Long to Cream Butter & Sugar:
Every minute matters when it comes to creaming butter and sugar for baking. Creaming butter and sugar can mean the difference between a heavy, leaden cake or a light, tender, and fluffy cake!
Perfectly creamed butter and sugar has lightened in color and has peaks and valleys in its texture, giving it that ‘fluffy’ appearance. The sugar appears to be dissolved, but when you rub the mixture between your fingers you’ll still feel the sugar granules. I’ve found perfectly creamed butter to be around 3 minutes for me and my mixer in my kitchen, but this will vary for every baker. Check out my How to Cream Butter & Sugar article for more.

What are the best cake baking pans?
Never use dark colored cake pans. They tend to overcook the edges, making them too brown and dry.
My favorite cake pans are definitely my Fat Daddio’s pans. They bake evenly and clean up easily!
Can I use a 9-inch pan instead?
This recipe calls for 8-inch pans, which is what will work best. You can also use 9-inch if that’s what you have. Your cake layers will be thinner. Just shave about 5 minutes to the baking time.
Can I make cupcakes with this recipe?
Yes, this recipe will make about 24 standard cupcakes. Bake in lined cupcake pans for about 17 to 20 minutes. Check out my full guide for how to convert cake into cupcakes!
Are there high altitude adjustments for baking cake?
If you’re baking at a high altitude, you’ll probably want to make some adjustments to this recipe. Since I live at sea level, I can only recommend following the advice in King Arthur Flour’s guide here.
BEST Frosting for Yellow Cake Recipe: Chocolate Buttercream Frosting!
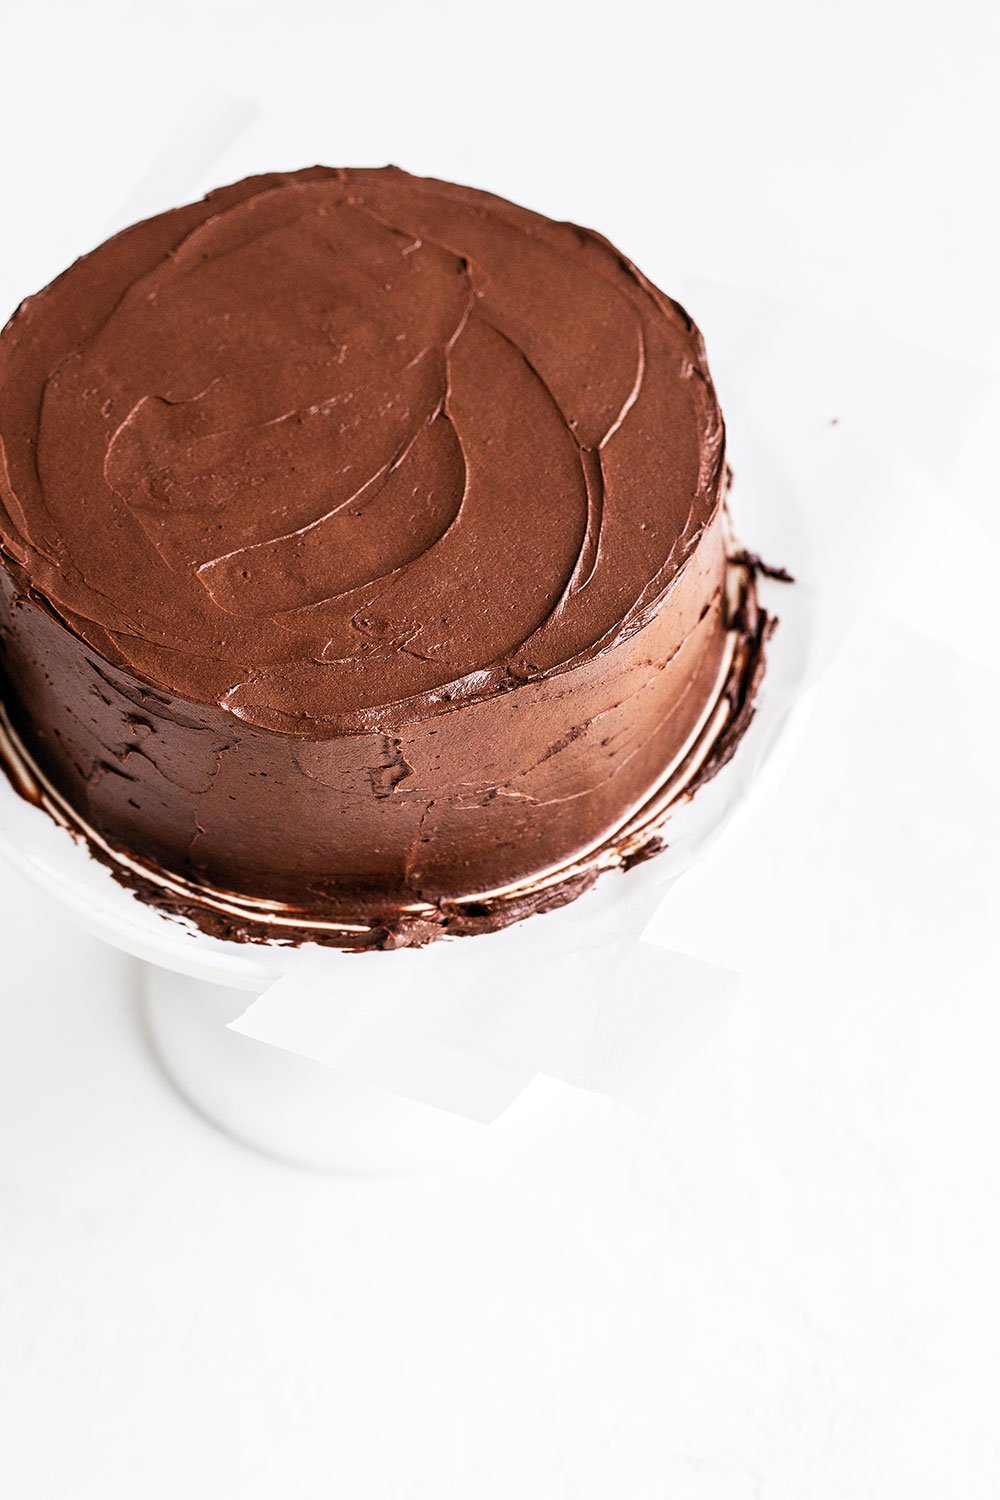
For this recipe I absolutely ADORE using my Best Ever Chocolate Buttercream recipe. It’s American buttercream that literally tastes, feels, and looks as close to the more difficult Swiss Meringue Buttercream that I’ve ever experienced. It uses two secret ingredients and 1 unusual technique to get those results, so I highly recommend you check out that Chocolate Buttercream recipe post here.
You can also use my Chocolate Swiss Meringue Buttercream recipe to frost this cake instead.
Or use my Best Buttercream Guide to make any flavor or variation you want to accompany this yellow cake!
How can I make cake ahead of time?
Wrap unfrosted cooled cake layers completely in several layers of plastic wrap. Place inside a freezer bag. Store at room temperature for up to 3 days or in the freezer for up to 2 months. Defrost overnight in the fridge. Don’t defrost at room temperature or you will end up with mushy sticky cake.
How to store cake:
Cover with a cake keeper and store at room temperature for up to 8 hours then refrigerate. The buttercream acts as a kind of protective barrier to keep the cake inside soft and fresh. The sugar in the buttercream acts as a preservative to prevent the dairy from spoiling at room temperature. But after 8 hours I typically like to refrigerate layer cakes just to keep it safe. Allow to come to room temperature before serving.
My Favorite Yellow Layer Cake Tools:
- Fat Daddio 8-inch cake pans – my FAVORITE cake pans because they release easily and are quick to clean.
- Pre-Cut Parchment Rounds with Flaps (these make such easy work of ensuring your cake won’t stick!!)
- Large offset spatula – perfect for spreading frosting on for a beautiful cake.
- An oven thermometer and kitchen scale are the most important tools in any baker’s kitchen!
More Cake Recipes:
- Best Chocolate Cake Recipe
- Best Birthday Cake Recipe (features a more delicate white cake base)
- Banana Chocolate Chip Cake with Peanut Butter Frosting
- Angel Food Cake Recipe
- Funfetti Sheet Cake
Email This Recipe
Enter your email, and we’ll send it to your inbox.
Ingredients
- 2 1/4 cups (254 grams) bleached cake flour, measured correctly
- 3 teaspoons baking powder
- 1/4 teaspoon baking soda
- 1/2 teaspoon fine sea salt
- 2 sticks (227 grams) unsalted butter, at cool room temperature
- 1 3/4 cups (350 grams) granulated sugar
- 2 large eggs, room temperature
- 2 large egg yolks, room temperature
- 2 teaspoons vanilla extract
- 1/4 cup (57 grams) sour cream or plain full fat yogurt, at room temperature
- 3/4 cup whole milk, at room temperature
- 1 Batch Best Chocolate American Buttercream


Instructions
Make the cake:
- Preheat the oven to 350°F. Butter, flour, and line two 8-inch cake pans with parchment circles.
- In a medium bowl whisk together the flour, baking powder, baking soda, and salt.
- In a large bowl with an electric mixer, beat the butter on high speed until smooth and creamy, about 1 minute. Add the sugar and beat on high speed for 3 to 4 minutes, until light and fluffy. Scrape down the bowl as needed. Add the eggs, egg yolks, and the vanilla one at a time, beating well between additions until combined. If the mixture looks separated, just keeping beating until emulsified. Beat in the sour cream until combined.
- With the mixer on low speed, add the flour mixture in three additions alternating with the whole milk, beginning and ending with the flour, mixing just until combined. Do not overmix.
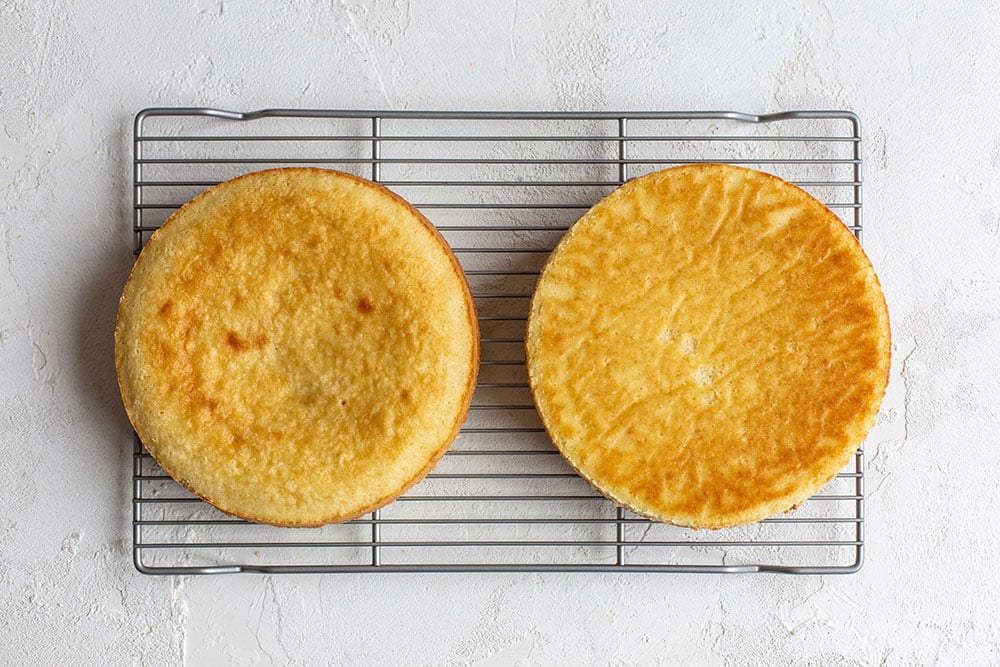
- Divide the batter evenly among the prepared pans and bake for about 25 to 30 minutes, or until a toothpick comes out clean. Let cool for 20 minutes in pans before turning out onto a cooling rack.
Assemble the cake:
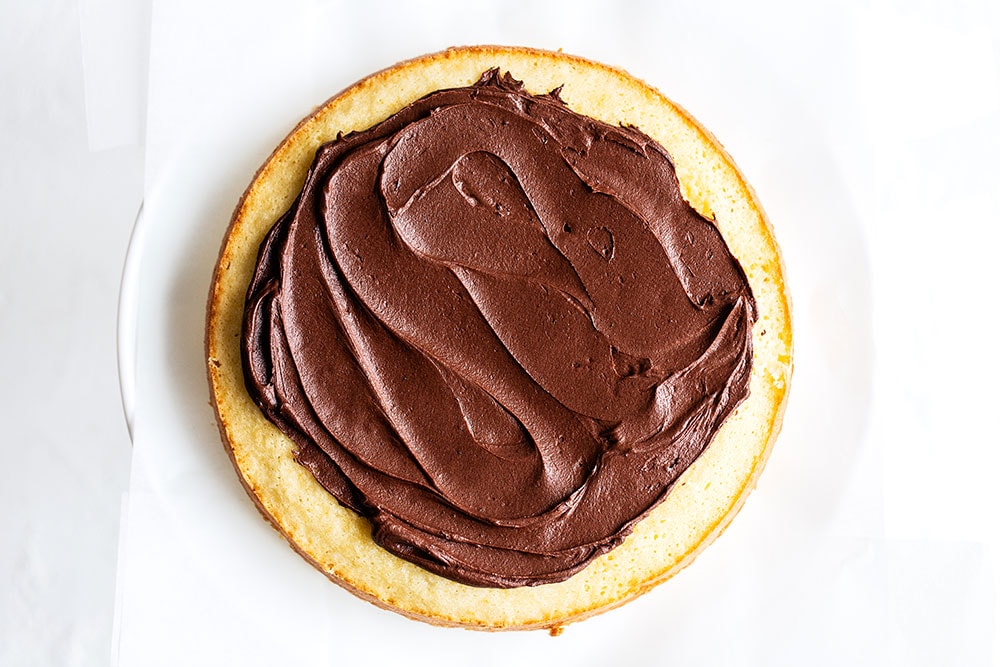
- Place one cake layer on a cake turntable or cake stand. Spread about a third of the frosting in an even layer all over, pushing it out over the edge just slightly. Place the other cake layer upside-down onto the frosting so that the top of the cake is nice and flat. With an offset spatula, spread the remaining frosting evenly all over the cake, smoothing the edges. Serve or cover and store in the fridge for up to 2 days. Let come to room temperature for an hour before serving.
Notes
Photos by Ashley McLaughlin.


Made this yellow cake, along with Tessa’s ganache and a vanilla pudding recipe I found online for a Boston Cream Pie/cake. The cake and ganache were delicious and the three items worked wonderfully together!
Ooo that sounds delicious! So happy you loved this recipe!
Wish I would have read these comments prior to making the cake. Mine also sunk even though I followed the directions exactly and read the article on why a cake might sink. Like somebody else mentioned, this cake recipe is just not a good one for layered cakes. I think I will just have to find a different recipe. Flavor is wonderful, but everything else was a struggle.
The absolute best homemade Yellow butter cake ever! It rivals the yellow box cake but better. Moist, flavorful just plain delicious!
Yay! So happy to hear that!
I made this cake and it was a little dry. I did not over cook it. What can I do?
Hi Shelly! Dry cakes can also be from mis-measuring ingredients. Do you use a digital scale to measure? Since your cake is already made, feel free to brush a simple syrup on top as that will help to add moisture and a bit of sweetness to a dry cake. I hope that helps!
Both layers of this cake are caved in the middle and high on the sides? do you know why? It’s my first try at this recipe for my husband’s birthday today and it looks terrible! I just reviewed all the ingredients and instructions and I followed them exactly. It also smells strongly of baking powder. I haven’t cut into it but I’m tempted to toss it (and all the money I put into ingredients) and start with another recipe. I make all my cakes from scratch so I’m not a novice. Any ideas?
I’m so sorry to hear that, Lisa! It’s so frustrating when a recipe doesn’t turn out, especially on such a special day. Do you live at a higher altitude? What kind/size of cake pan did you use? There are so many reasons why a cake can sink that Tessa actually wrote an article about How to Prevent Cakes and Loaves from Sinking. I’d highly recommend reading through the article linked, fingers crossed it was just a minor detail that was missed. Please let me know if you have any questions, and I really hope you give this recipe another try!
So like everyone else, mine sunk ever so slightly and took a little longer to make sure the toothpick came out clean. I did everything as you said (and as I’ve learned from your other recipes). The only thing I’d say that could have been wrong was that I didn’t use a thermometer because all ours are currently broken lol But I don’t think it’s too far off since most things I make come out pretty accurate. I even have those same type pans just not that brand (I have Wilton). This cake though was still DELICIOUS and the texture was SPOT ON. The only problem I had was it sinking a little and being a little brown on top.
Hi this is my first time making this recipe. I have no idea what I did wrong…I would like to send you a picture of how the cake turned out of the oven. I made this cake and the cake sunk in very bad. I used everything that the recipe calls for and used the exact pan size. Please help
Hi Camiel! I’m so sorry that you had issues with your cake! While I don’t have a way for you to send me a picture through comment, hopefully I can still help. There are so many reasons why a cake can sink that Tessa actually wrote an article about How to Prevent Cakes and Loaves from Sinking. Do you use a digital scale to measure your ingredients? How about your oven, do you have an oven thermometer to ensure your oven temperature is accurate? One of the biggest reasons why cakes sink is due to overmixing the dry and wet ingredients. When you add in the last amount of flour, you want to mix until just combined. It’s ok if there’s still a few flour pockets left. I’d highly recommend reading through the article linked. Please let me know if you have any questions, and I really hope you give this recipe another try!
I’m not sure what is up with this recipe but it isn’t quite right.
I’m an experienced baker, I make cakes from scratch all the time. I made this recipe twice. The first time the cakes sank in the middle. I made it again, with brand new baking powder and making sure to measure everything exactly and not to overmix…they sank again. I have a brand new oven and a thermometer inside to make sure it is properly calibrated, so I’ve accounted for all of the reasons a cake usually sinks.
I’m giving it three stars because the flavor and texture is good, but you can’t achieve an even layer cake with this recipe in my opinion.
Oh no! I’m sorry to hear your cake sunk, Kathy! It’s so tough figuring out what went wrong without having baked right along with you. You’ve answered my most common questions (scale, oven, leavener, over mixing) that I ask, so I’m going to link our article about How to Prevent Cakes and Loaves from Sinking. Fingers crossed there was a minor detail that was missed! Do you bake at high altitude?
Making it again!
Followed to the letter. Sunk in the middle and was so soft that it disintegrated when removing from pans… such a waste of ingredients and time. 🙁
I’m so sorry to hear of your issues with this recipe, Ali! Do you use a digital scale to measure your ingredients? Did you substitute any ingredients? I’m linking our article here about How to Prevent Cakes and Loaves from Sinking. Hopefully this will help!
What is bleached cake flour? I live in India we don’t use this flour here, can I use regular fine flour instead of this?
Hi there! Check out the pink tip box above this recipe for more details about cake flour, which includes a link to our Cake Flour 101 article. We haven’t tried this recipe with regular flour as this recipe works best with bleached cake flour.
The flavor and crumb of this cake are awesome! However, I tried baking the whole recipe in a 9×3″ pan and it sunk in the middle while it was still in the oven, the cake was cooked through and tasted great so I wasn’t that it was undercooked. I am guessing since I used a different size pan than was called for is the reason why it fell in the middle.
Since 3″ pans are very popular right now I figured I would try it. Any suggestions as to what to do differently so it doesn’t sink?
Hi Karen! Unfortunately, we haven’t tried baking this recipe in a 9×3 pan, so I can’t offer any advice! We always suggest following the size pan the author uses for best results.