Tessa’s Recipe Rundown
Taste: The brown butter + brown sugar give these brownies such an incredible depth of flavor!
Texture: Ultra-rich, fudgy, and slightly chewy.
Ease: Not the easiest recipe. This one involves browning the butter on the stove and an electric mixer. But it’s so worth the effort when you want something extra special!
Pros: Fabulous brownie recipe to add to your repertoire.
Cons: Dirties several dishes.
Would I make this again? I make these often!
This post may contain affiliate links. Read our disclosure policy.
This Brown Butter Brownies Recipe literally came to me in a dream.
The image of exactly how I wanted them to look came to my mind, and I knew I immediately had to get to work on creating this recipe.
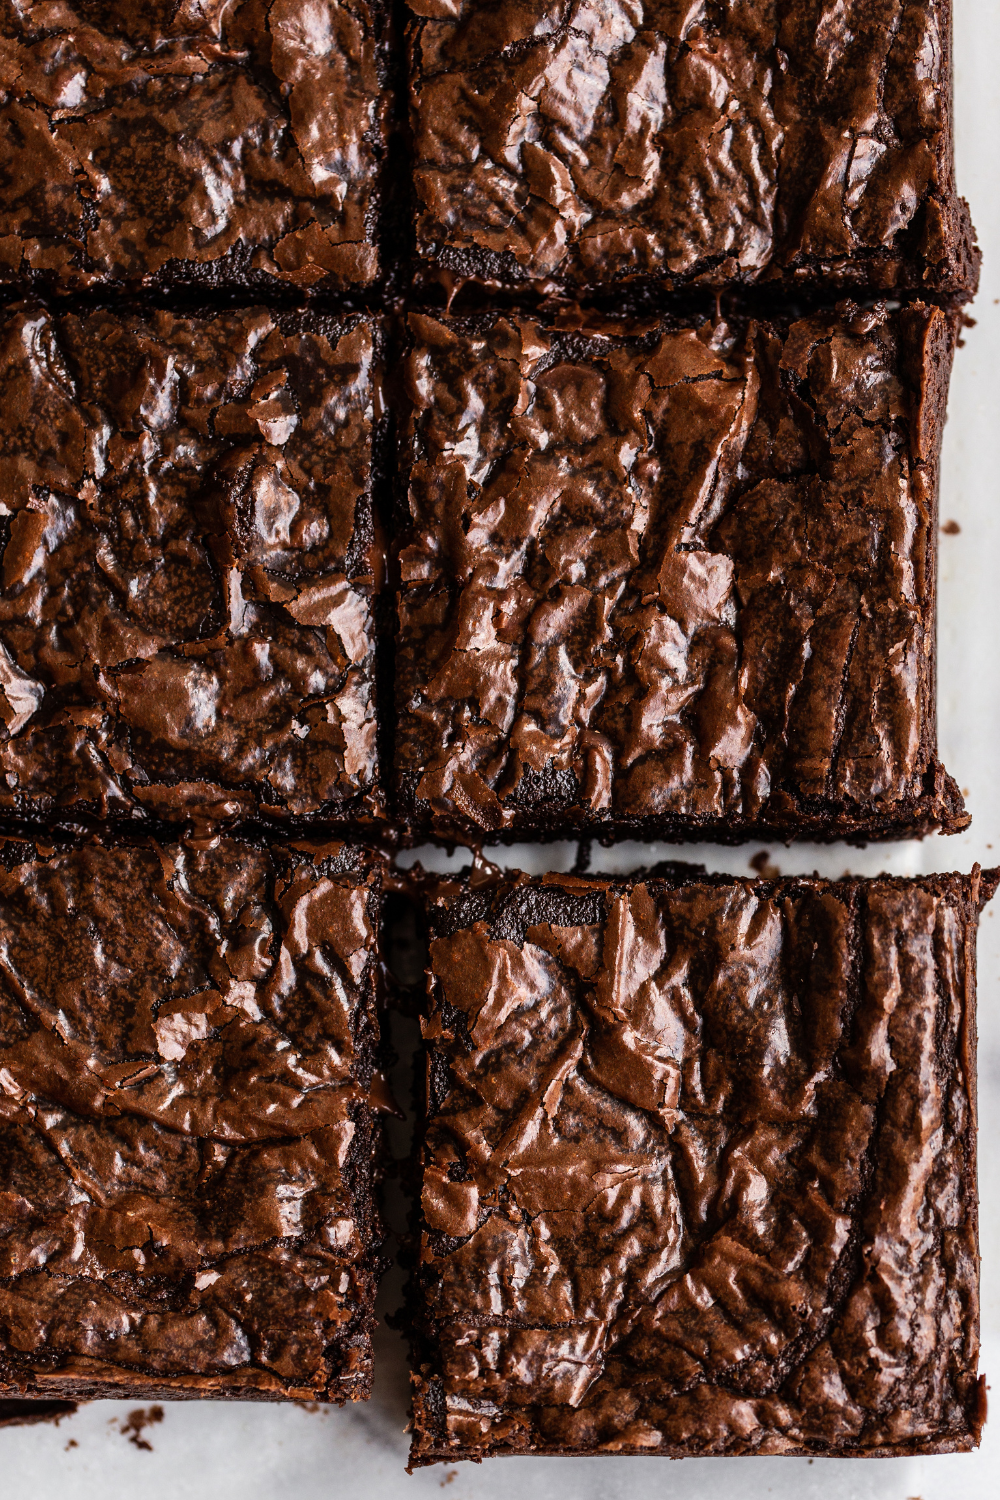
It took over 7 trials until I had these brownies *just* how I pictured them.
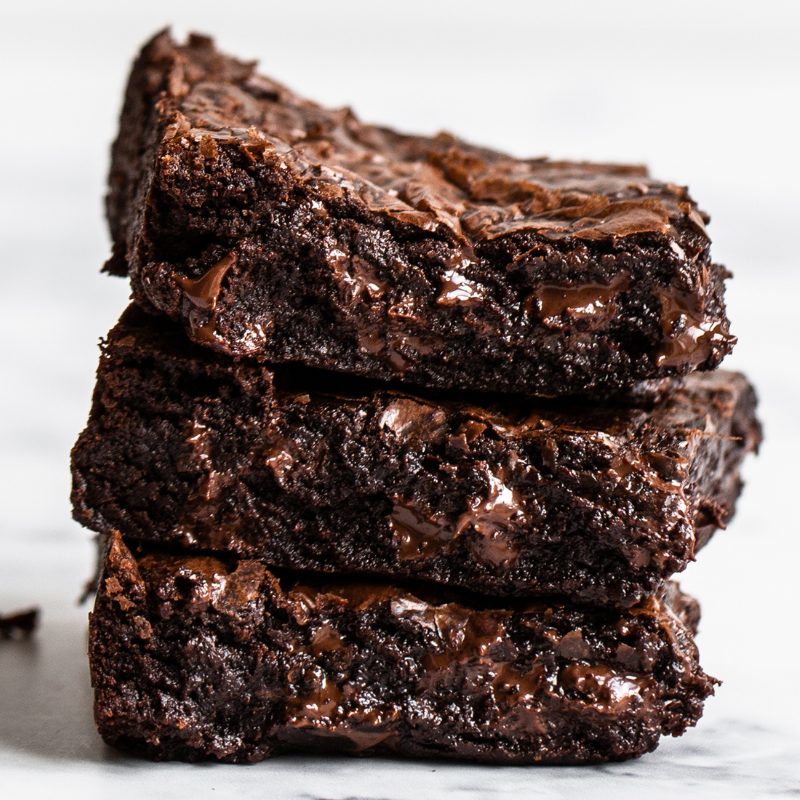
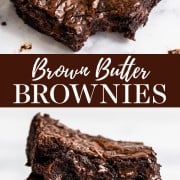
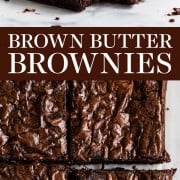
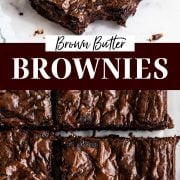
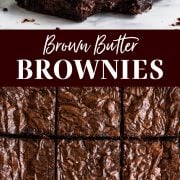
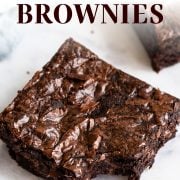
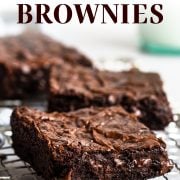
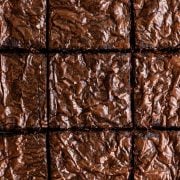
The most important part I wanted to nail was that shiny crust on top.
I knew I could achieve the most picture-perfect shiny crust, while simultaneously creating fudgy, moist, and incredibly flavorful brownies, elevated by that brown butter.
If you follow me at all, you know that browning butter is one of my secret tricks to improving the flavor of just about every classic baked good – and these brownies are no exception!
This brownie recipe is definitely a little more labor-intensive than my crazy-popular Chewy Brownie recipe, but they’re worth it if you have a little more time on your hands and want something deliciously special.
In the pink box below, I’ve included tons of tips and information, so you can nail these delicious brownies every time.
I truly hope you’ll give them a try!
How to Make Fudgy Brown Butter Brownies
Below are tips and insights into the HOW and WHY of brownie baking. I definitely suggest you read before making the recipe! And if you want even more info on the science of brownies, check out my original Ultimate Brownie Guide here.
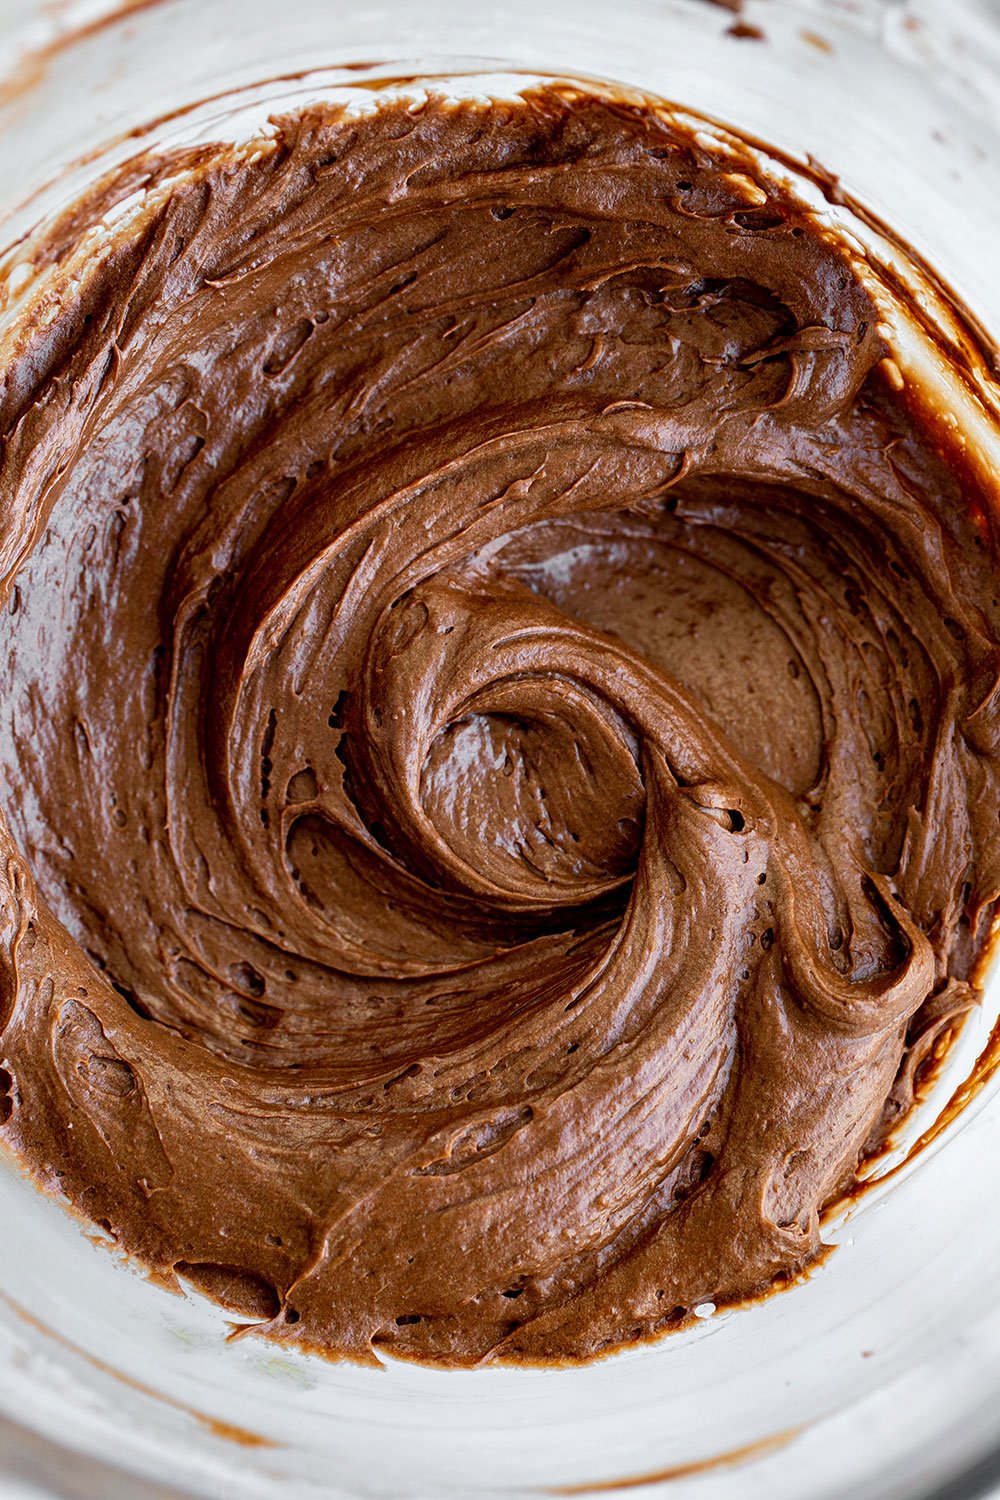
How to Brown Butter for Brownies
A skillet works better than a saucepan for browning butter because there’s more surface area for the brown bits to develop. Whatever you do, never use nonstick for browning butter.
- In a medium skillet set over medium heat, melt the butter.
- Swirling the pan occasionally, continue to cook the butter. It should become foamy with audible cracking and popping noises.
- Once the crackling stops, continue to swirl the pan until the butter develops a nutty aroma and brown bits start to form at the bottom.
- Once the bits are amber in color, about 2 to 3 minutes after the popping stops, remove from heat and pour into a mixing bowl, ensuring you get all little browned bits at the bottom – that’s where the flavor lives!.
- Now your brown butter is ready to fold into the batter!
- Learn all my tips and tricks for browning butter in my How to Brown Butter article here.
How to Make Brownies with Shiny Thin Crust
This is arguably the best part of any brownie, but also often the most elusive to achieve. These Brown Butter Brownies have an incredible crust, thanks to these steps:
- If you follow the directions in this recipe exactly by using an electric mixer to whip the eggs and sugar, you will get that beautiful tissue-thin crust on top.
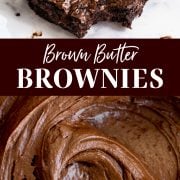
- The key here is to allow the sugar to completely dissolve into the eggs to create an ultra-light, pale, and fluffy foam.
- The amount of time this takes will completely vary depending on your kitchen environment and your mixer, so pay attention to the visual clues over the time listed in the recipe.
- An electric mixer with the whisk attachment works best, but you may be able to get away with a hand mixer too.
- Whatever you do, just don’t stop beating until the eggs are ultra-light in color and thick and foamy in texture.
- More tips for achieving those perfectly tissue-thin, crinkly crusts in brownies in my How to Make Brownies with a Thin Shiny Crust article. I also share some surprising mistakes you may be making which prevent the brownie “skin!”
How to Make Chewy Fudgy Brownies
- Whipping the eggs and sugar helps incorporate air into this Brown Butter Brownies recipe.
- That means we don’t need to use any baking soda or baking powder.
- The result are brownies that are rich and fudgy without being so dense you can only have two bites. I first learned this technique years ago here.
- Brown sugar and high-fat Dutch Process cocoa powder also help contribute richness not just in flavor but in that moist fudgy texture.
- That’s also why a very small amount of flour is used. Too much flour and brownies become cakey or dry. Make sure not to over-measure the flour or cocoa powder.
Do I have to Use Dutch Process Cocoa Powder?
- Since there’s no leavener (baking soda or powder) in this Brown Butter Brownies recipe, you can use Dutch Process OR natural unsweetened cocoa powder.
- I find Dutch process creates a deeper chocolate flavor and richer, fudgier texture.
- My absolute favorite cocoa powder for brownies is Penzey’s high-fat Dutch process or the King Arthur Bensdorp Cocoa Powder.
- Both options make for insanely rich & fudgy brownies (and ultra-moist chocolate cake!).
- If you only have natural cocoa powder, that will work just fine – but keep in mind that the higher the fat content of your cocoa powder, the more delicious your baked goods will be! Learn more about the fat content of cocoa powder here.
The BEST Brownie Pan (so important!)
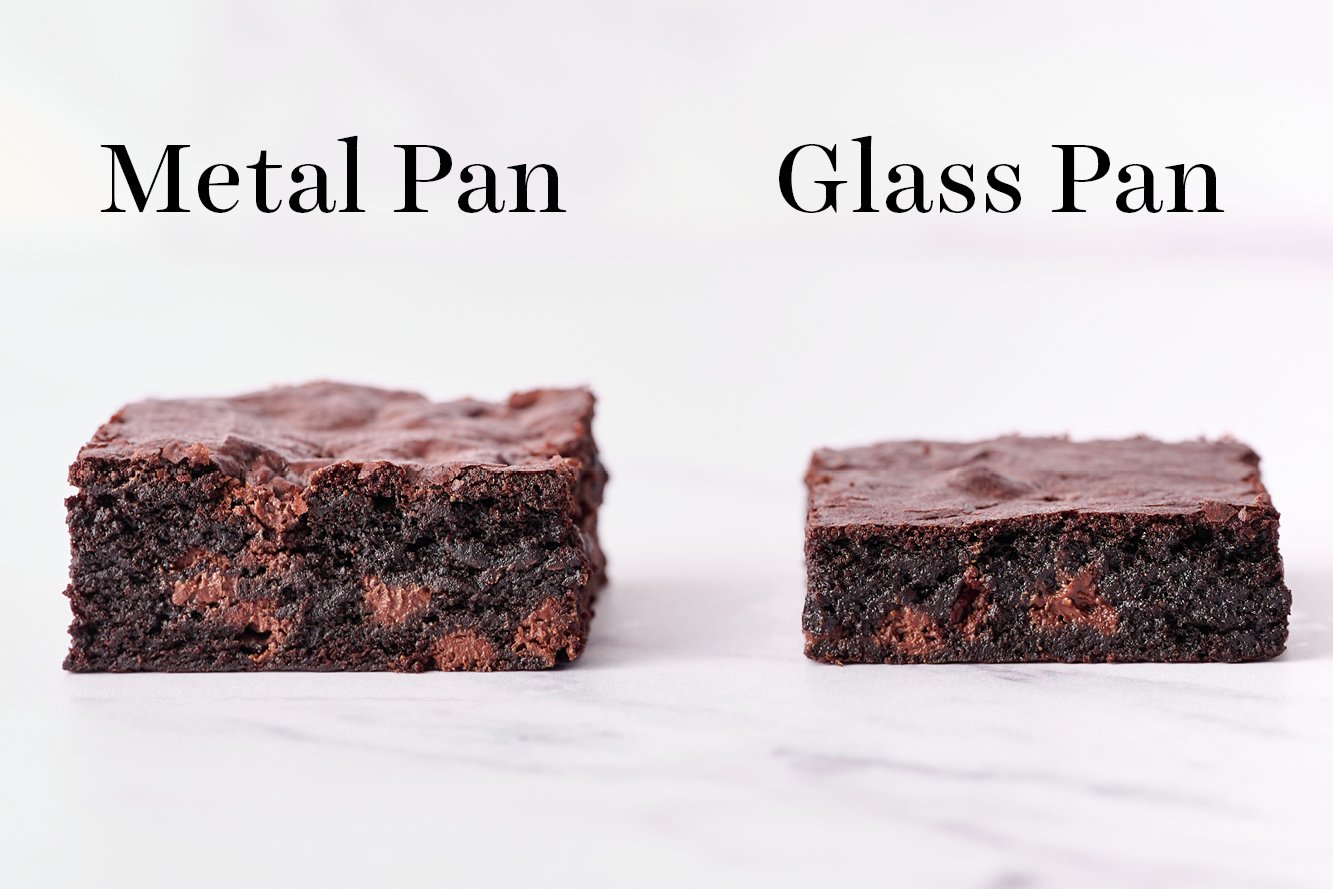
- For this Brown Butter Brownies recipe, I highly recommend using an 8 by 8-inch light-colored metal baking pan. I like this baking pan.
- Dark metal pans will dry out the edges, often before the center can cook through.
- Glass or ceramic baking pans will take LONGER to bake these brownies, and the texture may become more gummy.
- If you must use glass, reduce the temperature and add about 10 to 15 minutes to the baking times.
- Check out my Glass vs. Metal Baking Pans article for more tips.
- I like to line my pan with two sheets of parchment, leaving about a 2-inch overhang so I can easily lift out the entire pan of brownies to cut and serve.
Can I Double the Recipe?
You can easily double this recipe by simply doubling all ingredients and baking in a 9 by 13-inch metal baking pan for about 30 minutes.
How to Tell when Brownies are Done Baking?
- You never want to overbake brownies.
- There should absolutely be moist crumbs attached to a tester by the end of the baking time.
- With a recipe like this, however, the gooey chocolate chips make it hard to tell when the brownies are done baking.
- I always err on the side of underbaking brownies.
- The residual heat of the oven will continue to cook them even after you place the pan on a cooling rack.
- I wouldn’t bake much longer than the recipe suggests unless you’re using a glass pan (see above), or your oven runs cold.
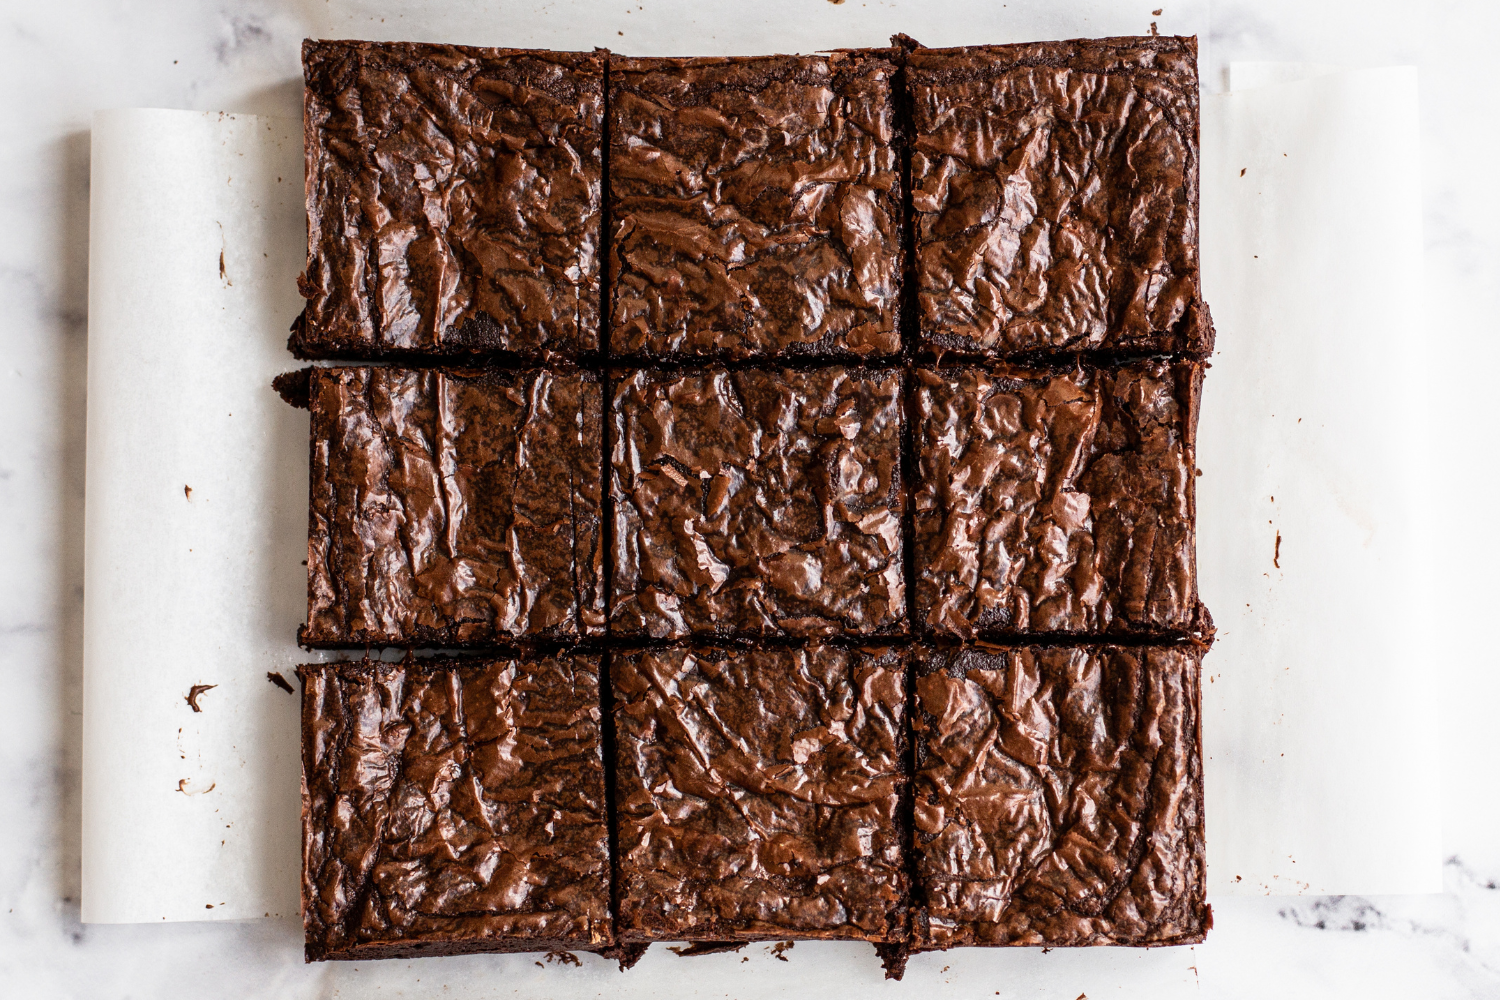
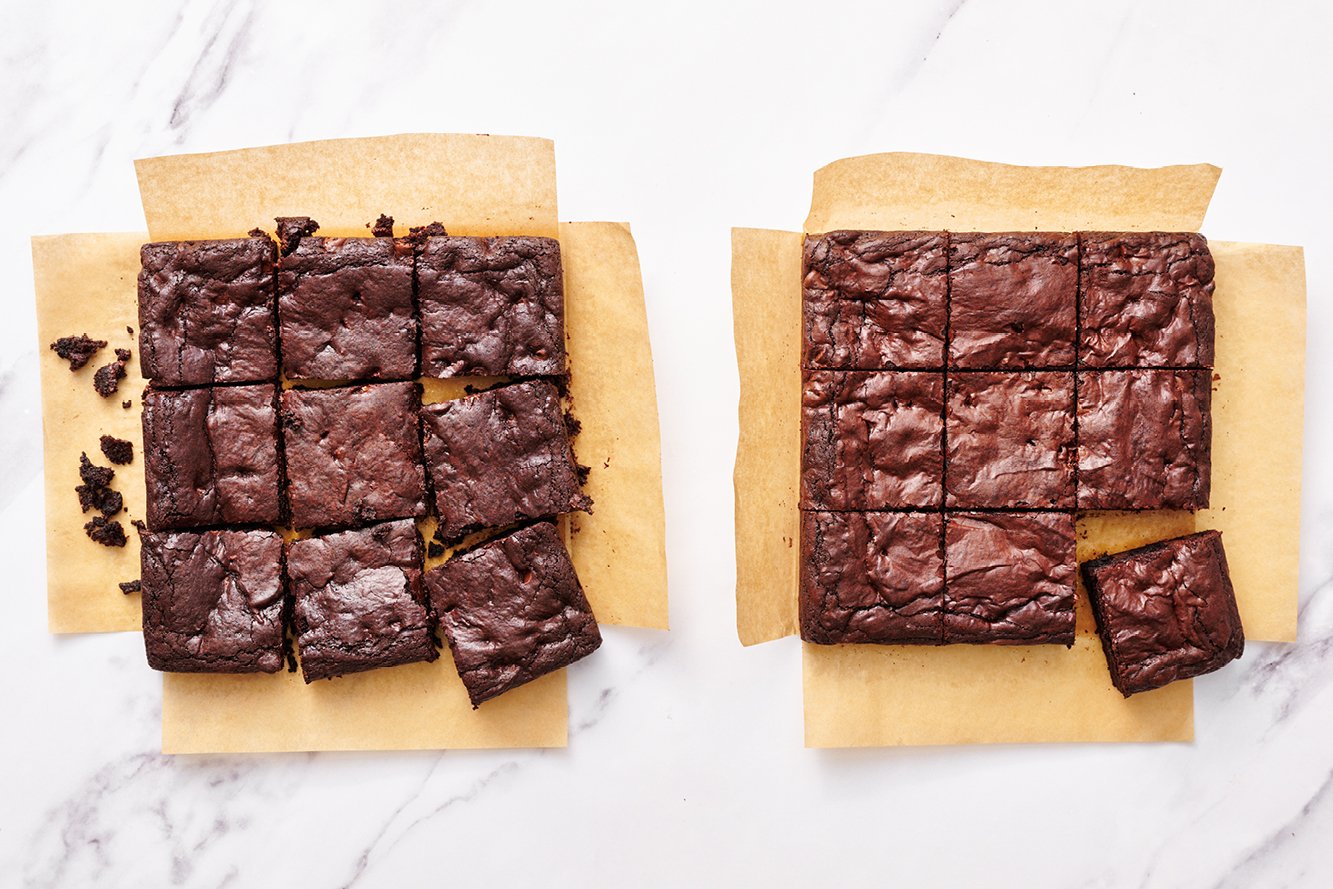
How to Cut Brownies Cleanly
Science has shown our visual perception of food actually influences how tasty we perceive food to be. If you want to get perfectly clean, neat, and even brownie slices, check out my How to Cut Brownies Cleanly in 5 Steps article. Don’t worry – even if you don’t follow all these tips, your brownies will taste just as delicious!
How to Store Brown Butter Brownies
Brown Butter Brownies taste best the day they are baked, but can be stored in an airtight container for up to 2 days at room temperature or up to 4 days in the fridge. They are even more fudgy when they’re chilled! You can microwave them for a bit to serve them warm and gooey, if preferred.
Can I Freeze Brown Butter Brownies?
Brownies freeze beautifully. Simply wrap slices of brownies in plastic wrap and place in a freezer bag or airtight container for up to a month. Thaw overnight in the fridge, or for a couple hours at room temperature, before serving.
More Amazing Brownie Recipes:
- Best CHEWY Brownies (perfect if you love box mix texture!)
- Best Easy Brownies (1 bowl, no mixer, less than 1 hour)
- Peanut Butter Stuffed Brownies (for serious PB lovers only!)
- Copycat Cosmic Brownies (better than Lil Debbie!)
- Mexican Hot Chocolate Brownies (so much fun!)
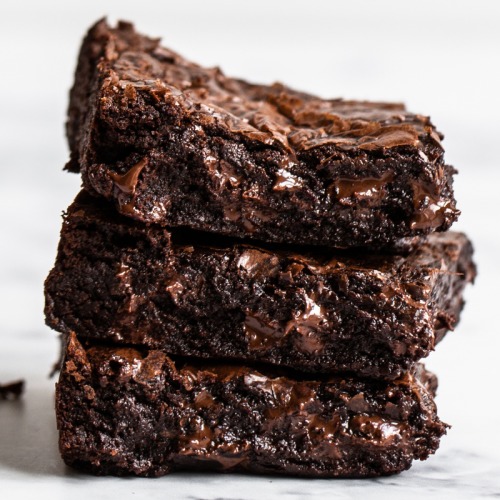
Brown Butter Brownies
Ingredients
- 1 1/2 sticks (170 grams) unsalted butter
- 4 ounces (113 grams) semisweet chocolate, chopped
- 1/2 cup (100 grams) granulated sugar
- 1/2 cup (100 grams) light brown sugar
- 3 large eggs
- 1 teaspoon vanilla extract
- 1/2 cup (64 grams) all-purpose flour
- 1/2 cup (43 grams) cocoa powder*, preferably Dutch Process
- 1/2 teaspoon instant espresso powder, optional
- 1/2 teaspoon fine salt
- 1 cup (170 grams) semisweet chocolate chips
Instructions
- Preheat oven to 350 degrees F. Line a metal 8-inch square pan with parchment paper.
- In a small saucepan set over medium-low heat, melt the butter. Swirling the pan occasionally, continue to cook the butter, increasing the heat to medium. It should become foamy with audible cracking and popping noises. Once the crackling stops, continue to swirl the pan until the butter develops a nutty aroma and brown bits start to form at the bottom. Once the bits are amber in color, about 2 to 3 minutes after the popping stops, remove from heat and pour into a mixing bowl, scraping the brown bits into the bowl.
- Immediately add in the chopped chocolate and stir until melted.
- In the bowl of an electric mixer fitted with the whisk attachment, combine the granulated sugar, brown sugar, eggs, and vanilla. Beat mixture on high speed until completely thickened and fluffy in texture and lightened in color, about 8 minutes. On low speed, gradually pour in the warm brown butter chocolate mixture.
- Use a rubber spatula to stir in flour, cocoa powder, espresso powder, and salt until just combined. Stir in the chocolate chips.
- Pour into prepared pan and smooth out with a spatula. Bake in the preheated oven for 22 to 25 minutes, or until set but not overbaked. Let cool in pan completely before slicing and serving.
- Brownies can be stored in an airtight container at room temperature for up to 2 days, or in the fridge for 4 days.
Recipe Notes
This recipe was created in 2020 and has been updated with additional baking tips. Photos by Ashley McLaughlin.








The recommended baking pan is nonstick. The recipe calls for lining the pan with parchment paper. So can an aluminum non-stick pan be used?
Hi Grace! Yes, any 8-inch square metal pan can be used, as long as it’s light-colored like the recommended pan. Darker colored metals heat too aggressively, and can dry out and overbake the edges of the brownies before the middle has baked through. I hope that helps! Let us know what you think of these brownies once you have given them a try 🙂
Hi Kierstand, how about using a 7 inch aluminium tin. How do I adjust the bake timing?
Hi there! We haven’t tried that, but it should work okay – just note that a smaller pan will take longer to cook through, as the brownies will be thicker, so just be aware of that! Let us know how it goes 🙂
These brownies are my first attempt ataking them with whipped and fluffy sugar and eggs!!! Let me just say, THESE WILL BE MY GO TO BROWNIES FROM NOW ON!!! These are absolutely fudgey, moist, flavorful and crackley on top. The do not disappoint. y mind is already adding fresh fruit and more chocolate(buttercream) to the tops. The extra effort of the whipping and browning took these over the top. The perfect rich base for whatever your fudgey brownie mind can imagine. Thank you for sharing these. ❤️
I’m not usually a fan of chocolate cake or brownies, but my migraines usually have me craving exactly that, so I made these on a whim and they came out beautifully!
They’re not too sweet at all, and so so rich and fudgy and hit the spot exactly.
I used milk chocolate instead of bittersweet simply cause I didn’t have any left thanks to my previous baking adventure, and reduced each of the sugars by 25g to even things out. The taste is still super rich thanks to the cocoa powder and espresso powder.
Use whatever you want as add-ins! I still had some mini peanut butter cups to use up that I added along with some chopped hazelnuts and walnuts for texture and that nice contrast they bring to baked goods.
I used a 20cm spring form and baked at 165-ish°C on convection. Took around 30 min.
This European thanks you for the metric measurements and your continuously great recipes! I’ve been a follower for years and they never disappoint. I wish we could add pictures though 🙂
All the love from Germany!
Hi! I made these and they turned out amazing! But I have a question for next time. Can I use semisweet chocolate chips to melt into the butter or does it have to be the chocolate bar/wafers?
Hi Fatima! So glad to hear that you enjoyed these brownies! We typically don’t recommend melting chocolate chips, as they contain ingredients that prevent them from fully melting (so they stay intact when baked), so they won’t be as perfectly smooth as melted baking chocolate. That being said, in a pinch, that should work okay – but we haven’t tried that in this recipe to confirm for sure. Let us know how it goes if you give that a try 🙂
I don’t have a light coloured tin- my options are dark coloured or a silicone pan. Which would work better? What difference would a silicone pan make? Thanks!
Hi Chrissy! Unfortunately, neither are ideal. Silicone works much like glass in that it’s a poor conductor of heat and the edges may dry out before the middle is done, whereas the dark metal conducts heat a little too well, resulting in a similar dry or even burned edge situation. For either, give this a try: Drop the temperature by 25°F and increase the bake time anywhere from 5 to 15 minutes, depending on your oven. Let us know how it goes!
Would it be okay to use dark brown sugar instead of light brown sugar?
Hi Ashley! We haven’t tried that, but it should work just fine. Dark brown sugar contains a little more molasses than light brown sugar, so it brings a bit of a deeper flavor and a little more moisture. Let us know how it goes 🙂
Bonjour !
Je suis francaise et je suis abonnée à votre compte instagram 🙂
J’aurais une question concernant le matériel que j’utilise pour faire ce brownie.
Il faut savoir que j’ai acheté un moule en acier inoxydable 18/10 car je pense que la composition est plus sain qu’un moule en metal.
J’ai suivi à la lettre cette recette qui est juste incroyable !
Mais le brownie est moins épais que vos autres recettes de brownie.
C’est pourquoi je voulais savoir si c’est le moule en inox qui en serait la cause ou bien c’est seulement cette recette qui rend le brownie moins épais que vos autres recettes.
Mon moule fait exactement les mêmes dimensions que le votre.
De plus je n’ai pas encore testé les autres recettes de brownies donc je n’ai pas pu comparé l’épaisseur.
Que pensez-vous d’un moule en acier inoxydable 18/10 ? Y’a t-il une différence avec un moule en metal au niveau de la cuisson?
Hi Sevda! I’m so glad to hear that you enjoyed these brownies! The thickness difference could be caused by your metal pan being different, but as long as it’s the same proportions, it shouldn’t make your brownies too much thinner. Feel free to check out the differences in materials as I’m not familiar with the type of pan you mentioned – this is the pan Tessa recommends, for comparison. There are also likely ingredient differences between US and French ingredients. Butter is definitely different (European butter contains more butterfat – see Tessa’s videos here and here) and eggs also differ in size (large eggs are about 56 grams in shell in the US). Flour could also be different and may have absorbed a different amount of liquid, compared to the varieties available here. Brownies will also be thinner if you reduced the sugar or left out the chocolate chips, for example. I hope something here helped, Sevda, and I hope you give these brownies another try and maybe try different brands of some of these ingredients, different egg sizes, etc, so you can enjoy these delicious brownies even more! Happy baking!
This recipe really ups the game when it comes to the simple brownie. Brownies are rich, robust, chewy (chocolate chips) and dense, when served chilled, which is how I enjoy them most. I used premium chocolate and included the espresso powder (which adds depth to the flavor profile.) This recipe is a little more effort than the usual brownie recipe but well worth the effort in the results.
This is an amazing brownie recipe- I’ve made it several times with great success!
If I were to double the recipe then would I need to beat the eggs/sugars/vanilla for longer than 8 minutes?
Hi Pam! So glad to hear that you love this brownie recipe 🙂 Doubling this recipe may take a longer than 8 minutes for the eggs/sugars/vanilla to whip, but it all depends on your mixer, kitchen environment, etc. Pay closer attention to the sensory indicators (beat until “completely thickened and fluffy in texture and lightened in color”) than timing for best results. I hope that helps! Happy baking 🙂
Hi! Love all your recipes! I don’t have access to dutch cocoa powder, and I’m dairy free. Will using margarine and some regular cocoa powder change the quality completely?
Thanks in advance!
Hi Tali! We don’t bake with dairy-free substitutions, so unfortunately I cannot tell you exactly how that will work, as we haven’t tried it! What I can tell you is that margarine is a blend of oils, and unlike butter, does not contain milk solids, so it cannot brown and won’t provide the same flavor. I recommend checking out some of our other brownie recipes and experimenting with those to suit your needs – such as Tessa’s Easy Chewy Brownies. Just in case you’re curious about cocoa powders and the difference between natural and Dutched, check out Tessa’s article on that here. I hope that helps! Happy baking 🙂
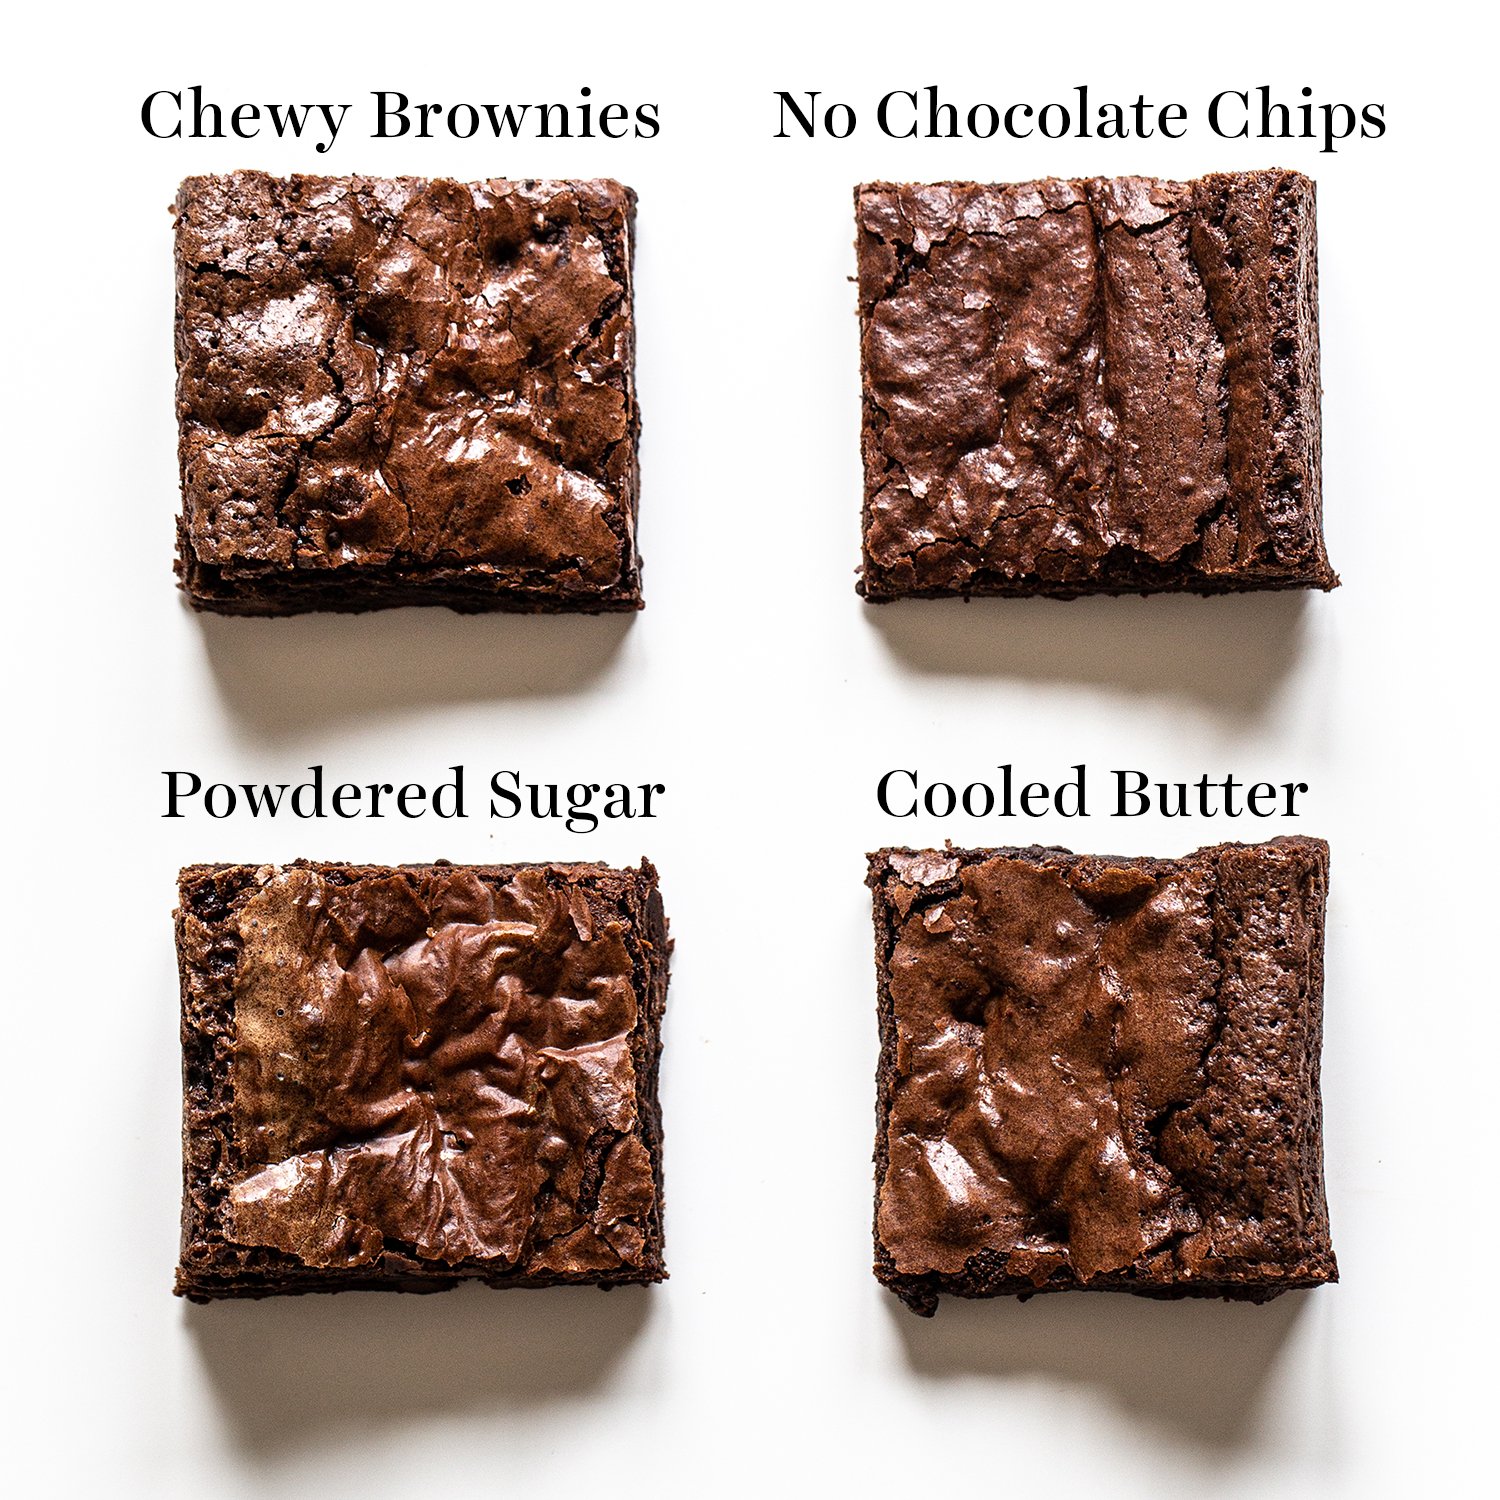
Could I leave out the stirred in chocolate chips? Will it really change the flavour/texture of the brownie?
Hi Rianne! Feel free to skip the chocolate chips if you prefer, but they do add flavor, and they also contribute to the perfect crinkly crust on top! Learn more about that here 🙂
Looks wonderful!! Do you think I can add a layer of peanut butter to this in the middle of the batter?
Hi Ahlam! We haven’t tried that with this specific recipe, so I can’t say for sure – but here is a recipe Tessa created with a layer of peanut butter in the middle! Enjoy 🙂